
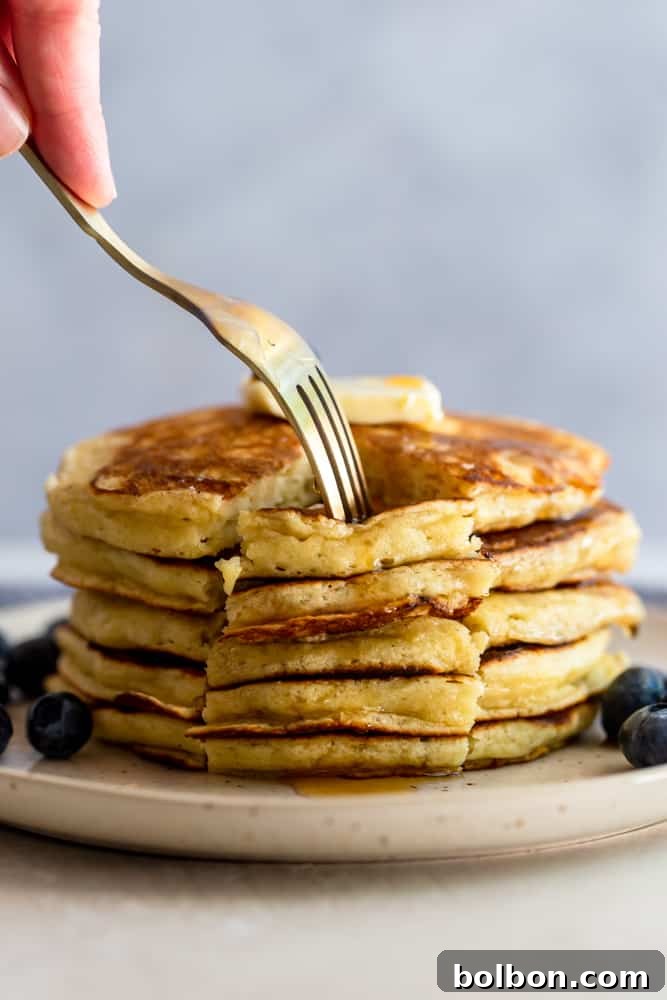
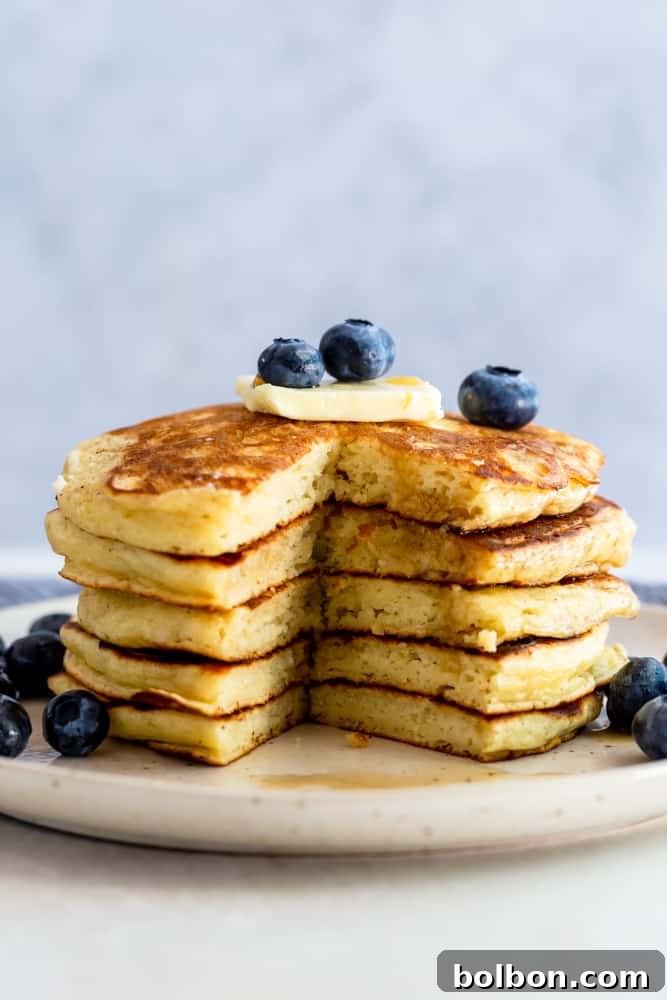
There’s nothing quite like waking up to the aroma of freshly made pancakes. But not just any pancakes – we’re talking about the best fluffy buttermilk pancakes, so light and airy they practically float off your plate. If you’ve ever dreamt of mastering the art of homemade pancakes, achieving that perfect golden hue and irresistible fluffiness, then your dream is about to come true. This comprehensive guide will walk you through everything, from mixing the batter from scratch to essential tips, smart freezing techniques, and effortless reheating methods, ensuring you can enjoy a stack of these delightful breakfast treats anytime.
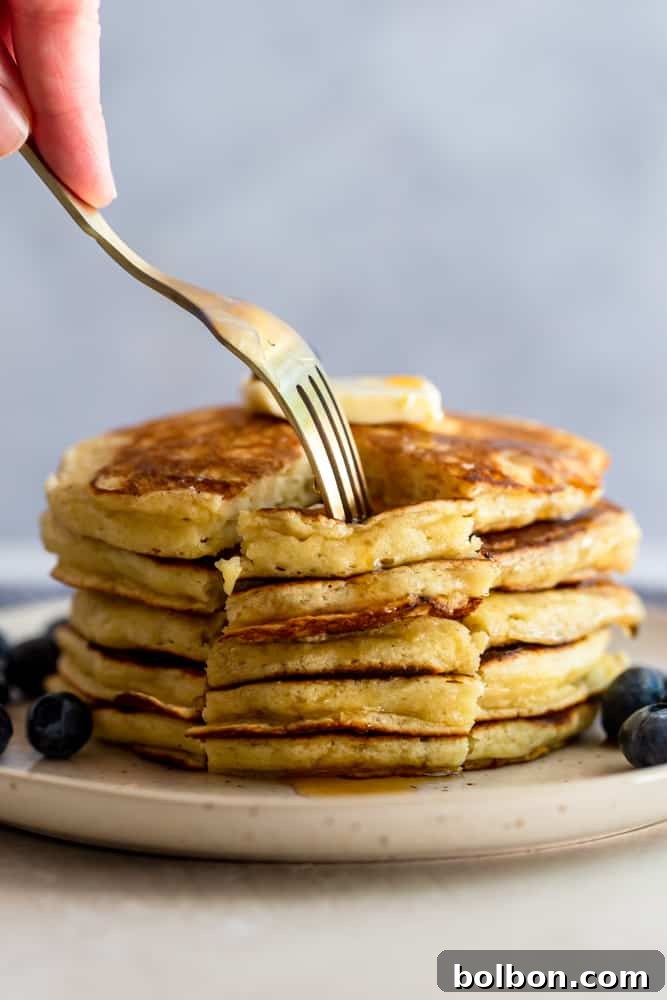
Are you a pancake enthusiast or does your heart lean towards waffles? For years, I considered myself a devoted waffle fan, primarily because my homemade pancakes often fell short of perfection. They were either too dense, resembled rubbery hockey pucks, or burned on the outside while remaining stubbornly raw in the middle. Does this sound familiar? If you’ve faced similar pancake predicaments, prepare to turn a new leaf. After countless experiments, I finally perfected this buttermilk pancake recipe that guarantees consistently light, tender, and beautifully golden-brown results every single time. Say goodbye to pancake failures and hello to breakfast bliss!
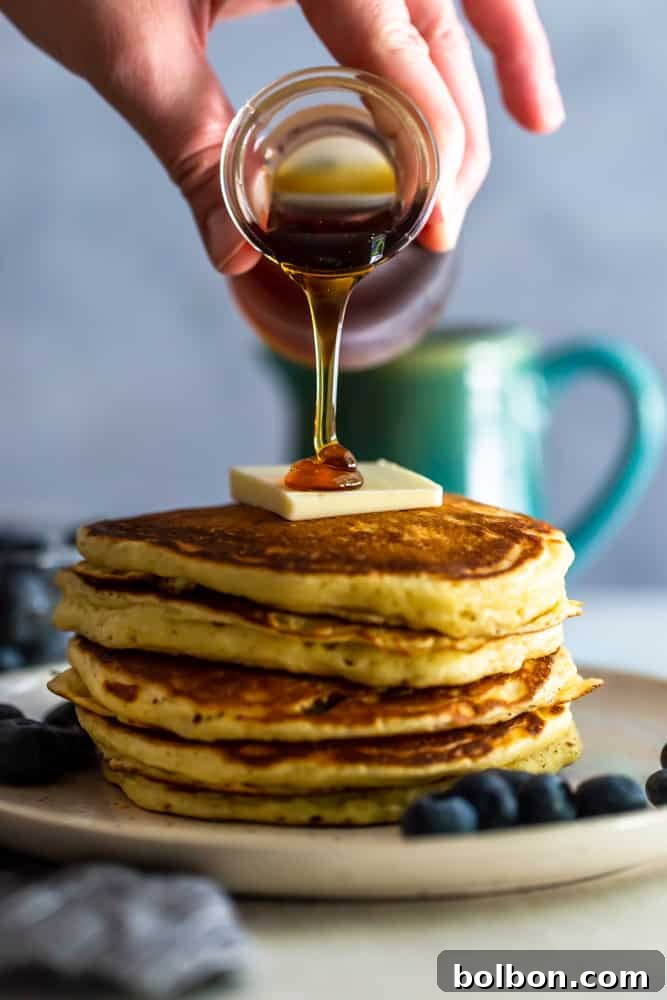
The Secret to Unrivaled Fluffiness: Why Buttermilk is Key
Before diving into the recipe, let’s unlock the magic behind buttermilk. This seemingly simple ingredient is the cornerstone of truly fluffy pancakes. Buttermilk is acidic, and when combined with baking soda (an alkali), it creates a powerful chemical reaction that produces carbon dioxide gas. These gas bubbles are what get trapped in the batter, expanding during cooking to create that incredibly light and airy texture we all crave. Without buttermilk, your pancakes would likely be much flatter and denser. If you don’t have buttermilk on hand, don’t fret! You can easily make a substitute by adding 1 tablespoon of white vinegar or lemon juice to a measuring cup, then filling the rest with regular milk until it reaches 1 ½ cups. Let it sit for 5-10 minutes until it slightly curdles, and you’ll have a perfect buttermilk stand-in.
Mastering the Art: How to Make the Best Fluffy Buttermilk Pancakes
Achieving pancake perfection involves more than just mixing ingredients; it’s about technique. Here are the crucial tips to ensure your homemade buttermilk pancakes are consistently light, airy, and utterly delicious:
- Do Not Over-Mix the Batter! This is perhaps the most critical rule in pancake making. Over-mixing develops the gluten in the flour, leading to tough, chewy pancakes – the exact opposite of what we’re aiming for. Mix the wet and dry ingredients just until they are barely combined. A few lumps are perfectly fine, even desirable! Embrace the lumps; they are a sign of undeveloped gluten, which translates to tender pancakes.
- Measure Flour Accurately with the Spoon and Level Method. Baking is a science, and precise measurements are key. Using the “scoop” method (scooping flour directly from the bag with your measuring cup) compacts the flour, resulting in too much flour in your batter. This extra flour makes pancakes dense and heavy. Instead, use the “spoon and level” method: spoon flour into your measuring cup until it’s overflowing, then use the back of a knife or a straight edge to level it off. This ensures you’re adding the correct amount of flour for a fluffy result.
- Control Your Pan Temperature. The heat of your pan or griddle significantly impacts the outcome of your pancakes. Too hot, and they’ll burn on the outside before cooking through; too cool, and they’ll be pale and potentially dense. Aim for medium to medium-low heat. You’ll know it’s ready when a drop of water skitters across the surface and evaporates almost immediately. Keep a close eye on your pancakes and adjust the heat as needed throughout the cooking process. A consistent, moderate heat allows the pancakes to cook evenly, resulting in a beautiful golden crust and a thoroughly cooked, fluffy interior.
- Allow the Batter to Rest. After mixing, let your pancake batter rest for 5-10 minutes. This resting period allows the gluten to relax further and gives the baking soda and buttermilk more time to react, producing even more gas bubbles for maximum fluffiness.
- Use Fresh Leavening Agents. Baking powder and baking soda lose their potency over time. Always check their expiration dates. To test baking powder, add a spoonful to hot water; it should fizz vigorously. For baking soda, add a spoonful to vinegar; it should also fizz strongly. If they don’t react, it’s time for new ones.
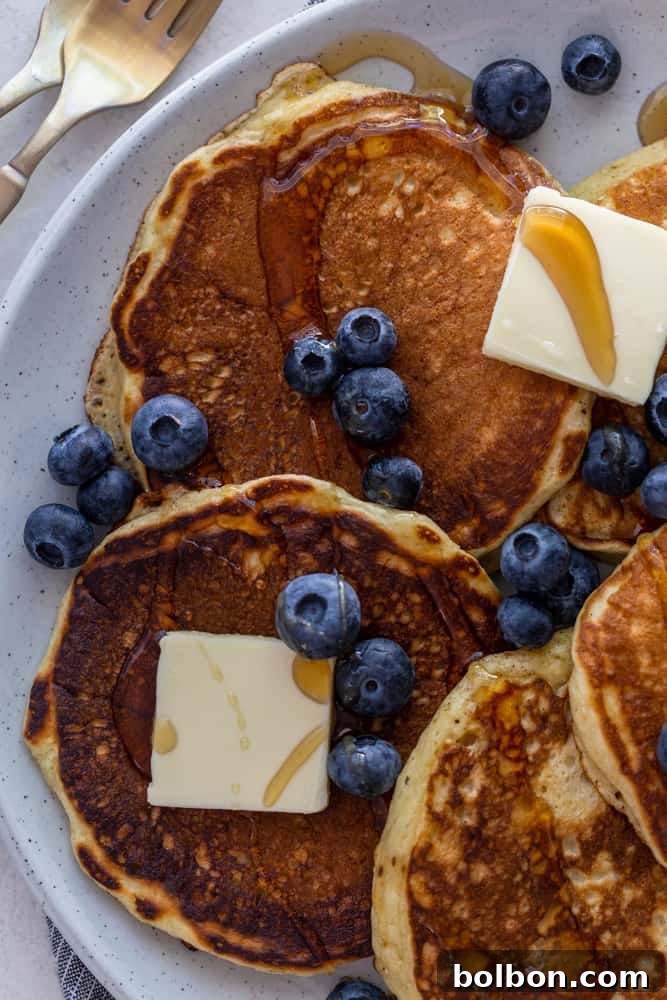
Smart Meal Prep: Freezing and Reheating Buttermilk Pancakes
One of the greatest benefits of homemade pancakes is that they freeze beautifully, making them perfect for quick, delicious breakfasts on busy mornings. I often make a large batch and freeze the leftovers, transforming future rushed mornings into effortless pancake feasts.
How to Freeze Pancakes for Best Results
To prevent your precious pancakes from getting soggy or sticking together, follow these steps:
- Cool Completely: After cooking, immediately transfer pancakes to a wire cooling rack set over a baking sheet. Allow them to cool completely to room temperature. This is crucial for preventing condensation and ice crystals once frozen.
- Individual Wrapping (Optional but Recommended): For ultimate freshness and convenience, individually wrap each cooled pancake tightly in plastic wrap. This prevents freezer burn and makes it easy to grab just one or two at a time.
- Store in an Airtight Bag: Once wrapped (or simply cooled if skipping individual wrapping), place the pancakes in a large freezer-safe bag or an airtight container. Arrange them in a single layer if possible, or stack with parchment paper between layers.
- Label and Date: Always label your freezer bag with the date. Frozen pancakes are best enjoyed within 1-2 months for optimal taste and texture.
Effortless Reheating: Enjoying Frozen Pancakes Anytime
Reheating frozen pancakes is simple, and there are several methods depending on your preference and the equipment you have available:
How to Reheat Pancakes in the Oven
This method is excellent for reheating multiple pancakes evenly and preventing them from drying out. Preheat your oven to 350°F (175°C). Arrange the frozen pancakes in a single layer on a baking sheet. Cover the baking sheet loosely with aluminum foil to trap moisture. Warm for about 10-15 minutes, or until heated through and soft.
How to Reheat Pancakes in the Microwave
The microwave is my go-to for a super-fast breakfast, especially when reheating just a few pancakes. Place up to 6 frozen pancakes in a single layer on a microwave-safe plate. Reheat 1-2 pancakes for about 20-30 seconds. For 4-6 pancakes, microwave for 60-90 seconds, checking halfway through, until hot. Be careful not to overcook, as this can make them tough.
How to Reheat Pancakes in the Toaster
While quick, this method can sometimes dry out your pancakes. However, it’s perfect for achieving slightly crispy edges. Place one frozen pancake in each toaster slot. Toast on a light or medium-light setting, monitoring closely to prevent burning. This method works best for thinner pancakes.
Pancake Variations to Spark Your Creativity
While these buttermilk pancakes are fantastic on their own, they also serve as a perfect canvas for delicious additions. This recipe was adapted from my Buttermilk Blueberry Pancake recipe. If you’re keen to add blueberries, check out that recipe for extra tips on how to incorporate them without crushing them or staining the batter.
Beyond blueberries, consider these delightful variations:
- Chocolate Chip Pancakes: Stir in ½ to 1 cup of chocolate chips (mini or regular) into the batter just before cooking.
- Banana Pancakes: Mash one ripe banana and fold it into the wet ingredients for a naturally sweet and moist pancake.
- Spiced Pancakes: Add ½ teaspoon of ground cinnamon or a pinch of nutmeg to the dry ingredients for a warm, comforting flavor.
- Lemon Ricotta Pancakes: Incorporate ½ cup of ricotta cheese and a tablespoon of lemon zest for an incredibly tender and slightly tangy pancake.
Perfect Pairings: What to Serve with Your Buttermilk Pancakes
A stack of warm, fluffy buttermilk pancakes is a feast in itself, but a few complementary sides can elevate your breakfast experience. I particularly love serving crispy bacon with these pancakes. The savory, salty notes of bacon perfectly balance the sweet, fluffy pancakes, creating a truly harmonious meal. For an easy guide to perfectly cooked bacon every time, check out my post on how to make the best bacon!
Other fantastic accompaniments include:
- Fresh Fruit: Berries, sliced bananas, or a fruit salad add freshness and a burst of color.
- Whipped Cream or Yogurt: A dollop of whipped cream or a spoonful of Greek yogurt can add a creamy texture.
- Fruit Compotes: A homemade berry or apple compote offers a warm, fruity topping.
- Sausage or Ham: For a heartier breakfast, serve alongside your favorite breakfast sausage links or patties, or slices of grilled ham.
- Eggs: Scrambled, fried, or poached eggs provide additional protein.
- Maple Syrup: Of course, no pancake experience is complete without a generous drizzle of real maple syrup!
Fluffy Buttermilk Pancakes
Ingredients
- 2 large eggs
- 1 and 1/2 cups buttermilk
- 2 teaspoons vanilla extract (optional)
- 3 tablespoons melted butter
- 1 and 1/2 cups all-purpose flour
- 1/2 teaspoon salt
- 2 teaspoons baking powder
- 1/2 teaspoon baking soda
- 2 tablespoons sugar
Instructions
-
Heat a large frying pan or griddle over medium-low to medium heat. Test the heat: a drop of water should skitter across the surface, evaporating immediately. Lightly grease the pan with oil or butter.
-
In a large bowl, whisk together the flour, salt, baking powder, baking soda, and sugar. Set aside.
-
In a separate medium bowl, whisk together the eggs, buttermilk, and vanilla extract (if using) until light and slightly foamy. Whisk in the melted butter until well combined.
-
Pour the wet ingredients into the dry ingredients. Stir gently with a whisk or spatula just until combined. It is very important not to over-mix; a few lumps are fine and will result in tender pancakes.
-
Pour the batter onto the prepared pan in 1/4-cupfuls for medium-sized pancakes. Do not overcrowd the pan.
-
Cook for 2-3 minutes, or until bubbles begin to form on the surface and the edges appear set. Carefully flip the pancakes and cook for another 1-2 minutes, or until golden brown and cooked through.
-
Serve immediately with butter, maple syrup, and your favorite toppings. To keep cooked pancakes warm while you finish the batch, place them on a baking sheet fitted with a cooling rack in an oven preheated to 200°F (95°C).
Notes
Nutrition
Nutrition information is automatically calculated, so should only be used as an approximation.
Additional Info
Frequently Asked Questions About Buttermilk Pancakes
Here are answers to some common questions about making these delightful pancakes:
- Why are my pancakes flat?
- Flat pancakes are often due to over-mixing the batter, which develops the gluten and prevents the leavening agents from working effectively. It could also be from using expired baking powder or baking soda, or a griddle that isn’t hot enough. Ensure your leavening agents are fresh, don’t overmix, and check your pan temperature.
- Can I use regular milk instead of buttermilk?
- While you can, the results won’t be as fluffy or tender. Regular milk lacks the acidity needed to react with baking soda, which is crucial for creating the light texture. If you don’t have buttermilk, use the homemade substitute method: add 1 tablespoon of white vinegar or lemon juice to 1 ½ cups of regular milk and let it sit for 5-10 minutes until it curdles.
- How do I know when to flip a pancake?
- Look for visual cues! Bubbles will start to form on the surface of the pancake and burst, and the edges will begin to look set and slightly dry. The underside should be golden brown. Flipping too early can cause them to tear, while flipping too late can result in burned pancakes.
- What kind of pan or griddle is best for pancakes?
- A heavy-bottomed pan or an electric griddle works best as they distribute heat evenly. Non-stick surfaces are ideal for easy flipping and minimal greasing. Cast iron skillets also work wonderfully but require careful heat management.
Conclusion: Your Journey to Perfect Pancakes Starts Here
Making the best fluffy buttermilk pancakes from scratch might seem daunting at first, but with these simple tips and a reliable recipe, you’ll be creating breakfast masterpieces in no time. From understanding the role of buttermilk to mastering the perfect pan temperature and learning smart freezing and reheating tricks, you’re now equipped with all the knowledge needed to enjoy these delightful treats whenever the craving strikes. So go ahead, whisk up a batch, and prepare to impress your taste buds and loved ones with the lightest, fluffiest pancakes you’ve ever made. Don’t forget to share your creations and tag me on Instagram @foxandbriar and #foxandbriar – I can’t wait to see your fluffy triumphs!