
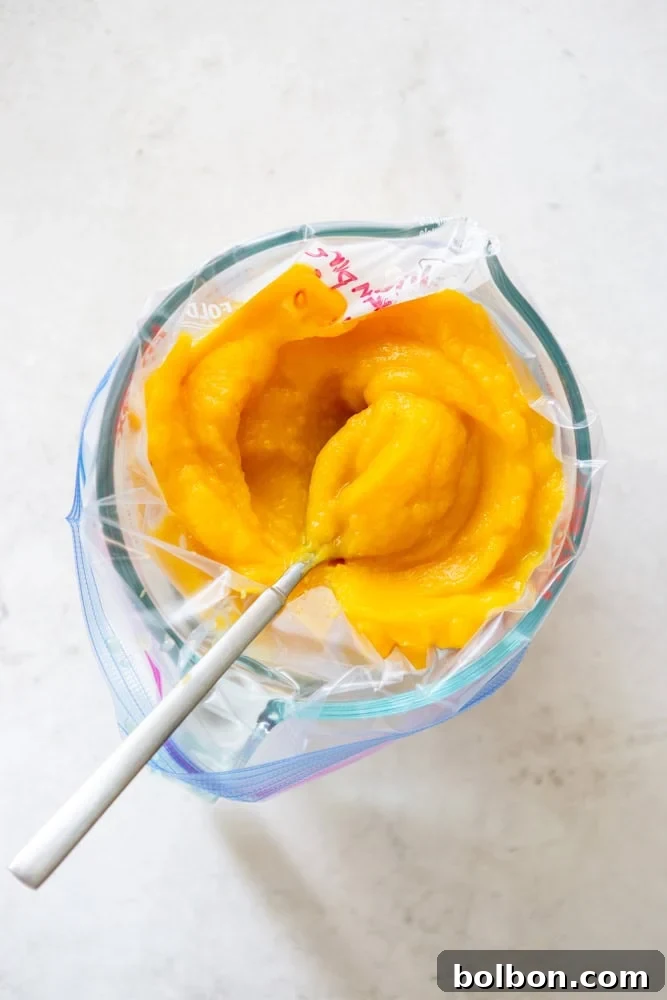
Unlock the secret to deliciously fresh and vibrant meals by mastering the art of making homemade pumpkin puree from scratch. Forget the canned versions laden with preservatives; crafting your own pumpkin puree is surprisingly simple and yields a product far superior in flavor and texture. This comprehensive guide will walk you through every step, from selecting the perfect pumpkin to roasting, pureeing, and storing your golden bounty. Whether you’re planning to bake a classic pumpkin pie, whip up a batch of comforting pumpkin bread, or prepare wholesome pumpkin muffins, this easy-to-follow method will empower you to infuse your favorite recipes with the authentic taste of autumn.
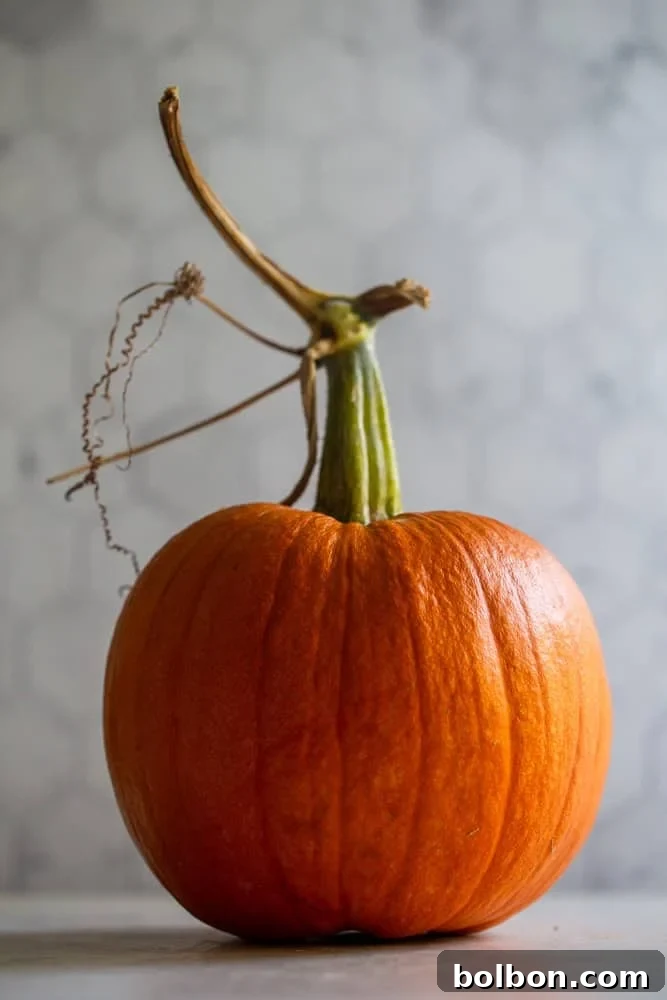
There’s a unique satisfaction that comes from growing your own food, even in a small backyard garden. Our family loves cultivating “fun” crops that engage the kids, allowing them to witness the magic of growth from seed to harvest. We’ve had great success with strawberries and snap peas, but recently, our small patch of pie pumpkins has become a particular favorite. Watching these cheerful orange globes mature on the vine, knowing they’ll soon transform into delightful homemade treats, is truly rewarding. This connection to the ingredients makes the final product taste even sweeter, literally.
Choosing the Right Pumpkin: The Secret to Superior Puree
The success of your homemade pumpkin puree begins with selecting the correct type of pumpkin. While the sight of a massive, bright orange Jack O’Lantern pumpkin might be tempting, these varieties are generally not ideal for culinary purposes. Carving pumpkins are typically bred for their size and thin skin, making them easier to carve, but they often have stringy flesh, a high water content, and a bland flavor profile. For truly delicious puree, you need a pumpkin specifically cultivated for its sweet, dense, and flavorful flesh.
Look for pumpkins explicitly labeled as “pie pumpkins,” “sugar pumpkins,” or “baking pumpkins” at your local grocery store, farmers’ market, or pumpkin patch. These smaller, often darker-skinned pumpkins are packed with natural sweetness and a creamy texture perfect for baking and cooking. Here are some of the best varieties to consider for making pumpkin puree:
- Sugar Pie Pumpkin: This is arguably the most common and readily available pie pumpkin variety you’ll find in supermarkets. Its name says it all – it’s naturally sweet and boasts a smooth, fine-grained texture, making it an excellent all-around choice for any pumpkin-based recipe.
- Dickinson Pumpkin: Often overlooked in home kitchens, the Dickinson pumpkin is actually the variety used by Libby’s, the leading brand for canned pumpkin puree. It’s a large, oblong pumpkin with smooth, tan-orange skin and very thick, deep orange flesh renowned for its consistent texture and rich flavor. If you can find one, it’s a fantastic choice for a robust, authentic puree.
- Spookie: A charming, smaller pumpkin, Spookie is a personal favorite for home gardens, as it offers a delightful balance of flavor and ease of growth. The Spookie variety, like the one we grew for the photos in this guide, produces a lovely, deep orange puree with a pleasing texture.
- Winter Luxury Pumpkin: This heirloom variety is a true gem, distinguished by its beautiful, netted, salmon-orange skin. Beyond its striking appearance, the Winter Luxury pumpkin offers exceptionally sweet and fine-grained flesh, resulting in a luxurious puree that lives up to its name. You might find these at specialty pumpkin patches or farmers’ markets.
Regardless of the specific variety, aim for a pumpkin that weighs between 4 to 8 pounds. Smaller pumpkins tend to be less watery and more flavorful. Always confirm that the pumpkin is intended for eating rather than carving if you’re unsure about its label. A good baking pumpkin will feel heavy for its size and have a firm, unblemished skin.
To Roast or Not To Roast? The Best Method for Pumpkin Puree
When it comes to preparing pumpkin for puree, the age-old question arises: should you roast it or boil it? While both methods can yield a soft pumpkin, roasting is overwhelmingly the superior choice for homemade pumpkin puree. This preference stems from several key culinary advantages that significantly impact the final product’s quality.
First and foremost, roasting intensifies the pumpkin’s natural sugars and caramelizes its flesh, creating a richer, deeper, and more concentrated flavor profile. The dry heat of the oven causes some of the pumpkin’s moisture to evaporate, which prevents a watery puree and results in a more robust, true-to-pumpkin taste. Boiling, on the other hand, submerges the pumpkin in water, leading to nutrient and flavor leaching, often resulting in a bland and overly watery puree that lacks the complexity needed for optimal baking and cooking.
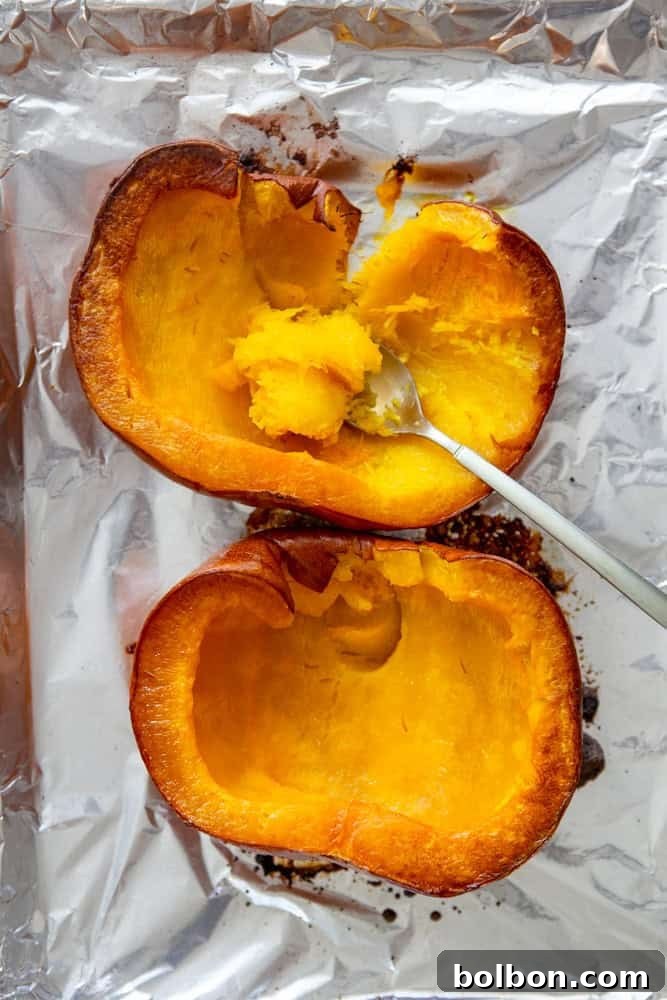
Secondly, roasting makes the peeling process incredibly easy. After the pumpkin is roasted to tenderness, the skin becomes soft and practically peels away from the flesh, or can be effortlessly scooped out with a spoon. This saves considerable effort and mess compared to attempting to peel a raw, tough pumpkin. If you were to boil a pumpkin, the skin would remain stubbornly attached, making it a frustrating task to remove.
For these reasons, I always recommend roasting your pumpkin. Simply roast the pumpkin halves, cut-side down, at 400°F (200°C) for approximately 45 minutes to 1 hour, or until the flesh is fork-tender. This crucial step will ensure your homemade pumpkin puree is bursting with flavor and boasts a perfectly smooth, velvety texture.
Step-by-Step Guide: How to Make Smooth & Creamy Pumpkin Puree
Crafting your own silky pumpkin puree is a rewarding experience that requires just a few simple steps. Follow this detailed guide to create the perfect base for all your autumn culinary adventures:
- Step 1: Preheat and Prepare. Begin by preheating your oven to 400 degrees F (200 degrees C). To ensure an easy cleanup, line a sturdy baking sheet with aluminum foil or parchment paper. This will prevent any caramelized pumpkin bits from sticking to your pan.
- Step 2: Wash and Halve the Pumpkin. Give your chosen pie pumpkin a thorough wash under cool running water to remove any dirt or debris. Place the pumpkin on a stable cutting board. Using a large, sharp chef’s knife, carefully cut the pumpkin in half from stem to base. If the pumpkin is particularly firm, you might need to apply gentle pressure and rock the knife back and forth.
- Step 3: Remove Seeds and Strings. Once halved, use a sturdy spoon, an ice cream scoop, or even your hands to scoop out all the seeds and any stringy fibrous bits from the pumpkin’s cavity. Discard these parts, or save the seeds to roast later for a delicious snack! Ensure the cavity is clean, leaving only the firm, bright orange flesh.
- Step 4: Oil the Pumpkin. Lightly brush the cut sides of both pumpkin halves with a high smoke point oil, such as avocado oil, canola oil, or even a neutral vegetable oil. This helps the pumpkin to caramelize beautifully and prevents it from drying out during roasting.
- Step 5: Arrange and Roast. Place the pumpkin halves cut-side down on your prepared baking sheet. Roasting them this way allows the steam to accumulate, further tenderizing the flesh, and the exposed skin will soften. Roast in the preheated oven for 45 to 60 minutes. The cooking time can vary depending on the size and density of your pumpkin. The pumpkin is ready when its flesh is extremely tender and can be easily pierced with a fork or knife. It should have a slightly browned, caramelized appearance around the edges.
- Step 6: Cool and Peel. Once roasted, remove the baking sheet from the oven and allow the pumpkin halves to cool slightly, making them easier to handle. You don’t need to wait until they are completely cold. When cool enough to touch, the skin should peel off very easily. Alternatively, you can use a spoon to scoop the soft, cooked flesh directly away from the skin. Discard the skins.
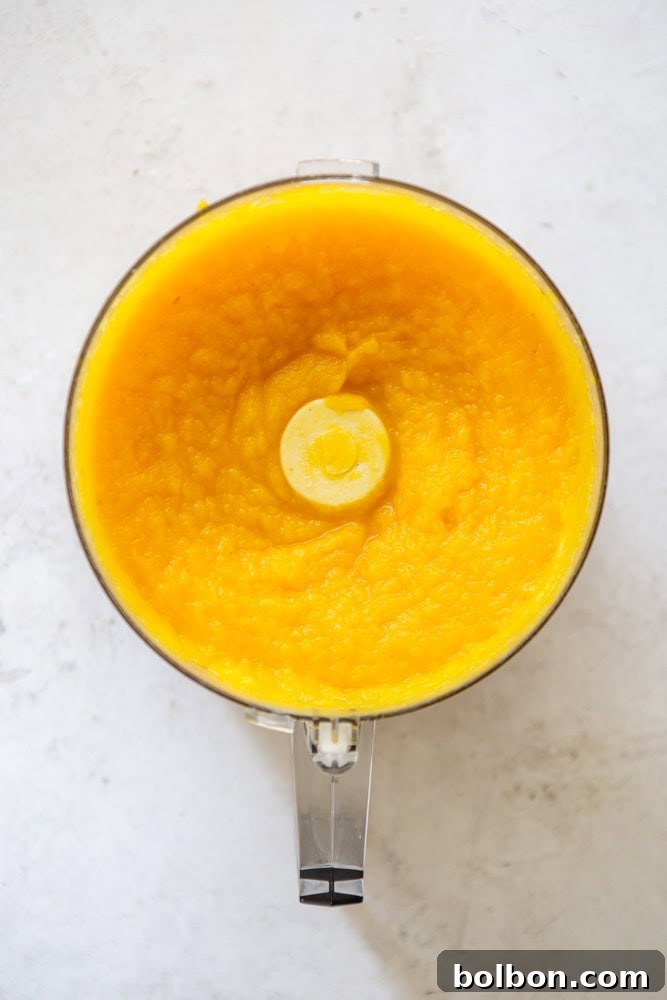
- Step 7: Puree Until Smooth. Transfer all of the cooked pumpkin flesh into a food processor or a high-speed blender. Secure the lid and process until the pumpkin is completely smooth and creamy, with no lumps remaining. You may need to stop and scrape down the sides of the bowl a few times to ensure an even consistency. If your puree seems too thick, you can add a tablespoon of water at a time until you reach your desired consistency, though roasted pumpkin usually doesn’t require additional liquid.
- Step 8: Storage. Your homemade pumpkin puree is now ready to use! Store any unused portions in an airtight container in the refrigerator for immediate use, or prepare it for longer-term freezer storage.
Storing Your Homemade Pumpkin Puree for Freshness
Once you’ve gone to the effort of making delicious homemade pumpkin puree, proper storage is key to enjoying its freshness for as long as possible. Fortunately, pumpkin puree is very freezer-friendly, allowing you to enjoy the taste of autumn well beyond the season.
Short-Term Storage (Refrigerator)
For immediate use within a few days, transfer your homemade pumpkin puree into an airtight container. Glass jars with tight-fitting lids or plastic food storage containers work perfectly. Store the puree in the refrigerator for up to 3 days. Always check for any off-smells or signs of spoilage before using refrigerated puree.
Long-Term Storage (Freezer)
If you have a larger batch of puree or don’t anticipate using it all within three days, freezing is an excellent option for long-term preservation. Properly frozen pumpkin puree can maintain its quality for several months.
Here are a few effective ways to freeze pumpkin puree:
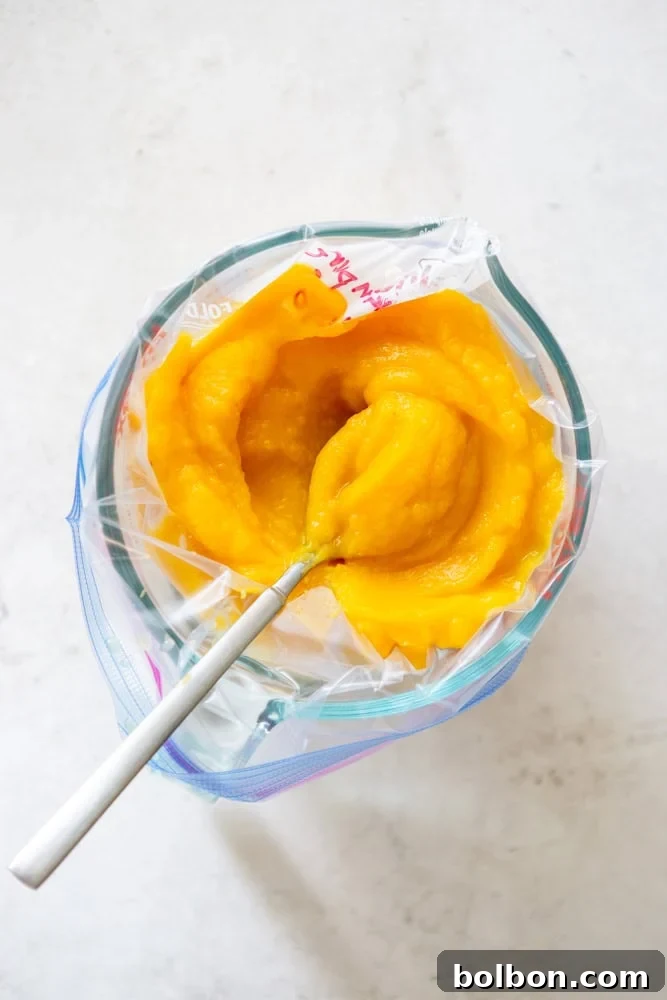
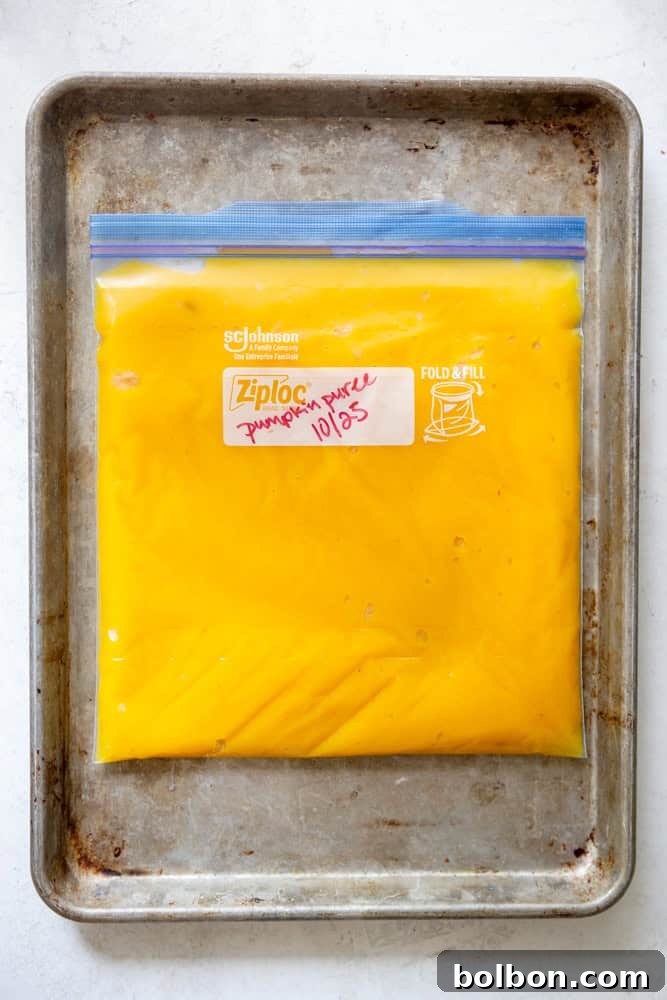
- Ziplock Freezer Bags: This is a popular and efficient method. Spoon the pumpkin puree into freezer-safe ziplock bags, ensuring you flatten the puree into an even layer to remove as much air as possible. This also makes the bags stackable and helps the puree thaw more quickly. Label each bag with the date and quantity (e.g., “2 cups pumpkin puree – 10/26/2025”).
- Freezer-Safe Containers: You can also use rigid, freezer-safe plastic containers or glass jars. If using jars, ensure you leave at least an inch of headspace at the top to allow for expansion as the puree freezes, preventing the glass from cracking.
- Ice Cube Trays: For smaller portions, perfect for smoothies or baby food, spoon puree into ice cube trays. Once frozen solid, transfer the pumpkin puree cubes into a larger freezer bag. This allows you to easily grab just the amount you need without thawing a large batch.
Frozen pumpkin puree can be stored for up to 6 months while maintaining optimal quality. Some sources suggest it can last up to a year, but the flavor and texture tend to decline after the 3-6 month mark. To thaw, simply transfer the frozen puree from the freezer to the refrigerator overnight, or use a microwave on a defrost setting for quicker thawing. Once thawed, use it as you would fresh puree.
Beyond the Pie: Versatile Uses for Homemade Pumpkin Puree
Homemade pumpkin puree is far more versatile than just being a seasonal ingredient for Thanksgiving pie. Its natural sweetness, creamy texture, and rich nutritional profile make it a fantastic addition to a wide array of sweet and savory dishes, bringing a touch of autumn comfort to your table year-round. Having a stash of homemade puree in your freezer means you’re always ready to elevate your cooking and baking.
Sweet Indulgences:
- Pumpkin Pie: The quintessential use! A homemade puree makes for an even more flavorful and authentic pie.
- Pumpkin Bread: Infuse your quick breads with moisture and flavor. Pumpkin bread is perfect for breakfast or a cozy snack.
- Healthy Banana Pumpkin Muffins: Combine two beloved flavors for moist, wholesome muffins. Pumpkin adds vitamins and fiber while keeping them incredibly moist.
- Pancakes & Waffles: Stir a few tablespoons of puree into your favorite pancake or waffle batter for a subtle fall flavor and a beautiful orange hue.
- Smoothies & Lattes: Blend into your morning smoothie for an extra boost of vitamins or swirl into hot milk for a homemade pumpkin spice latte.
- Desserts: Incorporate into cheesecakes, puddings, custards, or even ice cream for a delightful seasonal twist.
Savory Delights:
- Creamy Pumpkin and Sausage Gnocchi: Create a rich, savory sauce for pasta dishes like gnocchi or ravioli. The pumpkin adds a luxurious creaminess without heavy cream.
- Soups & Stews: Pumpkin puree makes an excellent base or thickener for hearty autumn soups, chilis, and stews. Think creamy pumpkin soup, or add it to a vegetarian chili for depth.
- Risotto: Stir into a mushroom or sage risotto for a creamy, earthy main course.
- Curries: Add to coconut-based curries for a subtly sweet and velvety texture that pairs beautifully with spices like ginger, turmeric, and cumin.
- Dips & Spreads: Mix with hummus, or create a savory dip with cream cheese and herbs for crackers and vegetables.
With its vibrant color and earthy-sweet flavor, homemade pumpkin puree is a culinary superstar waiting to transform your everyday meals into extraordinary seasonal experiences.
Homemade Pumpkin Puree
Ingredients
- 1 sugar pie pumpkin or similar small baking pumpkin (approx. 4-8 lbs)
- 1 TBPS Avocado oil or other high smoke point oil such as canola
Instructions
- Preheat oven to 400 degrees F (200 degrees C). Line a baking sheet with foil or parchment paper for easy cleanup.
- Wash the pumpkin, then use a large chef’s knife to cut it in half. Remove the stem and use a spoon to scoop out the seeds and stringy bits.
- Brush the pumpkin with oil, especially on the cut side.
- Arrange cut side down on the baking sheet.
- Roast for 45-60 minutes, or until pumpkin is very tender and easily pierced with a knife.
- Allow to cool slightly, then remove skin. It should easily peel off, or you can use a spoon to scoop the flesh out of the skin.
- Add the flesh to a food processor. With the lid on, puree until smooth.
- Store in an airtight container. Pumpkin puree can be stored for up to 3 days in the fridge or up to 6 months in the freezer.
Nutrition
Nutrition information is automatically calculated, so should only be used as an approximation.
Additional Info
This recipe provides a foundational method for creating fresh pumpkin puree. Adjustments to roasting time may be necessary based on your pumpkin’s size and oven calibration. For a thicker puree, you can drain excess liquid after pureeing by placing it in a fine-mesh sieve lined with cheesecloth. For a thinner puree, add water sparingly during the blending process until desired consistency is achieved.
Did you like this recipe?
Please comment, rate, and share your creations! Don’t forget to tag me on Instagram @foxandbriar and use #foxandbriar so I can see what you made!
Frequently Asked Questions about Homemade Pumpkin Puree
Can I use carving pumpkins for puree?
While technically possible, it is not recommended. Carving pumpkins (like those used for Jack O’Lanterns) are bred for their size and thin walls, not for flavor or texture. They tend to be watery, stringy, and bland compared to pie pumpkins. For the best culinary results, always choose “pie” or “sugar” pumpkin varieties.
Do I need to add water when pureeing?
Generally, no. Roasting the pumpkin helps to evaporate excess moisture, resulting in a naturally thick and creamy puree. Adding water is usually unnecessary and can dilute the flavor. If your puree is exceptionally thick and you prefer a thinner consistency, you can add a tablespoon of water at a time until desired smoothness is reached.
How much puree does one pumpkin yield?
The yield can vary significantly depending on the size and variety of the pumpkin. A typical 4-pound pie pumpkin will usually yield about 1.5 to 2 cups of homemade pumpkin puree. A larger 8-pound pie pumpkin might produce 3 to 4 cups. It’s always a good idea to buy a bit extra if you have a specific quantity in mind for a recipe.
Can I make pumpkin puree in an Instant Pot or slow cooker?
Yes, both methods are possible, but they won’t achieve the same depth of flavor as roasting. For an Instant Pot, cut the pumpkin into smaller pieces, add a cup of water, and pressure cook until tender. For a slow cooker, add pumpkin pieces with a little water and cook on low until very soft. Remember, these methods will likely result in a more watery puree that might need straining to achieve the right consistency for baking.
Making your own pumpkin puree is a simple yet incredibly rewarding culinary endeavor. It not only allows you to control the quality and freshness of your ingredients but also brings a deeper, more authentic flavor to all your favorite pumpkin recipes. From comforting pies to savory stews, homemade pumpkin puree is the foundation for truly memorable meals. So, gather your pie pumpkins, preheat your oven, and prepare to elevate your autumn cooking!