
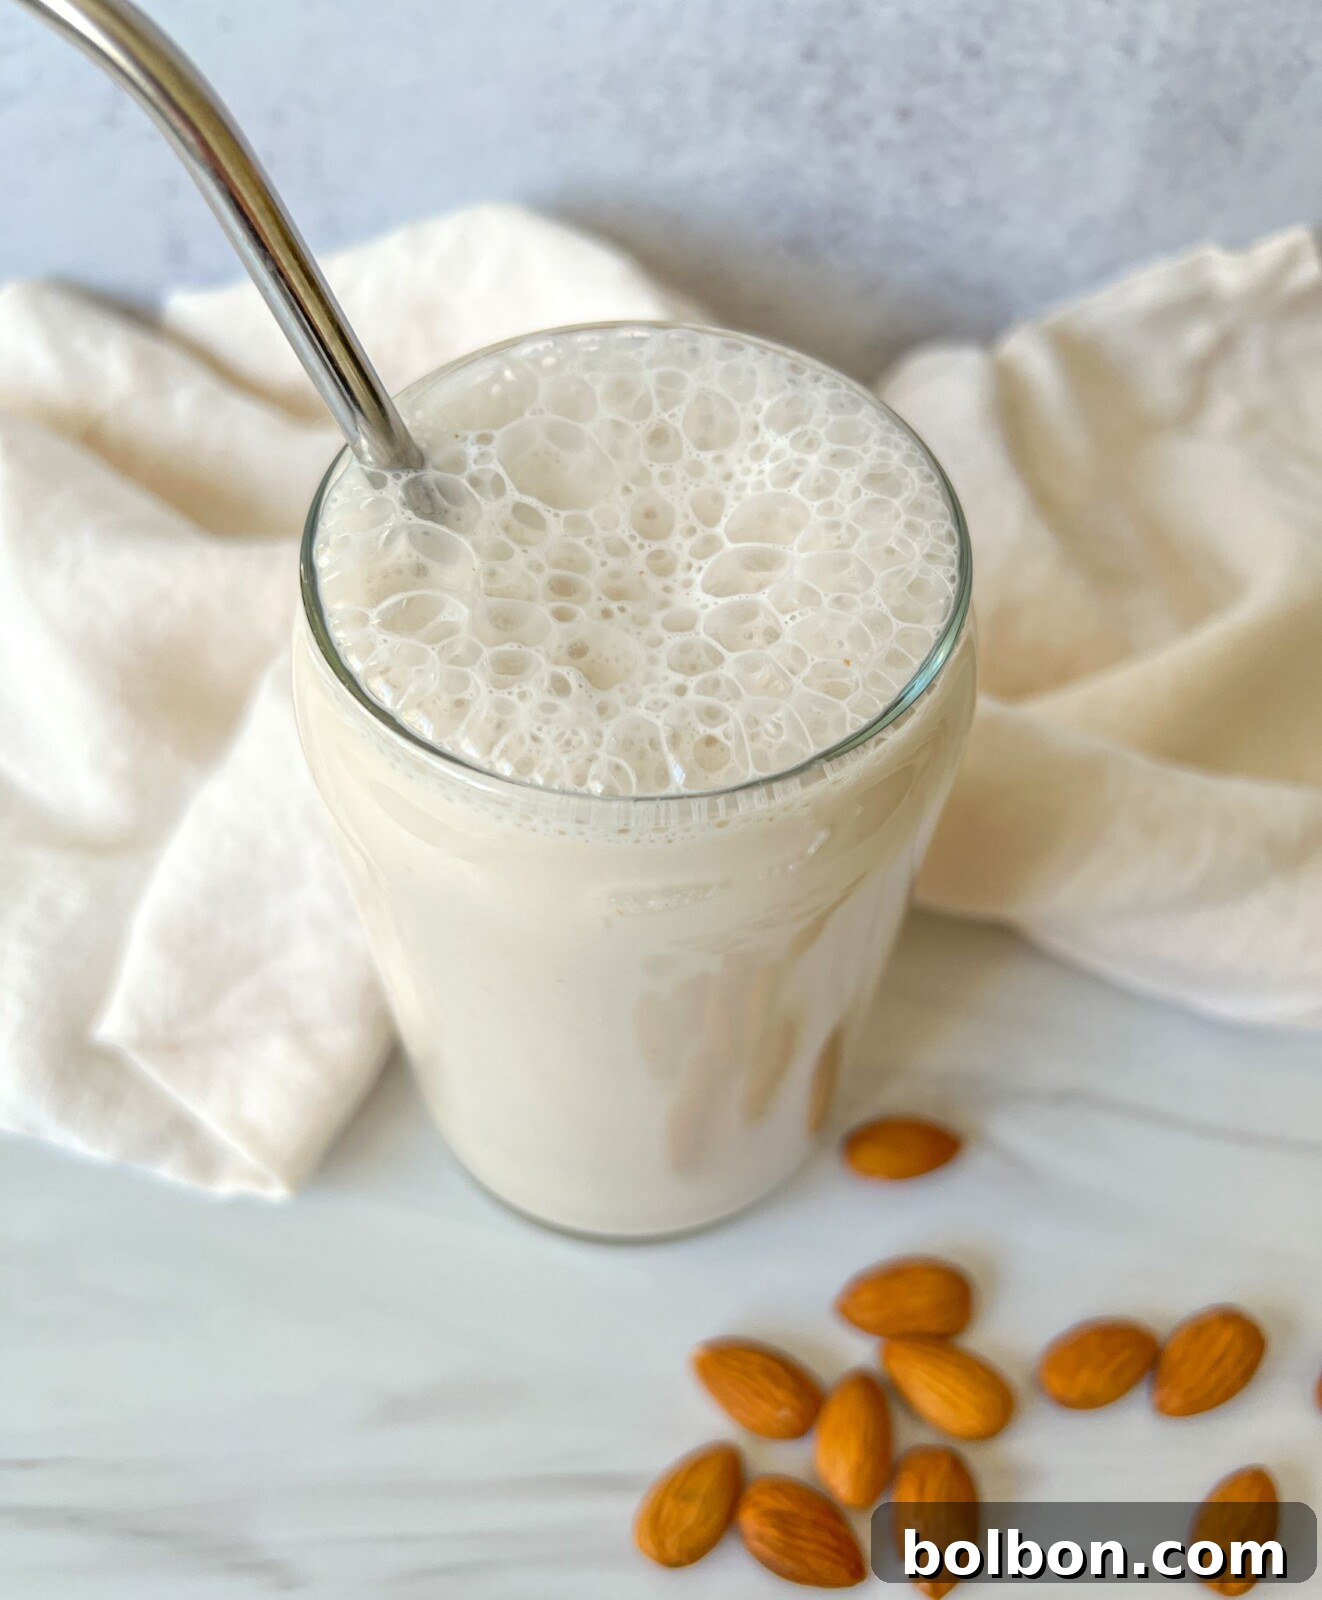
Transform your daily routine with the freshest, creamiest, and most delicious Homemade Almond Milk you’ll ever taste. This simple recipe has been my trusted companion for countless chia seed pudding recipes, frothy lattes, and hearty overnight oats for years. Forget about store-bought alternatives laden with stabilizers, gums, and artificial flavors. Crafting your own almond milk at home is incredibly easy, requires just a handful of clean ingredients, and yields a product that is undeniably 1000x better for both taste and health. All you need is a powerful blender and a nut milk bag to unlock a world of fresh, unadulterated goodness. This recipe conveniently makes 1 liter of luscious milk, perfectly storing in your fridge for 7-10 days, ensuring you have a clean, wholesome base for all your breakfast creations and coffee rituals throughout the week.
Why You’ll Fall in Love with Homemade Almond Milk
Prepare to be amazed at how effortlessly you can create your own Homemade Almond Milk. This recipe simplifies the process, making it approachable for everyone, regardless of their culinary experience. With only five core ingredients, you gain complete control over what goes into your body, leaving behind the lengthy, often confusing ingredient lists found on commercial cartons. The resulting milk is not just fresh; it’s wonderfully creamy, satisfyingly thick, and develops a beautiful froth, making it vastly superior to anything you’ll find on supermarket shelves.
The secret lies in harnessing the natural goodness of raw almonds, which form the rich, dairy-free base. Sweetened subtly by caramel-kissed Medjool dates, a hint of pure vanilla extract adds warmth and depth without any refined sugars. A judicious pinch of salt works wonders, cutting through the sweetness and elevating the almonds’ inherent earthy notes. Finally, filtered water ensures a truly clean and pure taste, adding volume and ensuring your homemade batch is perfect for preparing ahead of time. Beyond the superior flavor and texture, homemade almond milk offers significant health advantages:
- No Unwanted Additives: Commercial almond milk often contains carrageenan, gums (like gellan gum, locust bean gum), and emulsifiers, which some people find can cause digestive issues. Making it yourself means a pure product.
- Control Over Sweetness: You decide how sweet (or unsweetened) your milk is, catering perfectly to your dietary preferences.
- Enhanced Nutrient Absorption: Soaking the almonds overnight aids in breaking down enzyme inhibitors, making the nutrients more bioavailable for your body.
- Cost-Effective: While the initial investment in good quality almonds might seem higher, in the long run, homemade almond milk often proves to be more economical, especially if you consume it regularly.
- Environmentally Friendly: Reduce packaging waste by reusing glass jars for storage.
Essential Ingredients for Your Perfect Batch
Creating your own pure and delicious almond milk starts with selecting the right, high-quality ingredients. Each component plays a vital role in achieving that coveted creamy texture and naturally sweet flavor.
- 🌰 Raw Almonds: Always opt for raw, organic almonds for the cleanest flavor and maximum nutritional benefits. I typically use about one cup, which I cover generously with filtered water to soak overnight. This crucial soaking step releases enzymes that aid in digestion and significantly softens the almonds, leading to a much creamier milk and a higher yield from your blending efforts.
- 🌴 Medjool Dates: These luscious, low-glycemic fruits are my preferred natural sweetener. They impart a subtle, caramel-like sweetness that blends seamlessly into the milk, offering a depth of flavor without the need for processed sugars. Ensure they are pitted before adding to the blender.
- 🧂 Salt: A mere pinch of good quality salt (like Redmond Real Salt or pink Himalayan salt) is a game-changer. It doesn’t make the milk salty; rather, it balances the sweetness from the dates and brilliantly brings out the natural earthiness and richness of the almonds, enhancing the overall flavor profile.
- 🍨 Vanilla Extract: A teaspoon of pure vanilla extract adds a wonderful warmth and delicate aroma to the almond milk. It provides a richer, slightly sweeter taste, making the milk more enjoyable without introducing any additional sugars. Be sure to use pure extract for the best results.
- 💧 Water: For the purest taste and a truly clean product, filtered water is non-negotiable. Tap water can sometimes contain minerals or chemicals that might alter the delicate flavor of your homemade almond milk. Cold filtered water is ideal for blending.
Nonna’s Secret Tip for Creamy Almond Milk 🥛
For the absolute creamiest texture, remember to soak your almonds overnight (at least 8-12 hours) in filtered water before blending. This simple step makes a world of difference!
Step-by-Step: Crafting Your Own Creamy Almond Milk
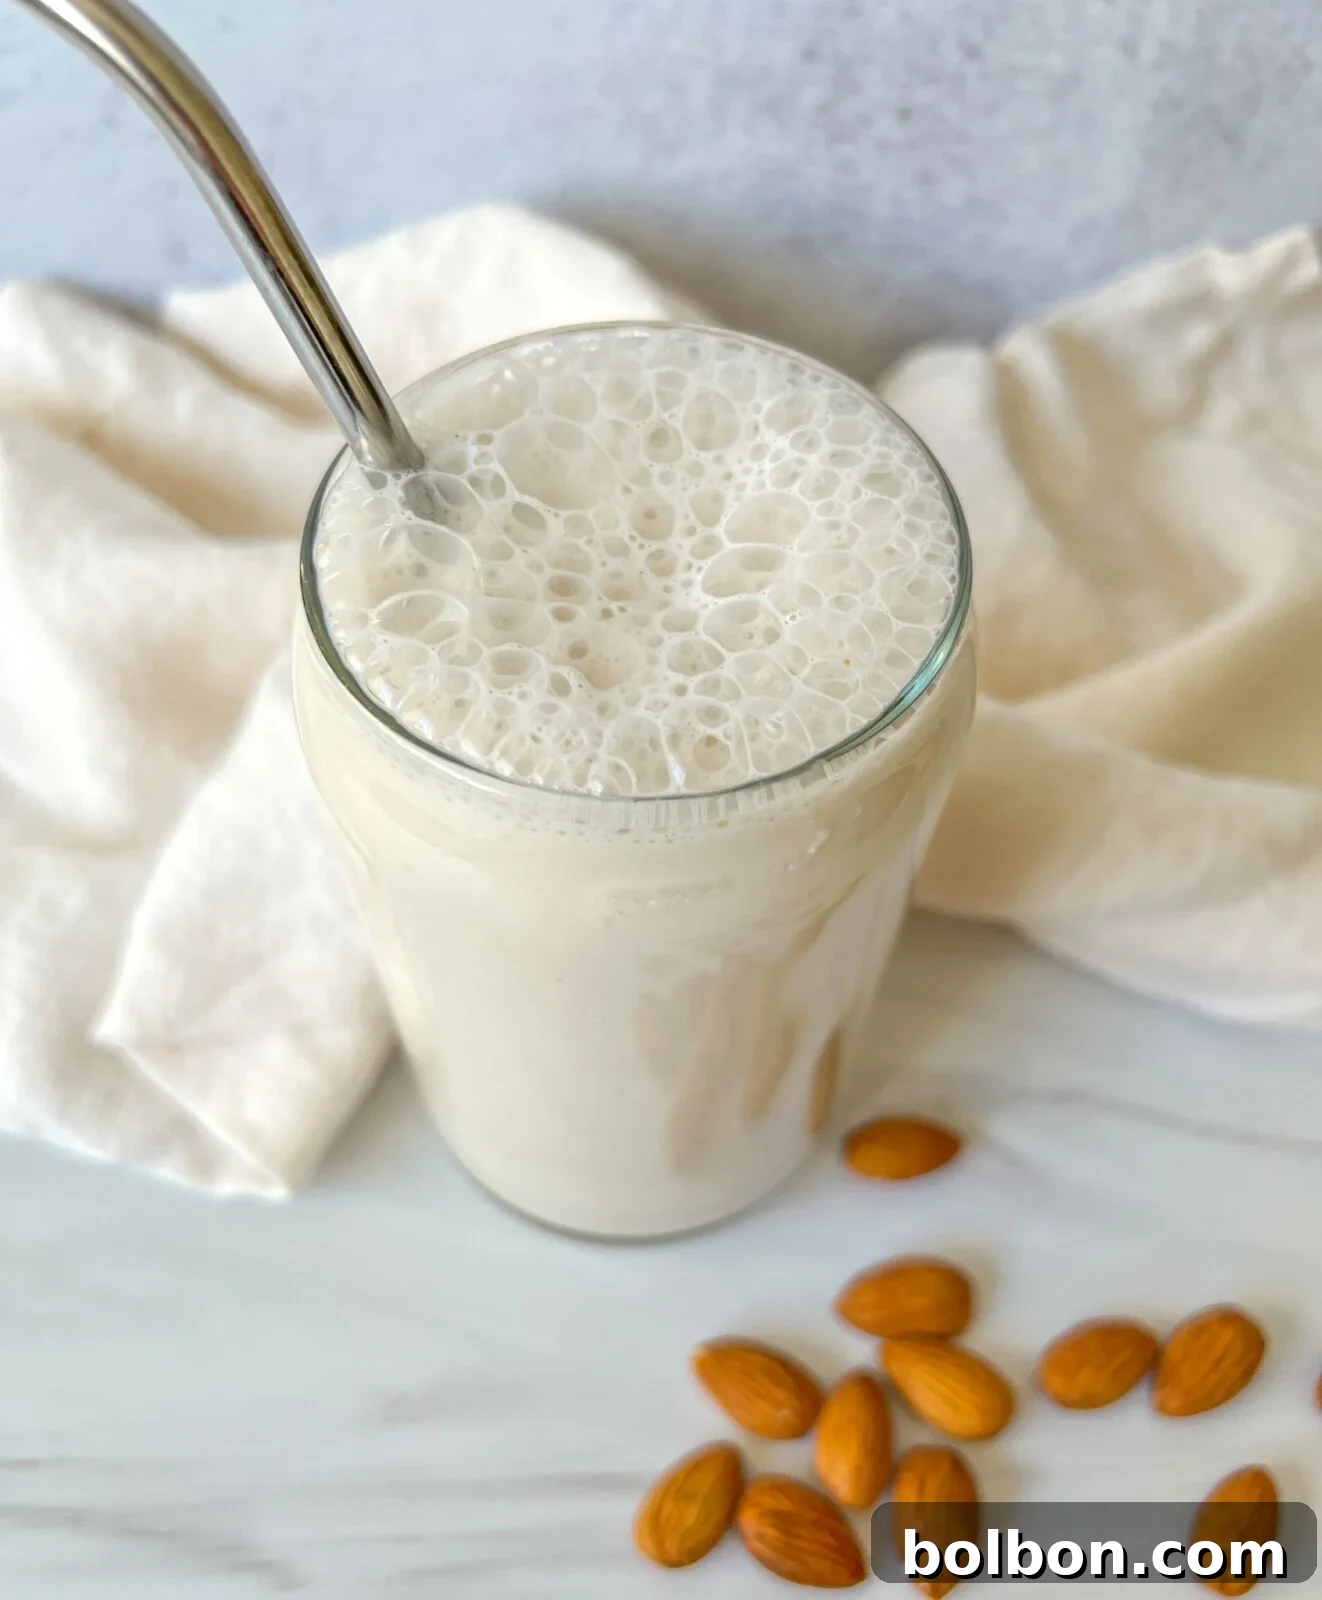
Making homemade almond milk is surprisingly simple and immensely rewarding. Follow these easy steps to achieve perfect, frothy results every time:
- Step 1: The Vital Soak (Overnight). Begin by placing one cup of raw, organic almonds in a bowl. Cover them completely with fresh, filtered cold water. Let the almonds soak overnight, ideally for 8 to 12 hours. This process softens the nuts, making them easier to blend, and aids in releasing beneficial enzymes.
- Step 2: Prepare for Blending. The following morning, drain the soaking water from the almonds. Rinse the soaked almonds thoroughly under cold running water to remove any residual enzyme inhibitors. Transfer the clean, plumped almonds to a high-powered blender.
- Step 3: Combine with Flavorings. Add the remaining ingredients to the blender: 2 pitted Medjool dates (or your chosen sweetener), a pinch of salt, 1 teaspoon of pure vanilla extract, and 4 cups of fresh, cold filtered water.
- Step 4: Blend to Silky Perfection. Secure the blender lid tightly and blend on the highest setting for approximately 60 to 90 seconds. You’ll know it’s ready when the mixture is completely smooth, creamy, and appears frothy, with no visible chunks of almond. A powerful blender is key here for an exceptionally smooth texture.
- Step 5: Strain for Ultimate Smoothness. Place a clean nut milk bag (or several layers of fine cheesecloth) over a large bowl or pitcher. Carefully pour the blended almond mixture into the bag. Gather the top edges of the bag and gently, but firmly, squeeze out all the liquid into the bowl below. Continue squeezing until no more milk can be extracted, leaving a dry almond pulp inside the bag.
- Step 6: Store and Savor. Transfer your freshly strained homemade almond milk into an airtight glass jar or container, such as a large mason jar. Store it in the refrigerator. Your delicious almond milk will stay fresh for 7 to 10 days.
- Step 7: Shake Before Use. It’s completely normal for homemade almond milk to separate in the fridge, as it contains no artificial emulsifiers. Simply give the jar a good shake before each use to reintegrate the natural components and enjoy its creamy consistency. Don’t discard the leftover almond pulp – it can be repurposed in various delicious recipes!
Essential Equipment for Homemade Almond Milk Success
While the process is simple, having the right tools can make all the difference in achieving consistently smooth and delicious homemade almond milk. Here’s what you’ll need:
- High-Powered Blender: This is arguably the most crucial piece of equipment. A strong motor, like those found in Vitamix or Blendtec models, is essential for pulverizing the soaked almonds into a truly fine, creamy consistency, ensuring maximum flavor and minimal grit.
- Nut Milk Bag or Fine Cheesecloth: After blending, this is how you separate the liquid milk from the almond pulp. A dedicated nut milk bag is designed for this purpose, offering a fine mesh that yields the smoothest milk. If you don’t have one, several layers of clean, fine cheesecloth will also work effectively.
- Measuring Cups and Spoons: Standard kitchen tools for accurately measuring your almonds, water, and other ingredients, ensuring the correct ratio for optimal results.
- Liquid Measuring Cup: For precise measurement of your water.
- Large Mason Jars or Airtight Container: Essential for storing your freshly made almond milk in the refrigerator, keeping it fresh for up to 10 days. Glass jars are preferred to avoid any potential leaching from plastic.
Common Mistakes to Avoid for Flawless Almond Milk
To ensure your homemade almond milk is perfectly creamy and smooth every time, steer clear of these common pitfalls:
- Skipping the Soak: This is the most critical step you absolutely do not want to miss. Soaking your almonds overnight (12 hours is ideal) offers numerous benefits: it releases enzymes that make the almonds more nutritious and easier to digest, softens them significantly for easier and more efficient blending, and results in less leftover pulp, ultimately yielding more milk with a silkier texture. Without soaking, your milk will likely be gritty and less flavorful.
- Not Using a High-Powered Blender: While a regular blender might get the job done, a high-powered blender is essential for truly pulverizing the nuts. This ensures you extract the maximum amount of creamy goodness from the almonds and achieve a remarkably smooth, frothy texture without any undesirable grittiness. Invest in a quality blender like a Vitamix for superior results.
- Straining Without a Nut Milk Bag or Fine Cheesecloth: Even the most powerful blenders will leave behind some fine almond pulp. Trying to strain with a regular sieve will not give you the smooth consistency you desire. A dedicated nut milk bag or several layers of fine cheesecloth are crucial for separating the liquid milk from the pulp, guaranteeing a silky-smooth, restaurant-quality result.
- Getting the Nut-to-Water Ratio Wrong: A golden rule for perfectly balanced almond milk is to use 1 part nuts to 4 parts water. This ratio ensures a rich, creamy consistency that’s neither too thin nor overly concentrated. Deviating significantly from this can result in watery or overly thick milk. This ratio holds true for most homemade nut milks, allowing you to experiment with other varieties like cashew or hazelnut milk while maintaining ideal texture.
Creative Variations and Smart Substitutions
One of the best aspects of making almond milk at home is the endless potential for customization. Get creative and tailor your milk to your exact preferences!
- Explore Other Nuts 🌰: Don’t limit yourself to just almonds! You can use other raw nuts like cashews for an even creamier, less “nutty” flavor, walnuts for a richer, earthy note, or hazelnuts for a distinct, almost chocolatey undertone. Simply follow the same soaking and blending process. You can even create a blend, such as cashew-almond or walnut-hazelnut milk.
- Sweetener Options: While Medjool dates offer a beautiful natural sweetness that you won’t distinctly taste (they simply enhance the overall flavor), you have other choices. Feel free to substitute with maple syrup 🍁, agave nectar, a few drops of liquid stevia, or even omit sweetener entirely for an unsweetened version that’s perfect for savory dishes.
- Nut-Free Alternatives: If you or someone you’re serving has a nut allergy, you don’t have to miss out on homemade plant-based milk. Try making my delicious Homemade Oat Milk 🌾 instead, which is equally easy to prepare and wonderfully creamy.
- Boost the Flavor Profile: Elevate your almond milk with additional flavor enhancers. A dash of ground cinnamon or a pinch of nutmeg can add warmth. For a more intense vanilla experience, consider adding a small amount of vanilla bean paste instead of or in addition to extract. Cardamom pods can also introduce an exotic touch.
- Indulge in Chocolate Almond Milk 🍫: Transform your basic almond milk into a decadent treat! Simply add 2 tablespoons of unsweetened cacao powder (or cocoa powder) to the blender along with the other ingredients. Adjust sweetness to taste, and you’ll have a healthy, homemade chocolate milk that kids and adults alike will adore.
- Adjusting Consistency: If you prefer a thicker, richer milk (great for coffee), reduce the amount of water slightly (e.g., use 3.5 cups instead of 4). For a lighter, thinner milk, you can add a touch more water during or after blending.
Explore More Plant-Based Recipes
Oat Milk Recipe
6 mins
Nutella Chocolate Milk
5 mins
Homemade Hot Chocolate
10 mins
How to Enjoy Your Homemade Almond Milk
The versatility of homemade almond milk knows no bounds! Its rich, creamy texture and clean flavor make it a perfect addition to a wide array of dishes and beverages. Here are some of my favorite ways to enjoy it:
- Coffee & Lattes ☕: Say goodbye to watery coffee. Homemade almond milk froths beautifully, creating luscious, creamy lattes and cappuccinos that rival your favorite coffee shop’s. It blends seamlessly with espresso, adding a delightful nutty undertone.
- Breakfast Staples: This almond milk is my absolute go-to for all my breakfast creations.
- Chia Pudding Recipes: It’s the ideal base for any chia pudding, lending a smooth and creamy texture. Try it in my Yogurt Chia Pudding, decadent 🍫 Chocolate Chia Seed Pudding, or classic Chia Seed Breakfast Pudding.
- Overnight Oats: Elevate your overnight oats to a new level of creamy indulgence. It works wonderfully in recipes like my Chocolate Overnight Oats, luxurious Tiramisu Overnight Oats, or refreshing 🍓 Strawberry Shortcake Overnight Oats.
- Cereal & Granola: Pour it over your favorite cereal or granola for a wholesome and satisfying start to your day.
- Smoothies & Shakes: Almond milk provides a light yet creamy base for any smoothie. I particularly love using it in my yummy Healthy Chocolate Smoothie, or any fruit and vegetable blend. It adds a subtle nutty flavor without overpowering other ingredients.
- Baking & Cooking: In many recipes, homemade almond milk can be a fantastic dairy-free substitute for regular milk. Use it in pancakes, muffins, sauces, or even creamy soups for a plant-based twist.
Frequently Asked Questions About Homemade Almond Milk
Your freshly made almond milk will stay perfectly fresh for 7 to 10 days when stored in an airtight container in the refrigerator. Always smell and taste a small amount to check for freshness if you’re unsure after 7 days.
If you don’t have a specialized nut milk bag, you can absolutely use a piece of cheesecloth. Make sure to use at least two to four layers of cheesecloth to ensure the straining is fine enough to catch all the pulp and yield a smooth milk.
Please don’t throw it away! Almond pulp is a fantastic resource. You can use it in my delicious No Bake Chocolate Balls recipe, which is a wonderful way to minimize waste. It can also be added to smoothies for extra fiber, baked into crackers, used in energy bars, or even dried and ground into a coarse flour. Search online for “almond pulp recipes” for endless creative ideas!
That’s completely normal and no problem at all! Homemade almond milk doesn’t contain the preservatives and emulsifiers that store-bought versions do, so it will naturally separate into layers. Simply give your jar a good shake before each use to recombine the ingredients, and it will be perfectly fine to enjoy.
For the creamiest and smoothest results, you’ll ideally need a high-powered blender to make this Homemade Almond Milk Recipe. A regular blender might not be strong enough to fully pulverize the almonds, potentially leaving you with a grittier milk. Regardless of blender type, always be sure to soak the almonds overnight, as this significantly aids in blending them to a finer consistency.
While you technically can use roasted almonds, it’s highly recommended to stick with raw almonds for this recipe. Raw almonds offer the purest, most natural almond flavor and allow for enzyme activation during soaking. Roasted almonds will yield a milk with a distinct, toastier flavor, and the soaking benefits for digestibility may be reduced.
Absolutely! This recipe is easily scalable. Simply adjust the quantities of all ingredients proportionally. Maintain the 1 part nuts to 4 parts water ratio for optimal consistency, whether you’re making a half batch or a double batch.
Homemade Almond Milk: The Recipe
Recipe Summary
This recipe provides a straightforward guide to making fresh, creamy, and wonderfully frothy almond milk at home. Free from additives and customizable, it’s perfect for a healthier lifestyle. Yields approximately 1 liter.
- Course: Drinks
- Cuisine: American
- Yields: 1 Liter (approx. 4 cups or 8 servings of 0.5 cup)
- Author: The Modern Nonna
- Prep Time: 5 minutes
- Soak Time: 8-12 hours
- Total Time: 8 hours 5 minutes (includes soak time)
- Pin Recipe
- Facebook Share
- Rate Recipe
- Print Recipe
Watch The Recipe Video
Equipment
- Measuring Cups + Spoons
- Liquid Measuring Cup
- High-Powered Blender
- Large Mason Jars (for storage)
- Redmond Real Salt (optional, if buying specific salt)
- Nut Milk Bag (or cheesecloth)
Ingredients
- 1 cup raw organic almonds
- 2 pitted Medjool dates (or 1-2 tablespoons maple syrup/agave as an alternative)
- 1 pinch salt
- 1 teaspoon pure vanilla extract
- 4 cups cold filtered water
Instructions
- Soak Almonds: In a bowl, cover 1 cup of raw organic almonds with filtered cold water. Let them soak overnight (8-12 hours).
- Blend Ingredients: The next morning, drain and rinse the soaked almonds. Add them to a high-powered blender along with the Medjool dates, salt, vanilla extract, and 4 cups of cold filtered water.
- Achieve Smoothness: Blend on high speed for approximately 1-1.5 minutes, or until the mixture is completely smooth and creamy.
- Strain the Milk: Place a nut milk bag over a large bowl or pitcher. Pour the blended mixture into the bag, seal, and gently squeeze out all the milk, leaving the pulp behind.
- Store Properly: Transfer the freshly strained almond milk into an airtight jar and refrigerate for 7 to 10 days.
- Shake and Enjoy: Remember to shake well before each use as the milk will naturally separate. Feel free to explore recipes online for delicious uses for the leftover almond pulp or simply add it to your smoothies. Enjoy your fresh, homemade almond milk!
Recipe Notes & Tips
- Go Nuts! Instead of almonds, you can substitute with other raw nuts like cashews, walnuts, or hazelnuts following the same process.
- Sweet! If you prefer other sweeteners or no sweetener, use maple syrup, agave, or simply omit the dates for an unsweetened version.
- Nut Allergies? If you’re avoiding nuts, try my Homemade Oat Milk for a delicious alternative.
- Spice it up! Add a pinch of cinnamon, nutmeg, or vanilla bean paste for extra flavor.
- Make it Chocolate! For a delightful chocolate almond milk, blend in 2 tablespoons of unsweetened cacao powder.
- Pulp Power: Repurpose leftover almond pulp in smoothies, energy balls, or baked goods.
Nutrition Information (Approximate per 0.5 cup serving)
- Serving: 0.5 cup
- Calories: 122 kcal
- Carbohydrates: 8g
- Protein: 4g
- Fat: 9g
- Saturated Fat: 1g
- Polyunsaturated Fat: 2g
- Monounsaturated Fat: 6g
- Trans Fat: 0.003g
- Sodium: 6mg
- Potassium: 174mg
- Fiber: 3g
- Sugar: 5g
- Vitamin A: 9 IU
- Calcium: 56mg
- Iron: 1mg
Nutrition information is automatically calculated and should only be used as an approximation.