Chicken Deli Meat
- Makes 3 breasts
- Prep 10 minutes
- Cook 25 minutes
- Total 3 hours 35 minutes
Move aside Oscar Meyer; there’s a new sheriff in town we're about to rock your sandwich-loving-world with this homemade Chicken Deli Meat. Say goodbye to overpriced, over-processed, plastic-sealed deli meat, and hello to straightforwardhealthybudget-friendly cold cuts at home. These tender, flavorful slices of chicken taste better than packaged deli meat, and the ingredients are so superior.
What stands out
Looking to save money and make, wholesome sandwiches? Let us introduce you to the easiest homemade chicken deli meat, made with real ingredients. No preservatives, no plastic, and no fancy equipment required. Chicken breasts are transformed into tender deli-like slices in this simple recipe; ready to be topped on salads, tucked into sandwiches, or enjoyed on their own.
How to Prepare
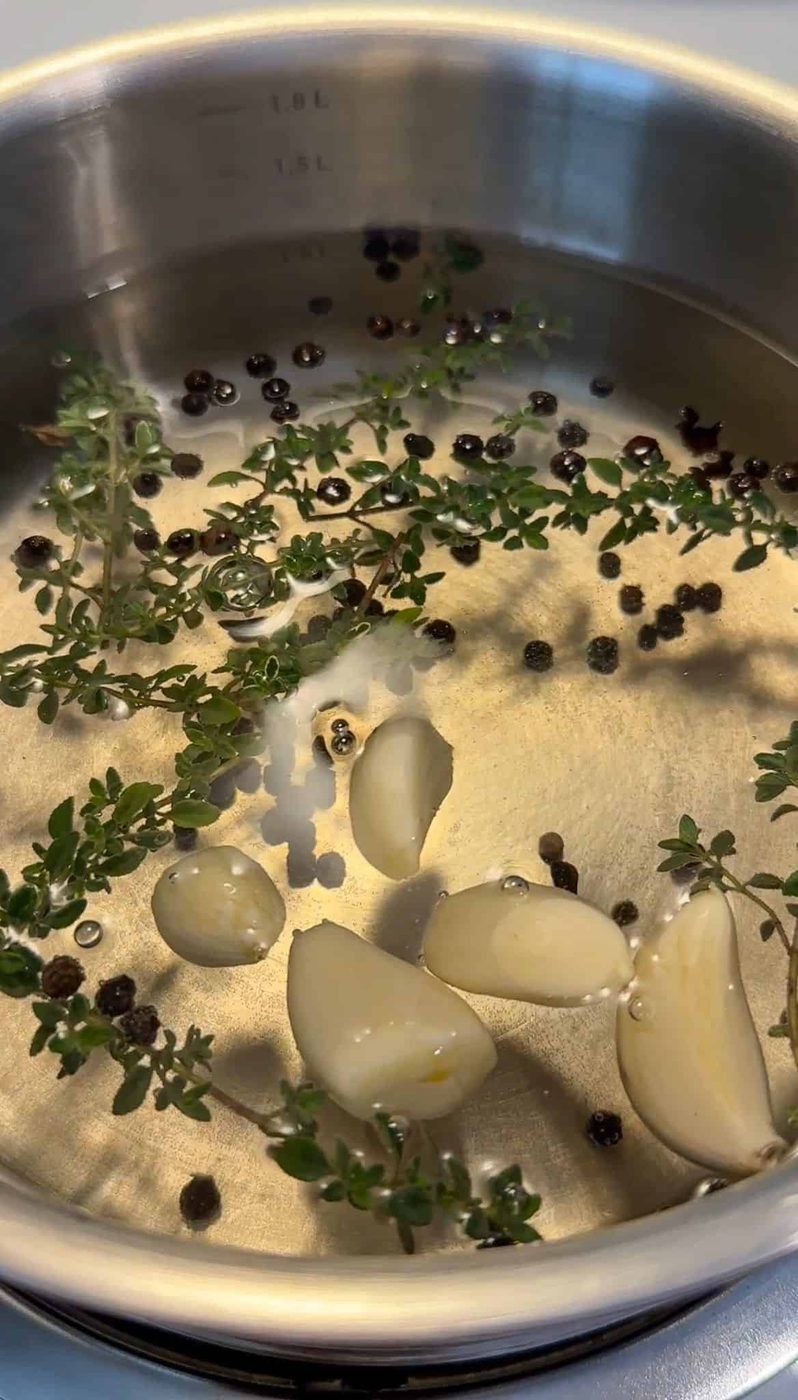
To a pot of water on the stove, add the water, peppercorns, thyme, garlic cloves, and Kosher salt. Stir and let it come to a simmer or until the salt has dissolved.
Once dissolved, take it off the stove and let the brine cool completely.
Once cold, add in the chicken breast, cover, and let it sit in the fridge for 3-4 hours.

After 3 hours, take the chicken out of the fridge and preheat the oven to 400F (200C).
Now, take out the chicken from the brine and wash it well and then pat it dry with a paper towel.
Next, set the chicken on a baking sheet lined with parchment paper.
Add a small drizzle of olive oil onto each breast (both sides) and lightly season with paprika, garlic powder, and onion powder.



Massage the chicken with clean hands and bake for 25-30 minutes or until it reaches an internal temperature of 160F (70C) using a meat thermometer.
Let it cool, slice thinly using a sharp knife and enjoy onto wraps, sandwiches, salads, or any way you like!
Kitchen tip
Please weigh the salt you use because Kosher salt uses 6 tablespoons to yield 60 grams while Redmond Real Salt uses 3 tablespoons.

Swaps
- We've used a 6% salt brine here, which is 60 grams of salt to 1 liter of water. If this is too salty for you, you can certainly do a 4% brine which is: 40 grams (or 4 tablespoons) of Kosher salt instead of 6.
- You can use any seasonings you like in this Chicken Deli Meat, just avoid adding any more salt.
- You can use Redmond Real Salt instead of Kosher salt here, just be sure to weigh it first so you have the right brining ratio.
Serve it with
- After slicing up this Chicken Deli Meat thinly, add it to sandwiches or wraps.
- This chicken would be heavenly on top of a Caesar Salad our Lemon Parmesan Salad or Cobb salad.
- You can use this chicken chopped up in a chicken salad, like the filling we used in our lettuce cups.
Questions
can we cut the salt in this recipe?
We've used a 6% salt brine here, which is 60 grams of salt to 1 liter of water. If this is too salty for you, you can certainly do a 4% brine which is: 40 grams (or 4 tablespoons) of Kosher salt instead of 6. We recommend weighing your salt to ensure you have the correct ratio.
strong Can we use CELTIC SEA salt instead of Kosher salt?
Yes, but we recommend weighing your salt to ensure you have the correct amount.
strong Can we brine the chicken for longer than 3-4 hours?
It’s not recommended to brine the chicken for too long as it can become too salty and the texture can get thrown off. Please stick to the 3-4 hour range.
How do we know the chicken is fully cooked?
Use a meat thermometer to check the internal temperature when making this Chicken Deli Meat. It should be 160°F (70°C) when you take it out of the oven. The residual heat will bring it up to the safe temperature of 165°F (74°C).
strong Can we use other seasonings in this Chicken Deli Meat?
Yes! You can customize the seasonings to your liking, but avoid adding any more salt since the brine already adds plenty.
Ingredients
Makes 3 breasts
- 4 cups water
- ½ tablespoon peppercorns
- 6 tablespoons Kosher salt
- few sprigs lemon thyme, or regular thyme
- 5 cloves garlic, peeled
- 3 boneless, skinless chicken breasts
- 3 teaspoons oil
- paprika, to taste
- garlic powder, to taste
- onion powder, to taste
Equipment
- Large Pot
- Baking Sheet
- Parchment Paper
- Meat Thermometer
- Nakiri Knife
- Liquid Measuring Cup
- Kosher Salt
Method
- Note: if 6% salt brine is too salty for you, please use 4% instead which is: 40 grams (or 4 tablespoons) of Kosher salt instead of 6.
- To a pot of water on the stove, add the water, peppercorns, thyme, garlic cloves and salt. Stir and let it come to a simmer or until the salt has dissolved.
- Once dissolved, take it off the stove and let the brine cool completely. The brine should be cold. You can let it cool down and even put it in the fridge until cold to speed up the process.
- Once cold, add in the chicken breast, cover and let it sit in the fridge for 3-4 hours. We let ours sit for 3.
- After 3 hours, take the chicken out of the fridge and preheat the oven to 400F (200C).
- Now, take out the chicken from the brine and wash it really well. Once washed, pat it dry with a paper towel and set onto a baking sheet lined with parchment paper (or foil).
- Add a small drizzle of olive oil onto each breast (both sides) and lightly season with paprika, garlic powder, and onion powder.
- Note: you can use any seasoning of choice making sure there’s NO additional salt as the chicken was sitting in the brine for hours.
- Massage it with clean hands on both sides and bake for 25-30 minutes or until it reaches an internal temperature of 160F (70C)
- Note: We want to take it out at 160F as it will continue to cook through residual heat and it will reach 165F (74C) as it cools.
- Let it cool, slice thinly and enjoy onto wraps, sandwiches, salads, or any way you like!
- Refrigerate for up to 3-4 days.