
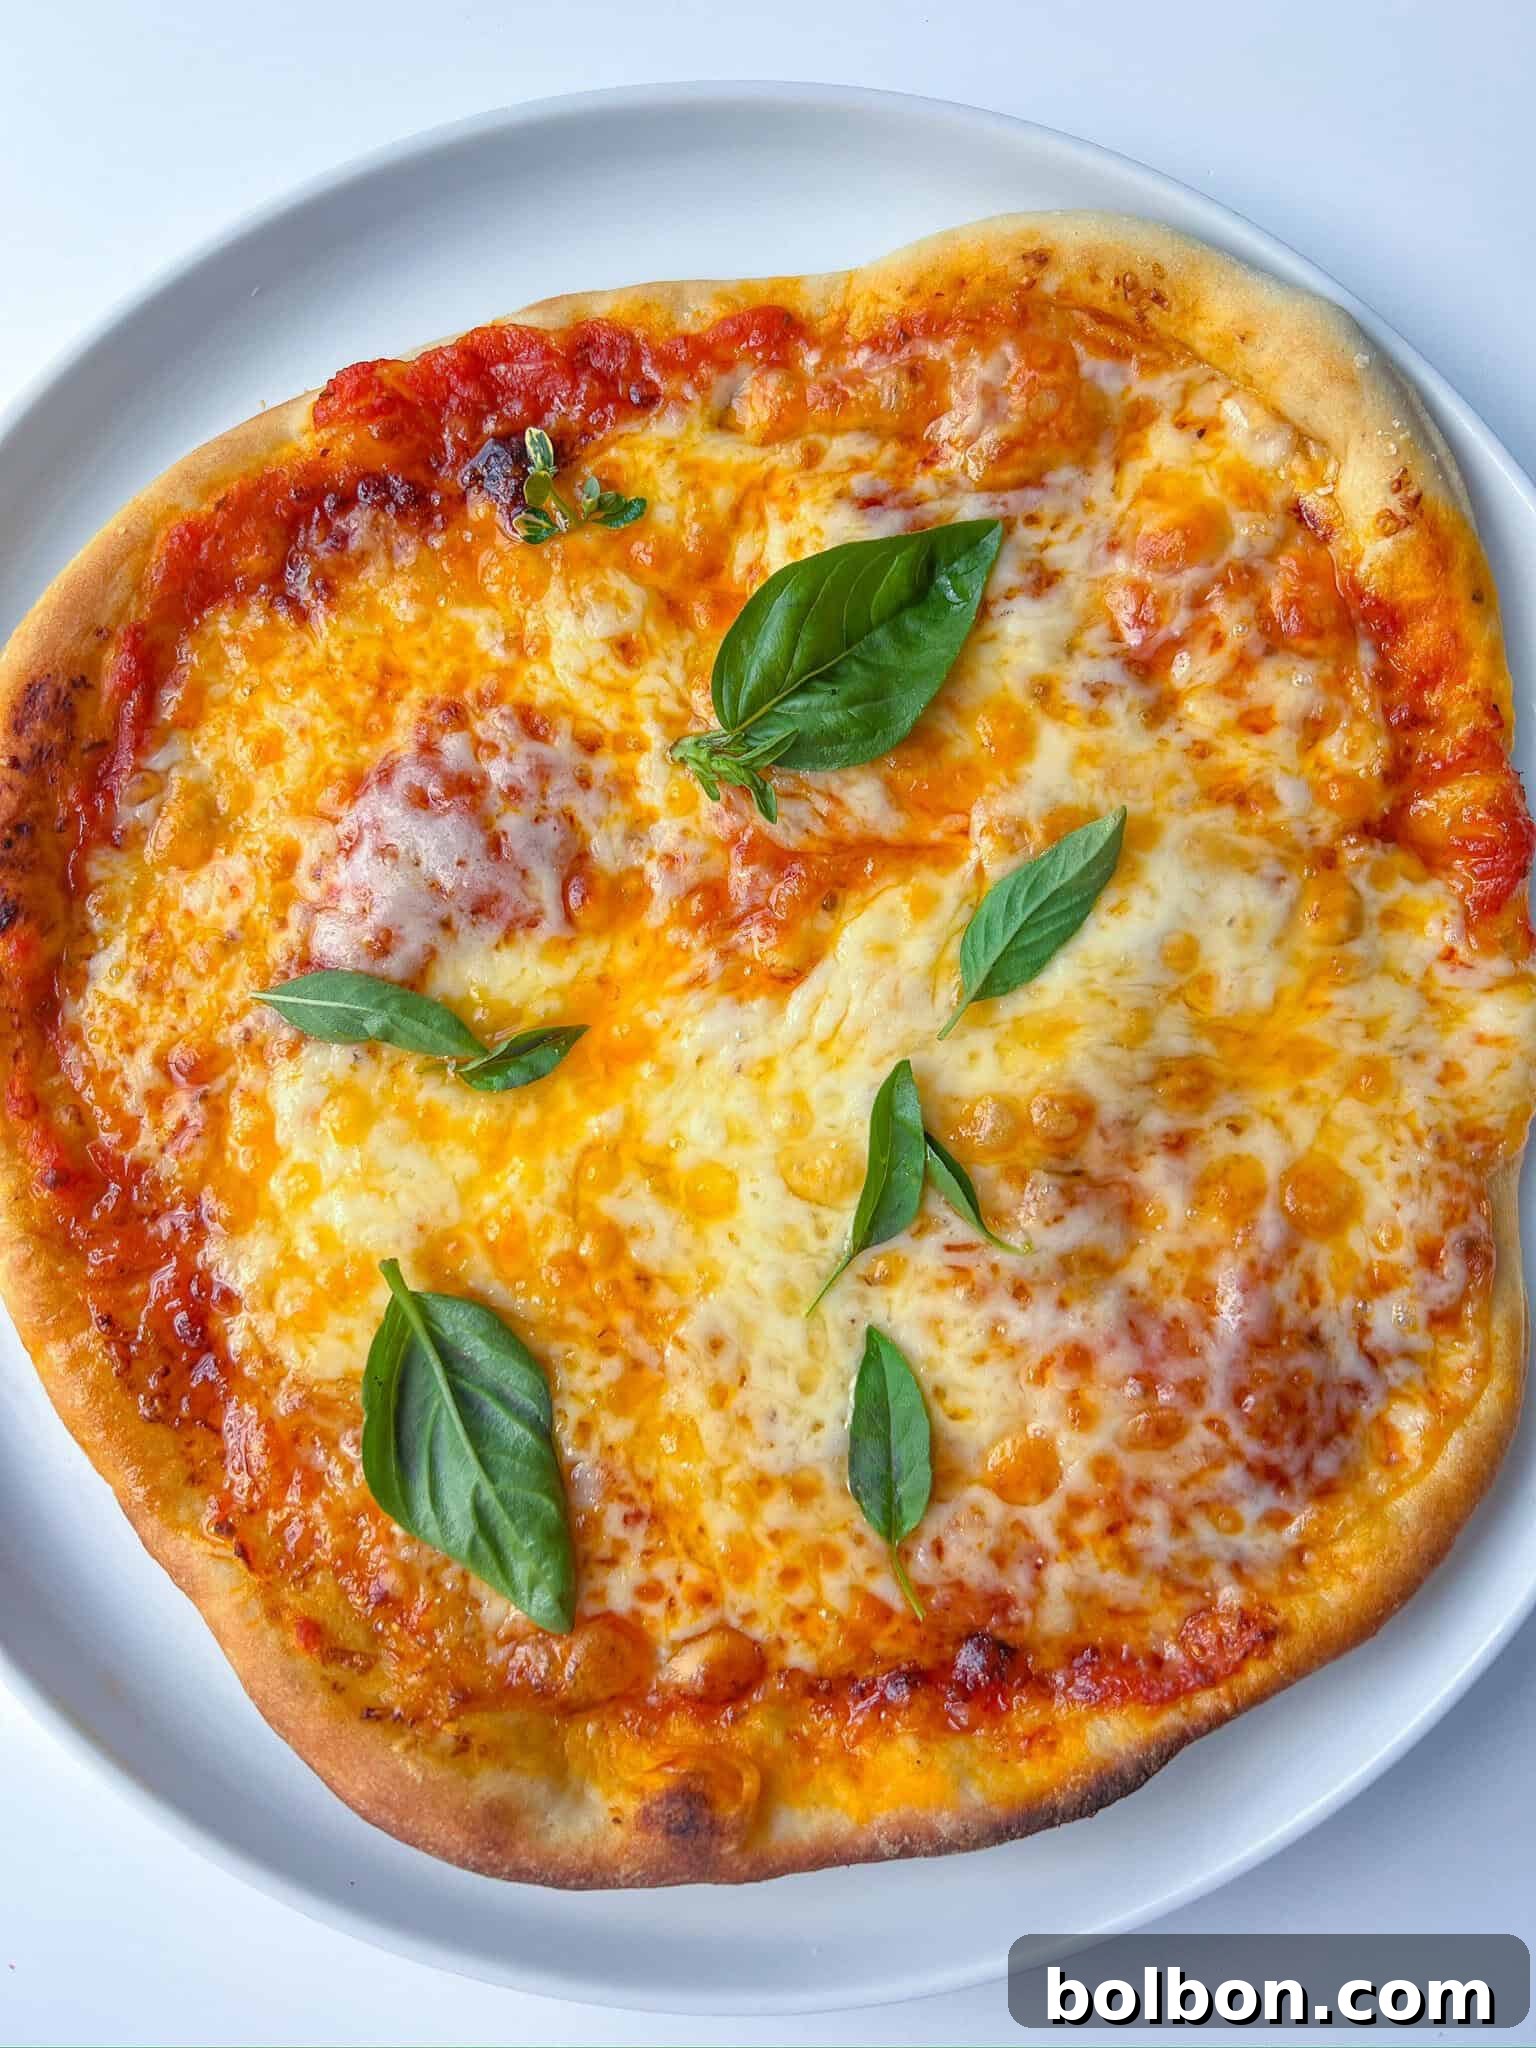
Transform your kitchen into an authentic Italian pizzeria with our incredibly Easy Homemade Pizza (Restaurant-Style) recipe. This isn’t just any pizza; it’s a culinary revelation that promises to become your new go-to for homemade pizza perfection. Forget expensive takeout or specialized equipment – achieve remarkable restaurant-quality flavor and a delightful texture right in your own home oven. Our dough mirrors the beloved Italian Neapolitan style: a wonderfully chewy, thin crust that develops those irresistible, dark, leopard-spotted char marks from baking in a scorching hot oven. Prepare to impress your family and friends with a pizza that looks, smells, and tastes like it came straight from a traditional trattoria.
View this post on InstagramA post shared by Snejana Andreeva (@themodernnonna)
Why You’ll Love This Easy Homemade Pizza Recipe
Once you experience the magic of my Easy Homemade Pizza (Restaurant-Style), your perception of homemade pizza will be forever changed. This recipe consistently delivers a crust that is perfectly crispy on the outside yet wonderfully tender and airy on the inside. When combined with the quintessential and deeply satisfying Italian flavors of rich tomato sauce, melted gooey cheese, and fragrant fresh basil, it transcends any store-bought or takeout option. The convenience factor is also a huge plus: the versatile dough can be prepared in advance and even frozen, making spontaneous pizza nights a breeze. And the best part? Each pizza cooks in a mere 10 minutes, meaning less waiting and more savoring. Get ready to say “Buon appetito!” to your new favorite meal.
How to Prepare Easy Homemade Pizza: A Step-by-Step Guide
Crafting the perfect homemade pizza starts with understanding each critical step. Follow these detailed instructions to create a truly unforgettable pizza experience.
Step 1: Activating the Yeast for Perfect Dough
The foundation of any great pizza is a lively, well-activated yeast. Begin by combining one packet of active dry yeast (approximately 2 ¼ teaspoons or 7 grams) with 1 teaspoon of sugar and 1 ¼ cups (300ml) of warm water in a medium bowl. The water temperature is crucial here; it should be comfortably warm to the touch, between 100-110°F (37-43°C). If the water is too hot, it will kill the yeast; too cold, and it won’t activate properly. Give the mixture a gentle whisk to combine all ingredients, then set it aside in a warm, draft-free spot for 5 to 10 minutes. During this time, the yeast should become foamy and bubbly, indicating it’s active and ready to work its magic. If you don’t see this foam, your yeast may be old, or your water temperature was off, and you’ll need to restart this step.
Step 2: Mixing and Kneading the Pizza Dough
Once your yeast is frothy, it’s time to create the dough. In a large mixing bowl, whisk together 3 cups (450 grams) of your chosen flour (we recommend 00 flour for an authentic Neapolitan texture, but whole-wheat, bread flour, or all-purpose flour also work well) and 1 teaspoon (6 grams) of salt. Make a well in the center of the dry ingredients and pour in the activated yeast mixture, along with 1 tablespoon of olive oil. Using a spatula or wooden spoon, stir until a shaggy dough forms.
Next, turn the dough out onto a clean, lightly floured counter. Begin to knead the dough, pushing it away from you with the heel of your hand, folding it over, and pulling it back. Continue this motion for 8 to 10 minutes. If the dough feels overly sticky, add flour one tablespoon at a time, just until it’s manageable and no longer adhering excessively to your hands or the counter. You’ll know the dough is perfectly kneaded when it feels smooth, elastic, and passes the “poke test”: gently press a finger into the dough, and it should slowly bounce back.
Stand Mixer Method: For a hands-off approach, you can perform all the dough-making steps in the bowl of a stand mixer. Activate the yeast directly in the mixer bowl, then add the flour, salt, and olive oil. Attach the dough hook and mix on low speed for 6 to 8 minutes. The dough is ready when it pulls away from the sides of the bowl and is smooth and elastic.
Step 3: First Rise and Dough Division
Shape the kneaded dough into a smooth ball. Lightly grease a large bowl with a tablespoon of olive oil, place the dough ball in it, and turn it once to coat. Cover the bowl tightly with plastic wrap or a damp kitchen towel. Place the bowl in a warm, draft-free environment (a turned-off oven, microwave, or cupboard are ideal spots) and let it rise for approximately 1 ½ hours, or until it has visibly tripled in size. This slow rise is essential for developing the dough’s flavor and airy texture.
Once risen, gently uncover the dough and “punch it down” in the center to deflate the air. Transfer the dough to a lightly floured counter and divide it into four equal pieces. Roll each piece into a small, tight ball.
Step 4: Shaping Your Pizza Crusts
Now it’s time to transform those dough balls into beautiful pizza bases. Take one dough ball and, using your fingertips, gently flatten it from the center outwards, rotating it as you go. The goal is to stretch the dough into a thin circle, leaving a slightly thicker edge for the crust. This takes a bit of practice but don’t worry if it’s not perfectly round!
Alternatively, if you’re less comfortable with hand-stretching, use a rolling pin. Lightly flour your work surface, the dough, and the rolling pin. Roll the dough as thinly as possible, rotating it frequently to prevent sticking and ensure an even thickness. Continue until you have a thin pizza crust. Repeat this process for all four dough balls, placing the shaped crusts on a large baking sheet or a clean kitchen towel dusted with flour, or on individual sheets of parchment paper, keeping them ready for baking.
Step 5: The High-Heat Baking Method
This unique cooking method combines stovetop heat with oven broiler power to replicate the intense heat of a professional pizza oven. Before you begin baking, ensure all your desired toppings are prepped and within easy reach.
- Preheat: Place a 11-inch skillet (preferably cast iron or heavy-bottomed) on your stovetop and preheat it over medium-high heat. Simultaneously, preheat your oven to the BROIL setting (top burner only).
- Cook on Stovetop: Carefully place one shaped pizza dough into the hot skillet. Working quickly, immediately add your toppings. Spread a generous layer of your favorite pizza sauce, leaving a small border for the crust. Then, sprinkle a generous amount of provolone cheese (or any good melting cheese) and grated Parmigiano Reggiano.
- Char and Transfer: Allow the pizza to cook on the stovetop until the bottom crust is visibly charred and crispy. You can gently lift the edge with a spatula to check. This typically takes only a couple of minutes.
- Broil to Finish: Once the bottom is charred, carefully transfer the pizza from the skillet onto a baking sheet lined with parchment paper. Immediately place the baking sheet into the preheated broiler. Position the oven rack on the second-highest level to prevent the parchment paper from burning.
- Monitor Closely: Broil the pizza for about 3-5 minutes, watching it very closely. The high heat will melt and bubble the cheese, giving it lovely charred spots on top. It can burn quickly, so do not walk away!
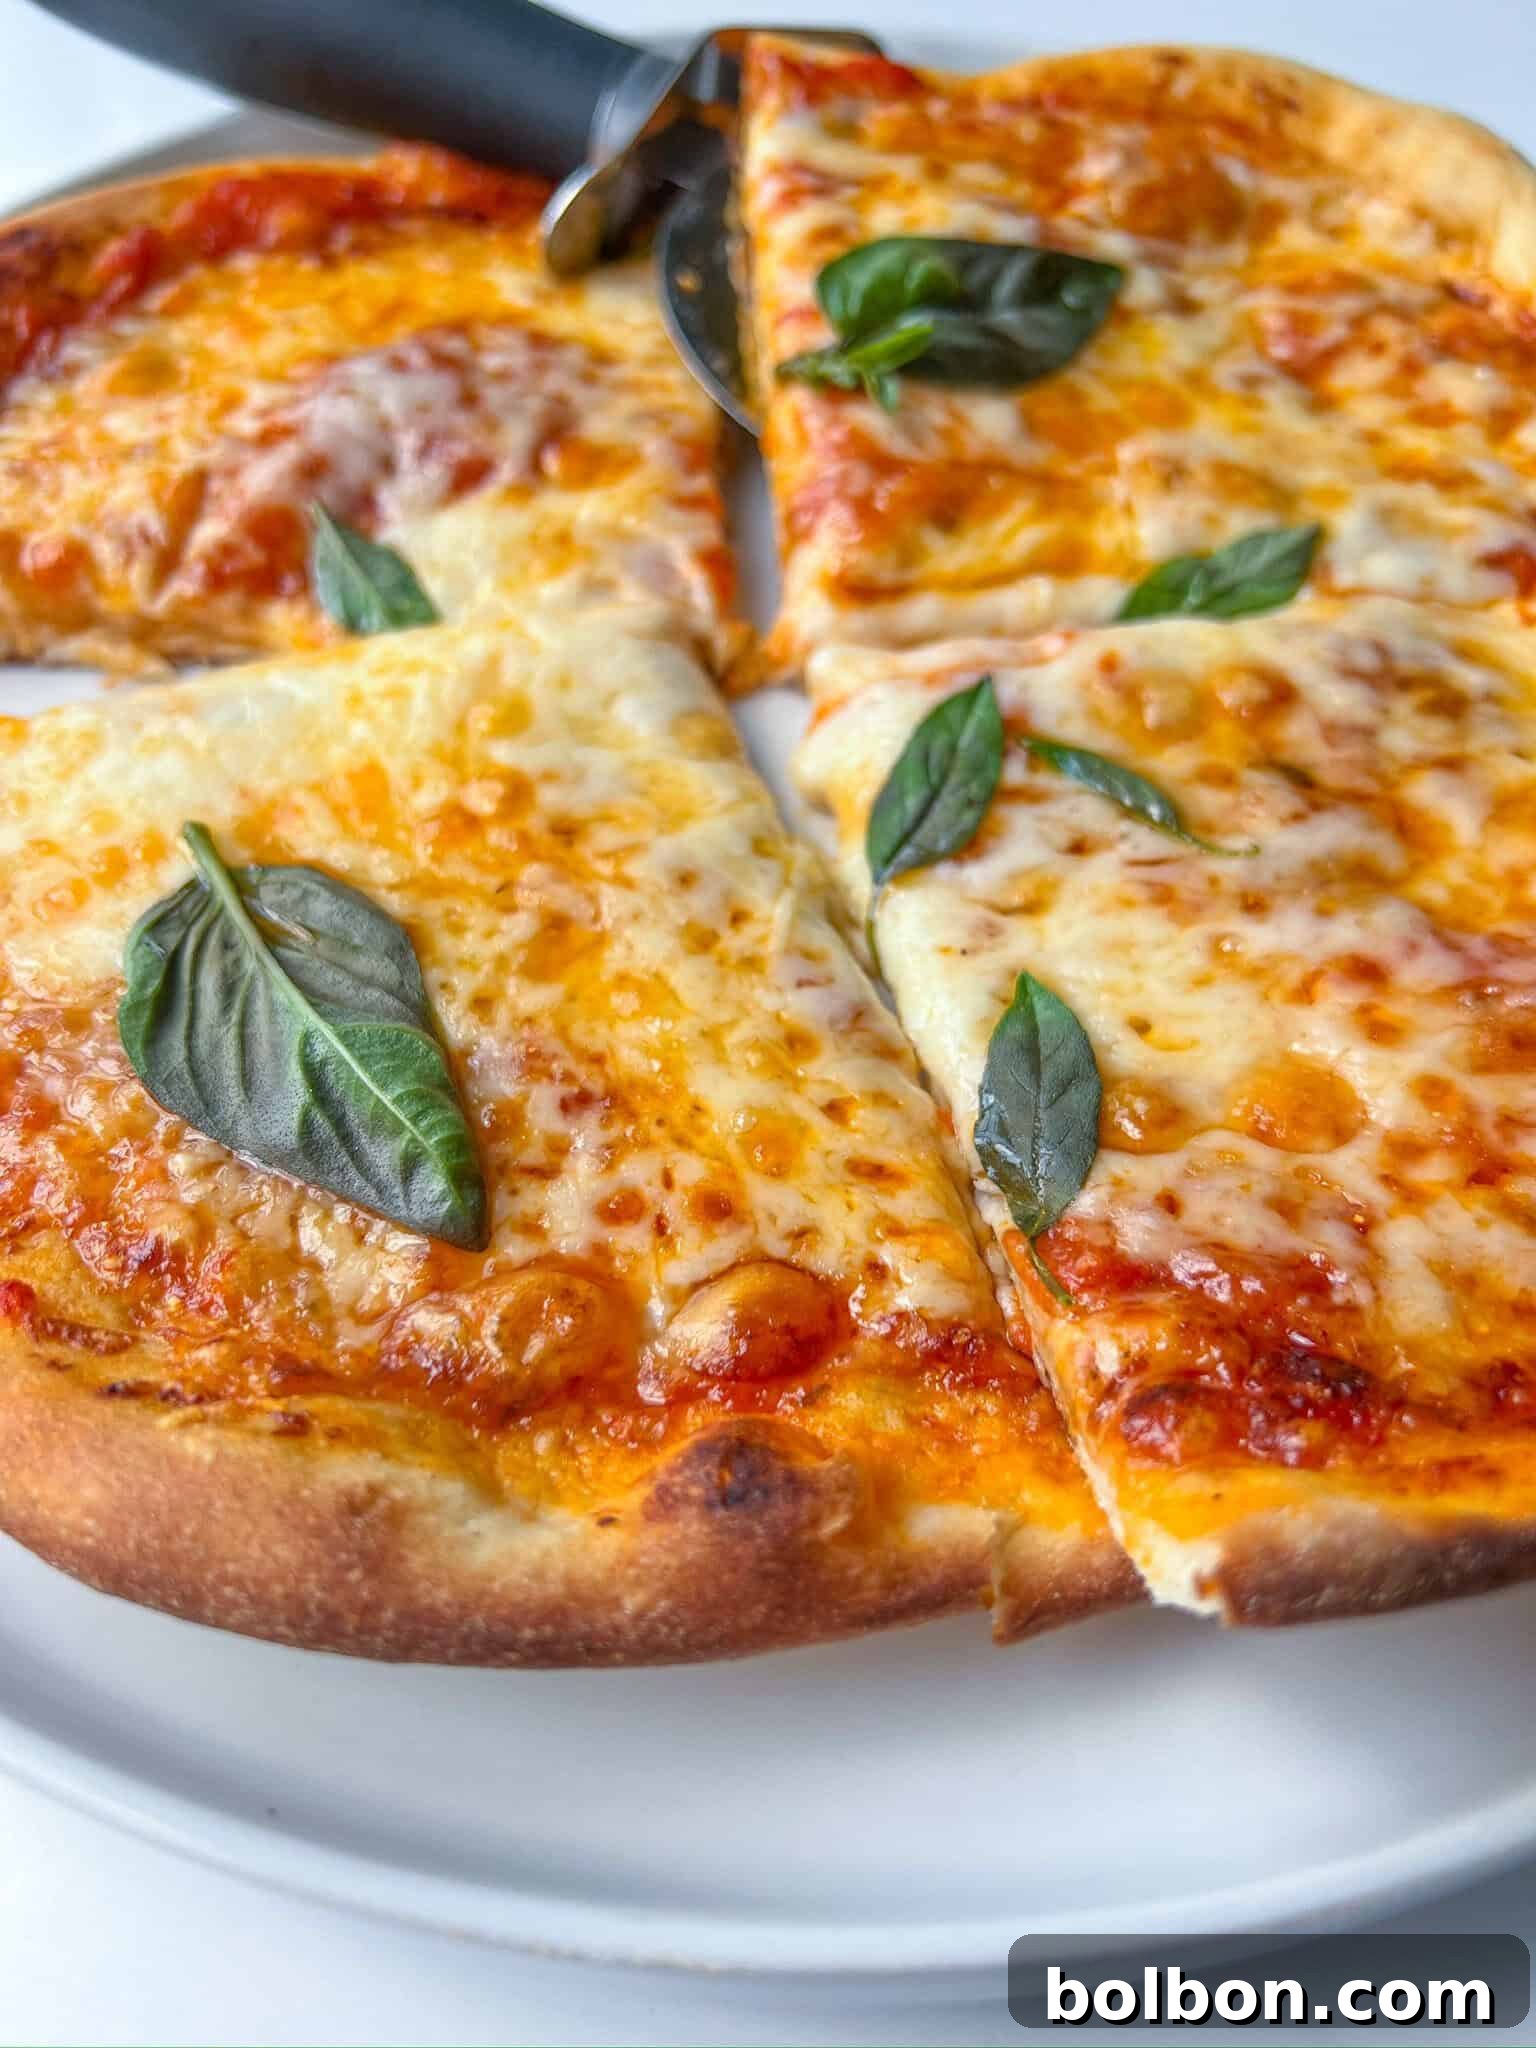
- Serve: Remove the pizza from the oven, garnish with fresh basil leaves, slice into wedges, and serve hot. Repeat the process for the remaining pizzas.
Note: If you have an oven-safe skillet (like cast iron), you can skip the transfer step and move the entire skillet directly from the stovetop to the broiler, provided it’s safe for broiler use.
Nonna’s Essential Yeast Tip
Activating the yeast is, without a doubt, the most crucial step in achieving a light and airy pizza crust with this recipe. If your yeast doesn’t foam up, it means it hasn’t activated successfully. In this scenario, you must start this step all over again. Common reasons for failed activation include water that’s too hot (killing the yeast), water that’s too cold (inhibiting activation), or old/expired yeast. Always ensure your water is precisely between 100-110 degrees Fahrenheit (37-43 degrees Celsius) for optimal results.
Variations and Substitutions for Your Easy Homemade Pizza
One of the beauties of homemade pizza is the endless customization possibilities. This Easy Homemade Pizza (Restaurant-Style) recipe serves as a fantastic base for you to unleash your creativity and tailor it to your exact preferences or dietary needs. While I encourage experimentation, remember that adjustments to ingredients may require slight modifications to quantities or cooking times. Don’t be afraid to try new combinations!
- Flour Alternatives: The type of flour significantly impacts the crust’s texture.
- For an authentic, extremely light, and airy Neapolitan crust, use 00 flour.
- For a slightly chewier crust with more gluten development, opt for bread flour.
- If you prefer a healthier option, whole-wheat flour adds a nutty flavor and increased fiber, though it might result in a slightly denser crust.
- For those with gluten sensitivities, a 1-to-1 gluten-free flour blend can be used, but you will likely need to adjust the water content and kneading time, as gluten-free doughs behave differently. Caputo offers an excellent gluten-free pizza flour with a recipe on the back.
- Crust Thickness: Easily adjust your pizza’s character by controlling the dough’s thickness.
- For a truly delicate and crisp result, roll out the dough as thinly as possible to create a classic thin-crust pizza.
- If you enjoy a more substantial bite, leave the dough slightly thicker to achieve a satisfyingly chewy crust.
- Creative Toppings: The topping possibilities are limitless! Beyond the traditional, consider:
- Classic Meats: Pepperoni, crumbled Italian sausage, crispy bacon, or prosciutto.
- Vegetable Medley: Sautéed 🍄 mushrooms, sliced onions (red or white), colorful 🫑 bell peppers, briny olives, fresh tomatoes, sun-dried tomatoes, or caramelized onions.
- Gourmet Additions: Artichoke hearts, roasted red peppers, jalapeños for a kick, or even figs for a sweet and savory experience.
- Added Proteins: Boost the nutritional value and heartiness of your pizza by including pre-cooked proteins.
- Shredded grilled chicken, pan-seared shrimp, crumbled cooked ground beef, or seasoned tofu are excellent choices. Ensure proteins are cooked before adding to avoid undercooking.
- Sauce Selection: While a classic tomato sauce is king, don’t hesitate to explore other bases.
- Whip up your own homemade Italian Tomato Sauce for unparalleled freshness.
- For convenience, a high-quality store-bought sauce like Rao’s Homemade Pizza Sauce works wonderfully.
- Alternative Sauces: Try a vibrant pesto for a herbaceous touch, a tangy barbecue sauce for a smoky twist, or a creamy Alfredo sauce for a richer profile.
- Load Up on Greens: Incorporate more vegetables for added nutrition and flavor.
- Fresh 🥬 spinach or kale can be added towards the end of baking or after for a fresh crunch.
- Roasted garlic, thinly sliced zucchini, or even mashed butternut squash can provide unique flavor profiles.
More Pizza-Inspired Recipes You’ll Love
Pizza Stuffed Mushrooms
28 mins
Naan Pizza
13 mins
Heart Shaped Pizza
20 mins
Pizza Pockets Recipe
30 mins
Best Served With
Elevate your homemade pizza experience by pairing it with these complementary dishes and drinks:
- A crisp, fresh green salad 🥗 with a light vinaigrette to balance the richness of the pizza.
- Some warm garlic breadsticks or our irresistible Cheesy Roasted Garlic Bread for extra indulgence.
- A glass of robust red wine 🍷, such as Chianti or Sangiovese, to enhance the Italian flavors, or a refreshing lager for a casual meal.
Common Questions About Homemade Pizza
For successful yeast activation, ensure your yeast is fresh and not expired. The water temperature is paramount – it must be warm, not hot or cold. Aim for a temperature between 100 and 110 degrees Fahrenheit (37 to 43 degrees Celsius). To activate, combine the yeast, sugar, and warm water in a bowl. Give it a quick whisk and then let it sit undisturbed for 5 to 10 minutes. You’ll know it’s active if it becomes foamy and bubbly on the surface. If it doesn’t foam, the yeast may be old, or the water temperature was incorrect, and you’ll need to restart the process.
Activating the yeast is the single most critical step for this Easy Homemade Pizza (Restaurant-Style) recipe because it directly impacts the rise, texture, and overall quality of your crust. An unactivated yeast means your dough won’t rise, resulting in a dense, flat pizza. The activation process ensures the yeast is alive and ready to produce the carbon dioxide needed for a light, airy, and chewy crust. If your yeast fails to activate, it means the water was either too hot or too cold, or the yeast itself was old or inactive, and you should begin this step again.
Using a stand mixer simplifies the dough-making process. You can activate the yeast directly in the mixer bowl. Once the yeast is foamy, add the flour, salt, and olive oil to the same bowl. Attach the dough hook and mix on low speed. Continue mixing until the dough is smooth, elastic, and pulls away cleanly from the sides of the bowl. If the dough remains sticky, add 1 tablespoon of flour at a time until it achieves the desired consistency. Kneading with a stand mixer typically takes 6 to 8 minutes at medium-low speed.
Absolutely! If you’re short on time or prefer to skip the dough-making process, a good quality store-bought pizza dough is a perfectly acceptable substitute. Look for fresh pizza dough at Italian bakeries or specialty grocery stores. You can then follow the instructions for shaping and baking the pizza as outlined in this recipe, saving you valuable prep time while still achieving a delicious meal.
Freezing pizza dough is a great way to prep ahead. After the dough has completed its first rise and you’ve “punched it down,” divide it into your desired portion sizes. Shape each portion into a ball, then wrap each ball loosely in plastic wrap, ensuring it’s sealed completely. Place these wrapped dough balls into airtight freezer bags, removing as much air as possible. When you’re ready to make pizza, thaw the dough overnight in the refrigerator or for 2 to 3 hours at room temperature. Once thawed, proceed with rolling it out and baking according to the recipe instructions.
While I haven’t personally tested a gluten-free version of this specific recipe, it should work well with a 1-to-1 all-purpose gluten-free flour blend. Gluten-free doughs often require slightly different hydration levels and handling, so be prepared to make minor adjustments. Many high-quality gluten-free flours, such as those from Caputo, often include a tested pizza dough recipe on their packaging, which can be an excellent resource.
Yes, you can use different types of yeast, but each requires a slightly different approach. If using instant yeast, you can generally skip the activation step, as its granules are much finer. Simply add all the dough ingredients directly to the bowl at once. If using quick-rise yeast, be aware that it will significantly reduce the rising time, so keep a close eye on your dough. For those who prefer fresh yeast, you will need approximately 21 grams in total for this recipe, which should also be activated in warm water.
Broiling the pizza is a quick process that requires constant attention to prevent burning. If you’re using parchment paper, it’s crucial not to place the baking tray too close to the top heating elements, as the paper can catch fire. I always recommend placing the oven rack on the second-highest level. Stay by the oven and watch the pizza continuously; the cheese will bubble and char rapidly, often within 3-5 minutes or even less. Remove it as soon as the cheese is melted and has achieved your desired level of char.
For a consistently delicious and convenient option, my favorite store-bought pizza sauce is Rao’s Homemade Classic Pizza Sauce. Its rich, authentic flavor provides an excellent base for any pizza. Of course, feel free to use your own homemade sauce if you have a favorite recipe!
For an authentic, restaurant-style thin crust reminiscent of Neapolitan pizza, 00 flour is my top recommendation. However, you can also successfully use whole-wheat flour, bread flour, or even standard all-purpose flour for this recipe. Each flour type will yield a slightly different texture, so feel free to experiment to find your personal favorite.
Homemade Pizza (Restaurant-Style)
Facebook Share
Rate Recipe
Print Recipe
Video
Equipment
Ingredients
The Yeast
- 1 packet active dry yeast , (2 1/4 teaspoons or 7 grams)
- 1 ¼ cups warm water, (300ml, 100-110°F or 37-43°C)
- 1 teaspoon sugar, (5 grams)
The Dough
- 3 cups 00 flour, or whole-wheat flour, bread flour, or all-purpose flour (450 grams), plus more for dusting
- 1 teaspoon salt, (6 grams)
- 1 tablespoon olive oil, (plus extra for oiling bowl)
Additional Toppings (to taste)
- pizza sauce
- provolone cheese, or any melty cheese you like
- grated Parmigiano Reggiano
- fresh basil leaves
Instructions
Activate the Yeast
-
In a bowl, combine the active dry yeast, sugar, and warm water (100-110 degrees Fahrenheit or 37-43 degrees Celsius). Whisk briefly to mix.
-
Allow the mixture to sit undisturbed for 5 to 10 minutes until it becomes foamy and bubbly. This indicates successful yeast activation. If no foam appears, the yeast is not active, and you will need to restart this step, checking water temperature and yeast freshness.
Prepare the Pizza Dough
-
In a large bowl, combine the flour (00 flour, whole-wheat, bread, or all-purpose) and salt. Mix thoroughly.
-
Pour the activated yeast mixture and 1 tablespoon of olive oil into the flour mixture. Stir with a spatula or wooden spoon until a shaggy dough forms.
-
Transfer the dough to a clean, lightly floured counter. Knead for 8 to 10 minutes until it’s smooth and elastic. If sticky, add flour one tablespoon at a time until manageable (you may use about 1/4 cup or less in total). The dough is ready when it slowly bounces back after being gently pressed with a finger. (If using a stand mixer, refer to the FAQ for instructions.)
-
Shape the kneaded dough into a ball and lightly coat it with olive oil. Place it in a large bowl, cover tightly with plastic wrap or a damp towel, and let it rise in a warm, draft-free place for about 1 ½ hours, or until it has tripled in size.
-
Once risen, gently punch down the dough to deflate. Transfer to the counter and divide into four equal pieces. Roll each piece into a small ball.
-
Working with one dough ball at a time, gently flatten and stretch it with your hands into a thin, round pizza crust, leaving a slightly thicker edge. Rotate the dough as you stretch.
-
Alternatively, use a rolling pin to roll the dough as thin as possible, lightly flouring the dough and pin if it becomes sticky. Place the shaped crusts on a floured surface or parchment paper until ready to bake.
Baking Method
-
Before baking, ensure all your desired pizza toppings are prepped and within easy reach.
-
Preheat a skillet (ideally 11 inches) on the stovetop over medium-high heat. Simultaneously, preheat your oven to the BROIL setting.
-
Place one pizza dough into the hot skillet. Immediately (and carefully) add your chosen toppings: spoon on pizza sauce, distribute evenly, leaving a small crust border. Add provolone, Parmigiano Reggiano, and any other toppings.
-
Cook on the stovetop until the bottom of the crust is charred and crispy (lift with a spatula to check).
-
Carefully transfer the pizza from the skillet onto a baking sheet lined with parchment paper. Place it in the oven on the second-highest rack under the broiler until the cheese is melted, bubbly, and charred to your liking (approximately 3-5 minutes, watch constantly to prevent burning).
-
If your skillet is oven-safe and broiler-safe, you can skip the transfer and move the entire skillet directly into the oven under the broiler.
-
Remove the pizza from the oven, top with fresh basil, slice, and enjoy your restaurant-style homemade pizza!
Nutrition
Nutrition information is automatically calculated, so should only be used as an approximation.