
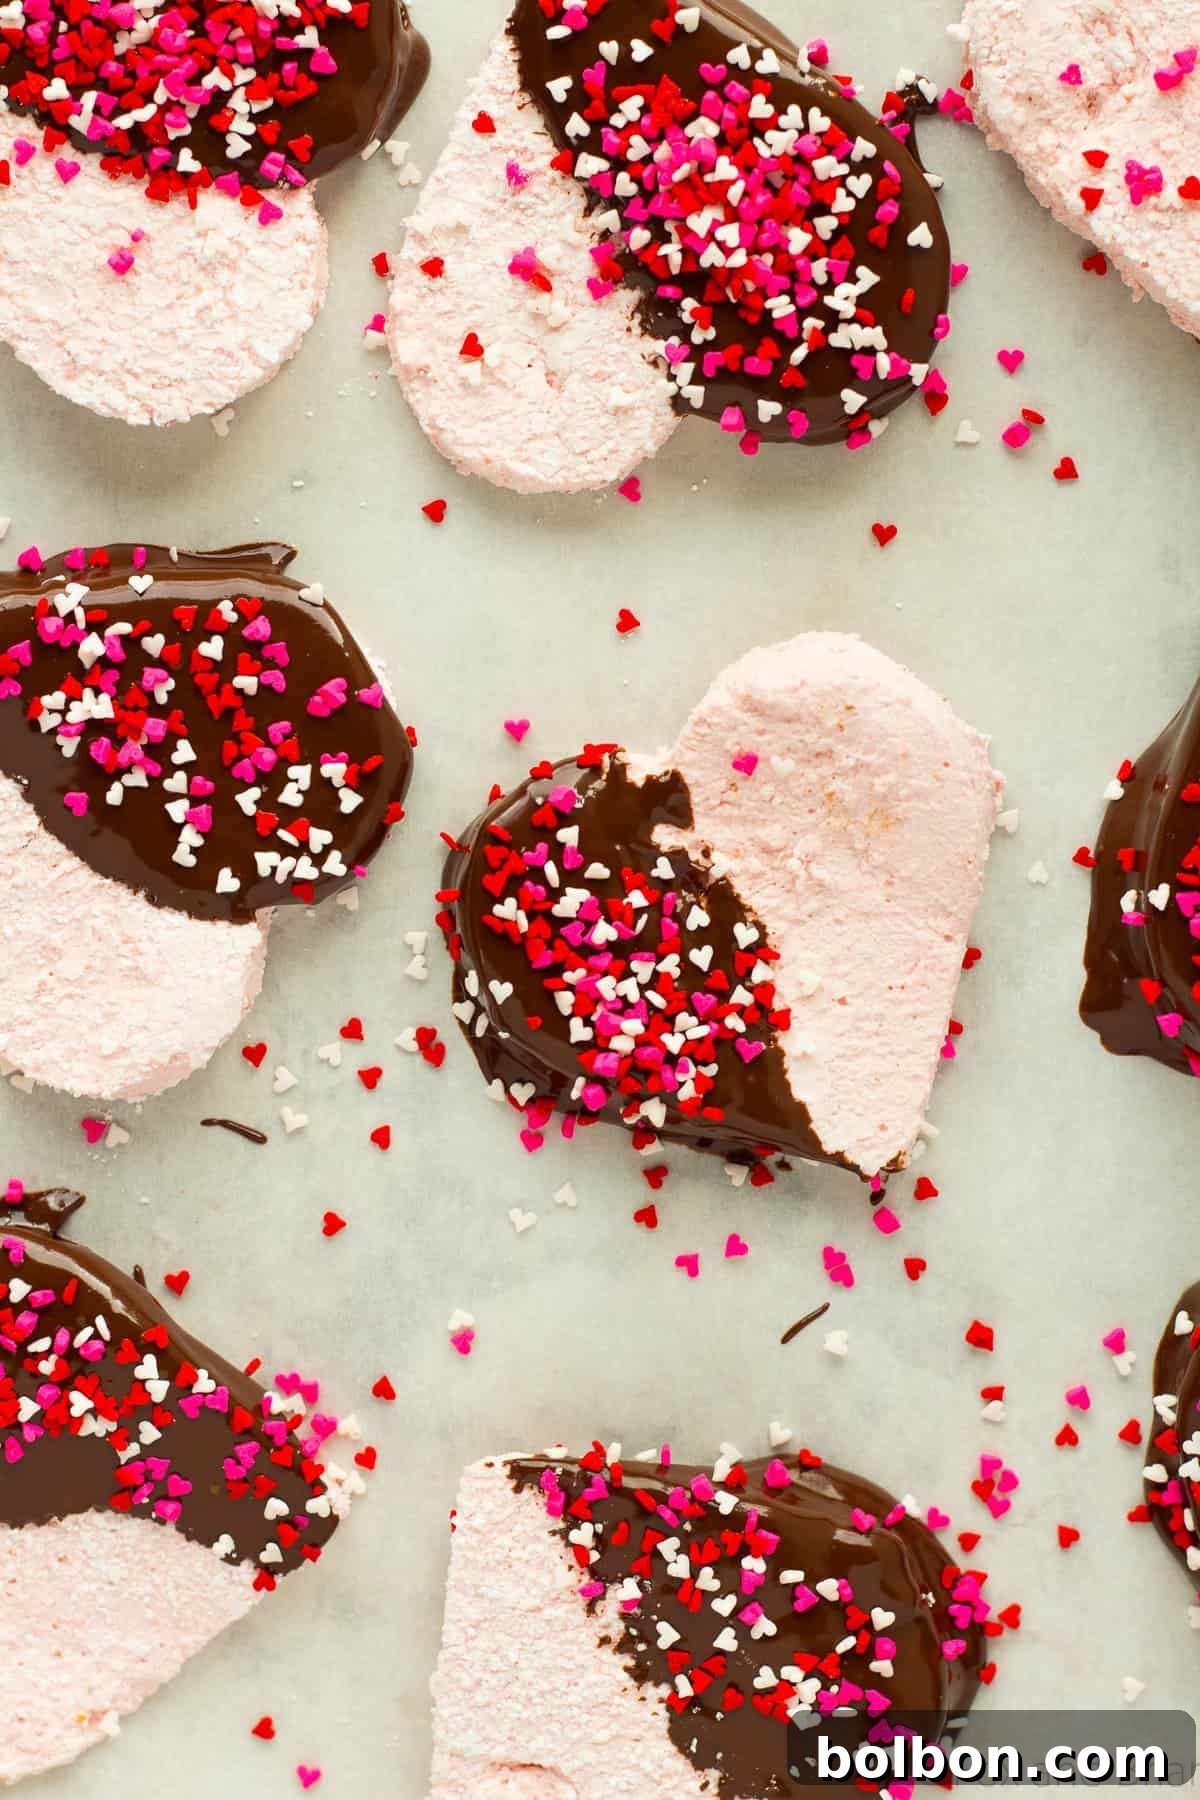
Prepare to be enchanted by these delightful Homemade Strawberry Marshmallows! They are incredibly fun and straightforward to create, bursting with an authentic strawberry flavor that store-bought versions can only dream of. The best part? This recipe is entirely free from high-fructose corn syrup and artificial dyes, offering a wholesome and delicious treat. Perfect for Valentine’s Day, anniversaries, birthdays, or simply a sweet indulgence any time of the year!
Valentine’s Day has always held a special place in my heart. The simple idea of spreading love and appreciation to everyone I cherished, not just romantic partners, resonated deeply with me even as a child. I fondly remember the excitement of elementary school, carefully crafting little heart-shaped pockets for our desks, eagerly awaiting the cards and thoughtful notes from classmates. My kitchen adventures often involved baking heart-shaped cookies, a canvas for vibrant frosting and sprinkles. But the most cherished tradition was my mom’s elaborate Valentine’s Day scavenger hunt. I’d wake up to a cryptic note, each clue leading me on a delightful chase through the house, with small candies and prizes marking the path to a grand Valentine’s gift. It was a magical start to a day filled with exchanging cards and an abundance of treats at school. I even presented a school report on the history of St. Valentine, demonstrating my early fascination with the holiday!
As I grew older, my perception of Valentine’s Day naturally shifted towards its romantic implications. Like many young people, I eagerly anticipated the day I would finally have a boyfriend, envisioning romantic dinners, bouquets of flowers, boxes of chocolates, and those iconic stuffed bears clutching hearts. However, a funny thing happened as I matured: grown-up Valentine’s Day often felt less magical and more, well, pressured. The expectation of a perfectly romantic day can be overwhelming, frequently leading to disappointment. Going out for dinner on February 14th often transforms into a logistical nightmare, with overcrowded restaurants, frazzled staff, and kitchens running out of popular menu items. These days, my husband (Mr. Briar) and I prefer a more relaxed approach. We typically prepare a delightful dinner at home, curl up on the couch, and watch a movie. It’s honestly a far more enjoyable and intimate celebration for both of us.
Yet, my desire to celebrate Valentine’s Day in a festive, cheerful way never truly wanes. This recipe is actually one of two special Valentine’s Day creations I’m sharing. I hadn’t initially planned for two posts, but the idea for these Homemade Strawberry Marshmallows sparked an irresistible urge to make them. I know you can find strawberry-flavored marshmallows at the grocery store, but I’ve never been a huge fan of artificially “flavored” fruit items. They often taste sickly sweet and bear little resemblance to the actual fruit they claim to imitate. My goal was to create something truly special, something that captured the essence of real strawberries.
Experience the True Taste of Strawberries: Homemade Marshmallows Bursting with Natural Flavor
That’s right, these Homemade Strawberry Marshmallows are made with REAL strawberries, so they actually taste like real strawberries. Imagine that! More specifically, they taste like dreamy, ethereal strawberry clouds. If you could somehow eat those fluffy pink clouds that paint the sky during a breathtaking sunset, I believe this is precisely what they would taste like. To achieve this incredible flavor and texture, I opted for frozen strawberries over fresh ones for two practical reasons. Firstly, it wasn’t quite strawberry season when I developed this recipe, meaning fresh strawberries weren’t at their peak flavor or sweetness. Secondly, for creating a smooth fruit puree, frozen strawberries are ideal because they break down incredibly easily and consistently, lending themselves perfectly to the marshmallow base. This ensures a rich, vibrant strawberry flavor throughout every bite.
Why This Homemade Strawberry Marshmallow Recipe Stands Out
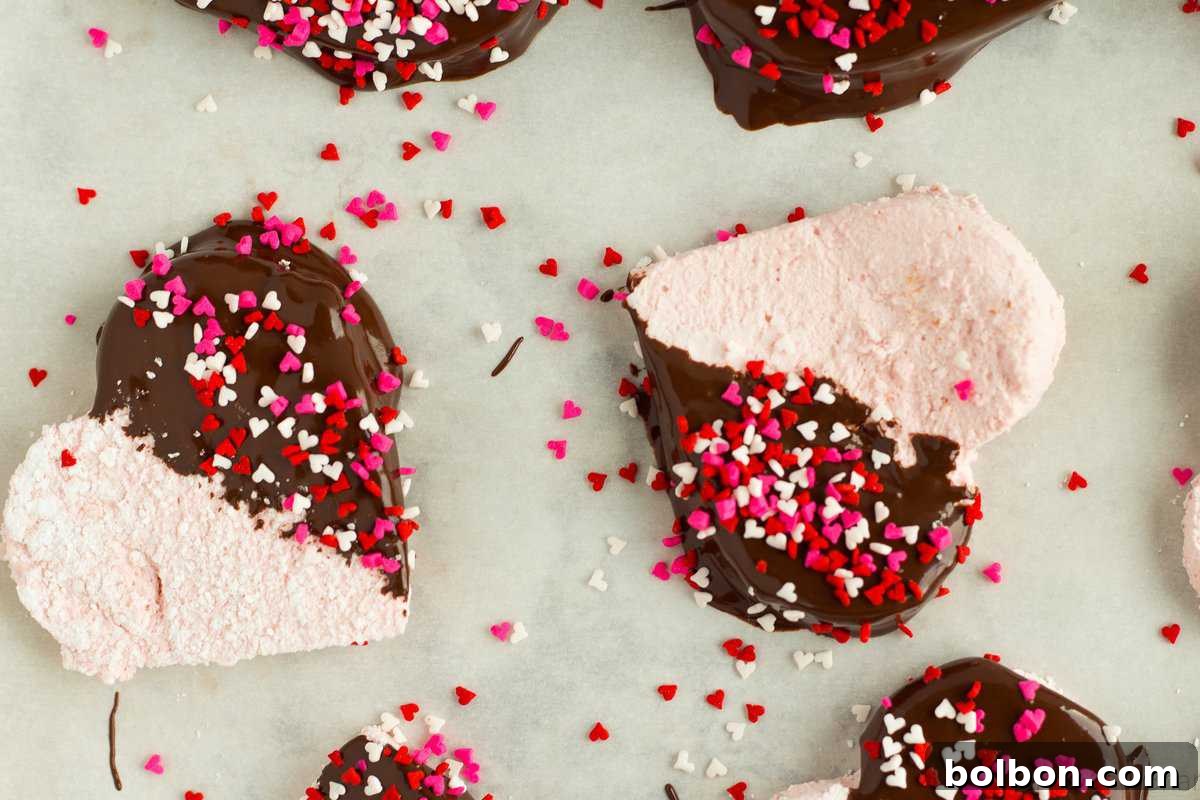
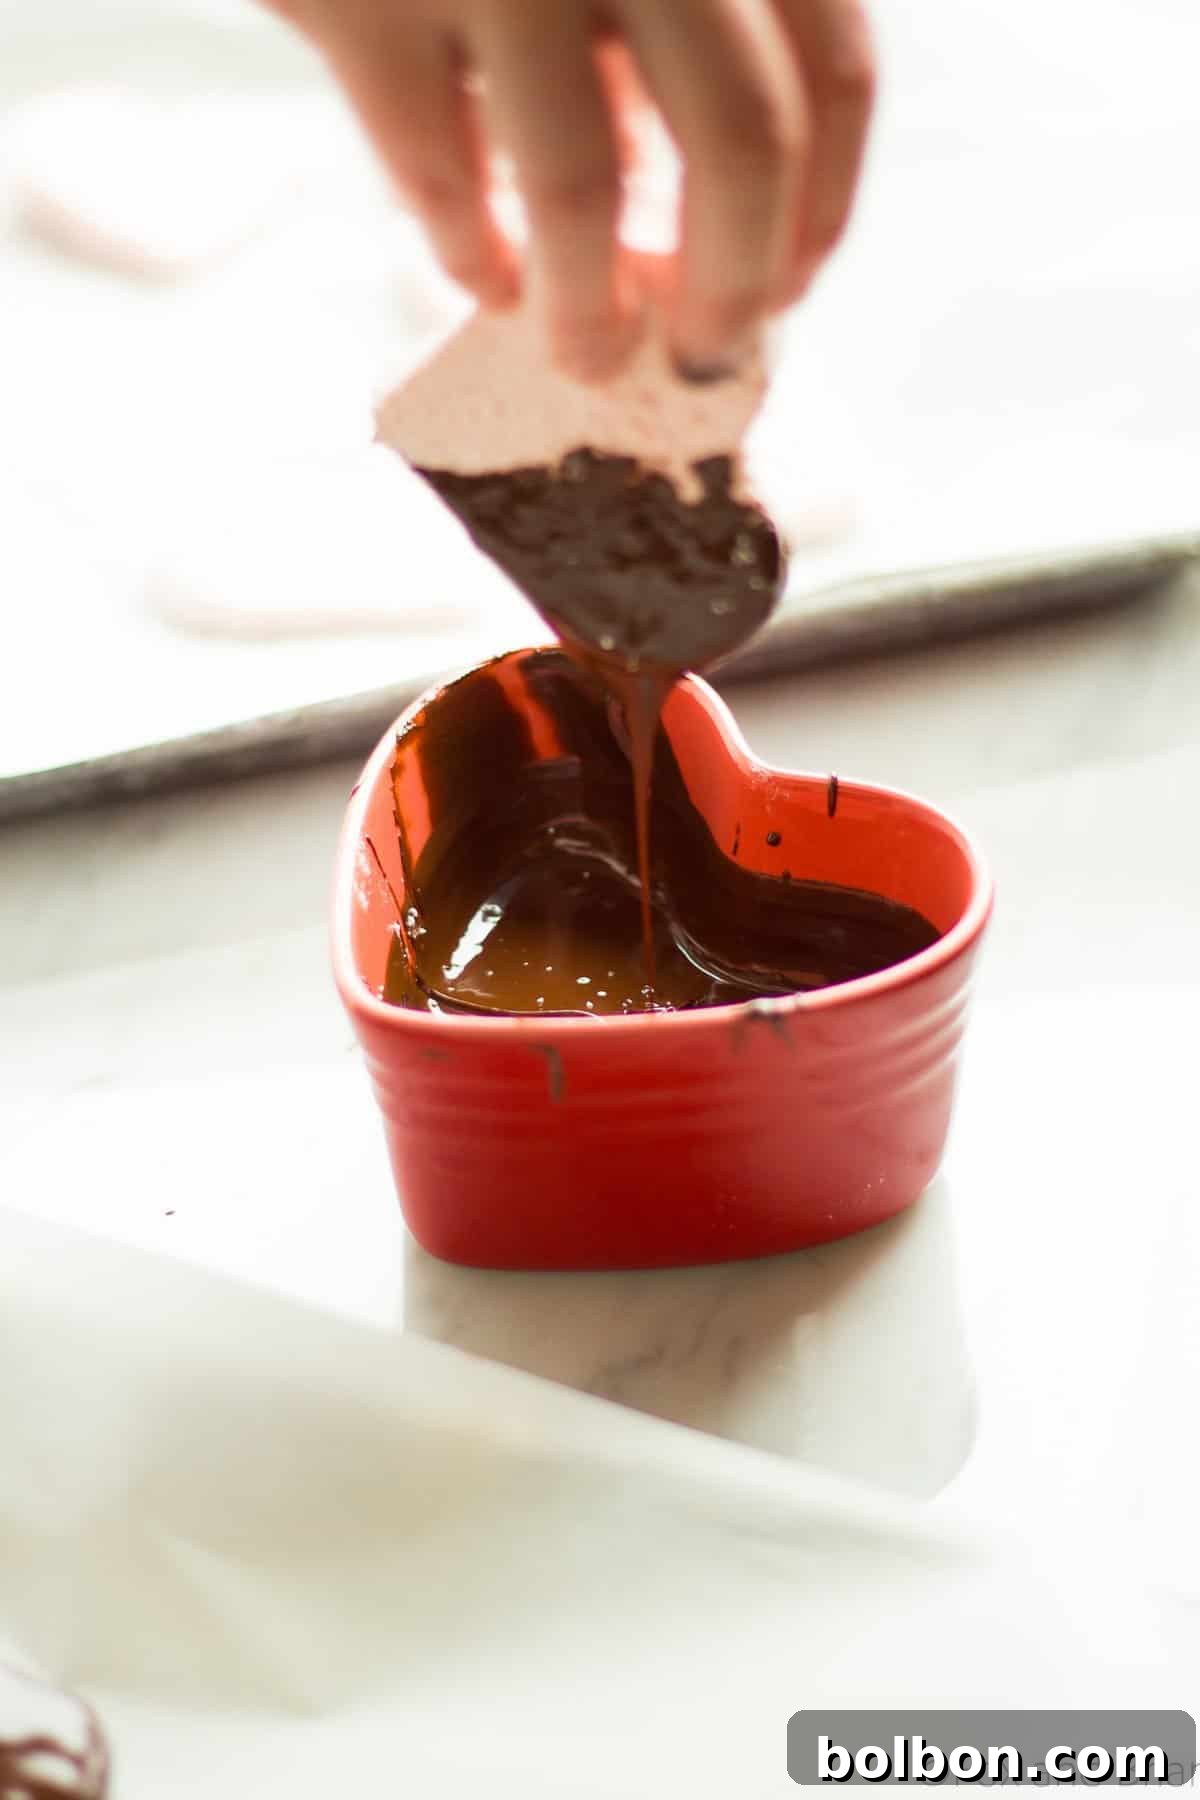
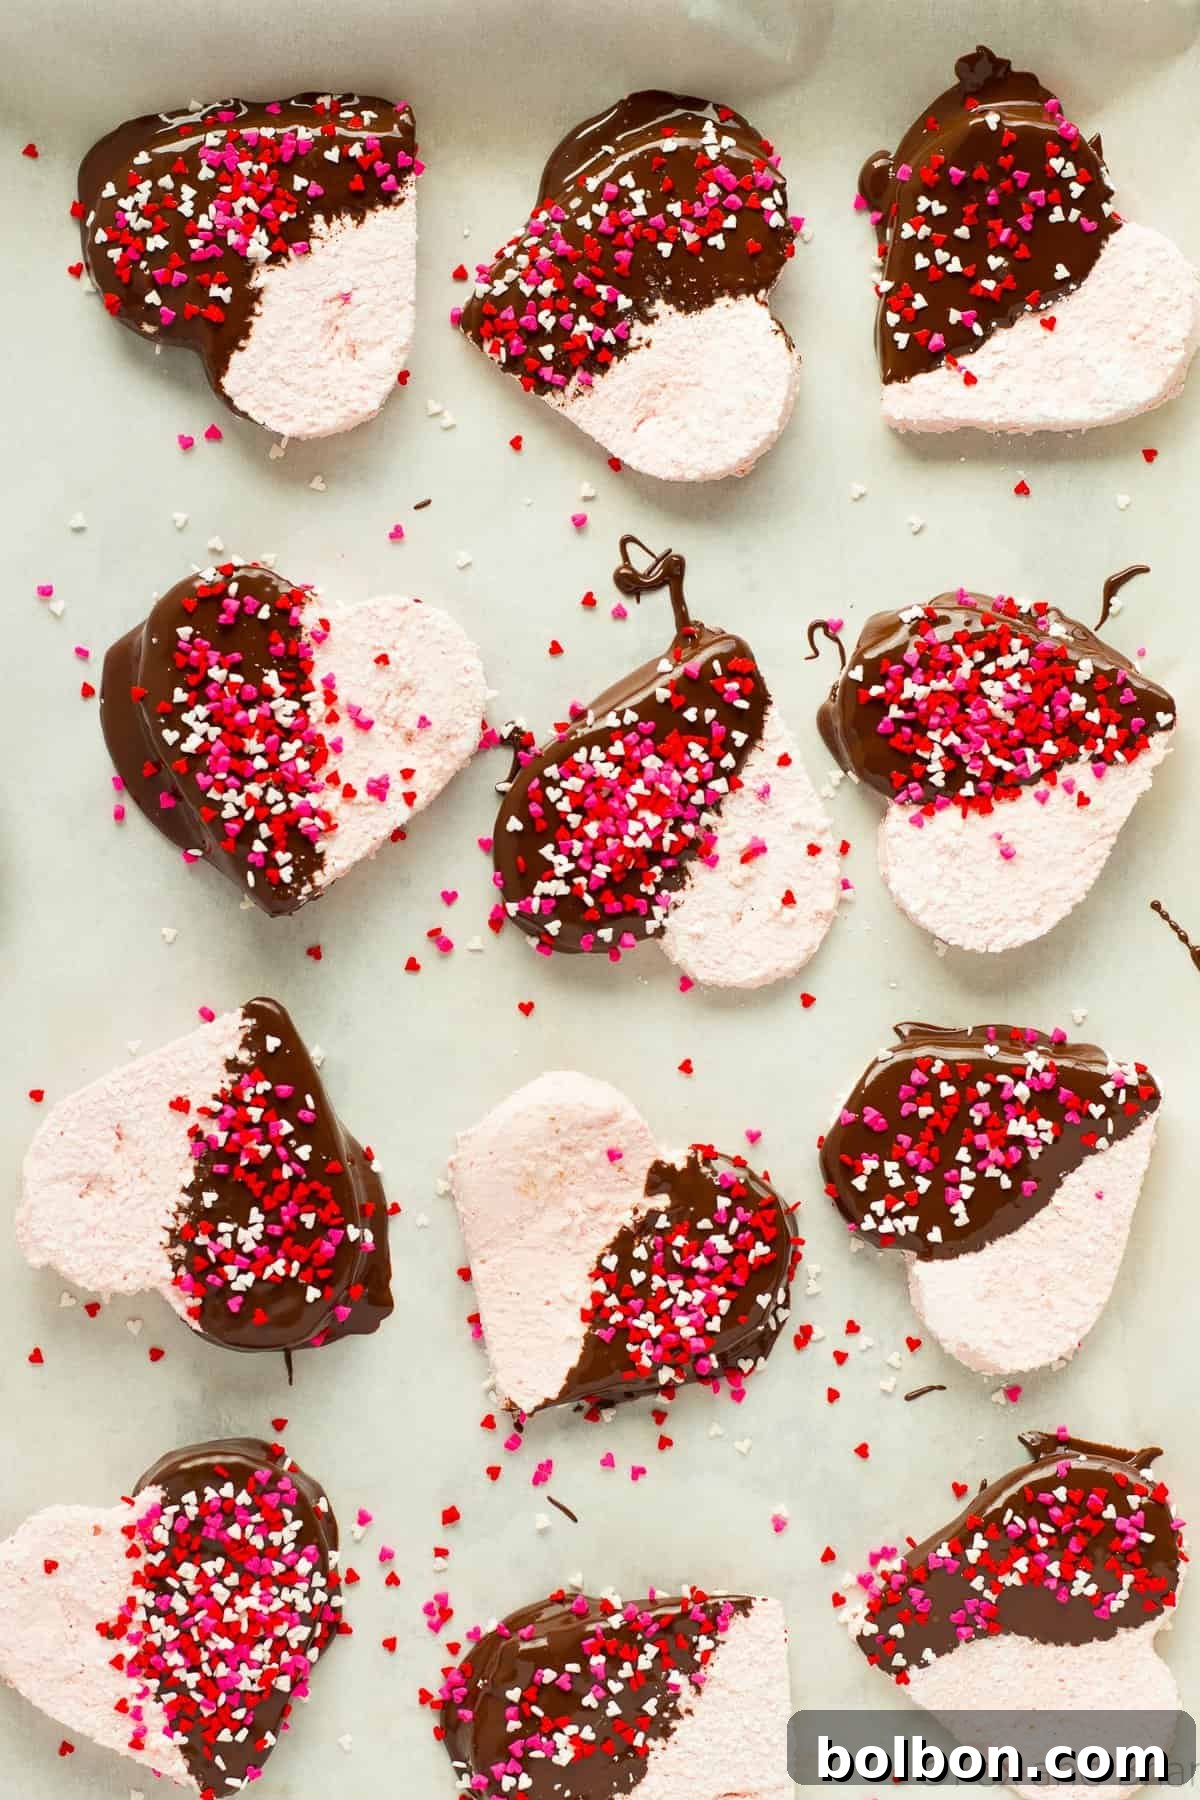
I absolutely adore this recipe not only for its incredible taste but also for its relative simplicity and healthier approach. Unlike many commercial marshmallows, this recipe requires no high-fructose corn syrup, an ingredient I typically don’t keep on hand. While the marshmallow itself is pure, I did incorporate a small amount of vegetable shortening into the chocolate coating. This was essential to achieve the perfect viscosity for dipping the marshmallows, ensuring a smooth, even layer of chocolate. If you prefer, you could likely substitute coconut oil for the shortening, though I haven’t personally tested that variation. And of course, the sprinkles! While technically optional, in my humble opinion, Valentine’s Day treats simply demand a festive scattering of colorful sprinkles. They add that extra touch of whimsy and joy that makes these marshmallows truly irresistible.
Crafting Your Perfect Marshmallows: Tips and Tricks
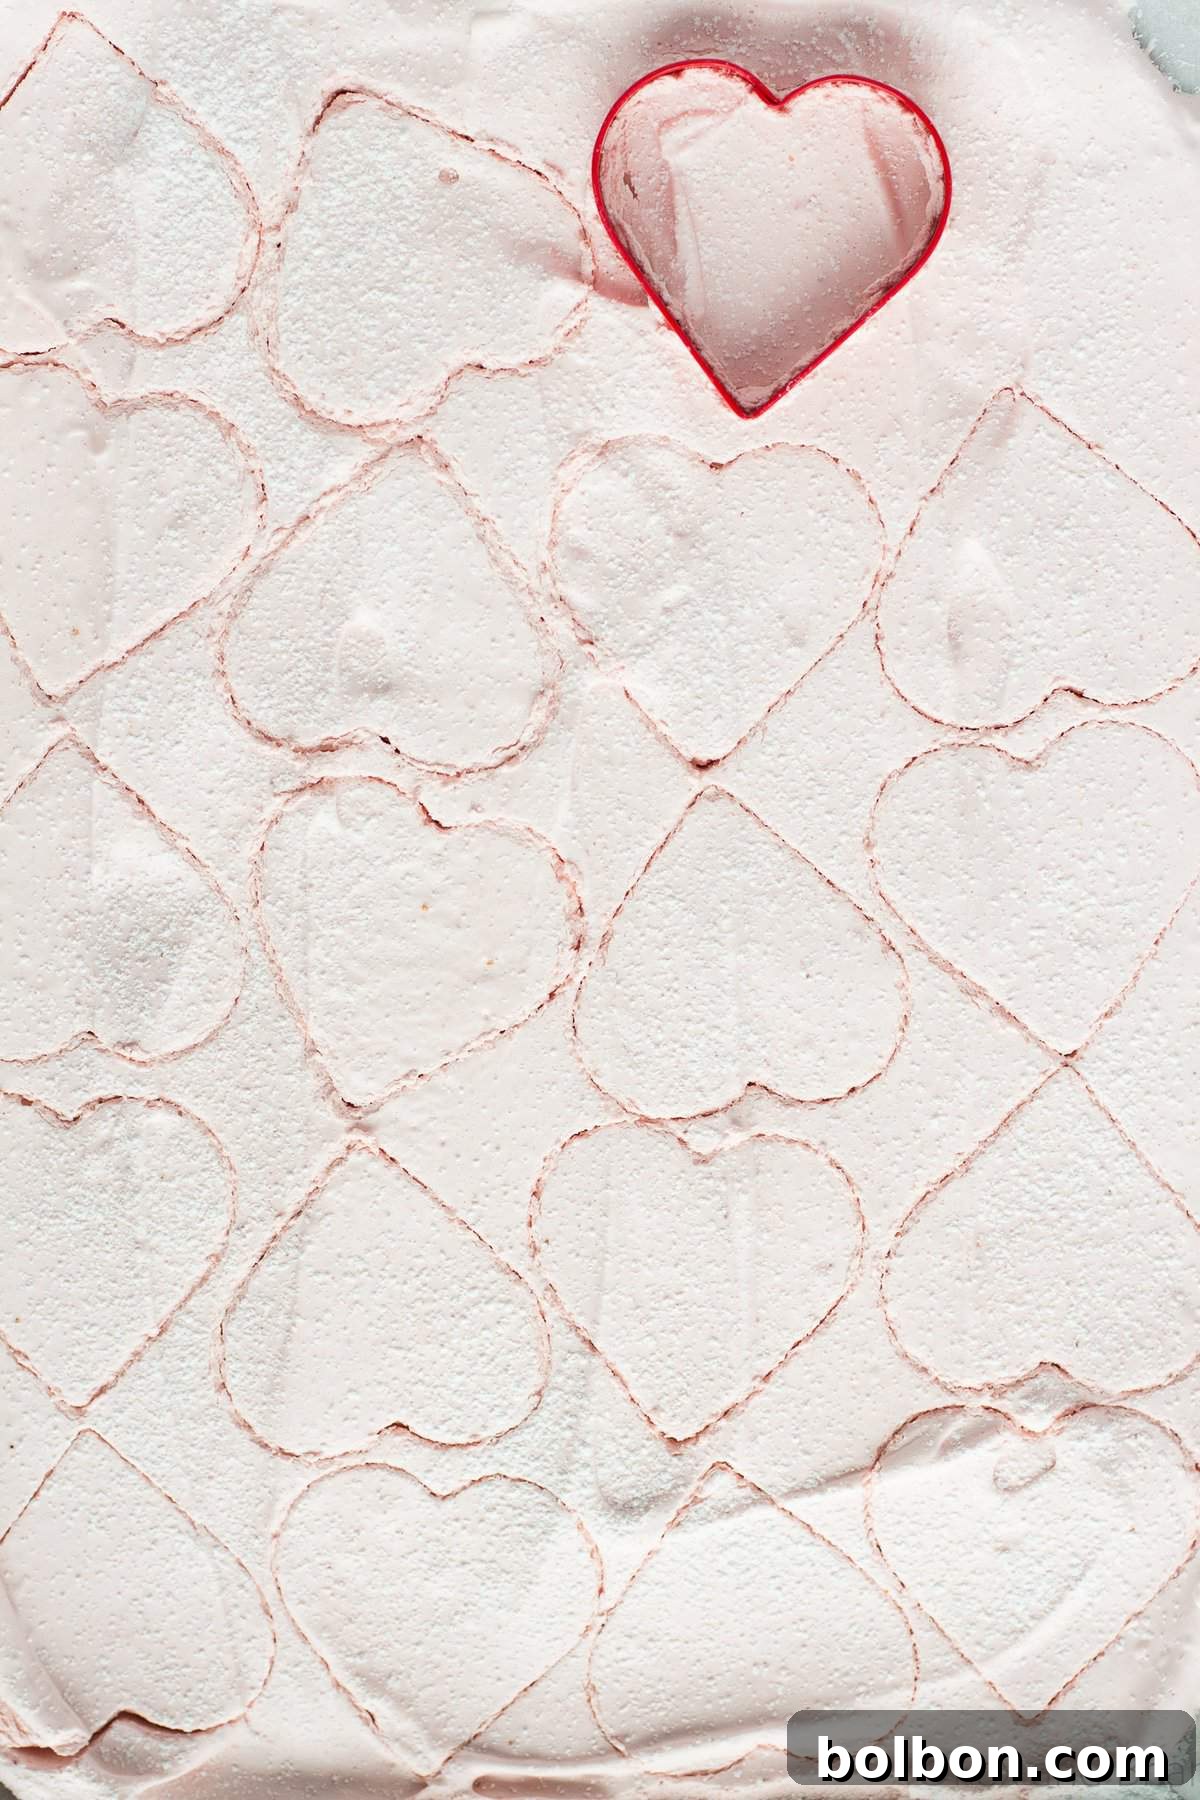
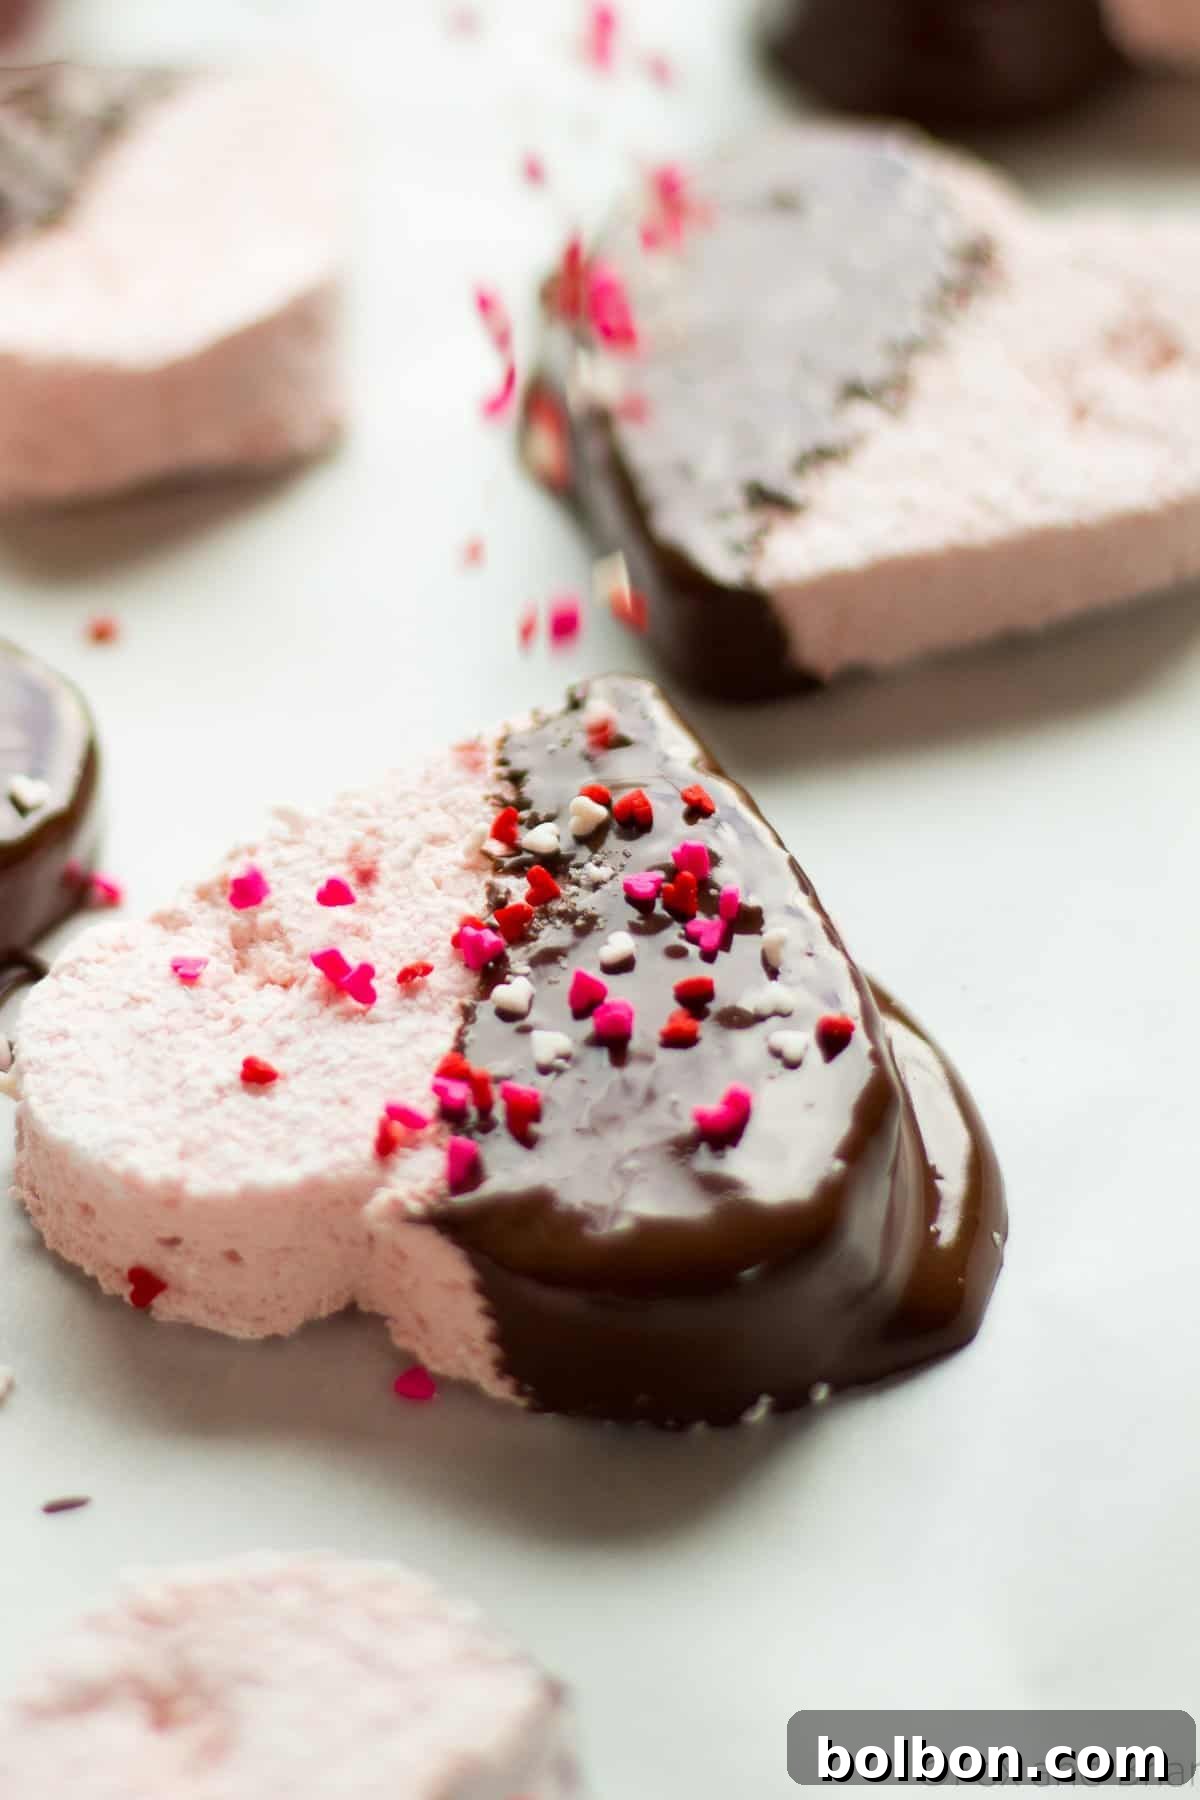
This recipe yielded approximately 20 beautifully heart-shaped marshmallows, with a few delicious scraps leftover from the cutting process. If you’re not concerned about perfect heart shapes and want to minimize waste, you can simply cut the marshmallow sheet into classic squares using a pizza cutter. This method is incredibly efficient and will provide you with a greater quantity of marshmallows. Once I dipped the heart-shaped treats in chocolate and added the sprinkles, I placed them in the refrigerator to allow the chocolate to set completely. This usually takes about an hour, resulting in a firm, glossy coating that perfectly complements the soft marshmallow inside.
Homemade Strawberry Marshmallows
Meghan McMorrow | Fox and Briar
15 minutes
15 minutes
30 minutes
20 Marshmallows
Ingredients
For Strawberry Marshmallows
- 1 cup whole frozen strawberries thawed
- 1 ¾ granulated sugar
- 8 tablespoons cold water
- 2 packets unflavored gelatin 1/4 ounce each packet
- 2 teaspoons vanilla extract
- 1/4 teaspoon salt
- about 1/4 cup powdered sugar for the pan and to coat marshmallows in
For Chocolate Coating
- 8 ounces semi-sweet chocolate chips
- 1 teaspoon vegetable shortening
- sprinkles for topping optional, but highly recommended!
Instructions
-
In a small bowl, combine the gelatin and the 8 tablespoons of cold water. Stir gently and set aside to allow the gelatin to bloom. This step is crucial for smooth marshmallows.
-
Line a half-sheet baking pan with parchment paper, ensuring it hangs over the sides for easy lifting. Generously dust the parchment paper with powdered sugar to prevent sticking. Set this prepared pan aside.
-
Using a food processor or a high-speed blender, puree the thawed frozen strawberries until completely smooth. Strain the puree through a fine-mesh sieve if you prefer a perfectly seedless marshmallow, though it’s not strictly necessary.
-
In a medium saucepan, combine the strawberry puree, granulated sugar, and salt. Stir these ingredients together over medium heat until the sugar is fully dissolved. Do not let it boil yet.
-
Add the bloomed gelatin mixture to the saucepan. Increase the heat to medium-high and whisk continuously until the gelatin is fully incorporated and the mixture reaches a rolling boil. Continue to boil for 1 minute.
-
Carefully remove the saucepan from the heat and stir in the vanilla extract. Immediately and with extreme caution, pour the hot strawberry syrup into the bowl of an electric stand mixer fitted with the whisk attachment.
-
Begin whisking on low speed, gradually increasing to high speed to avoid splashing the hot sugar syrup. Continue to whisk on high for approximately 15 minutes. The mixture will dramatically increase in volume, becoming thick, glossy, and smooth, resembling a fluffy cloud. It should be thick enough to hold soft peaks.
-
Immediately pour the marshmallow fluff into your prepared baking pan. Use a lightly oiled or powdered sugar-dusted spatula to spread the mixture into an even layer. Allow it to sit undisturbed at room temperature for at least several hours, but preferably overnight, to fully set. The marshmallows are ready to cut when they are no longer sticky to the touch.
-
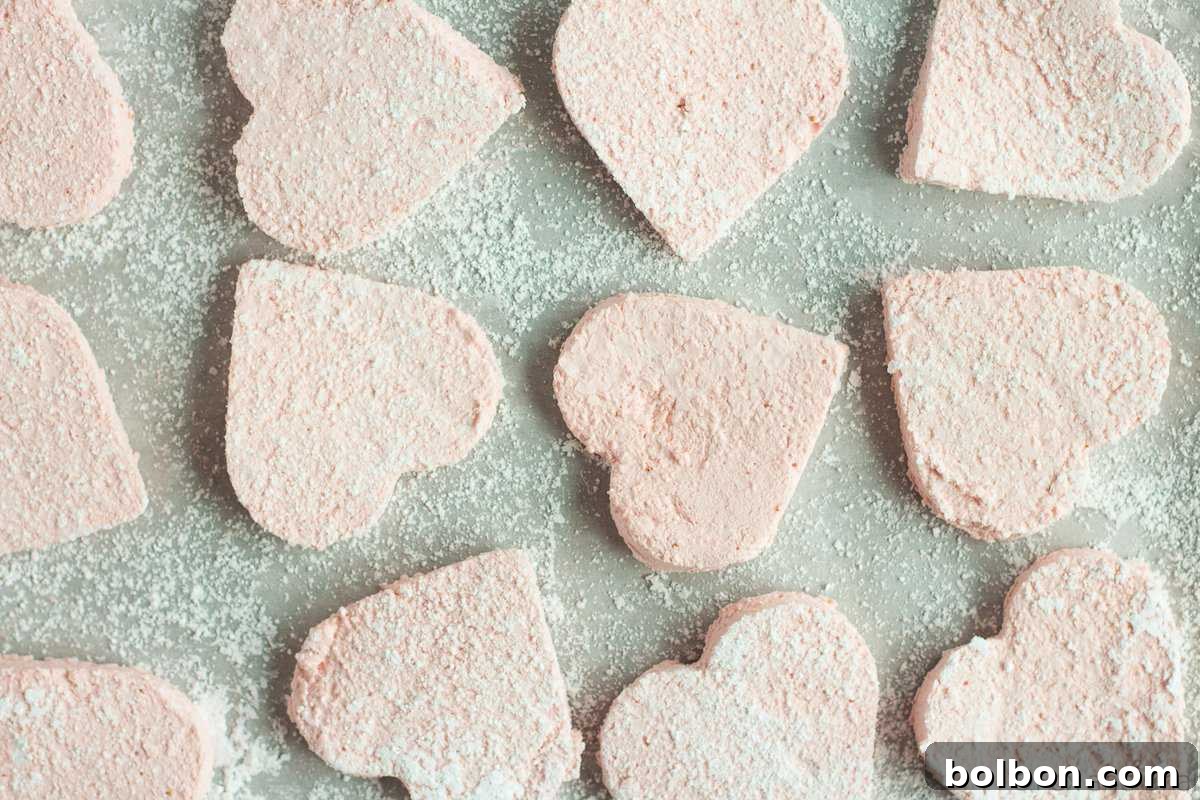
Once set, dust the top of the marshmallow slab with additional powdered sugar. Use a heart-shaped cookie cutter to cut out your marshmallows. A metal spatula can help gently lift them from the pan, helping to maintain their delicate shape. If they feel sticky, toss them lightly in a bowl with a bit more powdered sugar.
-
To prepare the chocolate coating, melt the semi-sweet chocolate chips and vegetable shortening together. This can be done using a double boiler or in the microwave. If using the microwave, place chocolate chips and shortening in a microwave-safe bowl and heat in 15-20 second intervals, stirring well after each interval, until the chocolate is completely melted and smooth. The shortening helps achieve a beautifully viscous, dippable consistency.
-
Dip each marshmallow into the melted chocolate, allowing any excess to drip off. Place the dipped marshmallows on a clean piece of parchment paper. Immediately top with sprinkles if desired, before the chocolate sets. Refrigerate for at least one hour to allow the chocolate coating to firm up completely.
Notes
If you prefer not to cut them into heart shapes, a pizza cutter works wonderfully for cutting the marshmallow sheet into neat squares or rectangles, minimizing waste.
Storage Tips for Freshness:
Store your homemade strawberry marshmallows in an airtight container at room temperature for up to one week. If dipped in chocolate, storing them in the refrigerator can help maintain the chocolate’s firmness, but bring them to room temperature for the best soft marshmallow texture before serving.
Troubleshooting Common Marshmallow Issues:
- Marshmallows not setting: This is often due to not boiling the sugar syrup long enough or insufficient whipping time. Ensure your gelatin is properly bloomed and that the syrup reaches a full boil. Whip for the full 15 minutes until very thick.
- Too sticky: Generous dusting with powdered sugar (and a little cornstarch mixed in for extra stickiness) on your work surface, hands, and cutter is key.
- Chocolate coating too thick: Add a tiny bit more shortening (or coconut oil) and gently reheat, stirring until desired consistency is reached.
Fun Variations to Try:
- Different Fruit Purees: Experiment with raspberry, blueberry, or even mango puree for unique flavor twists.
- White Chocolate Dip: For a different look and flavor, dip them in melted white chocolate.
- Toasted Coconut: Roll plain marshmallows in toasted coconut flakes for a tropical touch.
Nutrition information is automatically calculated and should only be used as an approximation. For precise dietary needs, please consult a professional.
Additional Info
Desserts, Snacks
American
This marshmallow recipe was adapted with love from food.com, bringing you a modern twist with real fruit flavor.
How do you feel about Valentine’s Day? Do you have anything special planned this year, or perhaps a favorite homemade treat you love to prepare?
Essential Tools for Marshmallow Making:
To make these luscious homemade strawberry marshmallows, having the right tools can make all the difference. While not strictly exhaustive, here are a few key pieces of equipment that greatly simplify the process and ensure perfect results:
- Stand Mixer with Whisk Attachment: This is arguably the most crucial tool. Whipping the marshmallow mixture for 15 minutes is a strenuous task that a hand mixer might struggle with, and doing it by hand is nearly impossible. A stand mixer provides the consistent, powerful whisking needed to achieve that airy, fluffy texture.
- Heavy-Bottomed Saucepan: For making the sugar syrup, a sturdy, heavy-bottomed saucepan helps distribute heat evenly and prevents the syrup from burning.
- Candy Thermometer: While this recipe doesn’t explicitly require bringing the syrup to a specific temperature beyond boiling, a candy thermometer can be very useful for other marshmallow recipes and general candy making, ensuring precise sugar consistency.
- Food Processor or Blender: Essential for pureeing the frozen strawberries into a perfectly smooth consistency, which is key to infusing that natural fruit flavor throughout the marshmallows.
- Parchment Paper: Absolutely vital for lining your baking pan. Marshmallows are notoriously sticky, and parchment paper ensures easy removal and clean-up.
- Heart-Shaped Cookie Cutters: For that festive Valentine’s Day touch! If you prefer squares, a sharp knife or pizza cutter works just as well.
- Rubber Spatula: Great for scraping down the sides of the mixer bowl and spreading the marshmallow mixture evenly into the pan.
Using these tools will not only make your marshmallow-making journey smoother but also contribute significantly to the professional-looking and tasting results you’ll achieve. Happy baking!
Disclaimer: This post may contain affiliate links, which means that if you purchase items I recommend through the links provided, I may receive a small commission. This comes at no extra cost to you and helps support the content I create. For more information, please see my disclosure policy. Thank you for supporting Fox and Briar!