
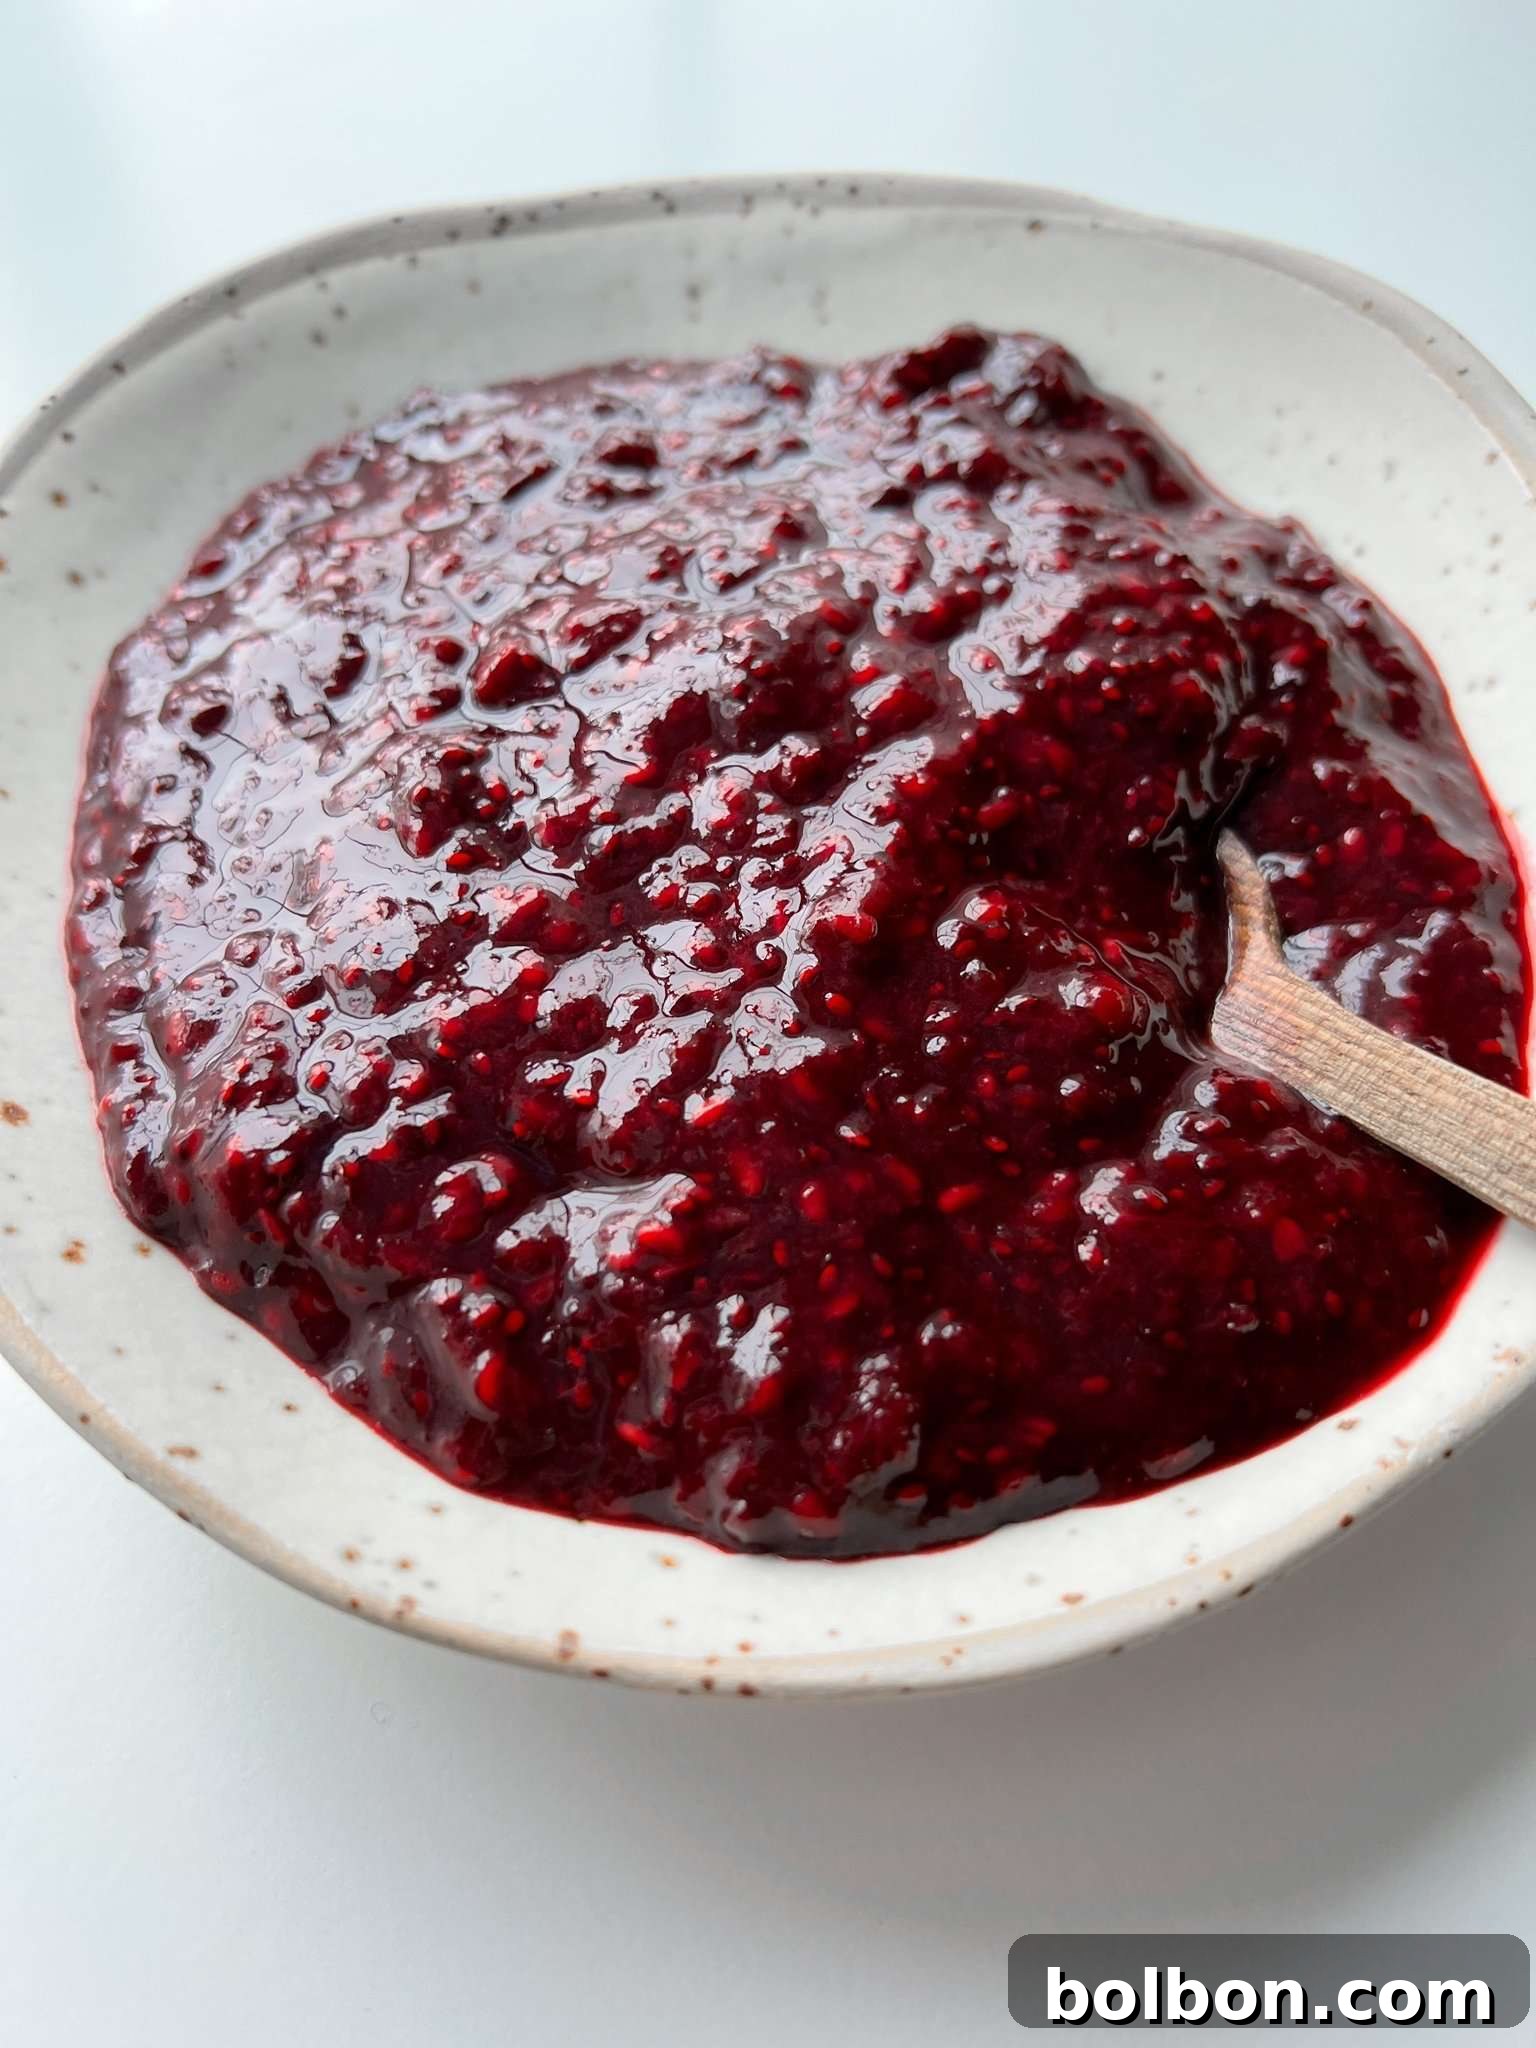
Tired of store-bought jams that are loaded with sugar and artificial ingredients, often boasting more corn syrup than actual fruit? It’s time to revolutionize your breakfast table with homemade Chia Jam! This incredible recipe transforms fresh or frozen berries into a lusciously thick, vibrant spread that’s not only incredibly delicious but also packed with nutrients. For years, this has been my go-to jam, and the sheer delight of watching humble chia seeds turn a simple pile of berries into something so irresistibly addictive never fades. You’ll wonder if something this good can truly be this healthy!
Crafting this superfood jam requires just a handful of wholesome ingredients: your favorite berries, a squeeze of fresh lemon juice, a touch of natural sweetener (optional!), and, of course, the magical chia seeds. That’s all! Forget about complicated pectin measurements, laborious boiling water baths, or feeling like you’re preparing for a culinary apocalypse. This chia jam is remarkably healthy, astonishingly fast to make, and tastes like the best decision you’ve ever made for your pantry and palate. It’s a ray of sunshine in every spoonful ☀️💁🏻♀️.
This recipe is truly the perfect way to breathe new life into those slightly past-their-prime berries lingering in your fridge. Consider it a rescue mission for forgotten fruit 🍓, giving them a glorious redemption arc. Once you experience the delightful texture and fresh, fruity flavor of this homemade chia jam – whether swirled into creamy yogurt, spooned over fluffy pancakes, or slathered generously on a warm, crusty slice of sourdough – you’ll understand why it’s a taste experience that will make you feel like you’ve ascended to a higher culinary plane 🕊️. Prepare to be amazed by its simplicity and depth of flavor!
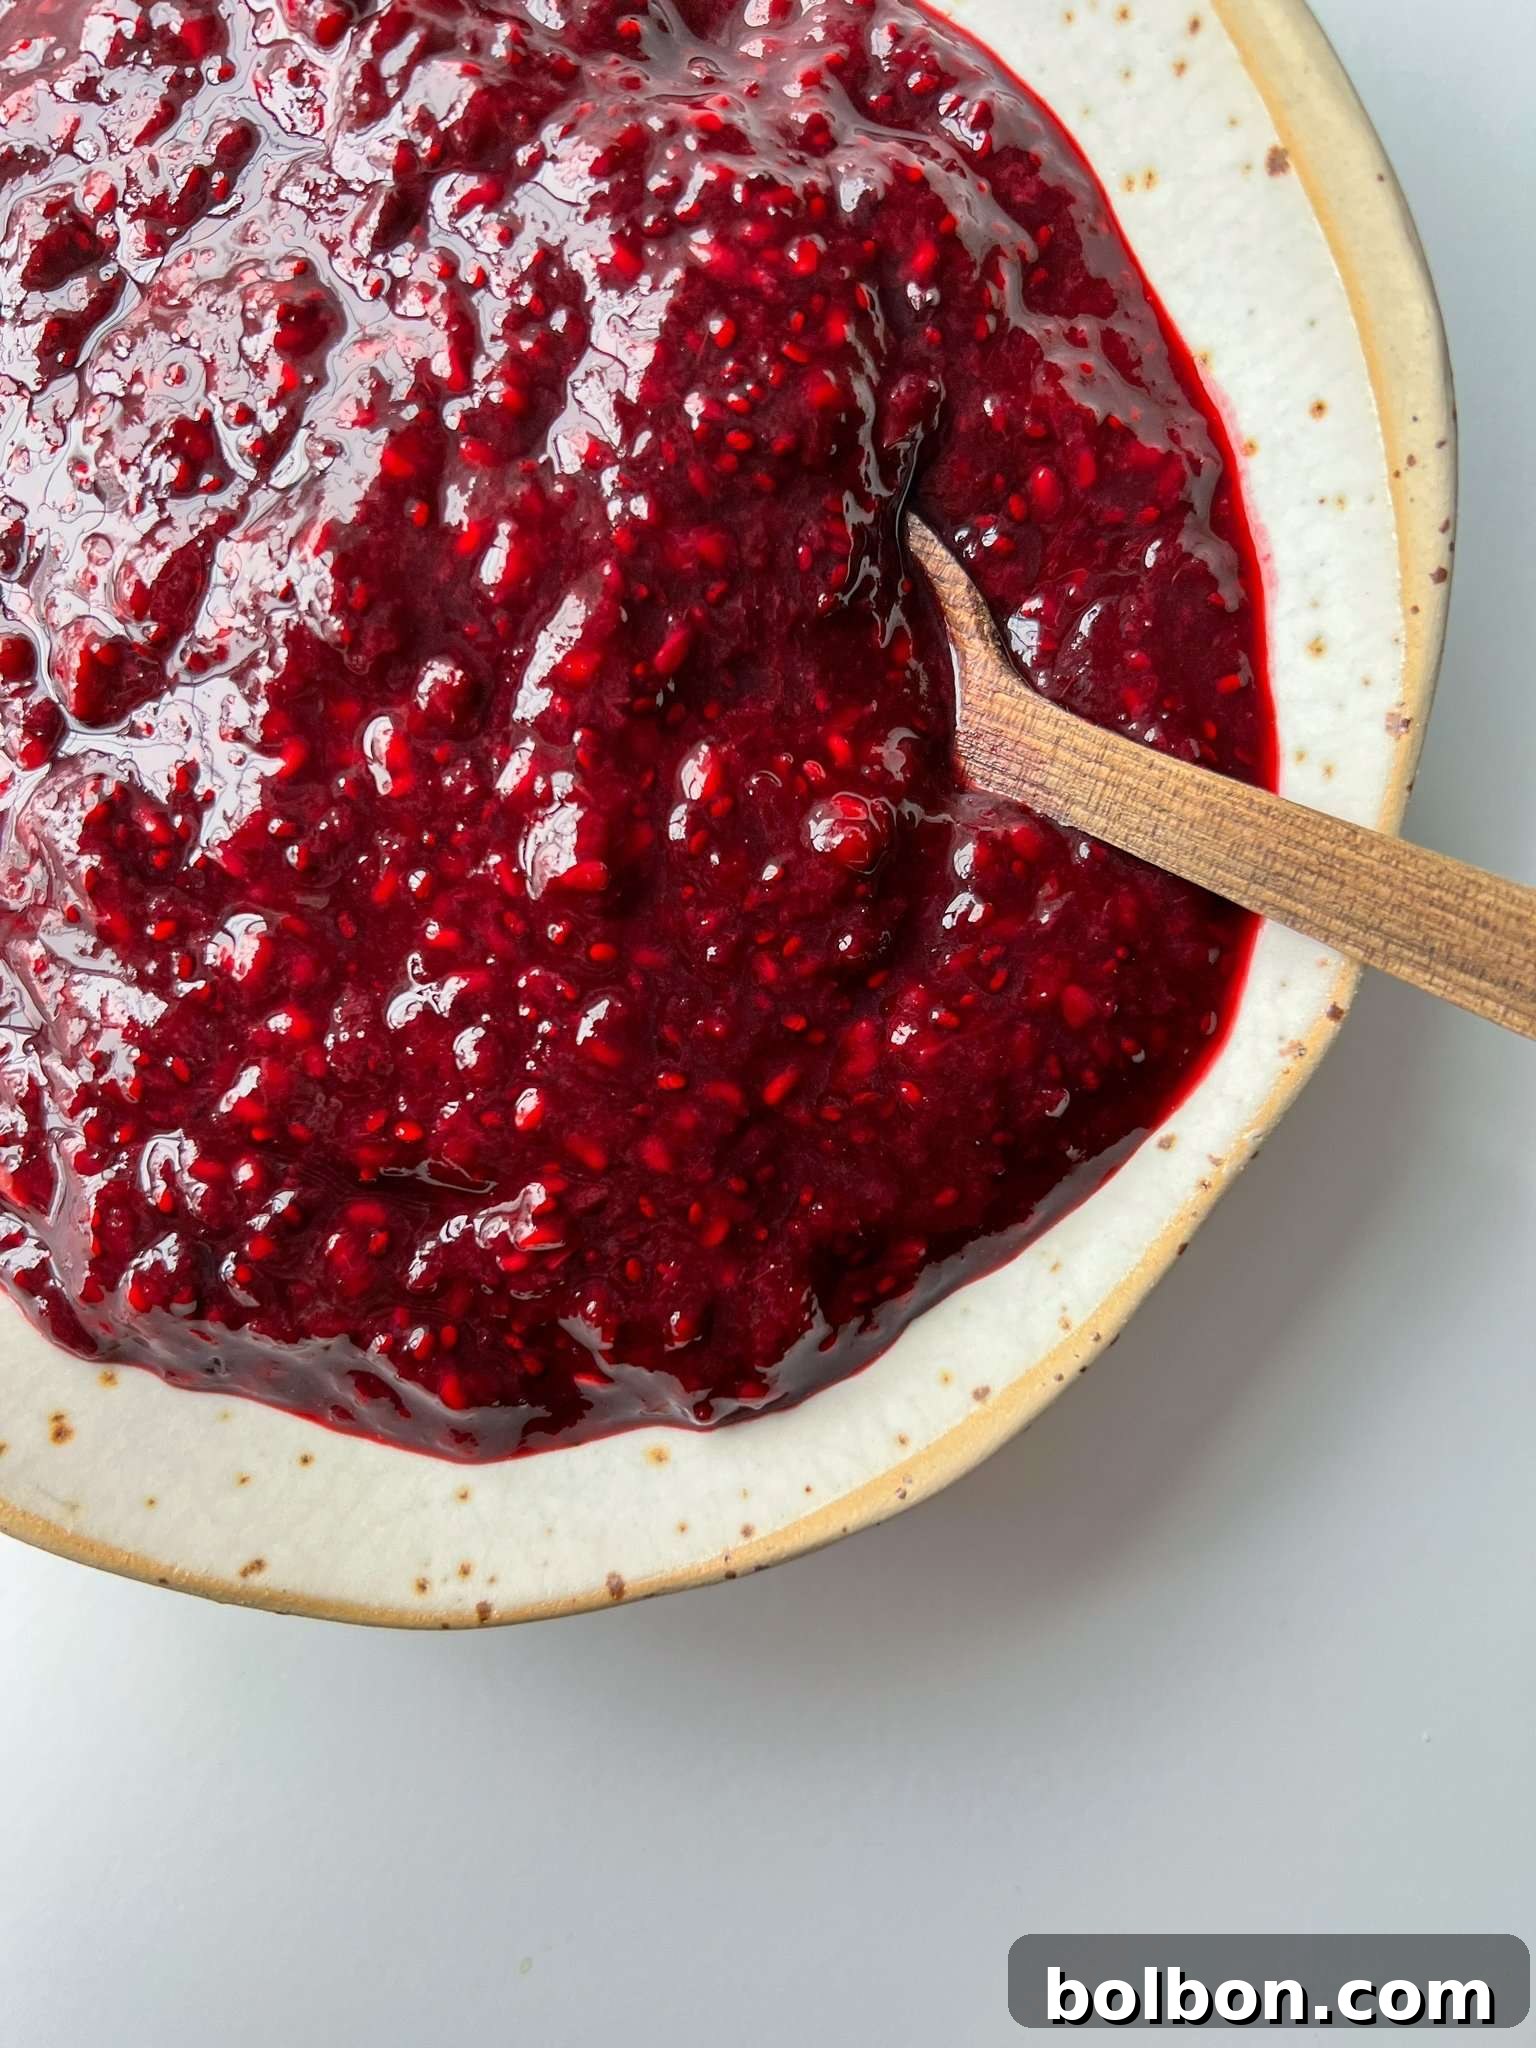
Why This Homemade Chia Jam Will Become Your New Favorite
Our chia jam recipe is designed to deliver a perfectly thick, juicy, and unapologetically delicious spread that you can genuinely feel good about enjoying by the spoonful 🥄. Unlike traditional jams often laden with excessive sugar, this version maintains a fantastic balance, letting the natural fruit flavor shine through while offering significant health benefits. The versatility of this jam is simply unmatched. Imagine spreading it generously on your morning toast 🍞, swirling its vibrant color and flavor into a bowl of Greek yogurt, or enriching your overnight oats with its wholesome goodness. The culinary possibilities are truly endless!
Beyond its incredible taste and texture, what makes this chia jam a game-changer is how fast and customizable it is. In mere minutes, you can transform a handful of ingredients into a gourmet spread. It’s also a brilliant piece of fridge-clearing sorcery 🔮, helping you utilize any berries that are on the verge of spoiling, turning potential waste into a delectable treat. Whether you’re seeking a vegan, gluten-free, or simply a healthier alternative to conventional jams, this recipe fits the bill perfectly. It’s a testament to how simple, natural ingredients can create something truly extraordinary, proving that healthy eating doesn’t mean sacrificing flavor or convenience. Get ready to experience jam like never before!
Essential Ingredients for Your Perfect Chia Jam
Creating this delightful chia jam requires only a few core ingredients, each playing a crucial role in its flavor and texture. The beauty lies in their simplicity and natural goodness:
Berries: This is where the magic begins! You have complete creative freedom here. Use any single berry you adore – be it sweet strawberries 🍓, tangy raspberries, antioxidant-rich blueberries 🫐, or succulent blackberries. Can’t decide? Combine them all for a multi-berry fusion that creates a delightful fruit identity crisis in the best possible way! Fresh or frozen berries work equally well, making this recipe incredibly convenient year-round. Using ripe berries will naturally reduce the amount of sweetener needed, enhancing the fruit’s inherent sweetness and vibrant flavor.
Lemon Juice: A splash of fresh lemon juice is the unsung hero of this jam. It acts as a little peacekeeper 🍋, cutting through the sweetness and brightening the overall flavor profile, ensuring your jam tastes fresh and lively. The acidity also helps to preserve the vibrant color of the berries. While freshly squeezed lemon juice offers the best, brightest flavor (and I personally prefer to squeeze it myself), bottled lemon juice will also work in a pinch.
Sweetener: This ingredient is entirely optional and adaptable to your taste and the natural sweetness of your chosen berries. For this recipe, I typically lean towards maple syrup due to its natural, rich flavor. However, feel free to swap in honey or agave nectar 🍯 if that’s your preference. The amount is completely up to you; start with a small amount and taste as you go, adjusting until you reach your desired level of sweetness. Remember, you can always add more, but you can’t take it away!
Chia Seeds: These tiny powerhouses are undeniably the star of the show (apologies to the berries!). When mixed with liquid, chia seeds have an extraordinary ability to swell up and form a gel-like consistency, which is precisely what creates that irresistible jammy, thick texture without the need for traditional pectin. Beyond their thickening prowess, chia seeds are a nutritional marvel, boasting impressive amounts of fiber, plant-based protein, and essential omega-3 fatty acids 💪. They are truly delivering on both texture and health perks!
Nonna’s Tip for Perfect Sweetness 🍓
Always remember that the natural sweetness of fruit can vary significantly. Therefore, it’s crucial to adjust your sweetener based on your personal preference and how sweet your fruit is to begin with. Begin with a minimal amount of sweetener, then taste the jam mixture as it cooks. You can always add more to achieve your ideal balance!
Endless Variations and Creative Substitutions for Your Chia Jam
One of the most exciting aspects of making chia jam is its incredible flexibility. Once you master the basic recipe, a world of creative variations and substitutions opens up, allowing you to tailor the jam to your exact preferences and whatever seasonal fruits you have on hand. Don’t be afraid to experiment!
- Explore Different Berries and Fruits: While strawberries, blueberries, raspberries, and blackberries are classic choices, don’t limit yourself! Even cranberries work beautifully, though their inherent tartness means you’ll likely need to add a bit more sweetener to balance the flavors. Beyond berries, consider trying stone fruits like peaches or nectarines (peeled and diced), or even finely chopped apples (you might need a splash more liquid for apples). Each fruit will bring its unique character to your jam.
- Alternate Sweeteners: Maple syrup is a fantastic natural sweetener, but as mentioned, you can easily substitute it with honey or agave nectar 🍯. For those who prefer granulated sweeteners, options like coconut sugar or even a natural sugar substitute can be used, keeping in mind that the consistency might be slightly different. Always taste and adjust as you go!
- Citrus Swaps: Lemon juice provides that essential bright note, but freshly squeezed lime or orange juice 🍊 can offer intriguing alternatives. Lime juice will give a sharper, more zesty flavor, while orange juice provides a slightly sweeter, milder citrus undertone. Feel free to experiment with a mix of citrus for a complex flavor profile.
- Boost Nutritional Content and Flavor: To further enhance the health benefits and add another layer of flavor, consider adding a teaspoon of hemp seeds alongside the chia seeds. Hemp seeds offer additional protein and healthy fats, along with a subtle, earthy, nutty taste. Other great additions include a pinch of cinnamon, a dash of vanilla extract, or even a tiny amount of fresh ginger for a warming kick, especially with apple or pear jams.
- Adjusting Consistency: If you prefer a smoother jam, you can blend a portion of the cooked fruit mixture before adding the chia seeds. For a thicker jam, simply add a tiny bit more chia seeds (a quarter teaspoon at a time) and let it sit longer. If it becomes too thick, a tablespoon of water or fruit juice can thin it out.
Delicious Ways to Enjoy Your Homemade Chia Jam
Once you’ve made a batch of this vibrant chia jam, you’ll find countless ways to incorporate its fresh, fruity goodness into your daily meals and snacks. Its versatility makes it a perfect accompaniment to both sweet and savory dishes:
- Classic Breakfast Toast: The quintessential pairing! Generously spread your homemade Chia Jam over a slice of perfectly toasted sourdough, whole wheat, or gluten-free bread for a wholesome and satisfying start to your day. Add a dollop of nut butter for an extra layer of flavor and protein.
- On Top of Pancakes or Waffles: Elevate your weekend brunch by spooning this luscious jam over a stack of fluffy pancakes or crispy waffles. It’s particularly delightful with my 2-Ingredient Pancakes 🥞, creating a truly simple yet gourmet meal.
- Swirled into Yogurt or Pudding: For a nutrient-dense snack or breakfast, swirl a few spoonfuls of chia jam into plain Greek yogurt or plant-based yogurt. If you’re a true chia seed enthusiast, mix it into this already delicious Yogurt Chia Pudding. Is there such a thing as too many chia seeds when they’re this good? We think not!
- Oatmeal and Porridge Topping: Transform a simple bowl of oatmeal, overnight oats, or warm porridge into a flavorful and colorful delight. The jam melts slightly into the warm oats, infusing every spoonful with berry goodness.
- Peanut Butter and Jam Sandwiches: Rediscover the joy of a classic PB&J, but with a healthier, homemade twist. The fresh taste of your chia jam will make all the difference.
- Dessert Enhancer: Use it as a filling for tarts, a topping for ice cream or sorbet, or layered into parfaits with granola and fresh fruit. It’s a natural sweetener that adds depth to any dessert.
- Cheese Board Companion: For a sophisticated touch, serve your chia jam alongside a variety of cheeses and crackers. The sweet and tangy notes of the jam beautifully complement the richness of different cheeses.
The Superpower of Chia Seeds in Your Jam
For those who grew up before the turn of the millennium, chia seeds might first conjure images of tiny grains transforming terracotta figurines into fuzzy green creatures known as Chia Pets. However, these humble seeds have a far more significant and ancient history, recognized by civilizations like the Aztecs and Mayans as a vital energy source. Today, they are celebrated as a legitimate superfood, and for very good reason.
Despite their diminutive size, chia seeds are incredibly nutrient-dense. They are packed with an impressive array of essential nutrients, including high levels of omega-3 fatty acids (specifically alpha-linolenic acid, or ALA), abundant dietary fiber, powerful antioxidants, and quality plant-based protein. These nutritional components contribute to overall health, supporting heart health, digestion, and providing sustained energy. The antioxidants help combat free radicals, while the fiber aids in digestive regularity and can contribute to a feeling of fullness, making them an excellent addition to a balanced diet.
In the context of this jam recipe, chia seeds are not just a nutritional powerhouse; they are the secret to its success and unique texture. Their extraordinary hydrophilic properties allow them to absorb up to 10-12 times their weight in liquid. When mixed with the mashed fruit, they swell and form a gel-like consistency. This natural gelling agent eliminates the need for artificial pectin or excessive amounts of sugar, which are typically required in traditional jam-making to achieve that signature thick, spreadable texture. As the chia seeds absorb the natural liquid from the berries, the mixture transforms into a wonderfully thick, jam-like substance, ensuring your homemade spread is perfectly firm without any added chemicals. This makes chia jam a healthier, simpler, and equally delicious alternative to conventional preserves.
Explore More Delicious Recipes
Chocolate Chia Pudding
4 hrs 4 mins
Chia Seed Pudding
4 hrs 5 mins
Mango Chia Pudding
4 hrs 5 mins
Yogurt Chia Pudding
3 hrs 5 mins
Homemade Cherry Jam
12 hrs 30 mins
Homemade Chia Jam
Facebook Share
Rate Recipe
Print Recipe
Video Tutorial
Equipment Needed
Ingredients
- 18 ounces berries, (approximately 3 small clamshell containers), use any type of berry you like, fresh or frozen.
- 2 teaspoons lemon juice
- 2 teaspoons maple syrup, (or any preferred sweetener you like), optional.
- 1 teaspoon chia seeds
Instructions
-
Combine the berries and lemon juice in a small pot on your stove. Turn the heat to medium and allow the mixture to cook gently, stirring occasionally. As the berries begin to soften and break down, use a potato masher or the back of a fork to mash them to your desired consistency – whether you prefer a chunky or smoother jam.
-
Once mashed, reduce the heat to medium-low and stir in the maple syrup, if you are using a sweetener. Continue to let the jam simmer for a few more minutes, stirring constantly. When the jam reaches a slightly thickened consistency, remove it from the heat and stir in the chia seeds until well combined.
-
As the jam cools, the chia seeds will work their magic, expanding and naturally thickening the jam further (don’t worry, they are flavorless!). Transfer the finished jam to a clean glass jar and let it cool completely to room temperature before covering. Store your homemade chia jam in the refrigerator for up to 2 weeks.
Helpful Notes & Tips
- Sweetness Adjustment: The natural sweetness of berries varies. Always taste your jam before and after adding sweetener. You have full control – add as little or as much maple syrup, honey, or agave as you prefer for your perfect balance.
- Fresh or Frozen Berries: This recipe works wonderfully with both fresh and frozen berries. If using frozen, there’s no need to defrost them beforehand; simply add them directly to the pot. Feel free to use a single berry type or a mix. Cranberries also work, but being naturally tart, they will likely require more sweetener.
- Digestive Benefits: The chia seeds are a true superfood, not only thickening your jam but also providing excellent dietary fiber, which is known to aid healthy digestion.
- Serving Temperature: This versatile jam is absolutely delicious whether enjoyed warm or cold. Feel free to serve it at any temperature you like – your jam, your rules!
- Measuring Fruit: My berry containers were typically 6oz each, making 18oz for 3 containers. However, the exact quantity of berries can be flexible. Don’t stress too much about precise measurements; feel free to measure with your heart and adjust other ingredients accordingly.
- Storage Longevity: When stored properly in a sealed glass jar in the refrigerator, your chia jam should last approximately 2 weeks. Always check for any off smells or signs of mold before consuming, and discard if suspicious.
Nutrition Information (Approximate)
Nutrition information is automatically calculated and should be used as an approximation only.
Additional Recipe Info
Frequently Asked Questions About Chia Jam
While you don’t *have* to, using chia seeds is what gives this recipe its unique name and incredible texture. Without them, it will still be a delicious fruit sauce or compote, but it will have a much looser consistency and won’t set into a jam-like spread. The chia seeds are essential for achieving that characteristic thick, gel-like structure without the need for pectin.
Absolutely! You can certainly use any type or combination of frozen berries for this recipe. There’s no need to defrost them beforehand; simply add them directly to the pot. They will naturally release their juices as they cook down, contributing to the jam’s liquid content.
When properly stored in a clean, airtight glass container in the refrigerator, your homemade chia jam will typically last for about 2 weeks. Since it doesn’t contain the high sugar content or rigorous canning process of traditional jams, its shelf life is shorter. Always use your senses: if it smells off, looks discolored, or shows any signs of mold, it’s best to discard it immediately and do not consume.
Yes, absolutely! If your chosen fruit is perfectly ripe and naturally very sweet on its own, you can feel free to skip the added sweetener entirely. The beauty of this recipe is its flexibility. Taste the cooked fruit mixture before adding any sweetener and adjust based on your personal preference for sweetness and the natural flavor of your berries.
You certainly can! This jam is incredibly versatile and tastes delicious at any temperature. Whether you prefer it chilled from the fridge, at room temperature, or gently warmed, it will be a delightful treat. Feel free to warm it slightly before serving over pancakes or oatmeal for an extra comforting experience. Your jam, your rules!
If your jam seems too runny after cooling for a few hours, it likely needs a bit more chia seeds. Simply add another 1/2 teaspoon of chia seeds, stir it thoroughly into the jam, and let it sit for at least another 30 minutes (or preferably longer, even overnight in the fridge) to allow the seeds to absorb more liquid and thicken. Remember, chia seeds take time to fully hydrate.
Yes, you can easily double or even triple this recipe! Just make sure you have a large enough pot to accommodate the increased volume of fruit. Keep the ratios of fruit to lemon juice and chia seeds roughly the same, and remember to adjust the sweetener to taste as you go.
No special equipment is required beyond a regular small to medium-sized saucepan or pot. A non-stick pot can be helpful for easy cleaning, but any standard pot will do the job perfectly.