Snow Ice Cream
- Makes 4 scoops
- Prep 10 minutes
- Total 10 minutes
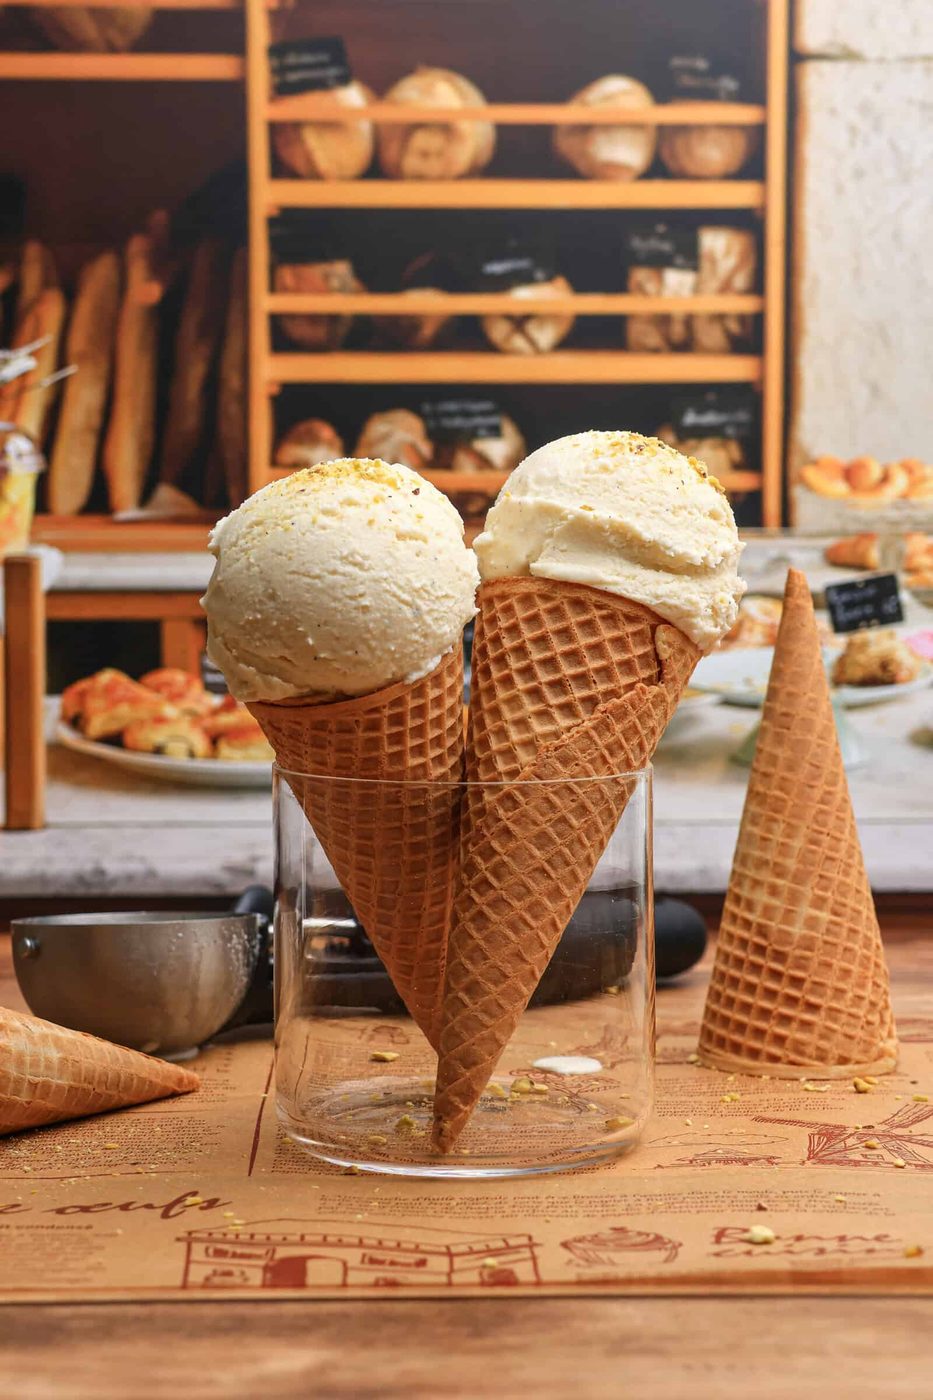
Have you seen the viral TikTok ice cream made in the snow? Just a few simple ingredients, about 10 minutes of stirring, and voilà! Suddenly, you’re enjoying homemade ice cream with all the nostalgic vibes.
And don’t worry — we are not mixing snow into the dessert! This is ice cream made in the snow, not with snow, which means it acts like a natural freezer while the sweet cream mixture stays safely in its own bowl. And once it’s done, the result is pure winter magic.
Before you start
- Snow Ice Cream is a simple dessert made with whipping cream, vanilla extract, and powdered sugar, prepared in snow for a unique freezing method.
- It offers a fun experience for kids and adults, combining dessert and a science experiment.
- To ensure quick freezing, start with cold ingredients and add salt to the snow for a colder mixture.
- Variations include using plant-based milks, sweeteners, and mix-ins for added flavor.
- Serve with sprinkles, chocolate drizzle, or alongside warm desserts for delightful combinations.
What stands out
Kids and kids-at-heart will love making this dessert that feels like a science experiment and dessert all in one. With just three clean ingredients — whipping cream, vanilla extract, and powdered sugar — this recipe comes together to create something that tastes like it’s straight from an old-fashioned ice cream shop. And the texture? Dreamy. Light, airy, and smooth, with that delicate soft-serve consistency – proof that it’s never too cold for a scoop.
Kitchen tip
Start with a cold bowl and cold cream to help everything freeze faster. We like to stick our mixing bowl in the freezer for about 10 minutes ahead of time.
Why Didn’t our Snow Ice Cream Mixture Freeze?
This trend is part dessert, part cozy science experiment. Sometimes it just needs a tiny adjustment to make things work. Here are a few straightforward fixes:
- First, pack in more snow — Surround the bowl well so the cold hugs it from all sides.
- Next, add a little more salt — This is what makes the snow extra cold and helps everything freeze faster.
- Finally, keep mixing — Constant mixing is the secret to smooth, creamy ice cream without the icy bits.
Swaps
- Use dairy substitutions such as full-fat coconut milk, oat creamer, or cashew cream for a plant-based version.
- Swap part of the cream with sweetened condensed milk for a thicker, silkier texture.
- Instead of sugar, use sweeteners such as honey or maple syrup for cozy flavor.
- Once your soft serve ice cream is firm, add mix ins like candies, sprinkles, chopped nuts, or fruit for extra flavor and texture.
- Instead of vanilla extract, feel free to switch up the flavors with almond, lemon, or banana extracts.
Serve it with
- A handful of colorful sprinkles.
- Chocolate drizzle or magic shell.
- Dessert a la mode – such as on top of brownies banana bread or apple pie.
- With warm cup of hot cocoa.
Questions
WhY do you add salt to the snow?
Salt lowers the freezing point of snow (the same reason roads get salted). This creates an extra-cold environment that freezes the cream mixture faster, such as in traditional hand-churned ice cream.
Why isn’t our ice cream getting firm?
To make sure your ice cream gets firm, add A LOT of salt to the snow underneath your bowl. Additionally, the temp outside needs to be cold. However, you can also place your bowl in the freezer to help firm up your ice cream.
strong Does the snow touch the ice cream?
Nope! The ice cream base stays in its own bowl. Additionally, the snow and salt are only around the outside to create cold temperatures.
strong How long does it take to turn into ice cream?
Usually 5–10 minutes of stirring. However, the mixture thickens quickly once the bowl gets cold enough.
strong Can we store this Snow Ice Cream?
Of course! Although, It’s best eaten right away as soft-serve style ice cream. However, it will harden in the freezer. let it sit out for 10–15 minutes to soften before scooping.
Ingredients
Makes 4 scoops
- 1 small container whipping cream, 35%
- 1 teaspoon vanilla, adjust to taste
- ½ cup powdered sugar, adjust to taste
Equipment
- Mixing Bowls
- Measuring Cups + Spoons
- Cordless Mixer
Method
- Make an indent in the snow with your bowl.
- Add a lot of salt to the bottom of the well. Add the bowl back in.
- Now add the rest of the ingredients.
- Lastly mix until it has solidified and enjoy!
- Note: Scroll up the post for plant-based variations, flavor add-ins, and more tips!
Kitchen notes
- Plant-based milks: Use full-fat coconut milk, oat creamer, or cashew cream for a plant-based version.
- Texture boost: Swap part of the cream (to taste) with sweetened condensed milk for a thicker, silkier texture.
- Sweeteners: Instead of sugar, use sweeteners such as honey or maple syrup.
- Mix ins: Once your soft serve ice cream is firm, stir in candies, sprinkles, chopped nuts, or fruit for extra flavor and texture.
- Flavored extracts: Instead of vanilla extract, feel free to switch up the flavors with almond, lemon, or banana extracts.
- Tip: Start with a cold bowl and cold cream to help everything freeze faster. We like to stick our mixing bowl in the freezer for about 10 minutes ahead of time.