
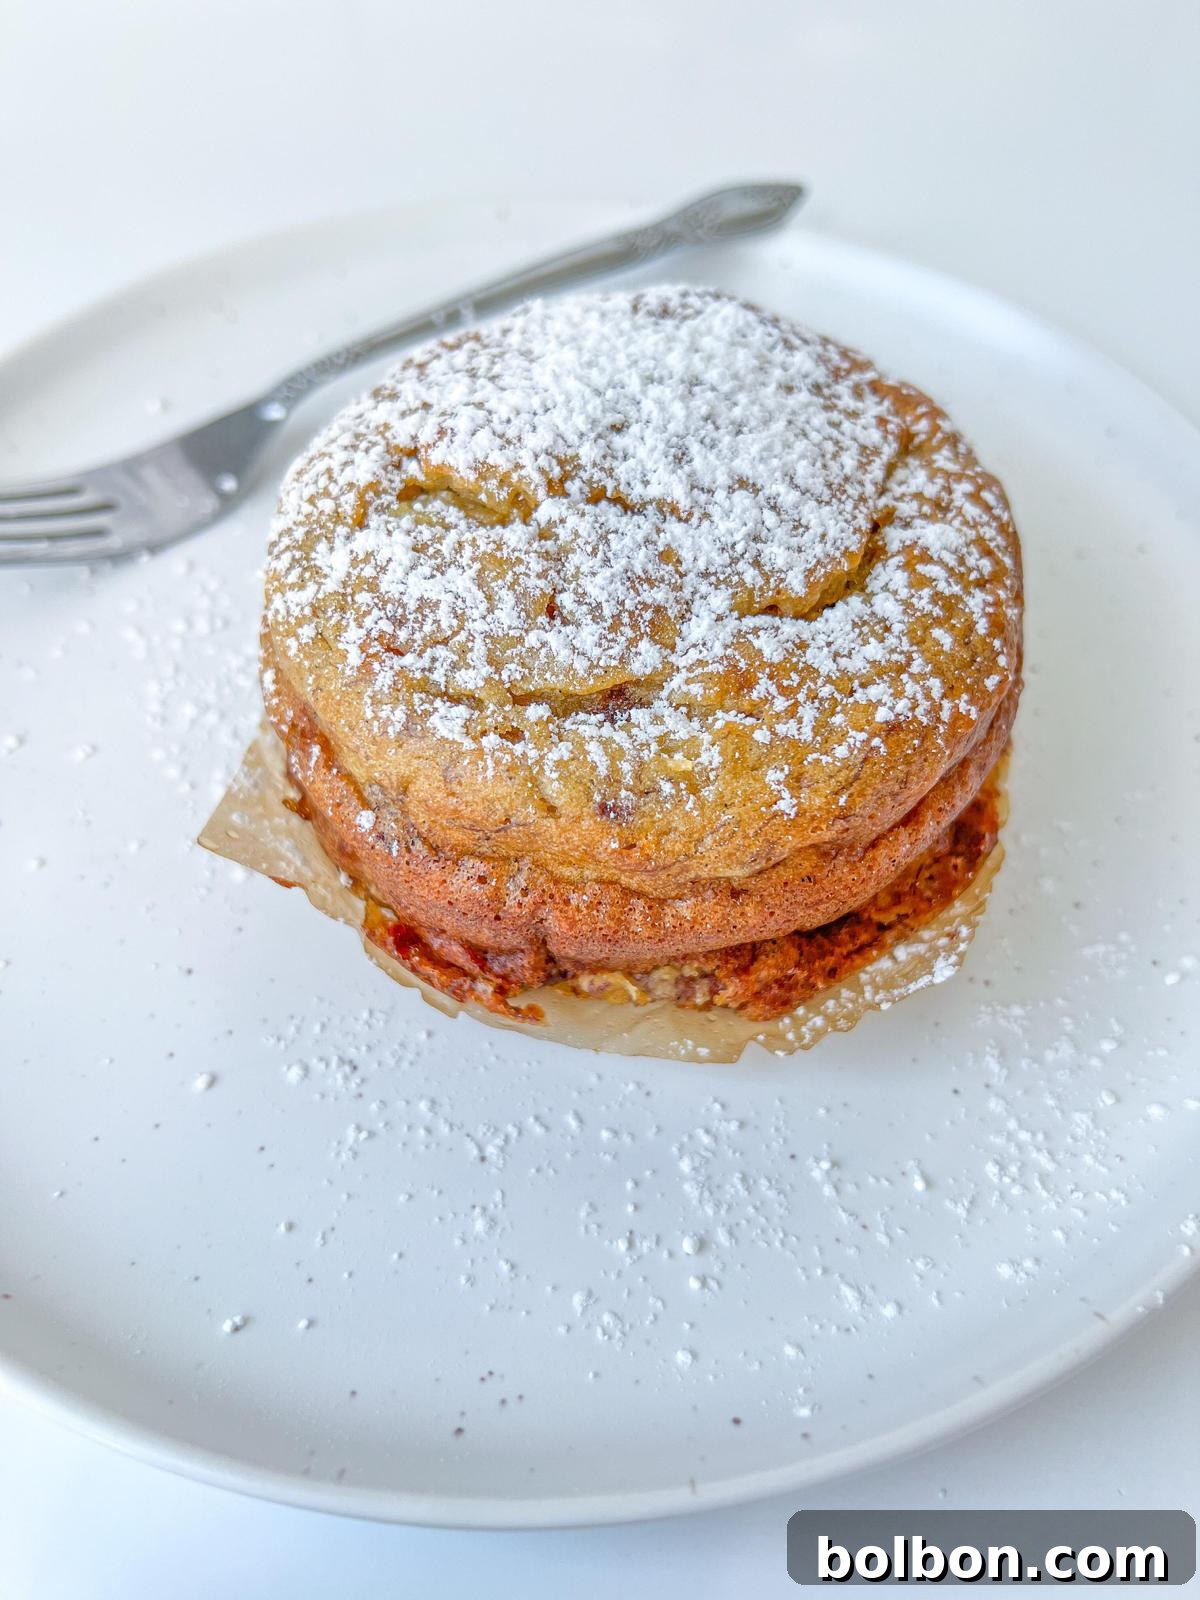
Do you ever find yourself with a lonely, overly ripe banana 🍌 sitting on your counter, its peel speckled with brown, almost calling out to be saved from the compost bin? Instead of discarding it, transform that forgotten fruit into a truly special treat: my irresistible single-serve banana bread! This recipe is a game-changer for anyone who loves homemade baked goods but doesn’t have the time or desire to bake an entire loaf. It’s an incredibly easy indulgence that comes together in a fraction of the time it takes to prepare a traditional banana bread, making it perfect for those spontaneous sweet cravings.
There’s an undeniable charm to a single-serving dessert. It offers the ultimate in instant gratification and portion control, ensuring you get a perfectly warm, fresh-baked delight without any leftovers or the temptation to overindulge. While you could share this delightful creation, let’s be honest – where’s the fun in that when it’s just so perfectly sized for one? This recipe simplifies baking, proving that gourmet flavors don’t require extensive effort or a mountain of ingredients.
All you need to embark on this quick baking adventure is one very ripe banana – those brown spots on the peel aren’t a sign of spoilage, but rather a beacon of intense sweetness and moisture, making them ideal for this recipe. Couple that with a few everyday kitchen staples and a mere 5 minutes of prep time, and you’re well on your way to enjoying a warm, aromatic banana bread that rivals any bakery offering.
Why This Single-Serve Banana Bread Will Become Your New Favorite
This single-serve banana bread isn’t just a recipe; it’s a solution to those sudden desires for homemade warmth and comfort. It’s truly ideal for moments when you crave the comforting aroma and delicious taste of freshly baked goods but without the commitment of baking a full loaf. Here’s why you’ll absolutely fall in love with it:
- Unbeatable Convenience: It’s incredibly quick and easy. With just one overripe banana and a handful of basic pantry staples, you can whip up the batter in minutes. The entire process, from mixing to baking, takes about 30 minutes, meaning you’re just half an hour away from a delightful dessert.
- Perfect Portion Control: Say goodbye to the dilemma of a giant loaf! This recipe is perfectly scaled for one, allowing you to satisfy your sweet tooth without the temptation of overeating or the pressure to share (unless you want to!).
- Reduced Food Waste: Give those neglected, brown-spotted bananas a new lease on life. This recipe is the ultimate way to utilize fruit that might otherwise go to waste, transforming them into something delicious.
- Warm, Moist, and Delicious Every Time: The result is consistently a warm, moist, and incredibly delicious banana bread with a tender crumb and rich flavor, ready just for you.
- Endless Customization: While fantastic on its own, this recipe is a blank canvas for your creativity. Easily customize it with your favorite add-ins like nuts, chocolate chips, or a swirl of nut butter.
Beyond personal indulgence, these single-serve banana breads can also be a surprisingly elegant and impressive addition to a brunch party or gathering. Imagine a charming spread of individual ramekins, each holding a perfectly baked mini banana bread. You can bake multiple ramekins simultaneously on a large baking sheet, making it effortless to transfer many individual dishes in and out of the oven, ensuring everyone gets their own warm, personalized treat.
The Essential Role of Ripe Bananas
The secret to truly outstanding banana bread, especially this single-serve version, lies almost entirely in the ripeness of your bananas. Don’t be shy about using bananas that look past their prime – the browner, the better! As bananas ripen, their starch converts into sugar, intensifying their natural sweetness and imparting a deeper, more complex flavor. Furthermore, ripe bananas are softer and easier to mash, which helps create a moist, tender crumb in your bread. Unripe bananas, on the other hand, are starchy, less sweet, and will result in a drier, less flavorful banana bread. So, embrace those brown spots; they are your best friend for this recipe!
Crafting Your Single-Serve Banana Bread: A Simple Guide
Preparing this delightful treat is wonderfully straightforward, making it perfect for novice bakers and seasoned pros alike. Here’s a detailed walkthrough of the simple steps:
🍌 Begin by preheating your oven to 375°F (190°C). While it’s heating, mash your very ripe banana thoroughly in a small bowl. The smoother the mash, the more uniform the banana flavor will be throughout your bread. Into the mashed banana, whisk in the egg, vanilla extract, and your chosen sweetener. Ensure everything is well combined.
Next, add the avocado oil (or any neutral oil), milk, all-purpose flour, and baking soda. Gently fold these ingredients into the wet mixture until just combined. Be careful not to overmix; a few lumps are perfectly fine and often lead to a more tender result. This is also the perfect moment to stir in any optional delicious additions like crushed walnuts, indulgent chocolate chips, or a spoonful of creamy almond butter for extra flavor and texture.
Prepare your baking dish by lightly spraying a 10-ounce ramekin or any small, single-serve oven-safe dish with non-stick spray, then line it with a small piece of parchment paper to prevent sticking and aid in easy removal. Pour the prepared batter into the lined ramekin and gently tap it on the counter a couple of times to distribute the batter evenly and release any air bubbles.
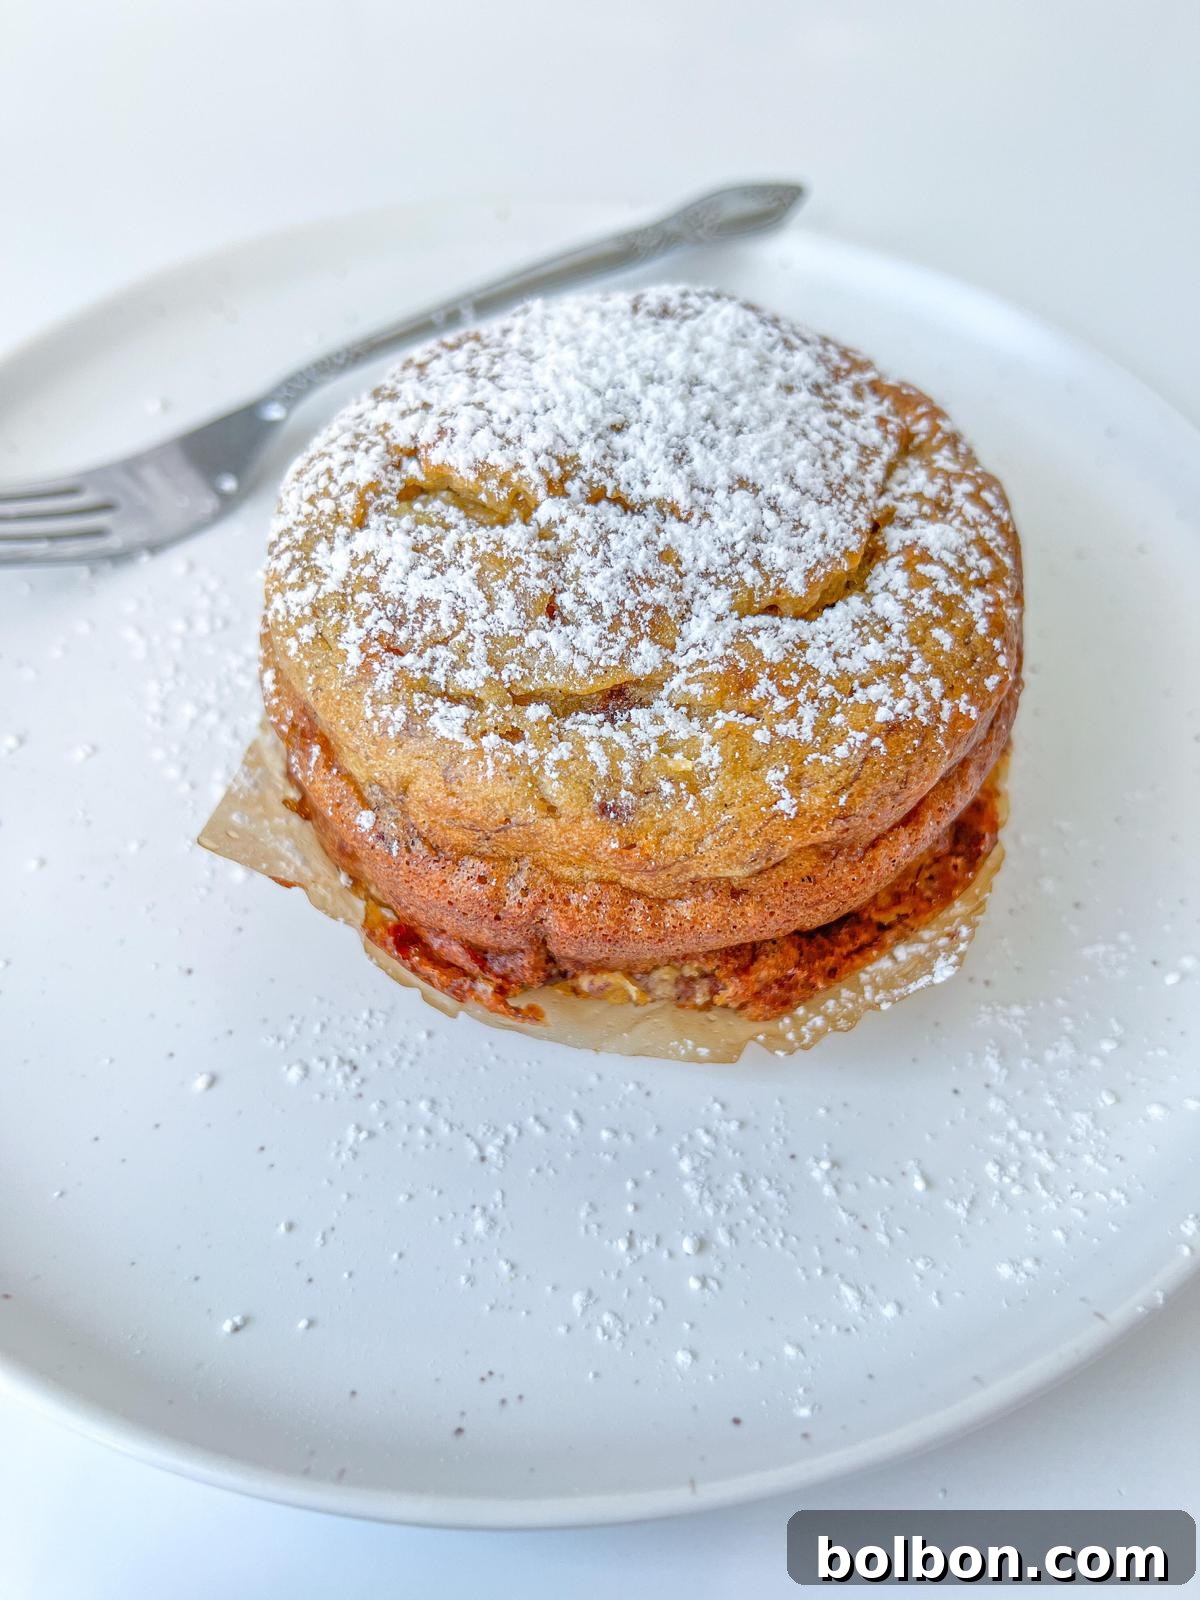
Bake for approximately 25 to 30 minutes, or until the bread is fully set and a toothpick inserted into the center comes out clean. Keep an eye on it, as bake times can vary slightly depending on your oven. Once baked, let it cool slightly in the ramekin before carefully transferring it to a wire rack. Then, prepare to enjoy this incredible bread.
Tips for Achieving Banana Bread Perfection
- Don’t Overmix: Overmixing develops the gluten in the flour too much, leading to a tough and rubbery bread. Mix until just combined, even if there are a few small lumps.
- Choose Your Ramekin Wisely: A 10-ounce ramekin is ideal for this recipe, providing enough space for the bread to rise beautifully. If using a different size, be aware that baking times may vary. A wider, shallower dish might cook faster, while a taller, narrower one might take longer.
- The Toothpick Test is Key: Always check for doneness by inserting a toothpick into the center. If it comes out clean (or with just a few moist crumbs), your banana bread is perfectly baked.
- Cooling is Crucial: While it’s tempting to dive in immediately, allowing the banana bread to cool for a few minutes in the ramekin helps it set and makes it easier to remove without crumbling.
- Embrace Parchment Paper: Lining your ramekin with a small circle or strip of parchment paper makes cleanup a breeze and ensures your beautiful banana bread comes out easily without sticking.
Nonna’s Storage Wisdom
To keep your single-serve banana bread wonderfully fresh and moist, store it in an airtight container at room temperature for up to 2-3 days. If you wish to enjoy it for a longer period, you can refrigerate it for up to a week. For ultimate long-term preservation, freeze it in an airtight container or freezer bag for up to 2-3 months. Thaw at room temperature or gently warm it in the microwave or oven for that fresh-baked taste.
Unleash Your Creativity: Customization Ideas
This single-serve banana bread recipe is incredibly versatile, allowing for numerous substitutions and variations to suit different tastes, dietary needs, or simply to add an extra layer of flavor. Whether you’re aiming for a healthier version or a more indulgent treat, these options let you customize your banana bread to your liking:
- Flour Alternatives: Instead of all-purpose flour, you can easily substitute whole wheat 🌾 flour for a heartier texture and added fiber. For those with gluten sensitivities, a 1-to-1 gluten-free flour blend works beautifully to make the recipe completely gluten-free without compromising on taste or texture.
- Spice it Up: Elevate the flavor profile by adding warm spices. Incorporate a pinch of cinnamon, nutmeg, or cloves into the batter for an aromatic twist that complements the banana perfectly.
- Alternative Sweeteners: If you prefer natural or alternative sweeteners, swap out granulated sugar for options like honey, maple syrup, or agave nectar. Adjust the quantity to your preferred level of sweetness.
- Dairy-Free Options: To make the recipe dairy-free, simply swap out regular milk for almond milk, soy milk, oat milk, or any other plant-based milk. This substitution seamlessly integrates without affecting the texture.
- Vegan & Egg Substitutes: For a completely vegan or egg-free alternative, use flax eggs (1 tablespoon ground flaxseed mixed with 3 tablespoons water per egg, allowed to sit for 5 minutes to thicken) or a similar amount of applesauce as an egg substitute.
- Personalize with Add-ins: Make your banana bread uniquely yours with various extras. Popular choices include different types of nuts like walnuts, pecans, or almonds for a delightful crunch, or luscious chocolate chips for a rich, sweet burst. Dried fruits such as raisins, cranberries, or chopped apricots also add a chewy texture and fruity notes.
- Citrus Zest: A tiny bit of lemon or orange zest can brighten up the flavors.
Elevate Your Enjoyment: Serving Suggestions
While this single-serve banana bread is phenomenal on its own, pairing it with certain toppings or accompaniments can elevate the experience to new heights. Here are some fantastic ways to serve your warm banana bread:
- A Simple Dusting: A light dusting of powdered sugar on top adds a touch of elegance and extra sweetness.
- Creamy Indulgence: A scoop of your favorite vanilla ice cream 🍦 melting over the warm bread creates a luxurious contrast in temperature and texture.
- Whipped Dream: A generous dollop of freshly made whipped cream on the side or right on top offers a light, airy, and creamy accompaniment.
- Nutty Companions: A spoonful of almond butter, peanut butter, or a rich hazelnut spread adds healthy fats, protein, and a delightful nutty flavor.
- Fresh Fruit: Sliced fresh berries (strawberries, blueberries) or extra banana slices can add freshness and a tangy counterpoint.
- Caramel Drizzle: A light drizzle of caramel sauce can take this dessert from simple to spectacular.
Explore More Single-Serve Delights
If you love the convenience and deliciousness of this single-serve banana bread, you’ll be thrilled to discover other fantastic recipes that offer similar individual portions of pure bliss:
- If you have 5 minutes and a blender, you can easily make a comforting Honey Walnut Oat Cake – another quick and wholesome option.
- My Single-Serve Peach Crisp is the ultimate summer dessert, bursting with fruity flavor and a delightful crunchy topping.
- For chocolate and peanut butter lovers, this Chocolate Peanut Butter Oat Cake is another home-run, single-serve dessert that hits all the right notes.
Frequently Asked Questions About Single-Serve Banana Bread
I recommend using a 10-ounce ramekin for optimal results, as it provides enough space for the bread to rise without overflowing. However, you can certainly use any small, oven-safe dish you have on hand. Just be aware that the baking time might need slight adjustments depending on the size and shape of your dish.
Absolutely! This recipe is very adaptable. Feel free to use a 1-to-1 gluten-free flour blend if you want to make this banana bread gluten-free. The texture and flavor will remain wonderfully delicious.
Making this recipe dairy-free is incredibly simple. Just use any plant-based milk of your choice, such as almond milk, oat milk, soy milk, or cashew milk. The taste and consistency of the banana bread will be just as delightful.
To keep your banana bread fresh and moist, store it in an airtight container at room temperature for up to 2-3 days. For extended freshness, you can refrigerate it for up to a week. If you’re planning to enjoy it much later, it freezes beautifully for up to 2-3 months in an airtight container or freezer bag.
Yes, absolutely! You can easily double or triple the ingredients to make more individual single-serve banana breads in separate ramekins, or bake it in a larger oven-safe dish if you prefer a small loaf. When scaling the recipe, remember to adjust the baking time accordingly. A larger dish or multiple ramekins might require a bit more time in the oven, so keep an eye on it and use the toothpick test for doneness.
Ingredient weights can indeed vary due to several factors. The brand of ingredients (e.g., different types of flour can have different densities), the brand and style of measuring cups and spoons (wet versus dry measures), and even the technique for measuring into cups (scooping and leveling versus spooning ingredients into the cup) can all influence the final weight. For instance, while 1 cup of flour might weigh 160g in my kitchen, it could range from 120g to 180g in yours. For the most accurate and consistent results, it is always best to go by the specific weight listed in the recipe if provided, as that’s how the recipe was developed and tested.
Single Serve Banana Bread
Facebook Share
Rate Recipe
Print Recipe
Video
Equipment
Ingredients
- ▢ 1 banana, very ripe
- ▢ 1 egg
- ▢ 1 teaspoon pure vanilla extract
- ▢ 1 tablespoon sugar, or sweetener of choice
- ▢ 1 tablespoon avocado oil, or any neutral oil
- ▢ 1 tablespoon milk
- ▢ ¼ cup flour
- ▢ ¼ teaspoon baking soda
- ▢ pinch of salt
- ▢ 1 to 2 tablespoons walnuts , crushed or chopped
- ▢ 1 to 2 tablespoons chocolate chips , optional
- ▢ ½ teaspoon powdered sugar, for dusting
Instructions
-
Preheat the oven to 375F (190C).
-
NOTE: The bake time will depend on your specific oven and the dish you use, so keep a close eye on the bread as it bakes. It’s ready when it no longer jiggles in the center and a toothpick inserted into the middle comes out clean or with just a few moist crumbs.
-
Peel and thoroughly mash the banana in a small bowl. Add the egg, vanilla extract, and sugar. Mix well until all wet ingredients are combined.
-
Add the oil, milk, flour, and baking soda to the wet mixture. Mix gently until just combined. Be careful not to overmix the batter. Optionally, stir in any crushed walnuts or chocolate chips at this stage.
-
Lightly spray and line a 10-ounce ramekin (or your chosen oven-safe dish) with a piece of parchment paper to prevent sticking. Pour the prepared batter into the ramekin and gently tap it on the counter to distribute evenly.
-
Bake for 25 to 30 minutes, or until the bread is fully set and a toothpick comes out clean.
-
Allow the banana bread to cool for a few minutes in the ramekin, then carefully transfer it to a wire rack to cool further. Once cooled slightly, dust with icing sugar for an extra touch of sweetness, and enjoy your delicious single-serve treat!
Notes
Canada link for similar ramekins: Foraineam 6 Pack Oven Safe Porcelain Souffle Dishes with Double Handles, 10 Ounce Round Mini Quiche Pan, Baking Pie Dish Ramekins
USA Link for 10-ounce ramekins: Amazon.com: 10 OZ Ramekins Set of 6, LOVECASA Porcelain Creme Brulee Ramekins Oven Safe for Baking
Nutrition
Nutrition information is automatically calculated, so should only be used as an approximation.