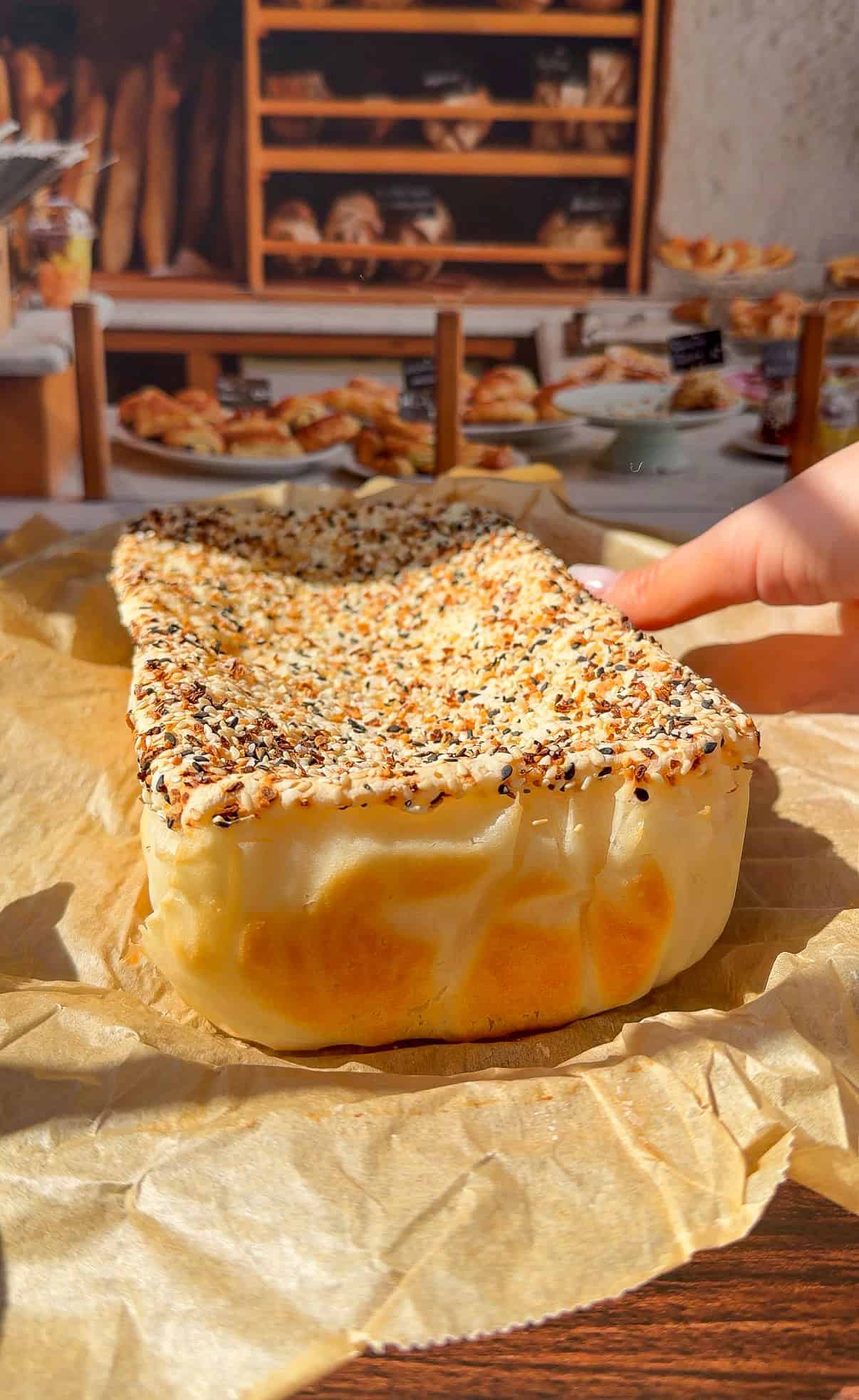
No Knead Olive Bread
- Makes 10 Slices
- Prep 5 minutes
- Cook 1 hour
- Total 6 hours 5 minutes
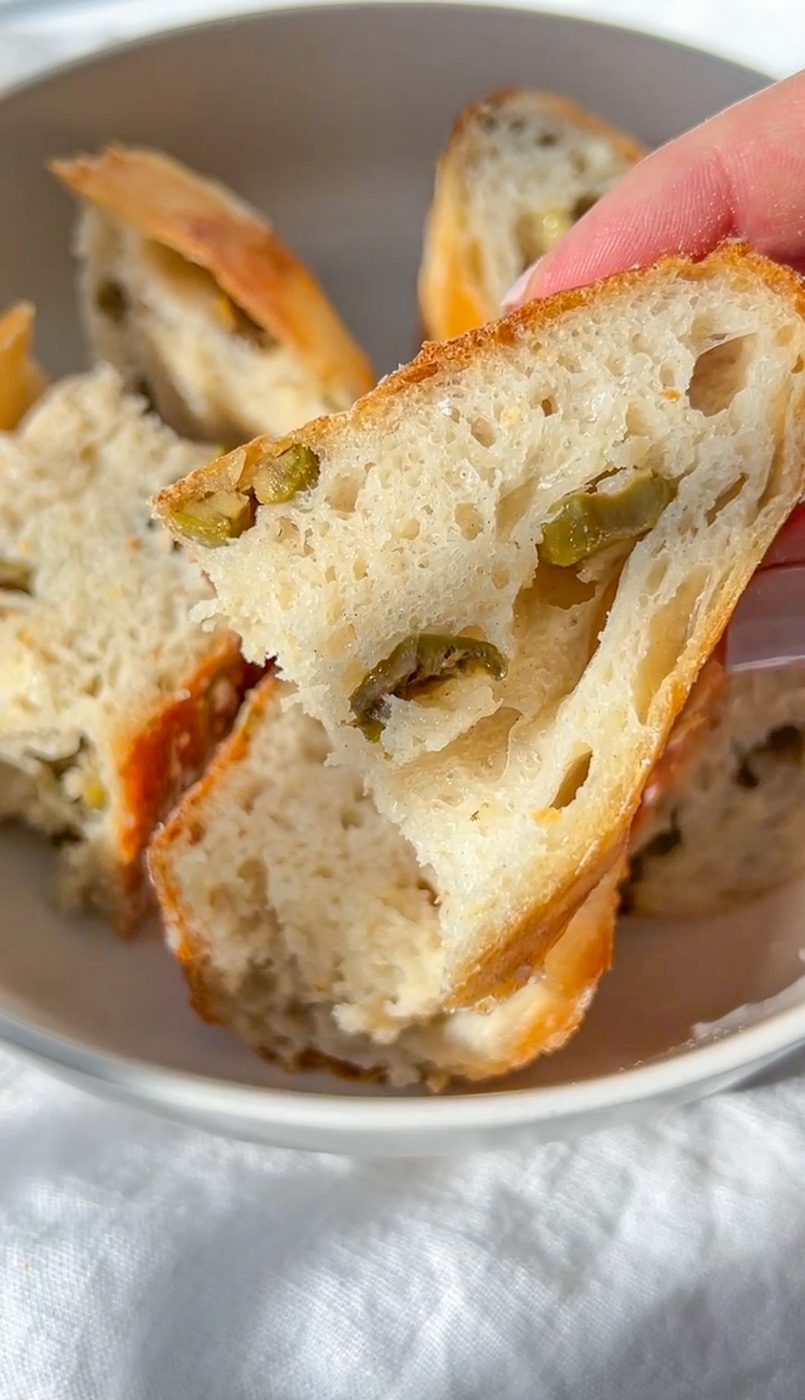
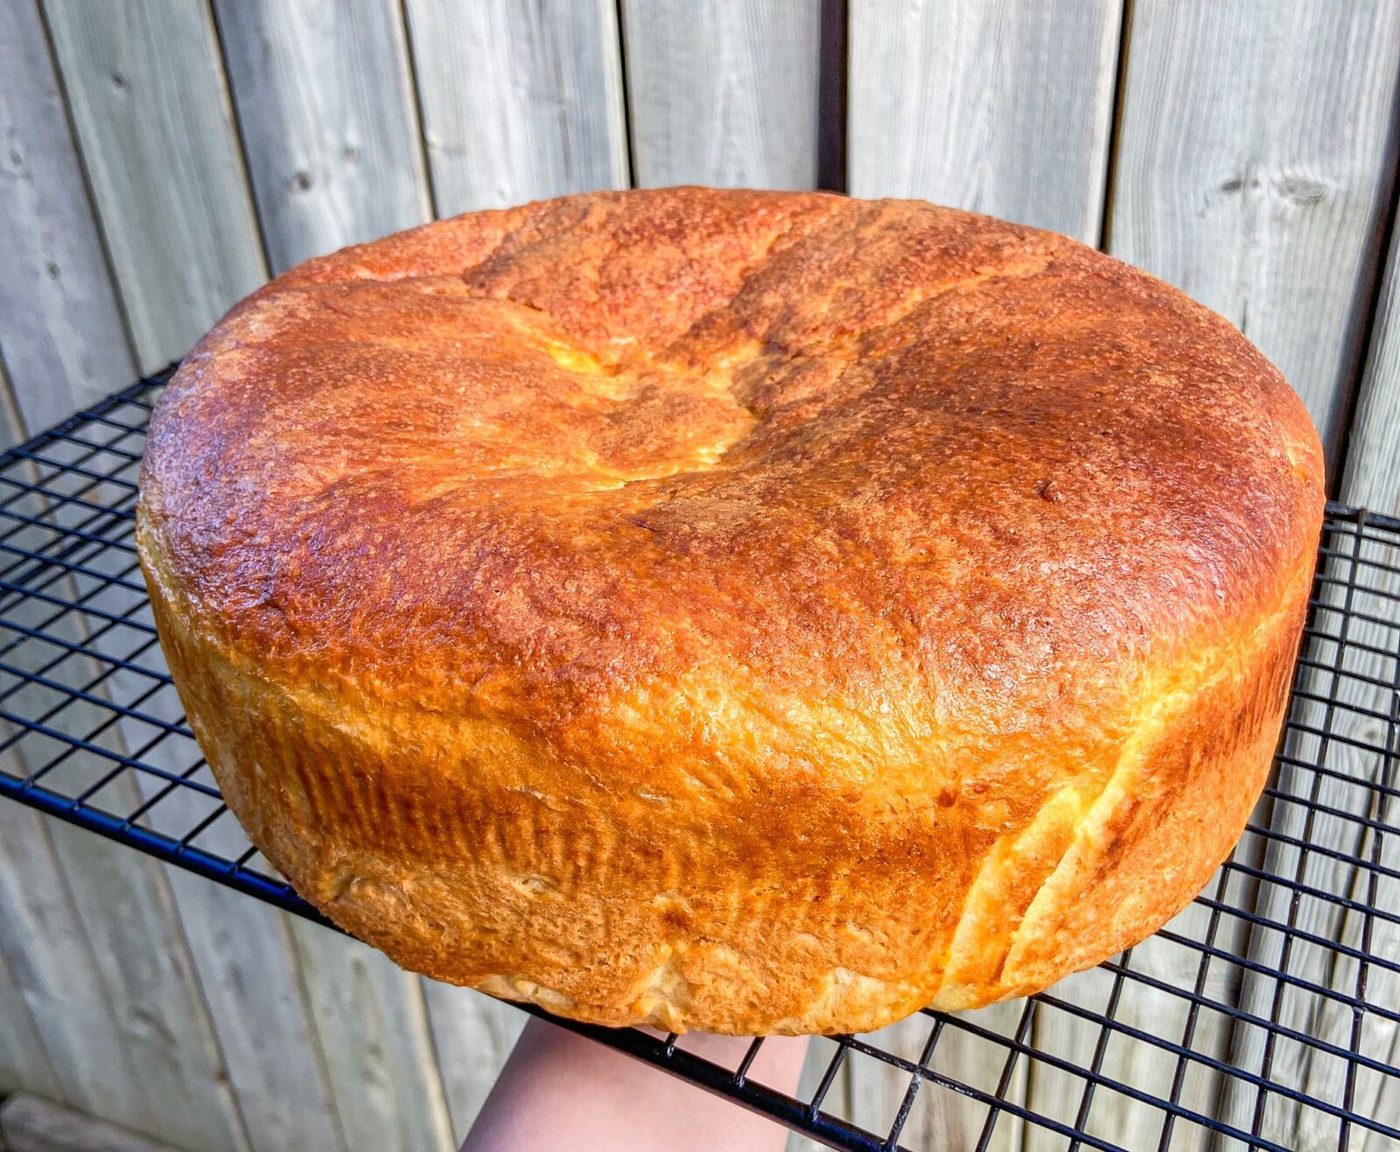
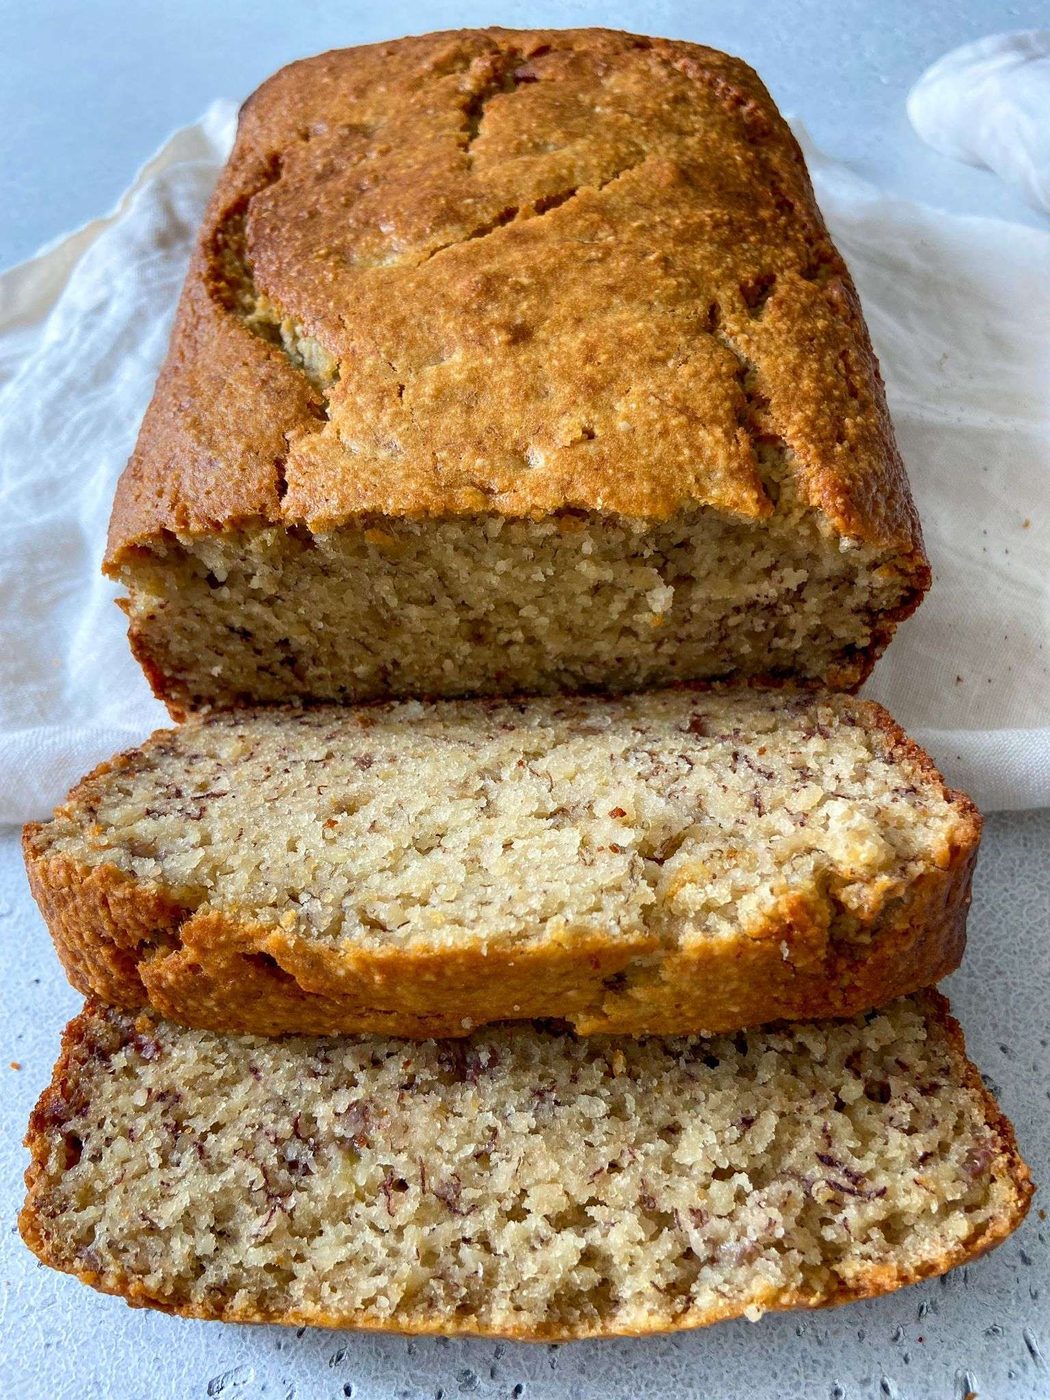
This No Knead Olive Bread is crispy on the outside but warm, soft, and chewy on the inside. Our grandma would call this “peasant bread” because it was so simple to make and required no measurements. Back home in Bulgaria, we made everything “to taste” or looked at the consistency.
Our grandma was one of ten children who worked tirelessly to provide for her siblings. When you come from a poor country or don’t have much, you can always rely on a few basic ingredients such as flour, salt, water, and yeast. With these few staples, your bellies were always full, and you were able to feed a lot of people on a modest income.
We were raised measuring ingredients using coffee mugs, and life was incredibly simple. Anyone can make bread with this recipe. If you are capable of adding a few simple ingredients to a bowl and stirring it up, you are capable of making bread – it is just that straightforward!
What stands out
Homemade Bread: Enjoy baking your own bread without the hassle of kneading. This recipe is so beginner-friendly that you can’t mess it up!
Crispy & Chewy: This bread has a perfectly crispy crust and is warm, soft, and chewy on the inside.
Family-Friendly: Loved by all generations, this bread is a hit with kids and adults.
Mediterranean Flavor: Chopped olives add a wonderful Mediterranean twist with saltiness and extra flavor.
How To Prepare
Mix Ingredients: In a large bowl combine all-purpose flour and salt. Add the active dry yeast and warm water. Stir until the dough comes together.
Fold in the Olives: Add inthe olives and fold them (or mix) into the dough.
Cover and Rest: Cover the bowl with plastic wrap and let the dough rest for a minimum of 5 hours at room temperature. During this time, the dough will rise and develop flavor.
Shape the Dough: Shape the dough (don’t knead it!) into a round loaf on a floured surface.
Bake: Carefully place the dough into an oven-safe dish lined with parchment paper . Cover it with the lid place it in a cold oven, turn the oven on to 450°F (230°C) and bake for 30 minutes. After 30 minutes remove the lid and bake for an additional 25-30 minutes until the bread is golden brown. The timing will depend on the oven so be sure to keep an eye on it.
Cool and Enjoy: Remove the bread from the oven and let it cool on a wire rack (or dig into it hot). Once it’s cooled, slice and savor your homemade olive bread.
The family's Bread Tip
Make sure the yeast is not expired. You can always add the yeast to warm water and let it foam up. When it foams up, it’s active and ready to be used. If it doesn’t foam up, start this step again.
Substitutions and Variations
This Bulgarian-inspired No Knead Olive Bread has deep-rooted traditions. With a bit of creativity, you can make it your own.
- Flour: You can use whole wheat flour or a mixture of whole wheat and all-purpose flour for a heartier loaf.
- Add Herbs and Spices: Enhance the flavor by adding herbs like rosemary, thyme, or spices such as garlic powder or onion powder to the dough.
- Try some seeds and Nuts: Sprinkle sesame seeds, poppy seeds, or chopped nuts (like walnuts or sunflower seeds) on top of the bread before baking for added texture and flavor.
- Shape Variations: Experiment with different shapes – make rolls, baguettes, or even stuffed bread with your favorite fillings.
- Gluten-Free Option: Use a gluten-free flour blend and ensure your yeast is gluten-free if you’re following a gluten-free diet.
- Use Sourdough Starter: Use one cup of sourdough starter in place of the yeast. Be sure to let it rest and ferment for at least 6 hours.
Serve it with
Our No Knead Olive Bread pairs wonderfully with a variety of dishes, including soups and stews, cheese and butter boards, and more. Some of our favorite soups to enjoy with this bread:
- Pastina Soup
- Greek Lemon Soup
- The Best Lentil Soup
- Hidden Veggie Orzo Soup
- Healthy Cream of Broccoli Soup
- Healthiest Cream of Hidden Veggie Soup
- Hidden Veggie Meatball Soup
- Chicken Noodle Soup
- Viral Butter Board With Goat Cheese
- Holiday Butter Board
- Holiday Charcuterie Board
- Holiday Cheese Board
Other No-Knead Recipes
If you like this no knead bread, try some of our others:
- No-Knead Gluten-Free Bread
- Our Viral No-Knead Peasant Bread
- No-Knead Foccacia
- No-Knead Cheddar Bread
Questions
strong WHERE CAN we FIND THE BAKING DISH THAT YOU USE?
strong WHY IS IT ESSENTIAL FOR THE WATER TEMPERATURE TO BE BETWEEN 100 AND 110 DEGREES FAHRENHEIT?
Maintaining this water temperature range is crucial because it ensures that the yeast activates properly. Water that’s too hot or too cold can hinder yeast activation.
strong HOW CAN we MEASURE THE CONSISTENCY OF THE DOUGH WHEN TRADITIONAL MEASUREMENTS AREN’T USED?
In this traditional recipe, we encourage you to add water gradually until you achieve a thick and sticky dough, following the u0022na okou0022 or u0022by eyeu0022 method.
strong WHAT SHOULD we DO IF we’M UNSURE WHETHER MY YEAST IS STILL ACTIVE?
To test the yeast’s activity, add it to warm water. If it doesn’t foam up, you’ll need to start with new yeast. Foaming indicates that the yeast is active and is ready to be added to the flour and salt.
strong WHAT DO we DO IF THE DOUGH TURNS OUT TOO WET OR TOO DRY?
F the dough is too wet, you can sprinkle in a bit more flour to adjust. Conversely, if it’s too dry, add warm water a little at a time until you have a tacky dough.
strong CAN we USE ANY BAKING DISH FOR THIS BREAD?
Yes, any oven-safe baking dish that can accommodate a loaf of bread will work. For example, a mark Corning-Ware Dish or something similar will do the job.
strong strong HOW DO we USE A DUTCH OVEN TO BAKE THE BREAD?
Preheat the Dutch oven in a 450°F (230°C) oven with its lid on, shape the dough, place it inside, bake for 30 minutes with the lid on, then remove the lid and bake for an additional 15-20 minutes until golden brown.
strong CAN we USE A DIFFERENT TYPE OF YEAST OTHER THAN ACTIVE DRY YEAST?
You certainly can. Although this recipe specifically calls for active dry yeast you can also try instant yeast as well. br
strong WHY IS IT IMPORTANT TO SCOOP AND LEVEL OFF THE FLOUR BEFORE ADDING IT TO THE BOWL?
This method ensures more precise measurements, helping you achieve the right consistency for the dough. br
strong CAN we USE ALUMINUM FOIL INSTEAD OF A DISH LID FOR BAKING?
While we have not explicitly tested it, aluminum foil should work as a substitute for a dish lid.
strong CAN we USE WHOLE-WHEAT FLOUR INSTEAD OF ALL-PURPOSE FLOUR?
Yes, you certainly can use whole-wheat flour. br
strong CAN we MAKE A GLUTEN-FREE VERSION OF THIS RECIPE?
Yes, you can use a 1-1 gluten-free flour for this recipe, or you can make our strong a No-Knead Gluten-Free Bread. br
strong HOW LONG SHOULD THE DOUGH REST?
The dough should rest for a minimum of 5 hours, but it’s common to leave it overnight and bake it the following morning. The dough should rest at room temperature and away from drafts.
strong HOW DOES TEMPERATURE AFFECT THE DOUGH’S RISING TIME?
In hotter climates, the dough may rise much faster, so we would advise placing it in a cooler room or limiting the rise to a maximum of 2 to 3 hours to prevent over-expansion. Once it doubles or triples in size, it should be baked immediately. br
strong CAN we USE THIS RECIPE IN HIGHER ALTITUDES?
The recipe hasn’t been tested at higher altitudes, so adjustments may be necessary. br
strong WHAT SHOULD THE CONSISTENCY OF THE DOUGH BE LIKE?
The dough should not be watery or dry; it should have a thick and sticky consistency.
Ingredients
Makes 10 Slices
- 3 cups all-purpose flour
- 1 teaspoon salt
- ½ teaspoon active dry yeast
- 1 ¾ cups warm water
- ½ cup chopped pitted olives
- additional flour for dusting the counter plus the top of the bread, no kneading, dust the top and bottom well, gently shape and transfer
Equipment
- Mixing Bowls
- Corning Ware Dish
- Measuring Cups + Spoons
Method
- Mix the dry ingredients + olives in a really big bowl. Add the water and mix with a spatula until you have a sticky dough. The water needs to be between 100 and 110 degrees Fahrenheit (37 to 43 degrees Celsius). If the water is too hot or too cold the yeast will not activate.
- Note: Make sure the yeast is NOT expired.
- Cover the bowl with a clean kitchen towel and let rest at room temperature for at least 5 hours or overnight. Place the bowl of dough away from drafty areas, such as in the microwave, cupboard, or in a cold oven.
- After the dough has tripled in size, uncover it, and flour the counter. Pour the dough out onto the counter and generously sprinkle the top with flour.
- You do NOT need to knead the dough. You can simply move it around until you have a really nice and soft dough that is no longer sticky and is oval in shape. If the loaf sticks to your hands or the counter, sprinkle on a little more flour.
- Place the loaf into any oven-safe dish lined with parchment paper. Place a lid on the dish, and place the dish in a cold oven (an oven that is NOT preheated).
- Turn the oven on to 450F (230C) once the bread is inside. Bake the bread with the lid on the dish for 30 minutes. After 30 minutes, carefully remove the hot lid from the dish and bake the bread for another 25 to 30 minutes.
- The bread is done once it’s light and golden on each side. Let it cool 5-10 minutes and dig in! Enjoy.
- To store leftover bread, let the bread cool completely, wrap it up in plastic wrap, beeswax wrap, or a clean kitchen towel, and store the bread on the counter. This bread is always best served warm the same day.