No Knead Chocolate Chip Bread
- Makes 10 slices
- Prep 5 minutes
- Cook 1 hour
- Total 6 hours 5 minutes
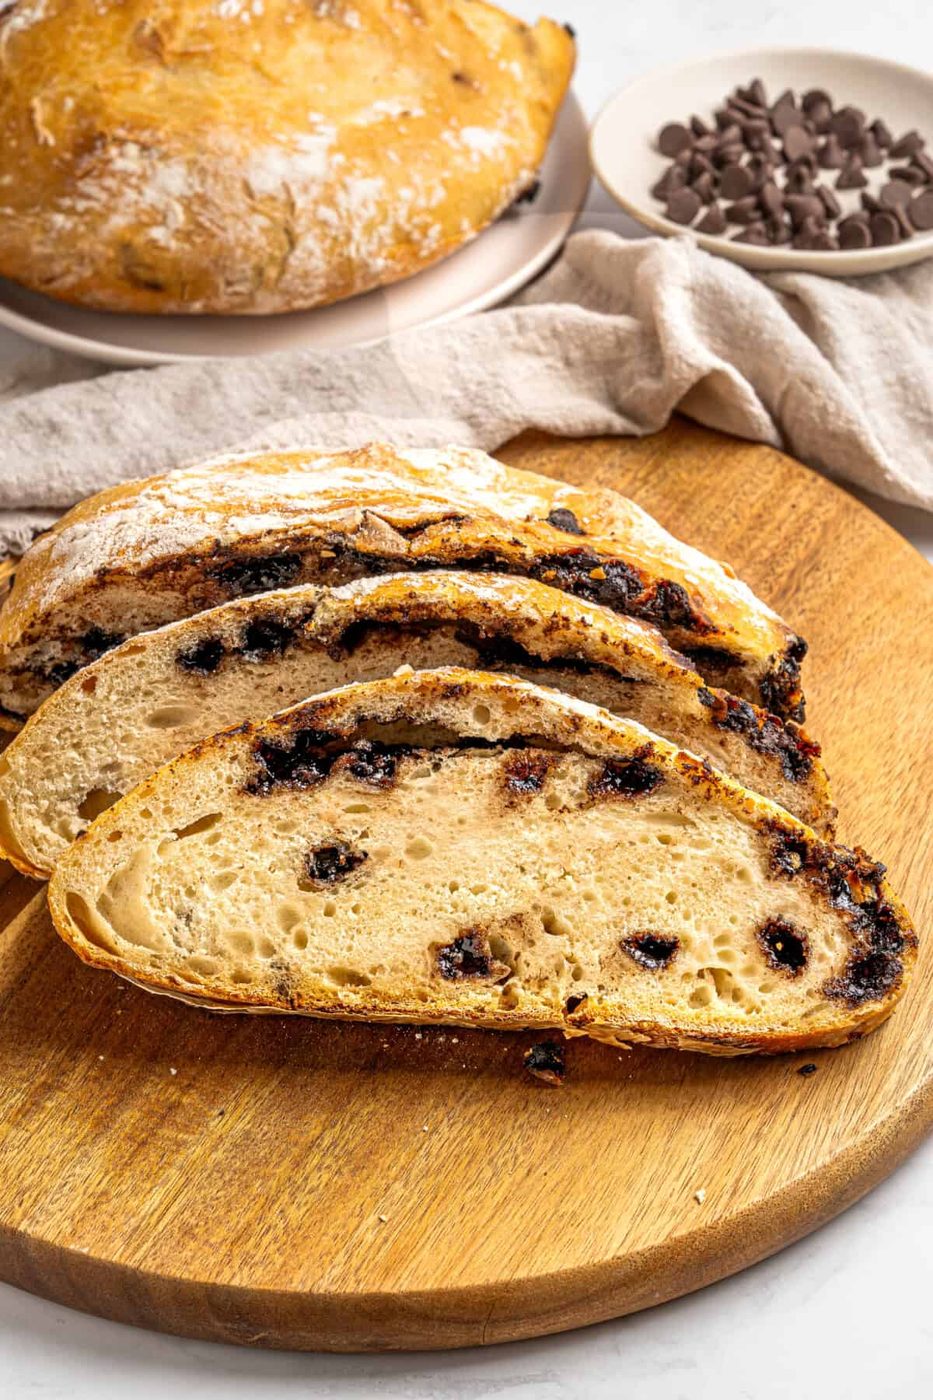
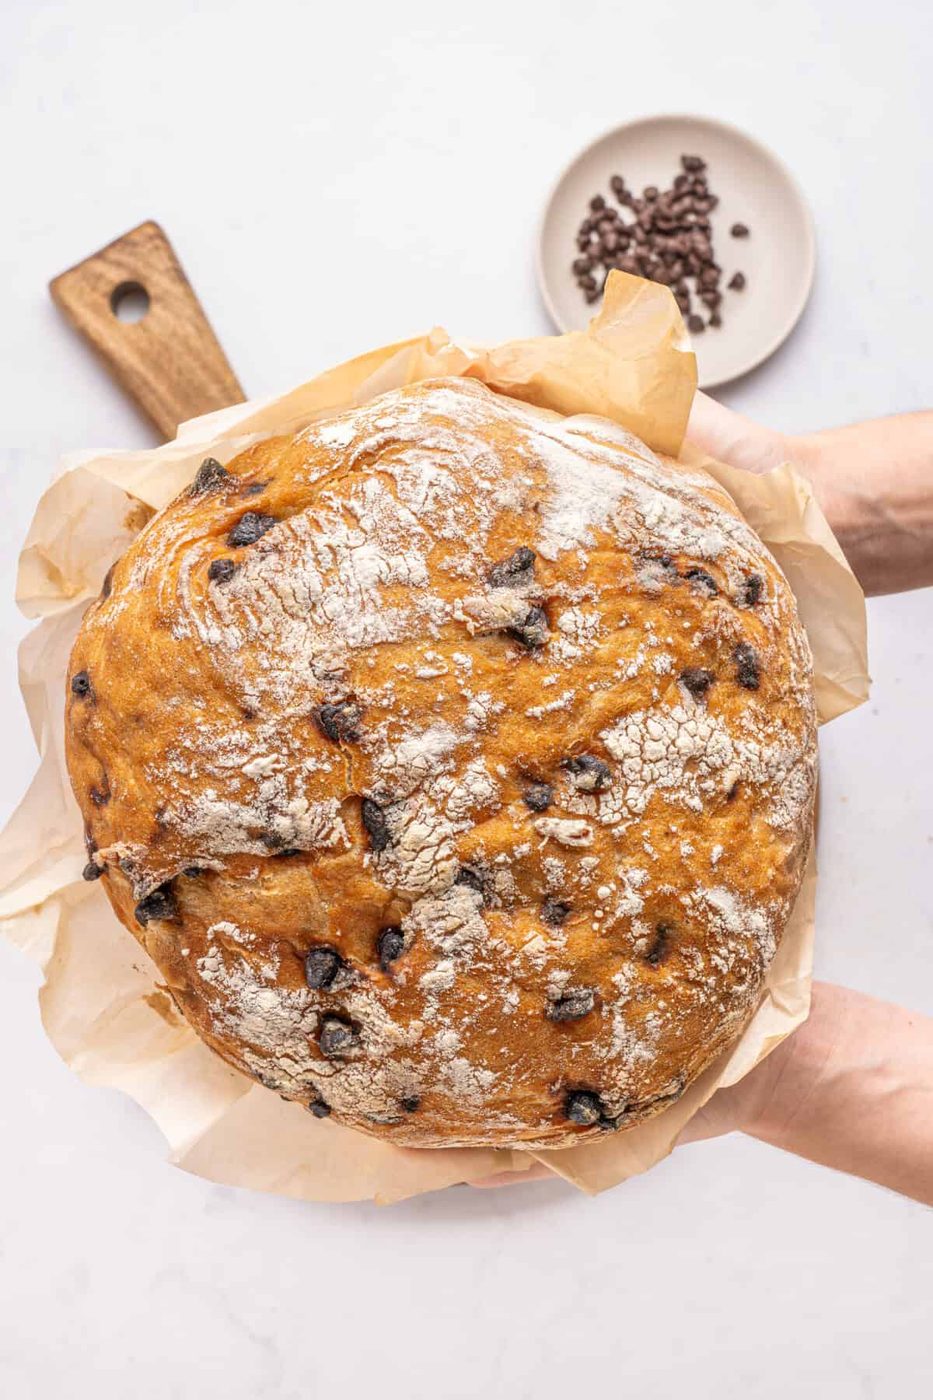
Chocolate, meet bread. Bread, meet chocolate. You two are about to become best friends! This collab was long overdue. This No Knead Chocolate Chip Bread is unlike anything you’ve had before. Our rustic loaf of No Knead Bread that went viral is getting a deliciously sweet makeover. Slice into this sweet-and-savory loaf to reveal swirls of freshly melted chocolate. Whether enjoyed in a warm slices, lathered in butter, cut into bite-size pieces for a fondue, or served in chunks alongside a cheese board, this chocolate bread does not disappoint.
Before you start
- The No Knead Chocolate Chip Bread combines bread and chocolate for a treat.
- This recipe requires only four simple steps: mix, rest, shape, and bake..
- You can add variations like nuts, gluten-free options, or even swap the chocolate.
- Serve this bread warm with homemade butter, Nutella, or as part of a charcuterie board.
- Prepare the dough the night before for a fresh baked treat in the morning.
What stands out
The beauty of all our no knead bread recipes is, you guessed it, there is no kneading involved. In fact, the homemade bread comes together in as little as 4 steps: mix, rest, shape, and bake—no fancy equipment needed. This chocolate-studded variation of Bulgarian peasant bread is crispy and golden on the outside, tender and sweet on the inside.
Kitchen tip
Make sure the yeast is not expired. You can always add the yeast to warm water and let it foam up. When it foams up, it’s active and ready to be used. If it doesn’t foam up, start this step again.
Swaps
- For extra texture and flavor sprinkle mix-ins such as sesame seeds, poppy seeds, or chopped walnuts. Additnioally, you could add sunflower seeds on top of the loaf right before baking.
- Don’t be afraid to experiment with different shapes—dinner rolls or baguettes are such a fun way to switch things up.
- If you follow a gluten-free diet, then use a 1:1 gluten-free flour blend and make sure your yeast is gluten-free too.
- You can swap the yeast for one cup of sourdough starter instead—just let the dough rest and ferment for at least 6 hours before baking.
- For a completely different vibe, swap the chocolate chips for white chocolate chips and cranberries.
Serve it with
- Homemade butter is elite on a warm slice of chocolate bread.
- Salty and sweet, this bread pairs beautifully with a Holiday Charcuterie Board.
- A spread of Homemade Nutella takes this to dessert nirvana.
- A nice cup of coffee for the best breakfast.
Questions
Where can we find the baking dish that you use?The Corningware dish we use in this recipe can be found here. Feel free to use any oven-safe baking dish that you have on hand as long as the bread fits in it.
Why is the water temperature So important?
This is the sweet spot that wakes your yeast up without killing it or not activating it at all.
What should we do if we're unsure whether our yeast is still active?
Drop it into your warm water before mixing. If it foams up and bubbles after a few minutes, then you’re good to go!
Can we make a gluten-free version?
Yes, you can use 1-1 gluten-free flour for this recipe, or you can make our No-Knead Gluten-Free Bread and just add chocolate chips.
Will the chocolate chips burn during baking?
The chips tucked inside the dough are nice and protected. Any chips sitting right on the surface might get a little toasty and caramelized, which is honestly a bonus situation.
What kind of chocolate chips work best?
Semi-sweet is our go-to because it balances the savory bread. Dark chocolate gives a more intense, less sweet bite that’s with coffee. Milk chocolate makes it more dessert-like and sweet. It’s a preference thing!
Can we make this dough the night before?
We highly recommend it. Mix everything before bed, let it rest overnight on the counter, and bake fresh in the morning. Warm chocolate chip bread for breakfast? Yes please!
Can we freeze this bread?
Yes! Let it cool completely, slice it, and freeze in an airtight bag. Pull out slices as needed and warm them in the oven or toaster.
Ingredients
Makes 10 slices
- 3 cups all purpose flour, plus more for dusting the counter and top of the bread
- 1 teaspoon salt
- ½ teaspoon active dry yeast, check the expiration; see notes below
- 1 ¾ cups warm water, between 100 and 110 degrees Fahrenheit (37 to 43 degrees Celsius)
- 1 cup chocolate chips
- additional flour for dusting the counter plus the top of the bread, no kneading, dust the top and bottom well, gently shape and transfer
Equipment
- Measuring Cups + Spoons
- Mixing Bowls
- Corning Ware Dish
Method
- In a large bowl combine the flour, salt, and yeast.
- Mix with a whisk, wooden spoon, or with clean hands. Add the water and mix with a spatula until you have a sticky dough.
- Note: The water must be between 100 and 110 degrees Fahrenheit (37 to 43 degrees Celsius). If the water is too hot or too cold the yeast will not activate.
- Cover the bowl with a clean kitchen towel and let rest at room temperature for at least 5 hours or overnight.
- Tip: Place the bowl of dough away from drafty areas, such as in the microwave, cupboard, or in a cold oven.
- After the dough has tripled in size, uncover it, toss the chocolate chips into the bowl, and gently fold them in. Then pour the dough onto a floured surface and generously sprinkle the top with flour. Gently shape.
- You do NOT need to knead the dough. You can simply move it around until you have a really nice and soft dough that is no longer sticky and is oval in shape. If the loaf sticks to your hands or the counter, sprinkle on a little more flour.
- Place the loaf into any oven-safe dish lined with parchment paper. Place a lid on the dish, and place the dish in a cold oven (an oven that is NOT preheated).
- Turn the oven on to 450F (230C) once the bread is inside. Bake the bread with the lid on the dish for 30 minutes. After 30 minutes, carefully remove the hot lid from the dish and bake the bread for another 25 to 30 minutes.
- Note: The bake time will depend on your oven, so keep an eye on it. Total bake time will be about 1 hour from the moment you place the bread into the cold oven.
- The bread is done once it’s light and golden all over. Let it cool for 5 to 10 minutes and enjoy!
- Storage tip: Allow leftover bread to cool completely. Wrap it up in plastic wrap, beeswax wrap, or a clean kitchen towel, and store it on the counter at room temperature. This bread is always best served warm the same day.
Kitchen notes
- Frequently Asked Questions: See the FAQs for answers to lots of common questions on making this bread.
- Chocolate chip swaps: Semi-sweet is our go-to but dark, milk, or white chocolate chips all work.
- Add-ins: Mix in chopped walnuts or pecans alongside the chocolate chips for an amazing crunch in every bite.
- Storage: Let the bread cool completely before wrapping tightly in plastic wrap or beeswax wrap. Store on the counter for up to 2 days or slice and freeze for up to 3 months.
- Gluten-free option: Use a 1-to-1 gluten-free flour blend and you’re all set. Check out our No-Knead Gluten-Free Bread for all our best tips!
- Overnight dough: Mix the dough before bed and bake it fresh in the morning. The longer rest actually develops even more flavor — warm chocolate chip bread for breakfast is the move!