
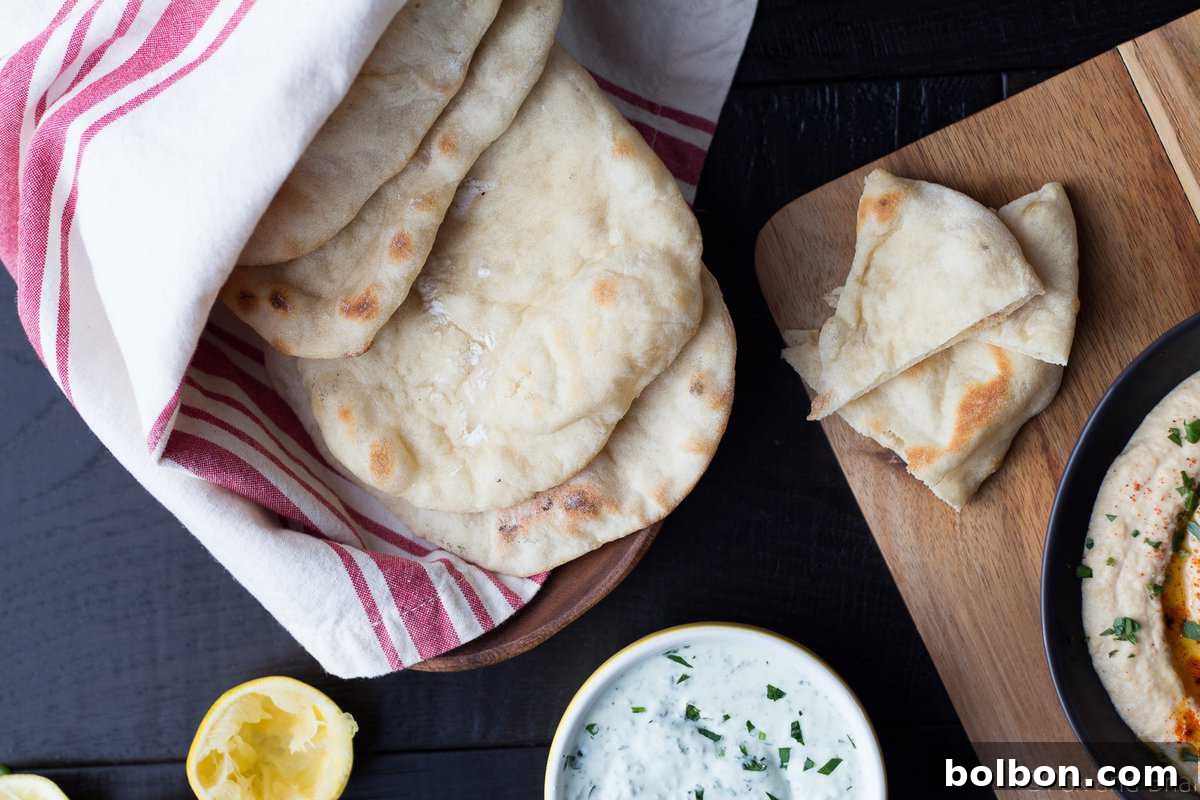
Homemade Pita Bread: Your Guide to Perfectly Puffed & Delicious Pitas
There’s nothing quite like the aroma of freshly baked bread filling your kitchen, and when it comes to homemade pita, the experience is truly unmatched. This simple homemade pita bread recipe is surprisingly easy to master and delivers a flavor and texture far superior to anything you can find in a store. Get ready to impress your friends and family with soft, fluffy, and perfectly pocketed pita bread made right in your own home!
Why Homemade Pita Bread is a Game Changer
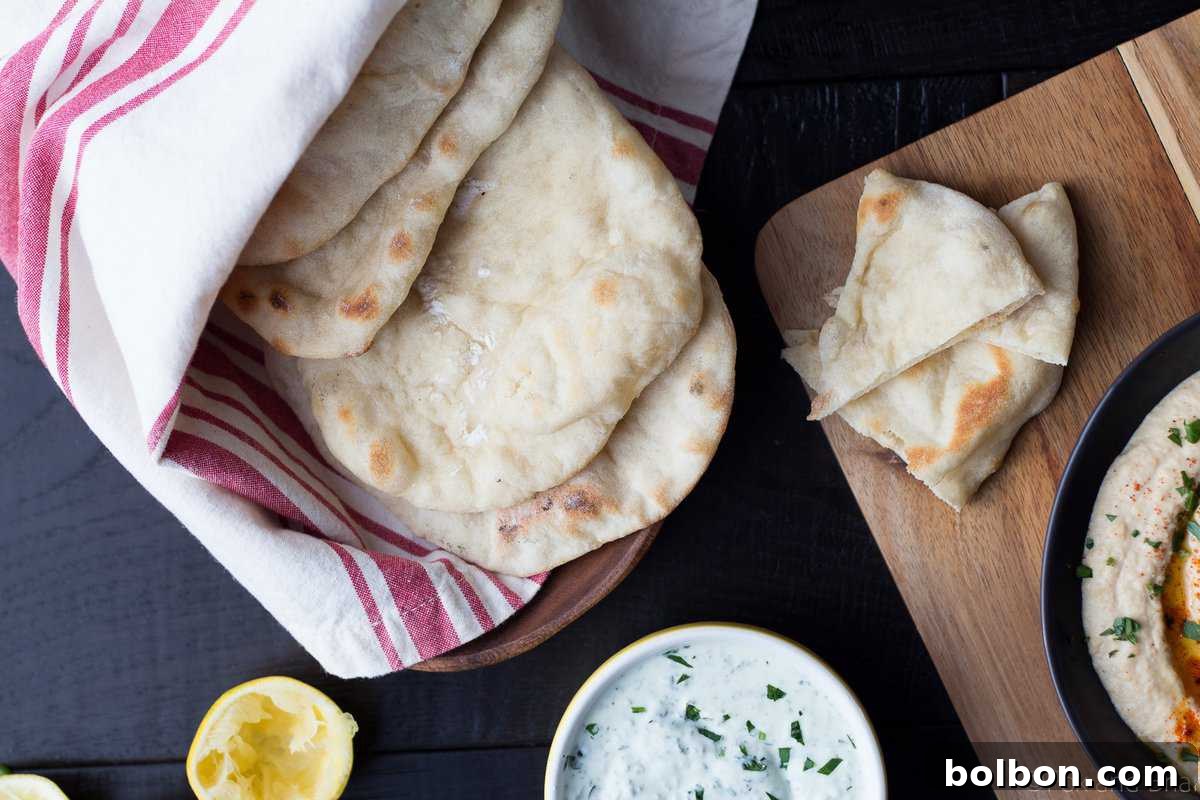
Many home cooks might find the idea of baking bread from scratch a bit intimidating, and pita bread, with its iconic pocket, can seem even more so. However, I’m here to tell you that making pita at home is not only achievable but also incredibly rewarding. After trying various recipes, I found this particular method to be the best for its minimal hands-on time and consistent results. It yields wonderfully soft and fluffy pitas that are versatile enough for dipping into creamy hummus, transforming into delectable sandwich wraps, or serving alongside your favorite Mediterranean dishes.
The difference between homemade and store-bought pita is truly night and day. Freshly baked pita boasts an unparalleled tenderness and a delicate chewiness that pre-packaged versions simply can’t replicate. You’ll taste the fresh ingredients, appreciate the lack of preservatives, and experience the warm, comforting essence of bread straight from your oven. Plus, there’s immense satisfaction in creating something so delicious from basic pantry staples.
The Secret to the Perfect Pita Pocket
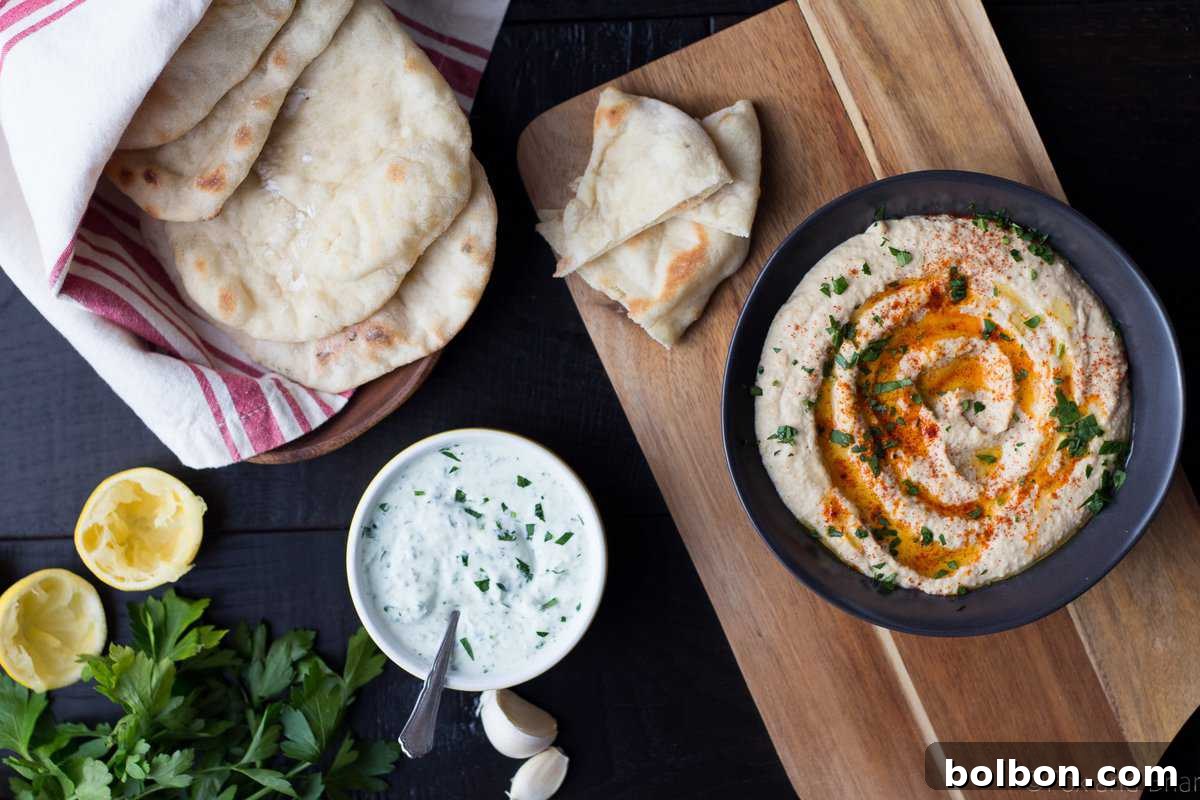
One of the most exciting aspects of making pita is watching it magically puff up in the oven, creating that characteristic hollow pocket. While achieving this “pocket” can sometimes feel like a culinary challenge, there are a few key techniques that greatly increase your chances of success. The most crucial steps involve gentle shaping and precise rolling of the dough.
When you’re ready to shape your dough balls, resist the urge to press out all the air. Instead, gently form the dough into a disc using your fingers, then carefully roll it out with a rolling pin. Aim for a thickness of approximately 1/4 to 1/8 inch. This precise thickness is vital because it allows the steam generated inside the dough during baking to expand rapidly, separating the two layers of dough and forming the signature pocket. If the dough is rolled too thin, it might not have enough structure to create a substantial pocket, and if it’s too thick, the steam might not generate enough force to separate the layers.
Even if your pita doesn’t puff up into a perfect pocket every single time, don’t despair! It will still be incredibly flavorful and wonderfully soft, making it perfect for dipping or using as a flatbread. The pursuit of the perfect pocket is part of the fun, and with a little practice, you’ll be consistently baking beautiful, puffy pitas.
Essential Equipment: The Power of a Hot Oven
The Importance of a Pizza Stone
For truly exceptional pita bread, a very hot oven is non-negotiable. I’ve found that using a pizza stone is ideal for baking pita. (As an Amazon Associate, I earn from qualifying purchases through this affiliate link.) A pizza stone retains and distributes heat incredibly well, providing an intensely hot surface that rapidly cooks the dough and encourages that dramatic puff. While I primarily use my pizza stone for pizzas, it performs wonderfully for baking various types of bread, including pita.
If you don’t have a pizza stone, don’t let that stop you! A cast iron skillet makes an excellent alternative, also capable of reaching and maintaining high temperatures. Alternatively, a heavy-duty baking sheet can be used, though you might find the puff less pronounced. The key, regardless of your chosen surface, is to preheat it thoroughly in a very hot oven before placing the pita dough on it.
Achieving the Optimal Temperature
To ensure your pitas achieve that beautiful puff and develop a tender crumb, your oven needs to be screaming hot. I recommend preheating your oven to a scorching 515°F (268°C). While this might seem unusually high, it’s crucial for replicating the conditions of a traditional tandoor oven where pita is typically baked. Since you’ll be opening the oven door every few minutes to bake each pita, some heat will escape. Keeping the initial temperature high helps compensate for this heat loss, ensuring a consistently hot environment for your bread.
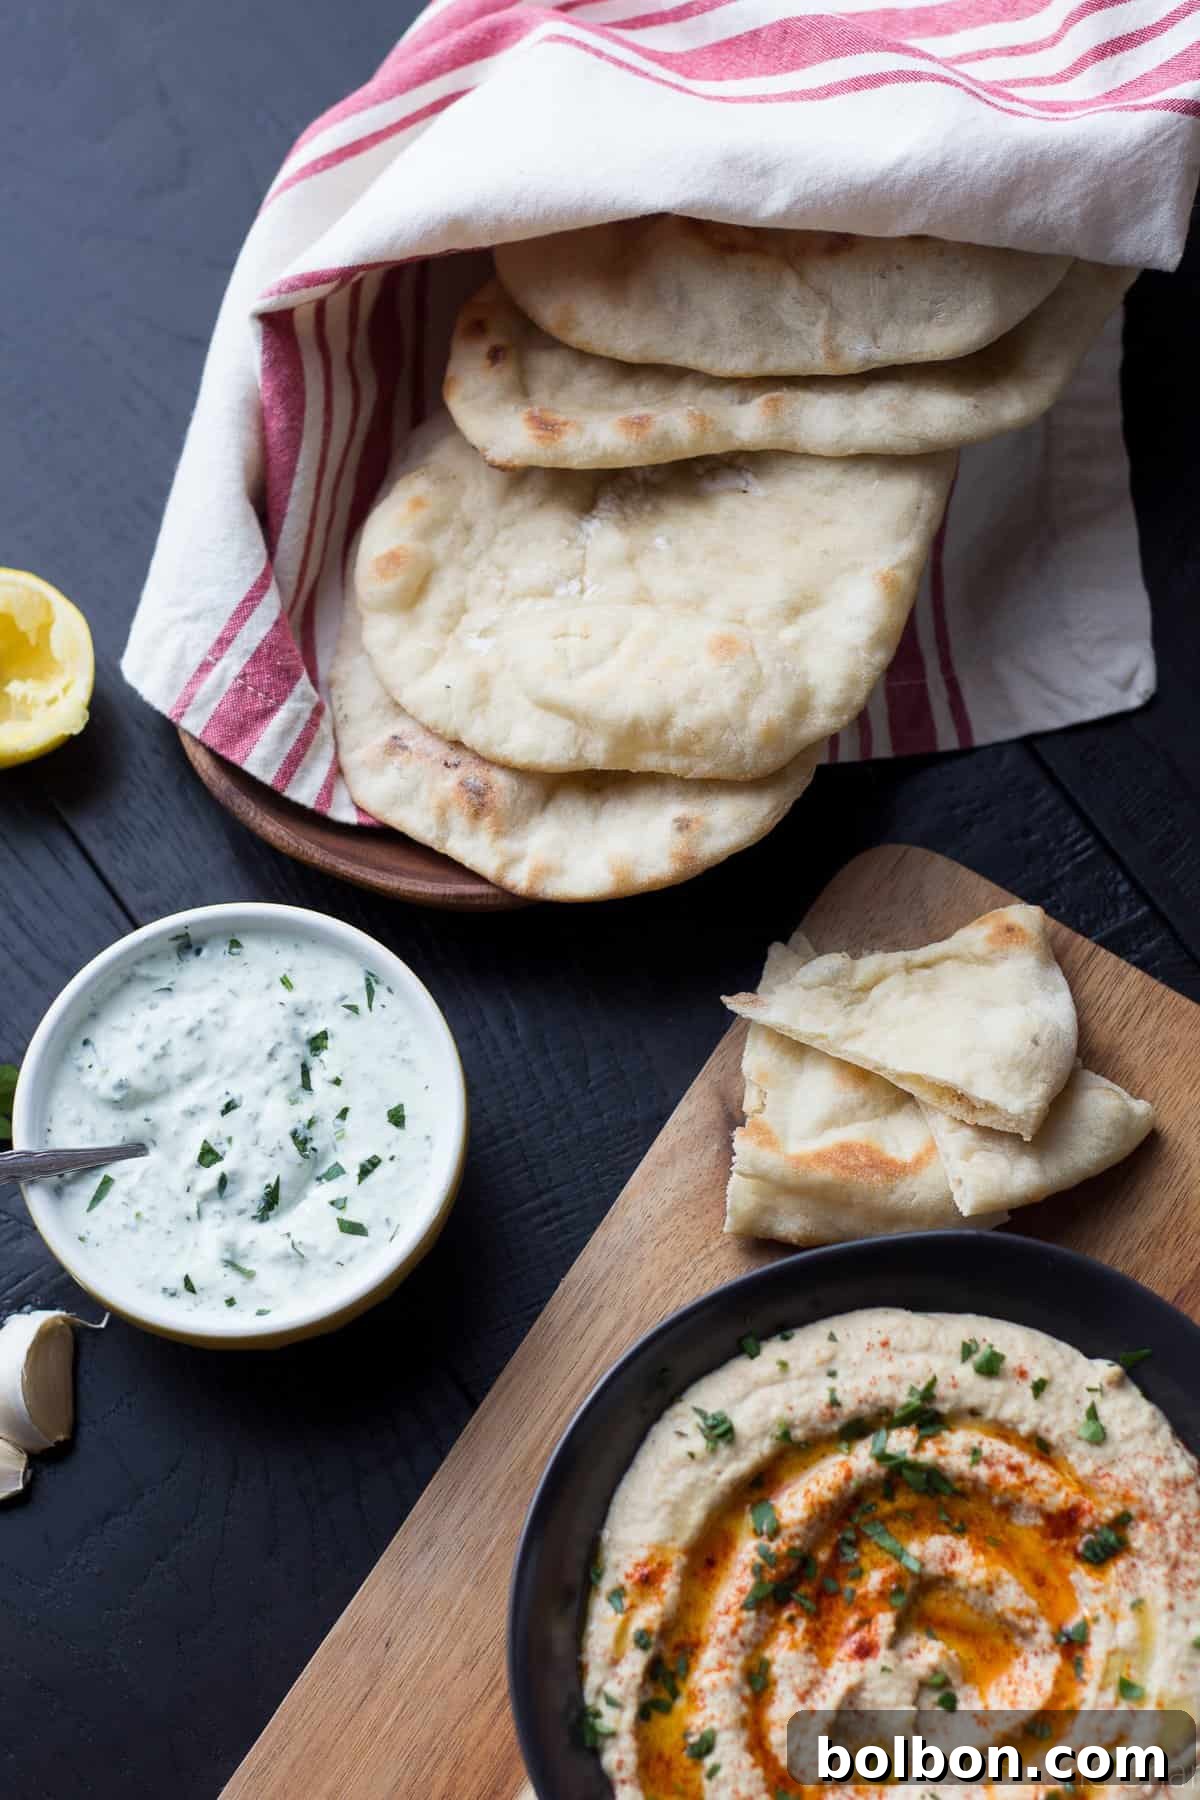
Step-by-Step: Crafting Your Own Pita Bread
Baking pita bread, though seemingly quick, requires a steady rhythm. I typically bake my pitas one at a time, which does extend the overall baking time slightly. However, since each pita only takes a few minutes to cook, it’s not as tedious as it sounds. This individual baking approach allows for a streamlined workflow: while one pita is baking to golden perfection, I can begin rolling out the next one. It becomes a satisfying pita bread assembly line, efficiently managed by one person. As each pita comes out of the oven, make sure to cover it with a clean kitchen towel. This traps the steam and keeps the pitas wonderfully soft and pliable.
If you’re using a larger baking sheet, you might be able to bake a few pitas at once, which can certainly reduce the hands-on time. Just be mindful not to overcrowd your baking surface, as this can lower the temperature and hinder proper puffing. The goal is always consistent, high heat.
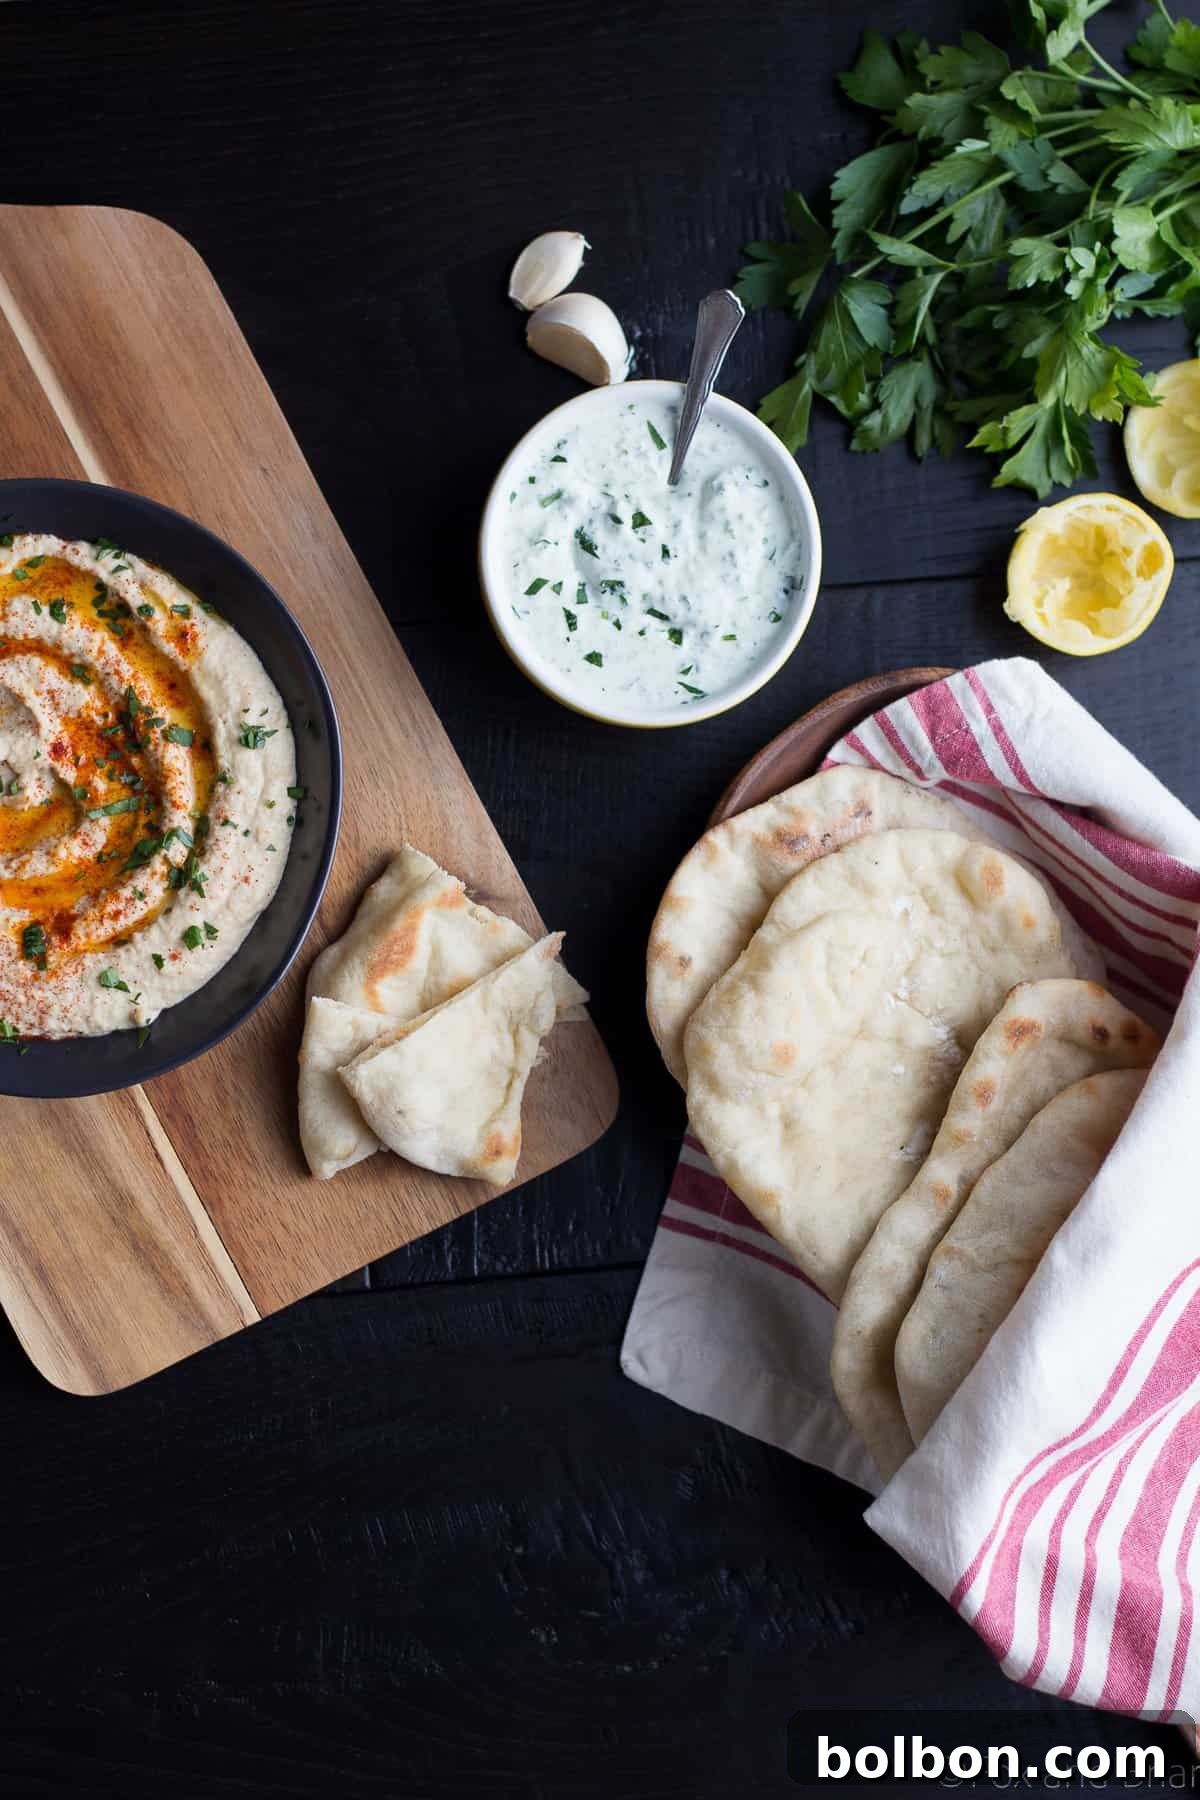
Serving & Storing Your Homemade Pita Bread
Keeping Pitas Soft and Warm
There’s nothing quite like a warm pita straight from the oven. To maintain their beautiful softness and prevent them from drying out, it’s essential to keep your freshly baked pitas covered immediately after they come out of the oven. A clean kitchen towel works perfectly for this, allowing the residual steam to keep them moist and flexible. If you’re preparing them ahead of time for a gathering, stack them and keep them covered until you’re ready to serve.
Reheating for Fresh-Baked Taste
One of the many advantages of homemade pita is how wonderfully it reheats. You can easily bring them back to that “fresh out of the oven” feeling. Simply wrap the pitas in aluminum foil – you can wrap several together in one package – and warm them in a preheated oven until they are soft and heated through. This method prevents them from becoming crisp or hard, ensuring they retain their delightful texture.
Creative Serving Suggestions
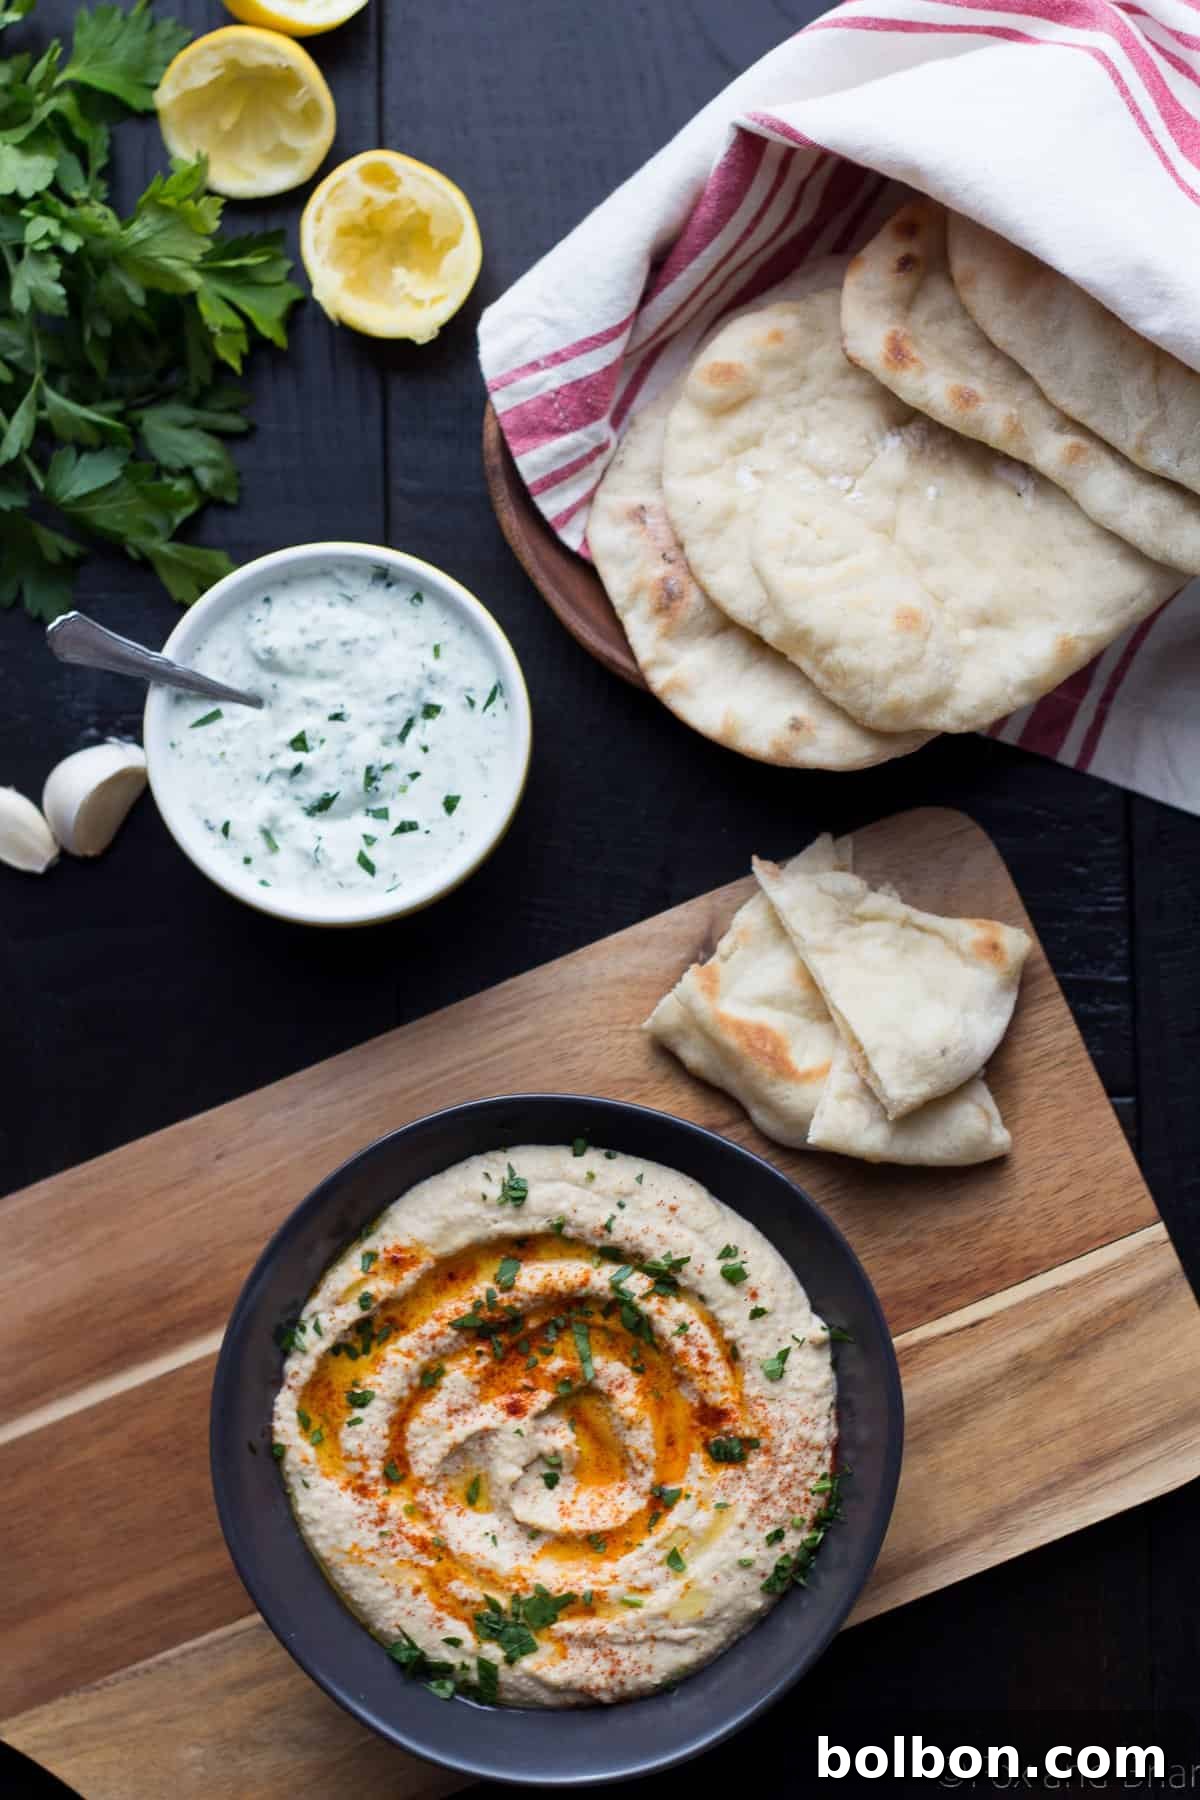
Pita bread is incredibly versatile and can be enjoyed in countless ways. Of course, the classic pairing with hummus is a must-try. Get ready for an easy hummus recipe coming soon so you can dive right into dipping! Beyond hummus, consider using your homemade pita for:
- Sandwich Wraps: Fill them with falafel, grilled chicken, fresh vegetables, or your favorite deli meats.
- Mini Pizzas: Use pita as a quick and easy base for individual pizzas.
- Dipping: Serve with baba ghanoush, tzatziki, or a simple olive oil and za’atar mixture.
- Breakfast: Enjoy with eggs and cheese, or spread with labneh and a drizzle of honey.
- Salad Base: Tear them into pieces, toast them, and add to salads for a satisfying crunch.
The possibilities are endless, and having a fresh batch of homemade pita on hand opens up a world of culinary creativity!
Homemade Pita Bread Recipe
This recipe is adapted from a fantastic method found on New York Times Cooking, ensuring a reliable and delicious outcome every time. Prepare for truly authentic and mouth-watering results.
Homemade Pita Bread
By Meghan McMorrow | Fox and Briar
Prep Time: 1 hour 40 minutes
Cook Time: 32 minutes
Total Time: 2 hours 12 minutes
Yields: 8 Servings
This simple Homemade Pita bread is easy to make and better than anything you can buy at the store!
Print Recipe
Ingredients
- 2 teaspoons active dry yeast (1 packet)
- 3 cups All Purpose Flour
- 1 teaspoon kosher salt
- 1/2 teaspoon sugar
- 2 tablespoons olive oil
- 1 cup warm water (not hot)
Instructions
- Add warm water, yeast, and sugar to a large bowl, stir gently to combine.
- Add 1/2 cup of flour to the yeast mixture, whisk together until smooth. Allow this mixture to sit uncovered for 15 minutes to activate the yeast.
- Add the olive oil and kosher salt, then gradually add the remaining two cups of flour. Stir with a wooden spoon until the dough starts to come together and form a shaggy mass.
- Sprinkle a little extra flour on top of the dough. Use your hands to knead the dough directly in the bowl for about 1 minute until it begins to form a cohesive ball.
- Turn the dough out onto a lightly floured work surface. Knead the dough for two minutes, gathering it into a smooth ball. Cover the dough with a clean kitchen towel and allow it to rest for 10 minutes. After resting, knead it again for 2 more minutes. Add flour sparingly as needed to prevent sticking, but try not to incorporate too much, as this can make the pita tough.
- Place the kneaded dough in a clean, lightly oiled mixing bowl. Cover the bowl tightly with plastic wrap, then drape a kitchen towel over it.
- Allow the dough to rise in a warm place for one hour, or until it has visibly doubled in size.
- While the dough is rising, place your pizza stone (or cast iron skillet/baking sheet) on the bottom rack of your oven. Preheat the oven to 515°F (268°C). This high temperature and preheated surface are crucial for the pita to puff correctly.
- Once the dough has risen, gently punch it down to release the air. Divide the dough into eight equal pieces, rolling each piece into a smooth ball. Cover the dough balls with a towel and let them rest for 10 minutes. This allows the gluten to relax, making them easier to roll.
- Working with one dough ball at a time (keep the others covered to prevent drying), use your fingers to gently flatten the ball into a disc, being careful not to press out all the air. Finish by using a rolling pin to roll the disc into a flat, round shape about 7-8 inches in diameter and 1/4 to 1/8 inch thick. Ensure your work surface is well-floured to prevent sticking.
- Once the first disc is rolled out, carefully transfer it onto the preheated pizza stone in the hot oven. Bake for approximately 2 and a half minutes on one side, or until it puffs up beautifully. Then, flip the pita and bake for another 1 and a half minutes, or until lightly golden.
- Remove the baked pita from the oven and immediately cover it with a clean kitchen towel to keep it soft. Continue this process for each remaining pita until all are baked. If you have a larger baking surface, you might be able to bake several at a time, but ensure they have enough space for air circulation and to puff up.
- Keep all baked pitas covered until ready to serve to maintain their softness.
- To reheat, wrap pitas loosely in aluminum foil (you can wrap several together) and warm them in a preheated oven until soft and warm.
Notes
- Cook time in the recipe card applies if you bake one pita at a time. The actual cook time for a single pita is about 4 minutes.
- If you do not have a pizza stone, a cast iron skillet is an excellent alternative. A heavy-duty baking sheet can also be used.
- To encourage a strong pocket, ensure your oven is very hot and that you don’t roll your pita discs too thin. The rapid heat and adequate thickness create the necessary steam.
Nutrition
Serving: 1 Pita | Calories: 212kcal | Carbohydrates: 37g | Protein: 6g | Fat: 4g | Saturated Fat: 1g | Sodium: 295mg | Potassium: 79mg | Fiber: 2g | Sugar: 1g | Calcium: 7mg | Iron: 2.2mg
Nutrition information is automatically calculated, so should only be used as an approximation.
Additional Info
Course: Baked Goods/Breads, Sides
Cuisine: Mediterranean
Did you love this recipe? Please consider leaving a comment, rating, and sharing it with your friends! Don’t forget to tag me on Instagram @foxandbriar and use the hashtag #foxandbriar so I can see your wonderful creations!
Frequently Asked Questions About Homemade Pita Bread
What kind of flour is best for pita bread?
All-purpose flour works wonderfully for this recipe, providing a good balance of tenderness and structure. However, you can experiment with bread flour for a chewier texture, or even substitute a portion of the all-purpose flour with whole wheat flour for a more wholesome option, though this might slightly alter the texture and the extent of the “pocket” formation.
Can I make pita bread ahead of time?
Absolutely! Homemade pita bread stores well. Once baked and cooled, place them in an airtight container or a resealable plastic bag. They will stay fresh at room temperature for 2-3 days, or in the refrigerator for up to a week. For longer storage, see the freezing instructions below.
Can I freeze homemade pita bread?
Yes, pita bread freezes exceptionally well! Once your pitas have completely cooled, stack them with a piece of parchment paper between each one to prevent sticking. Place the stack in a freezer-safe bag or airtight container. They can be frozen for up to 2-3 months. To reheat from frozen, simply wrap them in foil and warm them in a moderate oven (around 350°F or 175°C) until soft and pliable.
What if my dough isn’t rising?
If your dough isn’t rising, the most common culprit is inactive yeast or water that is too hot or too cold. Ensure your water is warm to the touch (around 105-115°F or 40-46°C) – not hot enough to kill the yeast, but warm enough to activate it. Also, check the expiration date on your yeast. If it’s old, it might have lost its potency. A warm kitchen environment also helps the dough rise effectively.
Can I cook pita bread on a stovetop?
Yes, you can! If you don’t want to use your oven, a heavy-bottomed cast iron skillet or griddle on the stovetop can also work. Heat the skillet over medium-high heat until very hot. Cook each pita for 1-2 minutes per side, or until it puffs up and gets lightly browned spots. While it might not puff as dramatically as in a super hot oven, it will still yield delicious results.
You May Also Like…
|
|
Disclosure: This post contains affiliate links, which means that if you purchase the items I recommend through the links I provide, I get a small commission. For more info, please see my disclosure policy. Thanks for supporting Fox and Briar!