Homemade Cherry Jam
- Makes 3 250mL jars
- Prep 15 minutes
- Cook 15 minutes
- Total 12 hours 30 minutes
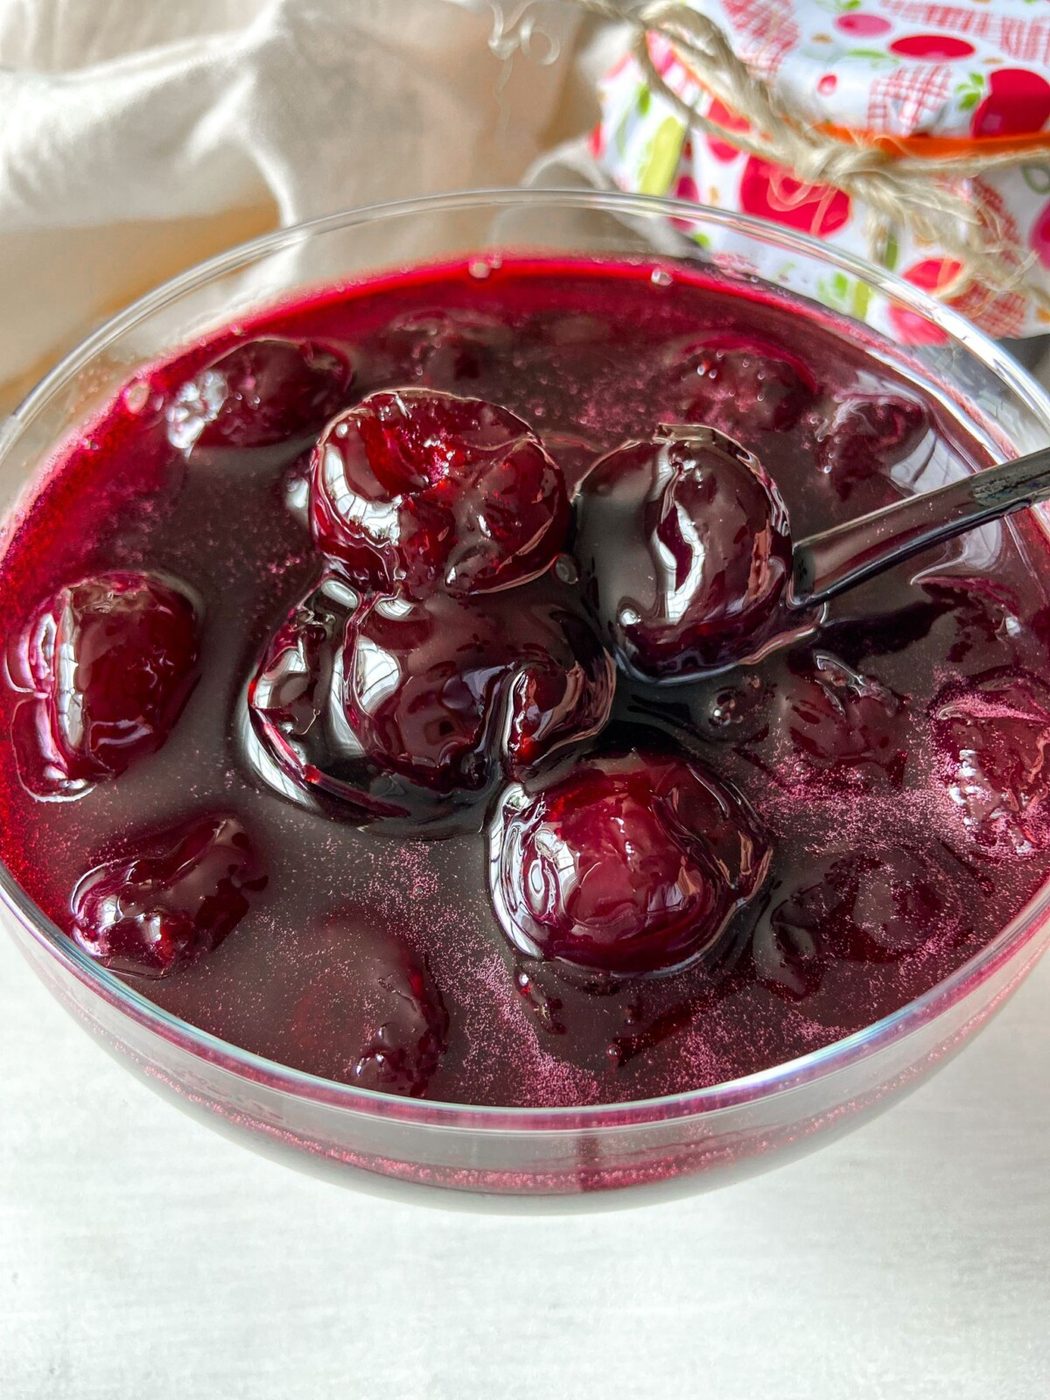
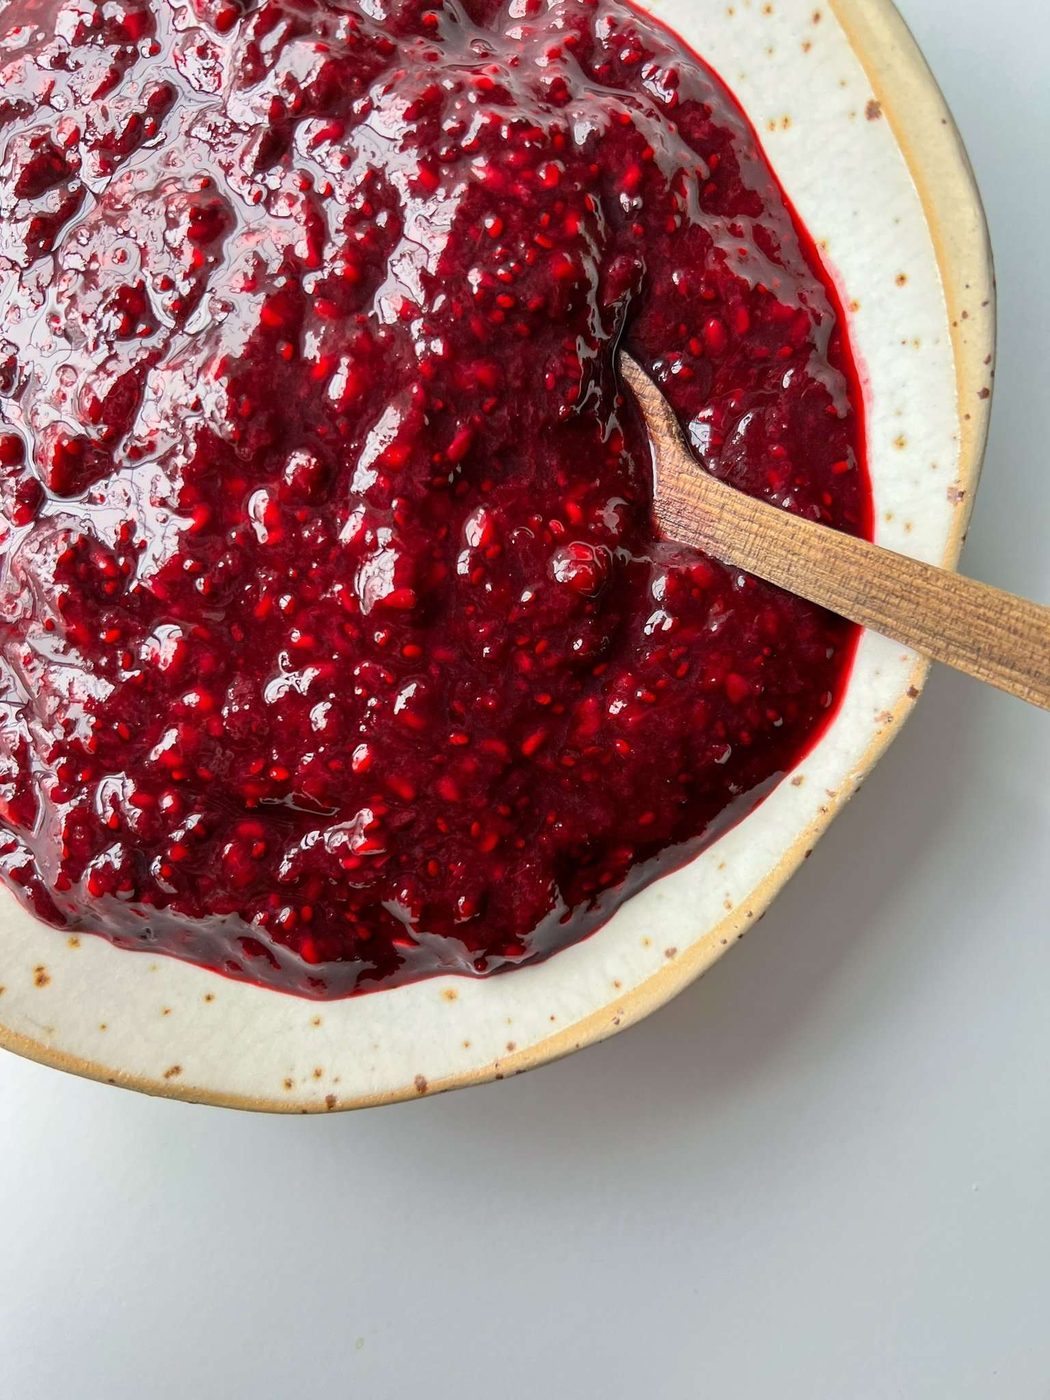
Our mom’s Homemade Cherry Jam is one of the best jam recipes we have ever tried. Make this recipe in the summer, when cherries are in their peak season and bursting with juiciness. In this recipe, the jam is cooked in 5-minute intervals, which helps preserve the cherry’s whole shape and yields a juicy, fresh jam. You can easily double or quadruple this recipe if you want to make a bulk batch of jam and enjoy it all year long.
What stands out
The process of making this Homemade Cherry Jam is incredibly straightforward. With a little bit of prep and patience, you’ll be good to go! This is the best way to preserve those summer fresh sweet cherries so you can enjoy the bounty even during those cold winter months. The results are. It’s not overly sweet and bursting with pure cherry flavor. The texture is smooth, with beautiful little chunks of fruit that remind you this jam is homemade at its best.
How to Prepare Homemade Cherry Jam
Start by removing the stems from the cherries and then wash them well.
Use a cherry pitter to remove the pits (or remove them by hand).
Add the pitted cherries to a large pot along with the sugar and lemon juice.
Now, bring to a boil over medium-high heat and then stir continuously for 5 minutes.
Remove the pot from the heat and then let the mixture cool completely.
Once cooled, repeat this same step again (bringing the mixture to a boil over medium-high heat and stirring continuously for 5 minutes) and then cool the mixture again.
Once the cherries cool for the second time, place the pot back on the stove and then bring them to a boil again. Stir for the last time for another 5 minutes.
After boiling the cherries for the third time, skim off some of the foam and then fill three sterilized jars with the jam, leaving 1/4-inch room at the top.
Wipe the rims of the jars clean with a damp paper towel, then put the lids on tightly, and flip the jars upside down.
Cover and rest overnight.
The next day, store the jars and enjoy!
Kitchen tip
If you don’t want to go through the work of properly canning and preserving the jam, you can store the jam in a tightly sealed jar in the fridge for a few weeks.
Swaps
- Most jam recipes typically call for more sugar than what we use in our recipe, but feel free to adjust. This is the amount of sweetness and sourness for us.
- You can use this same technique to preserve any summer fruit you love: berries or stone fruit such as peaches.
- For a firmer jam, you can also add pectin to this recipe, but we haven’t personally tried this.
Serve it with
- We love this Homemade Cherry Jam spread on top of buttered toast or slathered on fresh bread.
- This Homemade Cherry Jam is heavenly drizzled on top of yogurt or ice cream.
- Our favorite way to use this jam is in our homemade crepes.
Questions
What’s the best way to pit a lot of cherries at once?
One of our favorite Amazon items is this strong OXO Cherry Pitter, which makes quick work of this job.
How do we properly sterilize the jars?
Line the bottom of a pot large enough to hold the jars with a rack, paper towels, or a linen towel. This prevents the jars from falling to the bottom of the pot. Then, fill the pot with boiling water, gently add the empty jars, and let boil for 5 minutes.
how long will the preserved homemade cherry jam last?
Properly canned, this jam will last months in a cool, dark spot.
more canning tips, please!
For instructions and tips on how to properly can/preserve jam, please read this helpful resource: strong strong Why do we need to cook the cherries in three stages?
Cooking the cherries in three stages helps to preserve their shape and prevent them from breaking down into a puree. This method keeps the cherries intact, resulting in a chunkier jam.
Ingredients
Makes 3 250mL jars
- 6 cups fresh cherries
- 2 cups sugar
- 1 tablespoon fresh lemon juice
Equipment
- 3 Small Mason Jars (250ml)
- cherry pitter
- Measuring Cups + Spoons
- Mixing Bowls
- Large Pot
Method
- Remove the stems from the cherries and wash the cherries. Use a cherry pitter or remove the pits yourself. Add the pitted cherries to a large pot, along with the sugar and lemon juice. Bring to a boil over medium-high heat and stir continuously for 5 minutes.
- Remove the pot from the heat and let the mixture cool completely. Once cooled, repeat this same step again (bring the mixture to a boil over medium-high heat, stirring continuously for 5 minutes) and then cool the mixture again.
- Once the cherries are cooled for the second time, add the pot back on the stove and bring them to a boil again as you stir for the last time for another 5 minutes.
- Cooking time for this jam is 15 minutes total (5, 5, and 5 min as you cool the pot the first two times fully in between). The reason we separate the cooking time in 3 parts is to keep the cherries intact and whole.
- After the cherries have boiled for the third time, skim off some of the foam on top.
- Now fill your sterilized jars with jam, leaving 1/4 inch room at the top.
- Wipe the rims of the jars clean with a damp paper towel, put the lids on tightly, and flip the jars upside down. Cover and rest overnight. The next day, store the jars and enjoy. Once a jar is open, it must be stored in the fridge.