
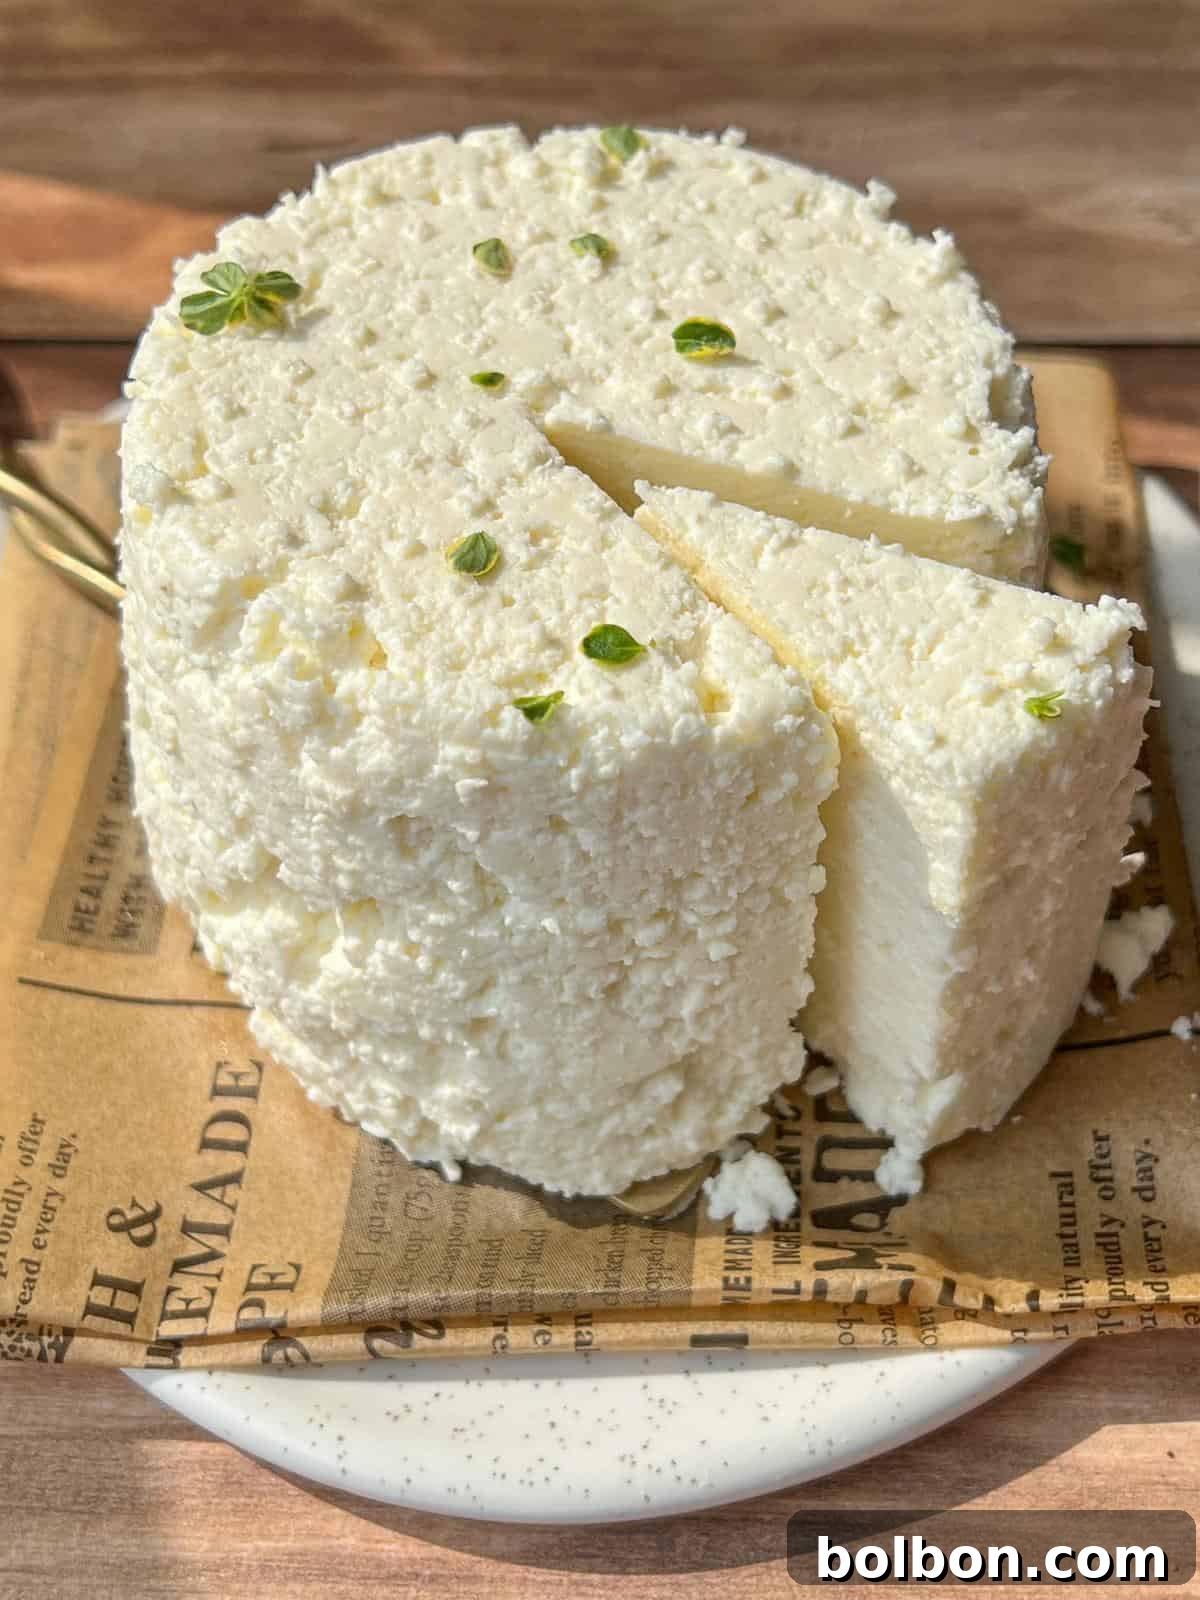
Imagine the delightful satisfaction of saying, “I made homemade cheese today!” It might sound like a dream plucked from a tranquil homesteader fantasy 👩🌾, but this dream is about to become your delicious reality. You are just a few simple steps away from crafting your very own easy homemade farmers cheese, also known as paneer. If you’ve never ventured into the world of cheesemaking, consider this your welcoming gateway—a straightforward, rewarding experience that requires only three humble ingredients: fresh milk, white vinegar, and a touch of salt. The result is a wonderfully delicious, salty, and beautifully crumbly cheese that will elevate your culinary creations.
My earliest memories are filled with the comforting aroma of milk simmering and the patient hands of my grandmother as she prepared fresh cheeses. That old-world magic, steeped in tradition and simple ingredients, is something I am thrilled to help you bring into your modern kitchen 🪄. This recipe isn’t just about making cheese; it’s about connecting with a timeless craft, understanding your food from scratch, and enjoying the purest flavors nature has to offer. Prepare to be amazed by how effortless and rewarding it is to transform basic pantry staples into a gourmet delight.
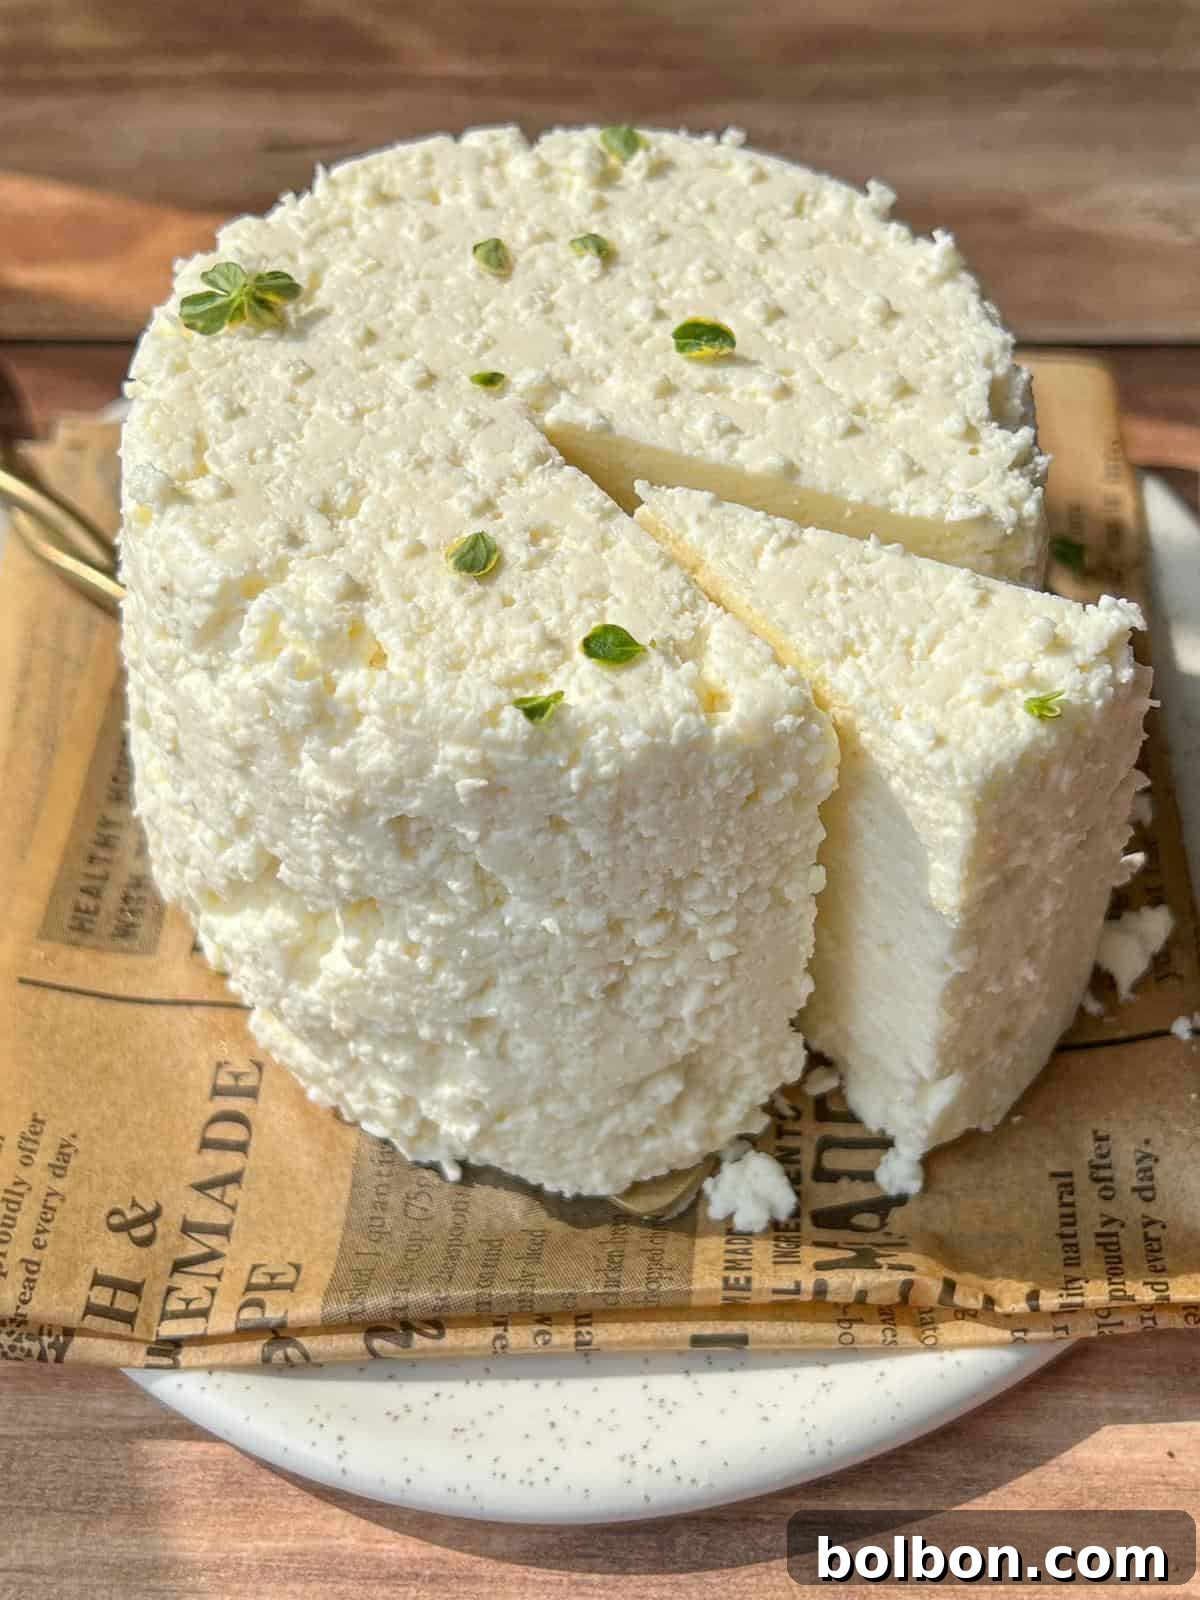
Why You’ll Absolutely Love Making Farmers Cheese (Paneer) at Home
Fresh farmers cheese is not only incredibly easy to make but also astonishingly versatile, making it a must-have in any kitchen. Its mild, milky flavor and firm, crumbly texture allow it to effortlessly transition across a multitude of dishes. Imagine it delicately crumbled over vibrant salads 🥗, adding a creamy and slightly salty counterpoint to crisp greens and fresh vegetables. Picture it served in elegant, thin slices, generously drizzled with golden honey, creating a simple yet sophisticated appetizer or a delightful sweet-and-savory snack. Or perhaps, embrace its full potential by cooking it into rich, aromatic curries 🍛, where it absorbs the vibrant spices and offers a satisfying bite, much like traditional paneer.
The incredible taste alone is reason enough to fall in love with this cheese, but the real, profound joy comes from the knowledge that you made it entirely from scratch. There’s an unparalleled sense of accomplishment and connection to your food when you transform humble ingredients into something so exquisite with your own hands. Don’t let any intimidation hold you back; this recipe is designed for ease and efficiency, requiring only about 10 minutes of active, hands-on cooking time. The majority of the process involves passive waiting as the curds form and the cheese presses, making it an ideal project for even the busiest home cooks. Once you experience the freshness and pure flavor of homemade farmers cheese, you’ll undoubtedly want to have a block of this delightful cheese readily available in your fridge at all times 💯. It’s not just a recipe; it’s an invitation to a more flavorful and fulfilling culinary journey.
The Simple Essentials: Just 3 Ingredients
The most cherished homemade foods often boast the simplest ingredient lists, and this farmers cheese (paneer) recipe perfectly embodies that philosophy. You’ll be amazed at the depth of flavor and texture you can achieve with just a few humble components, expertly combined.
- Milk: The foundation of this exquisite cheese is, of course, milk. For the most superior flavor, texture, and yield, it is crucial to seek out the highest quality milk you can find. Ideally, look for local, farm-fresh milk from a farmers market, which tends to be less processed and retains more of its natural goodness. I personally recommend using grass-fed, whole milk 🥛, as its higher fat content contributes significantly to a richer, creamier cheese. It’s important to note that this specific recipe relies on the properties of dairy milk and will unfortunately not work with milk alternatives due to their differing protein and fat structures. The fresher and less processed the milk, the better your curds will form, leading to a more robust and flavorful final product.
- Vinegar: Distilled white vinegar serves as our essential acid, playing the vital role of separating the milk solids (curds) from the liquid (whey). This chemical reaction is fundamental to cheesemaking. While vinegar effectively coagulates the milk, rest assured that there will be no residual sour flavor in your finished cheese; the curds are typically rinsed or allowed to drain sufficiently to remove any harsh notes. In a pinch, you can also successfully use lemon juice 🍋 or even apple cider vinegar. Lemon juice might impart a very subtle citrusy undertone, while apple cider vinegar could lend a faint fruity note, offering slight variations in flavor that some cheesemakers enjoy experimenting with.
- Salt: Salt is more than just a seasoning; it enhances the cheese’s flavor profile and also plays a minor role in its preservation. The beauty of making cheese at home is that you have complete control over your own sodium levels and the type of salt you choose. Whether you prefer fine sea salt, kosher salt, or even a specialty mineral salt, the choice is yours. It’s that simple to customize your cheese to your exact taste preferences. Remember, you can always add more, but you can’t take it away, so start with the recommended amount and adjust to your liking.
Nonna’s Clever Cheesemaking Tip 🍳
Don’t have a fancy cheese mold? No problem! Simply wrap your freshly formed cheese curds tightly in a cheesecloth. Then, create a makeshift press by sandwiching the cheesecloth bundle between two sturdy plates. For weight, place something heavy—like several cans of food, a cast-iron skillet, or a stack of heavy cookbooks—on the top plate. This ingenious method works just as effectively to press out excess whey and shape your cheese!
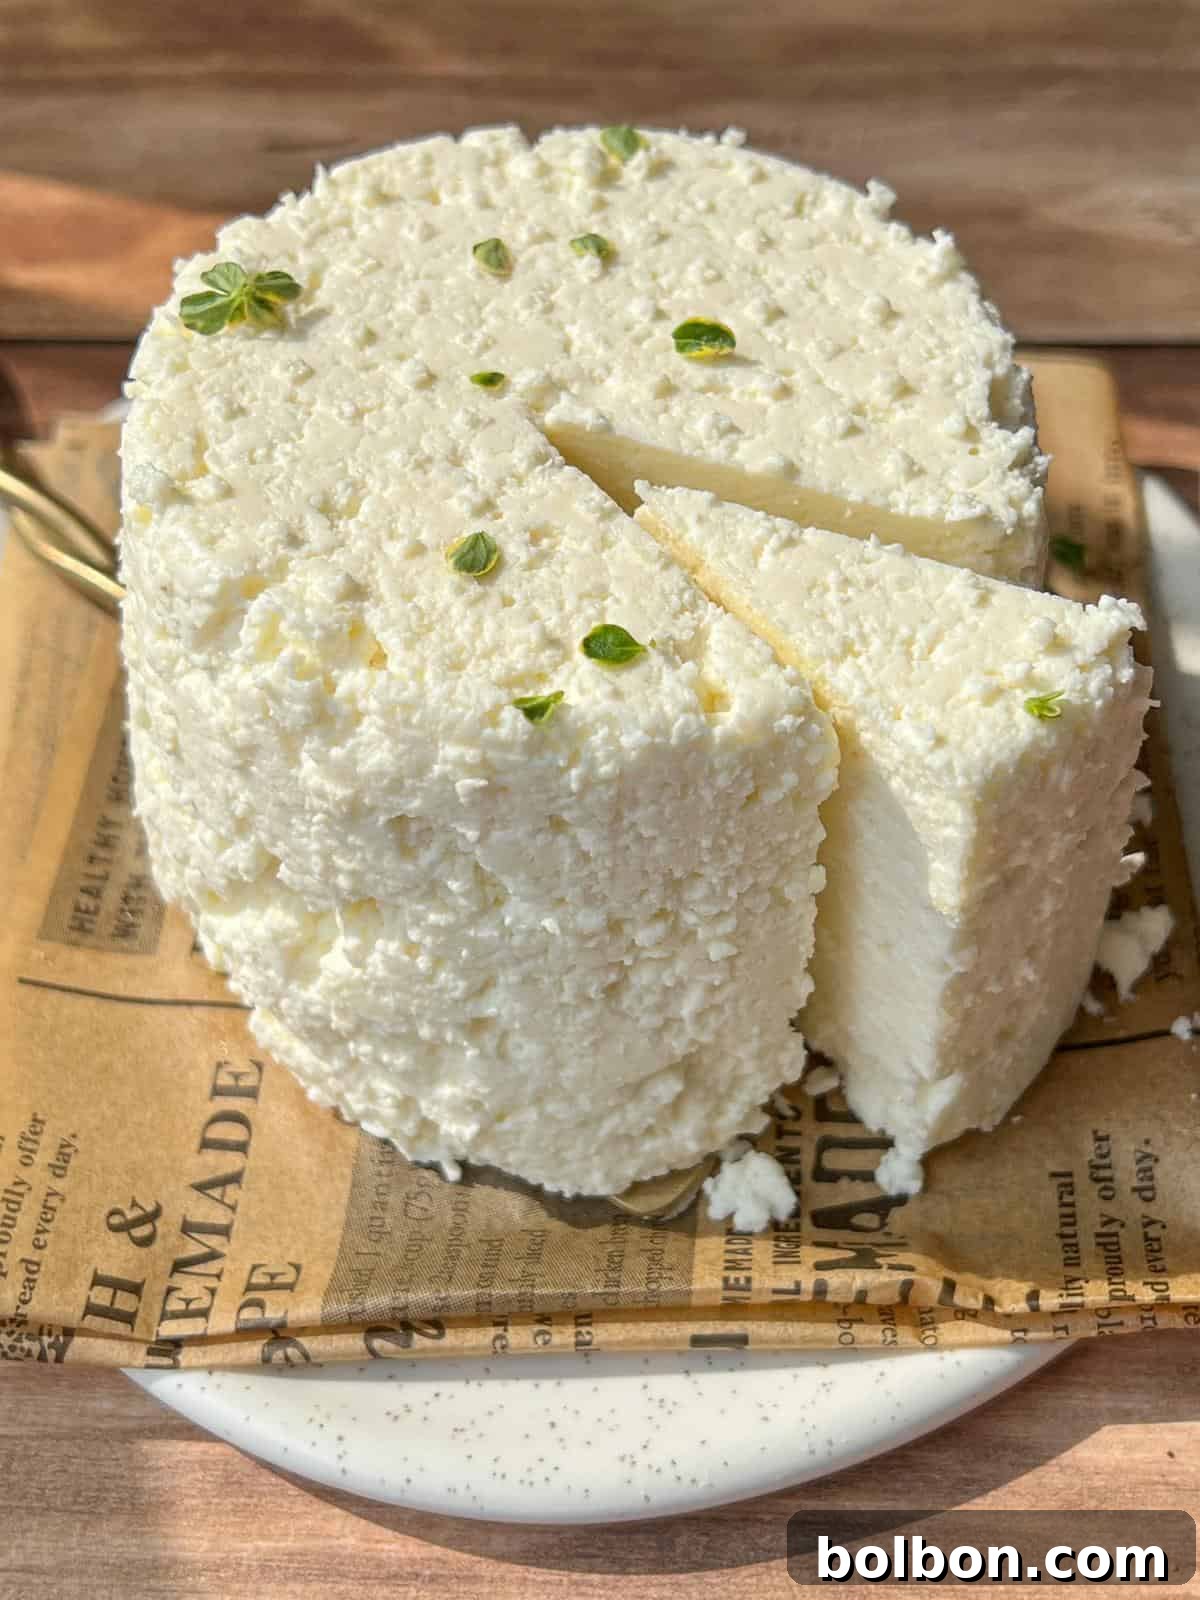
Unleash Your Creativity: Farmers Cheese Variations and Flavorful Substitutions
One of the most exciting aspects of making your own farmers cheese is the endless opportunity for customization. Once you’ve mastered the basic recipe, you can easily experiment with various flavors and forms to suit your palate and culinary needs. Here are some fantastic ideas to get you started:
- Instead of using white vinegar, explore other acidic agents to coagulate your milk. Freshly squeezed lemon juice 🍋 offers a brighter, slightly tangier cheese, while apple cider vinegar can impart a subtle, fruity undertone. Experiment with small batches to discover your favorite flavor profile!
- Beyond just salt, infuse your cheese with an array of aromatic spices or fresh herbs. Imagine the kick of freshly ground black pepper, a fiery touch of red chili flakes 🌶️, or the aromatic essence of finely chopped rosemary and thyme leaves. These can be kneaded directly into the curds before pressing, ensuring every bite is bursting with flavor. Consider garlic powder, onion powder, or even a touch of smoked paprika for an adventurous twist.
- To transform your farmers cheese into authentic paneer, the beloved Indian cheese, simply press the cheese into a thin, dense block, approximately 1.5 to 2.5 inches thick. Once firm, cut it into neat cubes. Paneer is incredibly versatile; it can be pan-fried until golden and crispy, then added to rich curries like Palak Paneer or Paneer Tikka Masala. It also makes a fantastic addition to sandwiches, skewers, or as a protein-packed topping for salads. The firmer texture achieved by pressing it into a block makes it ideal for holding its shape during cooking.
Elevate Your Meals: The Best Ways to Serve Farmers Cheese
The beauty of homemade farmers cheese lies in its adaptability. Its mild flavor and delightful texture make it a perfect companion to a wide array of dishes, from simple snacks to hearty main courses. Here are some of our favorite ways to enjoy this incredible homemade cheese:
- Crumbled on Fresh Salads: My absolute favorite way to savor farmers cheese is crumbled generously atop a vibrant, simple salad. It adds a fresh, creamy, and slightly salty dimension that enhances the natural flavors of the greens. It’s particularly exquisite on a refreshing Maroulosalata (Greek Lettuce Salad) 🥗, where its texture beautifully complements the crisp lettuce and tangy dressing.
- A Versatile Feta Alternative: Farmers cheese can be used just as you would use feta cheese in many recipes, offering a milder, less salty profile. Try it in savory dishes like Baked Feta Eggs for a comforting breakfast, Sautéed Broccoli with Feta for a delightful side, or crumbled over Feta Cheese Olives for an elegant appetizer 🧀. Its ability to soften slightly when heated yet retain its shape makes it an excellent choice for cooking.
- Star in Authentic Indian Curries: For a truly authentic experience, cube up your homemade paneer and incorporate it into your favorite Indian curries. It’s the essential ingredient in classic dishes like rich and creamy Palak Paneer (spinach and paneer curry) or the popular, flavorful Paneer Tikka Masala 🇮🇳. The paneer absorbs the spices beautifully, adding a satisfying, protein-rich element to these beloved meals.
- Sweet and Savory Delight: For a surprisingly delicious treat, cut thin slices of farmers cheese and drizzle them generously with hot honey 🍯. The creamy, salty cheese perfectly balances the sweetness and subtle heat of the honey, creating an irresistible snack or dessert that’s both simple and sophisticated. A sprinkle of fresh thyme or a crack of black pepper can further elevate this combination.
Essential Tools for Homemade Farmers Cheese (Paneer)
Equipping your kitchen with the right tools ensures a smooth and successful cheesemaking experience. While some items are indispensable, others offer convenience and professional results. Here’s what you’ll need:
- Large Pot: You’ll need a spacious pot, ideally one that can comfortably accommodate at least 1 gallon of milk, allowing for plenty of stirring without spillage. A heavy-bottomed pot is highly recommended 🫕 as it distributes heat more evenly, significantly reducing the risk of scorching the milk, which can impart an unpleasant taste to your cheese.
- Cheesecloth: This lightweight, loosely woven cotton fabric is absolutely essential for draining the curds and shaping your cheese. Its open weave allows whey to pass through while retaining the milk solids. If you don’t have cheesecloth, a clean, thin cotton tea towel or even a new, unbleached flour sack towel can serve as an effective substitute.
- Meat Thermometer: Precision is key when heating milk for cheesemaking. A digital or analog meat thermometer is invaluable for accurately monitoring the temperature of your bubbling pot of milk. Reaching the precise temperature (180°F or 82°C) is crucial for optimal curd formation and achieving the perfect consistency for your farmers cheese.
- Cheese Molds: While not strictly necessary, cheese molds are wonderful for shaping your cheese into classic wheels, rectangles, or other aesthetically pleasing forms 🧀. They typically feature perforations to aid in drainage. However, if you don’t own any, don’t despair! As Nonna’s Tip suggests, you can easily use cheesecloth to bundle the curds and press them between two plates, weighing the top plate down with heavy items like canned goods or a sturdy cast-iron pan. This yields a perfectly functional and delicious cheese block.
- Fine Mesh Sieve: A sturdy fine mesh sieve is vital for straining the curds from the whey. When lined with cheesecloth, it provides the perfect setup for efficient drainage, ensuring your cheese achieves the desired texture.
- Measuring Cups & Spoons: Accurate measurements are important for consistency in your cheesemaking, especially for the acid and salt.
- Mixing Bowls: A few large mixing bowls will be useful for holding the whey and for preparing your cheese curds before pressing.
Explore More Homemade Delights: Similar Recipes You’ll Love
Homemade Ricotta
Total Time: 40 mins
Homemade Butter
Total Time: 10 mins
Homemade Cottage Cheese
Total Time: 1 hr 15 mins
Homemade Mayo
Total Time: 5 mins
Homemade Farmers Cheese (Paneer)
⭐
⭐
⭐
⭐
Facebook Share
Rate Recipe
Print Recipe
Condiment, Appetizer, Main Dish
American, Indian, Mediterranean
10
servings
The Modern Nonna
10 minutes
10 minutes
1 hour
1 hour 20 minutes
Equipment
Ingredients
- 1 gallon grass-fed whole milk
- ¾ cup white vinegar
- 1 teaspoon salt, or to taste
Instructions
-
Pour the milk into a large, heavy-bottomed pot. Heat the milk over medium heat, stirring gently and consistently every few seconds to prevent scorching, until it reaches precisely 180°F (approximately 82°C). Use a reliable meat thermometer for accurate temperature control.
-
Once the milk reaches the target temperature, remove the pot immediately from the heat. Add the ¾ cup of white vinegar, pouring it in slowly. Gently stir the mixture for about 30 seconds. At this point, you should visibly notice the milk solids (curds) beginning to separate distinctly from the yellowish, translucent liquid (whey). If separation is not immediate, allow it to sit for an extra minute or two.
-
Cover the pot and let the mixture sit undisturbed for at least 30 minutes. This resting period allows the curds to fully form and settle. For an even firmer cheese and to ensure it cools to room temperature, I often leave mine covered for 60 minutes.
-
Line a fine mesh sieve with a layer of cheesecloth and place it over a large bowl to collect the draining whey. Carefully pour the curds and whey into the prepared sieve. Allow it to drain for at least 30 minutes. The liquid collected in the bowl is nutritious whey – refer to the notes below for ideas on how to use it.
-
After 30 minutes of draining, you have a choice: you can gently rinse the curds with cold water and lightly squeeze out excess moisture for a slightly firmer, less creamy cheese, or leave them as is if you prefer a creamier texture. I typically skip the rinse for a richer result, but this step is entirely up to your personal preference.
-
Transfer the drained curds to a clean bowl and stir in the salt until well combined. Now, transfer the mixture into a cheese mold if you have one, gently pressing it down to create a compact block. If you don’t have a cheese mold, return the curds to the cheesecloth, wrapping it tightly. Use your hands to guide the mixture into your desired round or square shape. Place this cheesecloth bundle on a plate, then top it with another plate. Place a heavy object, such as several cans of food or a heavy cast-iron pan, on the top plate to weigh it down and press out more whey.
-
Refrigerate the cheese (either in its mold or under the weighted plate in cheesecloth) for at least 2 hours, or ideally, overnight. The longer the cheese remains pressed in the mold or under weight, the firmer and more compact it will become. This step is crucial for achieving the desired texture.
-
Once the cheese has firmed up to your preferred consistency, carefully remove it from the mold or cheesecloth. It’s now ready to be enjoyed! Slice it, cube it, or crumble it over your favorite dishes. Store any remaining farmers cheese in an airtight container in the refrigerator for up to 5 days to maintain its freshness.
Recipe Notes & Tips for Perfection
- Shape It Your Way: Farmers cheese (paneer) is remarkably moldable, offering fantastic creative freedom. Don’t limit yourself to traditional shapes! Have a fun star-shaped mold ⭐️? Go for it! Prefer a simple rectangle, a classic circle, or even an oval? This cheese will happily conform to your artistic vision.
- Customize Your Salt Level: The amount of salt in your cheese is entirely a matter of personal taste. The best way to achieve your desired flavor is to taste as you go. Add a small amount of salt to your curds, mix it in thoroughly, and then take a tiny bite. Adjust by adding more salt in small increments until it’s perfect for you.
- Seasoning Adventures: When adding salt, consider introducing other delightful spices and seasonings. Freshly ground black pepper, a pinch of red chili flakes for a gentle heat, or finely chopped fresh herbs like rosemary or thyme can transform your cheese. Dried herbs, garlic powder, or onion powder are also excellent additions. Just be aware that fresh herbs might slightly reduce the cheese’s shelf life by a day or so. Always check for any off-smell or visible mold before consuming if fresh herbs are used.
- Don’t Waste the Whey! The liquid that drains off the curds, known as whey, is a powerhouse of protein and nutrients. It’s far too valuable to discard! Here are some fantastic ways to utilize this nutritious byproduct:
- 🧀 Use it as the liquid base for making your next batch of homemade ricotta cheese, adding even more richness.
- 🍞 Incorporate it into bread doughs; the whey adds flavor and helps create a softer texture.
- 🍲 Use it as a flavorful and nutrient-dense broth in soups and stews.
- 🍹 Boost the nutritional value of your morning smoothies by adding a splash of whey.
Nutrition Information (Approximate)
Calories: 231 kcal,
Carbohydrates: 18g,
Protein: 12g,
Fat: 12g,
Saturated Fat: 7g,
Polyunsaturated Fat: 0.4g,
Monounsaturated Fat: 3g,
Cholesterol: 45mg,
Sodium: 377mg,
Potassium: 568mg,
Sugar: 18g,
Vitamin A: 613IU,
Calcium: 467mg,
Iron: 0.01mg
Nutrition information is automatically calculated and should only be used as an approximation. Individual results may vary based on ingredients and preparation methods.
Additional Recipe Information
Condiment, Appetizer, Main Dish
American, Indian, Mediterranean

Common Questions About Homemade Farmers Cheese (Paneer)
While all are fresh, unaged cheeses, farmers cheese (paneer) stands out due to its significantly drier and firmer texture compared to ricotta or cottage cheese. It’s firm enough to be neatly sliced into blocks or cubes, yet still easily crumbles. The creaminess of your final cheese largely depends on the fat content of the milk you use; higher fat milk yields a richer, creamier farmers cheese.
To maintain optimal freshness and flavor, remove your homemade cheese from its mold or cheesecloth once it has firmed up. Store it in an airtight container in the refrigerator. It will typically last for up to 5 days. I highly recommend using a glass container, as glass does not absorb odors or flavors, unlike some plastics, keeping your cheese tasting pristine.
Absolutely! This is one of the joys of making cheese at home. You can infuse your farmers cheese with virtually any spices or herbs you desire. Consider mixing in black pepper, red chili flakes, garlic powder, or finely chopped fresh herbs like rosemary, thyme, or chives. Remember that the addition of fresh herbs might slightly reduce the cheese’s shelf life by about a day or two. Always conduct a quick smell and visual check for any off-odors or mold before consuming.
This particular recipe has not been tested with non-dairy milk alternatives, and its success relies on the specific proteins and fat content found in full-fat dairy milk. For the best flavor, texture, and reliable curd formation, it is strongly recommended to use full-fat cow’s milk.
Several factors can prevent milk from curdling properly. The most common reasons include using low-fat milk or ultra-pasteurized milk (including ultra-high temperature pasteurized milk), which often do not contain sufficient fat and proteins to form robust curds. Another frequent cause is not adding enough acid (vinegar or lemon juice) to the milk, or the milk not reaching the ideal temperature of 180°F (82°C) before the acid is added. Ensure you’re using whole milk and a reliable thermometer.
Using 1 gallon of whole milk and following this recipe, you can expect to yield approximately 3 cups of cheese curds, which will form a substantial block of farmers cheese suitable for slicing, cubing, or crumbling.