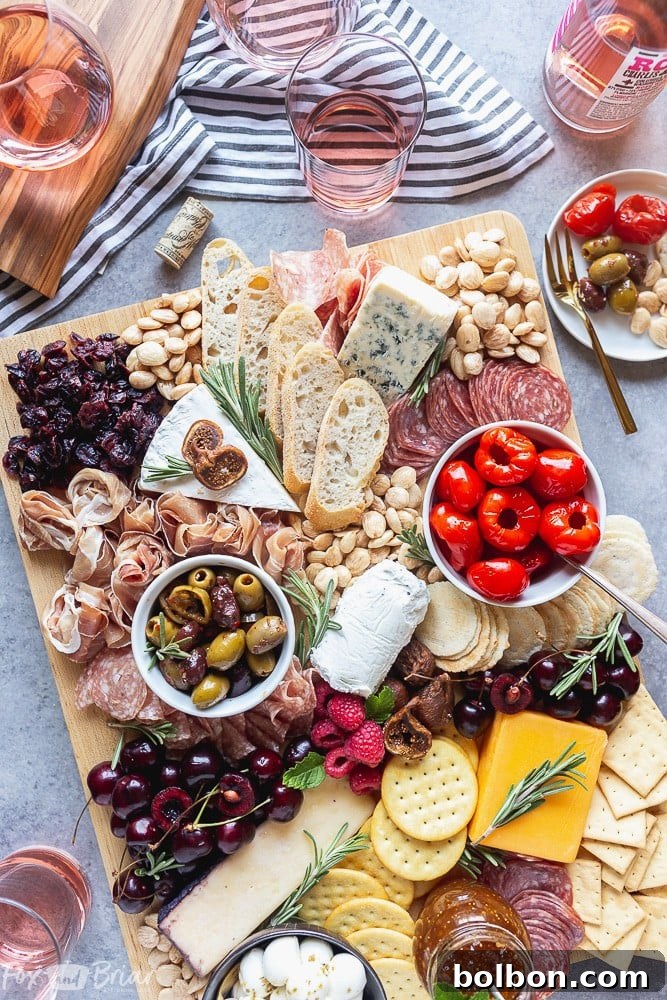
No party, gathering, or cozy night in is truly complete without the magnificent presence of a beautifully crafted charcuterie board. More than just an appetizer, it’s a culinary masterpiece, a conversation starter, and an edible art form that promises to delight every palate. Whether you’re hosting a grand holiday celebration, a casual summer get-together, or an intimate wine tasting, learning how to assemble an impressive charcuterie board is a skill that will serve you well. Follow our detailed step-by-step guide, accompanied by expert tips, to create a charcuterie board that not only looks stunning but also keeps your guests coming back for more!
This post is sponsored by QFC. The opinions and text are my own, reflecting my genuine experience with their fantastic selection of ingredients.
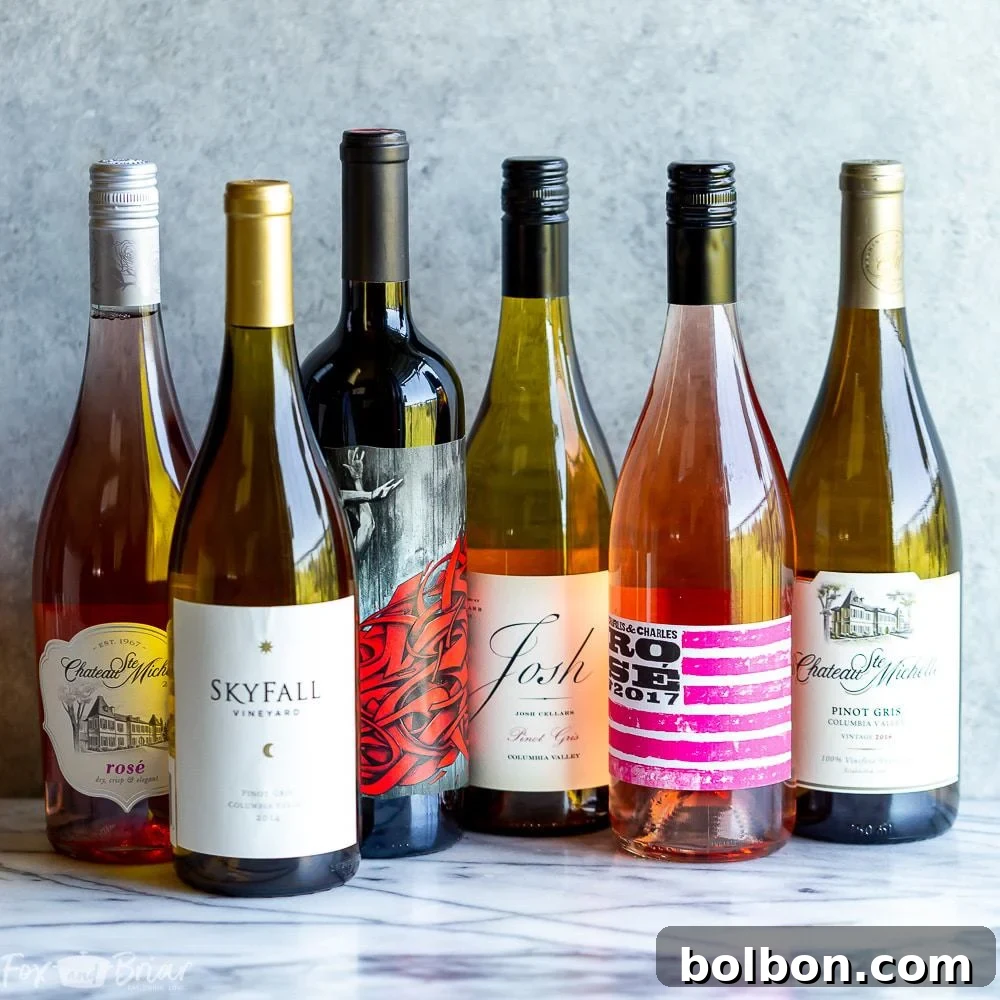
There’s always a wonderful reason to gather and celebrate, and often, that celebration pairs perfectly with a fantastic glass of wine. Throughout the year, many regions highlight their local vintages, presenting ideal opportunities to discover new favorites or stock up on trusted labels. For instance, if you’re in Washington during August, you might find incredible deals on Washington wines at local stores like QFC, offering significant savings when you buy multiple bottles. After all, doesn’t saving money make enjoying a superb wine even sweeter?
And what pairs more exquisitely with fine wine than a thoughtfully arranged charcuterie board? It’s the ultimate culinary companion.
What Exactly is Charcuterie? Unpacking the Delights
Originating from France, the term “charcuterie” traditionally refers to a branch of cooking focused on preparing and curing various meat products, primarily from pork. Think bacon, salami, prosciutto, pâté, and terrines. Historically, a charcutier was a craftsman who prepared these cured meats, often to preserve them before refrigeration was common. Today, when we talk about a “charcuterie board” in a culinary context, it has evolved beyond just cured meats. While the core remains an assortment of processed meats, modern charcuterie boards commonly feature an expanded array of complementary items, transforming them into a comprehensive appetizer or light meal experience.
These days, when you order a “charcuterie board” at a restaurant or assemble one at home, it’s generally understood to be a wooden board laden not only with various cured meats but also an exquisite selection of cheeses, fruits, nuts, crackers, spreads, and other delectable accompaniments. This blend creates a harmonious balance of flavors and textures, offering something to please virtually every guest.
How Do You Pronounce Charcuterie? Say It Like a Pro
The French origin of “charcuterie” often leads to questions about its pronunciation. Don’t worry, you’re not alone! The correct way to pronounce charcuterie is typically rendered as **shär-ˌkü-tə-ˈrē** or simply “shar-KOO-tuh-ree.” Breaking it down, the first part sounds like “shar” (as in “shark”), followed by “koo” (as in “cool”), then a soft “tuh,” and finally “ree” (as in “tree”). Mastering this pronunciation adds a touch of sophistication to your culinary vocabulary, just like mastering the board itself.
Charcuterie Board vs. Cheese Board: What’s the Difference?
While often used interchangeably in casual conversation, there is a subtle distinction between a traditional charcuterie board and a cheese board. As established, “charcuterie” strictly refers to cured meats. Thus, a pure charcuterie platter would focus solely on an array of salamis, prosciuttos, pates, and other meat preparations, perhaps with some pickles or mustards to complement them.
A “cheese board,” conversely, centers its offerings around various cheeses – soft, hard, semi-hard, fresh, aged – paired with items like crackers, bread, fruits, and honey, specifically chosen to enhance the cheese experience. The key difference lies in the primary focus. However, the popular “charcuterie board” we see and love today is actually a delightful fusion, borrowing the best elements from both concepts. It’s a “mixed board” that prominently features both cured meats and a diverse selection of cheeses, along with a medley of other small bites. So, while technically distinct, in modern entertaining, using “charcuterie board” or “cheese board” often refers to this bountiful hybrid.
The Art of Assembly: What Goes on a Charcuterie Platter?
The beauty of creating a charcuterie platter lies in its immense versatility. There are no rigid rules; you can tailor it to your preferences, the occasion, and the seasonal availability of ingredients. From an all-meat feast to a delightful mix of savory and sweet, the possibilities are endless. However, a well-balanced board aims to offer a variety of flavors, textures, and colors to create an engaging visual and culinary experience. Here’s a comprehensive, step-by-step guide to building a truly impressive charcuterie board that will captivate your guests.
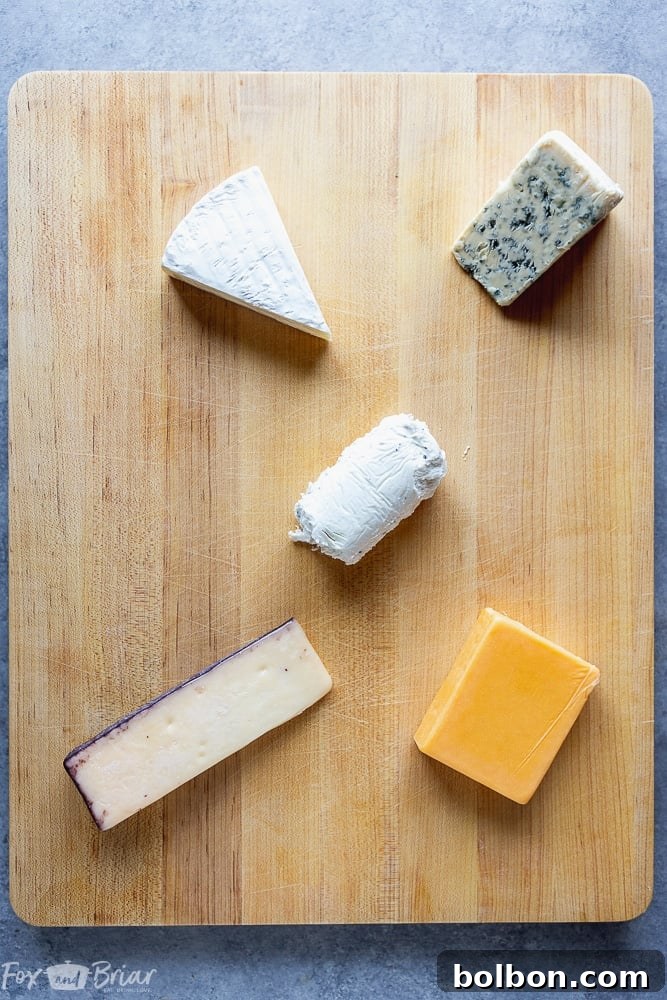
1. Anchor Your Board with an Array of Cheeses
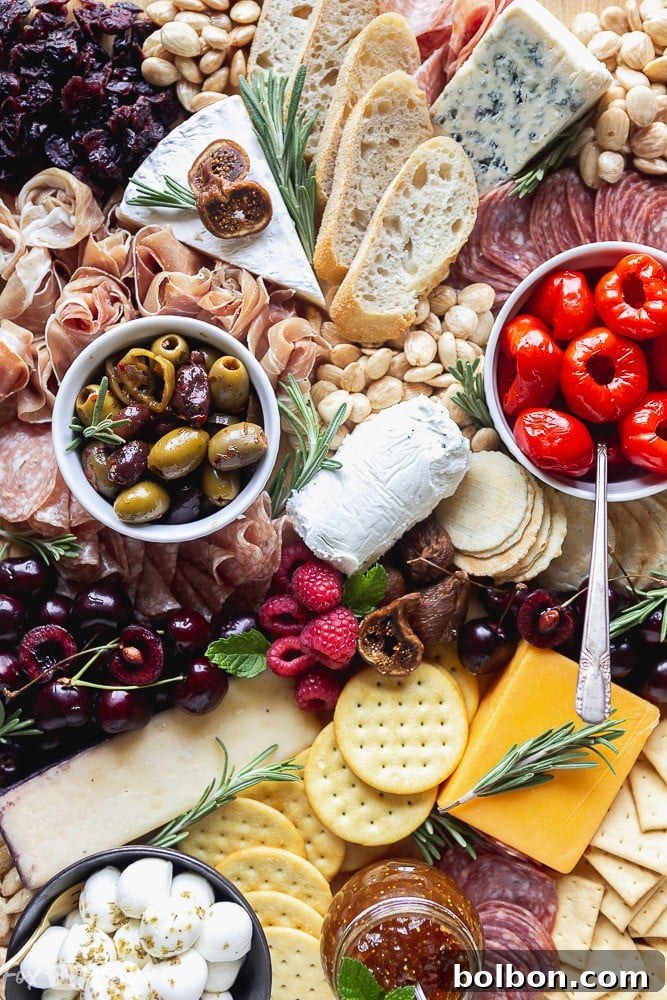
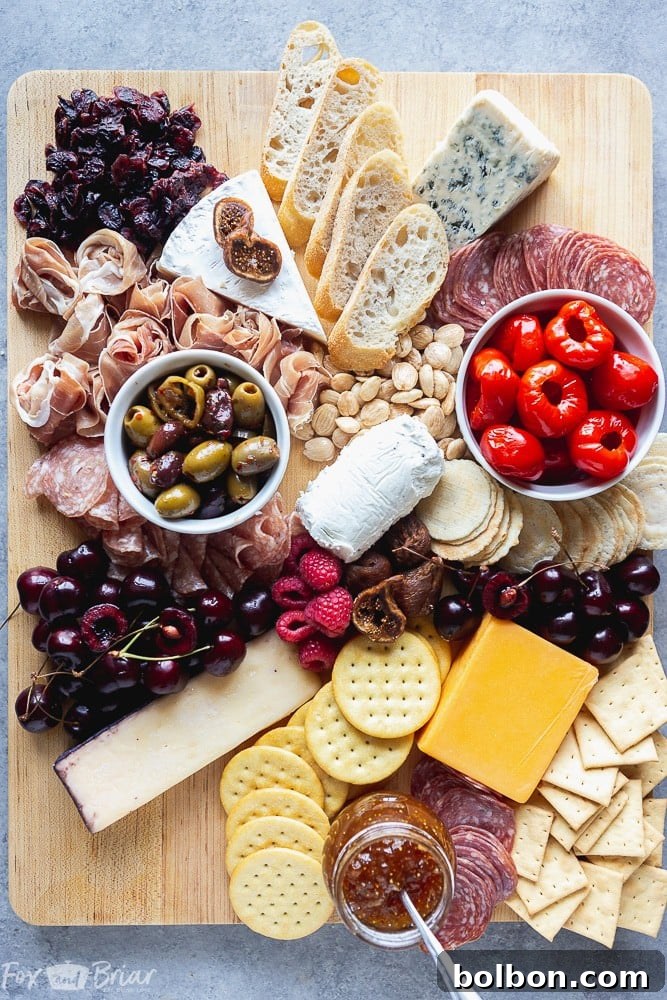
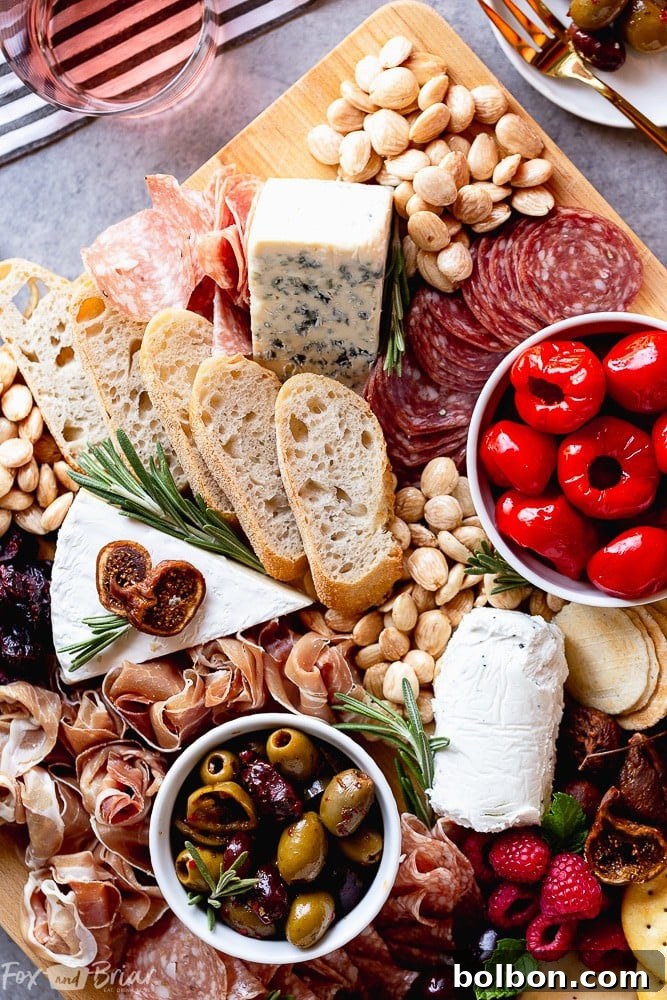
Begin your masterpiece by strategically placing your cheese selections. Cheeses often form the structural anchors of your board due to their size and shape. Aim for diversity to cater to different tastes. I recommend including at least three to five different types of cheese, varying in texture and flavor profile. For instance, on this board, I used a vibrant blue cheese for a sharp, pungent note, a creamy triple creme brie for a buttery indulgence, a rich truffled goat cheese for an earthy elegance, a robust sharp cheddar for a familiar tang, and a distinctive merlot bellavitano for a sweet and savory experience. I discovered all these fantastic options in the well-curated cheese case at QFC, which consistently offers an excellent selection. Positioning them around the board creates natural dividers and visual interest, setting the stage for the other components.
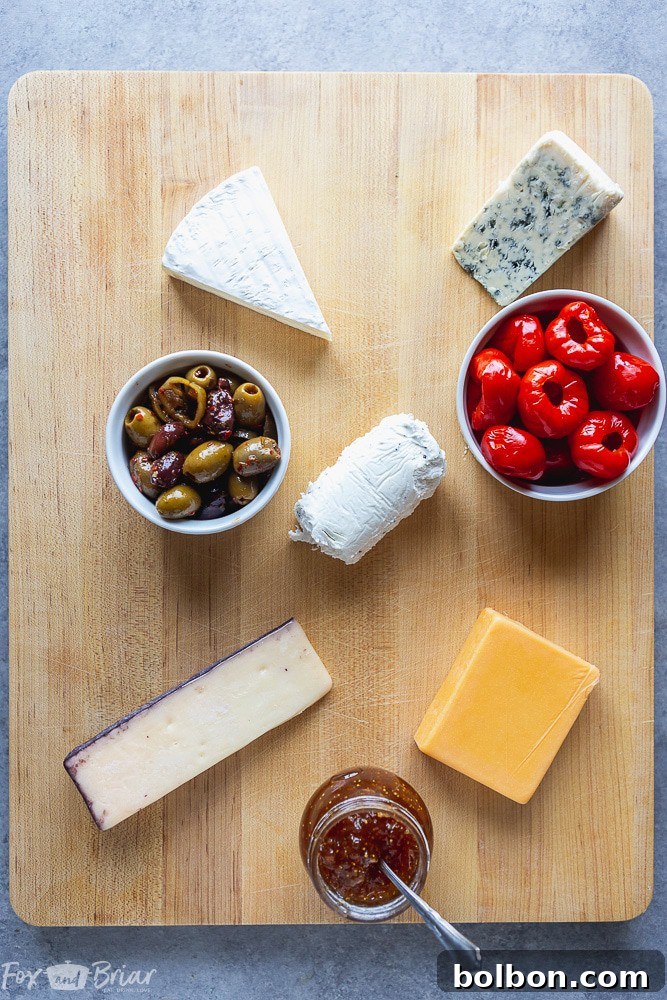
2. Incorporate Small Bowls and Dishes for Accompaniments
Next, place small bowls or ramekins on your board. These are perfect for containing “wet” or smaller, loose items, preventing them from mixing with other ingredients and maintaining a clean aesthetic. Think olives, various jams, honey, mustards, or creamy dips. Adding briny items like olives, cornichons, or marinated artichoke hearts provides a wonderful contrast to rich cheeses and meats, balancing the flavors and elevating the board to a more meal-worthy status. On this particular board, we featured delicious peppadew peppers, which offered a delightful combination of briny, sweet, and subtly spicy notes, adding an unexpected kick that guests loved.
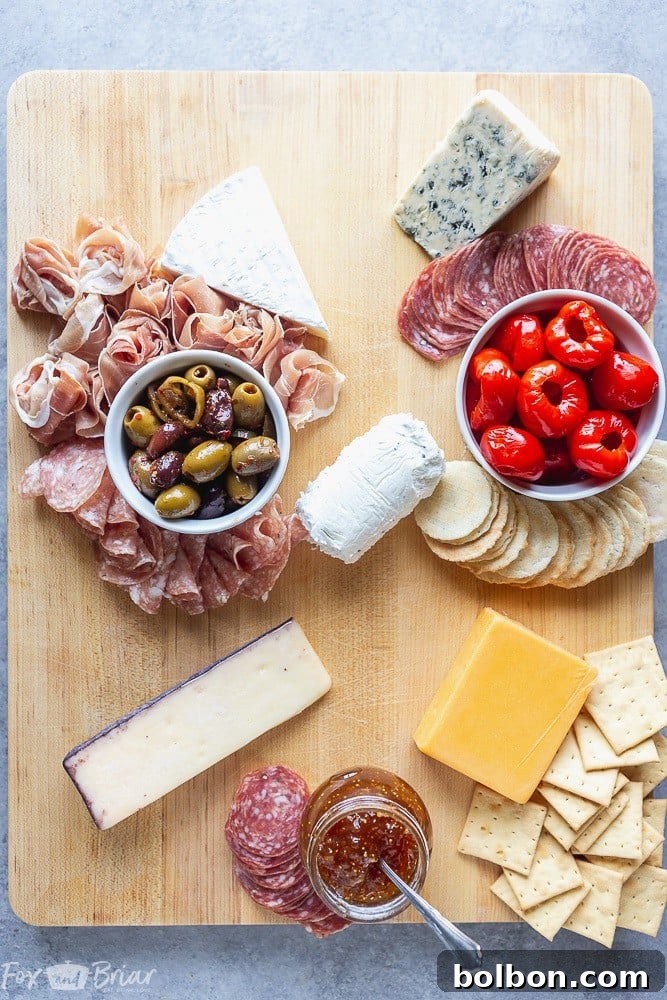
3. Artfully Arrange the Cured Meats
No charcuterie board is complete without its namesake: cured meats! Begin to fill in the larger empty spaces around your cheeses and bowls with an enticing selection of meats. My go-to choices almost always include a flavorful salami (soppressata is a personal favorite) and delicate prosciutto. You can always expand with other options like coppa, speck, or even pepperoni, depending on your preference. The presentation here is key: instead of just laying slices flat, try folding them to add volume and visual appeal. Prosciutto can be elegantly wrapped into small, rose-like rosettes, while slices of salami can be folded into quarters or halves, creating beautiful patterns. Place them fanning out from the existing items to fill the wooden board, ensuring they are easily accessible.
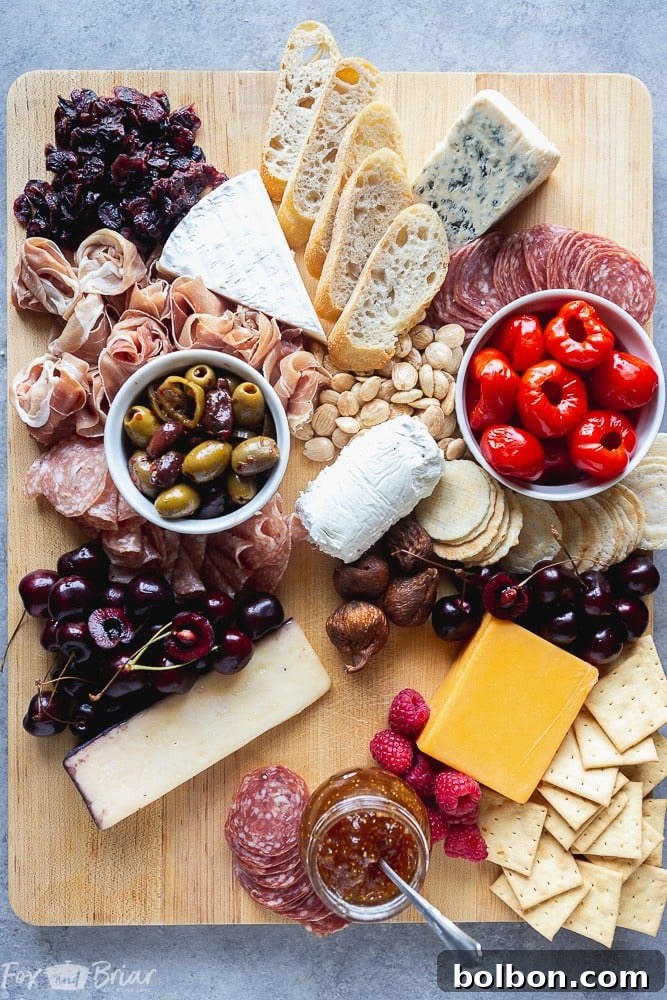
4. Introduce Crackers and Breads for Scooping and Spreading
Now, you need the perfect vehicles for all that delicious meat and cheese! Crackers and/or bread are absolute essentials. Offer a variety of textures – crunchy, airy, hearty – and shapes. Opt for sturdy crackers that can withstand the weight of cheese and spreads without breaking. I often include a selection of artisanal crackers alongside slices of a fresh baguette or French bread, which offers a soft contrast. Arrange them in neat piles or fan them around the edges of the board, making sure they are easy to grab. This step ensures that guests have everything they need to assemble their perfect bite.
5. Fill Remaining Gaps with Fruits, Nuts, and Small Bites
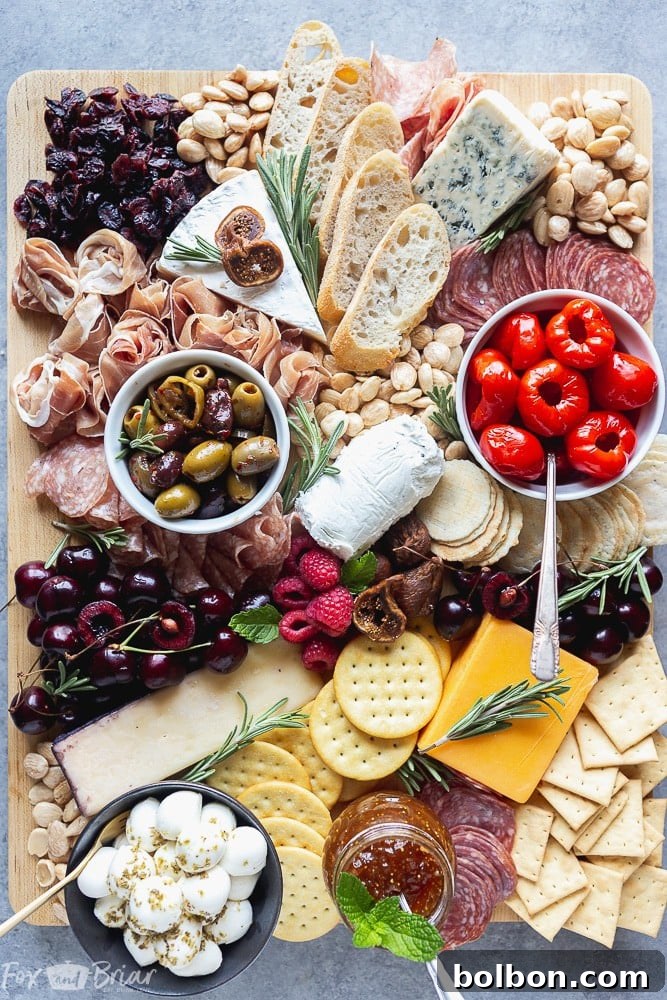
With the main components in place, it’s time to fill any remaining empty spaces with smaller, vibrant items. This is where you can truly make your board pop with color and introduce refreshing elements. Fresh fruits like grapes, berries, apple slices, and figs add sweetness and a juicy contrast. Dried fruits such as apricots, dates, and cranberries offer a chewy texture and concentrated flavor. A handful of mixed nuts – almonds, walnuts, pecans, or pistachios – provide a satisfying crunch and nutty richness. These smaller items are perfect for tucking into crevices and scattering around the board, ensuring every inch is appealingly covered.
Don’t forget to consider seasonal fruits for a fresh touch. In summer, think peaches and cherries; in fall, crisp apples and pears are ideal; and during winter, pomegranates and tangerines can add a festive flair. This abundance creates a generous, inviting look that says, “Come, graze, and enjoy!”
6. Garnish with Fresh Herbs for a Polished Finish
The final touch that truly elevates a charcuterie board from good to gourmet is a thoughtful garnish of fresh herbs. Small sprigs of rosemary, thyme, or basil tucked into tiny gaps not only add a burst of vibrant green color but also infuse a subtle, aromatic freshness to the entire presentation. These herbs act like little decorative accents, adding depth and a professional finish to your edible masterpiece. It’s a simple step that makes a significant impact, tying all the diverse elements together into a cohesive and visually stunning spread.
Pairing Your Charcuterie Board with the Perfect Wine
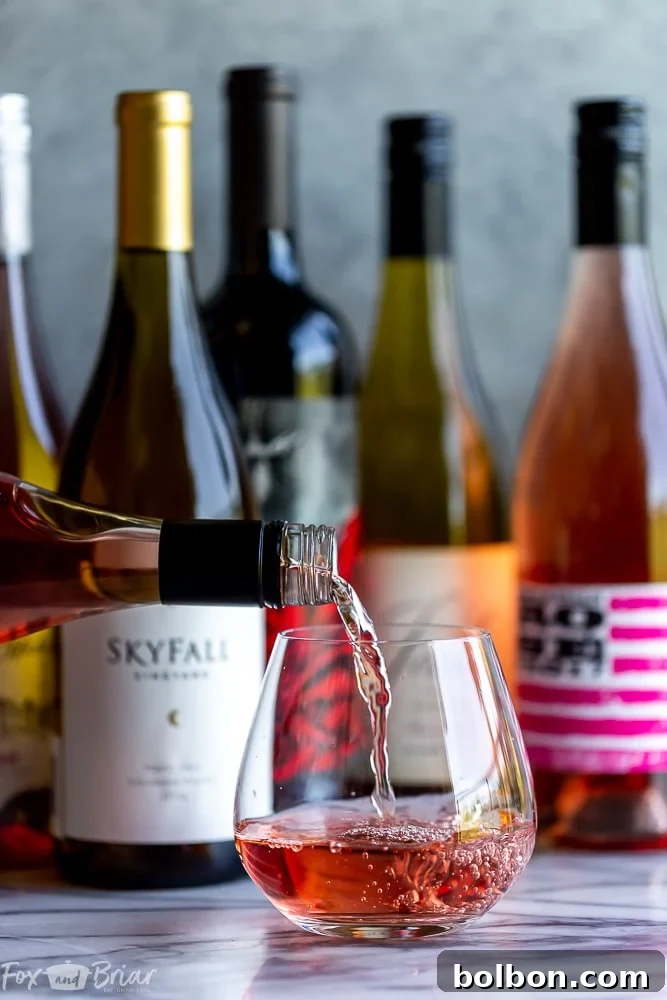
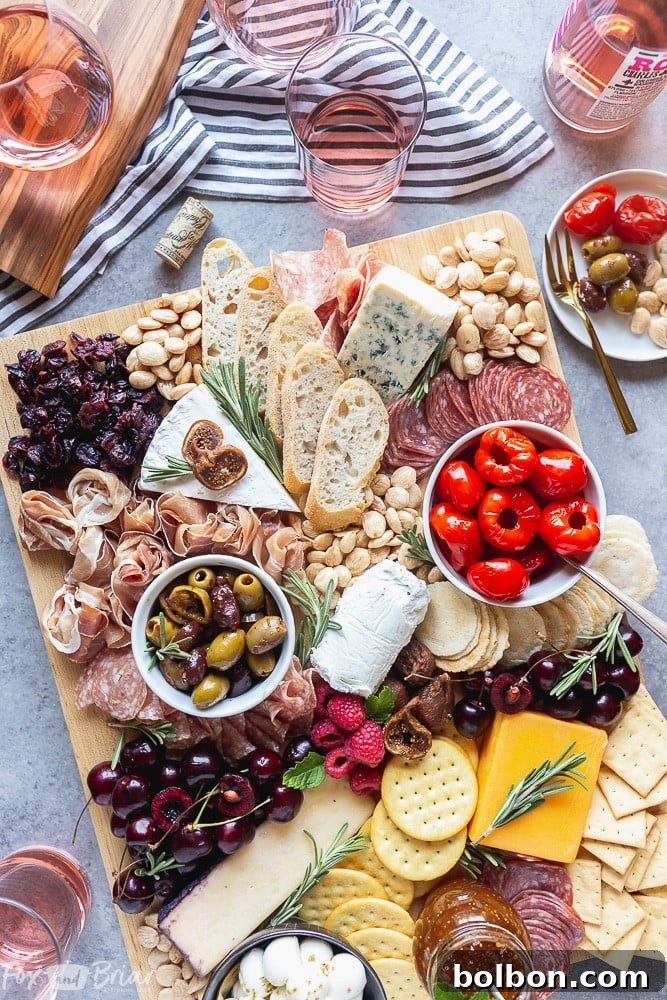
Ta-Da! Your magnificent charcuterie board is complete. But let’s not forget its ideal partner: wine! The beauty of a diverse charcuterie board is that it pairs well with a wide range of wines, allowing for endless exploration. While I enjoyed this particular cheeseboard with a crisp, dry Washington rosé – its bright acidity and subtle fruit notes wonderfully cut through the richness of the cheeses and meats – the best wine to drink with a charcuterie board is truly the wine you like best! Washington State, in particular, boasts an incredible variety of red, white, and rosé wines, making it easy to find something to suit any palate and complement your board.
However, if you’re looking for guidance, here are some general pairing principles:
- For Rich Meats & Hard Cheeses: Fuller-bodied red wines like Cabernet Sauvignon, Merlot, or Syrah (Shiraz) are excellent choices. Their tannins and dark fruit notes stand up to robust flavors.
- For Creamy Cheeses & Lighter Meats: Light to medium-bodied white wines such as Sauvignon Blanc, Pinot Grigio, or an unoaked Chardonnay offer refreshing acidity and often fruity or herbaceous notes that cleanse the palate.
- For Spicy Meats or Sweet Accompaniments: Off-dry Riesling or Gewürztraminer can provide a delightful counterpoint.
- For Everything In Between: Rosé wines are incredibly versatile, offering the best of both worlds with good acidity and fruit characteristics that complement a vast array of charcuterie components. Sparkling wines, like Prosecco or Champagne, are also fantastic choices, as their bubbles and crispness enhance almost any food pairing.
Tips for Crafting the Ultimate Charcuterie Experience
Beyond the step-by-step assembly, a few additional tips can elevate your charcuterie game:
- Choose the Right Board: Select a board that’s appropriately sized for your guest count and made from food-safe materials like wood, slate, or marble. A larger board offers more space for creative arrangement.
- Temperature Matters: Serve cheeses at room temperature to allow their full flavors and aromas to develop. Take them out of the refrigerator about 30-60 minutes before serving. Cured meats are also best at room temperature.
- Provide Utensils: Include small knives for cheeses, spreaders for jams, and miniature tongs or picks for guests to easily serve themselves hygienically.
- Think Seasonal: Incorporate seasonal fruits, vegetables, and even cheeses to make your board feel fresh and timely.
- Don’t Overlook Texture: Aim for a variety of textures – creamy, crunchy, chewy, smooth – to keep each bite interesting.
- Make it Budget-Friendly: You don’t need expensive ingredients to make a beautiful board. Focus on good quality, even if it’s just one or two premium items alongside more affordable staples.
- Consider Allergies/Dietary Needs: If known, try to include a few options that cater to common dietary restrictions (e.g., gluten-free crackers, nut-free sections).
The true beauty of the charcuterie board is its adaptability. You can make it as elaborate or as simple as your time and ingredients allow. Even a smaller board featuring just one or two types of delicious meat and cheese, paired with some quality crackers or bread, can make a surprisingly impressive statement. It’s all about quality ingredients and thoughtful presentation. A modest charcuterie board still impresses and delights!
Unleash Your Inner Charcutier!
Now that you’re armed with all the knowledge and inspiration, what are you waiting for? Head to your nearest grocery store, like QFC, and begin gathering your favorite Washington wines, artisanal cheeses, and delectable cured meats. Get creative, have fun with the process, and soon you’ll be crafting breathtaking charcuterie boards that become the highlight of any occasion.
Did you create your own stunning charcuterie board using these tips? Don’t forget to share your masterpieces! Tag me on Instagram and Facebook so I can see and celebrate your culinary artistry!