

Tired of expensive, overly processed, and less-than-flavorful store-bought deli meats? It’s time to take control of your kitchen and elevate your sandwich game! This incredible homemade chicken deli meat recipe is about to revolutionize the way you think about cold cuts. Forget the mystery ingredients, artificial additives, and excessive sodium often found in supermarket options; say hello to truly easy, healthy, and incredibly budget-friendly chicken deli slices made right in your own home. You’ll be amazed at how tender, juicy, and flavorful these slices of chicken are, far surpassing anything you can buy pre-packaged. Plus, with simple, wholesome ingredients, you’ll feel great about what you’re serving your family, confident in its purity and taste. Prepare to impress everyone with your culinary prowess!
Why You’ll Absolutely Love This Homemade Chicken Deli Meat Recipe
Imagine crafting sandwiches, wraps, and salads with deliciously moist chicken that’s bursting with natural flavor, all while knowing exactly what went into it. This easy chicken deli meat recipe delivers on all fronts, transforming humble chicken breasts into gourmet-quality cold cuts. Here’s why this recipe is about to become a staple in your kitchen:
A Healthier Alternative for Your Family
One of the biggest advantages of making your own deli chicken at home is the complete control over ingredients. Commercial deli meats often contain high levels of sodium, artificial preservatives like nitrates and nitrites, and questionable fillers or binders. With our recipe, you use only real, wholesome ingredients you can pronounce, ensuring a much healthier option for you and your family. No plastic packaging waste, no unpronounceable chemicals – just pure, delicious chicken that you can feel good about.
Unbeatable Flavor and Texture Beyond Store-Bought
The secret to incredibly tender and succulent chicken deli meat lies in a simple yet effective technique: brining. This initial step infuses the chicken with deep flavor while simultaneously locking in moisture, resulting in slices that are far more juicy and tender than any pre-packaged alternative. The subtle hint of aromatic peppercorns, fresh thyme, and savory garlic from the brine, combined with a quick and even bake, creates a depth of flavor and an appealing texture that is truly irresistible and distinctly homemade.
Budget-Friendly and Economical Meal Prep
Making your own deli meat is a fantastic way to stretch your grocery budget. Pre-sliced deli chicken from the grocery store can be surprisingly expensive per pound, especially for higher-quality, preservative-free brands. By purchasing whole chicken breasts – often available in bulk at better prices – and preparing them yourself, you drastically cut down on costs. This recipe allows you to enjoy premium, restaurant-quality cold cuts without breaking the bank, making healthy and delicious eating more accessible for everyone.
Simple Preparation, No Fancy Equipment Required
Don’t be intimidated by the idea of making your own deli meat from scratch! This recipe is incredibly straightforward and requires no fancy equipment that clutters your kitchen. All you need are basic kitchen tools you likely already own: a large pot for the brine, a baking sheet, and a reliable meat thermometer for perfect doneness. The steps are easy to follow and clearly outlined, making this a perfect culinary project for home cooks of all skill levels, from beginners venturing into homemade charcuterie to seasoned chefs looking for healthier alternatives.
Incredibly Versatile for Any Meal
Once you have a batch of this fantastic homemade chicken deli meat prepared, the culinary possibilities are endless. It’s perfect for classic lunchtime sandwiches and wraps, but also shines when added to vibrant salads, hearty pasta dishes, or even enjoyed on its own as a quick, protein-packed snack. Its delicate and balanced flavor profile also makes it highly adaptable to various culinary creations, allowing you to get creative and enjoy delicious, wholesome meals throughout the entire week.
Step-by-Step Guide: Crafting Your Perfect Homemade Chicken Deli Meat
Creating your own tender and flavorful chicken deli meat is a rewarding process that yields incredible results with minimal effort. Follow these simple, detailed instructions to achieve perfectly brined and baked chicken breasts that are ready to be sliced thinly and savored in all your favorite dishes.
Phase 1: Preparing the Flavorful Brine Base
The key to exceptionally moist and flavorful chicken lies in a well-prepared brine. This initial step is critical as it infuses the chicken with essential seasonings and helps it retain moisture during the cooking process, preventing dryness.
- To a large pot suitable for the stove, combine the specified amount of water, whole peppercorns (which add a subtle, peppery warmth), fresh sprigs of thyme (lemon thyme will add a beautiful citrusy note, but regular thyme works wonderfully), peeled garlic cloves for aromatic depth, and Kosher salt. Give all the ingredients a good stir to ensure they are well combined.
- Place the pot on the stove over medium heat and bring the mixture to a gentle simmer. Continue stirring occasionally until the salt has completely dissolved into the water. This ensures the brine is perfectly uniform and ready to work its magic.
- Once the salt is dissolved and the mixture has simmered briefly, immediately remove the pot from the heat. It is absolutely crucial to allow the brine to cool down completely before you introduce the chicken. You can let it sit at room temperature for an hour or so, or for a faster cool-down, carefully place the pot (uncovered) in an ice bath in your sink, or transfer the brine to a heat-safe container and refrigerate it until it’s thoroughly chilled. Adding chicken to hot or even warm brine can begin to cook it prematurely, negatively affecting the final texture of your deli meat.
Phase 2: Brining the Chicken for Maximum Flavor and Juiciness
Brining is a simple yet transformative technique that yields incredibly moist and flavorful chicken. This step is essential for achieving that tender, deli-style quality.
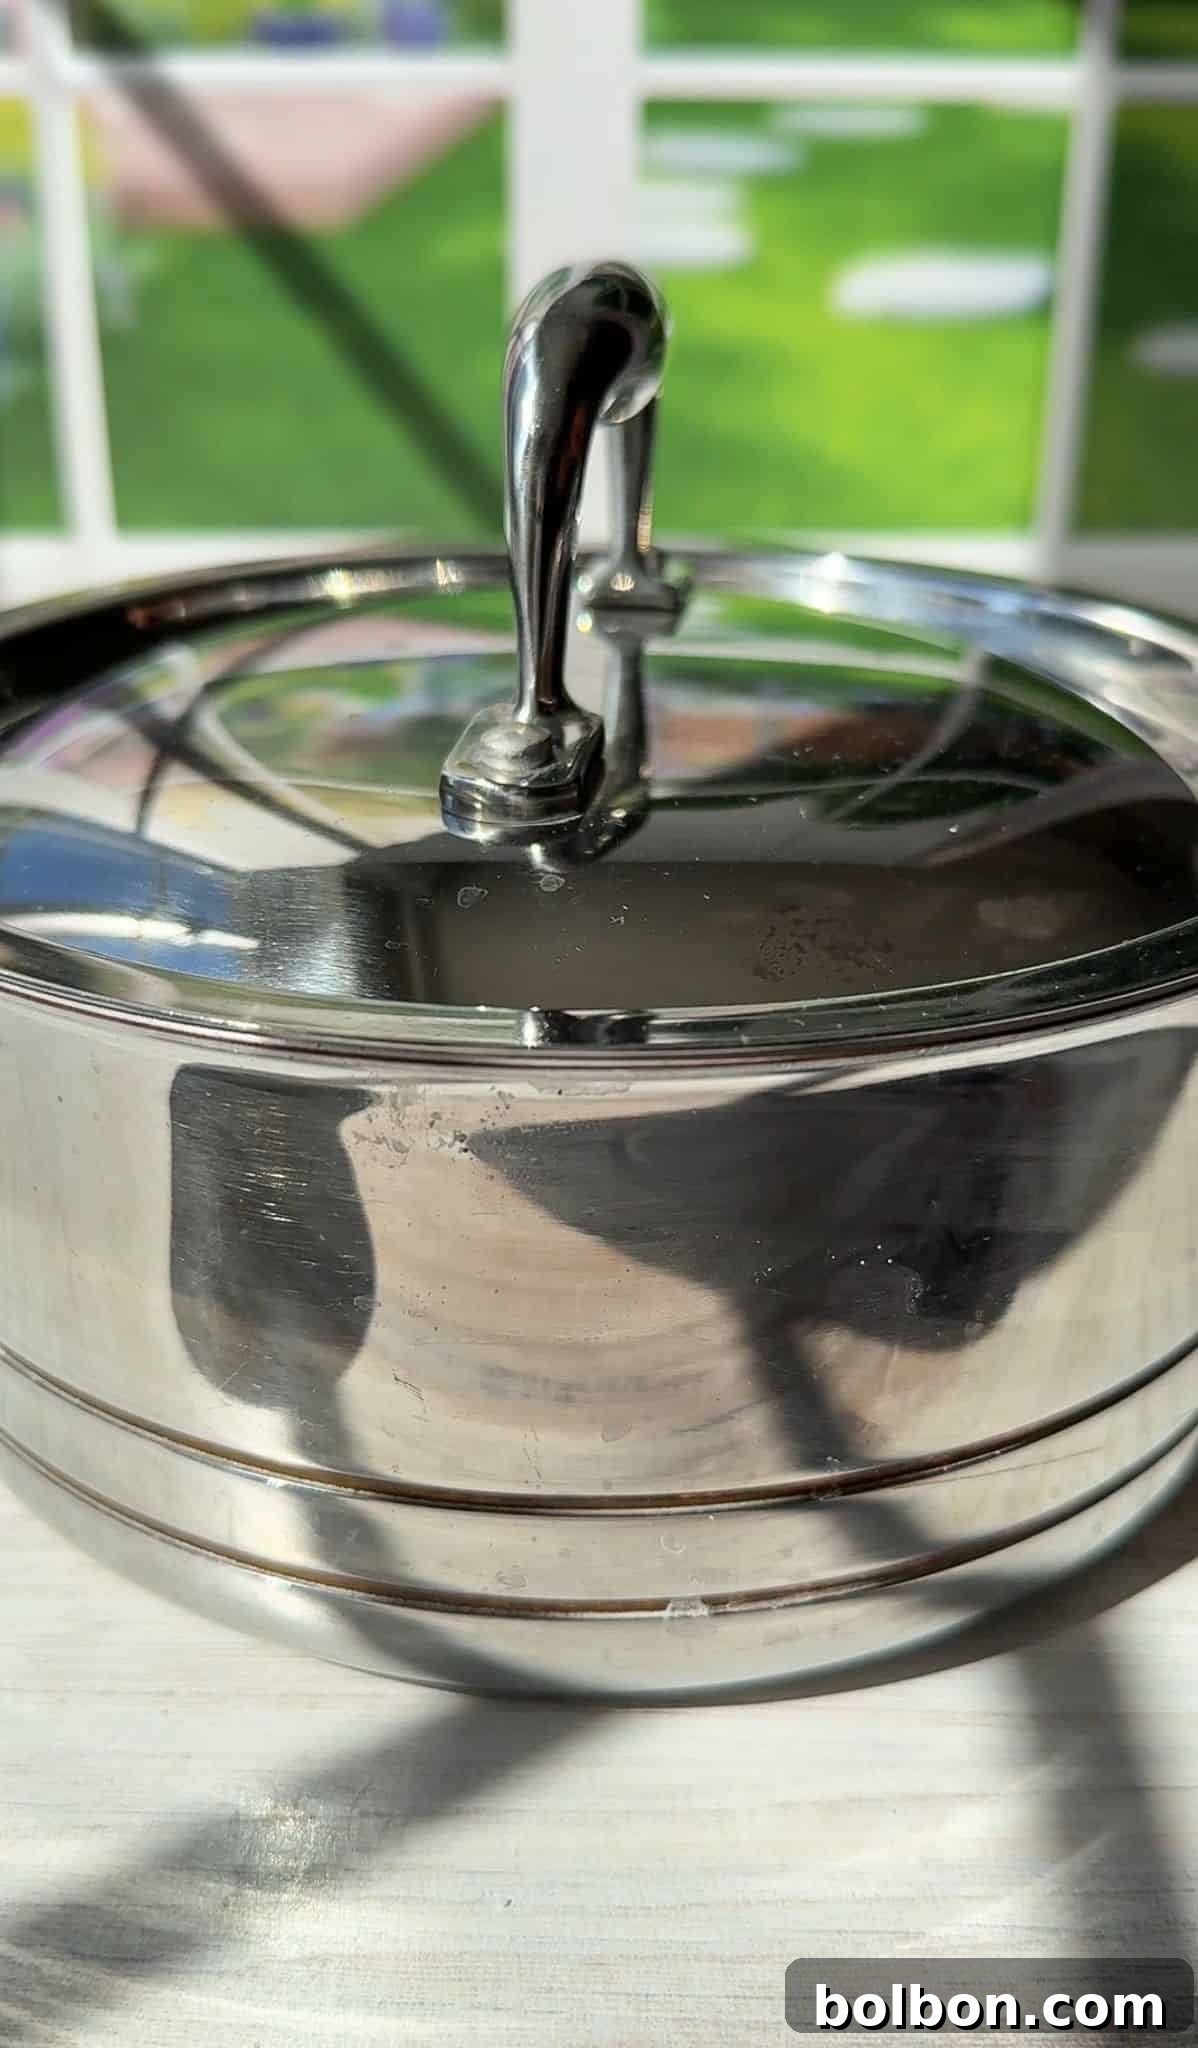
- Once the brine is completely cold (it should feel cool to the touch, not just lukewarm), carefully submerge the boneless, skinless chicken breasts into the liquid. Ensure that each chicken breast is fully covered by the brine. Cover the pot or container tightly with a lid or plastic wrap and transfer it to the refrigerator. Allow the chicken to brine for 3 to 4 hours. This specific duration is optimal for maximum flavor penetration and moisture retention without making the chicken overly salty or altering its delicate texture.


Phase 3: Seasoning and Baking to Perfection
Once properly brined, the chicken is ready for its final transformation in the oven, where it will develop a beautiful, slightly browned exterior and cook to tender, succulent perfection.
- After the designated 3-4 hour brining period, remove the chicken from the refrigerator. Now is the time to preheat your oven to a precise 400°F (200°C). While the oven heats, prepare a baking sheet by lining it with parchment paper or aluminum foil. This step is crucial for preventing sticking and ensuring easy cleanup afterward.
- Carefully remove the chicken breasts from the brine. It’s an essential step to rinse them thoroughly under cold running water to wash off any excess salt solution from the surface. This prevents the chicken from becoming overtly salty after it’s cooked. After a good rinse, pat each chicken breast completely dry with paper towels. Dry chicken promotes a better, more even sear and allows the subsequent seasonings to adhere properly.
- Place the patted-dry chicken breasts onto the prepared baking sheet. Drizzle a small amount of olive oil evenly over both sides of each breast. Lightly season them with paprika for a beautiful color and a subtle smoky flavor, along with garlic powder and onion powder for an aromatic boost that complements the chicken perfectly. Remember this crucial detail: the chicken has already absorbed salt from the brine, so it is imperative to avoid adding any additional salt at this seasoning stage.
- Using clean hands, gently massage the olive oil and chosen seasonings into both sides of the chicken breasts, ensuring an even coating across the entire surface. This helps the flavors meld and the chicken to cook evenly.
- Bake the seasoned chicken in the preheated oven for approximately 25-30 minutes. The most accurate and reliable way to determine doneness for safe consumption while retaining juiciness is by using a meat thermometer. Insert the thermometer into the thickest part of the largest chicken breast, being careful not to touch any bone. You want to remove the chicken from the oven when it reaches an internal temperature of 160°F (70°C).
- Important Note on Temperature and Resting: The chicken will continue to cook slightly from residual heat once removed from the oven, a phenomenon scientifically known as carry-over cooking. Taking it out at 160°F ensures it will gradually rise to the safe internal temperature of 165°F (74°C) as it rests. This precise timing prevents the chicken from becoming dry and overcooked, guaranteeing a perfectly juicy and tender result every time.



Phase 4: Cooling, Slicing, and Enjoying Your Homemade Deli Meat
The final steps are crucial for achieving that perfect deli-style texture and ensuring your chicken is ready for all your culinary creations. Patience here will be rewarded with superior results.
- Once baked, remove the chicken breasts from the oven and allow them to cool completely on the baking sheet at room temperature. This resting period is absolutely vital, as it allows the internal juices to redistribute evenly throughout the meat, ensuring maximum tenderness, flavor, and preventing them from escaping when sliced. Attempting to slice hot chicken will result in dry, less flavorful slices and a messier cut.
- Once the chicken breasts are completely cooled and rested, use a very sharp knife (a carving knife, chef’s knife, or a Nakiri knife works wonderfully for thin slicing) to slice the chicken thinly against the grain. The thinner the slices, the more like traditional deli meat they will be, perfect for stacking. Now, your delicious homemade chicken deli meat is ready to be enjoyed! Pile it high on wraps, tuck it into sandwiches, toss it into vibrant salads, or savor it however you like.
- Store any leftover homemade deli meat in an airtight container in the refrigerator for up to 3-4 days to maintain freshness and flavor.
Nonna’s Top Tip for Perfect Brining 🧂
Achieving the perfect brine is absolutely essential for consistently tender, flavorful chicken deli meat. When it comes to measuring salt, accuracy is paramount and weighing is king! Please weigh the salt you use meticulously, especially if you’re experimenting with different brands or types. For instance, coarse Kosher salt typically requires about 6 tablespoons to yield 60 grams, whereas a finer-grained salt like Redmond Real Salt might only require around 3 tablespoons for the exact same weight. Measuring by weight (grams) rather than relying solely on volume (tablespoons) guarantees consistent results every time, precisely preventing your chicken from becoming either bland and under-seasoned or excessively salty. A small digital kitchen scale is an invaluable tool for this purpose and will ensure your brines are always perfect.

Customizing Your Homemade Chicken Deli Meat: Variations and Substitutions
One of the true joys of making your own food is the freedom to customize it to your exact preferences. This chicken deli meat recipe is incredibly flexible, allowing for various tweaks and substitutions to suit your taste, dietary needs, or simply the ingredients you have readily on hand. Don’t be afraid to get creative and make it truly your own!
- Adjusting Saltiness with Brine Percentage: Our base recipe is designed with a 6% salt brine, which translates to 60 grams of 🧂 salt per 1 liter of water. This ratio ensures optimal flavor penetration and maximum juiciness for most palates. However, if you typically prefer a milder saltiness, you can easily opt for a gentler 4% brine. To prepare this, you would use 40 grams (approximately 4 tablespoons) of Kosher salt instead of 6 tablespoons per liter of water. As always, remember our golden rule: it is crucial to ⚖️ weigh your salt for absolute precision, as different salt types and brands can vary significantly in density.
- Experimenting with Seasonings and Flavor Profiles: While paprika, garlic powder, and onion powder provide a fantastic, classic savory base, feel free to unleash your culinary creativity and switch things up! You can use any combination of your favorite seasonings you like after the chicken has been thoroughly brined and rinsed. Consider these exciting variations:
- Herby Mediterranean Chicken: Infuse your chicken with dried oregano, basil, marjoram, rosemary, or a ready-made mix of Italian herbs for a fragrant, aromatic profile.
- Spicy Southwestern Kick: For those who love a bit of heat, a generous pinch of cayenne pepper, chili powder, or a dash of chipotle powder can add a wonderful warmth and depth.
- Bright Lemon-Herb Zing: Incorporate fresh lemon zest (avoid the white pith for bitterness) into your seasoning blend for a bright, vibrant, and incredibly fresh note that pairs beautifully with chicken.
- Smoky Campfire Flavor: A very small touch of liquid smoke (used sparingly, as it’s potent!) or a specialty smoked sea salt (again, be mindful of the total salt content) can impart a delightful, authentic smoky profile.
- Bold Garlic & Herb: Double down on garlic with roasted garlic powder and fresh, finely chopped parsley or chives for an even more robust flavor.
Just remember the golden rule when adding additional seasonings: always avoid adding any more salt to your post-brine seasoning blend, as the chicken has already absorbed plenty from the initial brining process.
- Choosing Your Preferred Salt Type: While coarse Kosher salt is specified in this recipe for its purity and consistent measurement, you can certainly use other types of salt for your brine. If you prefer to use Redmond Real Salt, fine Celtic sea salt, Himalayan pink salt, or another natural sea salt, that’s perfectly fine! However, it is paramount to ⚖️ weigh it first. Different salts have different crystal sizes and densities, meaning a tablespoon of one might weigh significantly more or less than a tablespoon of another. Weighing ensures you maintain the correct brining ratio for optimal results and consistent deliciousness.
- Infusing Broth or Stock into the Brine (Optional): For an even deeper, richer flavor profile, some adventurous cooks might consider substituting part of the water with low-sodium chicken or vegetable broth for the brine. If you choose this option, ensure the broth is genuinely low sodium to maintain precise control over the overall salt level and prevent an overly salty end product.
Similar Recipes to Inspire You
Ham and Cheese Sandwiches
15 mins
Bulgarian Meat Sandwiches (Prinzesi)
30 mins
Bulgarian Cheese Sandwiches (Prinzesi)
15 mins
Italian Chopped Sandwich
10 mins
Endless Culinary Possibilities: Best Served With Your Homemade Chicken Deli Meat
Once you’ve mastered this homemade chicken deli meat recipe, you’ll find countless ways to incorporate its deliciousness into your daily meals. Its tender texture and savory flavor make it incredibly versatile, going beyond just the traditional sandwich. Here are some of our favorite serving suggestions to inspire your culinary creations:
- Classic Sandwiches and Wraps: The most obvious, yet always satisfying! After slicing your homemade chicken deli meat really thinly, pile it high on your favorite crusty bread, soft rolls, or even gluten-free alternatives. Add fresh crisp lettuce, juicy tomatoes, a slice of cheese, and a spread of your choice for a gourmet sandwich experience. It’s also fantastic in tortillas or pita bread for quick and easy wraps, perfect for lunchboxes.
- Elevated Salads for a Hearty Meal: Transform any salad into a more robust and satisfying meal with a generous portion of this flavorful chicken. This chicken would be heavenly on top of a crisp 🥬 Caesar Salad, my light and refreshing Lemon Parmesan Salad, or a classic, hearty Cobb Salad. Simply slice or chop it and scatter it generously over your greens for a significant protein boost and enhanced flavor.
- Flavorful Chicken Salad Creations: Take your traditional chicken salad to the next level by using this homemade deli meat. Finely chop the cooked chicken into small pieces and mix it with creamy mayonnaise (or a lighter Greek yogurt alternative for a healthier twist), crunchy celery, diced red onions, and your favorite fresh herbs like dill or parsley. It’s perfect as a sandwich filling, served with crackers, or in elegant lettuce cups for a delicious low-carb option.
- Quick & Healthy Snack Plates: For a balanced and satisfying snack or a light lunch, arrange thin slices of your chicken deli meat with an assortment of cheeses, olives, a handful of nuts, and some crackers or fresh vegetable sticks. It’s a sophisticated alternative to store-bought charcuterie.
- Versatile Pasta Dishes: Lightly chop the deli chicken and toss it into a warm pasta dish. It pairs wonderfully with a creamy Alfredo sauce, a vibrant pesto, or even a simple garlic and olive oil sauce, adding a delicious layer of lean protein to your meal.
- Wholesome Breakfast & Brunch Additions: Don’t limit deli meat to lunch! Slice and serve alongside fluffy scrambled eggs or fried eggs, or fold it into an omelet or frittata for a delicious and wholesome start to your day.
Frequently Asked Questions About Homemade Chicken Deli Meat
Absolutely. Our recipe uses a 6% salt brine, which is 60 grams of salt per 1 liter of water. This is our recommended level for optimal flavor and preservation. However, if you prefer a less salty flavor, you can certainly opt for a milder 4% brine, which requires 40 grams (or approximately 4 tablespoons) of Kosher salt per liter of water. For best results and consistent flavor every time, we strongly recommend weighing your salt rather than measuring by volume.
Yes, you can substitute other types of salt like Celtic Sea salt, Redmond Real Salt, or Himalayan pink salt. However, it is crucial to weigh the salt to ensure you have the correct amount for the brine ratio. Different salts have varying densities and crystal sizes (e.g., fine vs. coarse), so measuring by volume (tablespoons) can be inaccurate. A reliable kitchen scale will guarantee precision and consistent deliciousness.
We highly recommend sticking to the 3-4 hour brining window for this recipe. Brining the chicken for too long can cause it to become excessively salty and may negatively impact its texture, potentially making it too firm, rubbery, or even mushy. This specific duration is optimal for achieving perfectly moist and flavorful results without over-salting or compromising the chicken’s delicate structure.
The most reliable way to check for doneness and prevent overcooking is by using a meat thermometer. Insert it into the thickest part of the chicken breast, avoiding any bones. You should remove the chicken from the oven when it reaches an internal temperature of 160°F (70°C). Thanks to carry-over cooking, the temperature will continue to rise by a few degrees to the safe internal temperature of 165°F (74°C) as the chicken rests outside the oven, ensuring it remains incredibly juicy and tender.
Absolutely! This recipe is very adaptable to your personal taste preferences. You can experiment with various spice blends, such as Italian herbs, smoked paprika, a touch of curry powder, or a dash of chili flakes to create different flavor profiles. Just be sure to avoid adding any additional salt to your dry seasoning mix, as the chicken has already absorbed ample salt from the brining process, and more salt would make it too intense.
To maintain optimal freshness and flavor, store any leftover homemade chicken deli meat in an airtight container in the refrigerator. It will stay fresh and delicious for up to 3-4 days. For longer storage, you can tightly wrap individual slices or small portions in plastic wrap and then place them in a freezer-safe bag or container. This allows you to freeze them for up to 2-3 months. Thaw frozen chicken slowly in the refrigerator overnight before using.
For the thinnest, most uniform slices, ensure your cooked chicken breast is completely chilled before attempting to slice it. A very sharp knife (like a carving knife, chef’s knife, or even an electric slicer if you have one) is absolutely essential. Slice against the grain of the meat to maximize tenderness and ease of chewing. You can also press down gently on the chicken with your non-dominant hand to stabilize it on the cutting board while carefully slicing.
While this recipe is specifically designed and perfected for chicken breasts, the brining and baking method can certainly be adapted for other lean poultry, such as turkey breast. However, it’s important to note that the brining time and cooking temperature might need slight adjustments based on the thickness and specific type of meat you are using. Always use a meat thermometer to ensure proper internal temperature for food safety and optimal results, regardless of the poultry type.
Chicken Deli Meat Recipe
Facebook Share
Rate Recipe
Print Recipe
Video
Watch our detailed video tutorial for a visual guide on how to prepare this delicious homemade chicken deli meat, ensuring you master every step from brining to perfect slicing.
Equipment
Ingredients
- 4 cups water
- ½ tablespoon peppercorns
- 6 tablespoons Kosher salt
- few sprigs lemon thyme, or regular thyme
- 5 cloves garlic, peeled
- 3 boneless, skinless chicken breasts
- 3 teaspoons oil
- paprika, to taste
- garlic powder, to taste
- onion powder, to taste
Instructions
-
Note: if 6% salt brine is too salty for you, please use 4% instead which is: 40 grams (or 4 tablespoons) of Kosher salt instead of 6.
-
To a pot of water on the stove, add the water, peppercorns, thyme, garlic cloves and salt. Stir and let it come to a simmer or until the salt has dissolved.
-
Once dissolved, take it off the stove and let the brine cool completely. The brine should be cold. You can let it cool down and even put it in the fridge until cold to speed up the process.
-
Once cold, add in the chicken breast, cover and let it sit in the fridge for 3-4 hours. I let mine sit for 3.
-
After 3 hours, take the chicken out of the fridge and preheat the oven to 400F (200C).
-
Now, take out the chicken from the brine and wash it really well. Once washed, pat it dry with a paper towel and set onto a baking sheet lined with parchment paper (or foil).
-
Add a small drizzle of olive oil onto each breast (both sides) and lightly season with paprika, garlic powder, and onion powder.
-
Note: you can use any seasoning of choice making sure there’s NO additional salt as the chicken was sitting in the brine for hours.
-
Massage it with clean hands on both sides and bake for 25-30 minutes or until it reaches an internal temperature of 160F (70C)
-
Note: We want to take it out at 160F as it will continue to cook through residual heat and it will reach 165F (74C) as it cools.
-
Let it cool, slice thinly and enjoy onto wraps, sandwiches, salads, or any way you like!
-
Refrigerate for up to 3-4 days.
Nutrition
Nutrition information is automatically calculated, so should only be used as an approximation.