
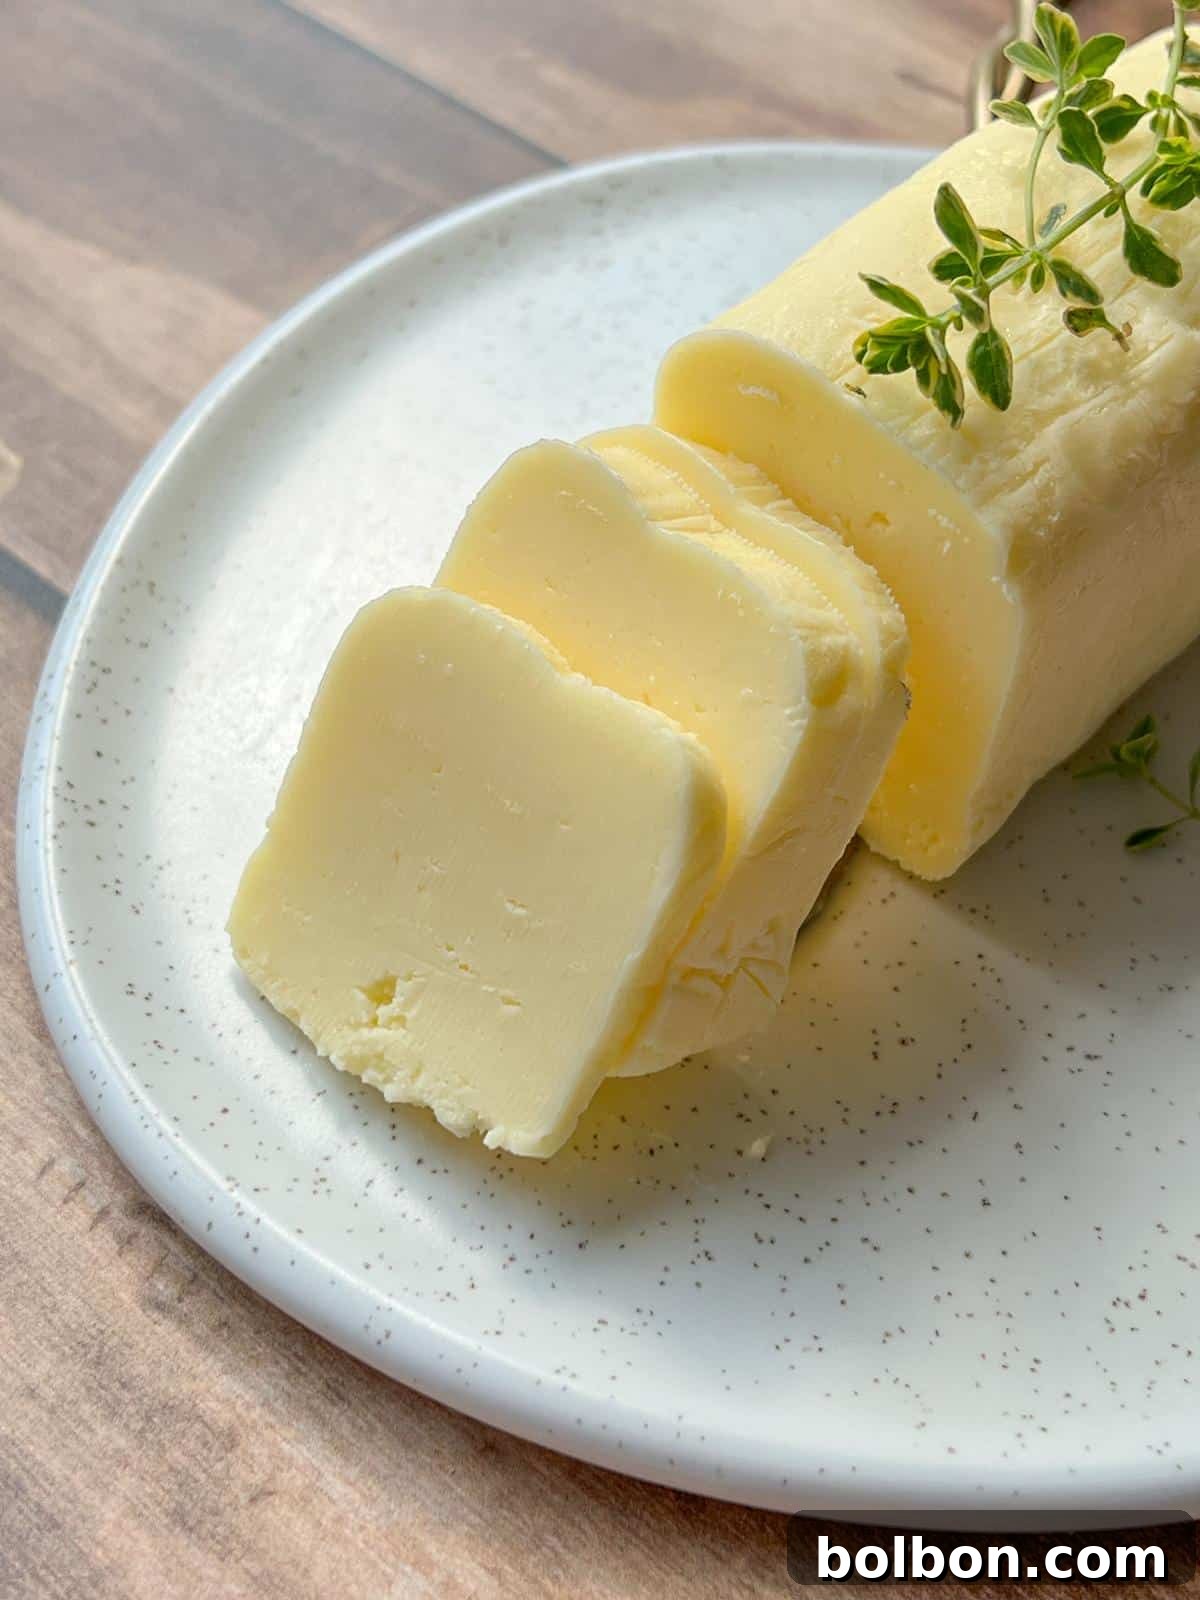
Have you ever considered the simple magic of making butter from scratch? It might sound like a task reserved for homesteaders or a forgotten art from grandma’s kitchen, but the truth is, creating your own homemade butter is surprisingly easy, requiring just one ingredient and about five minutes of your time. If you’ve never experienced the unparalleled delight of freshly churned butter, you’re in for an extraordinary treat. The difference in taste and texture compared to store-bought varieties is truly profound. You’ll discover a creamier, richer flavor profile, a denser consistency, and a wonderfully spreadable texture that simply melts in your mouth. This recipe holds a special place in my heart, reminding me of my childhood in Bulgaria, helping my grandma with her dairy. There’s an undeniable sense of nostalgia and deep satisfaction that comes from transforming humble cream into a golden, delicious spread. I truly hope you’ll embark on this culinary adventure and give it a try – you might just find your new favorite kitchen ritual.
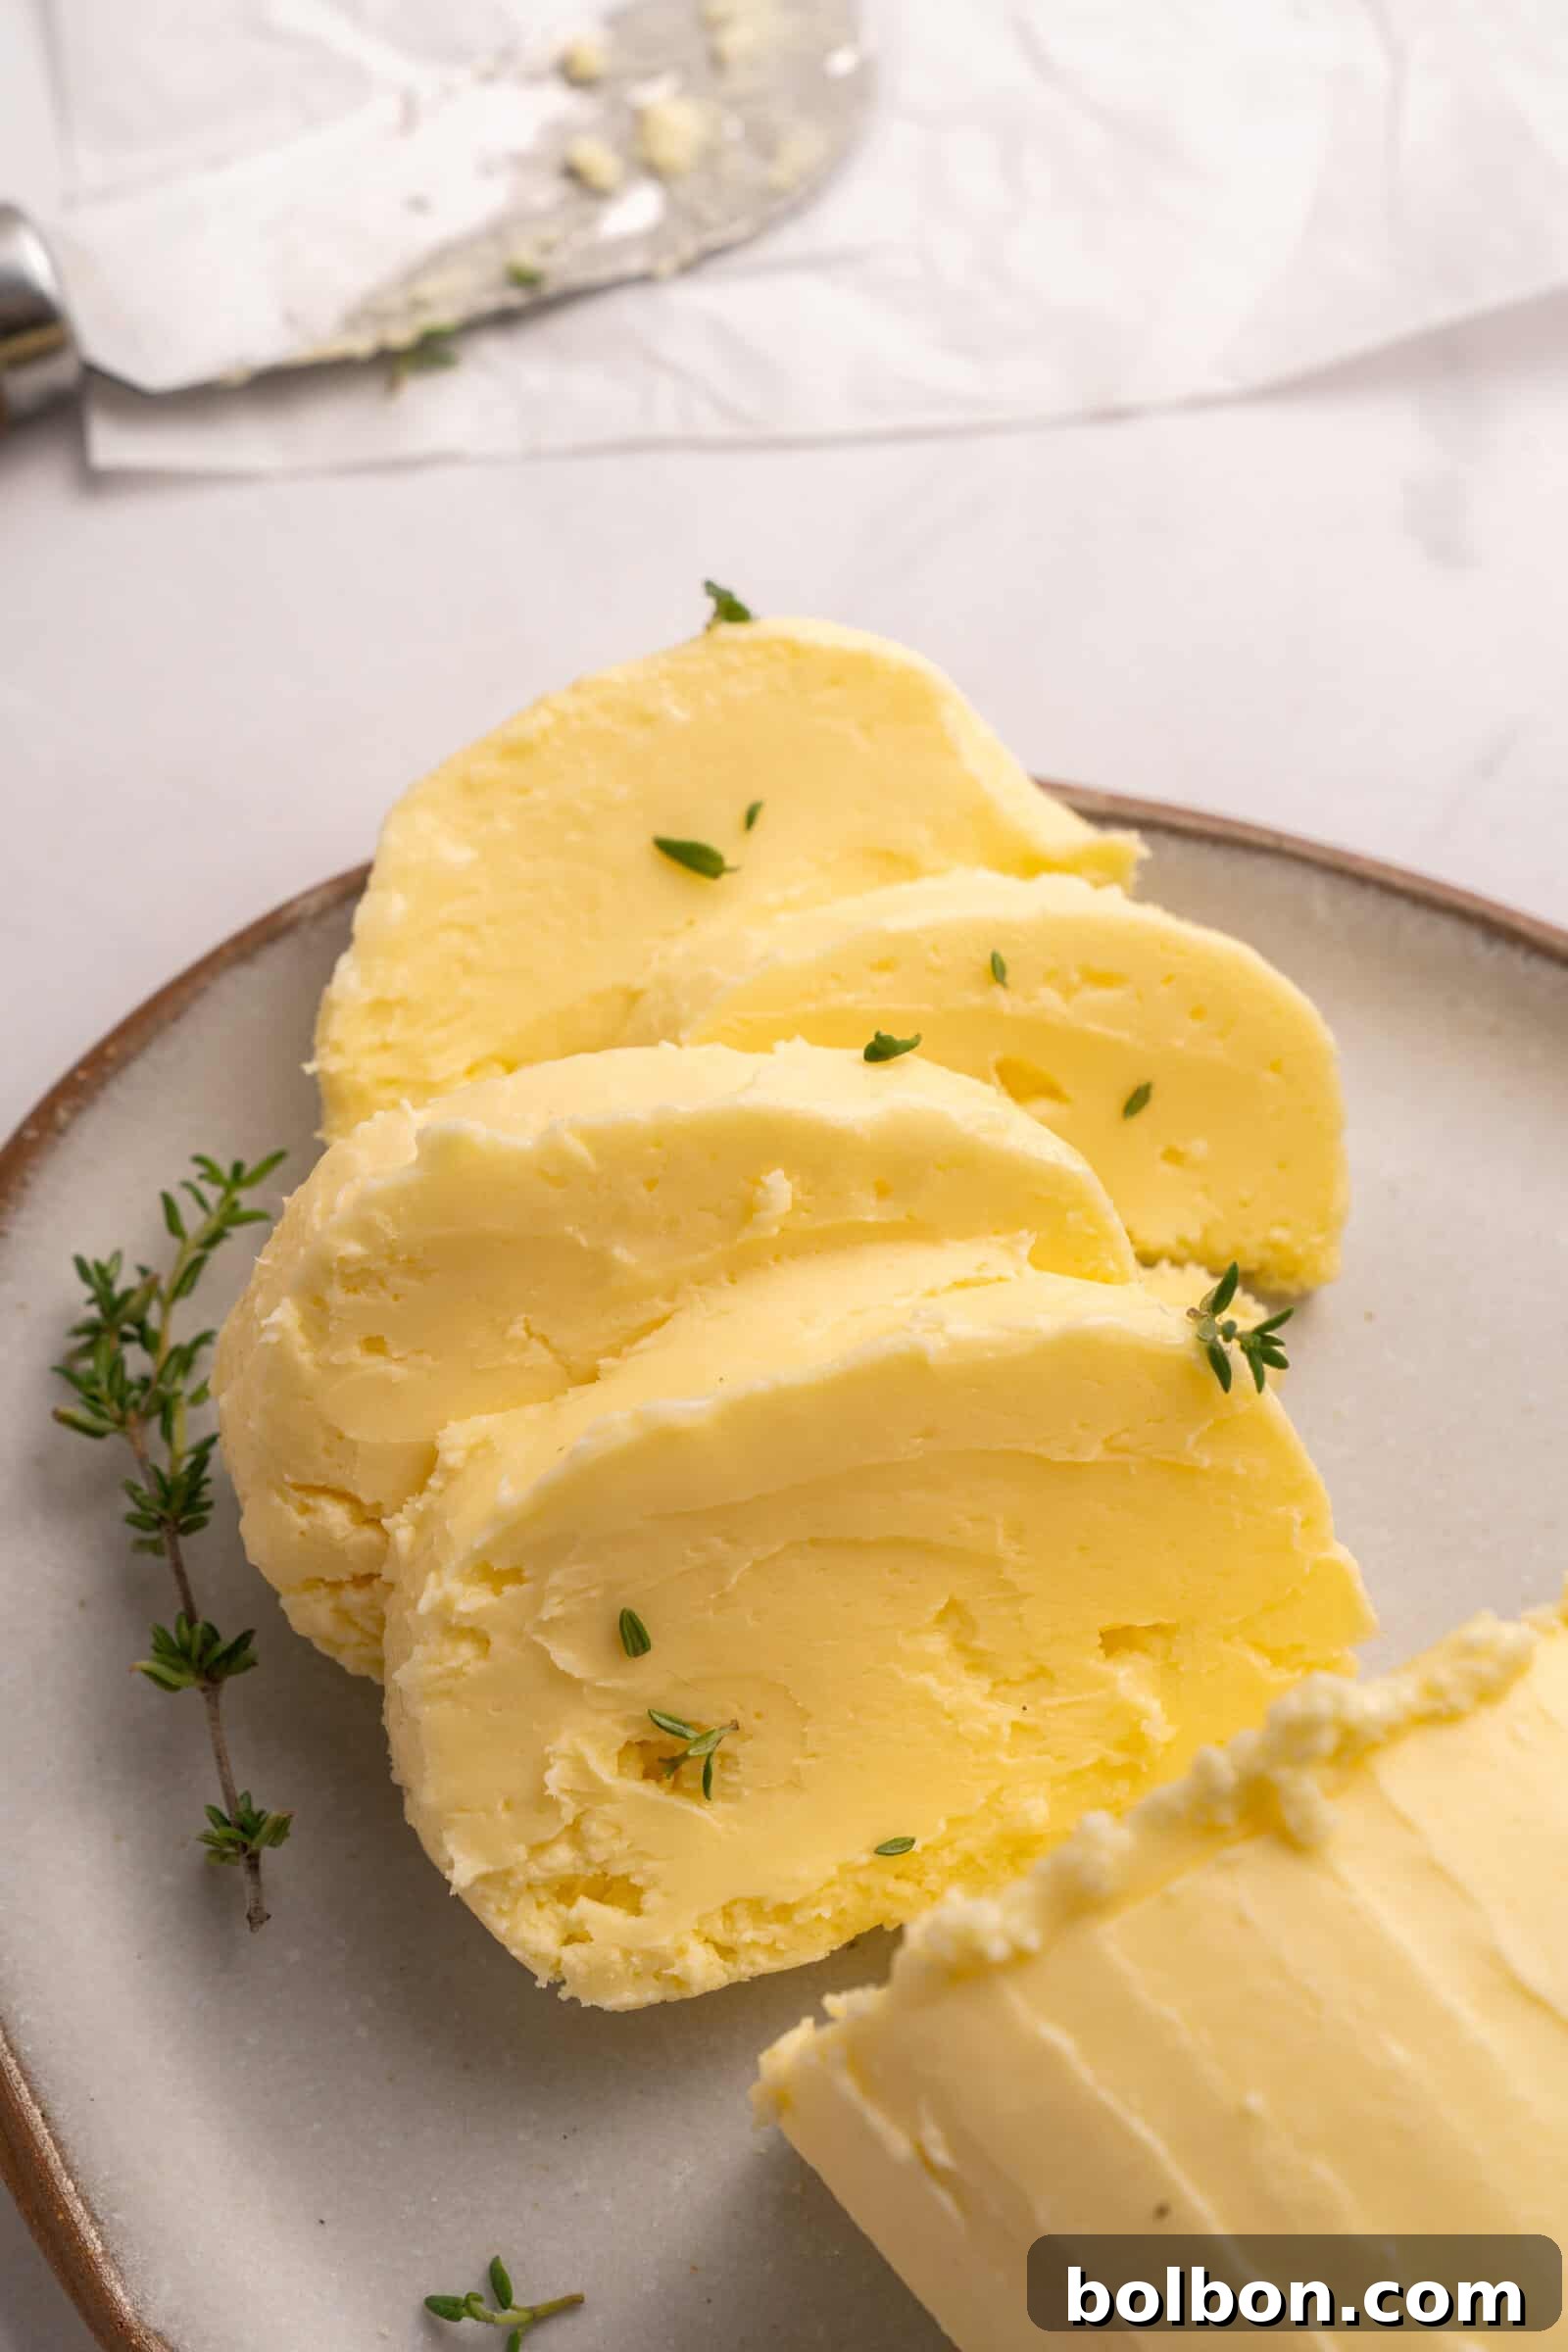
The Irresistible Allure of Homemade Butter: Why You Need This in Your Life
Once you make your own batch of luscious homemade butter, you might just find yourself embracing your inner “homesteader” – and for good reason! This isn’t just a fun kitchen experiment; it’s a simple change that elevates your everyday meals and brings a profound sense of satisfaction. Forget the bland, mass-produced blocks from the grocery store. Homemade butter offers a taste experience that is genuinely miles better, boasting a depth of flavor and a silky-smooth texture that commercially processed butter simply can’t match. But the benefits extend far beyond just taste.
One of the most compelling advantages of making butter at home is the complete control you gain over its ingredients. You decide exactly how much salt (or no salt at all) goes in, allowing you to perfectly tailor it to your preferences or specific recipes. This level of customization ensures a purer product, free from unnecessary additives, preservatives, or artificial flavors often found in store-bought options. It’s butter in its purest, most authentic form.
Moreover, the process yields a valuable bonus: homemade buttermilk. This tangy, nutritious liquid is a fantastic byproduct, perfect for a myriad of culinary uses. Whether you’re whipping up a batch of fluffy pancakes, tender biscuits, or a succulent fried chicken marinade, this fresh buttermilk will enhance your dishes with its unique flavor and tenderizing properties. It’s an incredible way to achieve a zero-waste kitchen, transforming a single ingredient into two delicious staples. Imagine dazzling your guests by presenting your handcrafted butter on a stunning butter board – a true testament to your culinary prowess!
Essential Ingredients for Perfect Homemade Butter
Making homemade butter requires surprisingly few ingredients, making it an accessible project for any home cook. The key is to start with high-quality components, as their purity directly translates into the superior flavor and texture of your finished butter.
Heavy Cream: The Star of the Show
This is truly the only ingredient you absolutely need to make butter. However, not all creams are created equal. For best results, always use full-fat heavy cream, also known as whipping cream. The critical factor here is the fat content; look for cream that contains at least 35% milk fat, with some premium brands offering up to 40%. The higher the fat content, the more butter you will yield and the quicker it will churn. Crucially, scrutinize the ingredient list: it should ideally contain only one ingredient – cream! Avoid any products labeled as “creamer,” low-fat creams, or flavored creams, as these contain stabilizers, sugars, or reduced fat that will prevent proper butter formation. Using the purest, highest quality heavy cream you can find will ensure a rich, flavorful butter. While room temperature cream can be used, working with well-chilled cream often helps prevent excessive splashing when it’s being whipped vigorously in a stand mixer.
Salt: A Touch of Flavor and Preservation
Salt is entirely optional, but highly recommended for several reasons. Firstly, it significantly helps to prolong the shelf life of homemade butter. Unsalted butter typically lasts about 5-7 days when tightly sealed in the refrigerator, while salted butter can last up to 2 weeks. Secondly, it enhances the flavor, providing that familiar savory note that many people are accustomed to if they regularly buy and cook with salted butter. When choosing salt, opt for a fine-grain variety such as Kosher salt or regular table salt. These types distribute more evenly when mixed into the butter, ensuring every bite is perfectly seasoned. Flaky salts, while great for finishing, might not dissolve as uniformly within the butter itself.
Optional Additions: Unleash Your Creativity
The beauty of homemade butter lies in its versatility. After you’ve made the foundational, washed butter, you have a blank canvas to infuse it with an array of flavors. This is where your culinary imagination can truly soar! From fragrant herbs to pungent garlic or sweet fruits, the possibilities for creating custom flavored butters are endless. We’ll explore many exciting variations and substitutions below to inspire your next batch.
Nonna’s Tip 🧈
For faster separation and better results, always use cold heavy cream 🧈: Cold cream whips more efficiently and separates more cleanly into distinct butter solids and liquid buttermilk. This temperature control is key for a smoother butter-making process.
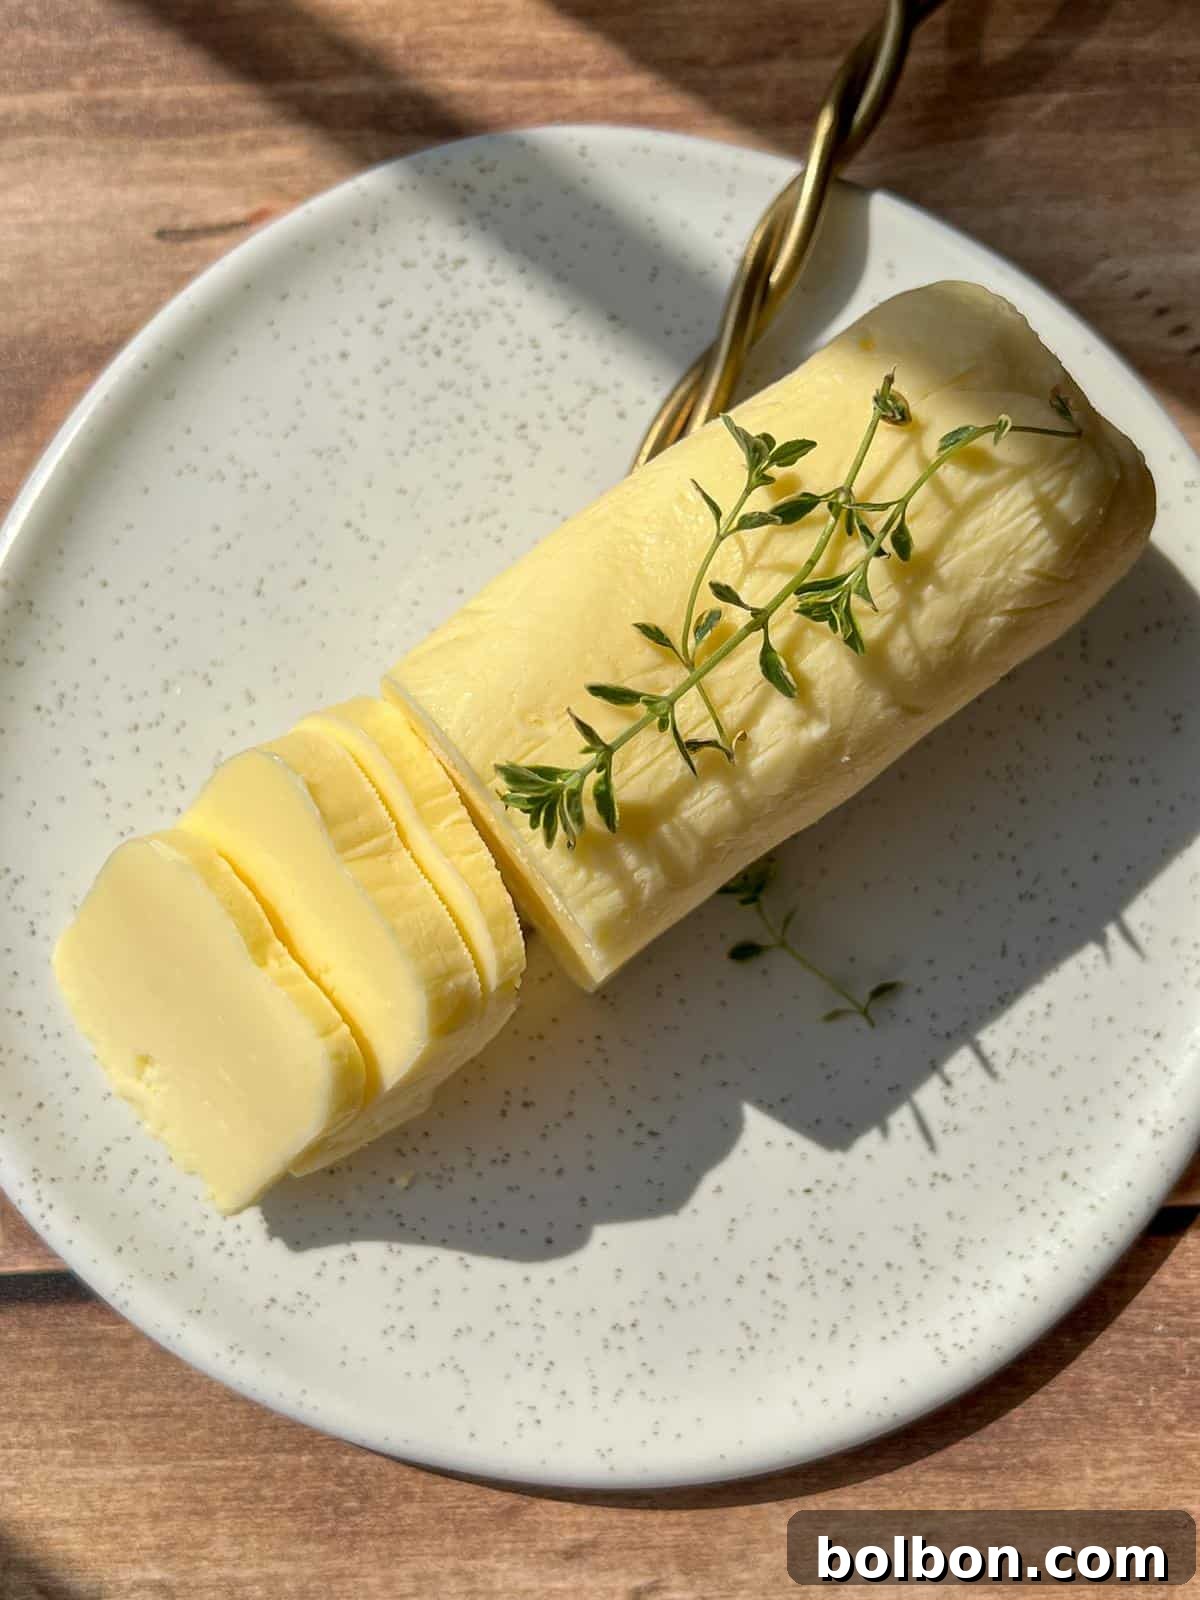
Elevate Your Butter: Exciting Variations and Flavor Infusions
One of the most enjoyable aspects of making butter at home is the ability to customize it with an endless array of flavors. Transforming plain butter into a gourmet spread is incredibly simple and allows you to perfectly complement any dish or occasion. Here are some fantastic ideas to get you started:
- Aromatic Herb Butters: Fresh herbs are a natural pairing for butter. While rosemary and thyme are classic choices, don’t hesitate to experiment with finely chopped dill, chives, parsley, sage, or a blend of Mediterranean herbs. These are phenomenal melted over grilled meats, roasted vegetables, or simply spread on crusty bread. For an extra punch, consider adding a pinch of black pepper or a squeeze of lemon zest.
- Delicate Edible Flower Butters: For a touch of elegance and subtle floral notes, incorporate a handful of fresh, pesticide-free edible flowers. Rose petals, calendula, or pansies not only add a beautiful visual appeal but also impart a delicate flavor. You can gently mix the petals directly into the butter or, for a stunning presentation, form a butter log and roll it in the petals before chilling. This is perfect for a special brunch or afternoon tea 💐.
- Rich Roasted Garlic Butter: Few things are as universally loved as roasted garlic butter. The deep, mellow sweetness of roasted garlic is truly heaven on earth when combined with creamy butter. You can easily follow instructions for making garlic confit, let it chill, and then mash the softened garlic cloves into your homemade butter. This rich, savory butter is exceptional with pasta, steak, corn on the cob, or spread generously on warm bread 🧄.
- Sweet Fruit Butters: Fruit-infused butters are a delightful accompaniment to baked goods. Mash up some fresh berries like strawberries, blueberries, raspberries, or even a mix, and fold them into your butter. These not only create vibrant colors but also add a burst of sweet-tart flavor that’s absolutely delicious atop a warm muffin, scone, or pancake 🍓. A hint of vanilla extract can elevate these even further.
- Classic Honey Butter: A beloved staple, especially in Southern cuisine, honey butter is simply irresistible with warm biscuits or cornbread. Drizzle some runny honey into your fresh butter and mix until perfectly combined. For an extra layer of warmth, consider adding a tiny pinch of cinnamon or a dash of vanilla extract 🍯.
Remember, the best flavored butter starts with high-quality homemade butter. Always ensure any additions are finely chopped or pureed to distribute evenly throughout the butter, and taste as you go to achieve your desired flavor balance.
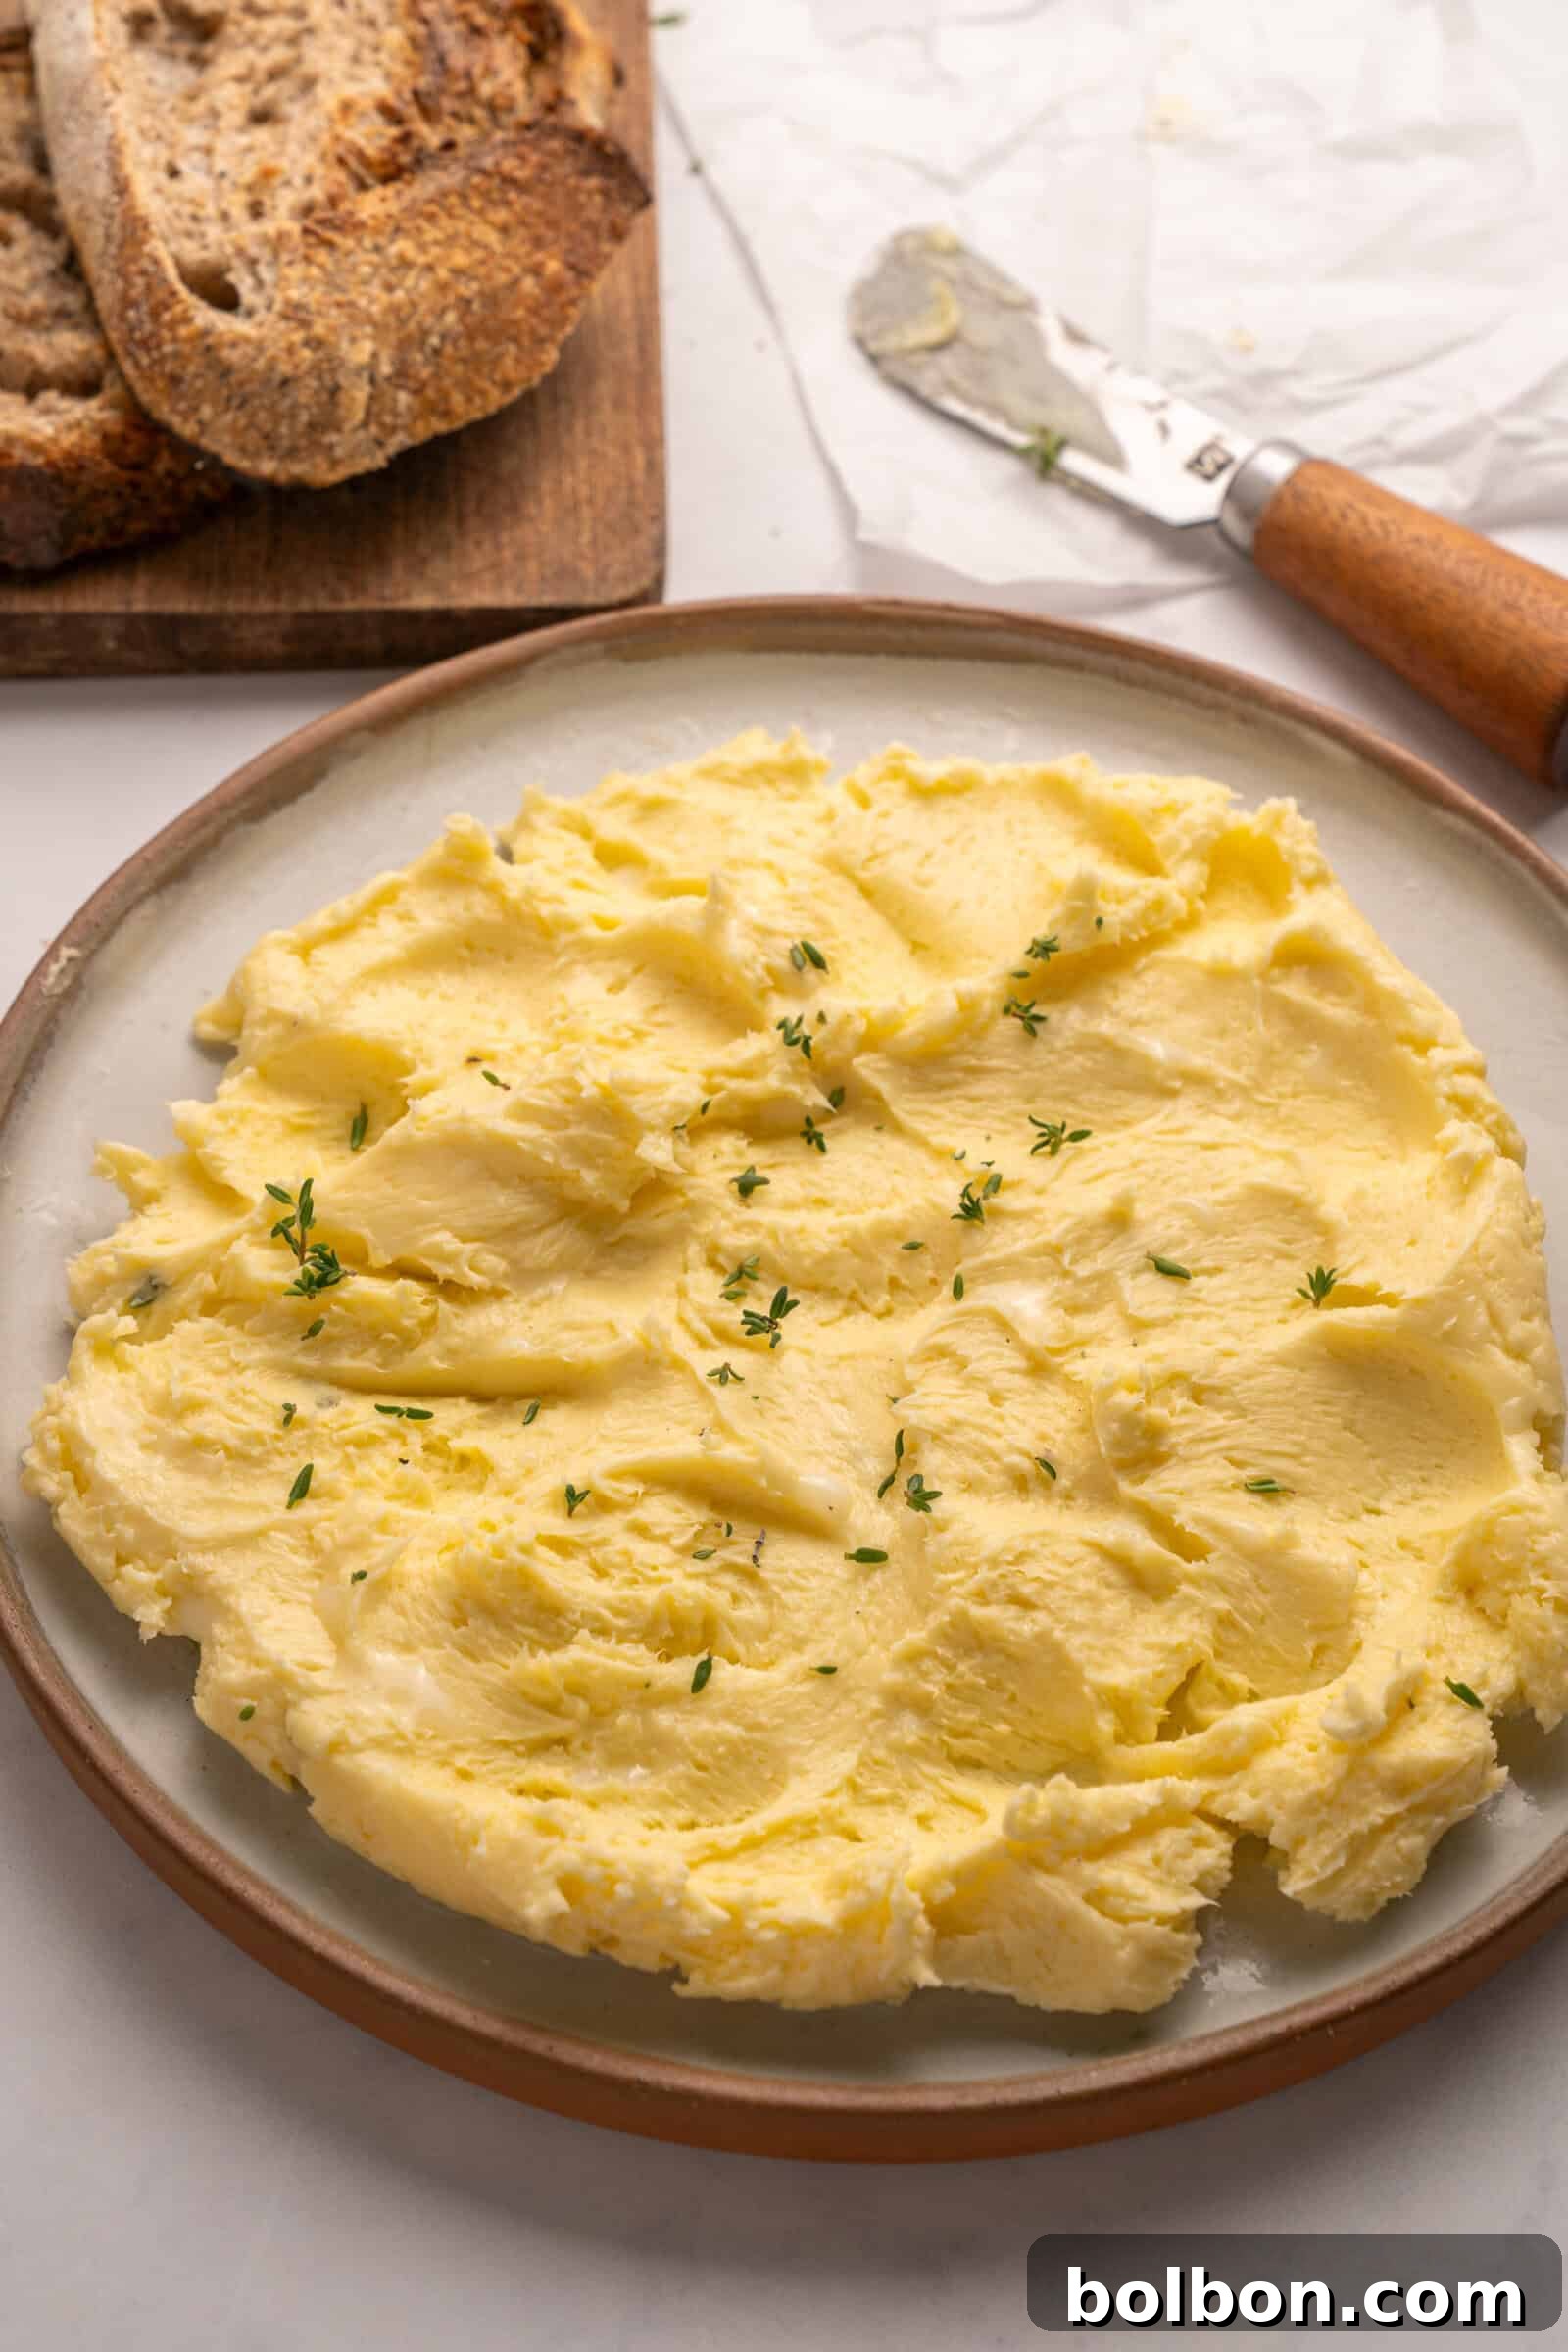
How to Enjoy Your Homemade Butter: Serving Suggestions
Once you’ve experienced the luxurious taste and texture of homemade butter, you’ll find endless ways to incorporate it into your meals. Its rich flavor truly enhances both simple and elaborate dishes. Here are some of the best ways to enjoy your handcrafted butter:
- With Freshly Baked Bread: This is arguably the most classic and satisfying pairing. Homemade butter begs to be slathered generously on warm, crusty bread. Whether it’s my baguette recipe, a rustic sourdough, or a comforting No Knead Bread, the combination is pure perfection 🥖. The butter melts into the warm crevices, creating an irresistible treat.
- Breakfast & Brunch Staples: Elevate your breakfast game with homemade butter. Spread it on fluffy pancakes, golden waffles, warm toast, light-as-air muffins, or delicate scones. A dollop of plain or honey butter will transform an ordinary breakfast into a gourmet experience.
- Culinary Enhancer: Beyond spreading, homemade butter is an exceptional ingredient in cooking and baking. Use it to sauté vegetables, pan-fry fish or chicken, or create rich, flavorful sauces. Its pure taste will shine through, adding a depth that store-bought butter often lacks. It’s also fantastic in pie crusts, cookies, and other baked goods, contributing to a superior flavor and texture.
- The Art of the Butter Board: For entertaining, Butter Boards are a creative and impressive alternative to traditional cheese boards. Simply spread your homemade butter (plain or flavored) artfully on a board, then garnish with an assortment of complementary toppings like herbs, edible flowers, flaky salt, honey, nuts, or even fruit preserves. Your guests will adore this fun and interactive way to enjoy your culinary creation.
- Seasonal Celebrations: Don’t forget to tailor your butter for holidays! Try my Holiday Butter Board for your next festive gathering. Infuse it with seasonal spices like cinnamon, nutmeg, or citrus zest for a truly special touch.
No matter how you choose to serve it, homemade butter adds a touch of luxury and homemade goodness to any occasion. It’s a simple indulgence that truly makes a difference.
Understanding Buttermilk: The Valuable Byproduct
When you embark on the journey of making homemade butter, you’re not just creating one fantastic dairy product; you’re actually getting two! The process of churning cream results in a separation: the milk fat solids come together to form butter, while a distinct liquid is left behind. This cloudy, slightly milky liquid at the bottom of your mixing bowl is known as buttermilk.
Historically, buttermilk was the liquid left over after churning butter from cultured cream. Modern commercial buttermilk is typically made by adding a bacterial culture to low-fat milk, giving it its characteristic tangy flavor and thicker consistency. However, the buttermilk you get from making butter at home is fresh, uncultured, and has a subtle tang and contains tiny bits of residual milk solids. It’s a valuable ingredient, so whatever you do, don’t throw it out!
Homemade buttermilk is incredibly versatile and can be used in numerous culinary applications:
- Baking: Buttermilk is a secret weapon in many baked goods. Its acidity reacts with leavening agents like baking soda to create light, fluffy textures. It’s essential for classic recipes like tender biscuits, airy pancakes, and hearty breads 🥞. It adds a lovely tang and moisture that makes baked goods truly special.
- Marinades: The acidity in buttermilk works wonders as a tenderizing marinade for meats. Many classic fried chicken recipes, for instance, call for soaking chicken in buttermilk before breading and frying 🍗. It helps break down tough muscle fibers, resulting in incredibly moist and flavorful poultry.
- Dressings and Sauces: Use buttermilk to create creamy, tangy salad dressings or to add a bright note to savory sauces. It can lighten a heavy dressing while still providing a rich mouthfeel.
- Refreshing Beverage: In some cultures, buttermilk is enjoyed as a refreshing drink, especially on hot days 🥛. Its slight tang and cool temperature make it surprisingly thirst-quenching. You can even blend it with fresh fruit for a nutritious smoothie.
To store your homemade buttermilk, transfer it to an airtight container and keep it in the refrigerator for up to 5-7 days. For longer storage, you can freeze buttermilk in an airtight container or in ice cube trays for about 3 months. Thaw it in the refrigerator overnight before use, and give it a good shake or whisk as some separation may occur upon thawing.
Explore More Homemade Kitchen Staples
Homemade Oat Milk Recipe
6 mins
Homemade Cottage Cheese
1 hr 15 mins
Homemade Almond Milk Recipe
8 hrs 5 mins
Homemade Ketchup
5 mins
Homemade Butter
Homemade butter is richer, creamier, and miles better than store-bought. It’s a nostalgic and rewarding experience, plus you’ll get bonus buttermilk for all your baking needs 🥞. Make it once, and you’ll likely never go back to store-bought.
Facebook Share
Rate Recipe
Print Recipe
Video
Equipment
Ingredients
- 2 cups heavy cream, 35% milk fat
- salt, to taste (optional)
Instructions
-
Set up your stand mixer with the whisk attachment. Prepare a large bowl of ice water and set it aside for later use.
-
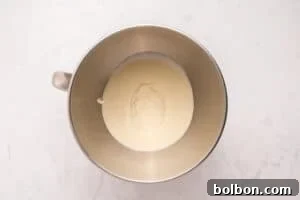
Add the cold heavy whipping cream to the bowl of the stand mixer. Begin mixing on low speed, then gradually increase to a high speed as the cream begins to thicken and splashes less.

-
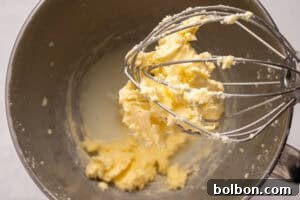
Continue to whisk until the cream transitions through whipped cream stages and eventually forms a solid mass of butter, clinging to the whisk attachment. This process typically takes anywhere from 7 to 10 minutes, depending on your mixer and cream.
-
Note: If the whipping cream starts to splatter excessively, you can use a splatter guard or loosely cover the top of the mixer bowl with plastic wrap to contain it.
-
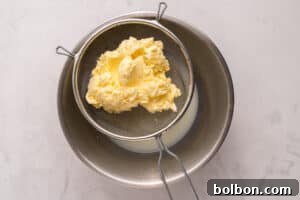
During the churning process, you will clearly see the liquid separate from the butter solids; this liquid is the valuable buttermilk. Carefully strain the butter, reserving the buttermilk for baking, cooking, or enjoying as a refreshing drink.
-
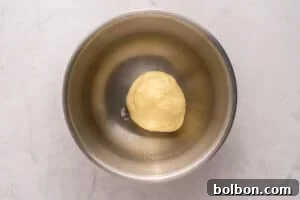
Transfer the separated butter from the whisk into the prepared bowl of ice water. Next, gently knead the butter a few times with your hands while it is submerged in the ice water. This crucial step, known as “washing” the butter, helps to remove any residual buttermilk, which will significantly prolong the butter’s shelf life and improve its texture. Repeat this step with fresh ice water until the water runs clear.
-
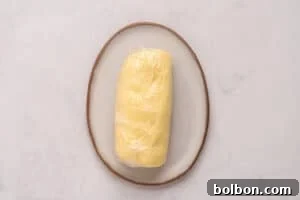
Remove the washed butter from the ice water, pat it dry, and then add salt to taste, if desired. You can mix the salt in using a wooden spatula, a bench scraper, or by briefly returning it to the stand mixer with the paddle attachment. Shape the butter into a log or any desired form. Store your homemade butter tightly wrapped in parchment paper or in an airtight container in the refrigerator.
Notes
-
Serving size: One pint (2 cups) of heavy cream typically yields between 6–8 oz of butter. The nutrition information provided is based on a 1 oz serving.
-
Storage tips: For optimal freshness, always keep your homemade butter tightly wrapped or stored in a sealed container in the refrigerator. Unsalted butter has a shorter shelf life, lasting approximately 5-7 days, while salted butter can last up to 2 weeks. Discard if you notice any sour smell, discoloration, or signs of mold.
-
Clarified butter: To make ghee (clarified butter), slowly cook your homemade butter over low to medium heat until the milk solids separate, sink to the bottom, and the top liquid becomes clear and golden. Strain carefully.
-
Customize it: Don’t limit yourself! Experiment with adding fresh herbs, vibrant edible flowers, rich roasted garlic, sweet berries, or a drizzle of honey to create your own signature flavored butters 💐🧄🍓🍯.
-
Cold cream is key: For the quickest and most efficient butter separation, ensure your heavy cream is well-chilled before you begin churning 🧈. This helps it whip faster and ensures a cleaner separation of butter and buttermilk.
Nutrition
Calories: 268kcal,
Carbohydrates: 2g,
Protein: 2g,
Fat: 28g,
Saturated Fat: 18g,
Polyunsaturated Fat: 1g,
Monounsaturated Fat: 7g,
Cholesterol: 89mg,
Sodium: 21mg,
Potassium: 75mg,
Sugar: 2g,
Vitamin A: 1159IU,
Vitamin C: 0.5mg,
Calcium: 52mg,
Iron: 0.1mg
Nutrition information is automatically calculated, so should only be used as an approximation.
Additional Info

Frequently Asked Questions About Homemade Butter
Salt is typically added after the butter has been completely washed (kneaded in cold water) to remove any leftover buttermilk. Once the butter is clean and firm, you can mix your desired amount of fine-grain salt into it. You can either place the butter and salt back into a stand mixer with a paddle attachment and mix until combined, or use a wooden spatula, a bench scraper, or traditional butter paddles to work the salt evenly into the butter by hand. Taste as you go to achieve your preferred level of saltiness.
For the best homemade butter, always use full-fat heavy cream or whipping cream. Look for a product with at least 35% milk fat, and ideally one that lists only “cream” as its sole ingredient. Avoid low-fat creams, flavored creams, or coffee creamers, as these will not churn properly into butter due to their lower fat content or added stabilizers.
Washing the butter is a crucial step that helps remove any lingering buttermilk trapped within the butter solids. This process significantly prolongs the butter’s shelf life and reduces the chances of spoilage, as residual buttermilk can cause the butter to go rancid faster. Additionally, washing helps to firm up the butter and improves its overall texture, making it smoother and more consistent.
For butter, a fine-grain salt such as Kosher salt or regular table salt is recommended. These types of salt dissolve and distribute more evenly throughout the butter, ensuring consistent flavor in every bite. While flaky salts are excellent for finishing dishes, they may not integrate as smoothly into the butter itself.
While a stand mixer with a whisk attachment offers the quickest and easiest butter-making experience, it’s not strictly essential. One traditional method to make butter is to pour cold heavy cream into a large, tightly sealed jar or bottle and shake it vigorously. This can be quite an arm workout 🏋️, taking anywhere from 10 to 30 minutes of continuous shaking until the butter mass forms and separates from the buttermilk. A food processor or a hand mixer can also be used, though they may require more attention and yield slightly different results.
Properly stored homemade butter can last for different durations depending on whether it’s salted or unsalted. Unsalted butter, when tightly wrapped and refrigerated, typically stays fresh for about 5 to 7 days. Salted butter, thanks to salt’s preserving properties, can last longer, usually up to 2 weeks in the refrigerator. For extended storage, homemade butter can be frozen in an airtight container or tightly wrapped for up to 6 months.
If your cream isn’t turning into butter, there are a few common reasons. Ensure your cream is full-fat heavy cream (at least 35% milk fat) and well-chilled. If the cream is too warm, it won’t churn properly. Also, make sure you are whipping it at a consistent high speed. Sometimes it just needs more time; continue whipping beyond the soft and stiff peaks stage. If it seems to get stuck, chilling the bowl and whisk for 15-20 minutes and then resuming can sometimes help.