
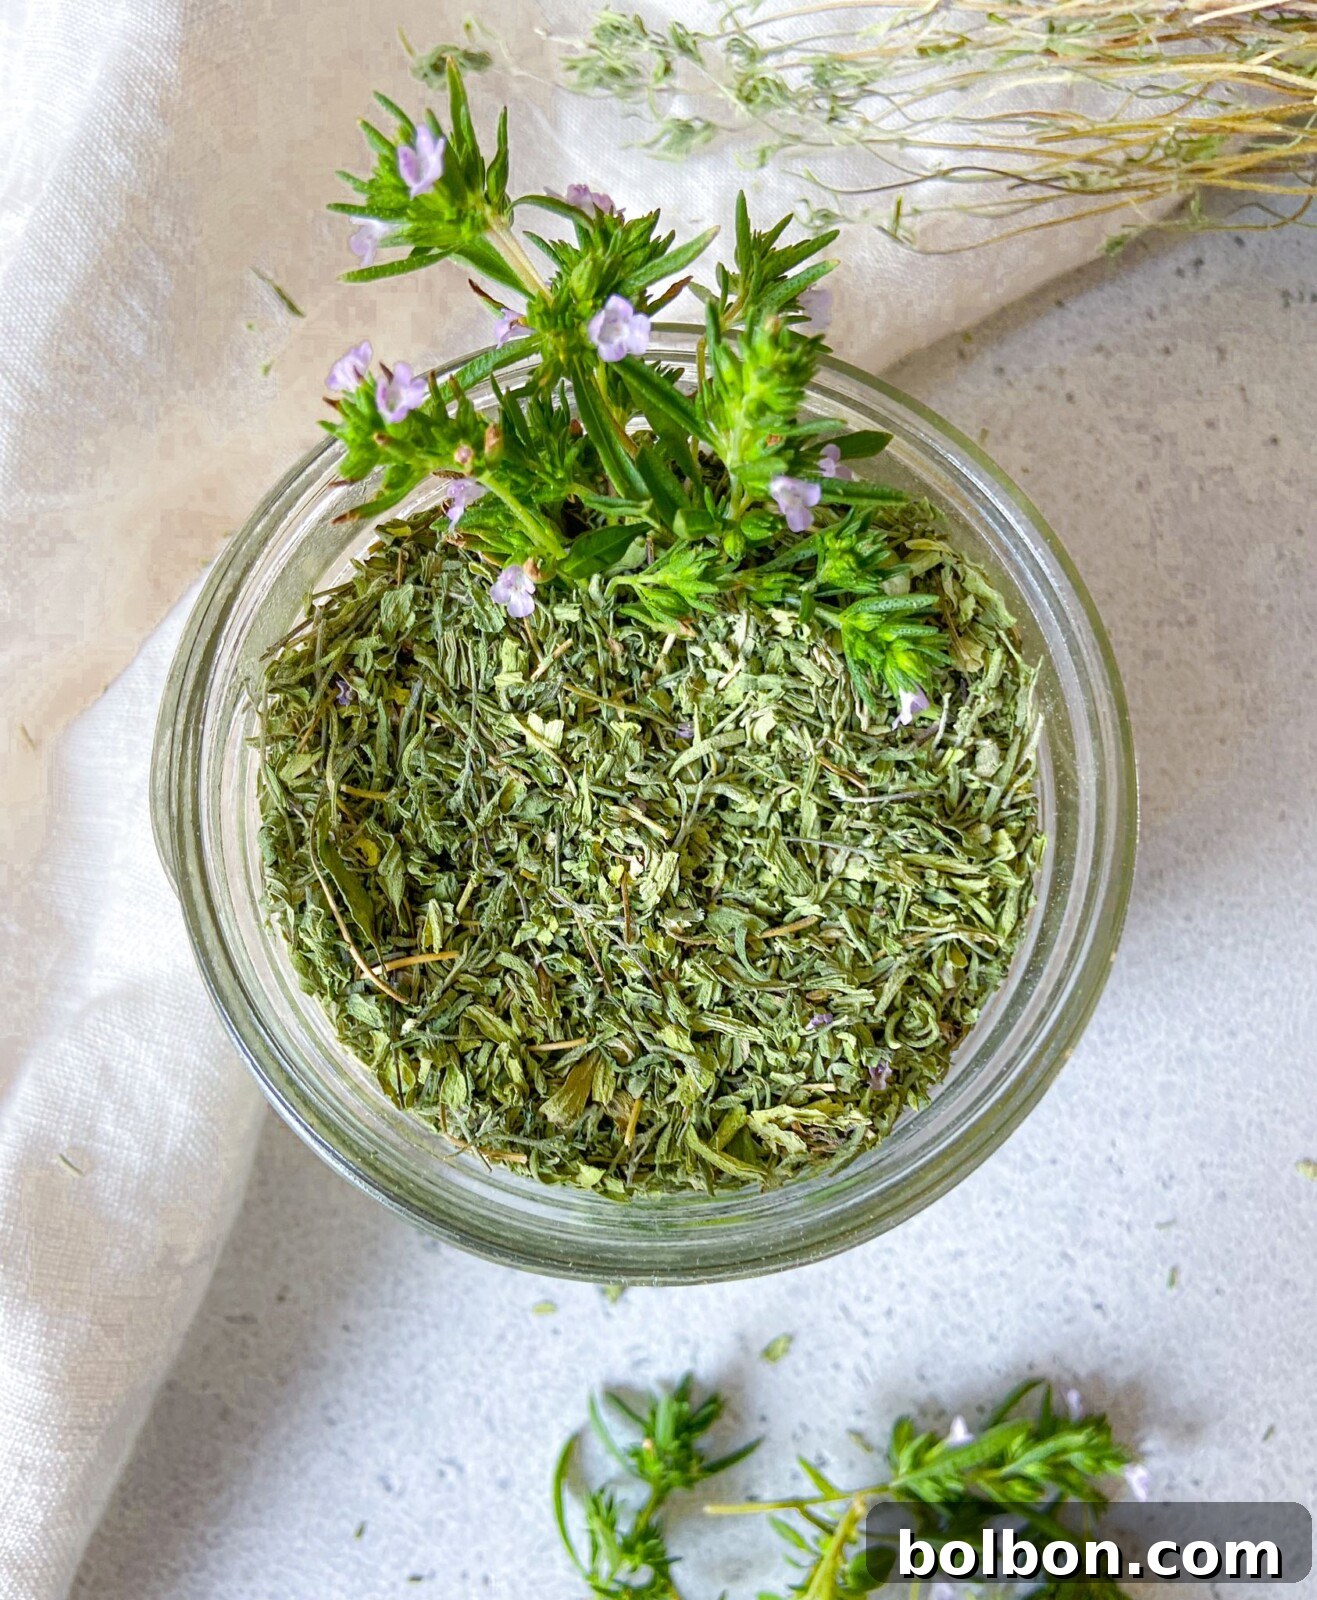
There’s a timeless charm to preserving nature’s bounty, a practice passed down through generations. Just like my grandma, a true “Nonna,” taught me, there’s immense satisfaction in making things from scratch. In an age filled with modern gadgets, holding onto these traditional methods connects us to our roots and simpler, more authentic ways of living. This guide shares an incredibly simple yet effective method to air dry virtually any herb: whether it’s aromatic basil, robust thyme, pungent oregano, refreshing mint, or fragrant rosemary, you name it! This age-old technique allows you to enjoy the unparalleled flavor and fragrance of homemade dried herbs 🌿 for months on end. Forget store-bought varieties; nothing compares to the vibrant taste and potent aroma you achieve when drying herbs yourself. A crucial tip to remember: dried herbs are significantly more concentrated than fresh ones—about four times stronger—so a little goes a long way in your culinary creations.
Why Embrace Air Drying for Your Fresh Herbs?
This fundamental air-drying technique isn’t just a hack; it’s a sustainable practice that brings numerous benefits to your kitchen and lifestyle. It’s universally applicable to almost any fresh herb, making it a versatile skill for every home cook and gardener. I personally love transforming bountiful harvests of parsley, oregano, basil, mint, thyme, and rosemary into long-lasting provisions. Here’s why this method will quickly become your favorite way to manage your herbs:
- Combat Food Waste: When your summer garden is overflowing with lush herbs, drying them is an excellent strategy to avoid food waste. Instead of letting excess spoil, you can preserve their goodness for future use.
- Simplicity and Accessibility: This method requires no fancy equipment, expensive dehydrators, or complicated processes. It relies on natural air circulation, making it accessible to anyone, regardless of their kitchen setup.
- Minimal Effort, Maximum Reward: With very little hands-on time, you can transform fresh herbs into a potent pantry staple. The bulk of the work is simply waiting for nature to do its job.
- Year-Round Flavor: Imagine enjoying the bright, earthy flavors of summer ☀️ throughout the colder months. Drying herbs allows you to preserve that peak freshness and elevate your cooking any time of year.
- Superior Taste and Aroma: Homemade dried herbs retain more of their essential oils and distinctive flavors compared to mass-produced alternatives. Your dishes will thank you for the extra depth of flavor.
- Cost-Effective: Growing and drying your own herbs is far more economical than repeatedly purchasing small, expensive bunches from the grocery store.
Top Herbs for Air Drying and Why They Excel
While many herbs can be dried, some are particularly well-suited to the air-drying method due to their sturdy stems and lower moisture content. These varieties tend to retain their flavor and aroma beautifully, making them excellent candidates for your pantry. Here’s a list of herbs that typically yield the best results when air-dried:
- Parsley: Known for its fresh, vibrant flavor, dried parsley adds a touch of green and subtle earthiness to various dishes.
- Oregano: A cornerstone of Mediterranean cuisine, dried oregano becomes intensely aromatic and flavorful, perfect for sauces, meats, and vegetables.
- Basil: While fresh basil is a culinary delight, dried basil offers a different, more concentrated flavor profile that shines in slow-cooked dishes and stews.
- Mint: Dried mint is fantastic for teas, lamb dishes, and even sweet treats. It retains its refreshing, cooling notes.
- Thyme: This woody herb dries exceptionally well, intensifying its earthy, slightly floral notes. It’s a versatile addition to poultry, roasts, and soups.
- Rosemary: With its distinct pine-like aroma, dried rosemary is superb for seasoning meats, potatoes, and bread. Its robust structure holds up perfectly during drying.
- Sage: Earthy and slightly peppery, dried sage is a must-have for poultry, stuffings, and hearty winter dishes. Its leaves dry easily and maintain potency.
- Dill: While some delicate herbs can lose flavor, dill, when dried properly, still imparts its characteristic fresh, slightly tangy taste to fish, vegetables, and dressings.
- Marjoram: Closely related to oregano but milder and sweeter, dried marjoram is excellent in delicate dishes, enhancing flavors without overpowering them.
Herbs with lower moisture content and thicker leaves or stems, like rosemary and thyme, are generally easier and faster to air dry. More delicate, high-moisture herbs like basil might take a bit longer, but the results are still incredibly rewarding.
Nonna’s Golden Tip 🌿
For the best results, always hang your herb bundles upside down in a cool, dark room, ensuring they are well-ventilated and completely away from direct sunlight. This simple step is key to preserving their vibrant color, potent flavor, and precious essential oils.
The Art of Air-Drying Herbs: A Simple Step-by-Step Guide
Mastering the technique of air-drying herbs is remarkably straightforward, requiring only a few basic supplies and a bit of patience. This method ensures your herbs retain their maximum flavor and aroma, ready to enhance your culinary creations.
1. Harvesting and Preparing Your Herbs
The journey to perfect dried herbs begins with proper harvesting. Choose herbs that are vibrant and healthy, preferably in the morning after the dew has dried but before the sun gets too intense. Gently cut the herb stems, ensuring they are long enough to tie into bundles. Inspect your harvested herbs for any damaged leaves, insects, or dirt. If necessary, rinse them very gently under cool running water. It’s absolutely crucial to then spread them out on a clean towel or paper towels and let them air dry completely before bundling. Any lingering moisture can lead to mold, compromising your entire batch. Ensure they are bone dry to the touch.
2. Crafting Your Herb Bundles
Once your herbs are clean and dry, it’s time to create bundles. Gather about 5-10 sprigs of a single type of herb. The key here is to keep the bundles relatively thin. Thick bundles restrict air circulation, which can cause uneven drying and potential mold growth. Using butcher’s twine or natural string, securely tie the bottom of the stems together. Make sure the knot is tight enough to hold the herbs as they shrink during drying, but not so tight that it damages the stems. Leave a generous amount of excess twine at the end of your knot; this will be used for hanging the bundles.
3. Choosing the Ideal Drying Location
The environment where your herbs dry is paramount to their success. You need a space that is cool, dark, and well-ventilated. Direct sunlight will bleach your herbs, causing them to lose their vibrant color and, more importantly, their precious essential oils and flavor. Heat can also dry them too quickly, making them brittle and less aromatic. A pantry, a clean closet, a quiet corner of your kitchen away from windows, or even a dry basement can be ideal. Hang your bundles upside down from a curtain rod, a clothes drying rack, or even use tape to secure the twine to a wall or cupboard edge. Hanging them upside down ensures that the essential oils flow down into the leaves, maximizing their potency and flavor.
4. Monitoring and Knowing When They’re Dry
Patience is a virtue in herb drying. The drying process typically takes anywhere from 1 to 3 weeks, depending on the type of herb, humidity levels, and the temperature of your drying space. Regularly check your herb bundles. You’ll know they are fully dried when the leaves feel crisp to the touch and crumble easily between your fingers. They should not feel pliable or leathery, which would indicate residual moisture. If they bend instead of snap, they need more time.
5. Storing for Maximum Potency and Longevity
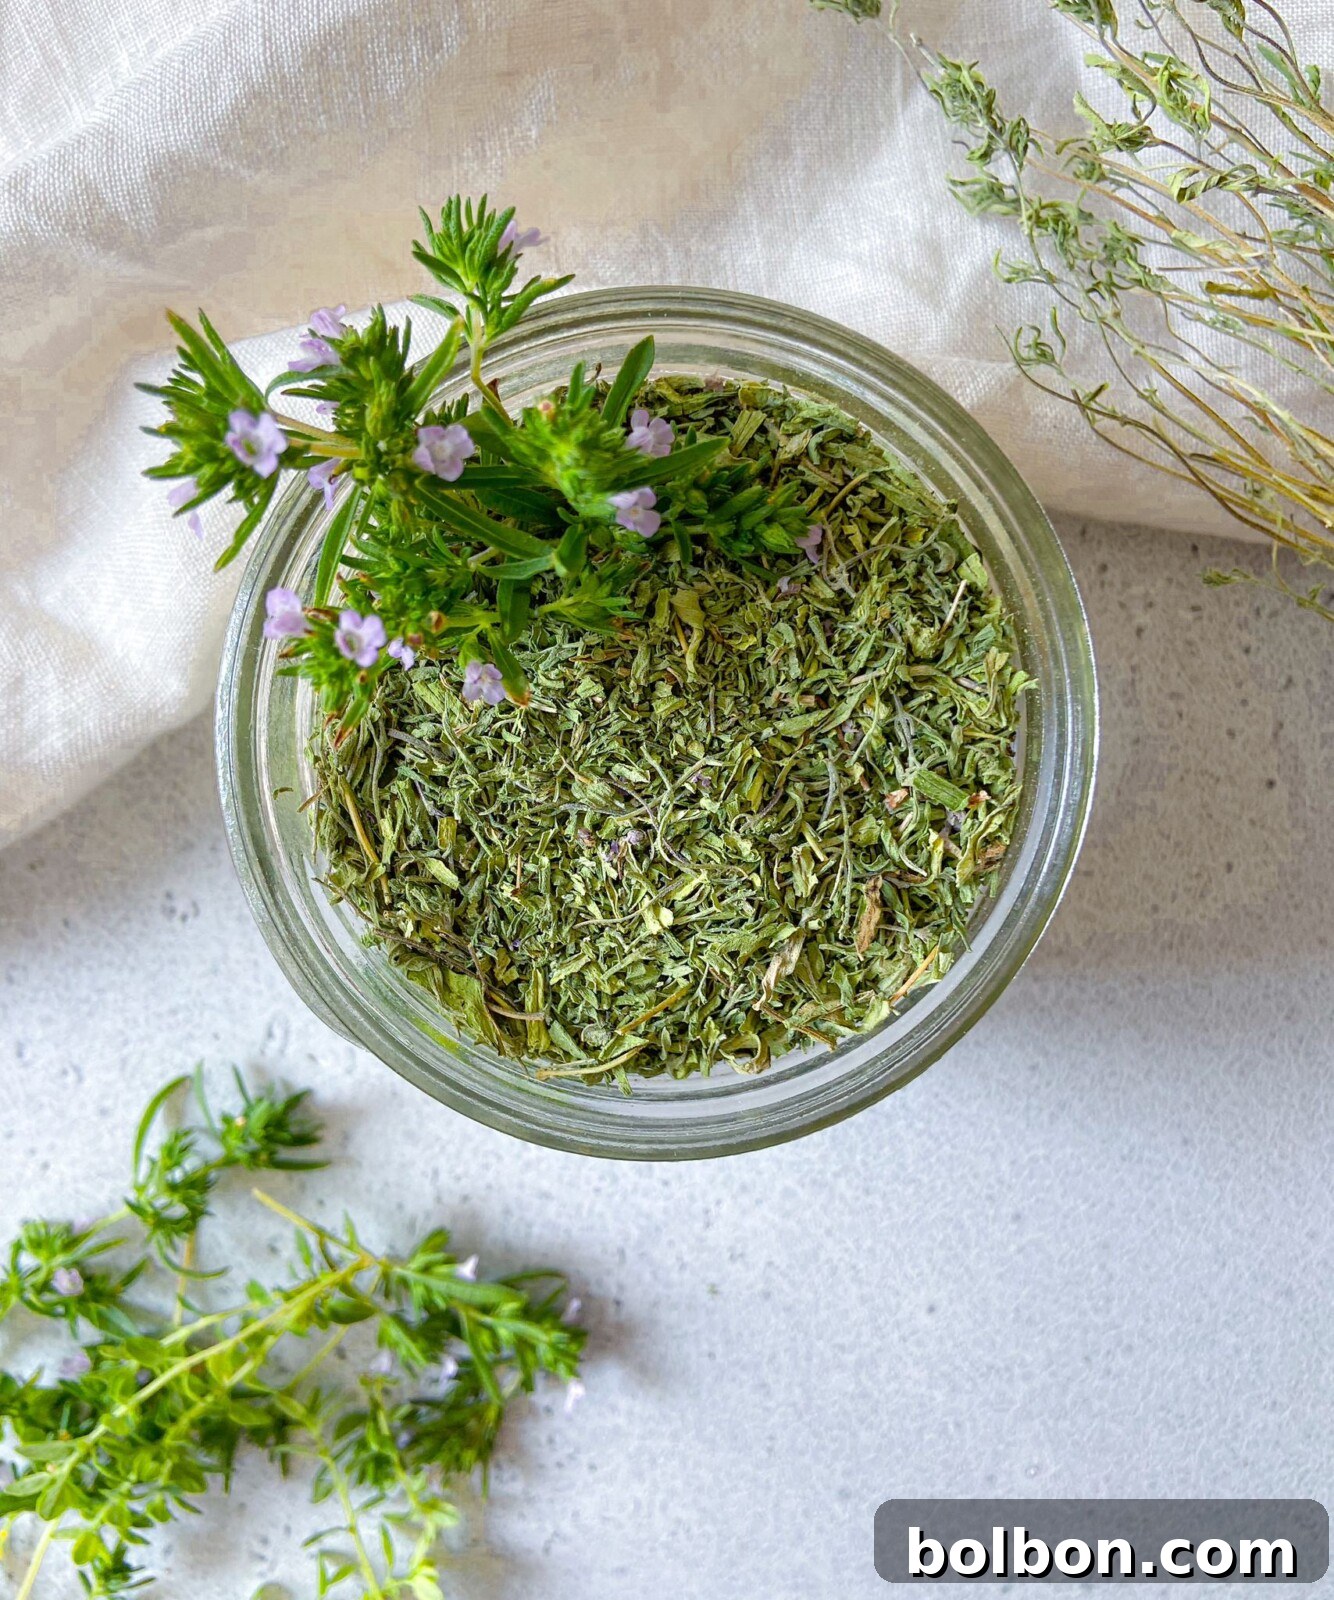
Once your herbs are perfectly dry, it’s time for storage. Carefully remove the twine from each bundle. Place a piece of parchment paper on your counter to catch any falling leaves. Gently run your hand down each herb stem to strip off the dried leaves. Discard any tough stems. You can then gently crumble the dried leaves with your hands or, for a finer consistency, use a mortar and pestle or a clean spice grinder. Store your finished dried herbs in airtight containers, such as small mason jars, away from light and heat. A cool, dark pantry or cupboard is ideal. Properly stored, your homemade dried herbs will maintain their intense flavor and aroma for up to 6 months, though many can last even longer. Don’t forget to label your jars with the herb type and date dried!
Enhancing Your Herb Drying Experience: Tips and Tricks
While the traditional air-drying method is effective, there are a few variations and considerations that can help you adapt to different environments or preferences, ensuring optimal results every time.
- Protecting Herbs from Light (Paper Bag Method): If you find yourself without a perfectly dark drying spot, or if you want to further protect delicate herbs from light exposure, a simple paper bag can be your best friend. After bundling your herbs, cut a few holes in a standard paper grocery bag for ventilation. Place the herb bundle inside the bag, stems up, and tie the top of the bag securely around the twine. Hang the bag upside down. This method shields the herbs from light, helping to preserve their color and volatile oils, while allowing air to circulate.
- Experiment with Your Abundance: The beauty of this method lies in its adaptability. Don’t feel limited to a select few herbs. Use whatever herbs you love and have in abundance. This includes not just basil, parsley, oregano, thyme, rosemary, or dill, but also mint, sage, marjoram, or even some edible flowers like lavender. The principles remain the same: clean, bundle, hang, and store. The more you experiment, the more you’ll discover which herbs work best for your climate and palate.
- Dehydrator or Oven Drying (Alternative Methods): While air drying is preferred for its gentleness and minimal energy use, if you’re short on space or time, a food dehydrator or even a very low oven can be used. For a dehydrator, follow the manufacturer’s instructions, typically at a low temperature (around 95-105°F / 35-40°C) until crisp. For oven drying, spread herbs in a single layer on a baking sheet and dry at the lowest possible temperature (e.g., 170°F / 75°C with the oven door slightly ajar) for several hours, checking frequently to prevent scorching.
- Ideal Harvesting Time: For the most potent flavors, harvest your herbs right before they flower. This is when their essential oil content is usually at its peak. Avoid harvesting after rain or heavy watering to ensure the leaves are as dry as possible.
Explore More Culinary Inspirations
Herb Cubes: Another Way to Preserve Freshness
10 mins
Homemade Basil Walnut Pesto
5 mins
Refreshing Green Goddess Salad
18 mins
High Protein Green Goddess Salad
20 mins
Elevate Your Dishes: Best Served With Dried Herbs
Dried herbs are incredibly versatile and can infuse depth and character into a wide array of recipes. Once you’ve mastered how to dry herbs, you’ll find countless ways to incorporate your homemade treasures into your daily cooking. Here are some fantastic dishes where your dried herbs will truly shine:
- Flavorful Flatbreads: Add your favorite combination of dried herbs – think oregano, thyme, and a hint of rosemary – to this viral Cottage Cheese Flatbread. The herbs will awaken with the heat, bringing an irresistible aroma and taste.
- Homemade Dressings: Dried parsley is a secret weapon in dressings. Use it liberally in my delicious 🥗 Homemade Ranch Dressing Recipe for an authentic, garden-fresh flavor that store-bought versions simply can’t match.
- Mediterranean-Inspired Salads: Dried oregano, with its bold, earthy notes, is indispensable in fresh, bright salads. It truly shines in my vibrant 🍅 Greek Feta Salad, providing that quintessential Mediterranean essence.
- Roasted Meats and Vegetables: A blend of dried rosemary, thyme, and sage creates an unbeatable crust on roasted chicken, potatoes, or any root vegetable. The concentrated flavors adhere beautifully during cooking.
- Hearty Soups and Stews: Incorporate dried basil, marjoram, or bay leaves into your slow-simmering soups and stews. They release their deep flavors gradually, enriching the broth and making every spoonful comforting.
- Infused Oils and Vinegars: Create gourmet infused olive oils or vinegars by steeping your favorite dried herbs in them for a few weeks. Think dried oregano and chili flakes in olive oil, or dried dill in white wine vinegar.
Creative & Practical Ways to Use Your Homemade Dried Herbs
Drying herbs is just the beginning! The true joy comes from incorporating them into your daily life and culinary adventures. Beyond basic seasoning, homemade dried herbs offer a world of possibilities for adding flavor, aroma, and even a touch of wellness to your routine.
- Craft Invigorating Homemade Teas: Transform dried herbs like mint, chamomile, or lavender into soothing and aromatic tea blends. Simply steep a teaspoon of your chosen dried herbs in a cup of boiling water for 5-10 minutes, allowing the flavors to fully infuse. Strain out the herbs and savor a warm, comforting beverage. You can also combine different herbs for unique custom blends.
- Design Custom Spice Blends and Flavorful Salt Rubs: Take your cooking to the next level by creating your own signature spice blends. Combine a medley of your favorite dried herbs – perhaps a robust thyme-rosemary-parsley mix – with salt, pepper, garlic powder, and onion powder. This versatile blend can be mixed with extra virgin olive oil or softened butter to create a delectable rub for roasted chicken, tender fish, or hearty vegetables.
- Enhance Homemade Salad Dressings: Elevate your everyday salads by infusing your dressings with dried herbs. Whether you’re whipping up a simple herb vinaigrette with dried oregano and basil, or preparing a creamy homemade ranch, dried herbs add a depth of flavor that feels gourmet and fresh. They rehydrate beautifully in the liquid, releasing their essences.
- Thoughtful, Handcrafted Gifts: There’s something incredibly special about a gift made with love, especially when you’ve grown and preserved the ingredients yourself. Homemade dried herbs are a truly unique and personal present. Package them beautifully in small mason jars, add a decorative ribbon or a personalized label, and share the bounty of your garden with friends and family.
- Aromatic Sachets and Potpourri: Beyond the kitchen, dried herbs like lavender, mint, and rosemary can be used to create aromatic sachets for drawers and closets, or incorporated into homemade potpourri to freshen your home naturally.
- Infused Oils and Vinegars: Create your own gourmet infused oils and vinegars by steeping dried herbs in them for several weeks. This is a wonderful way to add a unique flavor profile to your cooking or for salad dressings.
Frequently Asked Questions About Drying Herbs
This traditional air-drying method works exceptionally well for a wide range of herbs with sturdy stems and lower moisture content. Excellent choices include thyme, rosemary, oregano, basil, mint, parsley, sage, dill, and cilantro. While some delicate herbs like basil and mint may lose a bit of their vibrant green color, their flavor is still wonderfully concentrated and potent when dried using this technique.
Yes, it’s generally a good practice to rinse your herbs before drying, especially if they came from your garden and might have soil residue, or if you’re unsure if they’ve been treated with pesticides. Rinse them gently under cool, running water. The most critical step afterward is to ensure they are allowed to air dry completely and thoroughly before you bundle and hang them. Any residual moisture can promote mold growth during the drying process, ruining your batch. Pat them dry with paper towels and then let them air out for several hours.
The best indicator of fully dried herbs is their texture. They should feel crisp, brittle, and papery to the touch. When you attempt to crumble a leaf between your fingers, it should snap and easily break into small pieces. If the leaves feel pliable, soft, or bendy, they still contain moisture and need more drying time to prevent mold and ensure long-term preservation.
Don’t worry if you lack a traditional hanging spot! There are many creative alternatives. You can easily tape the twine of your herb bundles to the underside of a kitchen cabinet, a shelf, or a clean wall. A clothing hanger or a clothes drying rack can also be repurposed for this task, allowing you to hang multiple bundles at once. The key is to find a spot that offers good air circulation and adheres to the cool, dark, and dry environment requirements.
Proper storage is essential for preserving the quality of your homemade dried herbs. Once they are completely dry, store them in an airtight container, such as a small mason jar with a tight-fitting lid, or a sealed plastic bag. It’s crucial to keep them in a cool, dark place, like a pantry, a closed kitchen cabinet, or a dry basement. Exposure to light, heat, or humidity will degrade their flavor and aroma over time. Properly stored, your dried herbs will retain their intense flavor for up to 6 months, though many can last even longer.
When substituting dried herbs for fresh ones in a recipe, a good rule of thumb is to use about one-quarter (1/4) as much dried herb. This is because the drying process concentrates the flavors significantly. So, if a recipe calls for 1 cup of fresh oregano, you would use approximately 1/4 cup of dried oregano. Always start with a smaller amount and add more to taste, as the potency can vary depending on the herb and how it was dried.
While many herbs air dry beautifully, some do not maintain much flavor or ideal texture when dried. Cilantro and chives, for instance, tend to lose a significant amount of their distinctive taste and are often better preserved by freezing. While some people dislike how basil and mint can lose a lot of their vibrant green color when air-dried (often turning a duller shade), I personally still find their concentrated flavor enjoyable and worthwhile for cooking. For these more delicate herbs, freezing them in oil or water cubes is another excellent preservation alternative.
The ideal location for air drying herbs is any area that is consistently cool, dark, and has good air circulation, while also avoiding direct sunlight on the herbs. Think inside a kitchen cabinet, a clean and dry closet space (ensure it’s not dusty or prone to dampness), or a well-ventilated pantry. The absence of direct light helps preserve the herbs’ color and prevents the degradation of their essential oils, which are responsible for their flavor and aroma.
The drying time for fresh herbs can vary depending on several factors, including the type of herb (its moisture content and thickness), the humidity levels in your drying environment, and the ambient temperature. Generally, most herbs will take approximately 10 to 14 days to fully air dry. Some thicker, woody herbs like rosemary might take a bit longer, while thinner-leafed varieties might dry faster. Always check for crispness as the ultimate sign of readiness.
Hanging herbs upside down is a traditional and highly effective technique for air drying. The primary reason is to allow the essential oils, which are concentrated in the stems and leaves, to naturally draw downwards into the leaves as the herbs dry. This process helps to maintain the maximum fragrance and flavor in the parts of the herb you will ultimately use. It also encourages even drying and prevents moisture from accumulating at the base of the stems, reducing the risk of mold.
Traditional Air-Drying Method for Herbs
Facebook Share
Rate Recipe
Print Recipe
Tutorials and Hacks
American, Balkan
The Modern Nonna
5 minutes
10 days
10 days 5 minutes
Equipment
Ingredients
-
Fresh herbs of your choice, such as parsley, oregano, basil, mint, thyme, or rosemary
Instructions
-
Harvest your fresh herbs, cutting them into pieces of approximately the same length. If necessary, gently rinse them under cool water and then let them air dry completely on a clean towel. This step is crucial to prevent mold.
-
Create thin bundles of herbs (about 5-10 sprigs per bundle). Securely tie the bottom of the stems with butcher’s twine, leaving some excess twine for easy hanging. Keep bundles thin to ensure good air circulation.
-
Hang the herb bundles upside down in a cool, dark, and well-ventilated area away from direct sunlight. A curtain rod, a clothes drying rack, or even taped to a cabinet are good options. Allow the herbs to dry out for 10 to 14 days, or until fully crisp.
-
Once the herbs are completely dry and brittle, remove the twine. Place a piece of parchment paper on your counter, then run your hand down each herb stem to easily remove the dried leaves.
-
Discard any tough stems. Optionally, you can use your hands to gently break the dried herb leaves into smaller pieces, or crush them further for a finer consistency. Store the dried herbs in airtight mason jars in a cool, dark place. They will last for up to 6 months or more, retaining their intense flavor. Enjoy your homemade dried herbs!
Notes
- Labels: Always add a clear label (tape or sticky label) to the outside of each jar, indicating the type of herb and the date they were dried. This helps you keep track of freshness.
- Gifting: Homemade dried herbs make a thoughtful and personal gift. Enhance their presentation by tying a decorative ribbon or butcher’s twine around each jar, adding a rustic charm.
- Storage: For optimal flavor and texture preservation, dried herbs should always be stored in a tightly sealed, airtight container in a cool, dark place, such as a pantry or inside a cabinet. Avoid storing them in the refrigerator, as this can introduce moisture. It’s also best to avoid drying herbs during periods of very high humidity, as this can hinder the drying process and increase the risk of mold.
- Air Circulation: Ensure excellent air circulation around and within your herb bundles. Overcrowding can lead to uneven drying and potential spoilage.
- Color Preservation: While some color loss is natural, drying in a dark place significantly helps to retain the vibrant green hues of your herbs.
Additional Info
Tutorials and Hacks
American, Balkan