Brown Butter Chocolate Chip Cookies
- Makes 22 small cookies
- Prep 10 minutes
- Cook 10 minutes
- Total 2 hours 20 minutes
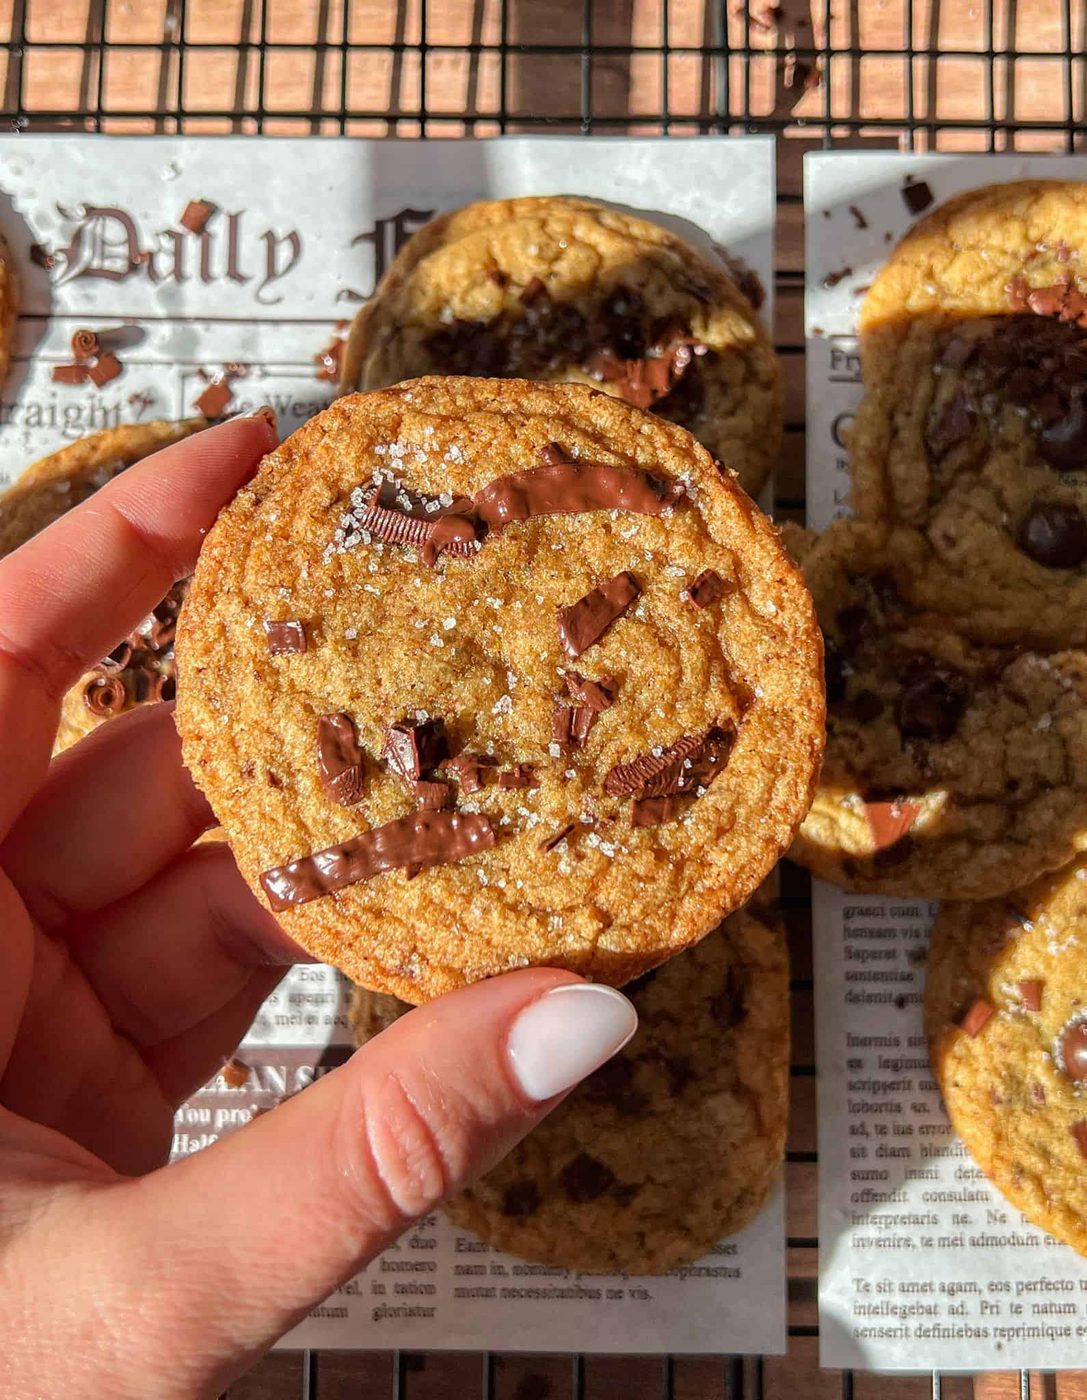
Ah, the iconic chocolate chip cookie. If you’re anything like us, you take a classic, and spiral into a full-blown research mission, scouring the internet for the best version of it. For weeks we've been in the deepest TikTok trenches, watching every recipe and testing every variation of the so-called chocolate chip cookie. Brown butter versus regular butter The ideal chocolate-to-dough ratio. The best baking time and technique. All roads led us here, to this masterpiece – our Brown Butter Chocolate Chip Cookies.
Before you start
- This recipe for Brown Butter Chocolate Chip Cookies features a balance of crispy edges and chewy centers, enhanced by a deep, nutty flavor from browned butter.
- Key ingredients include brown and granulated sugars, an egg, and chocolate chips, with flaky sea salt added after baking for contrast.
- Tips for success include adding water after browning the butter and chilling the dough for optimal texture.
- For variations, you can use different types of chocolate, substitute regular melted butter, or add nuts for extra crunch.
- Serve fresh out of the oven with milk or espresso, and the addition of flaky sea salt makes a significant difference!
What stands out
Now that we've finished our chocolate chip cookie TED Talk, let’s get into why this recipe reigns supreme. The method? Flawless. The cookies? Unreal. The hours of obsessive research? worth it. These cookies are everything a chocolate chip cookie should be: crispy on the edges chewy in the centre, and packed with melty chocolate. The browned butter gives them a deep, nutty flavor that makes them taste like they came from a fancy bakery but nope, just a saucepan and some good instincts. Each bite hits that balance of crispy, chewy, and “damn, we should have made a double batch.”
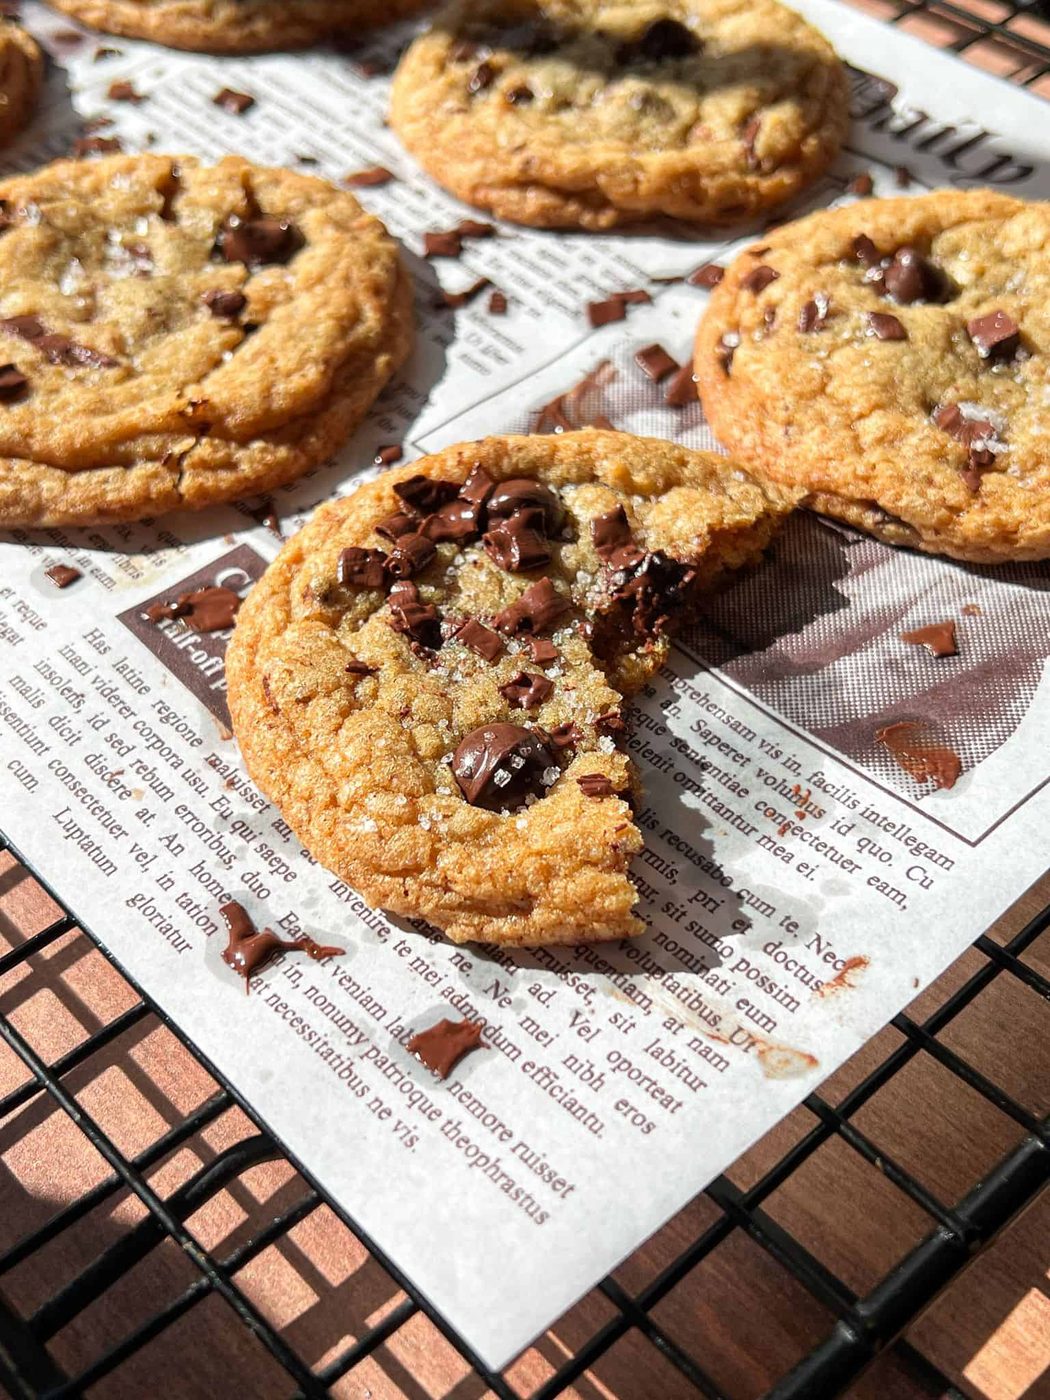
Butter: Can’t have brown butter cookies without the butter! Browning it adds a deep, nutty, caramel-like flavor that gives the cookies their signature richness. Don’t skip this step, and don’t let it burn!
Water: Added after browning the butter to replace the moisture that evaporates during cooking. It’s the secret to that chewy centre.
Brown Sugar: Brings depth and chewiness, with a subtle molasses note that pairs great with the browned butter.
Granulated Sugar: Balances the flavor and helps the edges caramelize for that crisp bite.
Egg: Binds everything together.
Vanilla Bean Paste: Adds a warm, aromatic flavor and those tiny specks of vanilla throughout. You can use regular vanilla extract if that’s what you have.
All-Purpose Flour: Gives the cookies their structure without making them dense.
Baking Soda: Helps the cookies rise just enough while keeping the centres soft.
Salt: Enhances every flavor.
Chocolate Chips or Chopped Chocolate: The hero! Use your favorite type (dark, milk, or semi-sweet) for melty bits of chocolate.
Flaky Sea Salt: A final sprinkle after baking makes the chocolate pop and balances the sweetness perfectly. It makes a big difference!
Kitchen tip
When browning butter, stir constantly and pull it off the heat the moment it smells nutty and caramel-like. A few seconds too long can take it from rich to burnt.
Swaps
- Use chopped dark, milk, or white chocolate chunks instead of chips for big pockets of melty chocolate.
- If you don’t want to brown butter, use regular melted butter. The flavor won’t be as deep, but the texture will still be great. If you do this, you can skip adding back the water.
- Instead of water stir in 1 tablespoon of coffee to intensify the brown butter and chocolate flavor.
- Add toasted pecans, walnuts, or hazelnuts for crunch and a nutty depth.
- You can either make this recipe into 22 smaller cookies or 12 larger cookies. Make sure to adjust the baking time (9-11 minutes for smaller cookies; 11-14 minutes for larger cookies).
- If you don’t have flakey salt, a sprinkle of regular sea salt works too.
Brown Butter vs. Regular Butter
Brown butter is regular butter that’s been gently cooked until the milk solids turn golden brown. During this process, the butter develops a deep, nutty, caramel-like flavor that adds richness and complexity you can’t get from plain melted butter. It gives cookies that bakery-style taste. Now that brown butter has become a fad in the home-baking world, what we've learned is when you brown butter, about 1–2 tablespoons of water naturally cook off. That moisture is important for how the dough behaves, because without it, the cookies can turn out denser, greasier, or spread too much. Adding 1 tablespoon of water back in after cooling helps rebalance the texture, keeping the cookies soft, chewy, and perfectly structured.
Helpful Tips
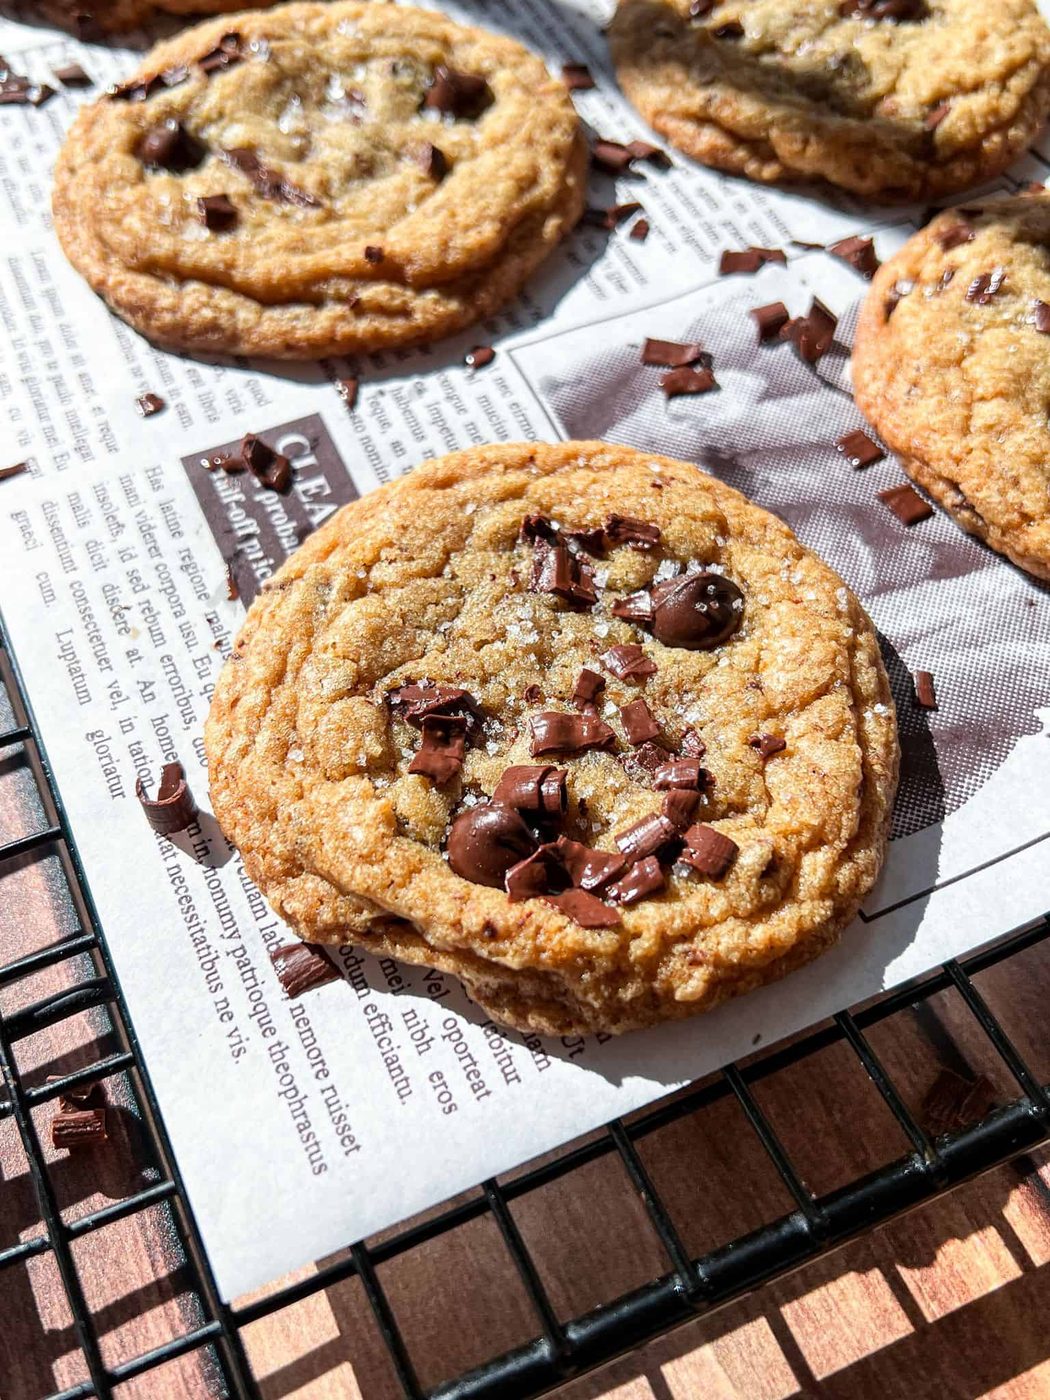
- For a thinner cookie only chill for 30–60 minutes. When they come out of the oven you can also tap the baking sheet and that will deflate them. For a thicker (chewy + more cake like cookie) chill for at least 24 hours.
- If you use a large cookie scoop, the cookies will be big and bake time will increase to 13–15 minutes or until the edges are golden. We like using a small cookie scoop which makes 22 cookies.
- You can freeze the cookies. Let them cool completely, flash freeze on a baking sheet and then transfer into a freezer safe bag.
- You will know when the brown butter is ready because it will foam up and “pop” and the moment the butter goes “quiet” take it off the heat immediately and pour into a heat proof bowl to cool.
- Cool butter completely before adding in the water. Additionally, you can add a tablespoon of milk or cream to add moisture back in too.
- Scoop and shape first then chill. Here’s why: Shaping cold dough is harder (it stiffens). Pre-scooped dough chills evenly and is ready to bake straight from the fridge or freezer. You also get more consistent spreading when each ball chills the same way.
- When scooping the cookies, always scoop against the bowl and press firmly against the side of the bowl as this will ensure you have even cookies.
- Don’t over-mix the cookie dough. If you decide to roll and shape the cookies with your hands as opposed to the cookie scoop method, you will get smoother cookies but they will also be more greasy too.
- You don’t want to over-bake the cookie, you want the edges golden brown and the middle soft.
- Store: In an airtight container lined with parchment or wax paper between layers. Shelf life: 3–5 days for soft cookies, up to 7–10 days for crisp ones. Tip: Add a small piece of bread or apple slice in the container to keep soft cookies moist, the cookies will absorb that moisture.
Serve it with
- A sprinkle of flaky sea salt while they’re still warm. Trust us, it makes a difference!
- Enjoy fresh from the oven with a glass of cold milk.
- Alongside an after-dinner espresso or our Banana Milk Latte.
Questions
why do i need to add water back after browning the butter?
When you brown butter, you’re cooking off the water content. That’s part of what gives it that deep, nutty flavor. But less moisture can lead to drier cookies. Adding back water replaces what’s lost, keeping them nice and chewy!
can i skip chilling the dough?
Nope! Chilling the dough is key for texture and shape. It allows the butter to solidify again.
how do i know when the brown butter is ready?
It’ll foam first, then the milk solids will turn golden brown and you’ll smell a nutty, caramel aroma. If it starts smelling bitter or burnt (like overcooked popcorn), it’s gone too far.
can i make the dough ahead of time?
Definitely. The dough can be made up to 24 hours in advance and kept in the fridge. You can also freeze the rolled dough for up to 3 months. Just bake straight from frozen.
why are our cookies flat?
They were probably too warm when baked. Make sure the dough is fully chilled before baking.
Ingredients
Makes 22 small cookies
- ½ cup unsalted butter
- 1 tablespoon water, to add back after browning
- ⅔ cup brown sugar
- ⅓ cup granulated sugar
- 1 large egg
- 1.5 teaspoons vanilla bean paste
- 1¼ cups all-purpose flour
- ½ teaspoon baking soda
- ¼ teaspoon salt
- ¾ cup chocolate chips, or chopped chocolate
Equipment
- Measuring Cups + Spoons
- Mixing Bowls
- Baking Sheet
- Liquid Measuring Cup
- Medium Pot
- Parchment Paper
Method
Brown Butter
- Note: For best results, always use the metric measurements provided in our baking recipes and weigh your dry ingredients. Measuring with cups is far less accurate and can lead to inconsistent results. To view the recipe in grams, simply click on “Metric” under the Ingredients list.
- In a light-colored saucepan over medium heat, melt the butter while stirring constantly. It will foam, then the milk solids will turn golden brown and smell nutty. This takes about 5–7 minutes.
- Tip: Don’t overcook the butter, as it can burn. You will know when the brown butter is ready because it will foam up and “pop” and the moment the butter goes “quiet” take it off the heat immediately and pour into a heat proof bowl to cool.
- Check the smell of the butter: Nutty, toasty, caramel-like: perfect! Acrid, bitter, or burnt popcorn: it’s scorched, and that burnt flavor will carry into the cookies. If that happens, it’s best to start over.
Add Water
- Once the browned butter is cooled, stir in 1 tablespoon of water to replace the moisture lost during browning. Be sure to cool butter completely before adding in the water. Additionally, you can add a tablespoon of milk or cream to add moisture back in too.
- Note: This step is crucial, as most brown butter recipes skip it. Replacing the moisture keeps the cookies soft and chewy.
Wet Ingredients
- To the cooled brown butter, add the brown sugar, white sugar, and mix well. Add the vanilla, egg, and mix again until you have a smooth batter. Feel free to use a whisk or hand mixer if you have one.
- Whisk until smooth and glossy, about 1 minute.
Dry Ingredients
- In a separate bowl, sift together the flour, baking soda, and salt. Stir into the wet mixture until just combined. Do not overmix, and make sure the baking soda is not expired.
- Stir in your chocolate chips or chunks until evenly distributed. We prefer to use a 70% dark chocolate bar but feel free to use anything you enjoy.
- Scoop the cookie dough with a small ice cream scoop making sure to scoop firmly ralong the side of the bowl. Place them on a tray or plate, cover, and refrigerate for at least 2 hours or up to overnight.
- This helps the cookies hold their shape and develop flavor.
- Tip: Scoop and shape first, then chill. Here’s why: Shaping cold dough is harder (it stiffens). Pre-scooped dough chills evenly and is ready to bake straight from the fridge or freezer. You also get more consistent spreading when each ball chills the same way.
Bake
- Preheat oven to 350°F (175°C).
- Line a baking sheet with parchment paper. Place the chilled dough balls spaced apart.
- For small cookies (about 22 total): bake 9–11 minutes.
- For larger cookies (about 12 total): bake 11–13 minutes.
- Bake until the edges are golden and the centres look slightly underbaked, as they’ll firm up while cooling.
Cool
- Let cookies rest on the baking sheet for 5 minutes, then transfer to a rack to cool completely.
- Finish with a sprinkle of flaky sea salt on top for the perfect touch.
Kitchen notes
- Brown butter tips: Stir constantly and remove from heat once it smells nutty and caramel-like – it will foam, pop, then go quiet. A few seconds too long can burn it. Cool completely before adding back 1 tbsp water (or milk/cream) to restore lost moisture.
- Flavor upgrades: Swap the water for coffee to deepen the flavor, or stir in toasted nuts for crunch. Use chopped chocolate instead of chips for big, melty pools.
- Skip the brown butter? Use regular melted butter. The flavor won’t be as rich, but texture stays great, and you can skip the added water.
- Chill time matters: Chill 30–60 min for thinner cookies, or 24 hrs for thicker, chewy, bakery-style ones. Always scoop before chilling – cold dough is harder to shape.
- Size + bake time: Makes 22 small cookies (10–12 min) or 7 large (13–15 min). Tap the baking sheet after baking to help thinner cookies deflate slightly.
- Baking cues: Don’t overbake – edges should be golden, centers soft.
- Mixing: Don’t overmix the dough. If rolling by hand, cookies will be smoother but slightly greasier.
- Dry ingredients: Always sift flour, baking soda, and salt, and check that your baking soda isn’t expired.
- Finishing touch: Sprinkle with flaky salt (or sea salt) after baking.
- Storage: Store in an airtight container with parchment between layers. Lasts 3–5 days soft or up to 10 days crisp. Add a small piece of bread or apple slice to keep cookies moist.
- Freezing: Cool completely, flash freeze, then store in a freezer-safe bag.