
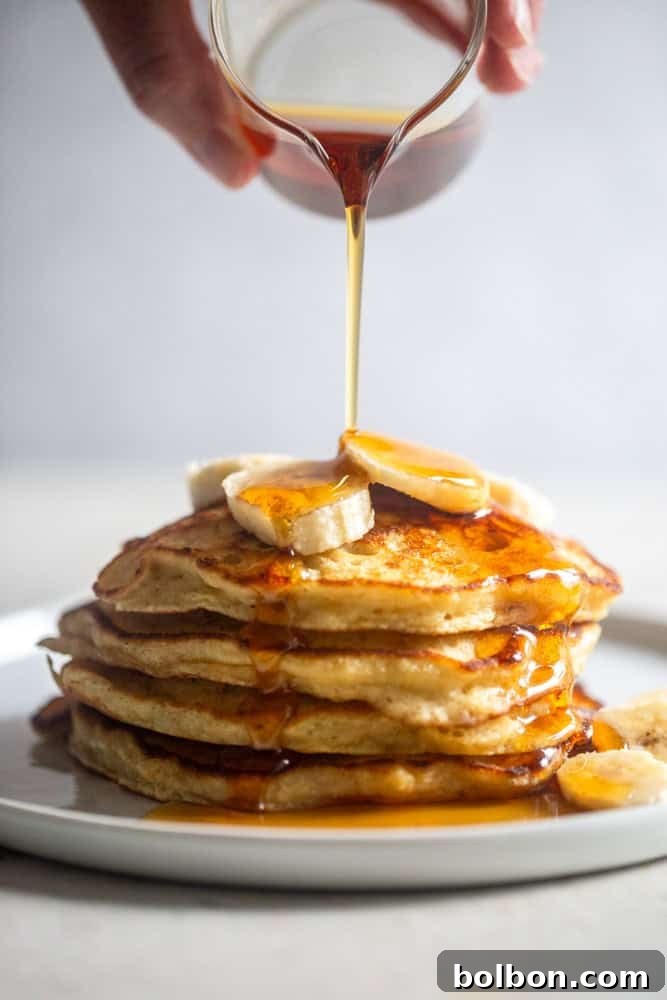
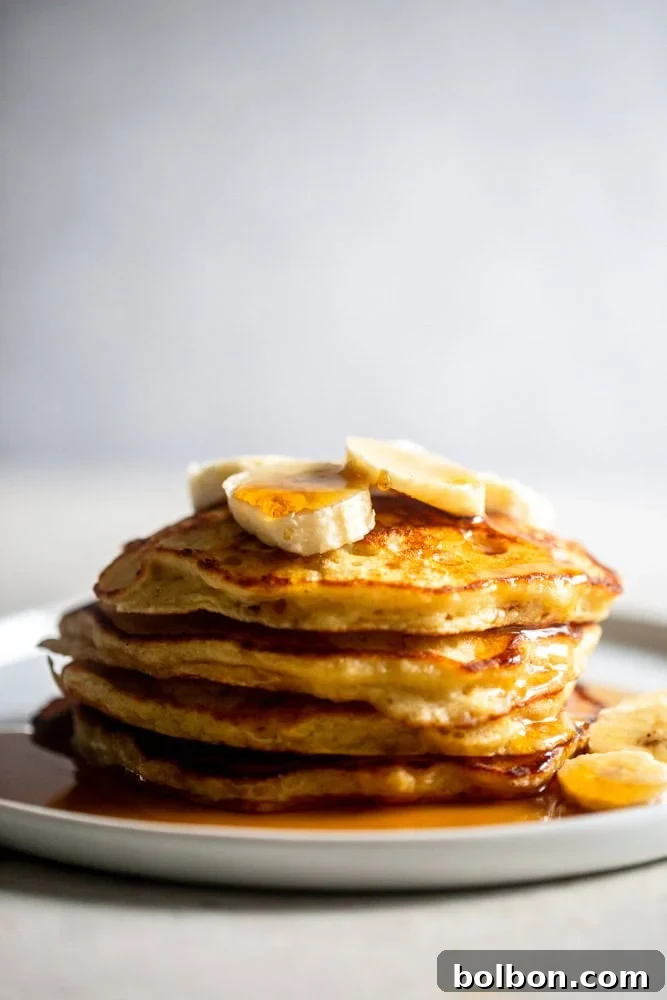
Welcome to the ultimate guide for creating the most delightful fluffy banana pancakes you’ll ever taste! Imagine biting into a stack of golden-brown pancakes, crispy on the outside, incredibly light and airy on the inside, bursting with the sweet, comforting flavor of ripe bananas. These aren’t just any pancakes; they are a culinary experience, transforming simple ingredients into a breakfast masterpiece that will become a cherished weekend tradition. Forget dense, chewy pancakes – we’re diving into the secrets of achieving that perfect cloud-like texture and rich, sweet banana taste that will leave you craving more.
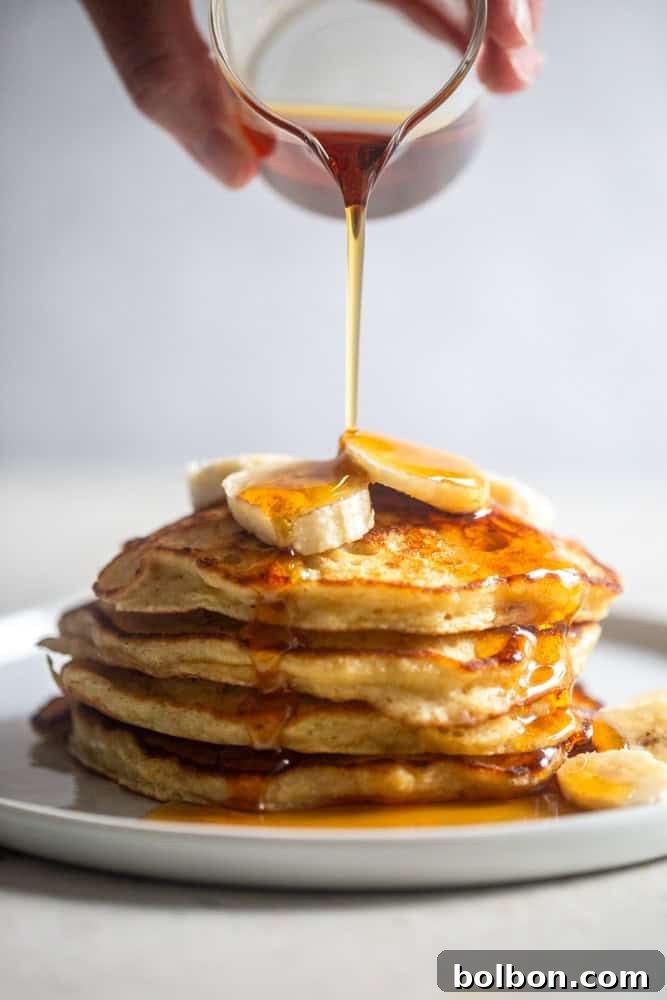
Unlike the quick 2-ingredient banana pancakes that are popular online, this recipe embraces the art of true indulgence. We’re talking about a classic, rich, and utterly satisfying pancake that goes beyond a mere banana and egg combo. This recipe is your perfect solution for utilizing those beautifully overripe bananas sitting on your counter, offering a delicious alternative to the usual banana bread or banana muffins. Drawing inspiration from our highly acclaimed Blueberry Buttermilk Pancakes, which have delighted countless breakfast tables, this banana version promises the same level of homemade goodness and irresistible fluffiness. Prepare to elevate your breakfast game!
Secrets to Unbelievably Fluffy Banana Pancakes
Creating the perfect stack of fluffy banana pancakes is an art, but one that is easily mastered with a few key techniques. Follow these expert tips to ensure your pancakes are consistently light, tender, and bursting with flavor every time.
- Embrace the Power of Buttermilk! Buttermilk is a non-negotiable ingredient for achieving truly fluffy pancakes. Its acidity reacts with the baking soda in the batter, creating carbon dioxide bubbles that expand during cooking, resulting in an incredibly light and airy texture. Beyond its leavening power, buttermilk also tenderizes the gluten in the flour, making your pancakes exceptionally soft and moist. If you don’t have buttermilk on hand, don’t despair! You can easily make a substitute by adding one tablespoon of white vinegar or lemon juice to a measuring cup, then filling the rest with regular milk until it reaches one cup. Let it sit for 5-10 minutes until it slightly curdles before using.
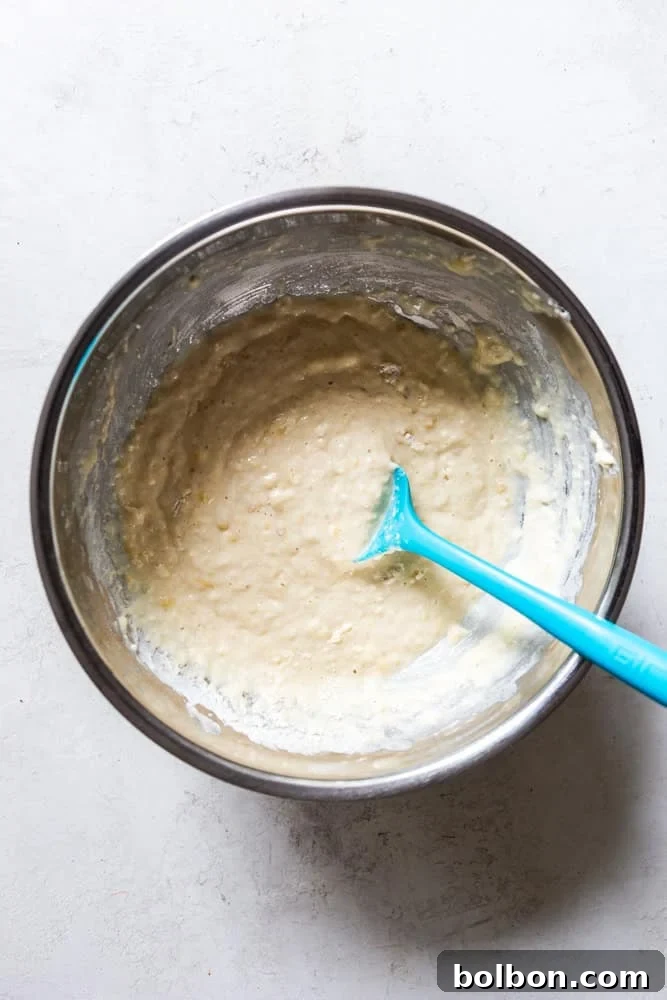
- Do Not Over-mix the Batter! This tip is paramount for tender pancakes. Over-mixing develops the gluten in the flour too much, leading to tough, rubbery pancakes—the exact opposite of what we’re aiming for. Mix the wet and dry ingredients just until they are combined. A few lumps in the batter are perfectly fine, even desirable! These small lumps indicate that you haven’t overdeveloped the gluten. The less you mix, the more tender your pancakes will be. So, resist the urge to vigorously whisk away every single lump.
- Measure Flour Correctly for Optimal Texture! The amount of flour significantly impacts your pancake’s density. Too much flour results in heavy, dense pancakes, while too little can make them fall apart. The best way to measure flour is the “spoon and level” method. Instead of scooping the measuring cup directly into the flour bag (which compacts the flour and leads to over-measurement), spoon the flour into your measuring cup until it overflows slightly. Then, use the flat side of a knife or a straight edge to level off the excess, ensuring an accurate measurement. This simple step prevents you from inadvertently adding too much flour, which can sabotage your pancake’s fluffiness.
- Master the Art of Pan Temperature. The ideal pan temperature is crucial for golden-brown exteriors and fully cooked interiors. I typically set my pan or griddle to medium heat, or just slightly below. If your pan is too hot, the pancakes will burn on the outside before the inside has a chance to cook through, leaving you with a raw center. If it’s too cool, they’ll spread excessively, become greasy, and won’t develop that beautiful golden crust. The perfect test: add a small pat of butter to the pan. It should melt immediately and gently sizzle, but it should not sputter violently or burn. If it melts slowly, increase the heat; if it burns quickly, reduce it. Adjust the heat as needed throughout the cooking process, as pan temperature can fluctuate.
Essential Tools for Pancake Perfection
While you don’t need a gourmet kitchen full of specialized gadgets to make fantastic pancakes, having the right equipment can certainly make the process smoother and more enjoyable. These items are highly recommended for a seamless pancake-making experience:
- Stainless Steel Bowls: Durable and versatile for mixing wet and dry ingredients separately.
- Whisk: Essential for thoroughly combining dry ingredients and whisking wet ingredients without over-mixing the final batter.
- 12-inch Nonstick Skillet or Griddle: A good quality nonstick surface ensures your pancakes cook evenly and release easily without sticking, making flipping a breeze.
- Banana Masher: While a fork works just fine, a dedicated banana masher makes quick work of getting that perfect consistency for your mashed bananas.
- Flexible Spatula: A thin, wide, and flexible spatula is key for easy flipping, ensuring your pancakes maintain their shape and don’t tear.
- Cooling Rack: Ideal for keeping cooked pancakes warm and preventing them from becoming soggy while you finish the rest of the batch.
Storing and Reheating Your Banana Pancakes
One of the best things about these fluffy banana pancakes is their freezer-friendliness! They make for a quick and easy breakfast on busy mornings. With proper storage, you can enjoy these delicious pancakes for weeks to come, ensuring a comforting treat is always within reach.
Can You Freeze Banana Pancakes? Absolutely!
Yes, you can absolutely freeze pancakes, and these banana pancakes are no exception! Freezing them is a fantastic way to prepare meals in advance and reduce food waste. To ensure your pancakes freeze beautifully and reheat perfectly, follow these steps:
- Cool Completely: After cooking, immediately transfer your pancakes to a cooling rack placed over a baking sheet. Allow them to cool completely at room temperature. This is crucial to prevent condensation, which can lead to soggy, icy pancakes in the freezer.
- Prevent Sticking: Once cooled, you have two main options to prevent them from sticking together.
- Individual Wrap: For ultimate convenience, individually wrap each pancake tightly in plastic wrap. This offers the best protection against freezer burn.
- Parchment Layering: Alternatively, stack your pancakes with a sheet of parchment paper between each one. This allows you to grab just one or two at a time without them being frozen solid together.
- Final Storage: Place the wrapped or layered pancakes into a large, airtight freezer-safe bag or container. Squeeze out as much air as possible if using a bag.
- Freezing Method: For best results, especially if you have freezer space, arrange the cooled pancakes in a single layer on a baking sheet and freeze until solid (about 1-2 hours). Once solid, then proceed with individual wrapping or layering with parchment, and transfer to a freezer bag. This “flash freezing” technique ensures they freeze quickly and prevent sticking without the need for individual wrapping upfront.
- Shelf Life: Properly stored, these frozen banana pancakes will maintain their quality for about 1 to 2 months.
The Best Ways to Reheat Frozen Pancakes
Reheating frozen pancakes is simple, and you have several options depending on how much time you have and your preferred texture:
How to Reheat Banana Pancakes in the Microwave
Often considered the best method for speed and retaining moisture, the microwave is a surprisingly excellent choice for reheating pancakes. Place up to 6 pancakes in a single layer on a microwave-safe plate. Heat 1-2 pancakes for about 20-30 seconds. For 4-6 pancakes, microwave for 60-90 seconds, checking halfway through. Adjust timing based on your microwave’s power. They should be hot and soft.
How to Reheat Banana Pancakes in the Oven
The oven method is great for reheating larger batches and yields pancakes with a slightly crispier edge while keeping the inside warm and tender. Preheat your oven to 350°F (175°C). Arrange pancakes in a single layer on a baking sheet. Cover the baking sheet tightly with aluminum foil to prevent them from drying out. Warm for approximately 10-15 minutes, or until heated through. Uncover for the last few minutes if you prefer a slightly crisper exterior.
How to Reheat Pancakes in the Toaster
While certainly the fastest method, reheating in a toaster can sometimes dry out your pancakes more than other methods. It’s best for individual pancakes. Place one pancake in each slot of your toaster. Toast on a light-to-medium setting. Keep a close eye on them to prevent burning. This method gives them a nice crispiness but can make them a bit less fluffy if over-toasted.
Delicious Accompaniments for Your Banana Pancakes
These fluffy banana pancakes are a treat on their own, but they truly shine when paired with complementary toppings and sides. Here are some of our favorite ideas to complete your breakfast spread:
- Perfectly Crispy Oven-Baked Bacon: The salty crunch of bacon is a classic contrast to the sweet, soft pancakes.
- Light and Airy Homemade Whipped Cream: A dollop of fresh, unsweetened whipped cream adds a luxurious touch.
- Fresh Fruit: Beyond sliced bananas, consider berries, sliced peaches, or a mixed fruit salad for freshness and color.
- Warm Maple Syrup: A timeless classic that enhances the natural sweetness of the bananas.
- Nut Butter: My kids particularly love a generous spread of creamy peanut butter or almond butter on these pancakes for an extra layer of flavor and protein.
- Chocolate Chips: A handful of mini chocolate chips folded into the batter or sprinkled on top while cooking is always a hit!
Creative Variations for Your Banana Pancakes
Once you’ve mastered the basic fluffy banana pancake recipe, feel free to get creative and experiment with different additions to customize them to your liking. Here are some ideas to inspire your next batch:
- Chocolate Chip Banana Pancakes: Stir in ½ cup of chocolate chips (mini or regular) into the batter just before cooking for a classic and beloved combination.
- Nutty Banana Pancakes: Fold in ½ cup of chopped walnuts or pecans for added crunch and nutty flavor that complements the banana beautifully.
- Spiced Banana Pancakes: Add ½ teaspoon of ground cinnamon or a pinch of nutmeg to the dry ingredients for a warm, aromatic twist.
- Coconut Banana Pancakes: Incorporate ¼ cup of shredded unsweetened coconut into the batter for a tropical flair. Serve with toasted coconut flakes on top.
- Whole Wheat Banana Pancakes: For a slightly healthier option, substitute up to half of the all-purpose flour with whole wheat flour. Note that this might result in a slightly denser pancake, but it will still be delicious.
- Banana Oat Pancakes: Add ½ cup of quick-cooking oats to the dry ingredients for a heartier texture and added fiber. You might need an extra tablespoon or two of buttermilk to maintain the desired batter consistency.
Frequently Asked Questions (FAQ) About Banana Pancakes
Here are answers to some common questions you might have about making these delicious banana pancakes:
- What kind of bananas are best for banana pancakes?
You want very ripe bananas, often those with brown spots or even entirely brown peels. The riper the banana, the sweeter and more flavorful it will be, and easier to mash. Under-ripe bananas won’t offer the same sweetness or moistness. - Can I substitute buttermilk?
Yes! If you don’t have buttermilk, you can make a quick substitute. Add 1 tablespoon of white vinegar or lemon juice to a liquid measuring cup, then fill the rest with regular milk (dairy or non-dairy works) until it reaches 1 cup. Let it sit for 5-10 minutes until it slightly curdles before using. - Why are my pancakes flat?
Flat pancakes are usually due to old or inactive leavening agents (baking powder or baking soda), over-mixing the batter (which deflates air bubbles), or the pan not being hot enough to activate the leavening quickly. Ensure your baking powder and soda are fresh, mix gently, and check your pan temperature. - How do I know when to flip the pancakes?
Look for bubbles forming on the surface of the pancake and the edges appearing set and slightly dry. This usually takes 2-3 minutes on medium heat. Flipping too early can cause them to tear, while flipping too late can result in burned pancakes. - Can I prepare the batter ahead of time?
It’s generally best to make pancake batter fresh, especially with baking soda and baking powder, as their leavening power diminishes over time once activated by liquid. If you must prepare it ahead, you can mix the dry ingredients and wet ingredients separately and combine them just before cooking. If you mix the whole batter, it might lose some fluffiness, but it will still be edible if refrigerated for up to 24 hours.
More Irresistible Pancake Recipes You Will Love
If you’re a fan of fluffy pancakes, be sure to explore these other fantastic recipes that are guaranteed to bring smiles to your breakfast table:
- Classic Buttermilk Blueberry Pancakes
- Fresh Strawberry Pancakes
- Decadent Carrot Cake Pancakes
- Cozy Pumpkin Pancakes
Fluffy Banana Pancakes
By Meghan McMorrow | Fox and Briar
Prep Time: 10 mins | Cook Time: 20 mins
Servings: 12 pancakes
These fluffy banana pancakes are golden on the outside and light on the inside – the perfect indulgent breakfast!
Ingredients
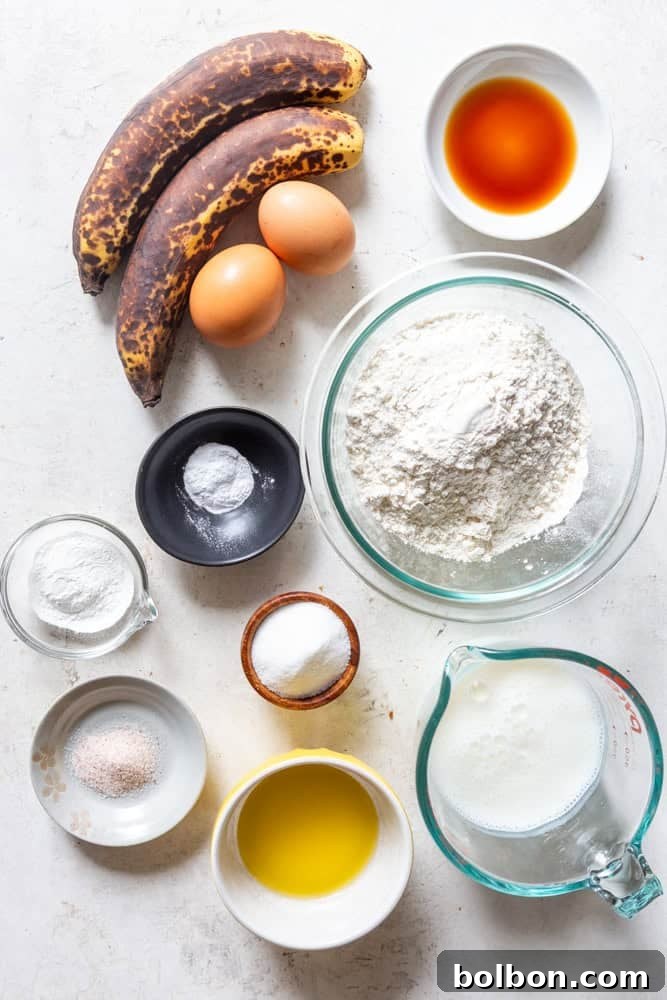
- 1 and 1/2 cups all-purpose flour
- 2 teaspoons baking powder
- ½ teaspoon baking soda
- ½ teaspoon fine sea salt
- 2 tablespoons granulated sugar
- 1 cup buttermilk
- ¾ cup mashed banana (about 2 very ripe bananas)
- 2 large eggs
- 3 tablespoons unsalted butter (melted and cooled slightly, plus more for pan)
- 2 teaspoons vanilla extract
Instructions
- Heat a large non-stick skillet or griddle over medium heat. It’s important to give your pan enough time to heat evenly.
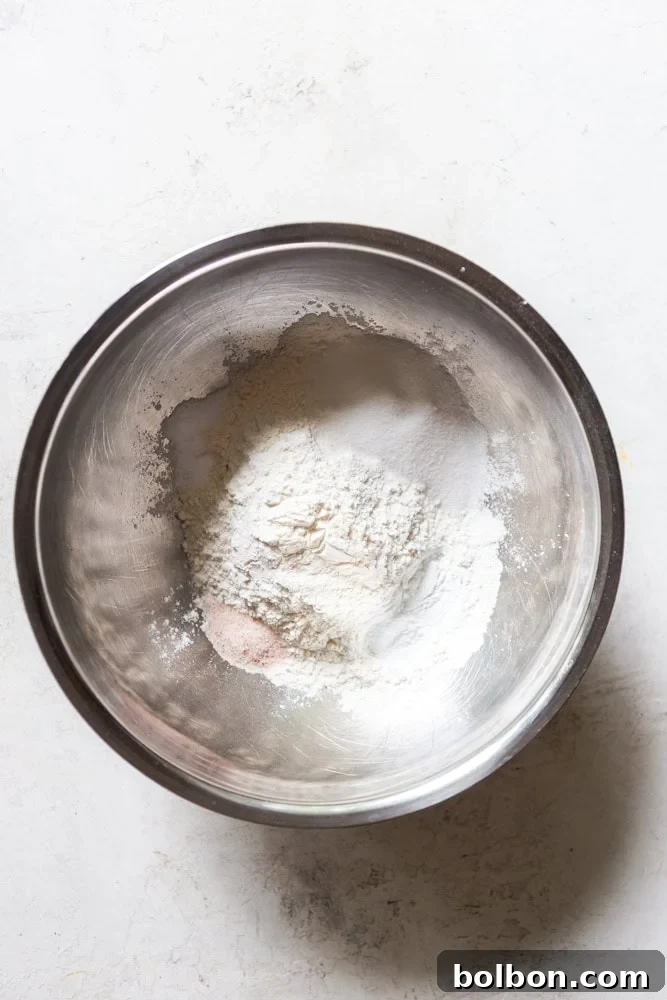
- In a medium-sized bowl, whisk together the flour, salt, baking powder, baking soda, and granulated sugar until well combined. Set this dry mixture aside.
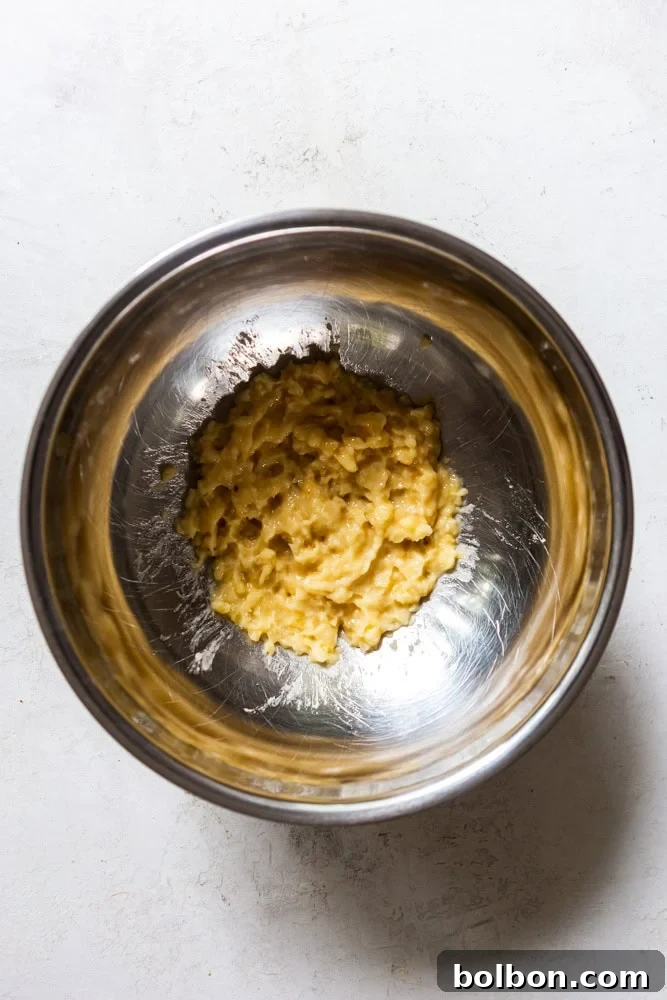
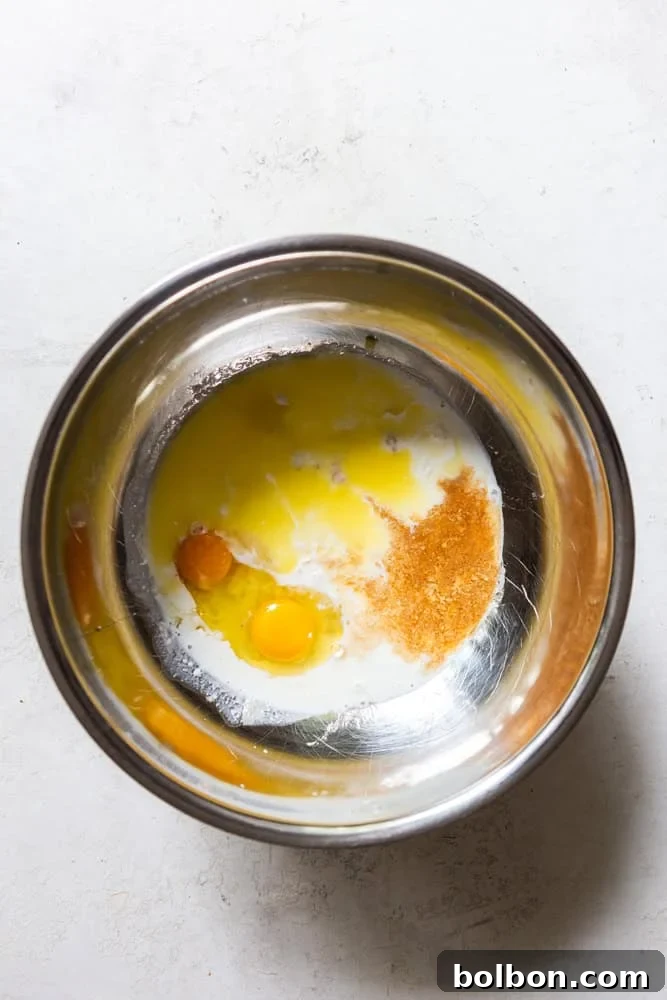
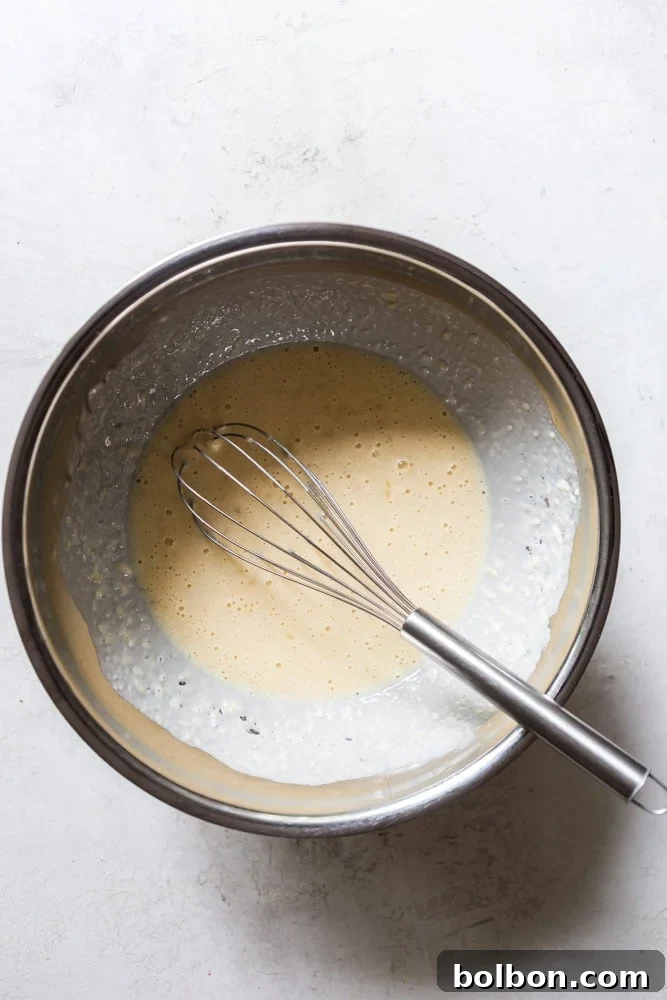
- In a separate, large bowl, begin by thoroughly mashing the ripe bananas. Then, add the eggs, buttermilk, the slightly cooled melted butter, and vanilla extract. Whisk all the wet ingredients together until they are fully combined and smooth.
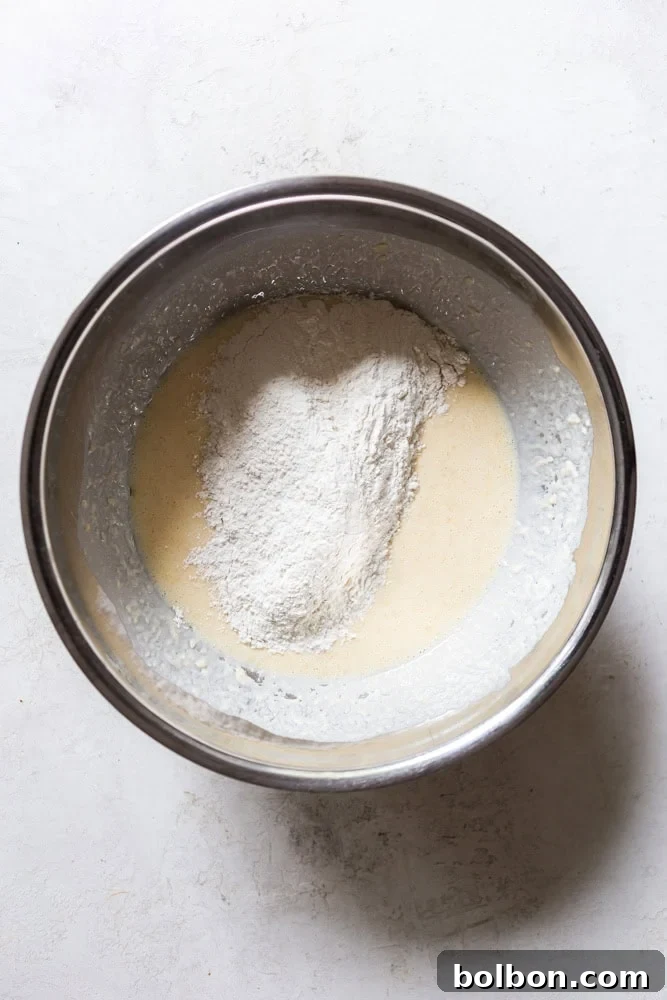
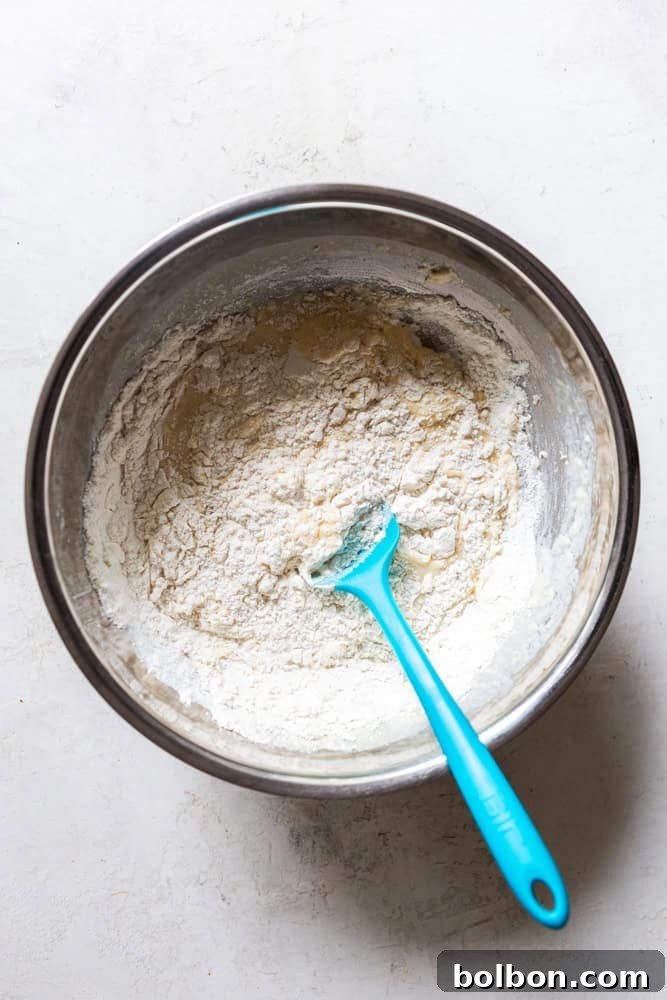
- Carefully add the dry ingredients to the wet ingredients. Stir with a spatula or spoon just until they are combined and no dry streaks of flour remain. Remember the golden rule: do not over-mix! A few lumps are perfectly acceptable and actually contribute to the pancakes’ fluffy texture.
- Add a few teaspoons of butter to your preheated pan. Observe the butter: if the pan is at the correct temperature, the butter should melt immediately and gently sizzle without quickly burning or sputtering excessively. Adjust the heat up or down as needed based on the butter’s reaction.
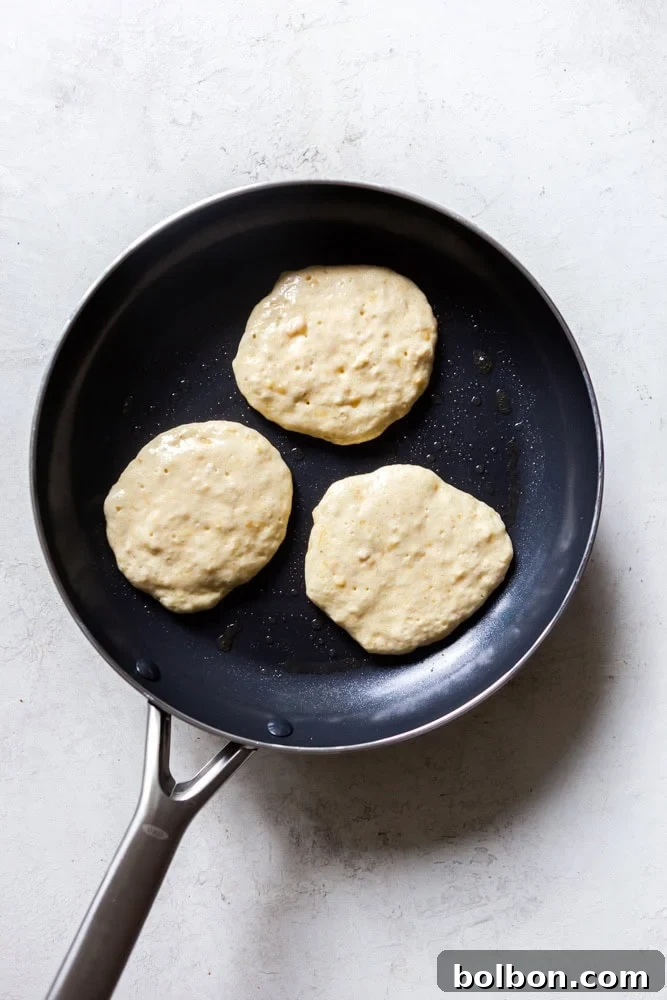
- Pour the batter onto the prepared pan using a ¼ cup measure for each pancake. In a 12-inch skillet, you can typically fit 3 pancakes comfortably. Cook in batches, ensuring each pancake has enough space, until all the batter is used.
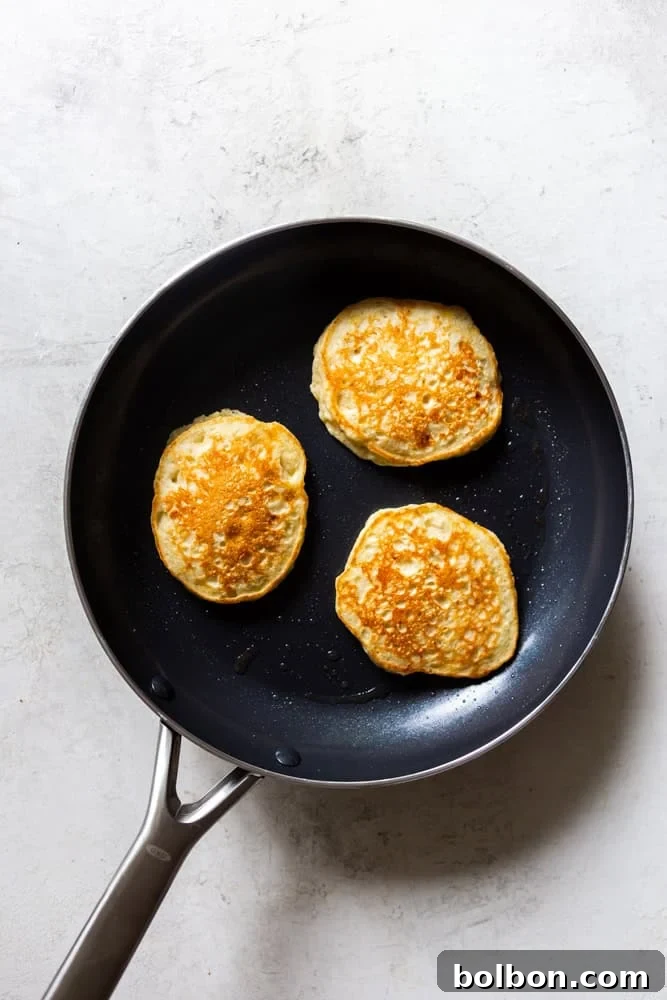
- Cook the pancakes for 2-3 minutes. You’ll know they’re ready to flip when bubbles begin to form on the surface and the edges appear set and slightly dry. Flip them gently with your spatula and cook for another 2 minutes on the second side, or until they achieve a beautiful golden-brown color.
- Serve your delicious banana pancakes immediately for the best experience. If you’re cooking a large batch, you can keep the cooked pancakes warm by placing them on a baking sheet fitted with a cooling rack in a 200°F (95°C) oven. Garnish with additional sliced banana, a pat of butter, and a generous drizzle of maple syrup if desired.
Notes
- The batter will be quite thick, which is perfectly normal for these fluffy pancakes! If you find it too thick to pour easily, you can thin it with 1-2 tablespoons of milk until it reaches your desired consistency.
- Storage: These pancakes freeze exceptionally well. To freeze, ensure they are completely cool. Wrap each pancake individually in plastic wrap or place a sheet of parchment paper between stacked pancakes to prevent sticking. Store them in a large freezer-safe bag or airtight container for up to 2 months.
- To reheat in microwave: Place up to 6 frozen pancakes in a single layer on a microwave-safe plate. Reheat 1-2 pancakes for about 20-30 seconds, and 4-6 pancakes for 60-90 seconds, adjusting based on your microwave’s power.
- To reheat in oven: Preheat the oven to 350°F (175°C). Place frozen pancakes on a baking sheet, cover tightly with foil, and warm for approximately 10-15 minutes, or until heated through.
Nutrition
Serving: 1 pancake | Calories: 128kcal | Carbohydrates: 19g | Protein: 3g | Fat: 4g | Saturated Fat: 2g | Polyunsaturated Fat: 0.4g | Monounsaturated Fat: 1g | Trans Fat: 0.1g | Cholesterol: 37mg | Sodium: 198mg | Potassium: 173mg | Fiber: 1g | Sugar: 5g | Vitamin A: 169IU | Vitamin C: 1mg | Calcium: 60mg | Iron: 1mg
Nutrition information is automatically calculated, so should only be used as an approximation.
Additional Info
Course: Breakfast, Brunch
Cuisine: American
Did you like this recipe?
Please comment, rate, and share! And don’t forget to tag me on Instagram @foxandbriar AND #foxandbriar so I can see what you made!