
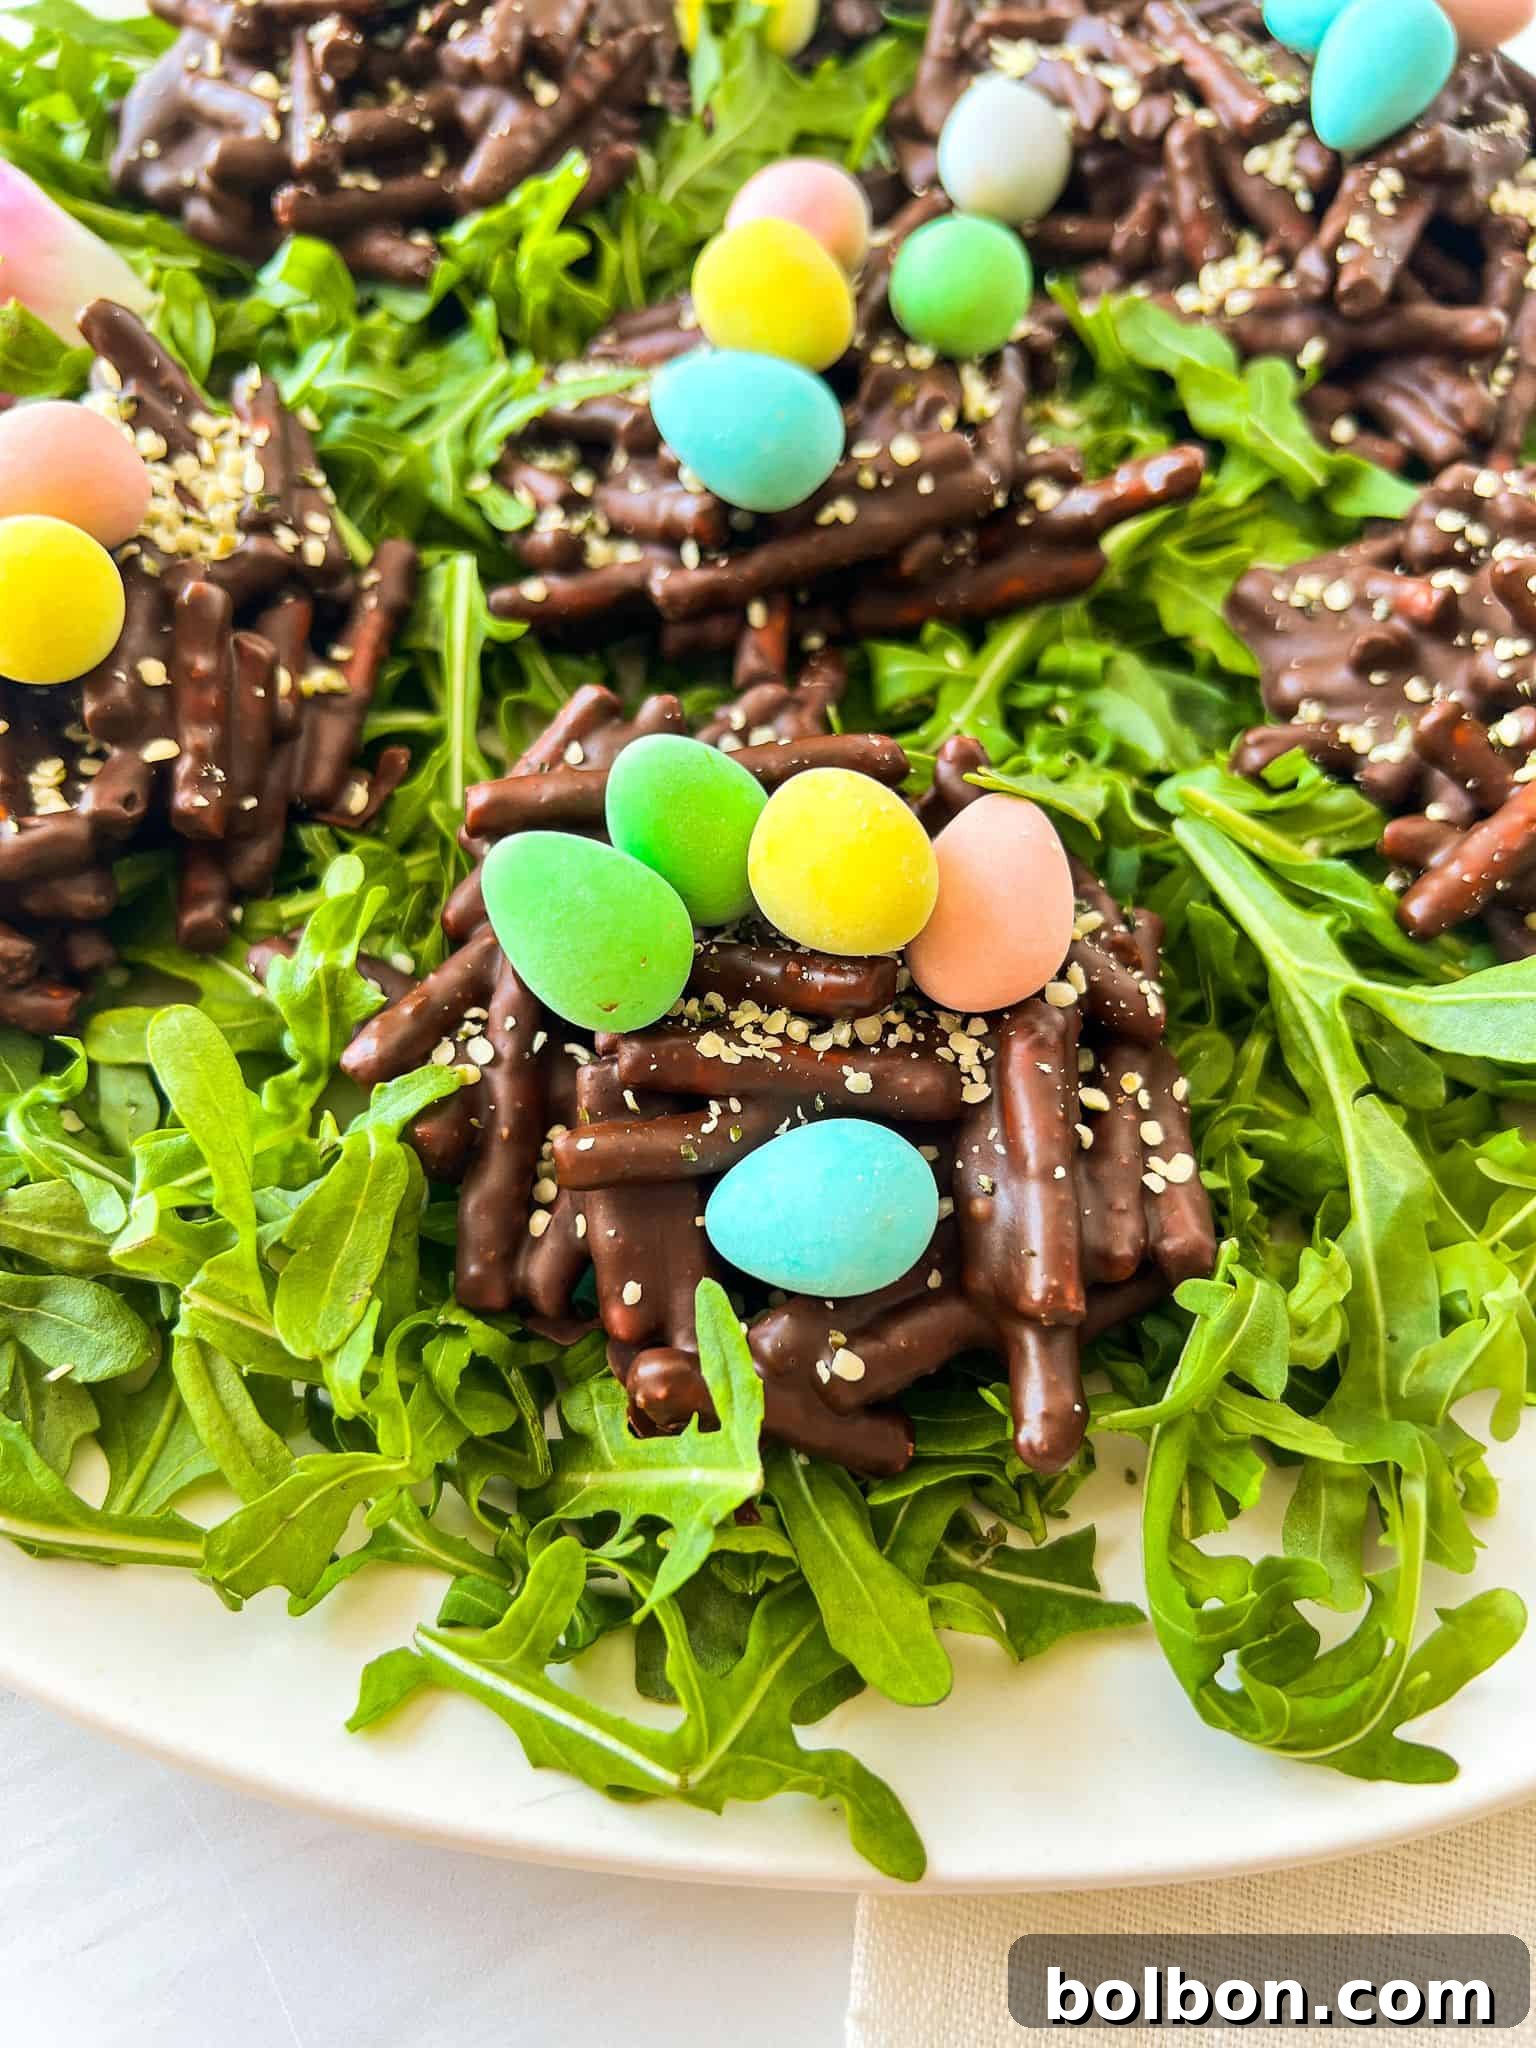
Delicious No-Bake Chocolate Easter Nests: A Sweet & Salty Holiday Treat
Welcome to a world of effortless Easter magic with these adorable Chocolate Easter Nests! If you’re anything like me, a sweet and salty combination is a match made in heaven, and this delightful no-bake dessert perfectly hits that irresistible spot. Imagine the rich, smooth embrace of melted chocolate perfectly balanced by the crisp, satisfying crunch of salty pretzels. It’s a flavor and texture duo you never knew you needed, destined to become a staple in your springtime celebrations.
This recipe isn’t just a treat for the taste buds; it’s an invitation for little helpers to unleash their creativity and craft edible art. It’s the perfect excuse to gather the kids, open up the candy stash, and transform simple ingredients into charming, festive delights. Whether you choose to artfully arrange these crunchy nests on a vibrant bed of fresh arugula for an elegant touch or pop them into individual treat bags for party favors, these chocolate nests promise pure Easter enchantment without any of the fuss. Get ready to create lasting memories and indulge in a dessert that’s as fun to make as it is to eat!
Why You’ll Adore These Easy Chocolate Easter Nests
These Chocolate Easter Nests are truly a marvel, offering a symphony of textures and flavors that captivate every palate. They embody everything you could wish for in a holiday treat: a delightful blend of salty and sweet, a creamy melt-in-your-mouth sensation alongside an exciting crunch, and an undeniably cute aesthetic that screams Easter joy. Here’s why this no-bake dessert will become your go-to recipe:
- Effortless & Speedy Preparation: Forget about preheating ovens or intricate baking steps. This is a genuinely no-bake dessert that comes together with incredible speed. From start to finish, you can have these charming nests ready in under 30 minutes of active prep time, making it ideal for busy schedules or spontaneous cravings.
- Irresistible Sweet and Salty Harmony: The genius of this recipe lies in its perfectly balanced flavor profile. The rich, decadent sweetness of melted chocolate beautifully contrasts with the savory, crisp texture of pretzels. Each bite offers a delightful dance between these opposing tastes, creating an addiction-worthy experience that appeals to all ages.
- Make-Ahead Convenience: Planning for Easter can be hectic, but these nests offer wonderful flexibility. Since they set up perfectly in the freezer, you can prepare them several days in advance, storing them until you’re ready to serve. This frees up valuable time on Easter day, allowing you to focus on other preparations (or perhaps a last-minute tidy-up before guests arrive!).
- Kid-Friendly & Fun: This is more than just a recipe; it’s an activity! The simplicity of the steps and the hands-on nature of molding the nests and adding decorations make it a fantastic project for children. They’ll love breaking pretzels, stirring chocolate, and, of course, placing the colorful candy eggs. It’s a wonderful way to create edible art and precious family memories.
- Versatile Presentation: The finished nests are inherently charming, making them a versatile addition to your Easter table. Serve them elegantly on a bed of fresh spring greens like arugula or microgreens to mimic a natural nest, or package them individually in clear treat bags with a festive ribbon for delightful party favors or gifts.
With their simple ingredients, quick preparation, and universally loved taste, these Chocolate Easter Nests are truly a win-win, promising both ease for you and immense joy for everyone who gets to savor them.
How to Prepare Your Perfect Chocolate Easter Nests
Creating these delightful Chocolate Easter Nests is a straightforward and enjoyable process. Follow these simple steps to bring your sweet and salty vision to life:
- Prepare the Pretzels: Begin by taking your pretzel sticks and breaking each one into 2-3 smaller, twig-like pieces. This helps them resemble natural nesting materials and makes them easier to coat evenly with chocolate. Place the broken pretzel pieces in a large mixing bowl.
- Set Up Your Double Boiler: To gently and evenly melt the chocolate, we’ll use a double boiler method. Fill a medium-sized pot with about 2 cups of water and bring it to a gentle simmer over medium-low heat. Next, place a heatproof bowl on top of the pot. Ensure the bottom of the bowl does not touch the simmering water; the steam will provide the necessary heat.
- Melt the Chocolate Mixture: Add your chosen chocolate chips (semi-sweet or dark), nut or seed butter, and optional coconut oil to the heatproof bowl. The coconut oil is a fantastic addition as it helps create a smoother, more glossy chocolate mixture, making it easier to work with.
- Stir Until Silky Smooth: Using a spatula, stir the ingredients constantly. This continuous stirring is key to preventing the chocolate from seizing and ensuring a perfectly smooth, melted consistency. Continue until the chocolate is completely melted and beautifully combined. Once achieved, turn off the heat but leave the bowl on the pot to keep the chocolate warm while you incorporate the pretzels.
- Combine Pretzels with Chocolate: Carefully add all the broken pretzel pieces into the bowl with the melted chocolate mixture. Using your spatula, gently fold and mix until every pretzel piece is thoroughly coated in the rich, glossy chocolate. Ensure there are no dry spots.
- Shape the Nests: Line a baking sheet with parchment paper. Using an ice cream scooper or a 1/4 cup measuring cup, scoop generous portions of the chocolate-covered pretzels onto the prepared baking sheet. While the mixture is still warm, use clean hands or the back of a spoon to gently shape each scoop into a small, round nest, creating a slight indentation in the center where the “eggs” will sit.
- Chill to Set: Transfer the baking sheet with your formed chocolate pretzel nests to the freezer. Allow them to freeze for approximately 30 minutes, or until they are completely solid and firm. This rapid cooling helps them maintain their shape and provides that satisfying crunch.
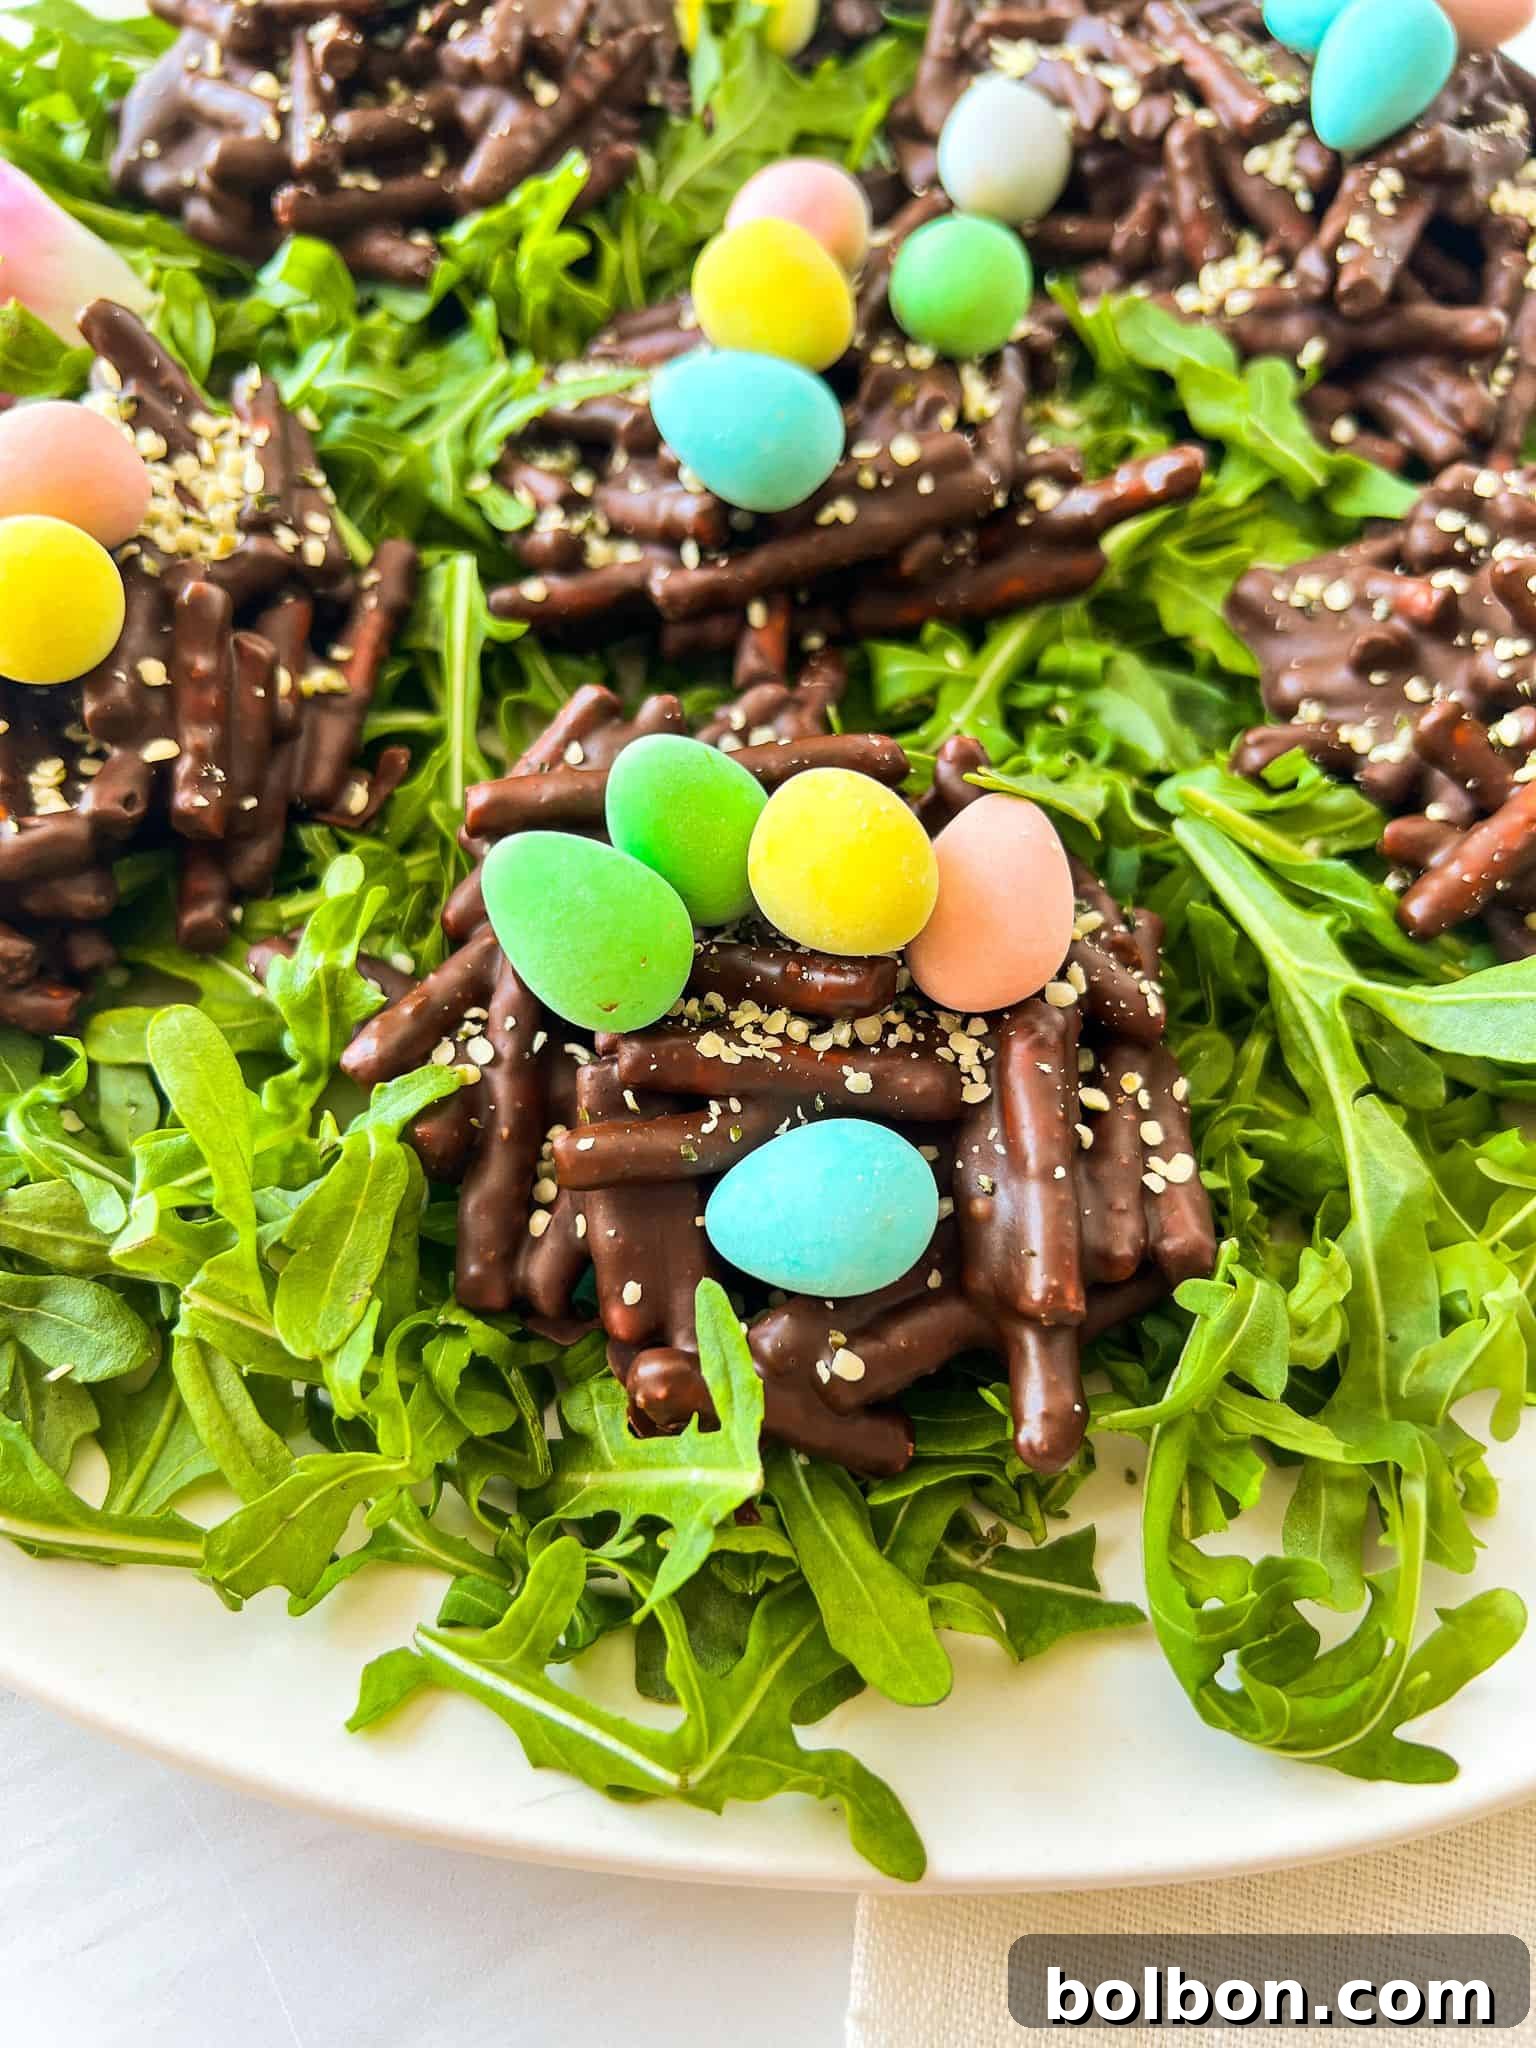
- Garnish and Serve: Once solid, remove the nests from the freezer. Now comes the fun part: decorating! Carefully place a few colorful mini candy eggs into the center of each nest. For an extra touch of realism, sprinkle a few hemp hearts around the eggs to mimic delicate “bird seeds.” For a stunning presentation, arrange fresh baby arugula on a serving plate and gently place your finished bird nests on top. Serve immediately or keep chilled until ready to enjoy!
Expert Tips for Crafting Flawless Chocolate Easter Nests
Before you dive beak-first into creating these delightful treats, take a moment to consider these invaluable tips and tricks. They’re designed to help you achieve perfect Chocolate Easter Nests every single time, ensuring a smooth process and a truly delicious outcome!
- Prioritize High-Quality Chocolate: The foundation of exceptional chocolate nests lies in the quality of your chocolate. While melting chocolate chips work wonderfully for convenience, consider elevating your dessert by using a good-quality bar of chocolate (like couverture chocolate) that you chop yourself. Better chocolate not only melts more smoothly but also boasts a richer flavor, taking your nests from great to absolutely extraordinary.
- Embrace Pretzel Sticks for Authenticity: When selecting your pretzels, opt for pretzel sticks. Their slender, twig-like shape naturally mimics the intricate construction of a bird’s nest, requiring far less manual shaping and arranging compared to traditional pretzel twists or nuggets. This choice significantly contributes to the authentic, charming aesthetic of your Easter nests.
- Master the Art of Slow Chocolate Melting: Whether you choose the gentle heat of a double boiler or the quick bursts of a microwave, patience is key when melting chocolate. Gradually melting your chocolate, stirring frequently, prevents it from overheating, seizing, or becoming grainy. A slow and steady approach ensures a perfectly smooth, glossy, and workable chocolate mixture for optimal coating.
- Shape While the Chocolate is Pliant: Timing is crucial for shaping. Once the pretzels are coated, work relatively quickly while the chocolate mixture is still warm and pliable. Using clean hands (or lightly oiled hands if the chocolate is sticky) or the back of a spoon, gently mold the mixture into a loose circular nest shape, creating a distinct dip in the center to cradle your candy eggs. Don’t worry about perfection; rustic charm is part of their appeal!
- Add Eggs Just Before Serving: To maintain the pristine condition of your candy eggs, it’s best to add them as a final flourish just before serving. Placing them too early, especially if refrigerating, can lead to them cracking, sticking to the chocolate, or even melting slightly if not handled carefully. This last-minute addition ensures they remain vibrant and perfectly presented.
- Transform it into a Family Activity: This recipe is a golden opportunity for a delightful hands-on Easter activity with your children. Set up individual stations with pre-broken pretzels, spoons, and a variety of exciting candy options like sprinkles, mini M&M’s, or colorful jellybeans alongside the mini eggs. This not only gets your kiddos engaged in the kitchen but also allows their creativity to flourish, making each nest uniquely their own edible masterpiece.
Nonna’s Speedy Microwave Method ⚡
For an even quicker melting process, you can melt the chocolate chips, nut/seed butter, and coconut oil together in the microwave. To prevent the chocolate from seizing or burning, be sure to stop the microwave and stir the mixture thoroughly every 20-30 seconds. Continue until the chocolate is completely smooth and melted, being careful not to overheat it.
Creative Variations and Substitutions for Your Chocolate Easter Nests
One of the joys of these Chocolate Easter Nests is their adaptability. Feel free to customize them to your taste preferences or dietary needs with these simple variations and substitutions:
- Nut or Seed Butter Selection: The nut or seed butter in this recipe adds a wonderful creaminess and depth of flavor. While almond butter is suggested, you can absolutely use any variety you love. Peanut butter offers a classic, comforting taste, while cashew butter provides a richer, more subtle note. For a nut-free option, sunflower seed butter works beautifully and maintains the creamy texture, making this treat accessible for those with nut allergies.
- Go Gluten-Free: Adapting this recipe for gluten sensitivities is incredibly simple. Many brands now offer delicious gluten-free pretzels that perform identically to their traditional counterparts in this recipe. Simply substitute gluten-free pretzel sticks for a worry-free dessert that everyone can enjoy.
- Chocolate Choices: The type of chocolate you choose significantly impacts the final flavor. Semi-sweet chocolate chips will yield a classic, balanced sweetness that’s widely appealing. If you prefer a more intense, less sugary treat, opt for dark chocolate chips, which offer a richer, more sophisticated flavor profile. You can even experiment with milk chocolate for an extra creamy, sweet result, or try white chocolate for a different aesthetic and flavor (though white chocolate melts differently, so watch it closely!).
- Introduce Exciting Mix-Ins: Elevate the texture and flavor by folding in additional ingredients with your chocolate-coated pretzels. Consider chopped nuts like pecans or walnuts for an earthy crunch, dried fruits such as cranberries or raisins for bursts of chewiness and tartness, or shredded coconut for a tropical twist. These additions can transform the nests into even more complex and satisfying treats.
- Garnish with Spring Greens: While baby arugula provides a lovely peppery contrast and a realistic nest-like bed, other spring greens can be used as a garnish. Microgreens offer a delicate visual appeal and mild flavor, while a spring mix salad blend can also create a beautiful, natural presentation base for your edible nests.
- Experiment with Toppings: Beyond Cadbury mini-eggs and hemp hearts, let your imagination run wild with toppings. Small candy-coated chocolates like M&M’s, colorful jelly beans, or even small chocolate-covered almonds can serve as delightful “eggs.” For added sparkle and fun, a sprinkle of edible glitter or colorful sprinkles can make these nests even more festive, especially when involving children in the decoration process.
Explore More Festive Easter Recipes
Easter Bunny Bread
35 mins
Sweet Easter Bread
2 hrs 45 mins
Cadbury Chocolate Chip Cookies
22 mins
Deviled Egg Chicks
25 mins
Best Served With: Elevating Your Easter Spread
These delightful Chocolate Easter Nests are incredibly versatile and can beautifully complement a wide array of Easter dishes and celebrations. Here are some ideas for how to best serve them, making your holiday spread even more memorable:
- Part of a Grand Easter Dessert Buffet: Pair your chocolate nests with a collection of other festive sweet treats. They’ll shine alongside Cadbury Chocolate Chip Cookies, a classic Carrot Cake, or a slice of Sweet Easter Bread for an abundant and inviting dessert table.
- Alongside Savory Easter Appetizers: Don’t limit these nests to just dessert! Their charming appearance makes them a fantastic addition to an appetizer spread, especially when complemented by other cute Easter-themed bites like a pull-apart Easter Bunny Bread or adorable Deviled Egg Chicks. They add a touch of whimsy and a surprising sweet element to a savory array.
- A Rewarding Snack for Creative Activities: If you’re spending time with little ones decorating Naturally Dyed Easter Eggs, these chocolate nests make the perfect accompanying snack. They’re a fun, chocolatey reward for their artistic efforts and keep the festive spirit alive.
- Simple & Refreshing Pairing: For a lighter indulgence, serve your chocolate nests with a vibrant fresh fruit platter, offering a refreshing contrast to the rich chocolate. Accompany with a warm cup of coffee for adults or a cold glass of milk for the kids, making for a perfectly satisfying springtime snack or breakfast treat.
Common Questions About Chocolate Easter Nests
You have excellent flexibility here! For a generally sweeter and classic taste, semi-sweet chocolate chips are a fantastic choice and melt beautifully. If you prefer a richer, slightly less sweet, and more intense chocolate flavor, opt for dark chocolate chips. Both will yield delicious results, so choose according to your personal preference.
While not absolutely essential for the nests to set, the coconut oil plays a wonderful role in achieving the perfect texture. It significantly helps to create a smoother, more fluid chocolate mixture, making it easier to coat the pretzels evenly. It also contributes to a lovely glossy finish and a slightly softer, more pleasant bite once the nests are chilled.
Absolutely! These chocolate Easter nests are perfect for make-ahead preparation, which is a huge advantage during busy holiday seasons. You can assemble the nests (without the candy eggs) up to a week in advance and store them in an airtight container in the freezer. When you’re ready to serve, simply remove them from the freezer and add the mini eggs right before presentation. If you prefer to fully assemble them with eggs, they can be made up to one day in advance and stored in the refrigerator to prevent the chocolate from softening or melting at room temperature.
For the most authentic and aesthetically pleasing Chocolate Easter Nests, I highly recommend using pretzel sticks. Breaking them into smaller pieces naturally mimics the look and feel of real twigs, which is perfect for replicating a bird’s nest. While you can certainly use classic pretzel shapes, you might need to do a bit more shaping and arrangement when placing them on the baking sheet to achieve that distinct nest form. Ultimately, don’t overthink it too much – any pretzel will deliver on the delicious sweet and salty crunch!
If Cadbury mini-eggs aren’t available or if you’d like to experiment with different looks and tastes, there are many fantastic alternatives. Any small candy-coated chocolates, such as regular M&M’s or even smaller pastel-colored chocolate candies, work beautifully. For a different texture and vibrant colors, jelly beans are another excellent option to mimic festive Easter eggs.
No, the hemp hearts are purely for decorative purposes and to enhance the visual charm of the nests by mimicking “bird seeds.” They add a lovely touch of realism and a subtle nutritional boost, but they are entirely optional. If you don’t have them, you can simply omit them, or substitute with other small seeds like chia seeds or flax seeds for a similar effect.
Absolutely! This recipe is wonderfully adaptable to additional mix-ins. For extra texture, flavor, and visual appeal, consider folding in ingredients like finely chopped nuts (such as almonds, pecans, or walnuts), small pieces of dried fruit (like cranberries, raisins, or chopped apricots), or even shredded coconut. These additions can transform the nests and add exciting new dimensions to each bite.
Yes, making these nests vegan is entirely achievable with a few simple substitutions. Ensure you use high-quality dairy-free chocolate chips. Most nut or seed butters are naturally vegan, but always double-check the label. Finally, be mindful of your toppings; choose vegan-friendly candy-coated chocolates or other plant-based decorative elements to keep the entire treat 100% vegan.
Chocolate Easter Nests
Facebook Share
Rate Recipe
Print Recipe
9
nests
The Modern Nonna
10 minutes
5 minutes
30 minutes
45 minutes
Video
Equipment
Ingredients
- 2 cups pretzel pieces, ideally pretzel sticks, broken into 2-3 pieces
- 1 cup semi-sweet , or dark chocolate chips
- ¼ cup almond butter, any nut or seed butter will work
- 1 tablespoon coconut oil , optional, for a smoother finish
- Cadbury mini-eggs for presentation
- Hemp hearts for presentation
- Baby arugula for presentation
Instructions
-
Break each pretzel stick into 2-3 pieces to create twig-like fragments.
-
Create a double-boiler by filling a medium pot with 2 cups water and bringing it to a simmer over medium-low heat. Place a heatproof bowl on top of the pot, ensuring the bottom of the bowl does not touch the simmering water.
-
Add the chocolate chips, nut or seed butter, and coconut oil (if using) to the bowl. Stir constantly with a spatula until the chocolate is completely melted and smooth. Turn off the heat.
-
Add the broken pretzel pieces to the melted chocolate mixture and mix thoroughly until every piece is fully coated. Using an ice cream scooper or a 1/4 cup measuring cup, scoop the chocolate-covered pretzels onto a baking sheet lined with parchment paper. Gently shape each scoop into a small nest with an indentation in the center.
-
Freeze the chocolate pretzel nests for approximately 30 minutes, or until they are completely solid. Remove from the freezer and immediately top them off with a few mini candy eggs and sprinkle with hemp hearts to resemble “bird seeds.”
-
For serving, arrange fresh baby arugula on a plate and gently place the bird nests on top. If preparing these nests 1 day in advance, store them in the fridge, as the chocolate may soften or melt at room temperature. Enjoy your enchanting Easter treats!
Notes
- Nut and Seed Butter: Customize with your favorite; peanut, almond, or sunflower butter all work wonderfully.
- Gluten-Free Option: Easily adapt by using gluten-free pretzels.
- Chocolate Type: Choose semi-sweet for a classic sweet profile or dark chocolate for a richer, less sweet taste.
- Additional Mix-ins: Boost texture and flavor with chopped nuts, dried fruit, or shredded coconut.
Nutrition
Calories: 216kcal,
Carbohydrates: 22g,
Protein: 4g,
Fat: 13g,
Saturated Fat: 6g,
Polyunsaturated Fat: 1g,
Monounsaturated Fat: 5g,
Trans Fat: 0.02g,
Cholesterol: 1mg,
Sodium: 157mg,
Potassium: 190mg,
Fiber: 3g,
Sugar: 8g,
Vitamin A: 10IU,
Vitamin C: 0.3mg,
Calcium: 40mg,
Iron: 2mg
Nutrition information is automatically calculated, so should only be used as an approximation.