
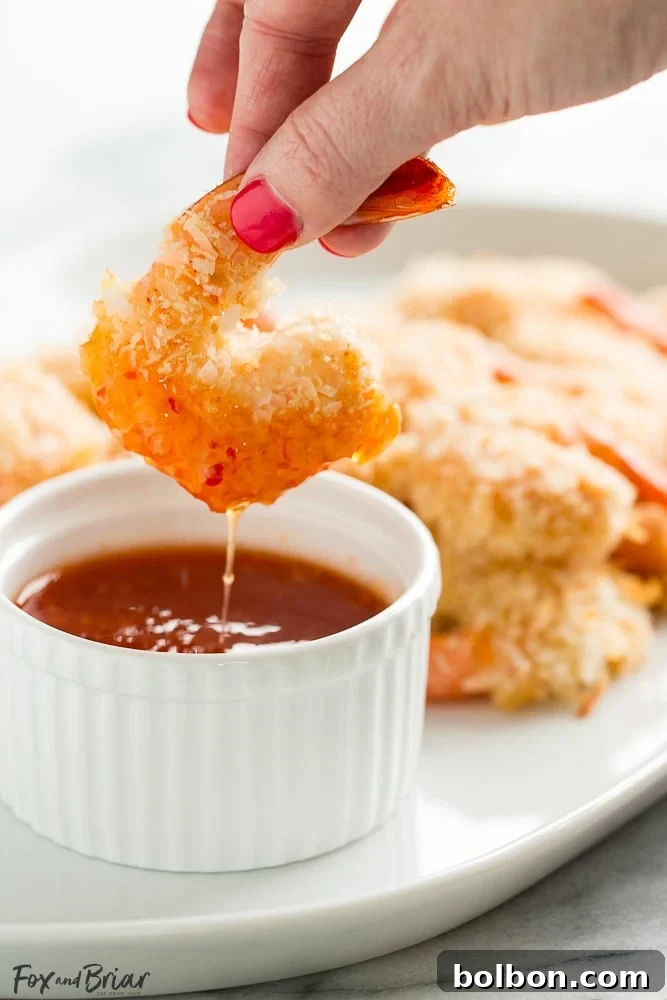
The Best Crispy Baked Coconut Shrimp Recipe: Your Healthy & Flavorful Go-To!
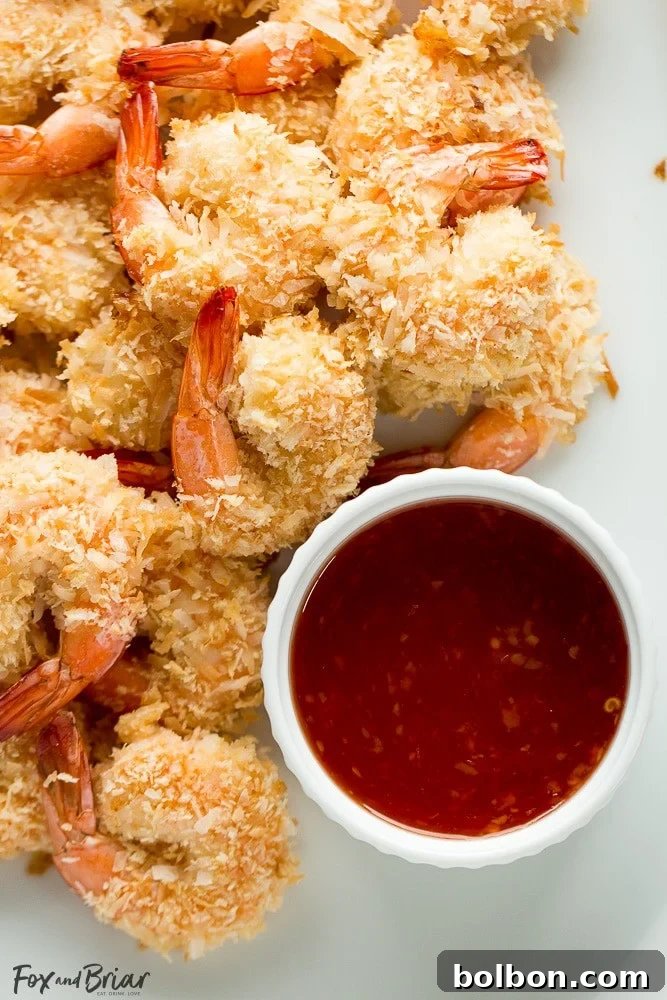
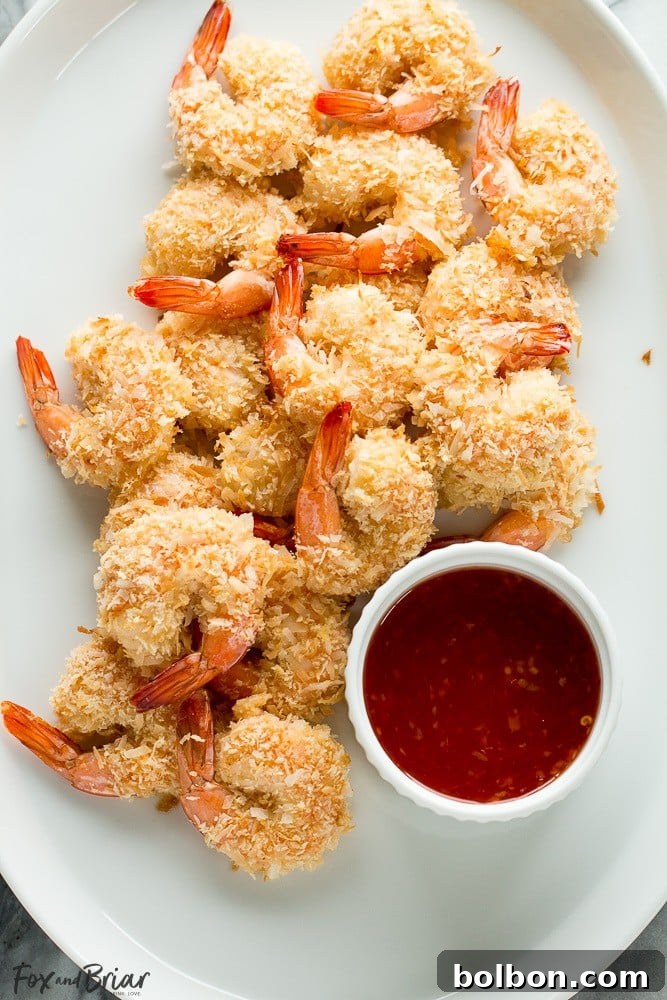
Prepare to be amazed by these incredible **Baked Coconut Shrimp**! They are everything you dream of in a coconut shrimp dish: wonderfully golden, exceptionally crispy, and bursting with tropical flavor. This isn’t just a recipe; it’s the result of a dedicated quest to create the absolute best baked coconut shrimp that’s also healthier than its deep-fried counterparts. Whether you’re planning a gathering, a romantic dinner, or just craving a delicious and wholesome treat, this easy recipe is guaranteed to impress. You might even find yourself skipping the dipping sauce – they’re that good!
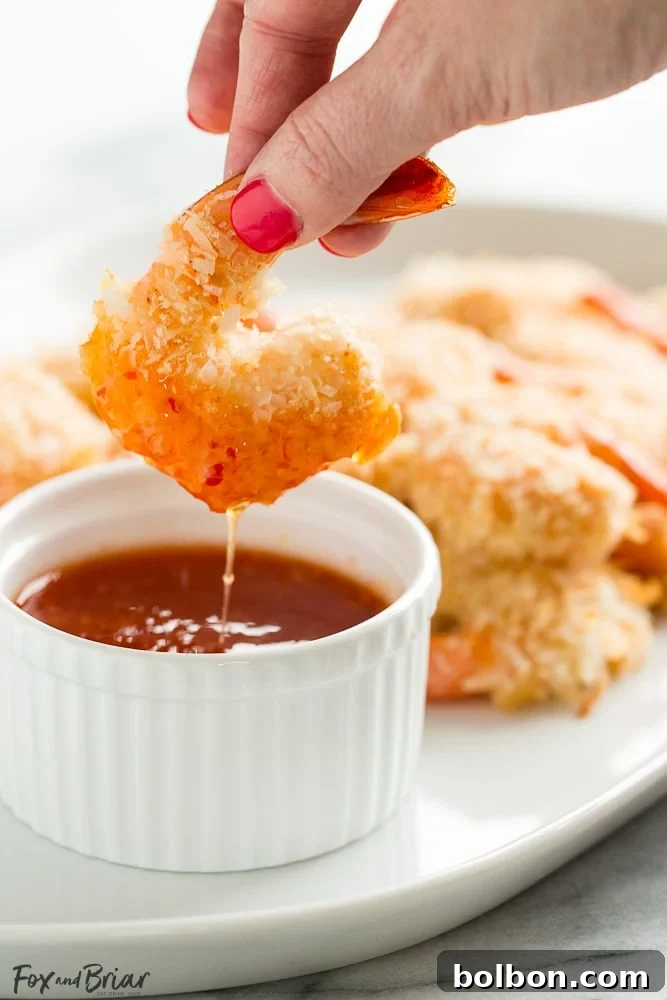
Why Baked Coconut Shrimp Outshine the Fried Version
Coconut shrimp has long been a beloved classic, often enjoyed for its sweet, savory, and undeniably crispy texture. However, the traditional method of deep-frying can make it a heavy and often greasy indulgence. My mission was to capture all the incredible taste and satisfying crunch of classic coconut shrimp, but in a lighter, healthier, and equally delicious baked format. After extensive experimentation in the kitchen, I am thrilled to share that this recipe not only achieves but surpasses those expectations, delivering a healthier alternative without compromising on flavor or texture.
Baking shrimp offers several advantages. Firstly, it significantly reduces the amount of oil needed, making this a lighter option that aligns perfectly with a health-conscious lifestyle, like a Weight Watchers-friendly approach. Secondly, the dry heat of the oven ensures a more uniform crispiness across the entire surface of each shrimp, preventing any soggy spots often found in fried versions. This method allows the delicate sweetness of the coconut and the succulence of the shrimp to truly shine through, resulting in a cleaner, more vibrant flavor profile. You’ll be delighted by how perfectly cooked and tender the shrimp remain on the inside, while the exterior develops an exquisitely crunchy, golden crust.
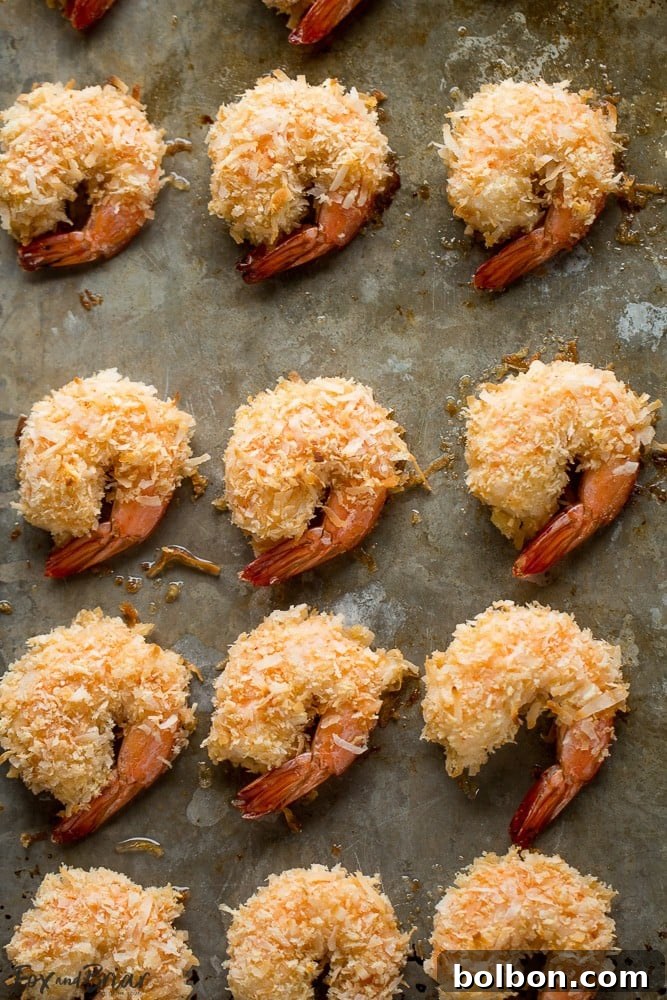
The Unexpected Secret Ingredient for Ultimate Crispy Crunch: Beer Batter!
My journey to perfecting these baked coconut shrimp involved countless batches, testing various breading techniques and ingredient combinations. While many attempts yielded good results, particularly those using a simple egg wash, I was constantly striving for that extra layer of complexity and an almost unbelievably crispy texture – something akin to what you’d find in a high-end restaurant, but achieved right in your home oven.
The game-changing moment came with the introduction of beer into the batter. Yes, you read that correctly: **beer-battered baked coconut shrimp!** Don’t worry about the alcohol content; it cooks out completely during baking, leaving behind a subtle, savory depth that is truly transformative. The carbonation in the beer creates tiny bubbles within the batter, which expand rapidly when exposed to the high heat of the oven. This expansion results in an incredibly light, airy, and ultra-crispy coating that clings perfectly to the shrimp, offering a satisfying crunch with every bite. The yeast in the beer also adds a nuanced flavor that beautifully complements the sweet coconut and the tender shrimp, elevating the entire dish to a new level.
If, for any reason, you prefer not to use beer, you can still achieve a delicious result by substituting it with an equal amount of sparkling water or even milk, along with an extra egg white. While these alternatives will still create a crispy coating, the unique depth and lightness that beer provides are truly unparalleled. I highly recommend trying the beer-battered version first to experience the full magic of this recipe – it’s a difference you can genuinely taste and feel!
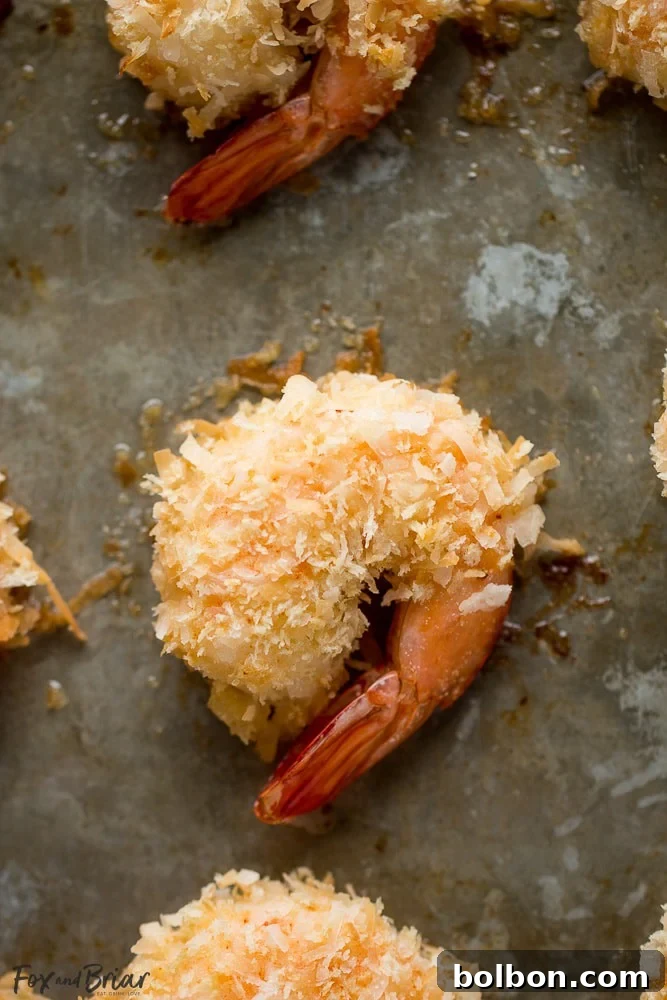
Expert Tips for Achieving Perfectly Crispy Baked Coconut Shrimp
Transforming ordinary shrimp into extraordinary crispy baked coconut delights is easier than you think, especially when you follow these tried-and-true techniques. Each tip plays a vital role in ensuring your shrimp emerge from the oven gloriously golden, irresistibly crunchy, and full of flavor.
- Pre-Toast the Coconut and Panko: This is arguably the most crucial step for achieving that deep golden color and maximum crispiness. By toasting the shredded coconut and panko breadcrumbs on their own before coating the shrimp, you remove any lingering moisture and activate their natural flavors, resulting in a richer, crunchier texture in the final dish. This pre-toasting prevents a pale or soft coating, ensuring a truly exceptional crunch.
- Thoroughly Pat Shrimp Dry: Moisture is the nemesis of crispiness. Before you even think about dredging, it’s absolutely essential to pat your peeled, tail-on shrimp completely dry with paper towels. Any excess water on the surface of the shrimp will create steam during baking, which can lead to a soggy batter and prevent the coating from adhering properly, ultimately detracting from that desired crispy finish.
- Bake Directly on an Oiled Baking Sheet: While foil or parchment paper can simplify cleanup, they can also act as an insulating layer, hindering the direct heat transfer needed for a super crispy bottom crust. For optimal crispiness, generously brush your baking sheet with a high-smoke-point oil (like canola or vegetable oil) and place the coated shrimp directly on the prepared surface. This direct contact with the hot, oiled metal promotes superior browning and an all-around crunch.
- Infuse Garlic into the Batter: Don’t underestimate the power of a small clove of garlic! Finely minced or pressed garlic incorporated directly into the beer batter is a game-changer for flavor. It adds a pungent, savory undertone that perfectly balances the sweetness of the coconut and the richness of the batter, elevating the overall taste profile and making each bite more complex and satisfying.
- Serve Immediately: Like many baked goods, these coconut shrimp are at their absolute best when enjoyed fresh out of the oven. The heat helps maintain the structural integrity of the crispy coating. While leftovers are certainly delicious, their texture will soften over time. Plan your cooking so you can serve them warm and allow your guests to experience them at their peak crispiness.
Perfect Pairings and Serving Suggestions
These baked coconut shrimp are so packed with flavor that, honestly, they don’t even need a dipping sauce. However, if you’re a fan of a little extra something, there are several fantastic options that can beautifully complement their tropical notes. A classic sweet chili sauce offers a delightful balance of sweet and mild heat, creating an exciting contrast. For a refreshing twist, a tangy pineapple or mango salsa provides a burst of fresh fruitiness that perfectly complements the coconut. And, as a personal favorite, my Best Thai Peanut Sauce offers a creamy, savory, and slightly spicy alternative that is incredibly addictive.
These versatile shrimp are ideal for a myriad of occasions. Serve them as a show-stopping appetizer at your next dinner party, a sophisticated snack during a casual get-together, or a delightful starter for a special date night. For a complete and satisfying meal, pair them with simple side dishes such as fluffy jasmine rice, a crisp green salad with a light vinaigrette, or a vibrant cilantro-lime coleslaw. They also make a fantastic protein addition to light wraps or tropical-themed tacos.
The Health Benefits of Incorporating Shrimp into Your Diet
Beyond their delectable taste, shrimp are a nutritional powerhouse, making them an excellent addition to a balanced diet. They are remarkably low in calories and saturated fat, while being an outstanding source of lean protein, which is crucial for muscle development, repair, and maintaining satiety. Shrimp are also rich in several essential vitamins and minerals, including iodine, vital for thyroid health; selenium, a potent antioxidant that helps protect cells from damage; phosphorus, important for bone health; and B vitamins, which play a key role in energy metabolism.
Furthermore, shrimp contain astaxanthin, a powerful carotenoid that gives them their pink color and offers anti-inflammatory benefits. They also provide a moderate amount of omega-3 fatty acids, known for supporting heart and brain health. By opting for this baked preparation method over deep-frying, you maximize these health benefits, creating a dish that is not only incredibly delicious but also contributes positively to your overall well-being. Enjoying these baked coconut shrimp is a guilt-free pleasure!
More Irresistible Shrimp Recipes You Will Love!
If you’ve enjoyed the delightful flavors and textures of these baked coconut shrimp, you’ll be thrilled to discover how versatile and delicious shrimp can be in other preparations. Here are a few more shrimp recipes from my kitchen that are sure to become new favorites:
- Easy Garlic Butter Shrimp: A quick, simple, and incredibly flavorful dish, perfect for a busy weeknight meal or an elegant starter.
- Creamy Parmesan Basil Shrimp: Indulge in a rich, comforting pasta dish featuring succulent shrimp bathed in a luxurious creamy, cheesy, and herbaceous sauce.
- Easy Shrimp and Broccoli Stir Fry: A vibrant, healthy, and speedy stir-fry packed with fresh vegetables and tender shrimp, ideal for a wholesome meal.
Best Baked Coconut Shrimp
Meghan McMorrow | Fox and Briar
10 minutes
8 minutes
18 minutes
4
Servings
Pin
Ingredients
- 1 pound large shrimp peeled, with tails on (pat dry with a paper towel)
- 3/4 cup panko breadcrumbs
- 1 and 1/4 cups sweetened coconut flakes
- 3/4 cups all-purpose flour divided
- 6 ounces light beer about 3/4 cups (e.g., lager or pilsner)
- 2 egg whites
- 1 small clove garlic pressed or finely minced
- 1/4 cup canola oil or other oil with a high smoke point (e.g., vegetable, grapeseed)
- 1 and 1/2 teaspoons baking powder
- 1/2 teaspoon paprika
- 1/2 teaspoon kosher salt
Instructions
-
1. Prepare Oven: Begin by preheating your oven to 350 degrees Fahrenheit (175°C). This temperature is for pre-toasting the coating ingredients.
-
2. Toast Coconut & Panko: Spread the sweetened coconut flakes and panko breadcrumbs evenly across a rimmed baking sheet. Place them in the preheated 350°F oven and toast for approximately 8 minutes, making sure to stir the mixture every two minutes to ensure even browning. The mixture should turn lightly golden and fragrant. Remove from the oven immediately and transfer it to a shallow bowl. Then, increase your oven temperature to 475 degrees Fahrenheit (245°C) for the final shrimp bake.
-
3. Prepare Baking Sheet: While the oven is coming up to its higher temperature, take the same baking sheet (after removing the toasted coconut) and carefully wipe it clean. Pour the 1/4 cup of canola oil onto the pan and use a pastry brush or a piece of paper towel to spread it into an even, thin layer across the entire surface. Set this prepared, oiled baking sheet aside.
-
4. Set Up Breading Station (Dry Flour): Arrange three shallow bowls in an assembly line fashion. In the first bowl, combine 1/4 cup of the all-purpose flour, the paprika, and the kosher salt. Whisk these dry ingredients together thoroughly until they are uniformly mixed.
-
5. Set Up Breading Station (Wet Batter): In the second bowl, combine the remaining 1/2 cup of all-purpose flour, the egg whites, baking powder, the pressed or finely minced garlic, and the beer. Whisk vigorously until you achieve a smooth, lump-free batter. This will be your flavorful beer batter.
-
6. Set Up Breading Station (Coconut Mixture): The third bowl should contain your pre-toasted panko and sweetened coconut flakes mixture that you prepared earlier.
-
7. Coat the Shrimp: Now, you’re ready to coat the shrimp! Working with one shrimp at a time, hold it by the tail. First, dredge the shrimp in the seasoned flour mixture (Bowl 1), ensuring it’s lightly coated, then gently shake off any excess flour. Next, dip the flour-coated shrimp into the beer batter (Bowl 2), allowing any extra batter to drip away. Finally, place the battered shrimp into the toasted coconut and panko mixture (Bowl 3). Fully coat the shrimp, gently pressing the coconut mixture into both sides to help it adhere firmly. Carefully place each fully coated shrimp onto your prepared oiled baking sheet, making sure to leave a little space between each piece for even cooking. Repeat this process until all the shrimp are coated.
-
8. Bake and Serve: Transfer the baking sheet with the coated shrimp to the preheated 475°F (245°C) oven. Bake for a quick 7-8 minutes, or until the shrimp turn bright pink and are opaque throughout, and the coconut coating achieves a deep, golden-brown hue and is wonderfully crispy. Serve these delicious baked coconut shrimp immediately while they are hot and at their peak crispiness for the best flavor and texture experience.
Recipe Video
Recipe Notes & Pro Tips
- The Power of Toasting: Re-emphasizing the pre-toasting of the coconut and panko mixture: this step is non-negotiable for achieving that deep golden color and satisfying crunch. It brings out the flavors and ensures your coating is perfectly crisp.
- Dry Shrimp for Superior Crispness: Patting the shrimp dry is a small but mighty step. Excess moisture means less crispiness. Take the extra minute to ensure your shrimp are as dry as possible before dredging for the best results.
- Direct Contact for Browning: Baking directly on an oiled sheet ensures that the bottom of the shrimp makes contact with the hot surface, promoting excellent browning and crispiness. While easy for cleanup, foil can sometimes hinder this crucial browning.
- Serving and Reheating Best Practices: For optimal flavor and crunch, serve these baked coconut shrimp immediately. If you have leftovers, avoid reheating them in the microwave, which will turn them soggy. Instead, spread them on a baking sheet and reheat in a preheated 350°F (175°C) oven for about 5-7 minutes, or until warmed through and re-crisped. An air fryer also works wonderfully for reheating!
These baked coconut shrimp are incredibly delicious on their own, but if you enjoy a dipping sauce, they taste fantastic with a sweet chili sauce or my homemade Best Thai Peanut Sauce!
Nutrition Information (Approximate)
Nutrition information is automatically calculated, so should only be used as an approximation. Individual results may vary based on exact ingredients and preparation methods.
Additional Info
Appetizer, Dinner, Side Dish, Snack
American
Loved This Recipe?
Please leave a comment below, rate the recipe, and share your delicious creations! Don’t forget to tag me on Instagram @foxandbriar and use the hashtag #foxandbriar so I can see what you’ve cooked up!
Frequently Asked Questions About Baked Coconut Shrimp
Can I make these baked coconut shrimp gluten-free?
Absolutely! This recipe can be easily adapted to be gluten-free. Simply substitute the all-purpose flour with a high-quality gluten-free all-purpose flour blend (preferably one that contains xanthan gum for optimal texture). For the crunchy coating, use gluten-free panko breadcrumbs, which are now widely available in most major grocery stores. If using beer, ensure it is a certified gluten-free variety, or substitute it with an equal amount of sparkling water or milk combined with an extra egg white as a binder. With these simple swaps, you can enjoy delicious, crispy baked coconut shrimp without any gluten.
What type of beer works best for the batter?
For the beer batter, a light lager or a pilsner is highly recommended. These types of beers have a relatively mild flavor profile that will not overpower the delicate taste of the shrimp and the sweet coconut. Crucially, their carbonation provides the essential bubbles that contribute to an incredibly light and crispy batter when baked. Avoid using dark, heavy beers such as stouts or porters, as their robust and sometimes bitter flavors can clash with the overall tropical essence of the dish. An inexpensive, light-bodied beer will work perfectly.
Can I prepare the coconut shrimp ahead of time?
While these baked coconut shrimp are at their absolute best when served immediately after baking for maximum crispiness, you can certainly do some prep work in advance to save time. You can peel and devein the shrimp, then pat them thoroughly dry and store them in an airtight container in the refrigerator for up to 24 hours. The dry flour mixture can be prepared and stored. The coconut and panko mixture can be toasted and stored at room temperature. The wet beer batter, however, should be made just before you intend to coat and bake the shrimp, as the baking powder reacts with the liquid and beer’s carbonation will dissipate over time, which is key for crispiness.
How should I store and reheat any leftover coconut shrimp?
If you find yourself with leftover baked coconut shrimp, store them in an airtight container in the refrigerator for up to 2-3 days. To best preserve their crispy texture when reheating, avoid the microwave, as it will make them soggy. Instead, preheat your oven to 350°F (175°C) and spread the shrimp on a baking sheet. Reheat for approximately 5-7 minutes, or until they are warmed through and the coating has re-crisped. An air fryer is also an excellent option; simply air fry at 375°F (190°C) for 3-5 minutes, shaking the basket halfway through, for wonderfully crispy results.
Is this recipe suitable for an air fryer?
Yes, absolutely! This recipe adapts beautifully to an air fryer, often yielding even crispier results in a shorter amount of time. After coating the shrimp according to the recipe instructions, arrange them in a single layer in your air fryer basket, being careful not to overcrowd. Air fry at 375°F (190°C) for 6-8 minutes, flipping the shrimp halfway through, until they are golden brown, cooked through, and perfectly crispy. Keep an eye on them during the last few minutes, as air fryer cooking times can vary slightly depending on your specific model.