
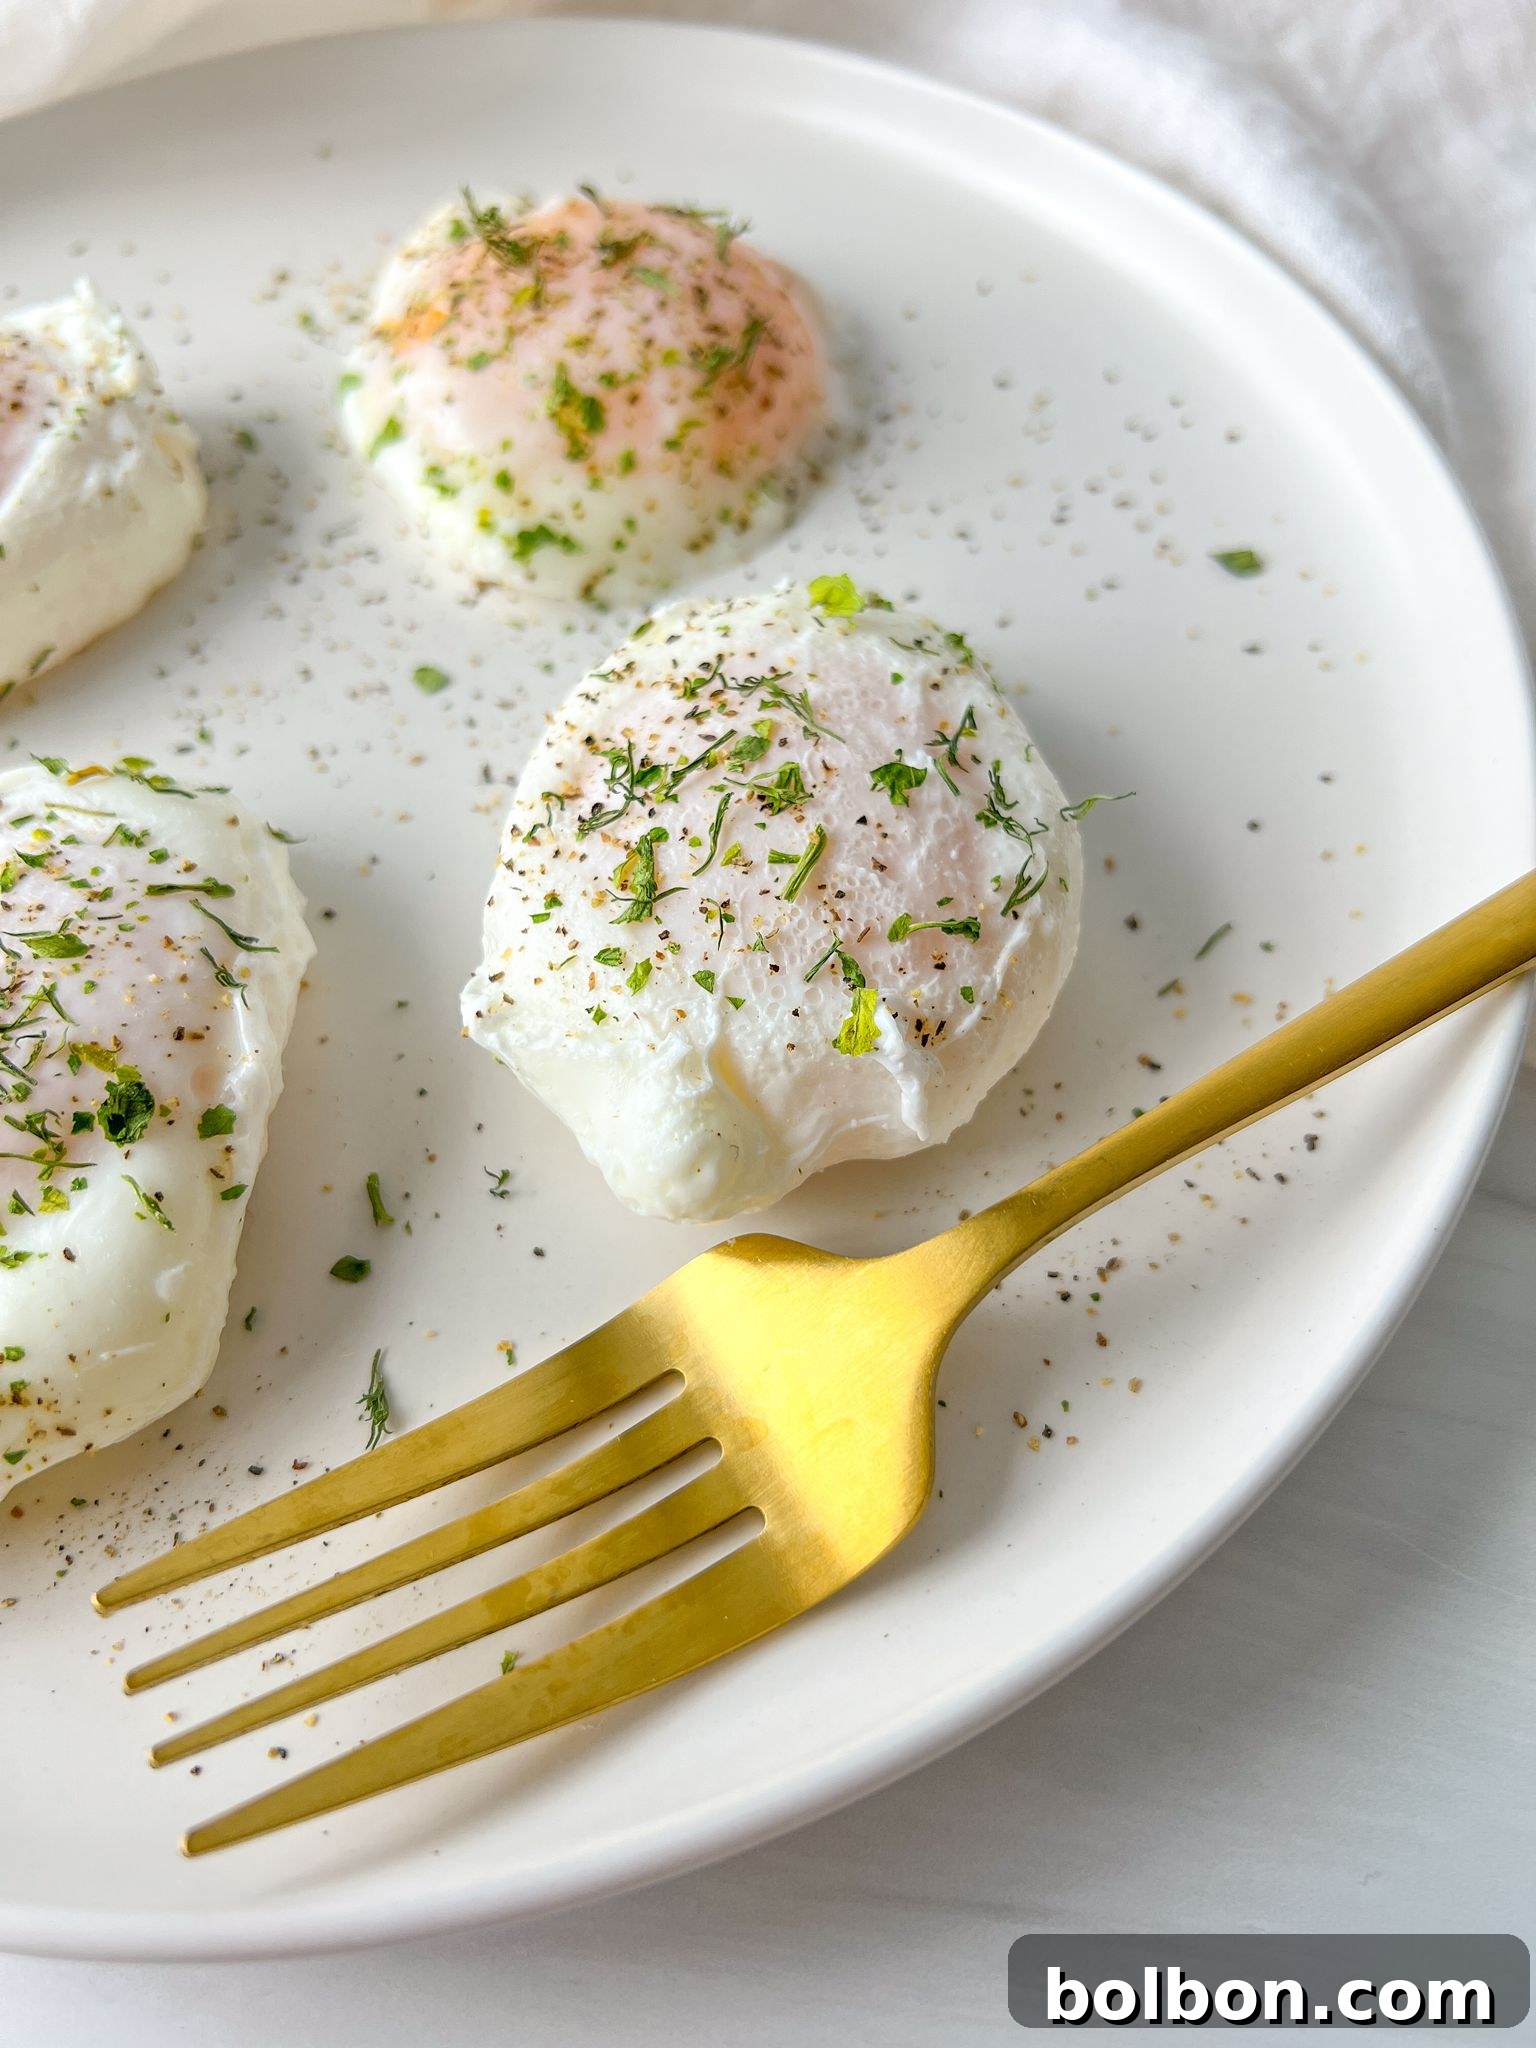
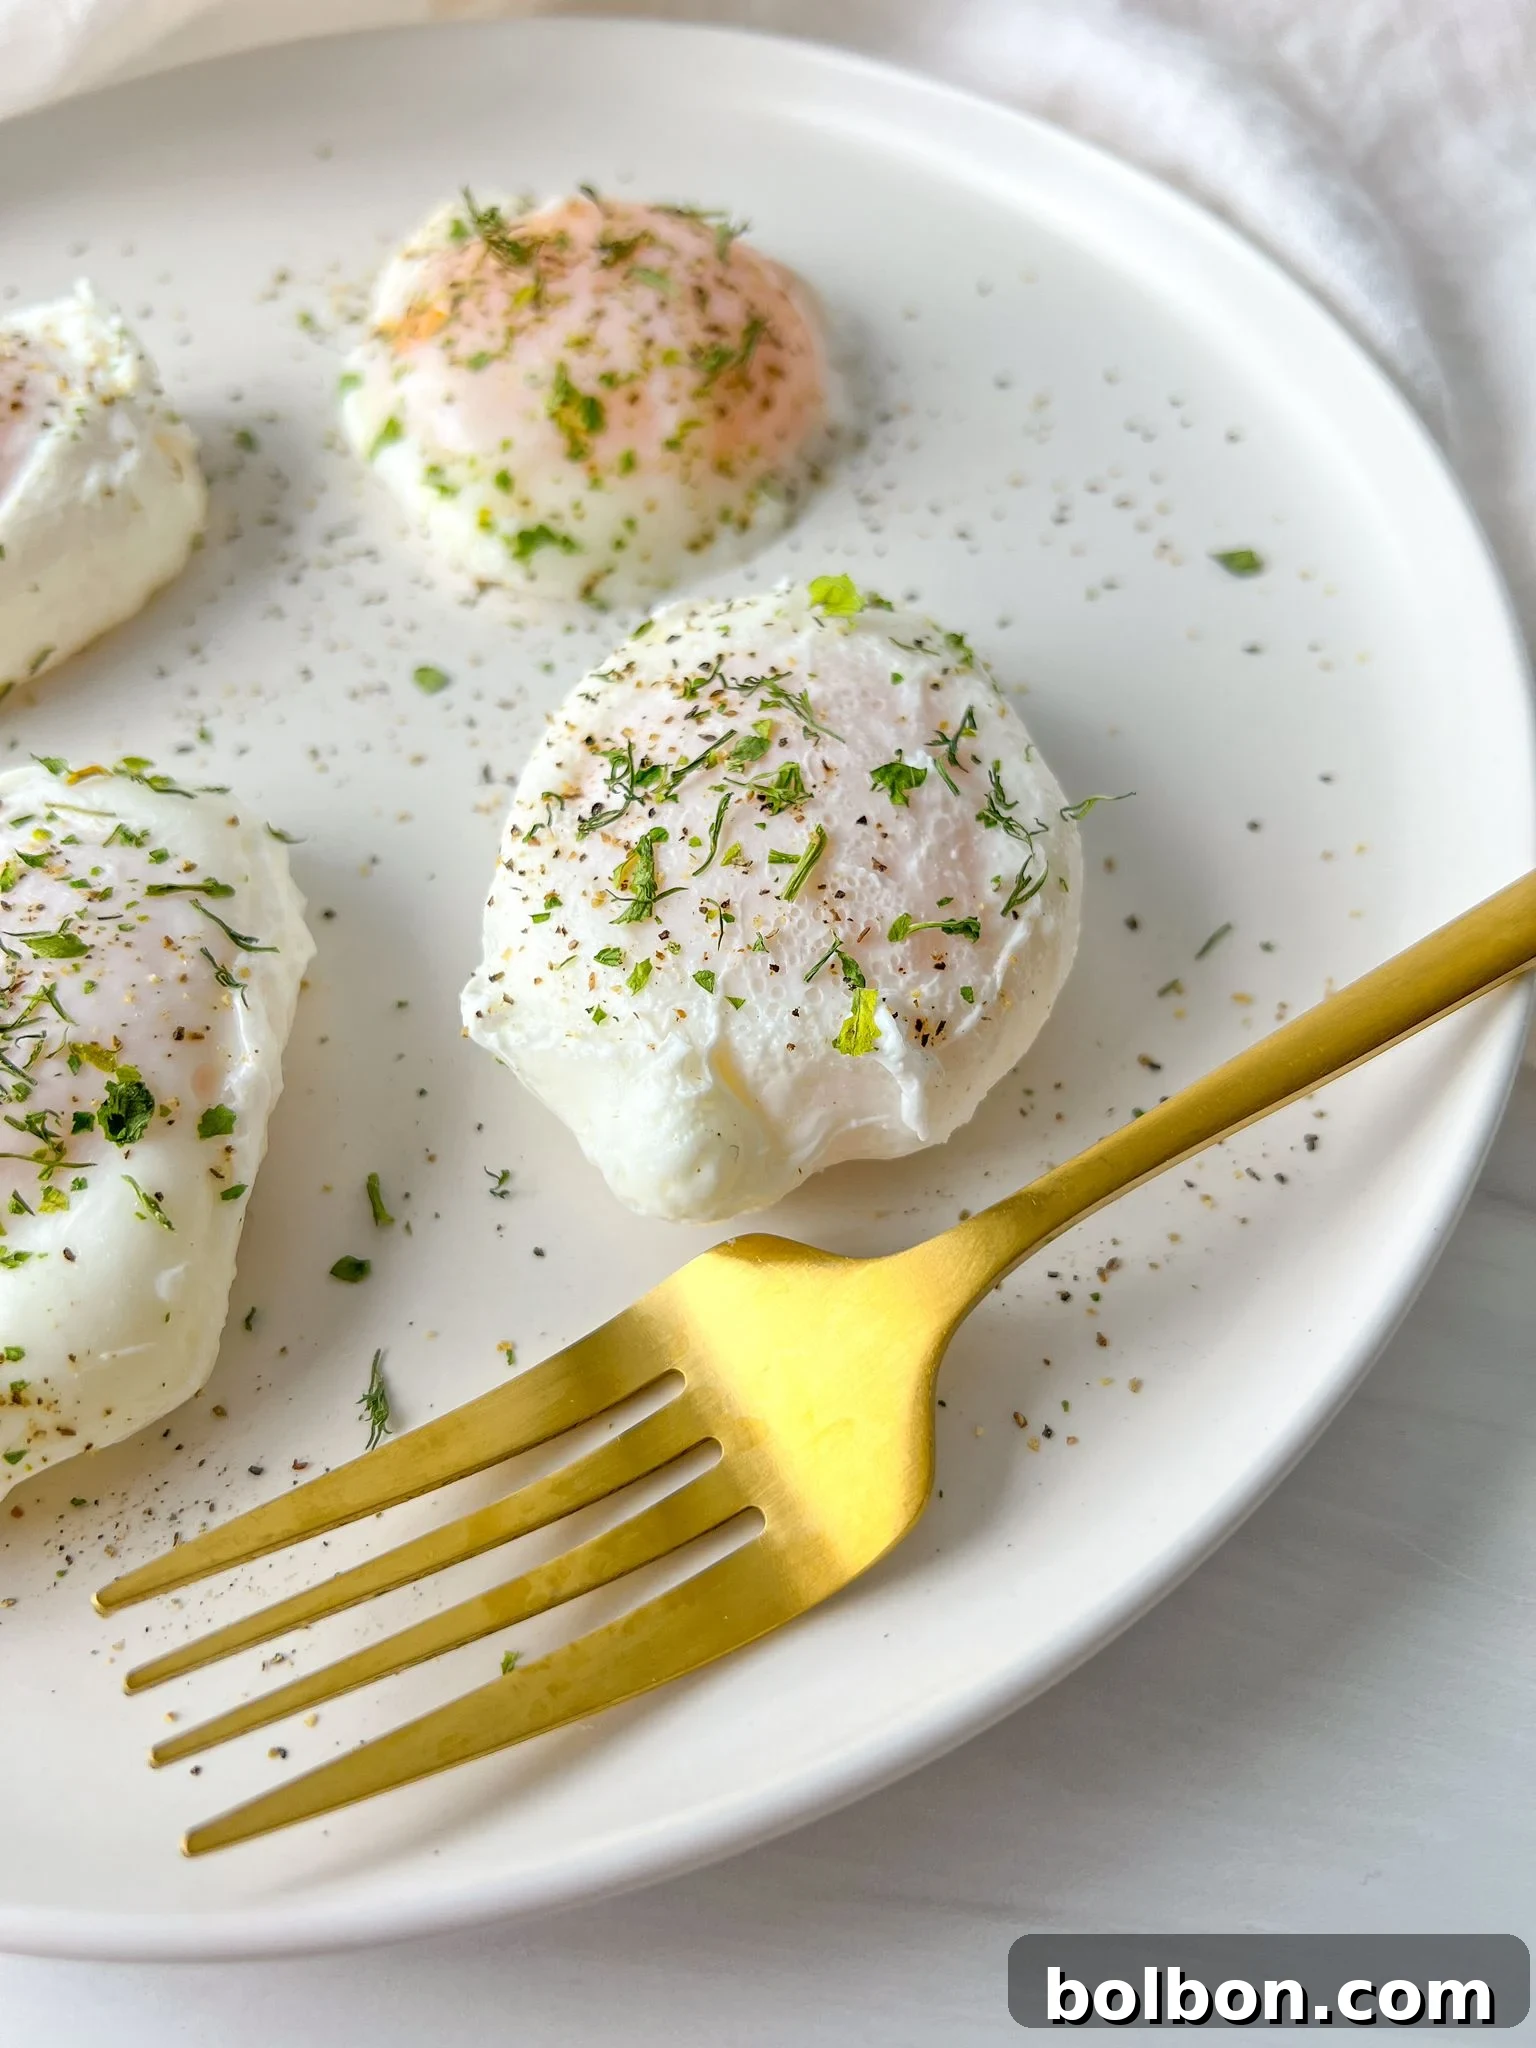
Embark on a culinary journey to master the art of poaching eggs with this ultimate guide. While often perceived as challenging, poaching eggs can be remarkably simple when you follow this **foolproof method**. In just five minutes, you can achieve consistently perfect, beautifully round eggs with irresistibly creamy, runny yolks. Whether you’re preparing a luxurious Turkish eggs for brunch, crafting a classic Eggs Benedict, or simply elevating your morning toast, this tutorial ensures exceptional results every single time. Say goodbye to frayed egg whites and hello to picture-perfect poached eggs!
Key Takeaways for Perfect Poached Eggs
- **Prioritize Freshness:** Always use the freshest eggs available, as they have firmer whites that hold their shape better.
- **Strain for Shape:** Gently strain your eggs through a fine mesh sieve to remove thin, watery whites for a more compact and appealing shape.
- **Temperature Control is Crucial:** Maintain a gentle simmer, not a rolling boil, to ensure even cooking and prevent the eggs from breaking apart.
- **Vinegar’s Role:** A splash of white vinegar in the water helps the egg whites coagulate faster, improving their structure without affecting taste.
- **Timing is Everything:** Adjust cooking time to achieve your desired yolk consistency, from slightly firm to wonderfully runny.
- **Dry Before Serving:** Lightly blot poached eggs on a paper towel to remove excess water for better presentation and flavor.
- **Batch Poaching:** You can poach multiple eggs simultaneously, provided you have a large enough pot and maintain a consistent simmer.
Table of Contents
- Key Takeaways for Perfect Poached Eggs
- Why You’ll Love This Poached Egg Method
- Mastering the Technique: Essential Poaching Tips
- Troubleshooting Common Poaching Problems
- Creative Ways to Serve Poached Eggs
- Other Egg Hacks and Recipes
- How to Poach Eggs: Step-by-Step Recipe
- Frequently Asked Questions About Poached Eggs
Why You’ll Love This Poached Egg Method
There’s a reason poached eggs are a beloved breakfast and brunch staple. They offer a unique texture and flavor that fried or scrambled eggs simply can’t match. While many find poaching intimidating, this method simplifies the process, making it accessible for home cooks of all skill levels. Here’s why you’ll quickly fall in love with perfectly poached eggs:
- **Effortlessly Elegant:** Poached eggs instantly elevate any meal, adding a touch of sophistication to a simple piece of toast or a gourmet salad. Their delicate appearance and creamy texture make them a chef’s favorite.
- **Quick and Convenient:** Requiring less than five minutes of active cooking time, poached eggs are an ideal choice for busy mornings when you want a nutritious meal without the fuss.
- **Healthy and Wholesome:** Poaching involves no added fats, making it one of the healthiest ways to prepare eggs. You get all the protein and nutrients without unnecessary oils or butter.
- **Minimal Mess:** Unlike frying, poaching keeps your stovetop clean, with no splattering oil to worry about. The process is contained within a single pot.
- **Versatile Culinary Canvas:** A perfectly poached egg is incredibly versatile. It pairs beautifully with a wide array of dishes, from rich hollandaise sauce to vibrant green salads, hearty grains, and savory vegetable hashes.
- **Delicious Protein Powerhouse:** Eggs are an excellent source of high-quality protein, essential vitamins, and minerals. Starting your day with a poached egg provides sustained energy and helps keep you feeling full and satisfied.
Forget the stress and embrace the ease. This method ensures your eggs come out **perfectly cooked** each and every time, ready to be enjoyed in countless delicious ways.
Mastering the Technique: Essential Poaching Tips
Achieving consistently beautiful poached eggs is all about understanding a few key principles. These tips are designed to guide you through the process, ensuring success:
- **Start with Fresh Eggs:** The fresher your eggs, the better they will poach. Older eggs have thinner, more watery whites that tend to spread out in the water, resulting in a less defined shape. Fresh eggs have thick whites that cling tightly to the yolk. Always check the date on your egg carton!
- **The Importance of Straining:** This is perhaps the most crucial “secret” to perfectly shaped poached eggs. By cracking the egg into a fine mesh sieve for about a minute, you allow the very loose, watery outer egg whites to drain away. What’s left is the firmer, more viscous part of the white, which will set beautifully around the yolk, creating that coveted round shape. Don’t skip this step for truly exceptional results.
- **Optimal Water Temperature:** The water should be at a gentle simmer, not a rolling boil. A vigorous boil will cause the egg to break apart and result in a tough texture. Look for small bubbles forming at the bottom of the pot, with a slight ripple on the surface. If the water is too hot, reduce the heat. If it cools down too much after adding eggs, gently increase it back to a simmer.
- **To Vinegar or Not to Vinegar?** While not strictly essential, adding about a tablespoon of white vinegar to the poaching water significantly helps. Vinegar slightly acidifies the water, which encourages the egg whites to coagulate and firm up more quickly, preventing them from spreading. Rest assured, the eggs will **not** taste like vinegar by any means, as only a tiny amount is absorbed.
- **Gentle Entry into the Water:** Always crack your egg into a small bowl or ramekin first. This allows you to inspect the egg for any shell fragments and makes it much easier to gently slide the egg into the simmering water. Avoid dropping it directly from the shell, as this can cause the yolk to break or the whites to scatter.
- **The Swirl Factor (Optional but Helpful):** Giving the water a gentle swirl with a spoon just before adding the egg can help create a slight vortex. This swirling motion helps to wrap the egg white around the yolk as it cooks, contributing to a more compact, round shape. While optional, many chefs swear by this technique for aesthetic perfection.
- **Timing for Desired Doneness:** The cooking time directly dictates how firm or runny your yolk will be. For a wonderfully runny yolk and set whites, aim for 3-4 minutes. For a slightly firmer yolk that still yields a creamy center, cook for 4-5 minutes. If you prefer a well-done, firm yolk, extend the cooking time to 6-7 minutes. You can gently test doneness by lightly touching the egg with a slotted spoon.
- **Drying Before Serving:** Once your poached egg is cooked to perfection, remove it from the water with a slotted spoon and gently set it on a paper towel for a few seconds. This simple step removes excess moisture, preventing your toast or plate from becoming soggy and ensuring a cleaner presentation.
- **Poaching Multiple Eggs:** You can absolutely poach two eggs at a time, or even more if you have a larger pot. The key is to ensure the water maintains its gentle simmer and to leave enough space between each egg so they don’t stick together. Gently place each egg into the water one by one. If poaching many, consider doing them in batches to maintain water temperature and prevent overcrowding.
Troubleshooting Common Poaching Problems
Even with the best tips, sometimes things don’t go exactly as planned. Here are solutions to common issues you might encounter:
- **Why are my egg whites stringy and messy?** This is usually due to older eggs with watery whites, or water that is boiling too vigorously.
* **Solution:** Always use the freshest possible eggs. Strain the eggs through a fine mesh sieve before poaching. Ensure your water is at a gentle simmer, not a rolling boil. - **My yolk broke when I put it in the water.** This often happens when the egg is dropped from too high or if the water is boiling too aggressively.
* **Solution:** Crack the egg into a small bowl first, then gently slide it into the simmering water close to the surface. Reduce the heat if the water is boiling too hard. - **The eggs taste like vinegar.** This is rare, but if you’re sensitive to the taste or used too much vinegar.
* **Solution:** Use only 1 tablespoon of white vinegar for a medium pot of water. If you’re concerned, you can omit the vinegar, but be aware your whites might spread a bit more. Rinsing the egg quickly under warm water after poaching can also help remove any residual vinegar taste, though it’s usually unnecessary. - **My egg is stuck to the bottom of the pot.** This can happen if the pot isn’t non-stick or if the egg is left undisturbed for too long right after placing it in.
* **Solution:** Ensure you’re using a clean pot. Giving the water a gentle swirl *before* adding the egg can help prevent it from settling directly on the bottom. If it does stick, gently nudge it with your slotted spoon. - **The egg is overcooked/undercooked.** Poaching times are a guideline; pan size, water volume, and even egg size can affect it.
* **Solution:** The best way to check doneness is by gently lifting the egg with a slotted spoon and feeling it. A runny yolk will still feel very soft and jiggly. A firmer yolk will have less give. Adjust your timing for future batches.
Creative Ways to Serve Poached Eggs
Once you’ve mastered the technique, the possibilities for incorporating poached eggs into your meals are endless. Here are some of our favorite ways to enjoy them:
- **Ramen Noodle Soup Enhancement:** Elevate your instant or homemade ramen by adding a perfectly poached egg on top. The rich, runny yolk blends with the savory broth, creating an incredibly satisfying and comforting meal. Try my Ramen Noodle Soup for an ideal pairing.
- **Healthy Egg Sandwiches:** For a low-carb, high-protein lunch option, replace traditional bread with lettuce wraps or use a single piece of toasted bread with a perfectly poached egg as the star. It’s a fresh take on a classic. You could also use poached eggs to make my Egg Sandwiches for a delicious and light meal.
- **Salad Topper Extraordinaire:** A warm poached egg can transform any salad into a more substantial and luxurious meal. The creamy yolk acts as a natural dressing, adding richness and depth. Place it atop any of my refreshing Salads for an instant upgrade.
- **Turkish Eggs (Cilbir):** This traditional Turkish breakfast is a revelation, featuring poached eggs served over garlicky yogurt, drizzled with spicy melted butter (chili flakes optional). It’s a flavor explosion that perfectly showcases the delicate nature of a poached egg. My savory Turkish Eggs recipe is the ideal way to experience this.
- **Classic Eggs Benedict:** No discussion of poached eggs is complete without mentioning the iconic Eggs Benedict. Serve your perfect poached eggs on toasted English muffins with Canadian bacon (or ham) and a generous pour of creamy hollandaise sauce for the ultimate brunch indulgence.
- **Avocado Toast’s Best Friend:** Take your popular avocado toast to the next level with a runny poached egg. The combination of creamy avocado, crunchy toast, and a warm, velvety yolk is simply divine. Season with everything bagel seasoning or red pepper flakes for an extra kick.
- **Grain Bowls and Veggie Hashes:** Poached eggs are fantastic on top of hearty grain bowls (like quinoa or farro) filled with roasted vegetables, or alongside a rustic potato and vegetable hash. The yolk enriches the entire dish, tying all the flavors together.
Other Egg Hacks and Recipes to Explore
Over Medium Eggs
5 mins
How to Cut Deviled Eggs
15 mins
Boiled Egg Peel Hack
10 mins
Easy Peel Hard Boiled Eggs
12 mins
Frequently Asked Questions About Poached Eggs
While it’s not strictly mandatory, cracking the egg through a fine mesh sieve is highly recommended for achieving a perfectly shaped poached egg. This step allows the thin, watery outer whites to drain away, leaving only the thicker, firmer whites that will set beautifully around the yolk. Without this step, your egg whites may spread more in the water, resulting in a less compact and aesthetically pleasing shape.
Absolutely not! Despite adding a tablespoon of white vinegar to the poaching water, your eggs will not acquire a vinegary taste. The small amount of vinegar is primarily used to help the egg whites coagulate more quickly and hold their shape. You can confidently leave it out if you prefer, but it significantly aids in achieving a tight, round egg without any discernible flavor impact.
The vinegar’s primary role is to acidify the water. This acidic environment helps the proteins in the egg white set faster and more firmly, preventing them from dissipating into the water and ensuring the egg maintains a compact, desirable shape. It’s a simple trick that vastly improves the structure of your poached eggs, even if you don’t have it on hand, you can still poach eggs successfully.
The best way to check for doneness is by gently lifting the egg out of the water with a slotted spoon and lightly touching the yolk area with a finger. For a runny yolk, the egg white should be firm to the touch, but the yolk underneath should still feel soft and jiggly. If it feels too soft or overly jiggly, carefully return it to the simmering water for another 30 seconds. For a firmer yolk, it will feel more set and less wobbly.
Swirling the water, or creating a gentle vortex just before adding the egg, is a technique often used to help the egg white wrap neatly around the yolk, promoting a nice round shape. This step is completely optional but can be beneficial for beginners or those aiming for an exceptionally neat presentation. If you’re confident in your egg’s freshness and the straining method, you might find it unnecessary.
The single most important rule is: do not overcook the eggs! Poached eggs cook very quickly, typically within 3-5 minutes. They transition from perfectly runny to firm in a short timeframe. To gauge your desired level of doneness, gently bring the poached egg to the surface of the water with a slotted spoon and give it a slight jiggle. The more movement you observe in the center, the runnier the yolk will be. Practice will help you find your perfect timing.
Cracking eggs into a separate bowl or ramekin before adding them to the pot serves several critical purposes. Firstly, it allows you to easily remove any small pieces of eggshell that might have fallen in. Secondly, it provides a stable way to gently transfer the egg into the simmering water without breaking the delicate yolk. Trying to crack an egg directly over the pot and slide it in can often lead to breakage or messy whites. It also lets you ensure the egg is fresh before it goes into the communal poaching water.
How to Poach Eggs: Step-by-Step Recipe
Facebook Share
Rate Recipe
Print Recipe
Breakfast
American, French, Mediterranean
1
serving
The Modern Nonna
1 minute
5 minutes
6 minutes
Video Tutorial
Equipment You’ll Need
Ingredients
- 1 large, fresh egg (the fresher, the better for shape)
- 1 tablespoon white vinegar (optional, but highly recommended for better shape)
- Pinch of salt and pepper for seasoning (to taste, after poaching)
Instructions for Flawless Poaching
-
**Prepare the Egg:** Crack a fresh egg into a small bowl or ramekin. Place a fine mesh sieve over another bowl and carefully pour the egg into the sieve. Allow it to sit for about one minute, letting the very thin, watery outer egg whites drain through. This crucial step leaves you with the firmer, more compact part of the white, ensuring a beautifully shaped poached egg. You can discard the drained whites or save them for another recipe.
-
**Prepare the Water:** On your stovetop, fill a medium-sized pot with approximately 4 inches of water. Bring the water to a gentle simmer over medium heat. Look for small, consistent bubbles forming at the bottom of the pot, but avoid a vigorous boil that could break the egg.
-
**Add Vinegar and Swirl (Optional):** If you are using vinegar, add one tablespoon of white vinegar to the simmering water. Then, with a spoon, gently give the water a small swirl to create a slight vortex. This helps the egg whites gather around the yolk as it cooks, promoting a rounder shape.
-
**Gently Poach:** Carefully slide the strained egg from its small bowl into the center of the simmering water (or into the center of the swirl if you created one). Set a timer for five minutes for a perfectly runny yolk. If poaching multiple eggs, add them one by one, ensuring there’s enough space between each.
-
**Check for Doneness and Remove:** After the timer, gently lift the egg from the water using a slotted spoon. You can lightly touch the white to feel for doneness; it should be set, while the yolk feels soft and jiggly. For a firmer egg and less runny yolk, increase the cooking time by an additional 30 seconds to 1 minute. Place the cooked egg onto a plate lined with a paper towel for a few seconds to drain any excess moisture before serving.
-
**Serve and Enjoy:** Season your perfectly poached egg with salt, freshly ground black pepper, and any other desired toppings like chili flakes or fresh herbs. Enjoy it immediately on toast, English muffins, with salads, or as part of your favorite breakfast or brunch dish.
Chef’s Notes & Pro Tips
- **Season Thoughtfully:** While adding salt to the cooking water is unnecessary, the real magic happens post-poaching! Once your egg is perfectly cooked, season it generously with flaky sea salt, freshly cracked black pepper, or a dash of your favorite hot sauce to enhance its flavor.
- **Equipment Versatility:** You don’t need specialized or expensive equipment to achieve great poached eggs. Any clean pot or pan that can comfortably hold about 4 inches of water on your stovetop will work. A lid is not required, as the eggs cook quickly and uncovered.
- **Make Ahead Magic:** Did you know you can prepare poached eggs in advance? Poach your eggs as usual, then immediately transfer them into an ice bath to halt the cooking process. Store these perfectly cooked, chilled eggs in an airtight container in the fridge for up to two days. To reheat, simply place them in a bowl of warm (not hot!) water for a few minutes until warmed through. Avoid microwaving, as this will overcook them and can cause yolks to explode.
- **The Fresher, The Better:** Emphasize using the freshest eggs possible. Fresh eggs have thick whites that hold together beautifully, while older eggs tend to have runnier whites that scatter in the water.
- **Batch Cooking:** If you’re cooking for a crowd, consider using a larger pot or poaching eggs in batches to avoid overcrowding. Overcrowding can lower the water temperature too quickly and cause eggs to stick together or cook unevenly.
Nutrition Information (per serving)
Calories: 66kcal,
Carbohydrates: 0.3g,
Protein: 6g,
Fat: 4g,
Saturated Fat: 1g,
Polyunsaturated Fat: 1g,
Monounsaturated Fat: 2g,
Trans Fat: 0.02g,
Cholesterol: 164mg,
Sodium: 63mg,
Potassium: 61mg,
Sugar: 0.2g,
Vitamin A: 238IU,
Calcium: 26mg,
Iron: 1mg
Nutrition information is automatically calculated, so should only be used as an approximation.
Additional Info
Breakfast
American, French, Mediterranean
🍳