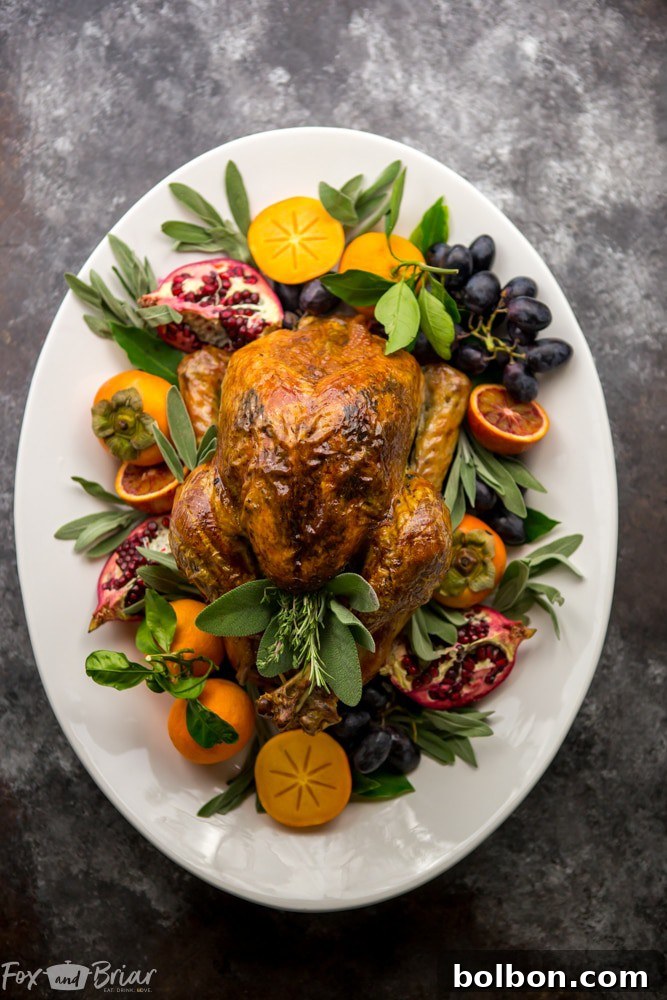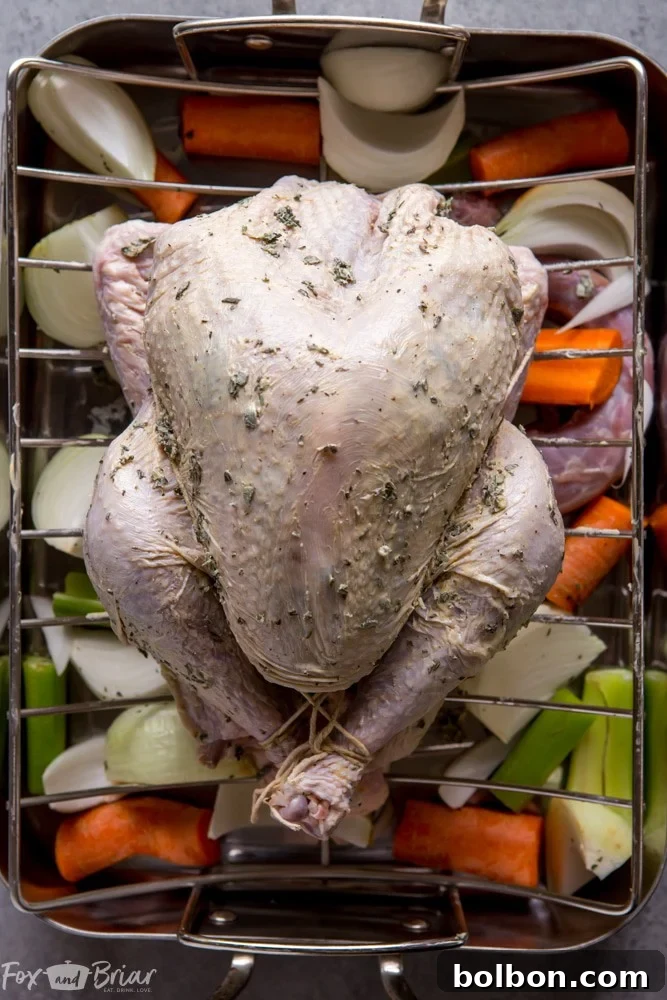
Welcome to your ultimate guide for preparing a show-stopping Thanksgiving turkey! If you’re looking to elevate your holiday feast this year, whether it’s your first time hosting or you’re a seasoned pro, mastering the art of the perfect turkey is key. This comprehensive article, complete with essential tips and a straightforward video tutorial, will walk you through everything you need to know to ensure your turkey is not only cooked to perfection but also looks incredibly appealing when presented to your guests.
One of the most impactful yet often overlooked techniques for achieving both even cooking and a beautiful presentation is trussing your turkey. Trussing, essentially bundling your turkey tightly with kitchen twine, helps all parts of the bird cook uniformly, prevents the breast from drying out, and ensures a compact, attractive shape. This quick and easy step is a game-changer for a juicy, golden-brown turkey that will impress everyone at your table. Scroll down to discover more expert turkey tips and to watch our simple video guide on how to truss your turkey with confidence.
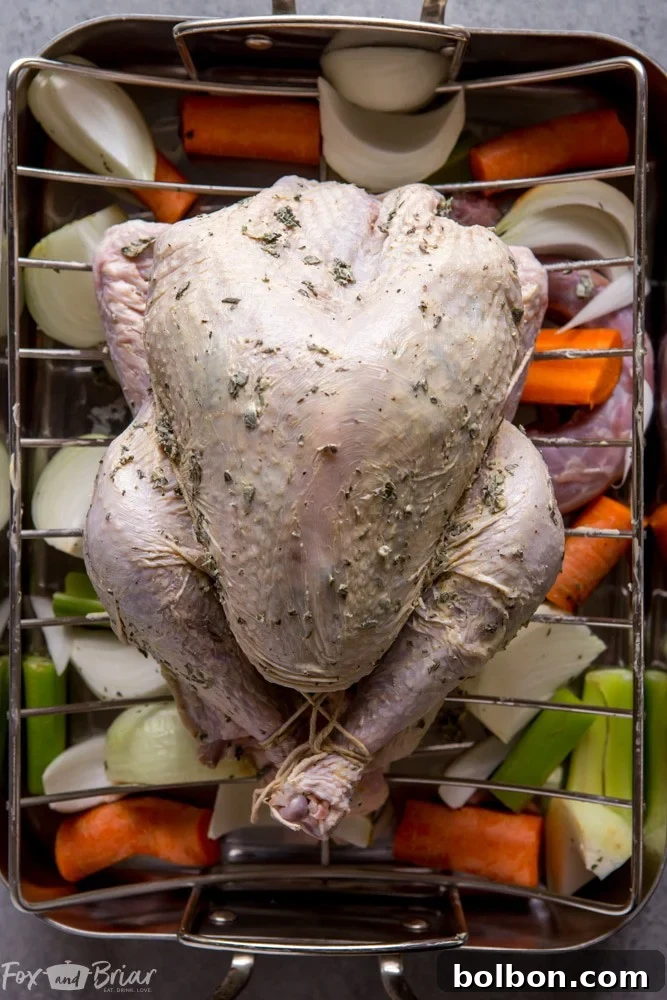
Thanksgiving is almost here, and for many, that means it’s time to prepare the star of the meal: the turkey! Taking charge of the Thanksgiving turkey can feel daunting, but with the right guidance, it can be a truly rewarding experience. We’ve compiled a collection of foolproof turkey tips designed to ensure you create the best turkey you’ve ever tasted. From thawing to carving, we’ve got you covered. And yes, we’ve included that essential video demonstrating just how simple it is to truss your turkey – a small effort for a monumental difference in your holiday bird.
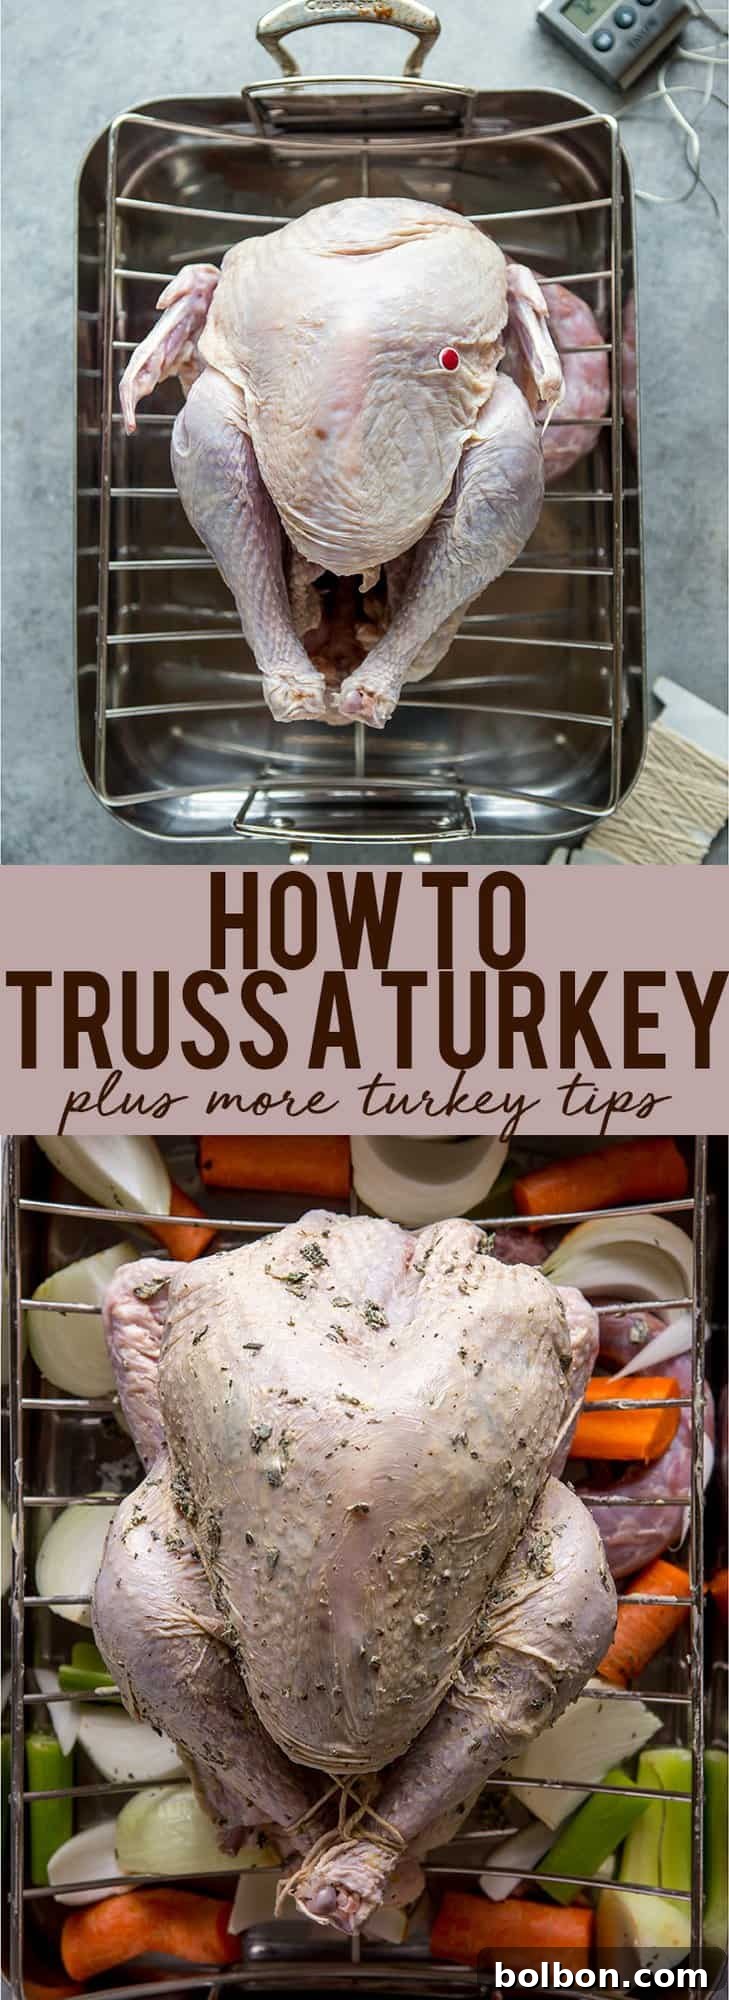
6 Essential Tools for Roasting a Perfect Turkey
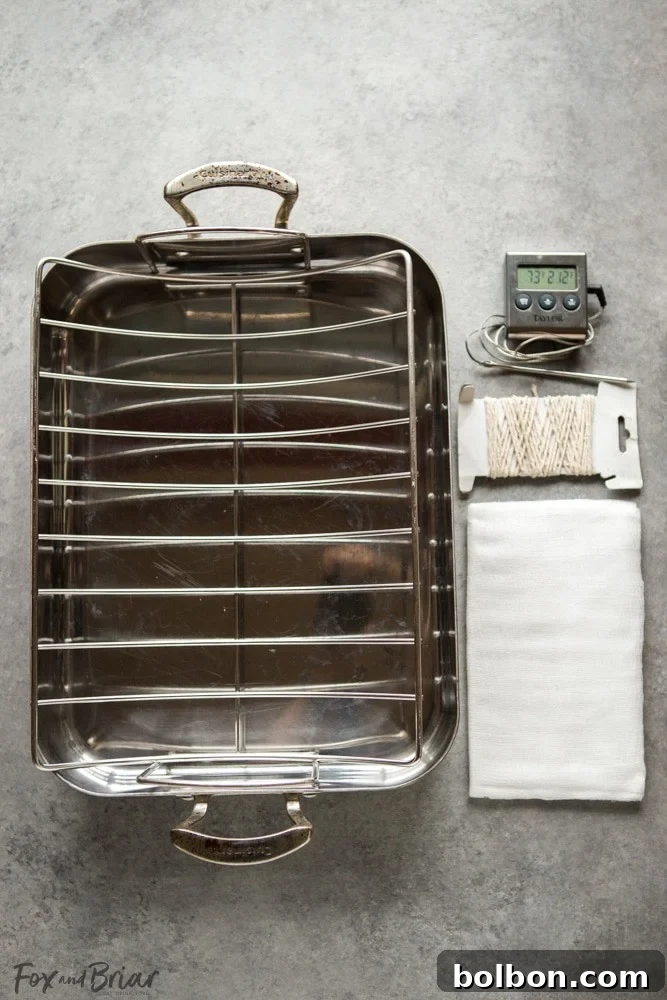
Preparing a magnificent Thanksgiving turkey doesn’t require a professional kitchen, but having a few key tools on hand will make the entire roasting process significantly smoother and more enjoyable. These aren’t just one-time gadgets; many of them are versatile kitchen essentials you’ll use throughout the year, making them wise investments for any home cook. Here are the must-have items to make roasting your turkey a breeze:
- A High-Quality Roasting Pan. A turkey is a substantial piece of poultry, and it demands a heavy-duty roasting pan that can withstand its weight and high oven temperatures. A robust pan ensures even heat distribution, which is vital for a uniformly cooked bird. Stainless steel pans offer an added advantage: their durable construction makes them perfect for creating delicious pan gravy directly on the stovetop after the turkey is removed. This eliminates the need to transfer drippings, saving you time and dishes. A reliable roasting pan is a kitchen workhorse you’ll use for various roasts and large meals year-round. This is a highly recommended option for its durability and versatility.
- An Accurate Meat Thermometer. This is arguably the most crucial tool for ensuring food safety and preventing an overcooked, dry turkey. Never rely solely on the small plastic pop-up indicator that sometimes comes with the bird; these are notoriously inaccurate and can lead to undercooked or severely overcooked meat. An accurate meat thermometer provides a precise internal temperature reading, letting you know exactly when your turkey has reached optimal doneness. For ultimate convenience, consider a programmable thermometer that can remain in the meat while it roasts in the oven, often featuring an alarm to alert you when the target temperature is met. This brand offers excellent reliability.
- Durable Kitchen Twine. Essential for trussing, kitchen twine plays a vital role in creating that beautifully cooked and presented turkey. By using twine to secure the legs and wings against the body, you create a more compact shape. This not only promotes even roasting by protecting delicate breast meat from overcooking but also results in a more appealing, uniformly browned bird. Beyond Thanksgiving, kitchen twine is incredibly useful for tying up roasts, securing herbs, or even bundling vegetables. It’s a simple, inexpensive item that proves indispensable in the kitchen. Sometimes it can be challenging to find in local grocery stores during peak season, so it’s wise to order some here in advance.
- Versatile Cheesecloth. Cheesecloth is a surprisingly versatile tool that can be used in several ways during turkey preparation. Many turkey recipes call for soaking cheesecloth in a butter-herb mixture and draping it over the turkey during roasting. This technique bastes the bird continuously, keeping the breast moist and helping to achieve a beautifully golden skin without burning. Additionally, cheesecloth is excellent for straining broths, stocks, and sauces, ensuring a smooth consistency. It can also be used to create herb and spice bundles (bouquet garni) for infusing deep flavors into your dishes. Stock up on some here for various culinary needs.
- Reliable Heavy Duty Foil. This kitchen staple is a lifesaver, especially during busy holiday cooking. Heavy-duty aluminum foil is used in countless ways, from covering roasting pans to prevent excessive browning, to tenting the cooked turkey during its crucial resting period. Tenting with foil helps to trap heat and redistribute juices, ensuring a tender and moist final product. It’s also invaluable for wrapping leftovers and keeping food warm. Running out on Thanksgiving Day is unthinkable, so make sure you have a substantial roll. This type is particularly robust and reliable.
- Non-Stick Parchment Paper. Similar to heavy-duty foil, parchment paper is an everyday kitchen hero that becomes even more indispensable during holiday meal preparation. While not directly used for roasting the turkey itself, it’s invaluable for lining baking sheets for side dishes like roasted vegetables, preventing sticking and making cleanup a breeze. It’s also perfect for preparing desserts, covering dishes to prevent splattering, or even for creative plating. Having a good supply on hand means one less thing to worry about when the kitchen is bustling. This brand is a personal favorite for its consistent quality.
Turkey Tips: Foolproof Advice for Roasting Your Thanksgiving Masterpiece
Cooking a turkey, especially for a significant holiday like Thanksgiving, can feel like a high-pressure event. But with these essential, foolproof tips, you’ll navigate the process with confidence, ensuring your turkey is delicious, juicy, and perfectly safe for everyone to enjoy. From proper thawing to achieving that ideal internal temperature, these expert pieces of advice will set you up for success.
- How to Properly Thaw Your Turkey: Unless you’ve specifically ordered a fresh turkey, you’ll likely start with a frozen one. Proper thawing is the first critical step and requires significant planning. The safest method is to thaw your turkey in the refrigerator. Allow at least 24 hours for every 4 pounds of turkey. For example, a 16-pound turkey will need approximately 4 days to thaw completely. To be absolutely safe and stress-free, I recommend adding an extra day or two beyond the minimum calculation. Once fully thawed, a turkey can safely remain in the refrigerator for another two days before it must be cooked. Place it on a tray or in a pan to catch any drips and prevent cross-contamination.
- Quick Thawing Method for Emergencies: If you find yourself in a frozen turkey predicament closer to cook time, a quick thawing method using cold water can save the day. Keep the turkey in its original wrapper (ensure it’s completely sealed and free of tears) and submerge it entirely in a sink or large cooler filled with cold tap water. It is crucial to change the water every 30 minutes to maintain a cold temperature and prevent bacterial growth on the turkey’s surface. This method will take approximately 30 minutes per pound. For instance, a 12-pound turkey would need about 6 hours.
- Always Check the Turkey Cavities for Giblets: This is a common oversight that can lead to an unpleasant surprise! Before you begin any preparation, thoroughly check both the main body cavity and the neck cavity for the giblet package (which usually contains the neck, liver, heart, and gizzard). These parts are often tucked inside and wrapped in paper. Forgetting to remove them before roasting can result in a burnt, unpleasant smell and taste, and can also interfere with even cooking. You can discard them, or save them to make a flavorful gravy or stock.
- How Much Turkey Per Person? Planning Your Portions: To ensure you have plenty of turkey for everyone at your table, including potential leftovers, plan for 1 to 1 1/2 pounds of turkey per person. If you have guests with particularly hearty appetites, or if you’re a big fan of turkey sandwiches the next day, aim for the higher end of that range. For example, if you’re hosting 10 people, a 10-15 pound turkey would be appropriate. This calculation accounts for the bone weight and provides generous servings.
- Infuse Flavor with Aromatics in the Roasting Pan: Don’t let your roasting pan go to waste! Placing roughly chopped aromatic vegetables – such as onions, carrots, and celery – at the bottom of the pan before adding the turkey serves multiple purposes. Not only will these vegetables impart a subtle, delicious flavor to the bird as it roasts, but when combined with the turkey drippings, they form a magnificent, flavorful base for your homemade pan gravy. For an extra boost, you can also add fresh herbs like thyme, rosemary, or sage.
- Prioritize Safety: Don’t Stuff the Stuffing in the Bird! While traditional, cooking stuffing inside the turkey presents significant food safety hazards and can also lead to a dry turkey. To ensure the stuffing reaches a safe internal temperature (165°F / 74°C), the turkey itself would often become severely overcooked and dry. Instead, cook your stuffing separately in a casserole dish. To still infuse the turkey with flavor, simply place some more aromatics inside the cavity – a few pieces of onion, carrots, celery, and a generous sprig of fresh herbs like thyme or rosemary will do the trick without compromising safety or texture.
- Achieve Perfect Doneness with a Meat Thermometer: The USDA recommends cooking your turkey to an internal temperature of 165 degrees Fahrenheit (74 degrees Celsius). Always use your reliable meat thermometer to verify this. Insert the thermometer into the thickest part of the turkey’s thigh, ensuring it doesn’t touch any bone, as bones heat faster than meat and can give a false reading. It’s also wise to check the thickest part of the breast. Once the thermometer registers 165°F in all checked areas, your turkey is done. Remember that the temperature will continue to rise slightly after it’s removed from the oven due to carry-over cooking.
- The Essential Step: Resting Your Turkey: After all that effort, resist the urge to carve your turkey immediately! Resting the turkey is a crucial step that directly impacts its juiciness and tenderness. Once removed from the oven, tent the turkey loosely with heavy-duty foil and let it rest for at least 20-30 minutes for smaller birds, or up to 45-60 minutes for larger ones (over 15 pounds). During this resting period, the muscle fibers relax, and the internal juices, which have been driven to the center during cooking, redistribute evenly throughout the meat. Carving too soon will result in those precious juices running out onto your cutting board, leaving you with dry meat.
- And Finally, My Favorite Tip – Truss Your Turkey! What is trussing, exactly? As mentioned, it’s the technique of using kitchen twine to secure the turkey into a compact, even shape. This practice yields multiple benefits: it helps the turkey cook more evenly by preventing delicate parts (like the breast) from overcooking before denser parts (like the thighs and legs) are done. It also keeps the wings and legs tucked in, preventing them from burning and contributing to a much more beautiful, golden-brown presentation when your turkey is finished cooking. Don’t worry if you’ve never trussed a turkey before; it’s incredibly easy! See our quick video below for a step-by-step demonstration that will make you a trussing pro in no time.
With these comprehensive tips and essential tools, you are now well-equipped to roast a truly spectacular turkey that will be the highlight of your Thanksgiving feast. From the initial thawing to the final resting, each step plays a crucial role in achieving that perfect balance of crispy skin, tender meat, and irresistible flavor. Remember that preparation is key, and taking the time for steps like proper thawing and especially trussing will yield incredible results.
Ready to put these tips into action and create a memorable holiday meal? Try our delicious and highly recommended Herb Butter Roasted Turkey recipe – it’s the perfect way to apply your newfound knowledge and impress your guests with a beautifully cooked, incredibly flavorful bird!