
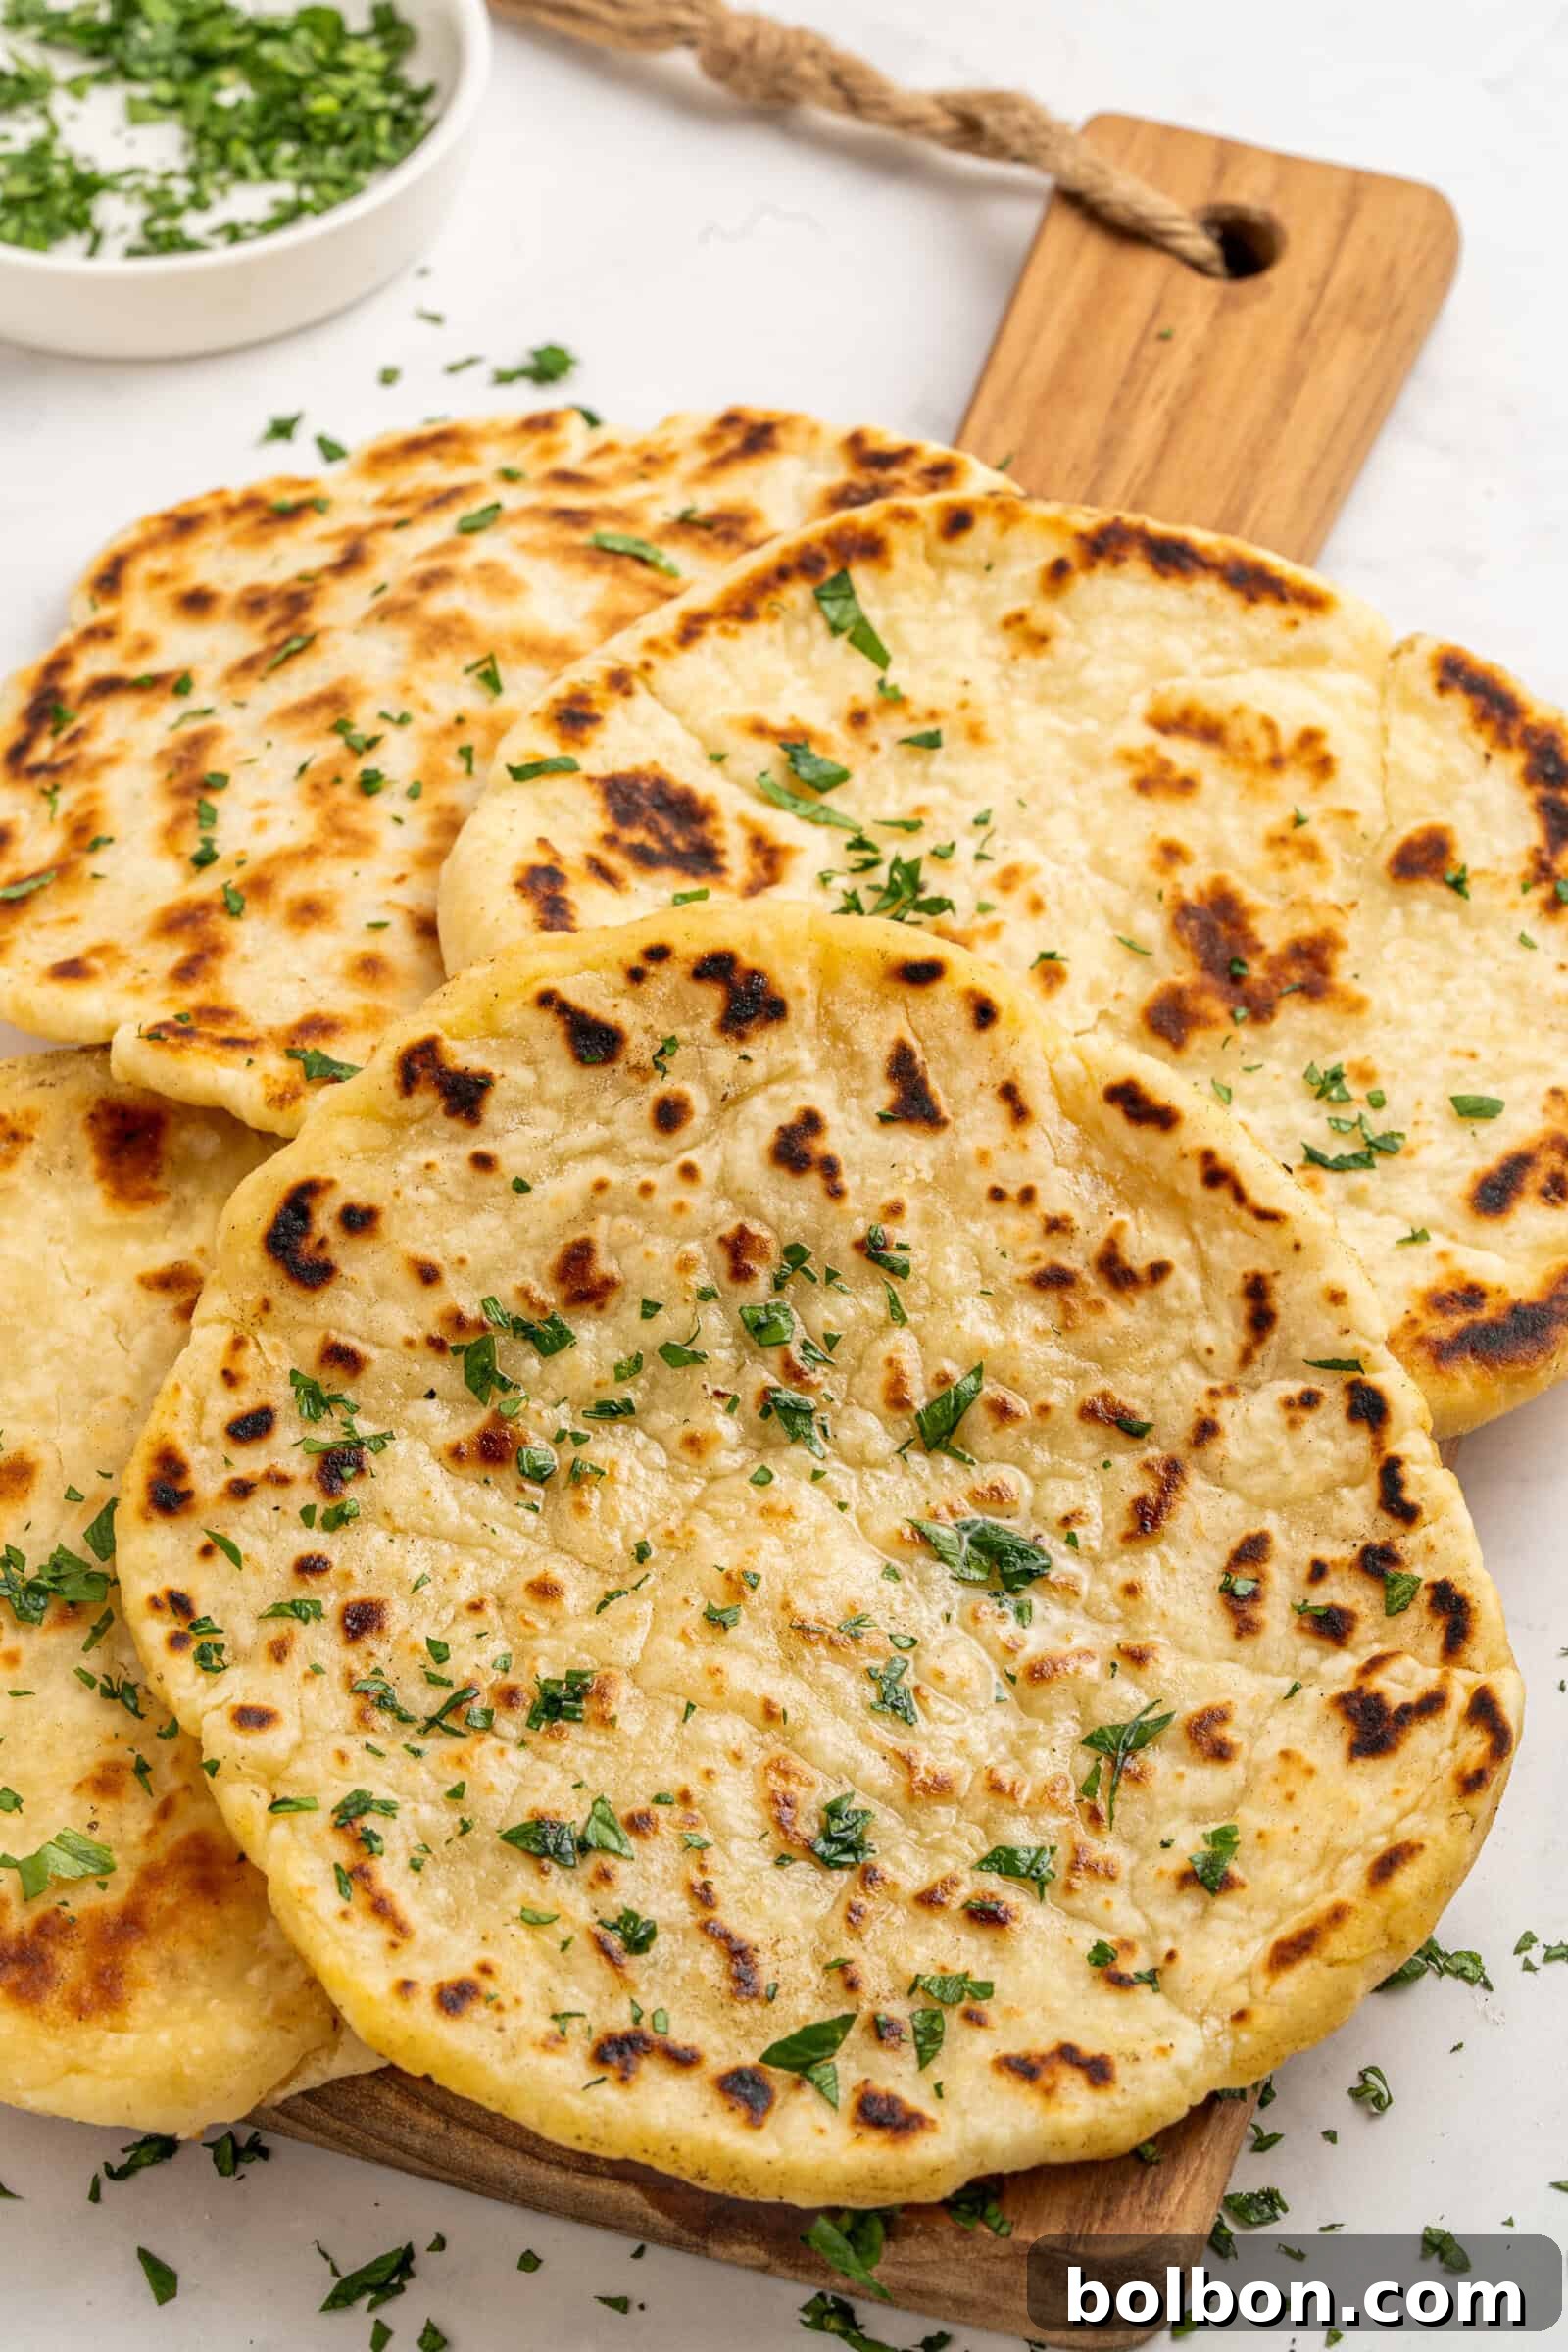
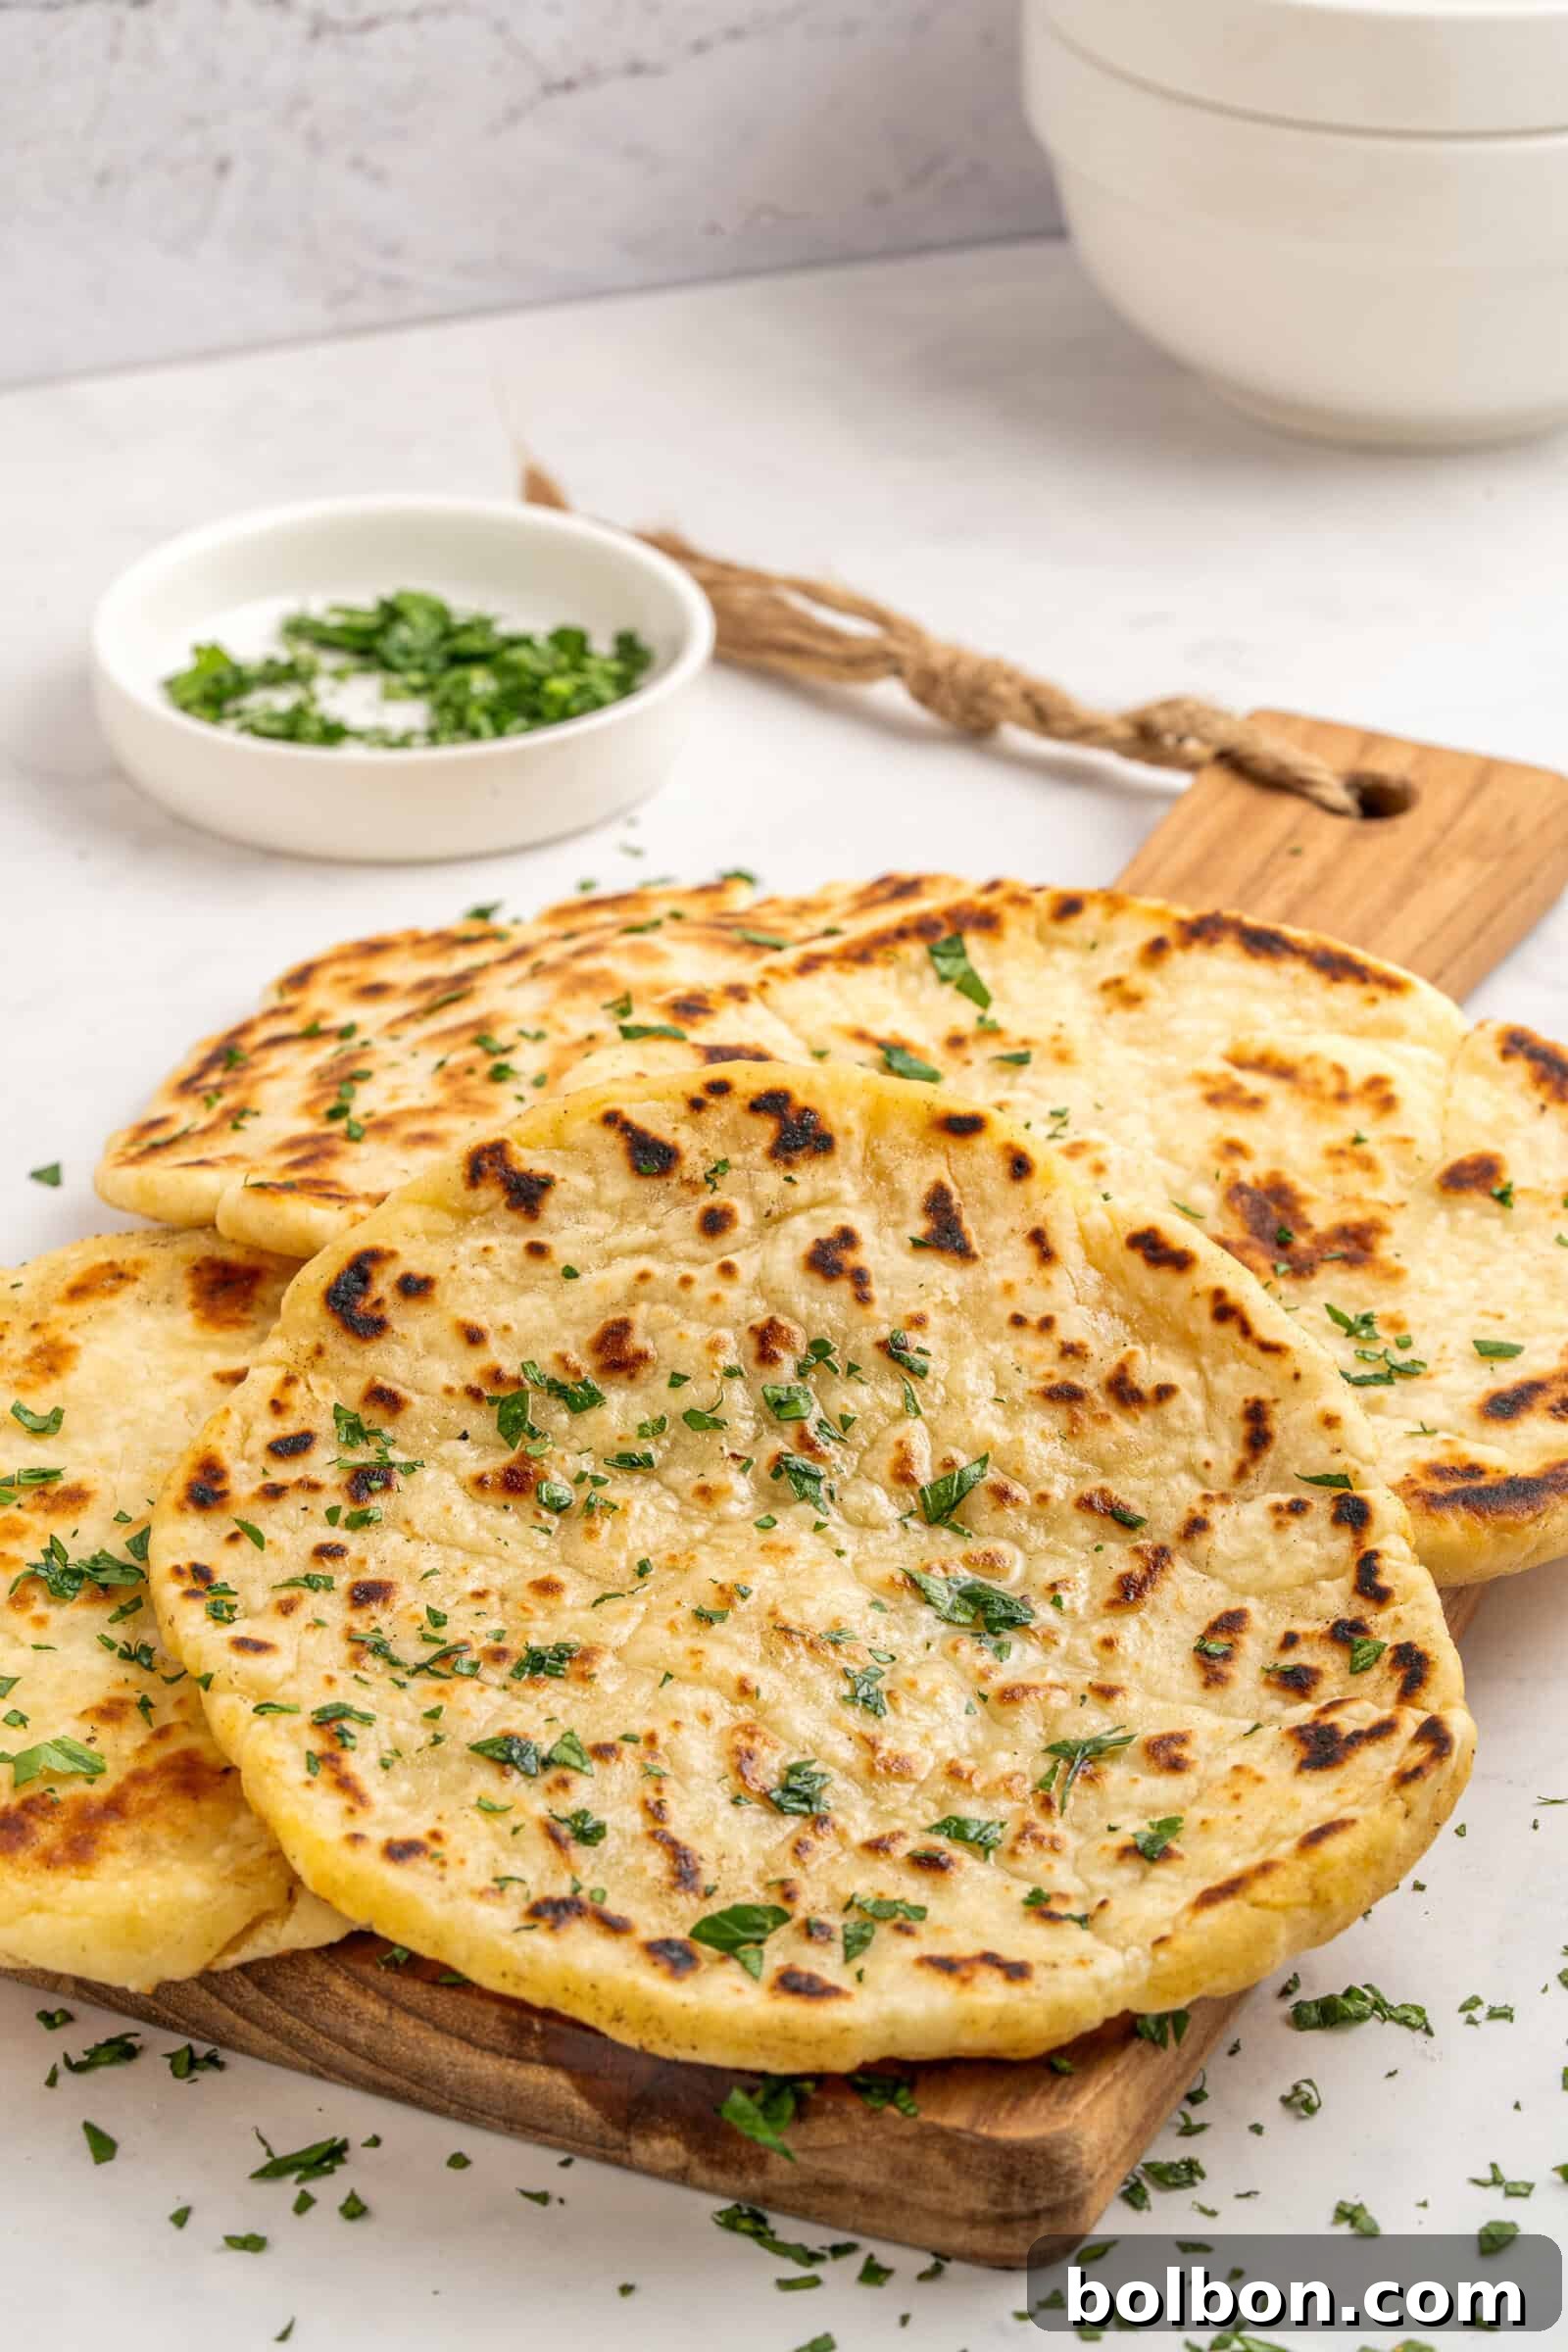
Do you dream of warm, fresh homemade bread but dread the lengthy, complicated process? You’re not alone! Many home bakers yearn for that comforting aroma and soft texture without turning their kitchen into a scientific laboratory. That’s precisely why this Cottage Cheese Pita Bread recipe is a game-changer. Using the very same revolutionary dough as our popular Cottage Cheese Bagels, this recipe strips away all the fuss. There’s no yeast to activate, no lengthy rising time, and absolutely no waiting around. From the moment you start mixing to the second a golden, puffed pita emerges from the pan, you’ll be done in less than 30 minutes! Not only is it incredibly fast, but each serving also delivers a substantial 9 grams of protein, making it a nutritious choice for any meal. The texture is exactly what you crave in a perfect pita: wonderfully soft and fluffy on the inside, encased in a lightly crisp, beautifully golden crust on the outside. This versatile bread is absolutely perfect for dipping into your favorite spreads, scooping up delicious fillings, or rolling into your most beloved wraps. Prepare to make this effortless pita a new staple in your culinary repertoire!
Key Benefits & Takeaways
- Unbelievably Fast: Our Cottage Cheese Pita Bread comes together in approximately 30 minutes, requiring no yeast or lengthy proofing time, making homemade bread accessible on even the busiest days.
- Perfect Texture: Enjoy soft, fluffy interiors and a lightly crisp, golden exterior, ideal for wraps, dipping, or crafting delicious sandwiches.
- Highly Adaptable: Easily customize this recipe to be gluten-free or vegan with simple, straightforward substitutions, catering to various dietary needs.
- Optimal Dough Consistency: Achieve the best results by blending full-fat cottage cheese until smooth and draining any excess liquid to ensure a tacky, not sticky, dough.
- Versatile Serving: These pitas are designed for a multitude of uses, pairing exquisitely with classics like hummus, tzatziki, or as a wholesome base for your favorite fillings.
Table of Contents
- Key Benefits & Takeaways
- Why This Cottage Cheese Pita Bread Will Become Your Go-To Recipe
- Essential Ingredients for Perfect Pita
- Nonna’s Expert Baking Tip 🌾
- Creative Variations & Smart Substitutions
- Delicious Serving Suggestions
- Explore More Easy Recipes
- Frequently Asked Questions (FAQ)
- Complete Cottage Cheese Pita Bread Recipe
Why This Cottage Cheese Pita Bread Will Become Your Go-To Recipe
Get ready for this cottage cheese pita bread to revolutionize your kitchen! This recipe is more than just a quick meal solution; it’s a revelation for anyone who loves the taste of fresh bread without the time commitment. The dough itself is incredibly forgiving and comes together effortlessly. It mixes in minutes, rolls out with incredible ease, and cooks remarkably fast in a hot pan, performing a delightful magic trick as it puffs up into beautifully soft, pillowy rounds. Each pita boasts enticing golden spots on both sides, a testament to its perfect pan-fried finish. The joy of watching them inflate is truly satisfying, creating a natural pocket that’s ideal for filling. I personally adore these pitas for a variety of meals: they’re fantastic on a vibrant hummus plate, make for an unbeatable base for savory chicken wraps, and elevate a simple egg sandwich into something extraordinary. What’s even better is the versatility of this base dough! You can use this exact same formula to create delicious Cottage Cheese Flatbreads, quick Cottage Cheese Pizzas, and even those viral Cottage Cheese Bagels. It’s a truly simple, flexible, and consistently delicious dough that will quickly become an indispensable part of your cooking repertoire, proving that homemade bread can be both easy and incredibly rewarding.
Essential Ingredients for Perfect Pita
Crafting these amazing cottage cheese pitas requires just a few basic ingredients, each playing a vital role in achieving that desirable texture and flavor. Here’s a closer look at what you’ll need and why:
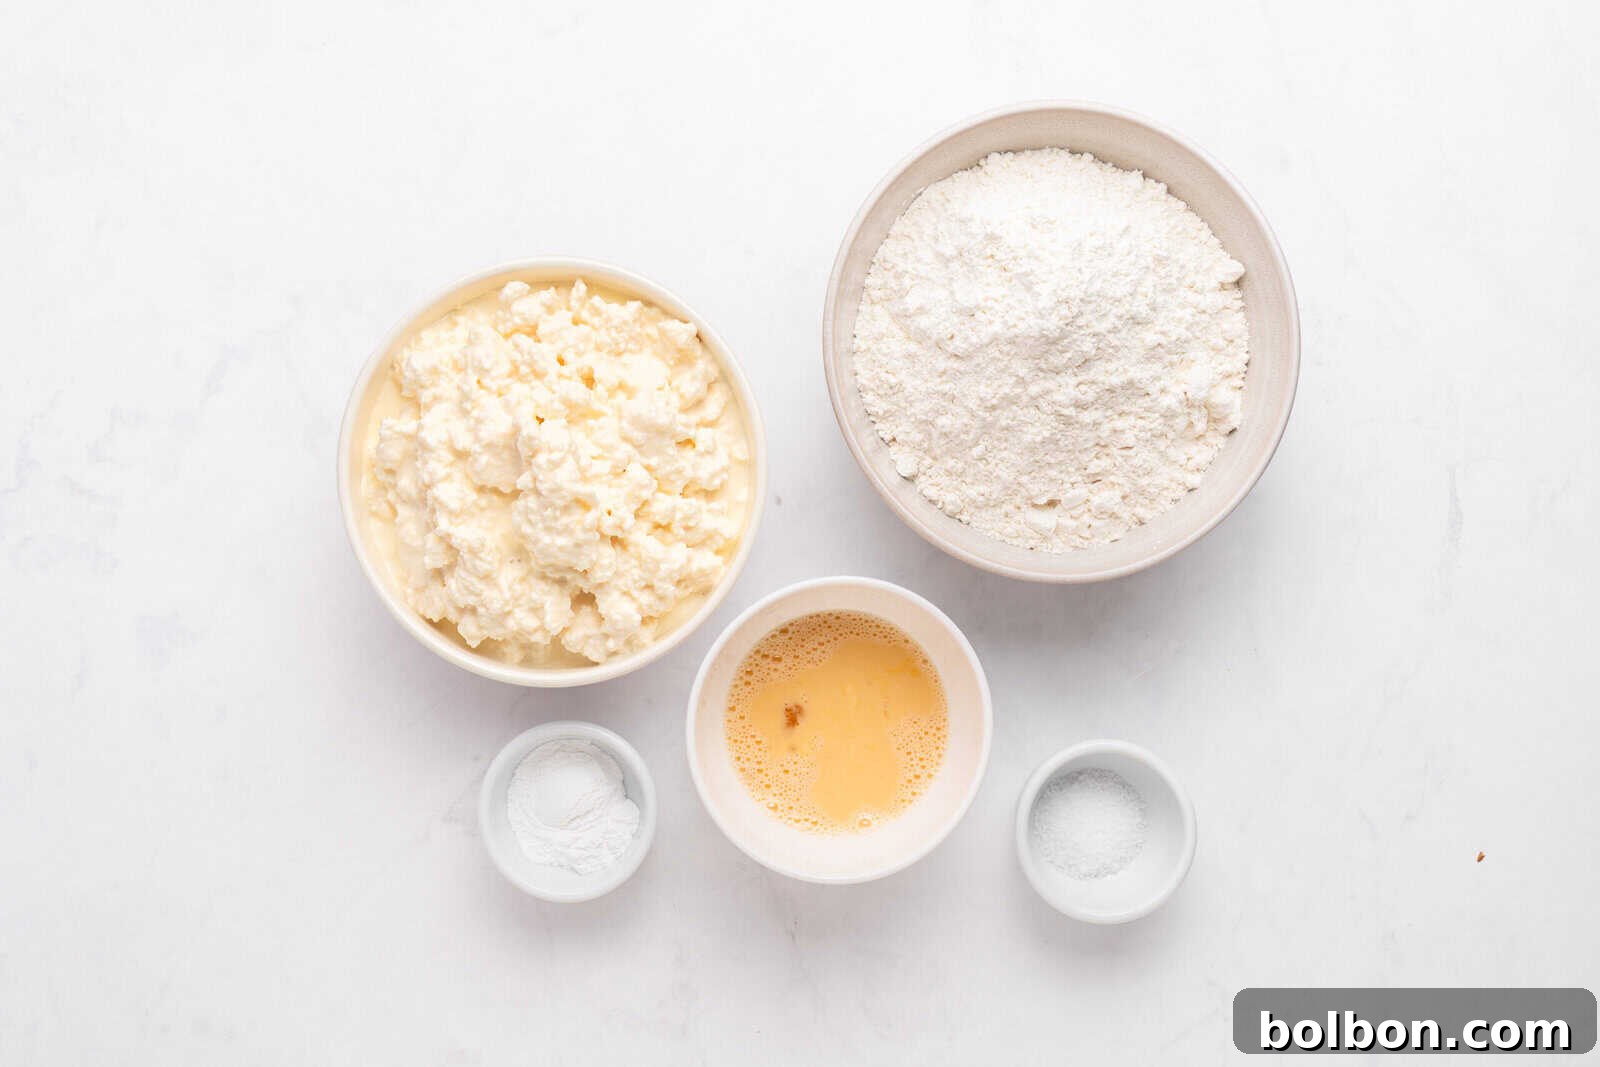
🌾 All-Purpose Flour: This is the foundation of our pita, providing structure while ensuring the finished bread remains wonderfully soft and tender. Its moderate protein content is ideal for a pliable, easy-to-work-with dough. If you prefer a slightly chewier bite, you can opt for bread flour, which has a higher protein content. Just be aware that it might require a touch more liquid or a slightly longer kneading time to achieve the right consistency.
⚪️ Baking Powder: The unsung hero of this no-yeast recipe! Baking powder is a leavening agent that reacts with moisture and heat to produce carbon dioxide bubbles, giving the dough its essential lift and helping it puff up beautifully in the hot pan. For the best rise and fluffiest pitas, it’s crucial to ensure your baking powder is fresh. Old or expired baking powder can lead to flat, dense results, so check its expiration date!
🧂 Salt: More than just a seasoning, salt is critical for balancing all the flavors in the dough. It enhances the taste of the cottage cheese and flour, preventing the pita from tasting bland or flat. Additionally, salt plays a role in regulating the dough’s structure and texture, contributing to its overall appeal.
🧀 Cottage Cheese: This is the secret ingredient that gives our pita its unique tenderness, richness, and a boost of protein, all without the need for yeast. Using full-fat cottage cheese is highly recommended, as its higher fat content contributes to the best texture, ensuring a moist crumb and promoting beautiful browning in the pan. To achieve the smoothest, most cohesive dough, I always blend the cottage cheese in a food processor until it’s perfectly smooth. After blending, it’s important to drain off any excess liquid. This step is vital to ensure your dough remains perfectly tacky (slightly sticky but manageable) rather than overly sticky and difficult to handle. Alternatively, for an even fresher flavor and ultimate control, you can even make your own homemade cottage cheese from scratch.
Nonna’s Expert Baking Tip 🌾
When working with this wonderful dough, a little flour goes a long way! Always lightly dust your work surface and your hands with flour. This simple trick prevents the dough from sticking, making it much easier to roll out and shape without adding too much extra flour to the recipe, which could result in a tougher pita. Find that perfect balance for a smooth, enjoyable process!
Creative Variations & Smart Substitutions for Cottage Cheese Pita Bread
One of the many charms of this cottage cheese pita bread recipe is its incredible adaptability. It’s a fantastic canvas for various dietary preferences and flavor explorations. Don’t be afraid to experiment with these simple modifications to make the recipe truly your own:
- Go Gluten-Free: You can absolutely make these pitas gluten-free by substituting an equal 1:1 gluten-free flour blend. When choosing a blend, look for one designed for baking. However, it’s important to manage expectations: gluten is what gives traditional bread its elasticity and helps it puff up significantly. Without gluten, your pitas won’t achieve the same dramatic puff or form a large pocket. The hack here is to press the dough into a thinner round, treating it more like a soft flatbread or a versatile wrap, rather than expecting a large, airy pocket.
- Embrace Vegan or Dairy-Free Options: For those following a plant-based diet or avoiding dairy, this recipe can be easily adapted. Simply swap out the traditional cottage cheese for a high-quality plant-based cottage cheese alternative. Many brands now offer delicious almond-based or cashew-based cottage cheese that work beautifully in this recipe, maintaining the dough’s texture and allowing you to enjoy a delicious, animal-product-free pita.
- Managing Fat Content: As mentioned, full-fat cottage cheese yields the softest, most flavorful pitas with the best browning. If you opt for a low-fat or fat-free cottage cheese, which tends to have a higher water content, it’s crucial to address the moisture level. Before mixing it into your dry ingredients, make sure to strain or squeeze out any extra moisture. You can do this by placing the cottage cheese in a fine-mesh sieve for 5-10 minutes, or by wrapping it in a cheesecloth and gently pressing out the liquid. This step is essential to prevent your dough from becoming overly sticky and difficult to handle, ensuring it remains perfectly tacky and workable.
- Infuse with Flavor: Elevate your pitas with a myriad of delicious additions! Once cooked, brush them with a good quality olive oil for a rich sheen and extra flavor. Mince some fresh garlic and sprinkle it along with finely chopped fresh herbs like parsley, oregano, or thyme for an aromatic boost. For a truly Mediterranean twist, sprinkle a generous amount of za’atar – a fragrant blend of herbs, sesame seeds, and sumac – over the dough before cooking or after brushing with oil. This adds an incredible depth of flavor and a beautiful visual appeal.
- Baking Powder Alternative (or Absence): What if you’re out of baking powder? While it’s key for the classic puffy pita, you can still make a delicious version. Without baking powder, the dough won’t have the same lift, and your pitas will be thinner – more akin to a soft, pliable tortilla or a very thin flatbread. These thinner versions are still absolutely fantastic for wraps, quesadillas, or as a base for mini pizzas; they just won’t form that characteristic pocket. It’s a great option for when you’re in a pinch and still want a fresh, homemade bread alternative.
Delicious Serving Suggestions
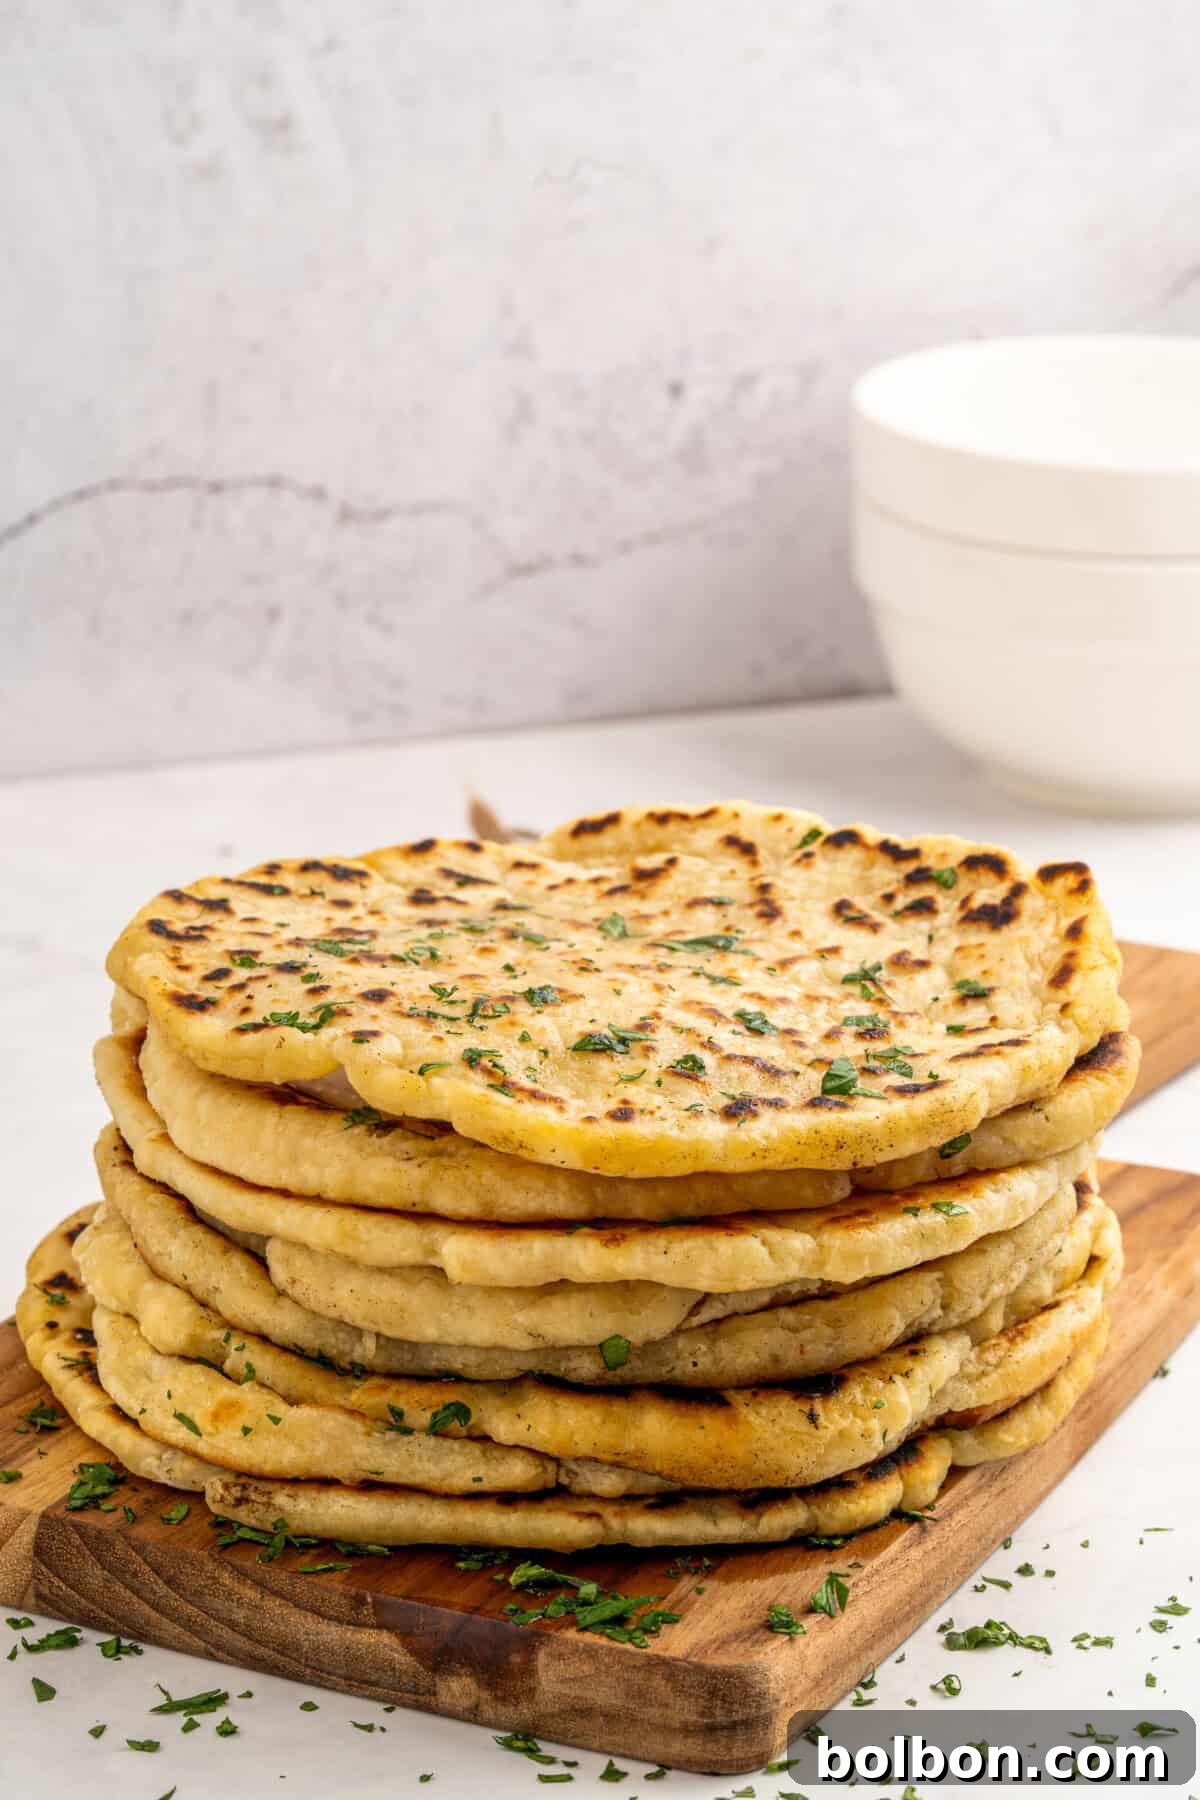
The versatility of this cottage cheese pita bread means it pairs wonderfully with a wide array of dishes, from traditional Mediterranean fare to everyday breakfast delights. Here are some of our favorite ways to enjoy them:
- Classic Mediterranean Dips: Serve warm, freshly cooked pita alongside creamy hummus, tangy labneh, or our refreshing easy tzatziki. The soft texture is perfect for scooping up every last bit of flavor.
- Hearty Main Meals: These pitas are the ideal accompaniment to grilled meats. Pair them with juicy Chicken Souvlaki or our famous Viral Sheet Pan Kebabs, complete with fresh vegetables and a sprinkle of herbs. Wrap your fillings inside for a satisfying and portable meal.
- Breakfast & Brunch Brilliance: Transform your morning routine by using these pitas as a wrap for fluffy scrambled eggs, crispy bacon, or your favorite breakfast sausage. They make for a surprisingly delightful and protein-packed breakfast sandwich.
- Soup & Stew Companion: Tear the warm pita into rustic pieces and use them for dipping into rich, flavorful soups or hearty stews. The pita absorbs the liquid beautifully, adding a comforting depth to every spoonful.
- Mini Pizza Base: Turn these pitas into quick individual pizzas! Spread with your favorite tomato sauce, sprinkle with cheese and toppings, then bake or pan-fry until the cheese is bubbly and the crust is crisp.
- Garlic Bread Alternative: Brush with olive oil, sprinkle with garlic powder and dried oregano, then toast lightly for a quick and flavorful side to pasta dishes or salads.
Explore More Easy Recipes
Cottage Cheese Flatbread
35 mins
Cottage Cheese Bagels (Viral)
33 mins
Homemade Cottage Cheese
1 hr 15 mins
Cottage Cheese Pizza Toast
15 mins
Frequently Asked Questions (FAQ)
Yes, for the best results, blending the cottage cheese is a crucial step. Process it in a food processor for about 30-45 seconds until it’s perfectly smooth and free of lumps. This ensures a beautifully cohesive dough and a uniform, soft texture in your finished pitas.
It’s normal for the dough to be slightly tacky, but if it’s too sticky to handle, don’t worry. Simply let the dough rest for about 5 minutes, allowing the flour to fully hydrate. After resting, gently knead in an additional 1-2 tablespoons of flour, one at a time, until the dough reaches a workable consistency that’s tacky but no longer excessively sticky.
Absolutely! This dough is great for meal prep. Lightly oil the dough ball, place it in an airtight container or wrap it tightly with plastic, and refrigerate for up to 24 hours. When you’re ready to cook, let the dough come to room temperature for about 15-20 minutes before rolling and cooking.
Yes, you can easily adapt this recipe to be gluten-free by using a 1:1 gluten-free flour blend. The cooking method remains the same. Keep in mind that due to the absence of gluten, the pitas may not puff up as dramatically as their wheat-based counterparts, resulting in a more flatbread-like texture, but they will still be delicious.
Yes, this dough freezes beautifully! Once you’ve mixed and shaped the dough into balls, lightly oil them, wrap each tightly in plastic wrap, and then place them in a freezer-safe bag or container. Freeze for up to 2 months. To use, thaw the dough overnight in the refrigerator, then bring it to room temperature before rolling and cooking.
Cottage Cheese Pita Bread
Print 🖨
4
pita rounds
20 minutes
5 minutes
25 minutes
Ingredients
Instructions
Notes
Nutrition
Equipment
-
Mixing Bowls: Essential for combining your dry and wet ingredients efficiently and without mess.
-
Measuring Cups + Spoons: For accurate ingredient measurement, ensuring consistent results every time.
-
Large Food Processor: Key for blending the cottage cheese until perfectly smooth, which is vital for the dough’s texture.
-
Cast Iron Pan: Ideal for cooking pitas as it retains heat exceptionally well, ensuring even cooking and beautiful browning. A heavy-bottomed non-stick pan also works.
-
Rolling Pin: For evenly flattening your dough into perfect pita rounds, ensuring they cook consistently.
Ingredients
-
1 cup all-purpose flour, plus more for dusting your work surface and hands to prevent sticking. -
2 teaspoons baking powder: Ensure it’s fresh for optimal rise and fluffy pitas. -
1 teaspoon salt: Crucial for balancing flavors and enhancing the overall taste. -
1 cup full-fat cottage cheese, blended until completely smooth and excess liquid drained for the best dough consistency.
Instructions
-
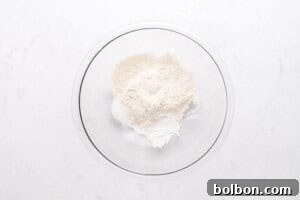
In a large mixing bowl, combine the all-purpose flour, baking powder, and salt. Whisk these dry ingredients together thoroughly to ensure the baking powder is evenly distributed. This is crucial for a consistent rise in your pitas.

-
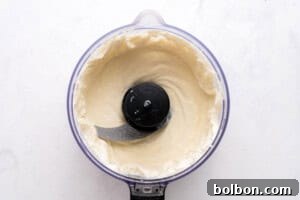
Next, add the full-fat cottage cheese to a food processor. Blend it for approximately 30-45 seconds, or until it reaches a completely smooth and creamy consistency, with no visible curds. If there’s any excess liquid, drain it off to prevent a sticky dough.
-
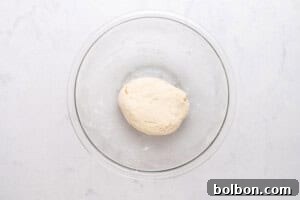
Pour the smooth, blended cottage cheese into the bowl with your dry ingredients. Begin mixing with a fork until the ingredients are mostly combined and a shaggy dough starts to form. Then, switch to using your hands to gently knead the mixture for about 2-3 minutes until a smooth, cohesive, and pliable dough ball is achieved.
-
Dough Consistency Note: The dough should be soft and slightly tacky, but not overly sticky. If at any point during mixing or shaping the dough feels too sticky to manage, lightly dust your work surface and hands with a little extra flour as you work with it. Remember Nonna’s tip from above for best results!
-
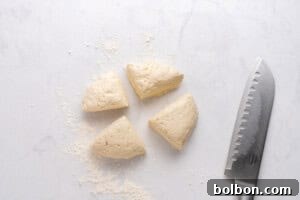
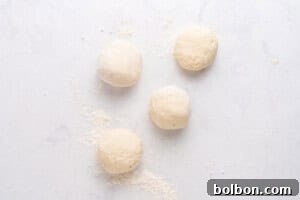
Once your dough is smooth, transfer it to a lightly floured surface. Using a knife or a bench scraper, divide the dough into 4 equal pieces. This ensures uniform pita sizes for even cooking.
-
Take each of the four dough pieces and gently shape them into smooth, compact balls. Roll them lightly between your palms on a floured surface until they form neat spheres.
-
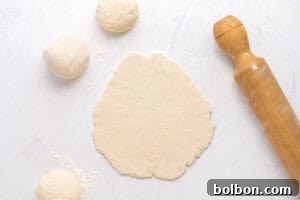
On your lightly floured surface, use a rolling pin to roll out each dough ball into a round shape, approximately 6-7 inches in diameter and about 1/8 to 1/4 inch thick. Aim for an even thickness to ensure they puff up uniformly.
-
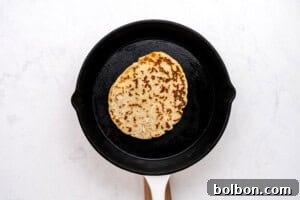
Heat a cast iron pan or a heavy-bottomed skillet over medium-high heat until hot. Place one rolled pita into the dry hot pan (no oil needed!). Cook for 1-2 minutes per side. You’ll notice it start to bubble and then puff up beautifully. Flip it halfway through cooking, allowing each side to develop a golden, lightly crisp crust. Once cooked, transfer to a plate and cover with a clean kitchen towel to keep warm and soft while you cook the remaining pitas. Serve immediately and enjoy the fresh, warm goodness!
Nonna’s Notes
- Other Ways to Bake: This incredibly versatile dough is not just for pitas! You can also use it as a fantastic base for our Cottage Cheese Bagels or our simple Cottage Cheese Pizza Dough. Explore the possibilities!
- Gluten-Free: To make these pitas gluten-free, simply use a 1:1 GF flour blend. While the method remains the same, anticipate that your pitas won’t form a large, airy pocket due to the lack of gluten. Instead, press the dough into a thinner round and enjoy it as a delicious flatbread or versatile wrap.
- Vegan/Dairy-Free: Easily adapt this recipe to be vegan or dairy-free by swapping traditional cottage cheese for a plant-based cottage cheese alternative in a 1:1 ratio. The texture will be very similar, offering a delightful plant-forward option.
- Fat Level Tips: For the softest texture, richest flavor, and best browning, full-fat cottage cheese is highly recommended. If you decide to use low-fat cottage cheese, it’s crucial to strain it for 5-10 minutes or gently squeeze out any excess moisture with a cheesecloth. This prevents the dough from becoming too sticky and ensures it remains tacky and easy to work with.
- Flavor Boosters: Enhance your pitas with extra flavor! After cooking, brush them lightly with olive oil. Then, sprinkle with minced fresh garlic and your favorite fresh herbs like parsley or oregano. For an authentic Mediterranean touch, a generous sprinkle of za’atar adds wonderful depth and aroma.
- No Baking Powder: If you find yourself without baking powder, you can still make this recipe! However, without the leavening agent, your pitas will not puff up. They will instead result in a thin, tortilla-style flatbread. These are still great for wraps and dipping, just don’t expect the classic pita pocket.
My Notes
Nutrition
Nutrition information is automatically calculated, so should only be used as an approximation.