
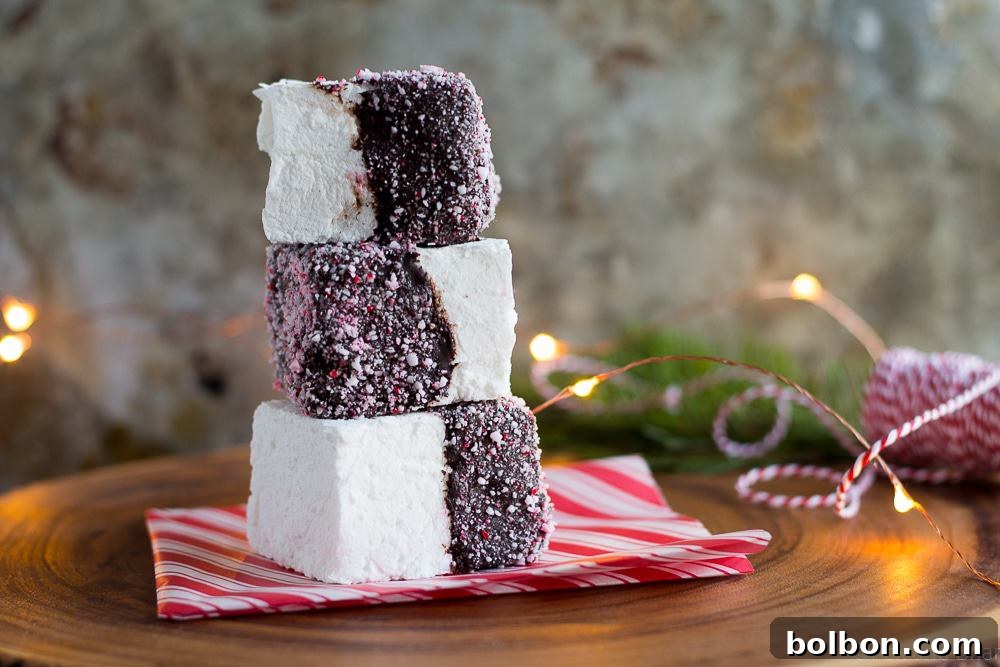
As the holiday season twinkles into full swing, there’s an undeniable charm in crafting homemade delights that fill your home with warmth and festive cheer. Forget the last-minute dash; embrace the joy of creating something truly special with these utterly delightful Homemade Peppermint Marshmallows. They are not just a treat for the taste buds but a feast for the eyes, promising to elevate your hot cocoa experience or become the star of your holiday gift baskets. This recipe stands out, offering a simple, fuss-free path to pillowy, minty perfection, all without the need for corn syrup.
The Irresistible Appeal of Homemade Peppermint Marshmallows
There’s a world of difference between a store-bought marshmallow and one crafted with care in your own kitchen. Homemade marshmallows possess a cloud-like texture and a depth of flavor that simply cannot be replicated by mass-produced varieties. When you infuse them with the crisp, refreshing essence of peppermint, they transform into miniature bites of winter wonderland magic. This recipe, designed for ease and accessibility, ensures that even novice bakers can achieve spectacular results, making them an ideal project for holiday baking or a thoughtful, personalized gift.
One of the most appealing aspects of this particular recipe is its liberation from corn syrup. Many traditional marshmallow recipes rely on corn syrup for its anti-crystallization properties and smooth texture. However, with the right balance of ingredients and precise technique, you can achieve equally stunning, glossy, and perfectly textured marshmallows using just granulated sugar and water. This not only offers a simpler ingredient list but also provides peace of mind for those looking to avoid corn syrup in their confections.
Why These Marshmallows Are Your Holiday Must-Make Treat
Imagine a chilly evening, curled up with a steaming mug of hot chocolate, topped with one of these ethereal peppermint marshmallows, slowly melting into a creamy, minty swirl. Or picture a beautifully packaged box of these delights, tied with a festive ribbon, handed to a loved one. The joy these marshmallows bring is multifaceted:
- Unmatched Flavor: The combination of pure peppermint extract and a hint of vanilla creates a vibrant yet balanced flavor profile that sings of the holidays.
- Superior Texture: Light, airy, and wonderfully chewy, these marshmallows melt beautifully without dissolving too quickly, offering a luxurious mouthfeel.
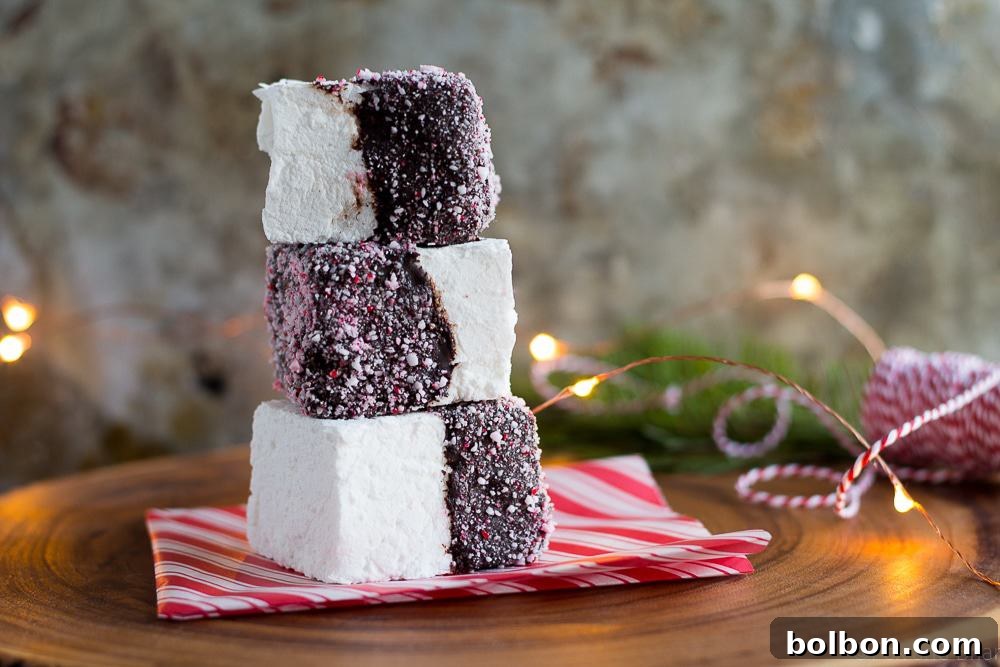
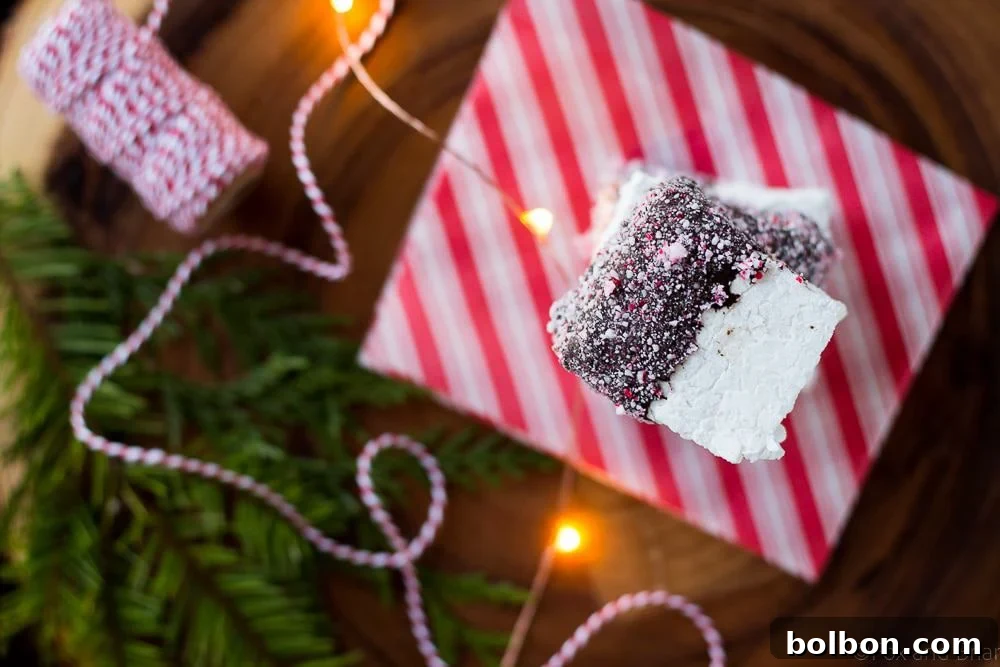
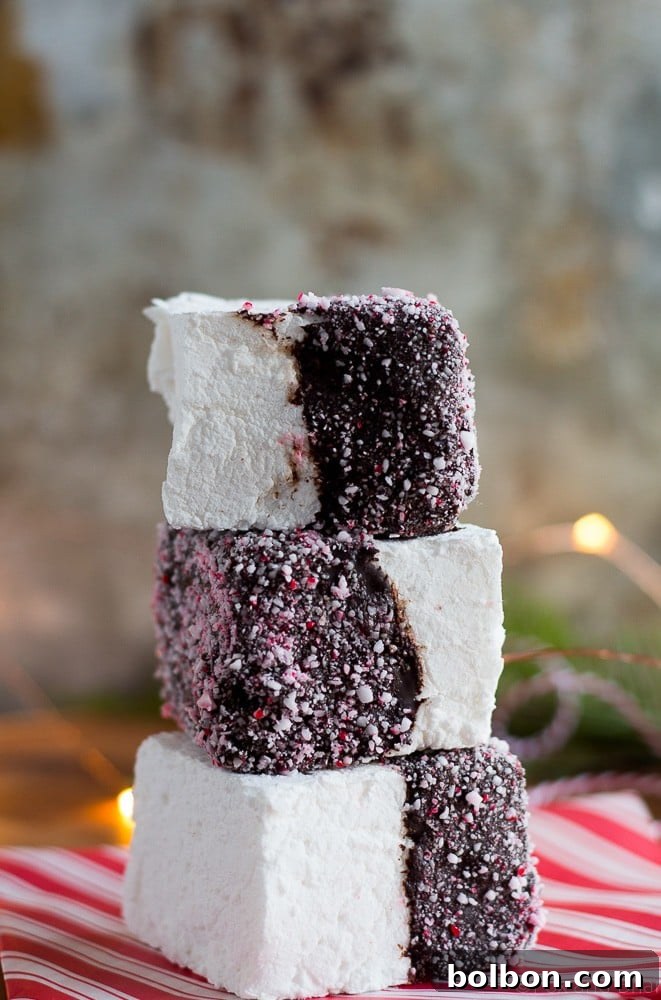
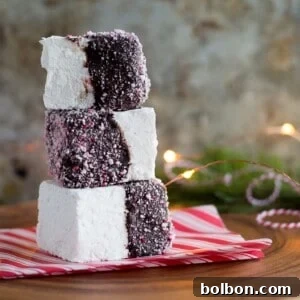
- Effortlessly Elegant: Despite their humble ingredients, the finished marshmallows, especially when dipped in rich dark chocolate and sprinkled with crushed candy canes, look incredibly sophisticated and gourmet.
- Perfectly Customizable: While the peppermint and chocolate-dipped candy cane version is iconic for the holidays, the base marshmallow recipe is a blank canvas for other flavors and decorations.
- A Thoughtful Gift: Homemade gifts carry a special meaning. These marshmallows are a delightful way to show appreciation and share a taste of holiday cheer.
As we navigate the hustle and bustle of the festive season, finding moments for simple pleasures becomes even more precious. Crafting these marshmallows is one such moment – a therapeutic kitchen activity that yields incredibly rewarding results. This quick and easy recipe is designed to fit into even the busiest schedules, promising a delicious outcome that will surely become a cherished holiday tradition.
Homemade Peppermint Marshmallows
Ingredients
For The Marshmallows:
- 2 tablespoons unflavored gelatin (2 envelopes Knox)
- 1/2 cup cold water
- 2 cups granulated sugar
- ½ cup cold water
- 1/4 teaspoon peppermint extract
- 1/2 teaspoon vanilla extract
- 1/2 cup powdered sugar (for dusting)
- 1/4 cup cornstarch (for dusting)
For The Topping:
- 10 ounces dark chocolate, chopped
- crushed candy canes (5-10 candy canes)
Instructions
-
Begin by mixing together the cornstarch and powdered sugar in a medium bowl; this will be your dusting mixture. Line a 9×5 inch (or larger) baking dish with parchment paper, ensuring it overhangs the sides for easy removal. Dust the prepared dish generously with a layer of the cornstarch/powdered sugar mixture, then set it aside. This step is crucial for preventing the marshmallows from sticking.
-
In a separate small bowl, pour 1/2 cup of cold water. Evenly sprinkle the unflavored gelatin over the cold water. Allow the gelatin to “bloom” or soften for approximately 10 minutes. This process ensures the gelatin fully hydrates, which is essential for the marshmallow’s structure.
-
Meanwhile, in a medium saucepan set over medium heat, combine the other 1/2 cup of cold water and the granulated sugar. Stir continuously until the sugar is completely dissolved and the mixture is clear. Be careful not to let it burn or crystallize.
-
Add the bloomed gelatin mixture to the sugar water in the saucepan. Stir until the gelatin is fully dissolved and incorporated into the syrup. Bring the mixture just to a boil, then immediately remove it from the heat.
-
Carefully pour the hot syrup into the bowl of a stand mixer fitted with the whisk attachment. Let it cool for a few minutes to slightly reduce its temperature before adding the extracts.
-
Add the vanilla extract and peppermint extract to the mixer bowl. Begin beating the mixture on medium speed, gradually increasing to medium-high. Continue beating for 10-15 minutes. During this time, the mixture will transform from a clear syrup into a thick, white, glossy, and voluminous marshmallow fluff, doubling significantly in size. Starting slow prevents splashing, and sufficient beating time is key to achieving that signature fluffy texture.
-
Promptly pour the whipped marshmallow mixture into your prepared baking pan. Use a greased spatula to gently smooth the top surface. Dust the top with another thin layer of your cornstarch/powdered sugar mixture. Allow the marshmallows to set undisturbed at room temperature for several hours, or preferably overnight, until they are firm and no longer sticky to the touch. Patience here ensures perfect marshmallows!
-
Once set, carefully lift the marshmallows out of the dish using the parchment paper overhang. Place them on a clean cutting surface. Lightly grease a sharp knife or a pizza cutter (this helps prevent sticking) and cut the marshmallow slab into individual squares. Dust each cut marshmallow square thoroughly in the cornstarch/sugar mixture, then gently shake off any excess powder.
-
For the optional topping, melt the chopped dark chocolate over a double boiler. Stir gently until the chocolate is completely smooth and melted. Alternatively, you can melt it in a microwave safe bowl in 30-second intervals, stirring after each, until smooth.
-
To dip each marshmallow, hold one by an undipped corner and submerge half of it into the melted chocolate. Lift it out, allowing any excess chocolate to drip back into the bowl for a cleaner finish.
-
Place each chocolate-dipped marshmallow on a sheet of clean parchment paper. Allow the chocolate to begin setting for about 5-10 minutes. This partial setting is crucial for the crushed candy canes to adhere properly without sliding off.
-
While the chocolate is partially setting, prepare your crushed candy canes. If they’ve hardened, stir them with a fork to break up any clumps. Gently press the chocolate-dipped side of each marshmallow into the crushed candy canes, ensuring an even coating. Repeat this process for all marshmallows. You might need to stir the candy canes occasionally as they can stick together.
-
Allow the marshmallows to sit undisturbed on the parchment paper until the chocolate is fully set and firm. This may take a couple of hours at room temperature, or you can speed it up slightly by refrigerating them.
Notes
Crushed candy canes tend to harden and clump quickly. For the best coating results, stir them frequently with a fork right before dipping each marshmallow.
Nutrition information is automatically calculated, so should only be used as an approximation.
Additional Info
Creative Ways to Enjoy and Share Your Peppermint Marshmallows
Beyond being a simple snack, these homemade peppermint marshmallows open up a world of delightful possibilities. Their festive flavor and elegant appearance make them incredibly versatile. Here are some ideas to inspire you:
- The Ultimate Hot Chocolate Companion: This is arguably their most iconic use. Drop a few into a mug of rich hot chocolate for a burst of minty flavor and a decadent, melting texture. They’re also fantastic with coffee or a peppermint mocha.
- Festive Gifting: Package them beautifully in cellophane bags, small boxes, or jars. Tie with a festive ribbon and add a homemade tag for a thoughtful, personalized gift that everyone will adore. They’re perfect for teachers, neighbors, friends, or as hostess gifts.
- Dessert Topping: Get creative and use them to top ice cream sundaes, puddings, or even as a garnish for holiday cakes and cupcakes. A gently toasted peppermint marshmallow on a s’mores bar would be an unexpected delight.
- Holiday Platters: Arrange them on a dessert platter alongside other holiday cookies and candies for a vibrant and inviting spread.
- Simply Indulge: Sometimes, the best way to enjoy these fluffy delights is simply on their own. Their airy texture and refreshing taste make them a perfect little pick-me-up.
Tips for Success and Storage
Making marshmallows might seem daunting at first, but with a few simple tips, you’ll achieve perfect results every time:
- Preparation is Key: Ensure your pan is well-lined and thoroughly dusted with the cornstarch/powdered sugar mixture. This prevents sticking and makes cutting much easier.
- Blooming Gelatin: Don’t rush this step. Allowing the gelatin to fully hydrate in cold water ensures a smooth texture and proper set for your marshmallows.
- Whipping Time: Be patient with the whipping process. The full 10-15 minutes in a stand mixer is crucial for incorporating enough air to achieve that characteristic light and fluffy marshmallow texture. The mixture should be thick, white, and glossy.
- Cutting Cleanly: A lightly greased knife or pizza cutter will glide through the sticky marshmallow more easily, giving you clean, sharp edges. Re-grease as needed.
- Dusting After Cutting: Dusting each side of the cut marshmallows prevents them from sticking to each other, making storage and handling much simpler.
To store your homemade peppermint marshmallows, place them in an airtight container at room temperature. They will retain their freshness and soft texture for up to 1-2 weeks. If you’ve dipped them in chocolate, they might last a little longer, and you can even store them in the refrigerator, though they might firm up slightly. Always keep them away from direct sunlight or excessive heat to prevent melting or stickiness.
Variations to Spark Your Creativity
While the peppermint and chocolate-dipped candy cane version is a holiday classic, the beauty of homemade marshmallows lies in their adaptability. Feel free to experiment with these variations:
- Different Extracts: Swap peppermint for almond, orange, lemon, or even a spiced extract like cinnamon or gingerbread for different seasonal flavors.
- Food Coloring: Add a few drops of gel food coloring during the whipping stage to create festive colors like green or red marshmallows.
- Alternative Coatings: Instead of dark chocolate and candy canes, consider dipping them in white chocolate and sprinkling with festive sprinkles, finely chopped nuts, or even cocoa powder for a sophisticated finish.
- Coconut Snowflakes: Dip in white chocolate and roll in shredded coconut for a “snowy” effect.
Embrace the joy of crafting these delightful Homemade Peppermint Marshmallows this holiday season. Whether you’re making them for festive gatherings, thoughtful gifts, or simply to elevate your own hot cocoa ritual, their unparalleled taste and texture are sure to impress. Happy baking, and happy holidays!
Adapted from Food.com