
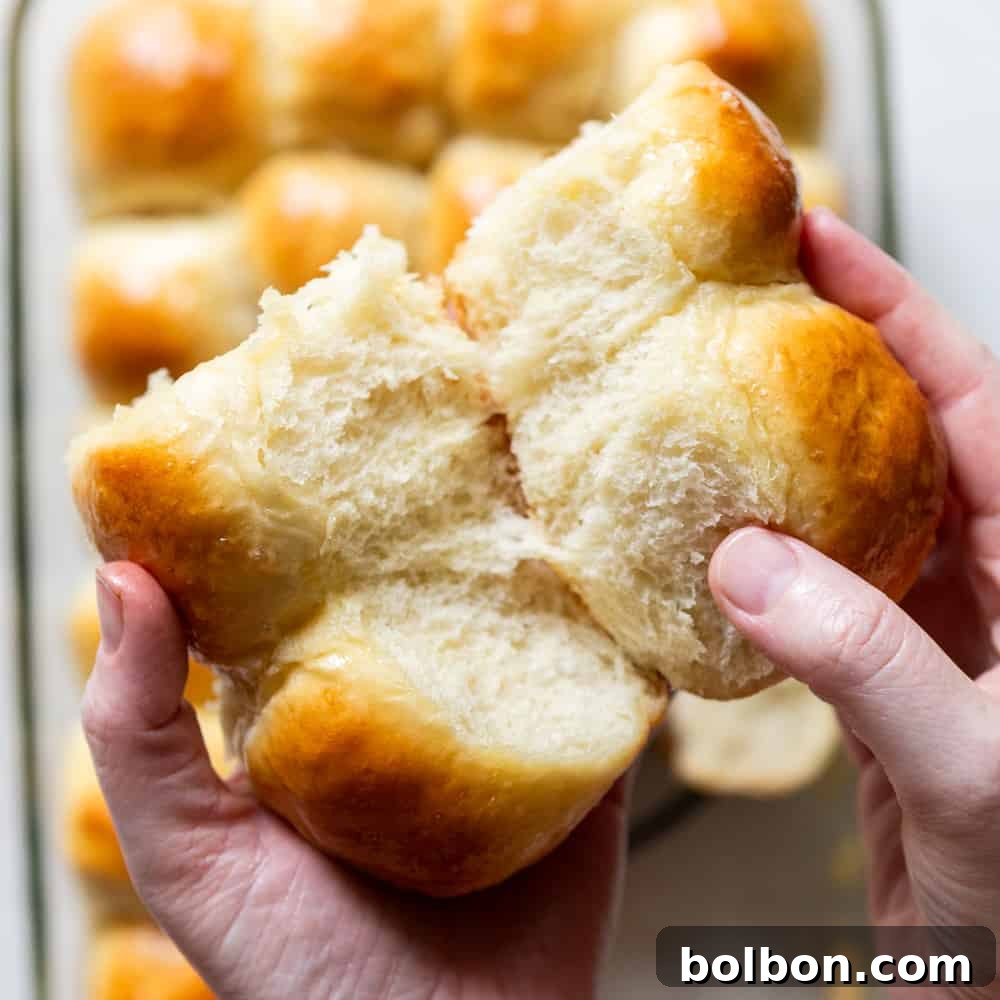
There’s nothing quite like warm, tender, and incredibly fluffy dinner rolls straight from the oven. They have a magical way of making any meal feel special, comforting, and complete. But let’s be honest, baking fresh rolls can be a time-consuming affair, especially when you’re preparing a grand feast for holidays like Thanksgiving, Christmas, or Easter. That’s where the beauty of these **Make Ahead Dinner Rolls** truly shines. Imagine having pillowy soft rolls ready to pop into the oven with minimal effort on the big day, allowing you to relax and enjoy the company of your loved ones. This recipe delivers exactly that: irresistibly soft and fluffy rolls that are simple to prepare in advance, ensuring they’ll vanish from your table the moment they’re served!
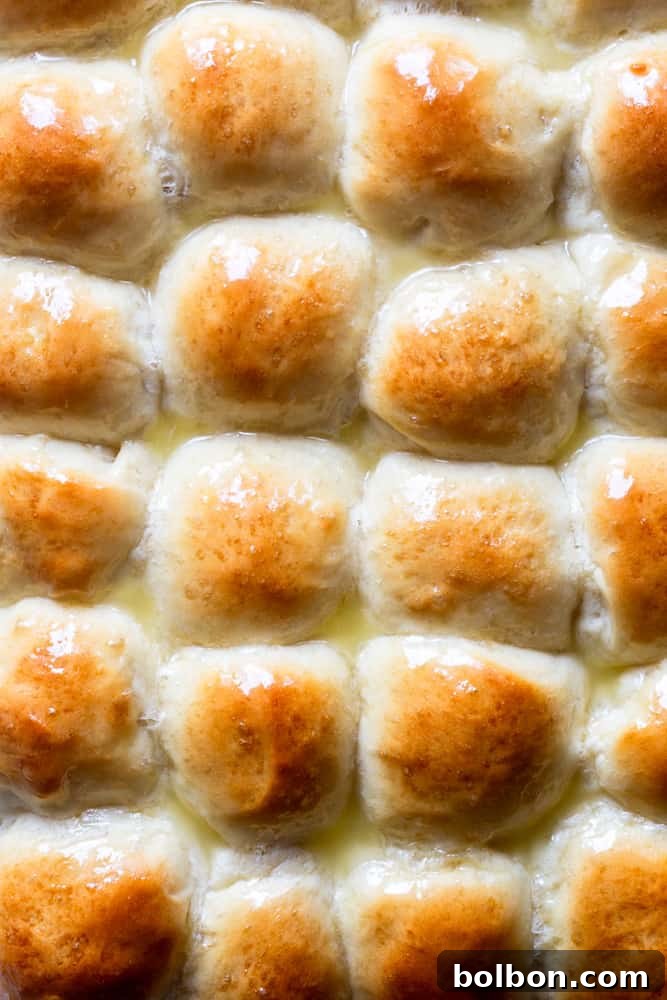
Why Make Dinner Rolls Ahead of Time? The Ultimate Holiday Hack
The culinary calendar’s biggest events—Thanksgiving, Christmas, and Easter—are often a beautiful whirlwind of cooking, baking, and hosting. While homemade dinner rolls are a beloved staple, the thought of adding another multi-step recipe to an already packed day can feel daunting. This make-ahead recipe is your secret weapon, transforming the typically busy task of baking into a seamless and enjoyable part of your holiday preparation.
By preparing the dough the day before, you eliminate last-minute stress and free up valuable kitchen space and time. You get to enjoy the incredible aroma of freshly baked bread without the pressure of proofing, kneading, and shaping all on the same day as your main meal. Plus, allowing the dough to slowly ferment in the refrigerator overnight often deepens the flavor, resulting in even more delicious and complex rolls. It’s a win-win: less work for you, and even tastier results for your guests!
What Makes This The BEST Easy Dinner Roll Recipe?
I’ve spent years perfecting a dinner roll recipe that hits all the right notes, and this one consistently earns rave reviews. It’s truly a game-changer for anyone who loves homemade bread but craves convenience. Here’s why I’m so confident you’ll adore these **easy dinner rolls**:
- Remarkably Simple: This recipe streamlines the baking process, making it approachable even for novice bakers.
- Minimal Ingredients: You only need six common pantry staples to create these incredible rolls, proving that simple can indeed be spectacular.
- Unbeatable Texture: Say goodbye to dense, heavy rolls! These are guaranteed to be gloriously soft, incredibly fluffy, and melt-in-your-mouth tender—a non-negotiable for any good dinner roll.
- The Ultimate Convenience: Best of all, you can prepare the dough and shape the rolls the day before, then simply bake them fresh when you’re ready to serve. This is the magic of “make ahead.”
- Versatile for All Occasions: While perfect for holidays, these rolls are equally fantastic for Sunday dinner, potlucks, or even as a delightful accompaniment to a simple weeknight meal.
Essential Ingredients for Soft & Fluffy Make Ahead Dinner Rolls
The beauty of these homemade rolls lies in their simplicity, using a handful of fundamental ingredients. Each component plays a crucial role in achieving that coveted soft, fluffy texture and rich flavor.
- Active Dry Yeast: This is the leavening agent that makes our rolls rise. I specifically use active dry yeast here, which needs to be “proofed” (activated) in warm liquid before being combined with other ingredients. If you opt for instant yeast, you can skip the initial proofing step; just add it directly with the water, honey, and a portion of the flour in the second mixing step. Always check the expiration date on your yeast to ensure it’s fresh and active!
- All-Purpose Flour: Standard all-purpose flour works wonderfully, providing a balanced structure for these rolls. It has a moderate protein content that allows for good gluten development without making the rolls overly chewy. If you prefer a slightly chewier texture, bread flour can be substituted, as it has a higher protein content.
- Honey: Beyond adding a subtle sweetness that perfectly complements the rich butter, honey serves a vital purpose: it feeds the yeast. The sugars in honey help the yeast activate quickly and thrive, contributing to a robust rise and a beautiful golden-brown crust during baking. You can substitute granulated sugar if needed.
- Butter: The secret to truly rich, buttery, soft, and fluffy rolls. Melted unsalted butter adds incredible flavor, moisture, and tenderness to the dough. It also helps create a delicate crumb structure. For best results, use good quality butter. Vegetable oil can be used as a substitute for a dairy-free option, but the flavor profile will be different.
- Eggs: Eggs contribute to the roll’s structure, richness, and golden color. They add moisture and a tenderness that makes the rolls wonderfully soft. Eggs also help the rolls hold their shape during baking and cooling.
- Salt: A non-negotiable ingredient in any bread recipe! Salt isn’t just for flavor; it also regulates yeast activity, preventing it from rising too quickly. Without salt, your rolls would taste incredibly bland and might overproof easily. Ensure you use fine-grain salt for even distribution.
Don’t Make These Common Mistakes for Perfect Dinner Rolls Every Time!
Baking with yeast can feel a bit intimidating, but by avoiding a few common pitfalls, you’ll achieve beautifully fluffy dinner rolls consistently. These tips are crucial for success!
- Using Expired or Inactive Yeast: This is arguably the biggest culprit behind failed bread. Yeast is a living organism, and if it’s past its prime, it simply won’t activate. The initial “proofing” step (mixing yeast with warm water and honey) is vital. After 5 minutes, if your mixture isn’t foamy and bubbly like a cappuccino, your yeast is likely dead. Don’t proceed; start over with fresh yeast. Store yeast in an airtight container in the fridge or freezer to prolong its life.
- Incorrect Water Temperature: Goldilocks was right – it needs to be “just right.” Water that’s too hot (above 115°F/46°C) will kill your yeast, rendering it inactive. Conversely, water that’s too cold (below 100°F/38°C) won’t activate the yeast, or it will do so very slowly, leading to a poor rise. Aim for lukewarm water, ideally between 105°F and 115°F (40-46°C). It should feel like a warm bath on your wrist. A kitchen thermometer, like a Thermapen, is a small investment that makes a huge difference here.
- Adding Too Much Flour: This dough is designed to be slightly sticky, and many bakers are tempted to add more flour to make it easier to handle. Resist this urge! Excessive flour will lead to dense, dry, and hard rolls instead of soft, fluffy ones. The dough should pull away from the sides of the bowl during mixing but still remain somewhat tacky. When working with it by hand, use a very light dusting of flour on your surface and hands. A stand mixer is highly recommended for this recipe as it handles sticky dough with ease, ensuring optimal texture.
- Over Proofing: Allowing your dough to rise for too long (over proofing) can be detrimental. When dough over proofs, the yeast consumes all its food source (sugars), produces its maximum carbon dioxide, and then the gluten structure begins to collapse. This causes the gas to escape, and the dough will deflate, often resulting in flat, dense rolls that don’t rise properly in the oven. To avoid this, keep a close eye on your dough and set a timer. The dough should roughly double in size, but shouldn’t look excessively bubbly or saggy. If it springs back slowly when gently poked, it’s usually ready.
- Under-Kneading: Kneading develops the gluten strands in the flour, which creates the structure and elasticity necessary for light, airy rolls. Under-kneading will result in a crumbly texture and poor rise. Knead until the dough is smooth and elastic – it should pass the “windowpane test” (you can stretch a small piece thin enough to see light through it without tearing).
Step-by-Step Guide: How to Make Fluffy Dinner Rolls Ahead of Time
This simple recipe is mostly hands-off, thanks to the magic of yeast and a little refrigeration. While a stand mixer makes the kneading process incredibly easy (especially with sticky dough), you can certainly knead it by hand. Just remember to use a light touch with extra flour to avoid a dense end product.
- Proof the Yeast: In the bowl of your stand mixer (or a large mixing bowl if kneading by hand), combine the lukewarm water, active dry yeast, and honey. Whisk them together gently. Let this mixture sit for 5 minutes. You should see foam and bubbles forming on the surface, indicating your yeast is active and ready to work!
- Initial Mix: Add about 1 ½ cups (180 grams) of the all-purpose flour, the melted butter, one egg, and the salt to the yeast mixture. Using the dough hook attachment on your stand mixer (or a sturdy spoon), beat on low speed for 1 minute, scraping down the sides of the bowl as needed to ensure everything is well combined.
- Add Remaining Flour & Knead: Gradually add the remaining flour, about ½ cup at a time, mixing until the dough comes together. The dough should start pulling away from the sides of the bowl but will remain quite sticky and soft. Continue to knead on medium-low speed for 7-10 minutes, or until the dough is smooth, elastic, and passes the windowpane test (see “Don’t Make These Common Mistakes” section for details). If kneading by hand, this will take about 10-15 minutes of vigorous kneading.
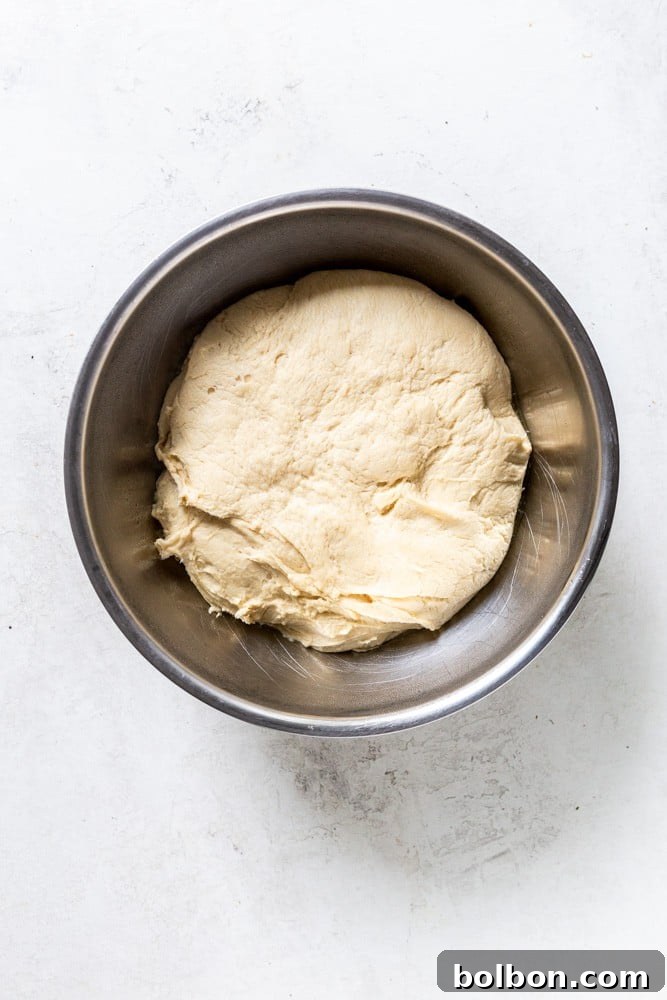
- First Rise (Bulk Fermentation): Lightly grease a large bowl with oil. Place the dough ball into the bowl, turning it once to coat all sides with the oil. Cover the bowl tightly with plastic wrap or a clean kitchen towel. Allow the dough to rise at room temperature (ideally a warm spot, around 70-75°F / 21-24°C) for approximately one hour, or until it has doubled in size.
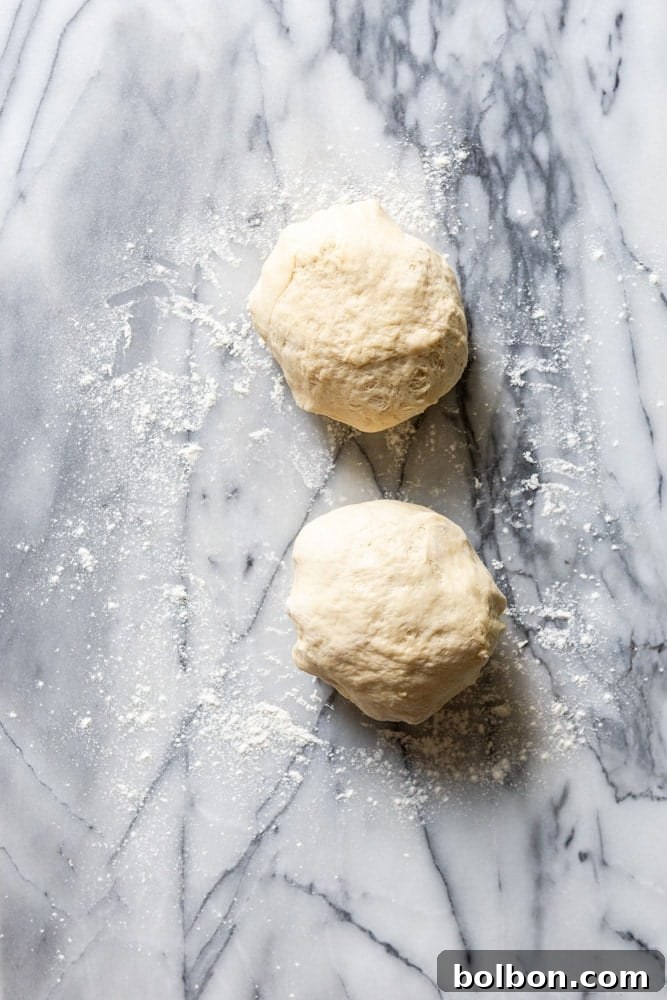
- Shape the Rolls: Gently deflate the risen dough by pressing down on it. Turn the dough out onto a lightly floured surface and divide it in half. Cover both halves and let them rest for 10 minutes; this helps the gluten relax, making the dough easier to shape.
- Prepare Pan: Lightly grease a 13×9 inch baking pan (or two smaller pans) and set it aside.
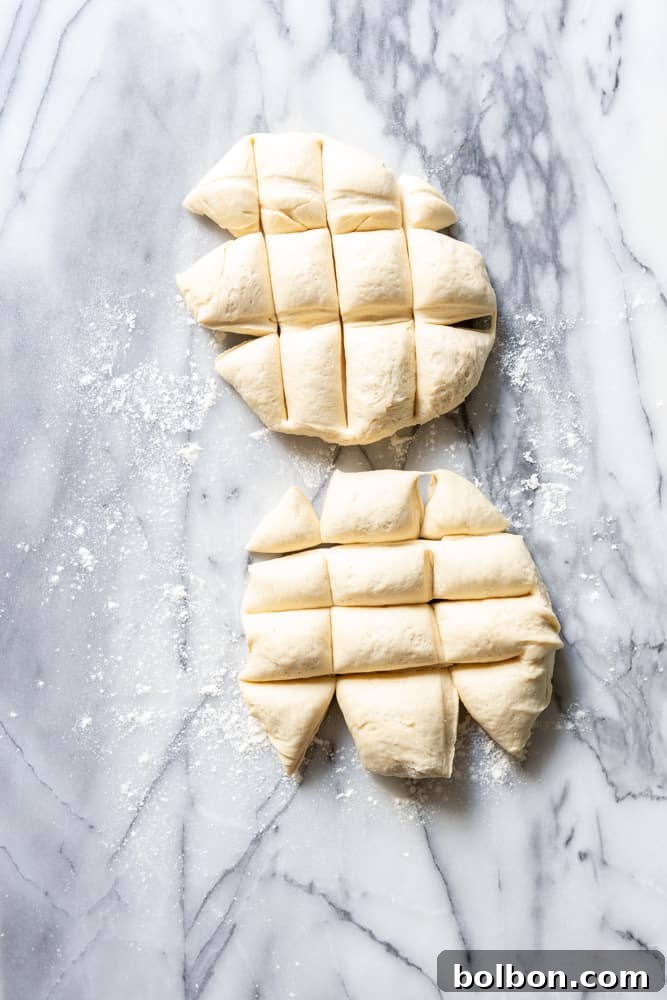
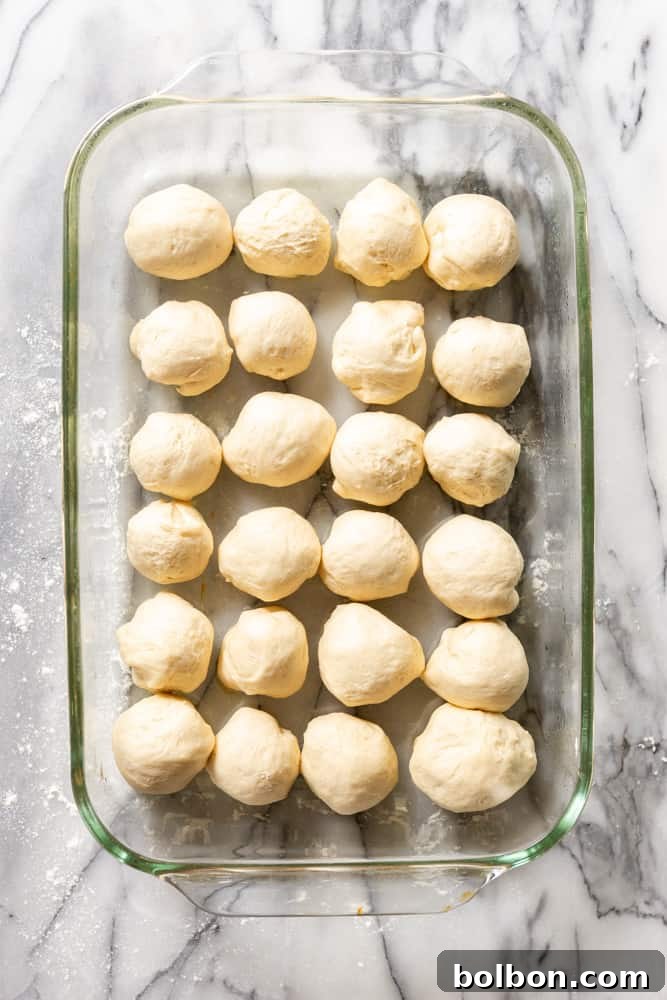
- Divide and Shape: Divide each half of the dough into 12 equal pieces, yielding 24 rolls total. Shape each piece into a smooth, tight ball. The best way to do this is to cup your hand over the dough piece on a lightly floured surface and roll it in a circular motion, creating tension on the surface. Place the shaped dough balls into your prepared baking pan, leaving a small space between each one.
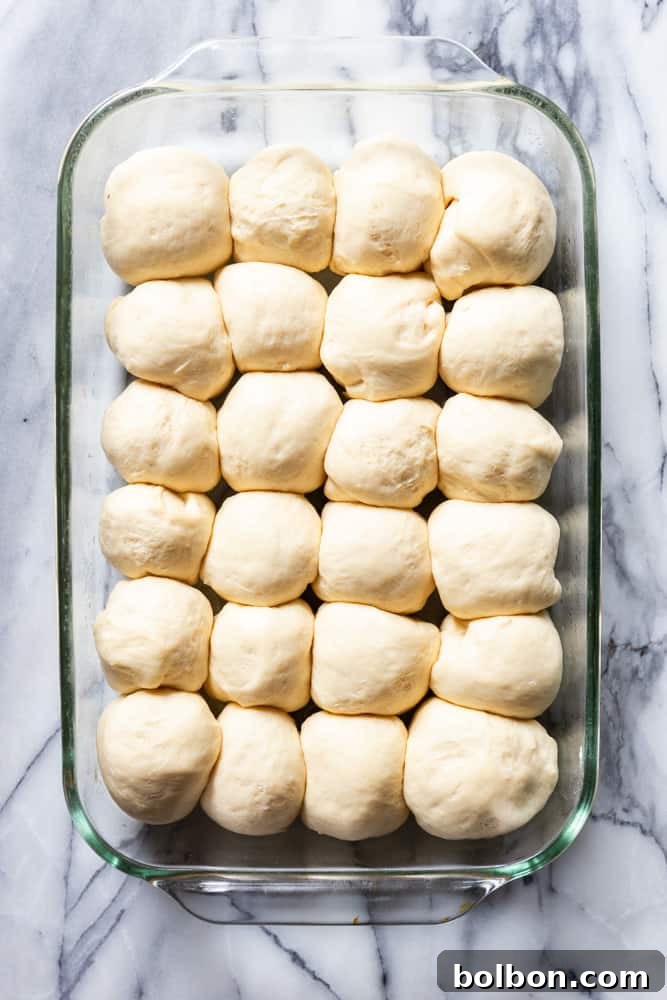
- Refrigerate Overnight (Make-Ahead Step): Cover the pan loosely but securely with plastic wrap or foil. Transfer the pan to the refrigerator and allow the rolls to chill overnight (for at least 8 hours, up to 24 hours). This slow, cold fermentation develops deeper flavors and simplifies your baking day.
- Bake Day Preparation: When you’re ready to bake, remove the pan of rolls from the fridge. Let them sit at room temperature for 30-60 minutes to take the chill off and allow them to begin their final proof. During this time, preheat your oven to 375°F (190°C). In a small bowl, whisk together the remaining egg with 1 tablespoon of water to create an egg wash.
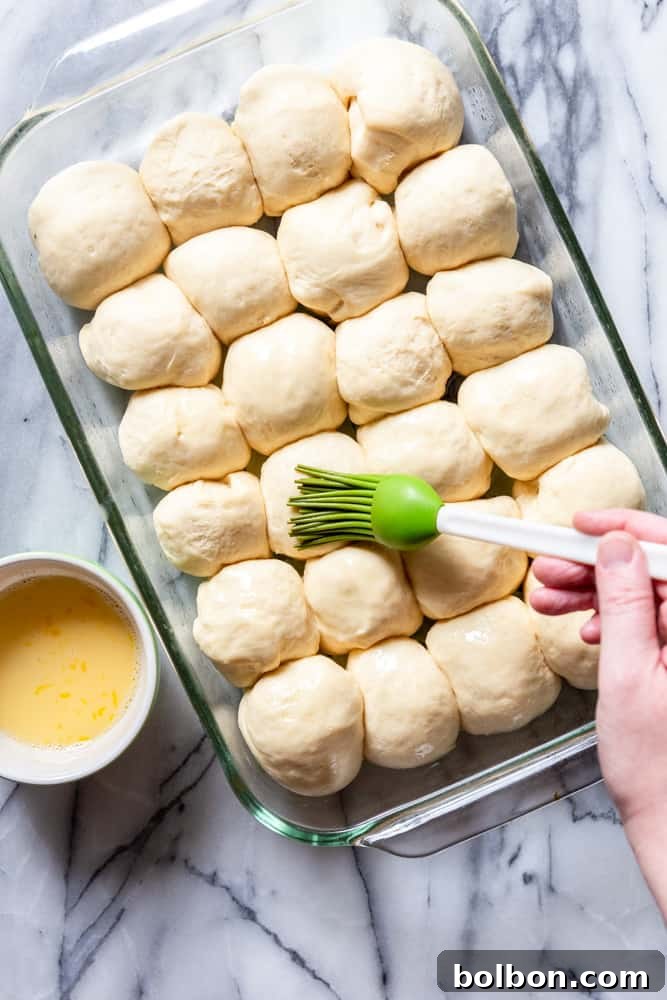
- Egg Wash & Bake: Gently brush the egg wash over the tops of the rolls. This will give them a beautiful golden sheen. Bake the rolls for 20-25 minutes, or until they are golden brown on top and cooked through.
- Finish with Butter: As soon as the rolls come out of the oven, brush them generously with melted butter (if desired) for an extra layer of richness and a beautiful, shiny finish. Serve warm and enjoy!
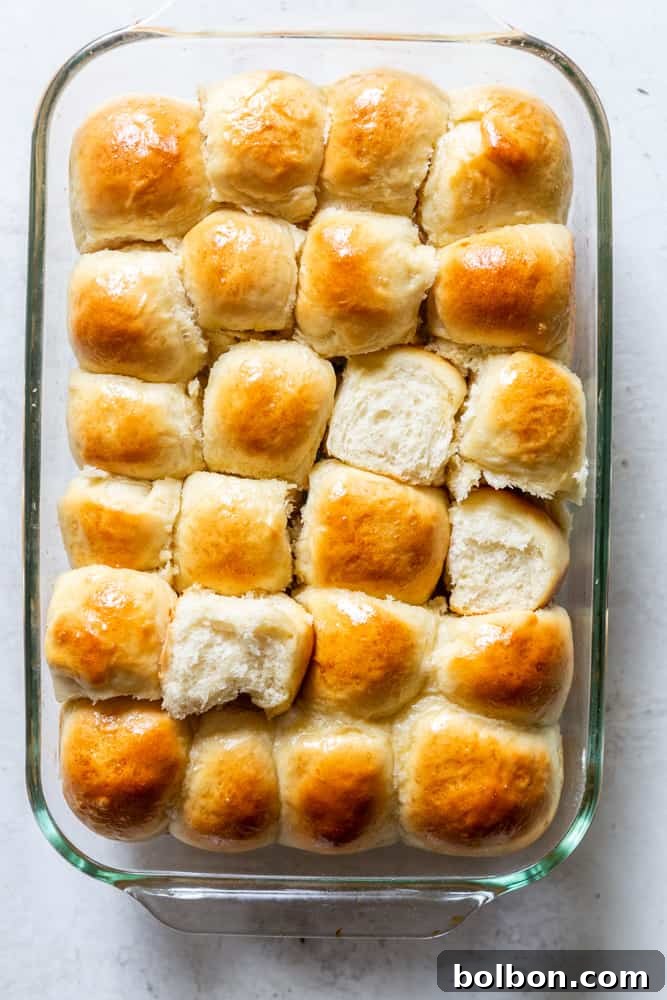
Storing and Reheating Your Make Ahead Dinner Rolls
These rolls are always best served warm, but if you happen to have any leftovers (which is unlikely!), they store beautifully. Store cooled dinner rolls in an airtight container or zip-top bag at room temperature for up to 2-3 days. For longer storage, you can freeze baked rolls for up to 1-2 months. Thaw at room temperature before reheating.
To reheat, wrap the rolls loosely in foil and warm them in a 300°F (150°C) oven for 10-15 minutes, or until heated through. Alternatively, a quick 15-30 seconds in the microwave can also do the trick, though they may not be quite as soft as oven-reheated ones.
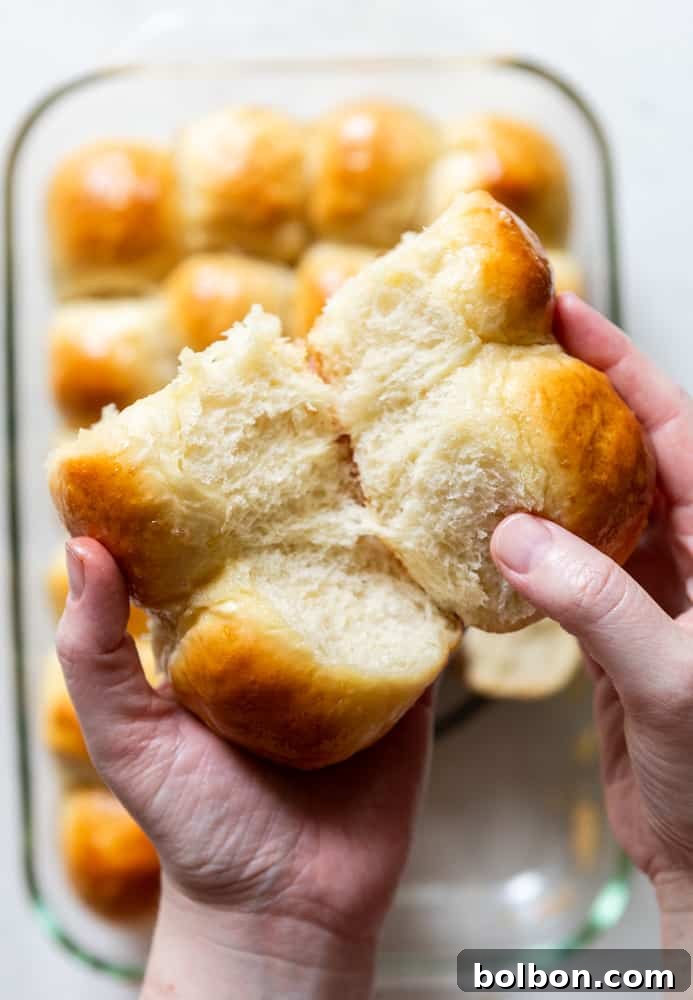
Frequently Asked Questions About Dinner Rolls
Can I freeze the dinner roll dough?
Yes, absolutely! After shaping the dough balls and placing them in the pan (step 7), instead of refrigerating, you can freeze them. Place the pan in the freezer uncovered for about an hour until the rolls are firm. Then transfer the frozen dough balls to a freezer-safe bag or container and freeze for up to 2-3 weeks. When ready to bake, place the frozen rolls back into a greased baking pan, cover, and let them thaw and rise at room temperature for 3-5 hours (or until doubled in size) before proceeding with the egg wash and baking steps.
What if my dough isn’t rising?
The most common reasons for dough not rising are inactive yeast (check water temperature and yeast freshness!), expired yeast, or a too-cold environment. Ensure your water is between 105-115°F and your yeast is active. Place your dough in a warm, draft-free spot for rising. If it’s still sluggish, try placing the covered bowl in a slightly warm (but not hot) oven that has been turned off, or in a microwave with a cup of hot water next to it.
Can I use instant yeast instead of active dry yeast?
Yes, you can! If using instant yeast, you can skip the initial proofing step. Simply add the instant yeast directly to the mixing bowl along with the lukewarm water, honey, and the first portion of flour (as per step 2 in the instructions). Instant yeast does not require activation before mixing.
Can I add herbs or cheese to the rolls?
Certainly! For savory rolls, you can incorporate dried herbs like rosemary, thyme, or garlic powder into the dough during the mixing stage. You can also mix in shredded cheese (like cheddar or Parmesan) after the first rise, gently folding it into the dough before shaping. Brush with melted garlic butter after baking for an extra flavor boost!
Are these rolls suitable for making mini sandwiches?
Absolutely! Their soft texture and manageable size make them perfect for sliders or mini sandwiches. Fill them with ham and cheese, pulled pork, or your favorite deli meats for a delightful appetizer or casual meal.
Perfect Pairings: More Holiday Dinner Recipes
Elevate your holiday feast even further with these complementary recipes:
- Herb Butter Roasted Turkey
- Slow Roasted Prime Rib
- Honey Roasted Carrots
- Roasted Garlic Mashed Potatoes
Make Ahead Dinner Rolls
By Meghan McMorrow | Fox and Briar 5 from 4 votes
Prep Time: 1 day | Cook Time: 20-25 mins
Servings: 24 Rolls
The Best Make Ahead Dinner Rolls. These easy dinner rolls are soft and fluffy and will disappear from the table before you know it!
Ingredients
For Rolls
- 2 and 1/4 tsp active dry yeast (1 package)
- 1 and 1/4 cups lukewarm water (not hot water – about 105 degrees F)
- 4-4.5 cups All-Purpose Flour (480-510 grams)
- 1/4 cup honey (can sub granulated sugar)
- 1/3 cup unsalted butter (Melted. Can sub vegetable oil.)
- 1 egg
- 1 tsp salt
For Topping
- 1 egg
- 2 TBSP melted butter
Instructions
- In the bowl of a mixer, add the lukewarm water, yeast and honey. Whisk together and allow to sit for 5 minutes. Yeast should foam up and appear active.
- Add about 1 and 1/2 cups (180 grams) of the flour, the melted butter, the egg and the salt. Beat on low for 1 minute, scraping the bowl as needed.
- Add the rest of the flour, just until you have a soft dough. Dough should start pulling away from the sides of the bowl, but will be sticky.
- Grease a large bowl and add the dough ball, turning it to coat with the oil. Cover with plastic wrap and allow to rise at room temperature for about one hour, until doubled in size.
- Gently deflate dough, then turn out onto a lightly floured surface and divide in half. Cover and let rest for 10 minutes.
- Grease a 13×9 pan and set aside.
- Divide the dough into 24 equal pieces. Shape each piece into a ball, and place into the prepared pan. Cover and refrigerate overnight.
- When ready to bake, remove rolls from the fridge and let them sit at room temperature for 30-60 minutes. Preheat the oven to 375 degrees F. Whisk together the remaining egg and 1 tablespoon of water. Brush the egg mixture over the rolls.
- Bake the rolls for 20-25 minutes, until golden. Remove from oven and brush with melted butter if desired.
Notes
Instant yeast can be substituted. Just skip the first step of “proofing” the yeast in the water and honey; instead, add the yeast, water, and honey in with the second step.
Nutrition
Serving: 1 roll | Calories: 121kcal | Carbohydrates: 18g | Protein: 3g | Fat: 4g | Saturated Fat: 2g | Polyunsaturated Fat: 0.3g | Monounsaturated Fat: 1g | Trans Fat: 0.1g | Cholesterol: 23mg | Sodium: 111mg | Potassium: 32mg | Fiber: 1g | Sugar: 3g | Vitamin A: 128IU | Vitamin C: 0.02mg | Calcium: 7mg | Iron: 1mg
Nutrition information is automatically calculated, so should only be used as an approximation.
Additional Info
Course: Baked Goods/Breads
Cuisine: American
Did you like this recipe? Please comment, rate and share! And don’t forget to tag me on Instagram @foxandbriar AND #foxandbriar so I can see what you made!