
How to Master Non-Stick Stainless Steel Cooking: Your Ultimate Guide
Today, we’re diving deep into the art of making your stainless steel pans genuinely non-stick. Say goodbye to frustrating sticking, burnt bits, and unevenly cooked meals. With the right technique, your stainless steel cookware can perform like a culinary dream, delivering beautifully seared meats, perfectly crispy vegetables, and flawless pancakes or eggs. Mastering this method will not only enhance the flavor and texture of your dishes but also simplify post-meal cleanup, making your time in the kitchen significantly more enjoyable and rewarding.
This comprehensive guide will equip you with the confidence and consistency needed to turn every meal into a culinary success. It’s a game-changer for both novice cooks eager to improve their skills and seasoned chefs looking to refine their techniques.
Why You’ll Love Achieving Non-Stick Performance from Stainless Steel
Stainless steel cookware is cherished by professional chefs and home cooks alike for its exceptional durability, superior heat distribution, and unparalleled ability to achieve a perfect, golden-brown sear. Unlike many non-stick coated pans which can degrade over time and with high heat, stainless steel is built to last a lifetime. However, the common frustration of food sticking often leads many to shy away from this versatile material.
By learning how to properly preheat and prepare your stainless steel pan, you unlock its full potential. You’ll gain the ability to cook delicate foods like fish and eggs without them adhering to the surface, and sear meats to a beautiful crust that releases effortlessly. This technique means no more scrubbing stubbornly stuck-on food, translating to quicker and easier cleanup. Beyond practicality, it empowers you to cook with greater precision and confidence, knowing your pan will perform exactly as expected, every single time.
The Science Behind the Sizzle: Understanding the Leidenfrost Effect
The secret to transforming your stainless steel pan into a non-stick marvel lies in a fascinating scientific principle known as the “Leidenfrost effect.” This phenomenon occurs when a liquid comes into contact with a surface that is significantly hotter than its boiling point. Instead of instantly boiling away, the liquid forms tiny, spherical droplets that appear to “dance” or “skate” across the hot surface, supported by a thin cushion of its own vapor.
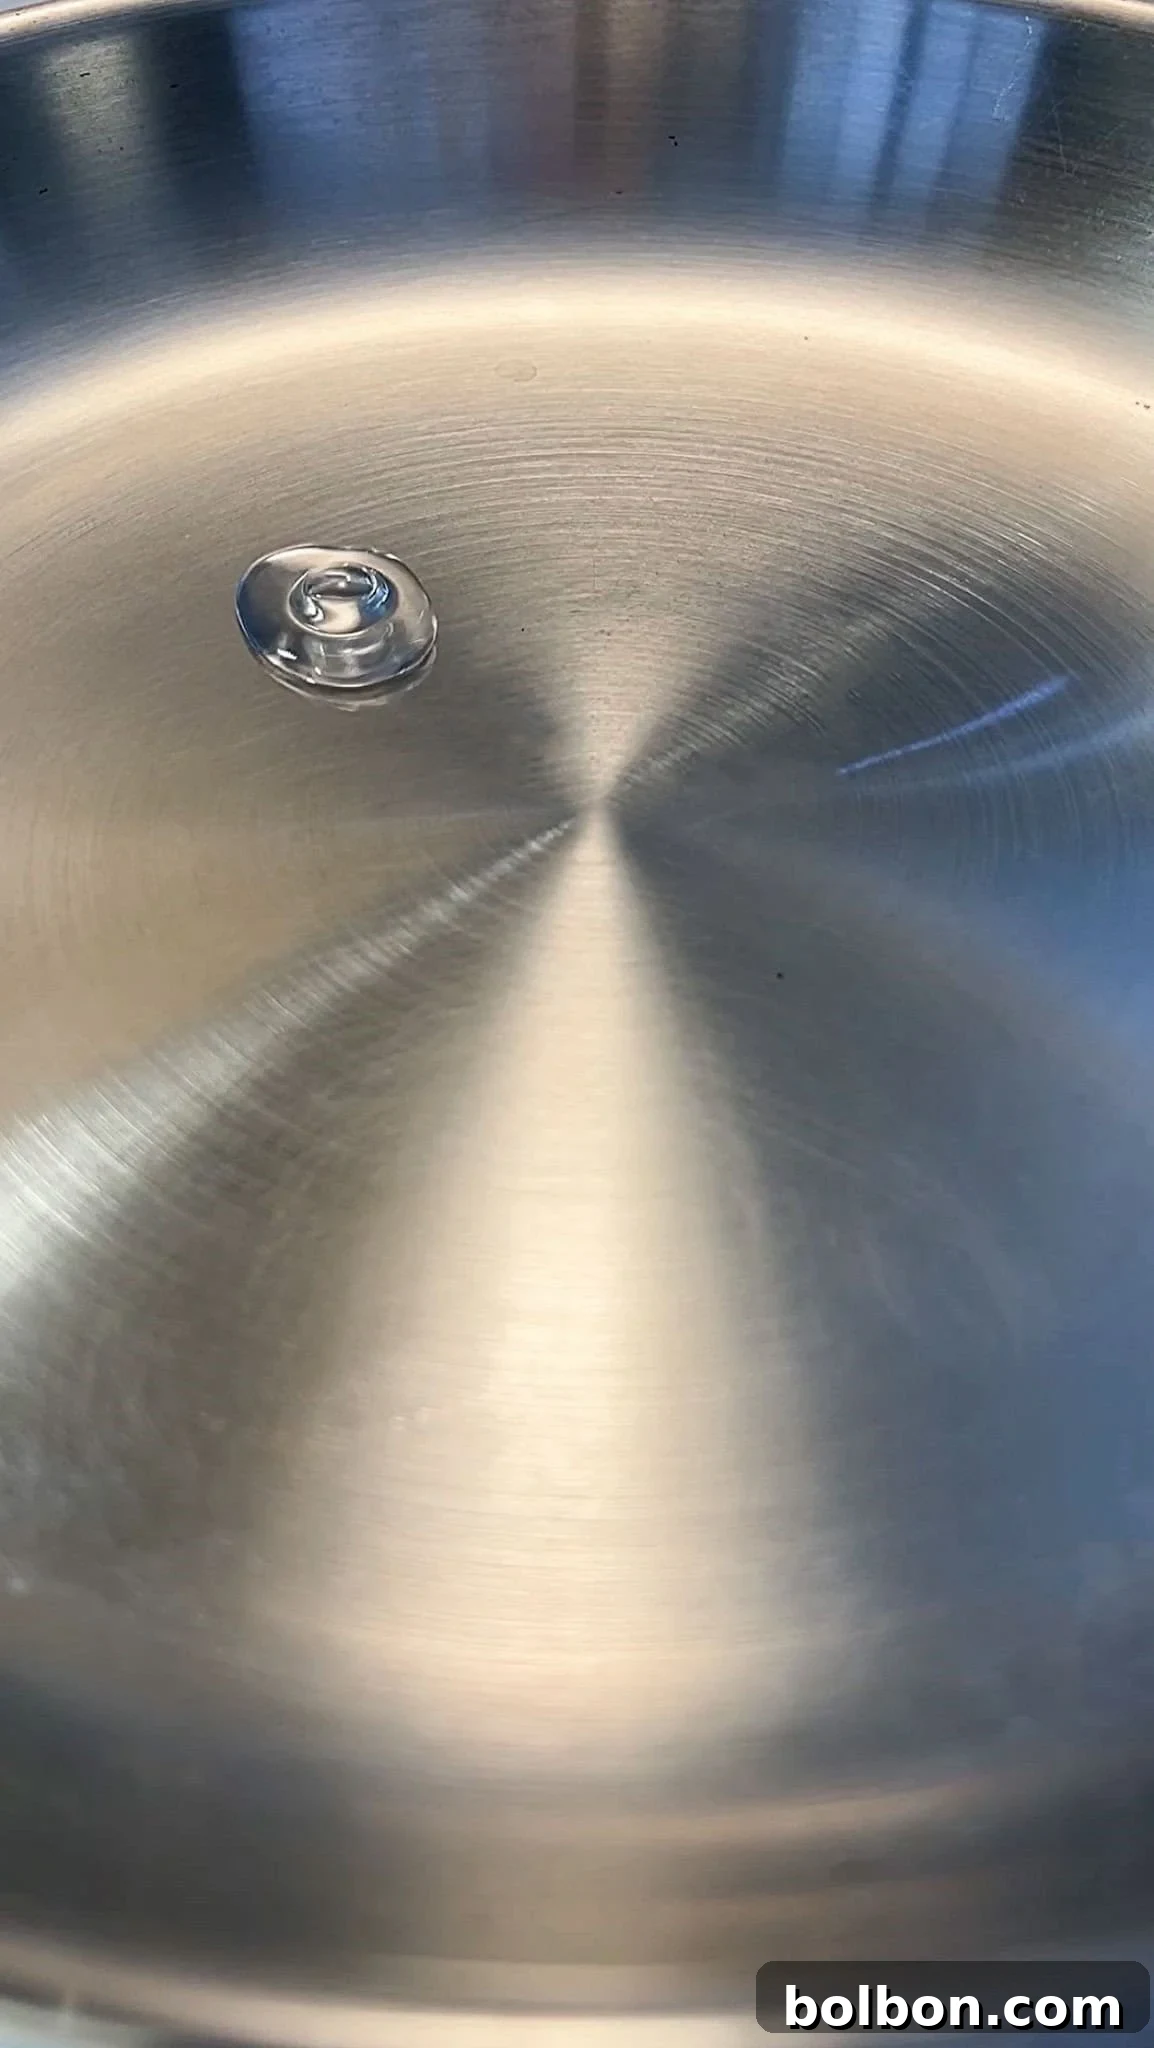
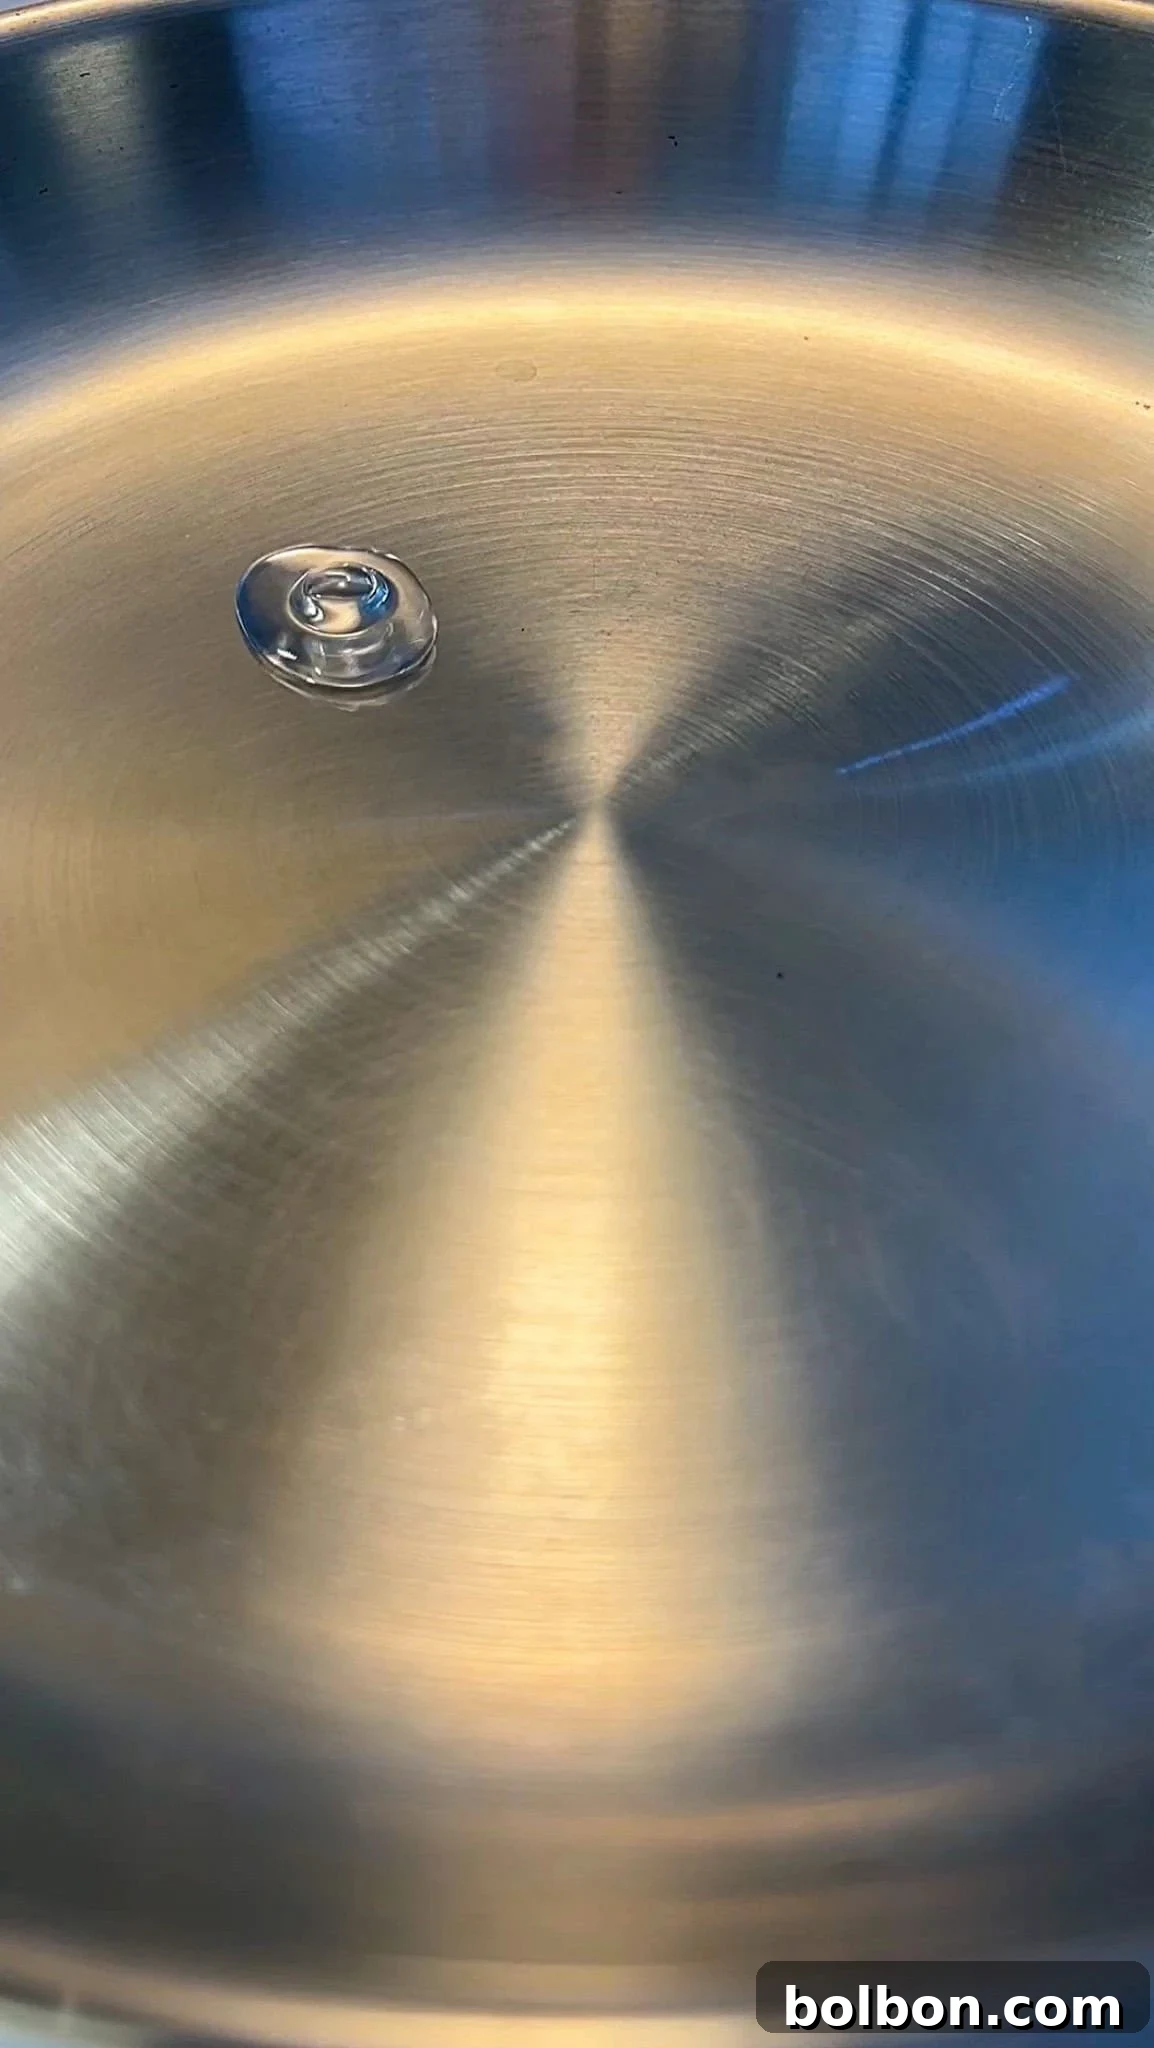
When your stainless steel pan reaches its optimal cooking temperature – neither too cold nor too hot – a small drop of water flicked onto its surface will perfectly exhibit this effect. It will form a single, cohesive bead that glides effortlessly, almost magically, across the pan. This indicates that the pan’s surface is precisely hot enough to create an invisible, insulating layer of steam between any food you add and the metal. This vapor barrier prevents direct contact, effectively making the pan non-stick. Without this precise temperature, food particles will adhere to the microscopic pores and grooves on the stainless steel surface, leading to frustrating sticking. Understanding this science is key to consistently perfect results.
Mastering the Water Test: Your Step-by-Step Guide to Non-Stick Stainless Steel
Achieving a naturally non-stick surface on your stainless steel cookware is a straightforward process once you understand the technique. Follow these precise steps for consistent success:
1. Prepare Your Ingredients in Advance
Before you even turn on the stove, ensure all your ingredients are prepped, chopped, and ready to go. This includes any seasonings, sauces, or garnishes. The preheating process requires your full attention to get the pan to the perfect temperature, so having everything else prepared means you can seamlessly transition from testing the pan to actual cooking.
2. Preheat Your Pan on Medium-High Heat
Place your clean, dry stainless steel pan on your stovetop. Turn the heat to medium-high. While it might be tempting to use high heat to speed things up, medium-high allows for a more even and controlled heating process, reducing the risk of scorching. Allow the pan to preheat for approximately 2-3 minutes. The exact timing can vary significantly based on your stove type (gas, electric, induction) and the thickness of your specific pan.
3. Perform the Critical Water Test
After the initial preheating time, it’s time for the most important step – the water test. Flick a few drops of water (about 1/4 teaspoon) onto the pan’s surface from a safe distance. Observe the water’s behavior carefully:
- The Perfect Glide (Pan is Ready): If the water forms a single, cohesive bead that dances and glides smoothly across the pan like a mercury ball, your pan is perfectly preheated and ready to cook on. This is the Leidenfrost effect in action, indicating the ideal temperature for non-stick cooking. Wipe out the water with a clean paper towel.
- Rapid Evaporation (Not Hot Enough): If the water immediately sizzles, spreads, and evaporates without forming distinct beads, the pan is not yet hot enough. Wait another 30 seconds to a minute, ensuring the pan gets hotter, and then repeat the water test.
- Scattering Pellets (Too Hot): If the water separates into many tiny, frantically scattering pellets that quickly evaporate, your pan is too hot. Remove the pan from the heat for 30-60 seconds to allow it to cool slightly. Return it to the burner (perhaps at a slightly lower setting if your stove runs hot) and retest. Overheating can cause your oil to smoke and burn, and may still lead to food sticking.
Nonna’s Pro Tip: Every stove and pan combination is unique. Take the time to experiment and time how long it takes for your specific pan on your specific burner to reach the perfect temperature for the water test. Once you know your timings, this crucial step becomes second nature and guarantees consistent results.
4. Add Oil and Begin Cooking
Once the water test indicates your pan is perfectly ready (the gliding bead), wipe the water completely dry with a paper towel. Add a small amount of cooking oil (enough to thinly coat the bottom of the pan). Swirl the oil to coat the hot surface, then immediately add your food. The food should sizzle gently upon contact. Remember to avoid overcrowding the pan, as this can drastically drop the pan’s temperature and negate the non-stick effect.
Common Mistakes to Avoid for Flawless Stainless Steel Cooking
Even with the best intentions, several common errors can lead to sticking and less-than-ideal cooking results with stainless steel. By consciously avoiding these pitfalls, you can ensure your pan consistently performs its best, mimicking the ease of a non-stick surface:
- Skipping or Rushing the Preheating Process: This is the most frequent culprit behind sticking food. Adding ingredients to a cold or insufficiently heated pan guarantees adhesion. The essential Leidenfrost effect simply won’t occur, and your food will bond directly to the metal. Always allow ample time for preheating and diligently perform the water test.
- Adding Food Before the Pan is at Optimal Temperature: Closely related to rushing, impatience can undermine all your efforts. Even if the pan *feels* warm, it might not have reached the critical temperature for the non-stick effect to activate. Trust the precise indication of the water test, not just a casual touch or guess.
- Overcrowding the Pan: When too much food is added at once, it drastically lowers the pan’s surface temperature. This sudden drop causes the food to steam rather than sear, hindering proper browning and leading to sticking. Cook in smaller batches if necessary to maintain consistent heat and achieve a beautiful crust.
- Trying to Flip Food Too Soon: Patience is key in stainless steel cooking. Food naturally releases from a properly preheated pan once a beautiful crust has formed on one side. If you attempt to force-flip it prematurely, it will tear, stick, and likely leave a mess. Allow proteins, vegetables, or pancakes to develop a proper sear before attempting to move or flip them.
- Using Metal Utensils: While stainless steel is durable, its surface can be scratched and damaged by metal spatulas or tongs over time. These microscopic imperfections create areas where food can cling, diminishing the non-stick effect. Opt for wooden, silicone, or heat-resistant plastic utensils to protect your valuable cookware.
- Neglecting Thorough Cleaning: Residual food particles, polymerized oil, or even mineral deposits from previous cooking sessions can create uneven surfaces and hotspots, which contribute to sticking. Thoroughly clean your pan after each use, ensuring no sticky residue remains. For stubborn bits, techniques like deglazing or using baking soda can be very effective.
- Cooking at Too Low a Temperature: While overheating is a problem, cooking at an insufficient temperature can also cause food to stick. If the pan isn’t hot enough, even after adding oil, food may simmer in its own juices and stick rather than searing properly. Ensure you’re using an appropriate heat level for the specific food you’re cooking, typically medium to medium-high for most searing tasks.
- Not Drying the Pan Completely Before Adding Oil: Any residual water drops in the pan when oil is added can cause the oil to spatter violently, distribute unevenly, and potentially create areas where food will stick. Always ensure your pan is completely dry before introducing oil.
- Using Oils with a Low Smoke Point for High-Heat Cooking: Oils like extra virgin olive oil have relatively low smoke points and can quickly burn and polymerize when exposed to high heat. This creates a sticky, burnt residue that not only taints the flavor of your food but also promotes sticking. For high-heat searing, choose oils with a higher smoke point, such as grapeseed oil, canola oil, avocado oil, or refined sunflower oil.
Maintaining Your Stainless Steel Cookware for Lasting Performance
Proper care and maintenance are crucial to ensuring your stainless steel pans remain a joy to cook with for many years. With a little effort, they will maintain their shine and superior cooking performance:
- Clean Promptly After Use: While it’s tempting to let pans sit, cleaning them shortly after use (once they’ve cooled down enough to handle safely) prevents food from drying and hardening, making cleanup significantly easier.
- Dealing with Stubborn Stuck-On Food: Avoid aggressive scrubbing with abrasive steel wool, which can scratch the surface. Instead, try deglazing the pan while it’s still warm by adding a splash of water, broth, or wine and scraping with a wooden spatula to lift the browned bits. For tougher spots, fill the pan with about an inch of water and a tablespoon of baking soda, bring it to a gentle simmer for 5-10 minutes, then let it cool. The residue should soften and be much easier to remove.
- Restore Shine and Remove Discoloration: Stainless steel can sometimes develop heat tint (rainbow-colored stains) or slight discoloration over time. To restore your pan’s original luster and remove these marks, use a specialized stainless steel cleaner like Bar Keeper’s Friend. It’s effective without being abrasive.
- Careful Storage: Store your pans thoughtfully to prevent scratches and dings. If stacking them, place a paper towel, cloth, or pan protector between each pan to safeguard their surfaces.
- Avoid Extreme Temperature Changes: Rapid temperature changes, such as plunging a hot pan into cold water, can cause thermal shock and potentially warp your pan over time. Always allow your stainless steel cookware to cool down naturally before washing it.
Beyond the Basics: Advanced Stainless Steel Cooking Tips
Once you’ve mastered the foundational non-stick technique, explore these advanced tips to truly unleash your stainless steel pan’s full culinary potential and achieve professional-level results:
- The Right Amount of Oil: Precision with oil is key. Too little, and even a perfectly preheated pan might struggle; too much, and your food can become greasy. Generally, a thin, even coat that shimmers but doesn’t smoke is ideal. The exact amount will depend on the food and the size of your pan.
- Precise Temperature Control: Different foods thrive at different temperatures. High heat is excellent for searing meats, medium heat is perfect for sautéing vegetables, and lower heat is necessary for more delicate items like eggs or crêpes. Learn to adjust your heat based on visual cues (the color of your food) and auditory cues (the sound of the sizzle).
- Deglazing for Flavorful Sauces: After searing meats or vegetables, the browned bits (known as “fond”) left on the bottom of the pan are packed with incredible flavor. Don’t waste them! Add a liquid like wine, broth, or water to the hot pan and scrape with a wooden spoon to release these flavorful bits. This process, called deglazing, creates the base for a delicious pan sauce.
- Allow Meat to Rest: For perfectly cooked and juicy meat, always allow it to rest for a few minutes after searing it in your stainless steel pan. This gives the juices time to redistribute throughout the meat, resulting in a more tender and flavorful outcome.
Quick Reference: Your Non-Stick Stainless Steel Cheat Sheet
How To Make Stainless Steel Non Stick
You won’t need a non-stick pan after learning this hack. Master proper preheating and the scientific “water test” to make your stainless steel pans perform like true non-stick surfaces with these essential tips.
Course: Tutorials and Hacks
Cuisine: American
Author: The Modern Nonna
Prep Time: 5 minutes
Total Time: 5 minutes
Equipment
- Frying Pan
Instructions
- Preheat your pan: Place a clean, dry stainless steel pan on medium-high heat for about 2-3 minutes.
- Perform the Water Test: Flick a few drops of water into the pan.
- If water forms a bead and glides: The pan is perfectly ready. Wipe dry, add oil, then food.
- If water evaporates immediately: The pan is not hot enough. Wait longer (30-60 seconds) and retest.
- If water forms many tiny pellets and scatters: The pan is too hot. Remove from heat briefly, cool slightly, then retest at a potentially lower setting.
- Prepare Ingredients: Ensure all ingredients are prepped and ready before you start the preheating process, allowing you to cook immediately once the pan reaches optimal temperature.
- Adjust to Your Stove: Pan preheating times will vary based on your specific stovetop and cookware. Experiment to find the perfect timing for consistent, non-stick results.
Notes
Cooking Mushrooms Perfectly: Mushrooms naturally hold a high percentage of water (80-90%). For perfect browning, add them to a hot, DRY pan (no oil initially). This allows their moisture to evaporate quickly, creating a beautiful “pop” and browning effect. Once browned, you can then add butter, aromatics, and salt for a truly flavorful bite.
For a detailed guide on how to make the perfect mushrooms like a chef, be sure to check out our complete recipe and all my tips here: How To Cook Mushrooms (Like a Chef)
Explore More Cooking Hacks & Recipes
Unlock even more culinary secrets with these related guides and delicious recipes. From perfect vegetable preparation to fundamental cooking techniques, enhance your kitchen skills today!
How To Cook Mushrooms (Like a Chef)
15 mins
How to Shred Lettuce
10 mins
How to Dice an Onion
5 mins
How to Poach Eggs
6 mins
Frequently Asked Questions About Non-Stick Stainless Steel
No, absolutely not. Adding food to a cold or insufficiently heated stainless steel pan is a primary cause of sticking. The critical Leidenfrost effect, which creates a non-stick barrier, will not occur. It’s essential to ensure the pan reaches the optimal temperature, as precisely indicated by the water test, before introducing any oil or food. This step is fundamental to achieving non-stick results.
No, this specific technique, particularly the detailed water test based on the Leidenfrost effect, is designed exclusively for stainless steel pans. Cast iron cookware relies on a different principle for its non-stick properties, primarily through proper seasoning—a layer of polymerized oil baked onto the surface. While preheating is important for cast iron, the water test described here is not applicable and could even be confusing or misleading for cast iron users.
Yes, absolutely! Investing in high-quality cookware makes a significant difference in cooking performance and durability. ALL CLAD is a highly respected brand renowned for its exceptional stainless steel products, which I frequently recommend for their even heat distribution and lasting quality. You can find their products and explore various options here. High-quality pans enhance the effectiveness of the non-stick technique.
For high-heat searing and frying in stainless steel, it is crucial to use cooking oils with a high smoke point. Excellent choices include grapeseed oil, canola oil, avocado oil, refined sunflower oil, or even clarified butter (ghee). Avoid extra virgin olive oil for high-heat applications, as its lower smoke point means it can quickly burn, producing an unpleasant bitter taste and leaving behind sticky, polymerized residue on your pan.
For most stuck-on food, start by deglazing the pan: add a splash of water, broth, or wine to the still-warm (but not scorching hot) pan and scrape with a wooden spatula to lift the bits. For tougher, burnt-on residues, fill the pan with about an inch of water and add a tablespoon of baking soda. Bring it to a gentle simmer for 5-10 minutes, then let it cool. The residue should soften significantly and be much easier to scrub away with a non-abrasive sponge. For discoloration or stubborn stains, a product specifically designed for stainless steel, like Bar Keeper’s Friend, works wonders to restore the pan’s original shine without causing abrasive damage.