
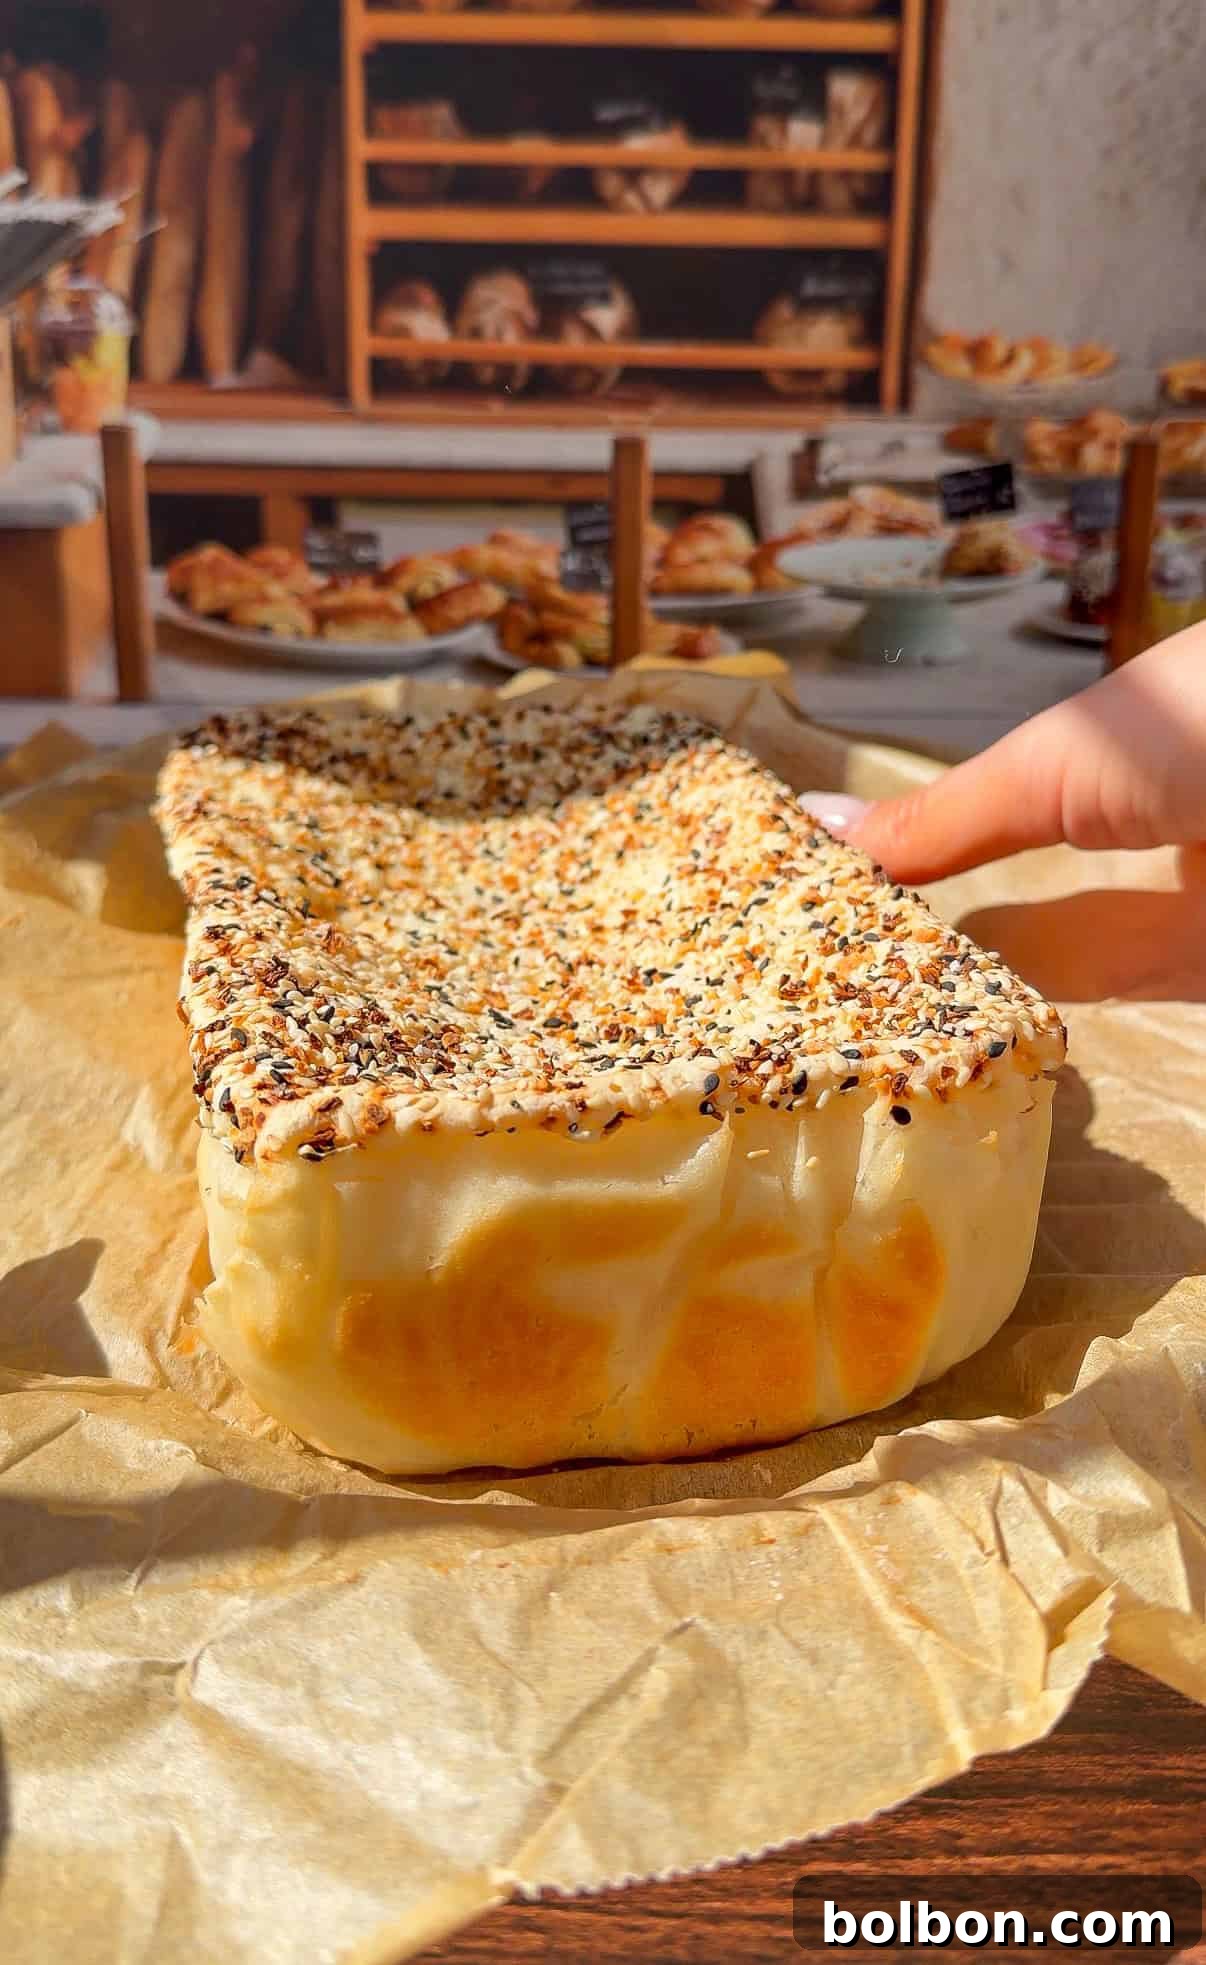
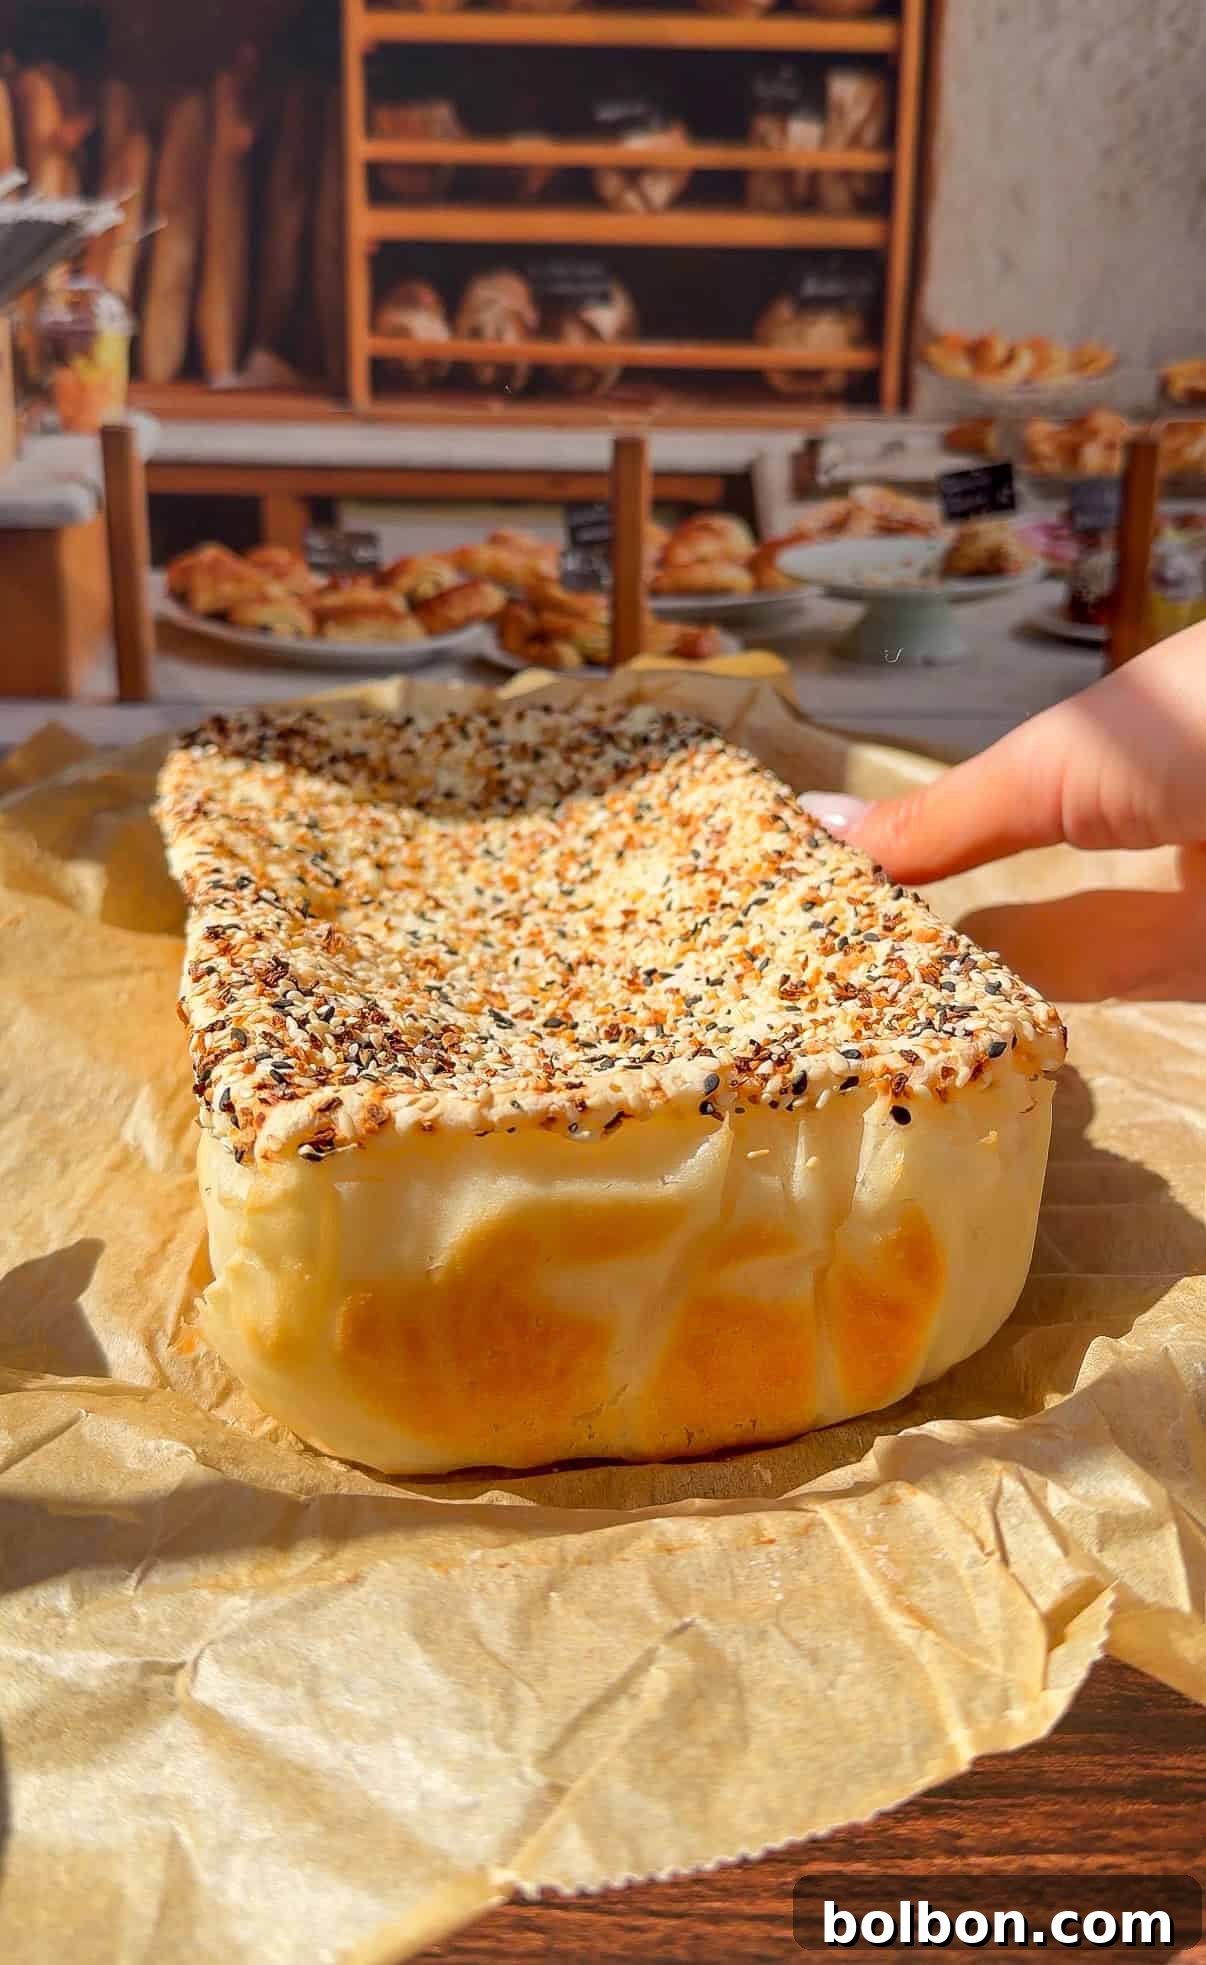
Viral Blender Rice Bread: Your New Favorite Gluten-Free, Flourless Loaf
Have you scrolled through TikTok or Instagram recently and seen a mesmerizing video of incredibly soft, fluffy bread emerging from a blender? You’re not alone! The Viral Blender Rice Bread phenomenon has captured the hearts (and stomachs) of home bakers worldwide, and for good reason. This innovative recipe isn’t just a trend; it’s a culinary game-changer for anyone seeking a delicious, wholesome, and unbelievably simple bread. Imagine a bread that’s naturally gluten-free, requires absolutely **no flour**, and is mixed entirely in **one blender** for effortless cleanup. Plus, at around 100 calories per slice, it’s a guilt-free indulgence you can enjoy every day.
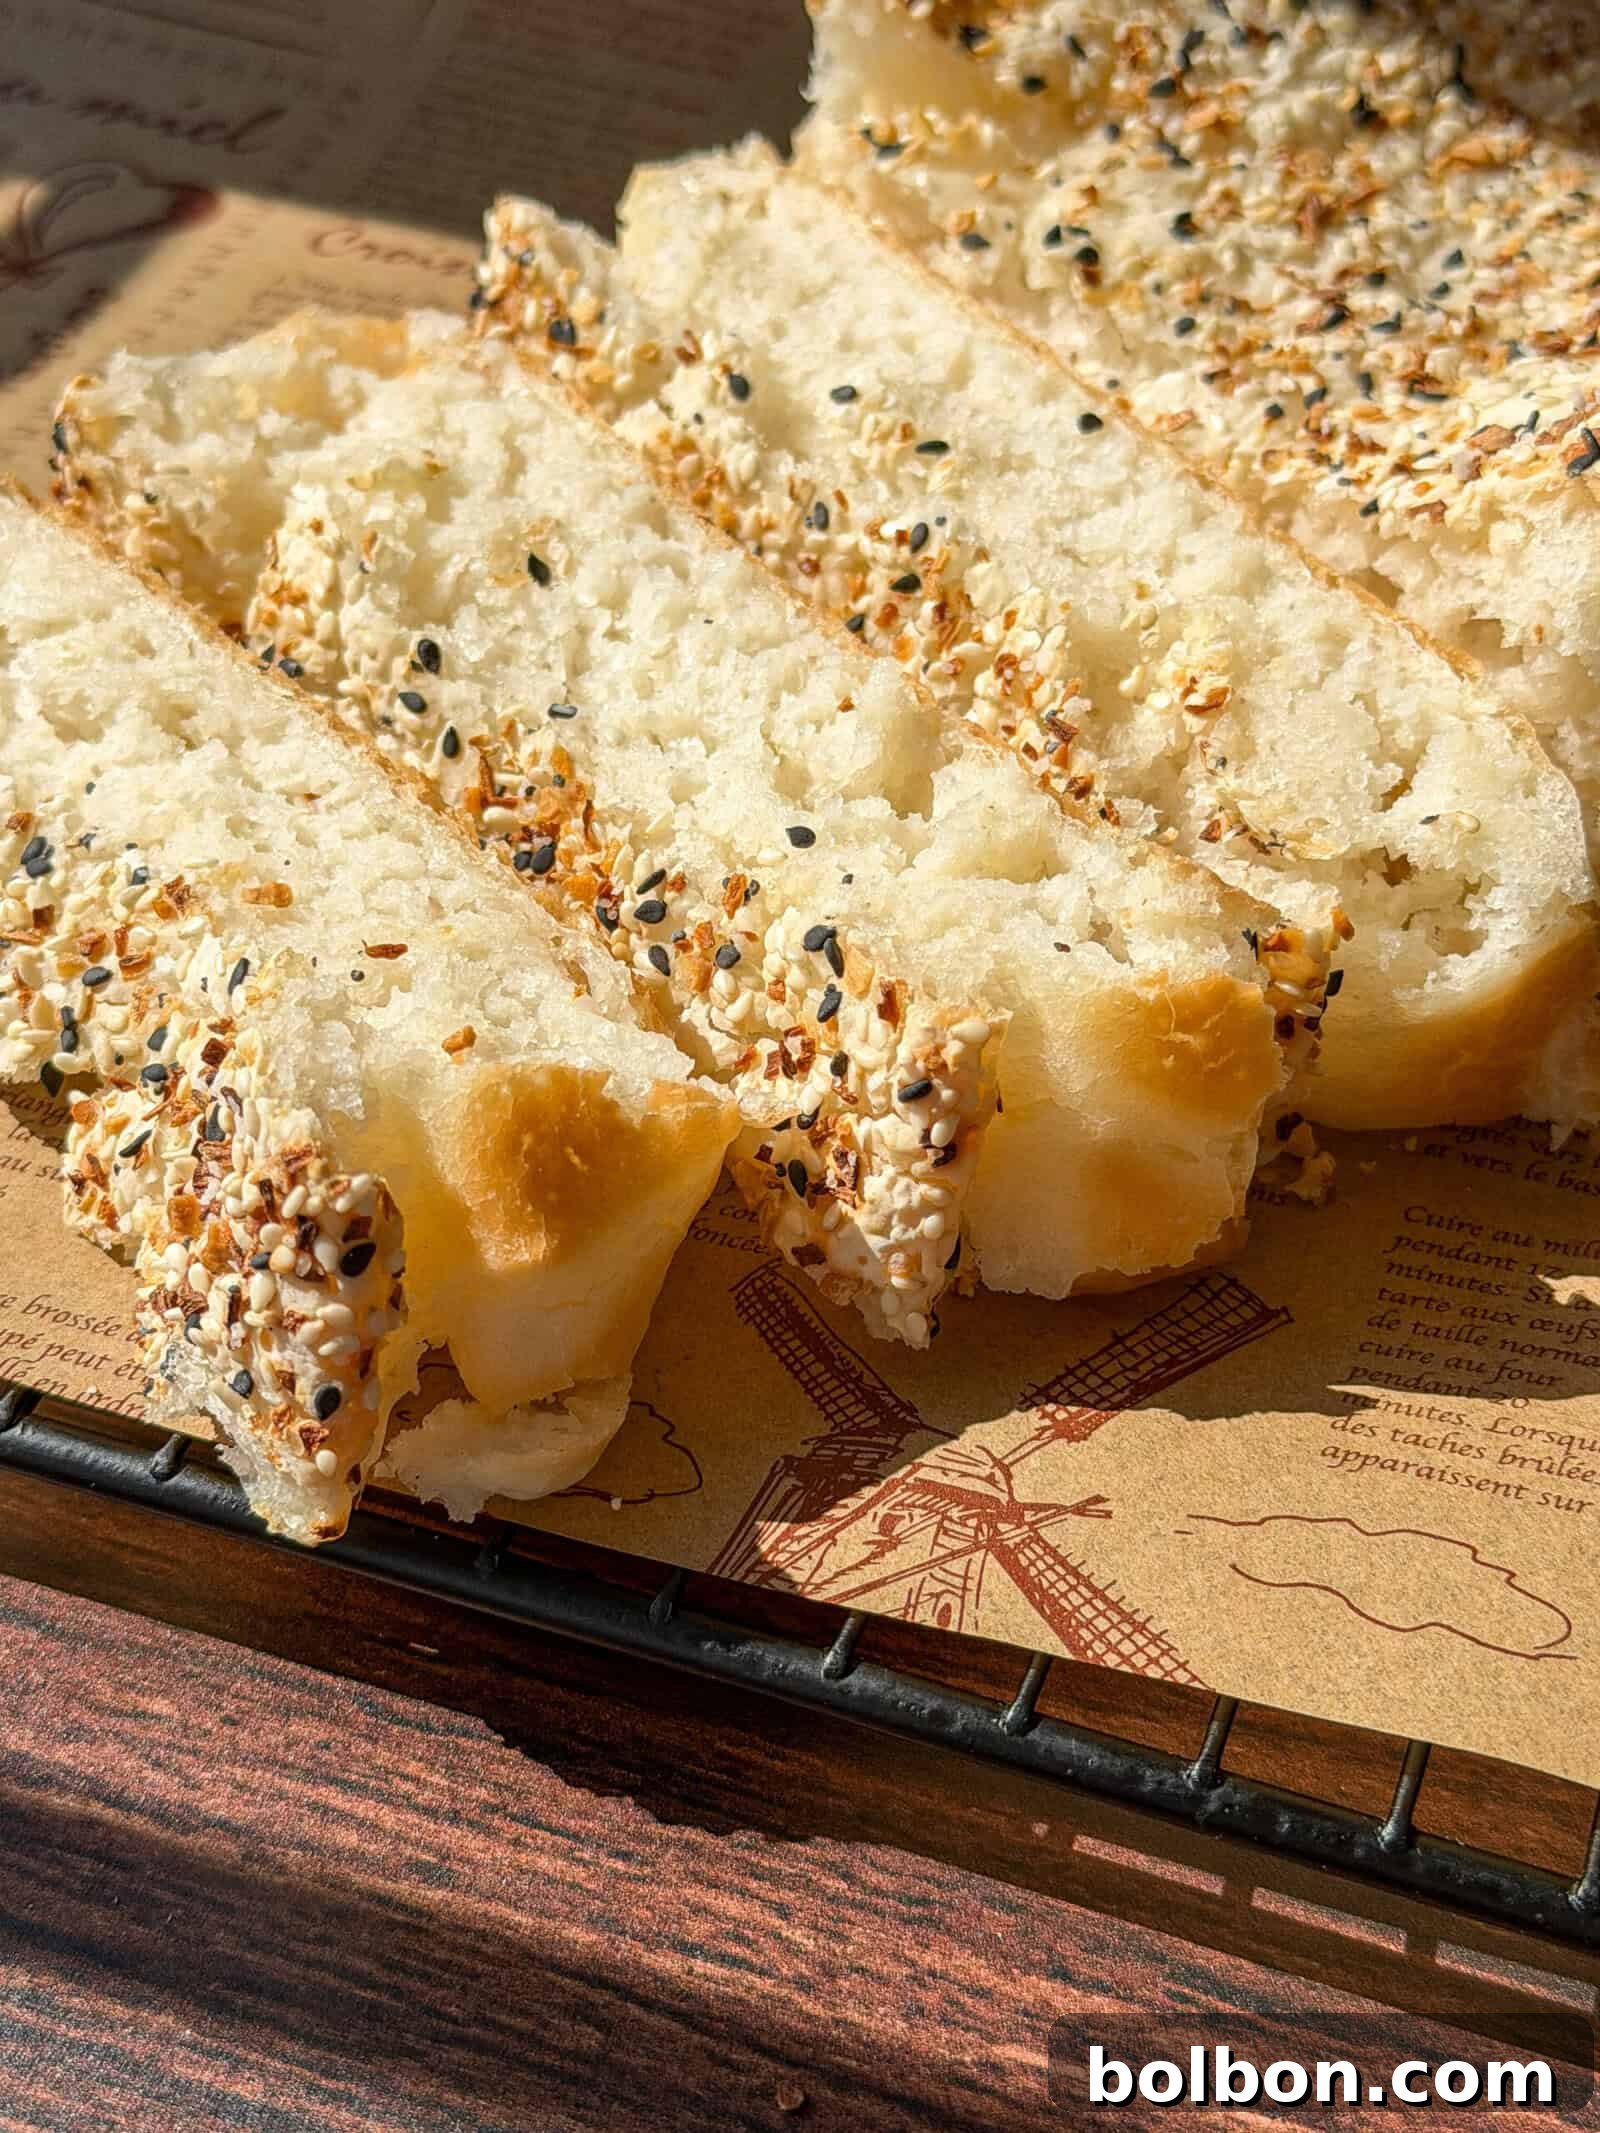
Inspired by traditional Japanese methods of soaking rice to achieve an incredibly tender texture, this flourless marvel transforms humble rice grains into a loaf that rivals conventional breads. The result is a soft, airy crumb with a delightful chew, perfect for toasts, sandwiches, or simply enjoyed with a spread of butter. Whether you’re a seasoned baker or a complete beginner, the “dump, blend, and bake” process makes this recipe virtually foolproof. It’s also an absolute dream for meal prep. Bake a loaf once, and you’ll have fresh, homemade bread to elevate your breakfasts and lunches throughout the entire week. Pair it with your favorite toppings like Grated Egg Avocado Toast or use it to make wholesome sandwiches with Homemade Lunch Meat. Get ready to discover your new staple bread!
Key Highlights of Blender Rice Bread
- Effortlessly Gluten-Free: Made entirely from rice, offering a natural and delicious alternative to traditional flour-based breads.
- Minimal Effort, Maximum Flavor: Prepared in just one blender, eliminating the need for complex kneading or multiple bowls.
- Healthy & Wholesome: Each slice boasts a low calorie count (approx. 100 calories) and uses real, clean ingredients.
- Superior Texture: Soaking rice overnight is the secret to its incredibly soft, fluffy, and chewy consistency.
- Meal Prep Champion: Stays fresh for days and freezes beautifully, making it ideal for busy weekly routines.
- Versatile & Customizable: Easily adapt the recipe with different sweeteners, rice types, or bake it into various shapes.
Table of Contents
- Key Highlights of Blender Rice Bread
- Why You’ll Adore This Viral Rice Bread
- The Secret to Perfection: Nonna’s Soaking Tip 🍚💧
- Customizing Your Blender Rice Bread: Variations & Substitutions
- Perfect Pairings: What to Serve with Your Rice Bread
- Recipes You Might Also Love
- Frequently Asked Questions About Blender Rice Bread
- Viral Blender Rice Bread (Gluten Free, No Flour!) Recipe
Why You’ll Adore This Viral Blender Rice Bread
This trending rice bread isn’t just a fleeting internet sensation; it’s a culinary revelation that simplifies healthy eating and delicious baking. Here’s a deeper dive into what makes this recipe an absolute must-try:
Effortless Cleanup & One-Blender Wonder
One of the most appealing aspects of this recipe is its incredible simplicity when it comes to preparation and cleanup. Forget piles of mixing bowls, spatulas, and flour-dusted counters. This entire bread comes together in just one blender. Yes, even the yeast is incorporated directly into the blend! This means less time scrubbing and more time enjoying your freshly baked, aromatic bread. It’s the ultimate hack for busy individuals or anyone who dreads the post-baking cleanup.
Naturally Gluten-Free & Flourless
For those navigating gluten sensitivities, dietary preferences, or simply looking for healthier alternatives, this blender rice bread is a dream come true. Its base is entirely rice, making it inherently gluten-free without the need for specialty gluten-free flour blends or binders. You get a genuinely soft and chewy bread that tastes fantastic, without any compromise on texture or flavor often associated with gluten-free baking.
Wholesome Ingredients You Trust
Unlike many store-bought breads laden with obscure ingredients, preservatives, and artificial additives, this homemade rice bread champions real, clean eating. The recipe calls for simple pantry staples like rice, water, yeast, salt, a touch of honey, and a healthy oil. You know exactly what goes into your loaf, ensuring a nutritious and delicious option for your family. It’s a return to wholesome, traditional baking with a modern, easy twist.
Perfect for Healthy Meal Prep
Consistency is key when it comes to maintaining a healthy lifestyle, and this rice bread is your perfect partner. It holds up beautifully for 3-4 days at room temperature and even longer in the refrigerator, making it an excellent candidate for weekly meal prep. Bake a batch on Sunday, and you’ll have a versatile base for quick breakfasts, nutritious lunches, or wholesome snacks throughout your busy week. Its sturdy yet soft texture makes it ideal for everything from avocado toast to hearty sandwich fillings, empowering you to make healthy choices effortlessly.
The Secret to Perfection: Nonna’s Soaking Tip 🍚💧
For the fluffiest, most tender blender rice bread, the secret lies in a simple yet crucial step: soaking the rice in water overnight. This traditional Japanese-inspired method allows the rice grains to soften thoroughly, ensuring they blend into an incredibly smooth, lump-free batter. This smooth batter is the foundation for the light, airy texture that makes this bread so irresistible. Do not skip this step – it’s the key to transforming ordinary rice into an extraordinary loaf!
Customizing Your Blender Rice Bread: Variations & Substitutions
One of the joys of homemade bread is the ability to tailor it to your preferences and available ingredients. This Viral Blender Rice Bread is incredibly versatile, allowing for numerous delicious variations:
- Blender Alternatives: Don’t own a powerful stand blender? No problem! You can achieve a smooth batter using an immersion blender instead. Simply place all ingredients in a tall, deep container and blend until completely smooth. The key is to ensure no grainy bits of rice remain.
- Explore Different Shapes & Sizes: Get creative with your baking! While a standard loaf pan is perfect for everyday slicing, you can also divide the batter to make two mini loaves for gifting or smaller portions. For delightful individual servings, shape the dough into dinner rolls or even burger buns before baking. This versatility ensures you never get bored and can always suit the occasion.
- Sweetener Swaps: The recipe calls for honey, which adds a lovely subtle sweetness and aids in yeast activation. However, feel free to substitute with other liquid sweeteners like agave nectar, maple syrup, or even a granulated sugar dissolved in the warm water. Adjust the amount to your taste.
- Yeast Options: If you typically use instant yeast rather than active dry yeast, you can easily make the swap. With instant yeast, there’s no need for the initial proofing step with warm water and honey. Simply mix the instant yeast directly into the dry ingredients (after soaking the rice, of course) and then add the wet ingredients. This can save a few minutes in your prep time.
- Rice Varieties: While short-grain white rice is recommended for its soft texture, you can experiment with other types. Substituting with brown rice will yield a slightly denser loaf and may require a bit more blending time to achieve a smooth consistency. Remember, regardless of the rice type, the overnight soaking step remains crucial for optimal results. You could also try sushi rice or even jasmine rice for different subtle flavor profiles.
- Savory Enhancements: Transform your loaf into a savory delight! Before baking, mix in finely chopped fresh herbs like rosemary or thyme, a sprinkle of garlic powder, or even some nutritional yeast for a cheesy flavor. A topping of everything bagel seasoning or dried herbs before baking adds a fantastic aroma and texture.
- Seed & Topping Additions: For an extra layer of texture and flavor, sprinkle sesame seeds, poppy seeds, or even flax seeds on top of the dough before baking. These not only add visual appeal but also a pleasant crunch and nutritional boost.
Perfect Pairings: What to Serve with Your Blender Rice Bread
This versatile rice bread is the perfect canvas for an array of sweet and savory accompaniments. Its mild flavor and delightful texture make it suitable for any meal of the day. Here are some fantastic serving suggestions to inspire your next culinary creation:
- Breakfast Bliss: Enjoy a slice toasted and spread with Peanut Butter Jelly Cottage Cheese Toast for a protein-packed start to your day. Or, go classic with the Best Avocado Toast Recipe, adding a sprinkle of everything bagel seasoning for extra flavor.
- Lunchtime Favorites: Create wholesome sandwiches using Homemade Lunch Meat or a lean Chicken Deli Meat Recipe. The bread’s sturdy structure holds up well to various fillings, making it ideal for packed lunches or a quick bite at home.
- Sweet Treats: Toast a slice and drizzle with extra honey or maple syrup, then top with fresh berries or sliced bananas for a simple, healthy dessert or snack. A smear of your favorite nut butter and a sprinkle of cinnamon also makes for a delightful treat.
- Savory Sides: This bread is excellent served alongside soups, stews, or salads. Its soft interior is perfect for soaking up rich broths, while the light crust provides a satisfying contrast. Use it to sop up sauces from pasta dishes or as a side for your favorite protein.
- Garlic Bread: Slice the loaf, spread with garlic butter, and toast until golden for an easy, gluten-free garlic bread that complements almost any Italian meal.
Recipes You Might Also Love
Cloud Bread Recipe
45 mins
Whole Orange Blender Cake
55 mins
Whole Lemon Blender Cake
55 mins
Blender Banana Bread
1 hr
Frequently Asked Questions About Viral Blender Rice Bread
Absolutely, this is a non-negotiable step for achieving the perfect texture. Soaking the rice overnight (or for at least 8-12 hours) is crucial because it softens the grains, allowing them to blend into a perfectly smooth batter. This smoothness is what gives the finished bread its signature soft, fluffy, and slightly chewy consistency. Without adequate soaking, your bread might turn out dense or grainy.
Several factors can contribute to a lack of rise. Firstly, ensure your yeast is active. When you combine warm water, honey, and yeast, it should become foamy after 5-10 minutes. If it doesn’t, your yeast might be old or inactive, or your water could be too hot (which kills yeast) or too cold (which won’t activate it). Secondly, the dough needs a warm, draft-free spot to rest and rise for the full hour. Room temperature can sometimes be too cool; consider placing it in a slightly warm (but OFF) oven that’s turned off, or near a sunny window.
Yes, this bread freezes beautifully, making it excellent for long-term meal prep! Once baked and completely cooled, slice the loaf into individual portions. Store the slices in an airtight container or a freezer-safe zip-top bag for up to 2 months. Freezing slices individually allows you to thaw and toast just what you need, minimizing waste and ensuring a fresh taste every time.
For short-term storage, keep your baked rice bread in an airtight container at room temperature for up to 2 days. If you need it to last longer, transfer it to the refrigerator, where it will stay fresh for up to 5 days. Always ensure it’s properly sealed to prevent it from drying out.
If your rice bread turned out gummy or dense, there are a few common culprits. The most frequent reason is insufficient soaking of the rice, leading to a grainy or thick batter that doesn’t fully lighten. Another factor could be incomplete blending; the batter must be exceptionally smooth. Lastly, underbaking can also result in a gummy texture. Ensure your oven is at the correct temperature and bake until the top is golden brown and a toothpick inserted into the center comes out clean. An internal temperature of around 200-210°F (93-99°C) typically indicates doneness for bread.
Yeast is essential for the rise and characteristic fluffy texture of this bread. Without it, the bread would be very dense and flat, more like a cracker or a thick pancake. While there are other flourless bread recipes that use baking soda and acid for leavening, this specific recipe relies on yeast for its unique airy crumb. So, for the best results, yeast is a must!
Short-grain white rice, such as Italian Arborio rice or sushi rice, is generally recommended. Its starch content and texture contribute to the softest and fluffiest loaf. However, you can experiment with medium-grain rice. If using brown rice, note that the loaf will be slightly denser, and you might need to blend for a bit longer to achieve optimal smoothness after soaking.
⭐⭐⭐⭐⭐ from 2 reviews
Viral Blender Rice Bread (Gluten Free, No Flour!)
8
slices
10 minutes
40 minutes
1 hour
1 hour 50 minutes
Equipment
Ingredients
Instructions
Tips for Success
Nutrition
Recipe Video
Equipment You’ll Need
-
High-Speed Blender
-
Parchment Paper
-
Loaf Pan (8.5 x 4.5 inches recommended)
-
Large Bowl (for soaking rice)
-
Fine-Mesh Sieve (for draining rice)
Ingredients for Your Blender Rice Bread
These simple, wholesome ingredients come together to create a remarkably delicious gluten-free loaf:
- 350 grams short-grain rice, such as Italian Arborio or sushi rice (do NOT use instant rice)
- 200 milliliters warm water (approximately 105-115°F or 40-46°C – warm enough to activate yeast but not hot enough to kill it)
- 5 grams fine sea salt (essential for flavor and dough structure)
- 7 grams active dry yeast (check expiry date for best results)
- 20 grams honey (or agave, maple syrup; helps activate yeast and adds a touch of sweetness)
- 30 grams avocado oil (or other neutral-flavored oil like light olive oil or melted coconut oil)
- Optional: Sesame seeds or poppy seeds for topping
Step-by-Step Instructions: Making Your Blender Rice Bread
Follow these easy steps to bake a perfect loaf of gluten-free rice bread:
-
1. Prepare the Rice: Place 350 grams of short-grain rice in a large bowl and cover it with plenty of cold water. Let the rice soak overnight, or for a minimum of 8-12 hours. This crucial step ensures the rice softens sufficiently for blending into a smooth batter.
-
2. Drain the Rice: The next morning, thoroughly drain the soaked rice. Discard the soaking water completely. You’ll notice the rice grains are plumper and softer.
-
3. Activate the Yeast: In your blender, combine 200 ml of warm water (ensure it’s not too hot), 20 grams of honey, and 7 grams of active dry yeast. Stir gently and let this mixture sit for 5-10 minutes. The mixture should become foamy and bubbly on top, indicating the yeast is active. If it doesn’t foam, your yeast may be inactive or the water temperature was incorrect, and you should start this step again.
-
4. Blend the Batter: Add the drained, soaked rice, 5 grams of salt, and 30 grams of avocado oil to the foamy yeast mixture in the blender. Blend on high speed until the mixture is completely smooth. This may take a few minutes, depending on your blender’s power. Scrape down the sides if necessary. The final batter should have the consistency of a thick pancake batter, free of any grainy rice bits.
-
5. Prepare for Rising: Pour the smooth batter into a loaf pan that has been lined with parchment paper. Smooth the top evenly with a spatula. If desired, sprinkle with sesame or poppy seeds now.
-
6. First Rise (Proofing): Cover the loaf pan with a clean kitchen towel or plastic wrap and let it rest at room temperature for 1 hour. During this time, the batter will rise significantly, becoming noticeably puffier. Ensure the resting spot is warm and draft-free for optimal rise.
-
7. Bake the Bread: Preheat your oven to 350°F (175°C). Place the loaf pan in the cold oven, then turn the oven on to bake. This can help with a more even rise. Bake for 30-40 minutes, or until the top is golden brown, the bread is set, and a toothpick inserted into the center comes out clean. If the top browns too quickly, you can loosely tent it with foil.
-
8. Cool and Enjoy: Once baked, remove the loaf from the oven and let it cool in the pan for 10-15 minutes before transferring it to a wire rack to cool completely. Slicing too early can result in a gummy texture. Once cooled, slice and enjoy your delicious, homemade Viral Blender Rice Bread!
Tips for Success & Troubleshooting
- Always Check Your Yeast: Yeast is a living organism. Ensure it’s not expired and activate it properly with warm water and a touch of sugar (honey in this case) before adding other ingredients. If it doesn’t foam, discard and try again.
- Blend Until Perfectly Smooth: The key to a non-grainy, fluffy bread is a super smooth batter. Don’t rush the blending process. Your batter should resemble a thick, pourable pancake batter with no visible rice bits.
- Maintain Optimal Rising Conditions: Yeast thrives in warm, consistent temperatures. Avoid cold drafts during the rising period. If your kitchen is cool, a slightly warmed (but OFF) oven or a proofing setting can be beneficial.
- Don’t Underbake: An underbaked loaf will be dense and gummy. Ensure the internal temperature reaches 200-210°F (93-99°C) and the crust is golden brown. When in doubt, bake for a few extra minutes.
- Cool Completely: Resist the urge to slice into your warm bread immediately. Allowing it to cool completely on a wire rack helps the internal structure set, preventing a gummy texture.
- Adjust Sweetness: While the honey aids in yeast activity, you can adjust the amount slightly to suit your taste preference. For a savory loaf, reduce honey or substitute with a tiny pinch of sugar if needed for yeast, and consider adding herbs or garlic powder.
- Experiment with Toppings: A sprinkle of sesame seeds, poppy seeds, or even flaky sea salt before baking adds a lovely texture and visual appeal.
Nutrition Information
Nutrition information is automatically calculated, so should only be used as an approximation.