
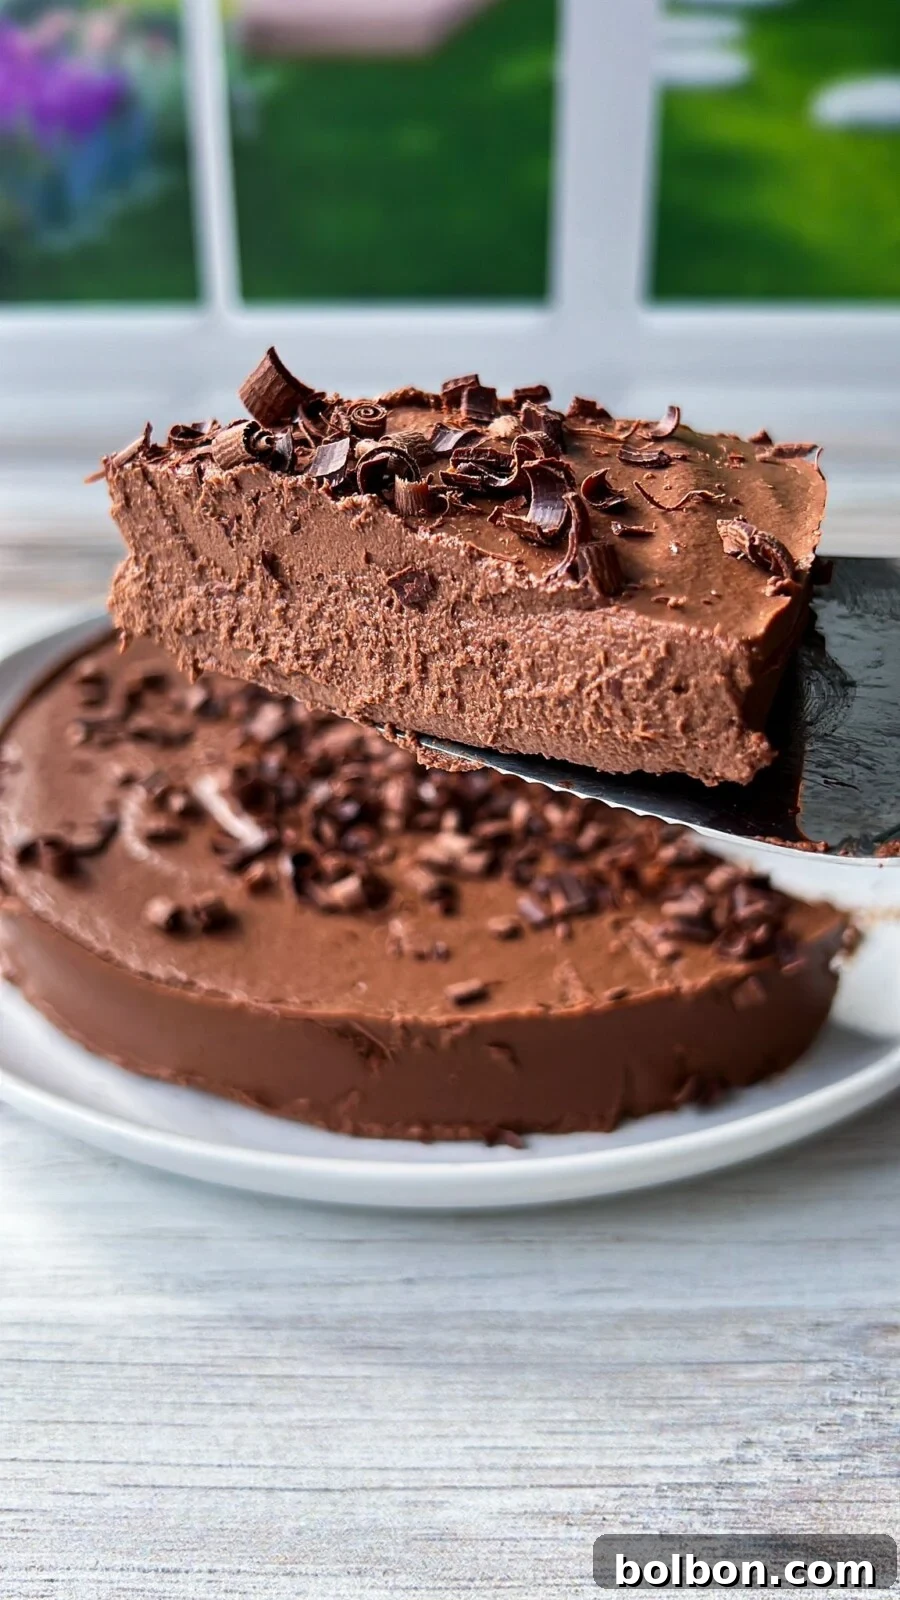
Effortless Indulgence: The Ultimate Two-Ingredient No-Bake Chocolate Apple Cake
Prepare to be amazed by a dessert that feels like pure magic, yet requires only two simple, everyday ingredients to create a truly extraordinary no-bake cake. This recipe is a testament to the power of simplicity, transforming humble apples and rich chocolate into a decadent treat that will delight your senses. Forget complicated steps, extensive ingredient lists, or the need to even turn on your oven. This innovative cake concept leverages the natural sweetness and binding properties of apples, paired perfectly with your favorite chocolate, to deliver a dessert experience unlike any other.
Apples are the unsung heroes here, working diligently to provide natural sweetness, essential structure, and a wonderfully smooth texture to the cake. Their inherent pectin helps bind the mixture, eliminating the need for eggs or flour, while their gentle tartness beautifully balances the richness of the chocolate. And speaking of chocolate, can any great dessert truly exist without it? We think not! While a bold, fruity dark chocolate is highly recommended for an intense flavor profile, feel free to choose any variety that calls to you – whether it’s creamy milk chocolate, sweet white chocolate, or a rich semi-sweet option. The beauty of this recipe lies in its adaptability and straightforward charm.
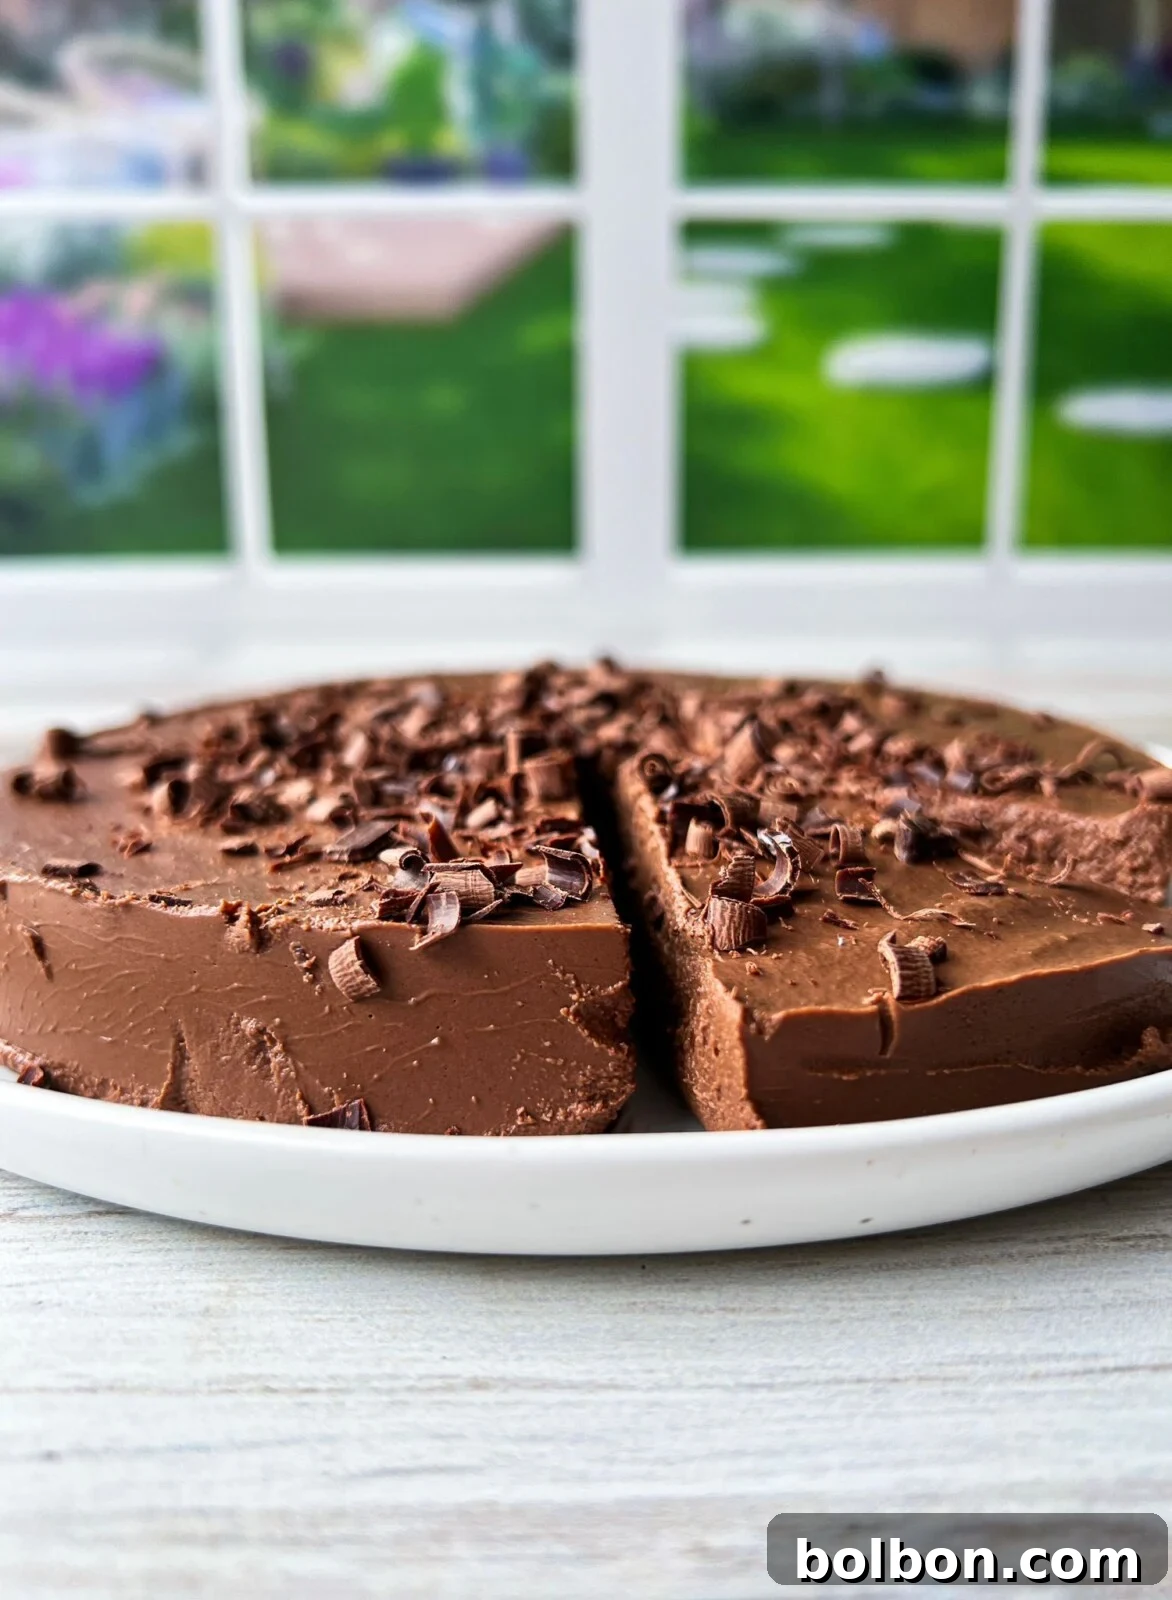
Why This Two-Ingredient Chocolate Apple Cake Will Become Your New Favorite
This remarkable cake isn’t just about its simplicity; it’s a culinary dream come true for a multitude of reasons. Whether you’re navigating food sensitivities or simply seeking an effortlessly delicious dessert, this recipe has you covered. It’s naturally vegan, gluten-free, and dairy-free, making it an inclusive option for almost any dietary requirement. There’s no need for added sugars, artificial sweeteners, or any form of gluten, relying solely on the wholesome goodness of apples and chocolate to create a delightful experience.
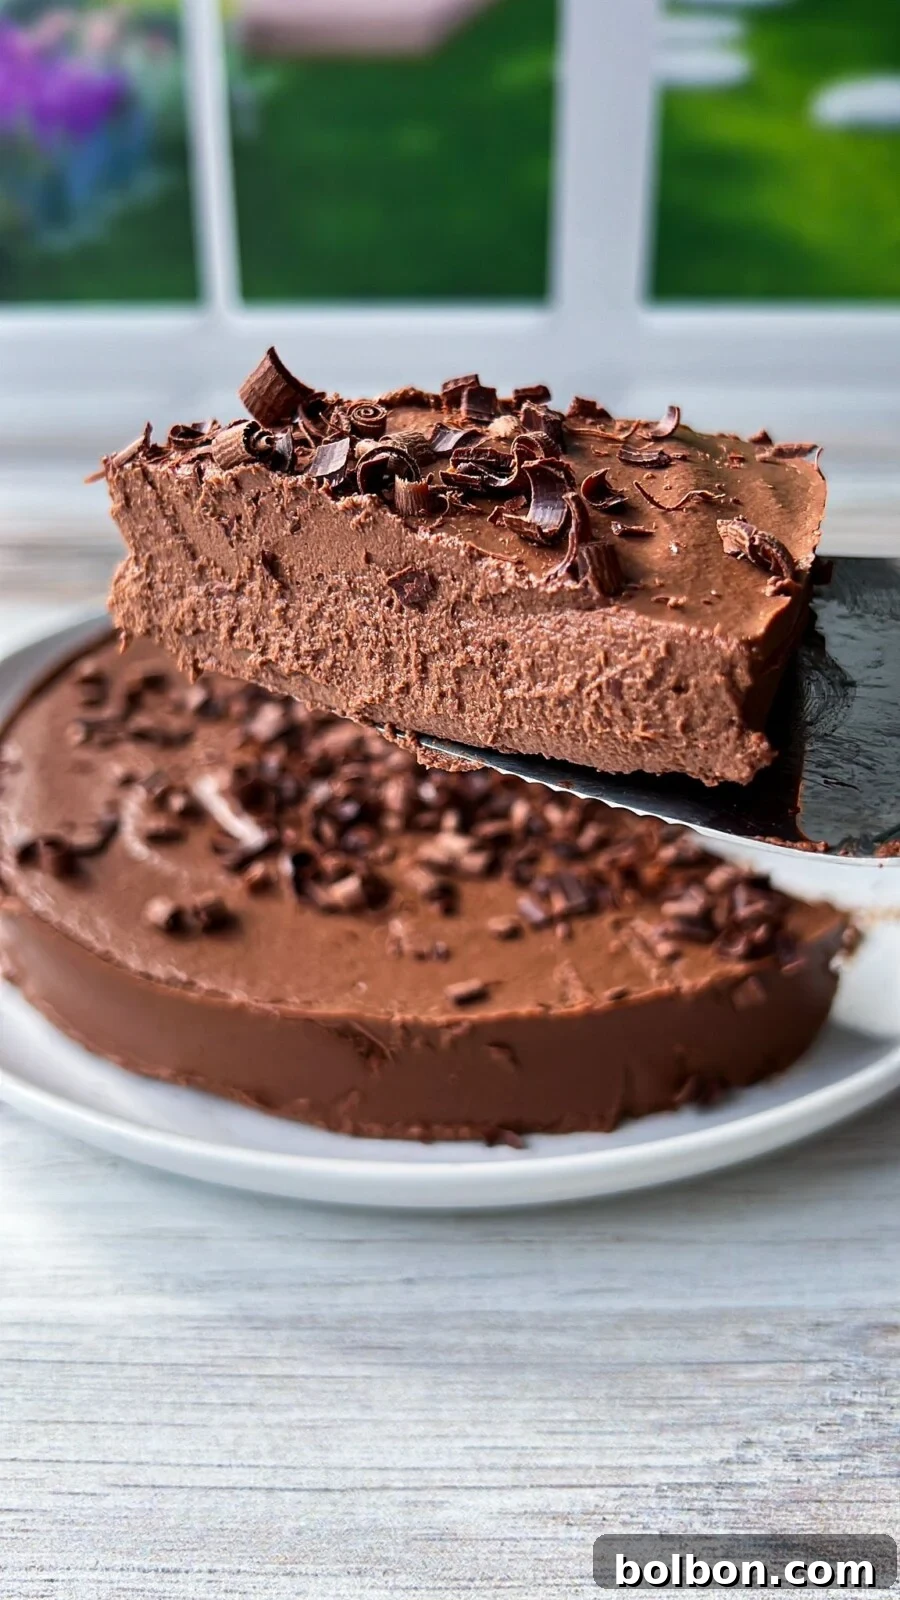
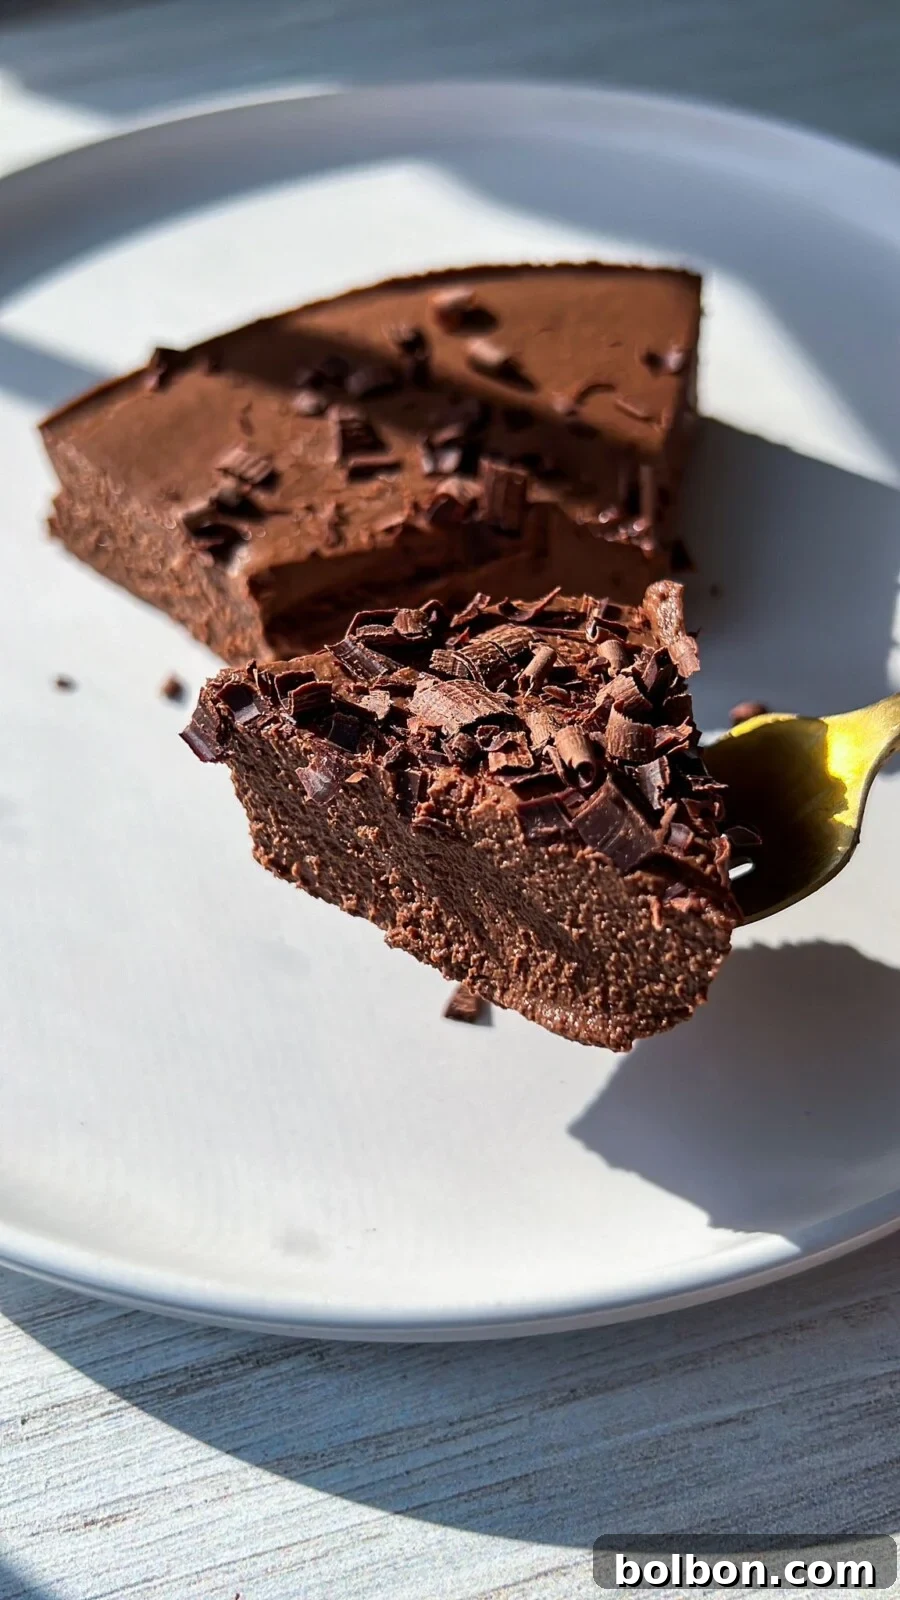
The magic unfolds as the apples are gently cooked, either through baking or steaming. This process softens their texture and intensifies their natural sugars, transforming them into a sweet, pliable base. Once tender, these apples are blended harmoniously with your chosen melted chocolate. The resulting batter, a velvety smooth concoction, then takes a leisurely nap in the refrigerator. During this chilling period, it undergoes a wondrous transformation, solidifying into a rich, dense, and utterly luxurious pudding-like texture. Imagine the luscious creaminess of a chocolate cheesecake, but with a lighter, fruit-infused essence – that’s precisely the delightful consistency awaiting you. Its ease of preparation combined with its impressive flavor and texture makes it a dessert that truly has it all.
Step-by-Step Preparation: Crafting Your Simple Chocolate Apple Cake
Creating this sensational two-ingredient cake is a straightforward process, designed for maximum deliciousness with minimal fuss. Follow these simple steps to bring your no-bake masterpiece to life:
- Prepare Your Oven: If opting to bake your apples, begin by preheating your oven to 400°F (200°C). This ensures your oven is ready for the apples to soften beautifully.
- Apple Preparation: Select four medium-sized apples of your preferred variety (see our recommendations in the FAQ section for best results). Thoroughly peel each apple, core them to remove the seeds and tough center, then cut them into uniform cubes or quarters. Consistency in size will help them cook evenly.
- Arrange for Cooking: Place your prepared apple pieces into a baking dish. For easy removal and cleanup, line the baking dish with parchment paper beforehand. Add one cup of water to the bottom of the dish; this creates a steaming environment in the oven, helping the apples soften without drying out and enhancing their natural sweetness.
- Cook the Apples to Perfection: Bake the apples in the preheated oven until they are completely soft and tender. The exact baking time can vary based on the apple variety and your oven’s efficiency, typically ranging from 60 to 75 minutes. Keep a close eye on them; they are ready when a knife can easily pierce through a piece without resistance. Alternatively, for a quicker stovetop method, you can boil the prepared apples in a pot with a cup of water for about 15 minutes until they reach the same soft consistency.
- Cool Down: Once the apples are perfectly tender, carefully remove them from the oven (or stove) and set them aside to cool slightly. They don’t need to be completely cold, but cool enough to handle safely.
- Melt the Chocolate: While the apples are cooling, it’s time to prepare your chocolate. You can melt 225 grams of your chosen chocolate using one of two methods:
- Double Boiler Method: Place your chocolate (chips or chopped bars) in a heat-proof glass bowl. Set this bowl over a saucepan filled with about an inch of simmering water, ensuring the bottom of the bowl does not touch the water. Stir the chocolate continuously over low heat until it is completely smooth and melted. This method provides gentle, even heat, preventing the chocolate from seizing or burning.
- Microwave Method: Place your chocolate in a microwave-safe bowl. Heat in 20-30 second intervals, stirring well after each interval, until the chocolate is fully melted and smooth. Be careful not to overheat, as chocolate can burn quickly in the microwave.
- Blend for Smoothness: Combine the softened, cooled apples with the melted chocolate in a high-speed blender. Blend until the mixture is completely smooth and uniform, with no visible apple chunks. Scrape down the sides of the blender as needed to ensure everything is fully incorporated into a silky batter.
- Pour and Chill: Prepare a 7-inch springform pan by lining its base and sides with parchment paper. This will make it incredibly easy to release your finished cake. Pour the chocolate apple mixture into the prepared pan, gently shaking or tapping the pan on the counter a few times to evenly distribute the batter and release any air bubbles.
- Refrigerate Until Set: Transfer the pan to the refrigerator and chill for at least 4-6 hours, or preferably overnight. This crucial step allows the cake to fully set and develop its characteristic firm, pudding-like texture.
- Garnish and Enjoy: Once your cake is thoroughly set, carefully remove it from the springform pan. Top with a generous sprinkle of chocolate shavings, a dusting of cocoa powder, or any other preferred garnish. Slice and serve your effortless two-ingredient cake!
Expert Tip: Achieving Perfect Apple Tenderness
The key to this cake’s success lies in perfectly tender apples. Whether you choose to bake them in the oven with a little water or boil them on the stovetop, ensure they are soft enough to be easily mashed with a fork. This will guarantee a silky-smooth texture when blended with the chocolate, preventing any grainy consistency in your final cake.
Creative Variations and Customizations for Your Two-Ingredient Cake
While this two-ingredient cake is exquisite in its original form, it also serves as a fantastic canvas for culinary creativity. Experimenting with these variations and substitutions allows you to tailor the cake to your personal taste preferences, seasonal availability, or specific dietary needs. Remember, when adding or changing ingredients, a little experimentation with quantities might be necessary to achieve your desired outcome.
- Spice It Up: Infuse your cake with warming flavors by adding ground spices to the apples before cooking. A teaspoon of cinnamon, a pinch of nutmeg, or a touch of ground ginger will introduce a comforting, aromatic depth that complements both the apples and chocolate beautifully. These spices evoke cozy, autumnal vibes perfect for any season.
- Textural Crunch: For an exciting textural contrast, fold in chopped nuts after blending the apples and chocolate. Walnuts, pecans, or almonds add a delightful crunch and nutty flavor that elevates the cake’s complexity. Lightly toasting the nuts beforehand can further enhance their aroma and taste.
- Nutritional Boost with Seeds: Boost the nutritional profile of your cake by sprinkling nutrient-rich seeds on top or mixing a small amount into the batter. Chia seeds or flaxseeds not only add healthy fats and fiber but also contribute a subtle texture. They can also aid in the setting process if mixed into the batter, though they might alter the smooth consistency slightly.
- Elevate with Toppings: While chocolate shavings are a classic finish, explore other luxurious toppings. A dollop of light and airy whipped cream, a drizzle of luscious caramel sauce, or a scattering of vibrant fresh berries (like raspberries or strawberries) provide contrasting flavors and visual appeal. These can be used instead of, or in addition to, the chocolate shavings for a more elaborate presentation.
- Simple Elegance: For a minimalist yet sophisticated presentation, simply dust your Two-Ingredient Cake with a delicate layer of powdered sugar or a rich veil of unsweetened cocoa powder. This adds a subtle sweetness and an elegant finish.
- Alternative Blending Appliances: Don’t have a traditional blender? No problem! Achieve a wonderfully smooth consistency using other common kitchen appliances. A robust food processor works effectively, processing the cooked apples and melted chocolate until creamy. Alternatively, an immersion blender can be used directly in a deeper bowl, making cleanup a breeze while still achieving the desired smooth texture.
- Ensure a Truly Vegan Version: To guarantee this cake remains entirely vegan and dairy-free, simply ensure you select a high-quality dairy-free chocolate. Many excellent options are available, ranging from dark chocolate made without milk solids to specific vegan chocolate brands, ensuring everyone can enjoy this delightful treat.
Explore More Simple & Delicious Recipes
3 Ingredient Yogurt Cake
Total Time: 55 mins
Chocolate Yogurt Cake
Total Time: 55 mins
Single Serve Banana Bread
Total Time: 35 mins
One Ingredient Chocolate Mousse
Total Time: 8 hrs 5 mins
Perfect Pairings: What to Serve with Your Two-Ingredient Cake
This simple yet sophisticated chocolate apple cake is delightful on its own, but it truly shines when paired with complementary flavors and textures. Elevate your dessert experience with these serving suggestions:
- A Warm Beverage: A classic pairing, a freshly brewed cup of coffee or tea provides a comforting counterpoint to the rich cake. The subtle bitterness of coffee or the aromatic notes of tea can beautifully enhance the chocolate flavors.
- Creamy Ice Cream: For an indulgent treat, serve a slice of cake alongside a scoop of your favorite ice cream. Vanilla, caramel, or cinnamon ice cream would all be excellent choices, adding a cool, creamy contrast and an extra layer of sweetness.
- Fresh Whipped Cream or Fruit Compote: A generous dollop of freshly whipped cream adds a lightness and airy texture that balances the cake’s density. Alternatively, a warm berry or apple compote introduces a burst of fruity freshness and a pleasant tartness, complementing the apple base of the cake.
- A Touch of Mint: For an elegant finish and a hint of refreshing aroma, garnish each slice with a small sprig of fresh mint. The vibrant green against the dark chocolate creates a beautiful visual, and the subtle mint flavor can cleanse the palate.
- More Delicious Desserts: If you’re hosting a dessert spread, this cake pairs wonderfully with other fruit-forward treats. Consider serving it alongside our popular Baked Apples for a diverse and delightful selection.
Frequently Asked Questions About the Two-Ingredient Cake
For a deep, intense chocolate flavor, dark chocolate (around 60-70% cacao) is highly recommended. Its slight bitterness beautifully balances the natural sweetness of the apples. However, you have the flexibility to use milk chocolate for a sweeter, creamier profile or even white chocolate if you prefer a milder, sweeter taste. If you’re making a vegan version, be sure to opt for a high-quality dairy-free dark chocolate, which is widely available.
The best apples for this cake are those that are firm and offer a balanced flavor profile of sweetness and tartness. Varieties like Granny Smith (for tartness), Honeycrisp, Fuji, Braeburn, or Pink Lady are excellent choices. These apples hold their shape well during cooking and provide a good foundation for the cake’s texture and natural sweetness. Avoid overly soft or mealy apple varieties as they might result in a less desirable consistency.
Absolutely! This cake is an ideal make-ahead dessert, as it requires ample chilling time to set properly. You can prepare the cake up to 3 days in advance and store it, covered, in the refrigerator. In fact, many find that the flavors meld and deepen even further after a day or two. Simply add any fresh toppings or garnishes just before you plan to serve it for optimal freshness and presentation.
Yes, peeling the apples is strongly recommended for this recipe. While some recipes allow for skins, for this particular cake, removing the peels ensures the final texture is incredibly smooth and uniform, akin to a creamy pudding or cheesecake. Unpeeled apples could introduce small, chewy bits that detract from the desired luxurious mouthfeel.
While a 7-inch springform pan is convenient for its easy release, you can certainly use a regular round cake pan. The key is to line it thoroughly with parchment paper. Extend the parchment paper up the sides of the pan, leaving an overhang that you can use as “handles” to lift the cake out once it has fully set. This method works perfectly to achieve the same elegant presentation.
When stored properly in an airtight container or covered tightly with plastic wrap, this chocolate apple cake will remain fresh and delicious in the refrigerator for up to 3 to 4 days. Its dense, no-dairy composition helps it maintain its quality well. Any toppings, however, should be added just before serving.
While tempting for convenience, using store-bought apple sauce is not recommended for this recipe. Fresh apples provide the specific pectin and natural sweetness needed for the cake to set correctly and achieve its unique texture. Pre-made apple sauce often has too much water content, different consistencies, and sometimes added sugars or spices that could alter the final outcome significantly. The process of cooking fresh apples is crucial for the cake’s structure.
Two-Ingredient No-Bake Chocolate Apple Cake
Facebook Share
Rate Recipe
Print Recipe
Video Tutorial
Watch a video tutorial for this Two-Ingredient No-Bake Chocolate Apple Cake here for visual guidance on each step!
Equipment
Ingredients
- 4 medium apples, peeled, cored, and quartered (e.g., Honeycrisp, Fuji, Granny Smith)
- 1 cup water, for cooking the apples
- 225 grams dark chocolate, or your preferred type (e.g., milk, semi-sweet, dairy-free)
Instructions
-
Preheat Oven (if baking): Preheat your oven to 400°F (200°C). This temperature is ideal for softening the apples to the perfect consistency.
-
Prepare the Apples: Carefully peel, core, and then cube or quarter the 4 apples. Place these apple pieces evenly in a baking dish that has been lined with parchment paper. The parchment paper will prevent sticking and make cleanup much easier.
-
Cook the Apples: Pour 1 cup of water into the bottom of the baking dish, around the apples. Bake in the preheated oven until the apples are incredibly soft and tender. This typically takes about 1 hour and 15 minutes, but cooking time can vary based on your specific oven and apple variety. Check for tenderness by easily piercing an apple piece with a knife or fork. If you prefer, you can also boil the prepared apples on the stovetop for about 15 minutes until soft instead of baking them.
-
Cool Down: Once the apples are perfectly soft, remove the baking dish from the oven and set the apples aside to cool slightly before proceeding.
-
Melt the Chocolate: While the apples are cooling, melt the 225 grams of chocolate. You can do this over a double boiler on the stovetop (placing a heat-proof bowl over simmering water and stirring until melted) or in the microwave. If using the microwave, heat in 20-30 second intervals, stirring well after each, until smooth and fully melted.
-
Blend the Mixture: Add the softened apples to a blender, followed by the freshly melted chocolate. Blend the ingredients on high speed until the mixture is completely smooth and creamy, with no apple lumps remaining. Scrape down the sides of the blender as needed to ensure thorough blending.
-
Pour and Chill: Pour the smooth chocolate apple batter into a 7-inch springform pan that has been lined with parchment paper. Gently shake the pan to ensure the batter is evenly distributed and settled. Place the pan in the refrigerator and allow it to chill for a minimum of 4-6 hours, or ideally overnight, until it is completely set and firm.
-
Serve and Enjoy: Once the cake is fully set, carefully remove it from the springform pan. Top with extra chocolate shavings, a dusting of cocoa powder, or any other preferred garnish, then slice and enjoy your delightful Two-Ingredient No-Bake Chocolate Apple Cake!
Nutrition
Carbohydrates: 25g,
Protein: 2g,
Fat: 12g,
Saturated Fat: 7g,
Polyunsaturated Fat: 0.4g,
Monounsaturated Fat: 4g,
Trans Fat: 0.01g,
Cholesterol: 1mg,
Sodium: 8mg,
Potassium: 298mg,
Fiber: 5g,
Sugar: 16g,
Vitamin A: 60IU,
Vitamin C: 4mg,
Calcium: 27mg,
Iron: 3mg
Nutrition information is automatically calculated and should be used as an approximation. It can vary based on specific ingredient brands and preparation methods.