
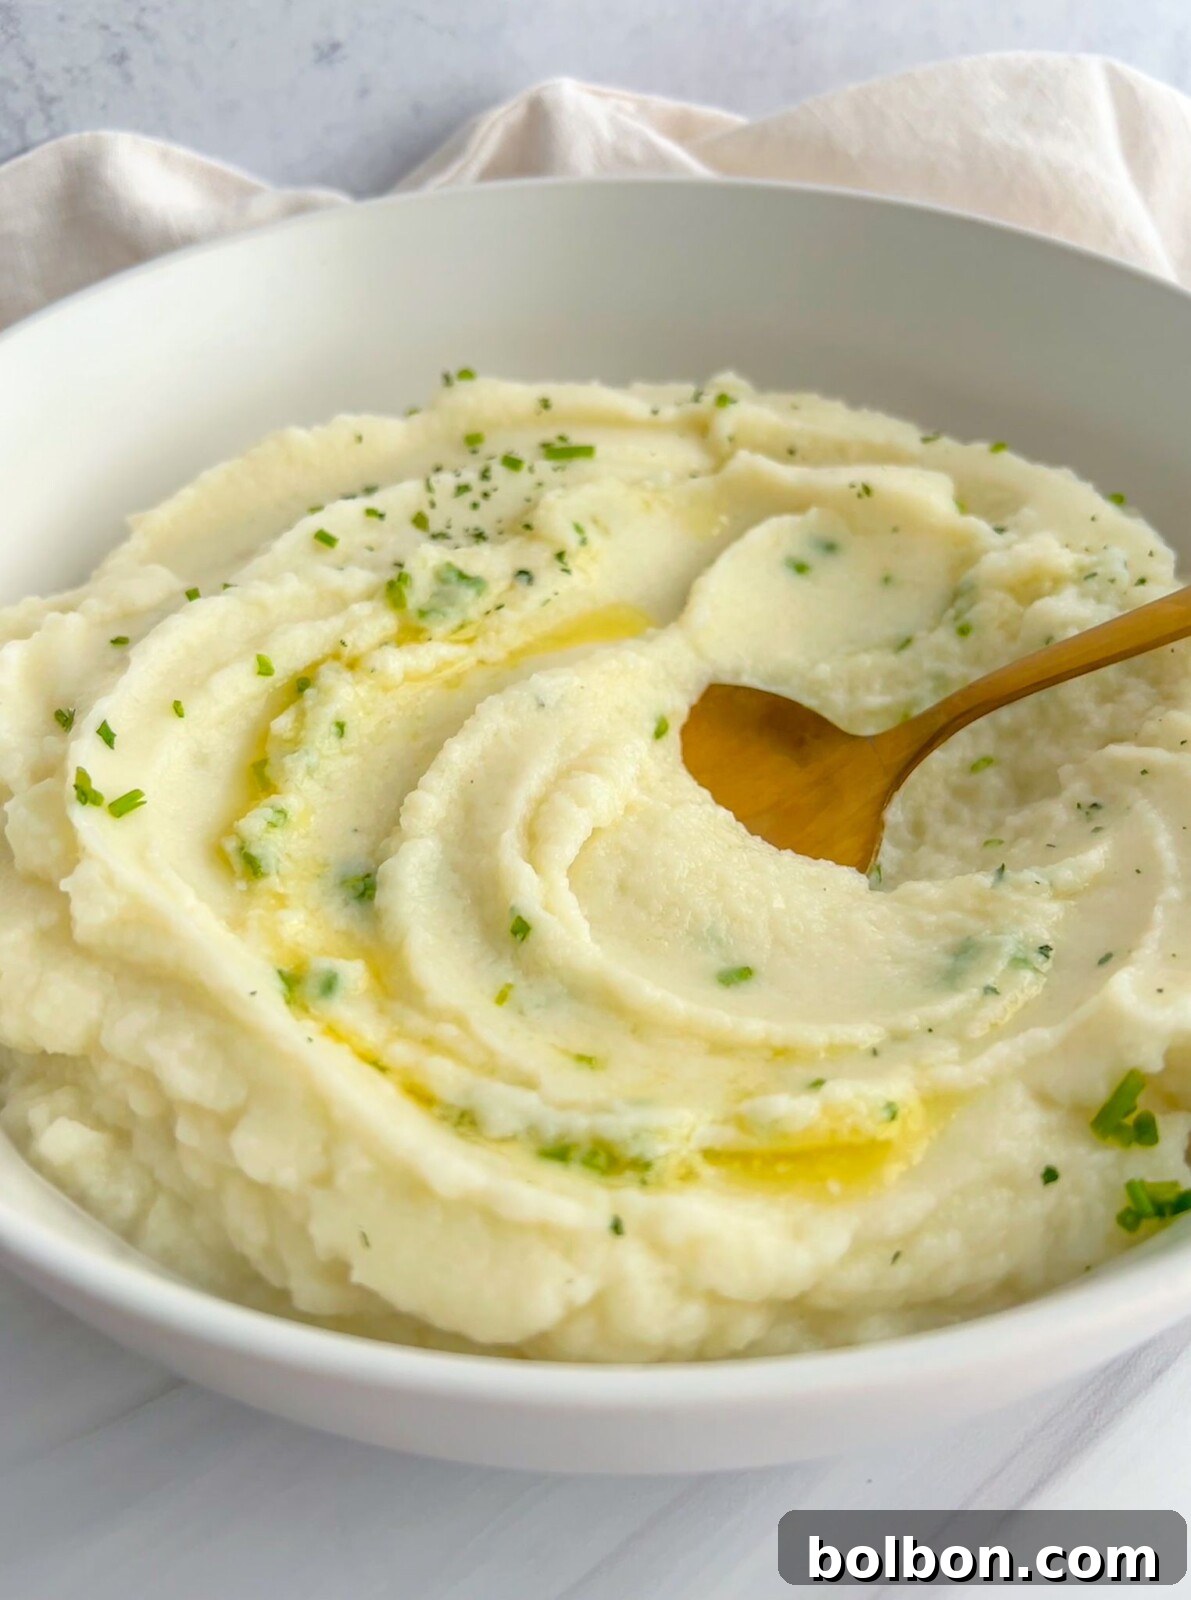
Welcome to the definitive guide for crafting the most delightful, effortlessly creamy, and intensely flavorful **garlicky Cauliflower Mash** you will ever experience. If cauliflower hasn’t won your heart yet, prepare to be amazed, as this recipe is truly a game-changer. It stands out as one of the **simplest** and most rewarding dishes you can add to your culinary repertoire, boasting an absolutely delicious taste and a silky-smooth texture. Many have attempted cauliflower mash only to be left with a watery, disappointing result. Fear not! I’ve perfected a **foolproof** method that guarantees a consistently creamy outcome, every single time. Get ready to transform humble cauliflower into a luxurious side dish that rivals even the finest mashed potatoes.
Why This Creamy Garlic Cauliflower Mash Will Become Your Favorite Side Dish
I genuinely believe this recipe is destined to become your new go-to side dish, not just because it’s incredibly tasty, but also due to its myriad of benefits. Cauliflower, a wonderfully versatile and low-carb vegetable, takes center stage here. Once you prepare it using my specialized technique, you won’t even glance back at traditional mashed potatoes! This cauliflower mash is exceptionally **creamy** and smooth, infused with the rich, aromatic **flavor** of fresh garlic, making it an irresistible accompaniment to almost any meal. Beyond its exquisite taste and texture, this dish comes together remarkably **quickly** and requires only a handful of minimal ingredients, proving that healthy eating doesn’t have to be complicated or time-consuming. Whether you’re seeking a simple, healthy side for a busy **weeknight** dinner or an elegant, impressive addition to your holiday spread (think Thanksgiving turkey or Christmas prime rib), this garlic cauliflower mash is an undeniable **winner** that caters to all occasions and palates.
Beyond its deliciousness, this low-carb alternative offers significant nutritional advantages. Cauliflower is packed with vitamins C and K, folate, and fiber, contributing to overall health and well-being. It’s a fantastic option for those following ketogenic, paleo, or gluten-free diets, allowing everyone to enjoy a comforting, hearty side without compromising their dietary goals. The rich, savory notes from the butter and optional cream cheese, combined with the pungent warmth of garlic, create a depth of flavor that is both satisfying and incredibly comforting.
The Secret to Perfectly Non-Watery Cauliflower Mash: A Foolproof Method
The most common complaint about homemade cauliflower mash is its tendency to be watery, leading to a bland flavor and an unappealing texture. My secret, which I’m excited to share, addresses this issue head-on. The key to achieving that velvety, smooth consistency that perfectly mimics mashed potatoes lies in one crucial step: **thoroughly draining and evaporating all excess moisture** from the cooked cauliflower. This isn’t just about pouring out the boiling water; it’s about actively drawing out every last drop of moisture that could dilute your mash.
Many recipes overlook this vital step, which is why their cauliflower mash often falls short. By taking a few extra minutes to allow the residual water to evaporate in a hot pan, you concentrate the cauliflower’s flavor and ensure a dense, creamy base. This prevents your mash from turning into a runny soup and instead transforms it into a rich, substantial side dish that holds its form beautifully. Don’t skip this critical stage – it’s the difference between good and absolutely legendary cauliflower mash!
How to Prepare Creamy Garlic Cauliflower Mash: A Detailed Step-by-Step Guide
Crafting this heavenly cauliflower mash is straightforward, especially with our meticulous step-by-step instructions. Follow these simple guidelines to achieve a truly exceptional result:
- Prepare the Cauliflower: Begin by thoroughly washing your head of cauliflower under cold running water. Once clean, break it up into evenly sized florets. Aim for pieces that are roughly the same size to ensure they cook uniformly.
- Boil the Cauliflower: In a large pot on the stove, bring a generous amount of water to a rolling boil. Season the water generously with salt, just as you would for pasta. This infuses the cauliflower with flavor from the inside out. Once boiling, add the cauliflower florets to the pot.
- Cook Until Fork-Tender: Allow the cauliflower to cook until it is completely fork-tender. This typically takes about 10 to 15 minutes, depending on the size of your florets. You should be able to easily pierce a floret with a fork without resistance. Overcooked cauliflower is better than undercooked for mashing, as it will blend more smoothly.
- Drain Thoroughly: Once tender, carefully drain the cauliflower using a colander. Shake the colander vigorously to remove as much water as possible. This is the first step in preventing a watery mash.
- Evaporate Excess Moisture: Immediately transfer the drained cauliflower into a pan on the stove over medium-high heat. Using a potato masher or a sturdy spatula, gently mash the cauliflower down. Be mindful not to scrape the bottom of your non-stick pan to avoid damaging it. Continue to stir and mash the cauliflower, allowing any remaining water to completely evaporate. You’ll notice steam rising, and the cauliflower will start to dry out. This crucial step takes approximately 5 to 6 minutes and is the ultimate secret to a creamy, non-watery texture.
- Process to Perfection: Next, transfer the dried cauliflower into a food processor. Add a little extra salt to taste, a tablespoon of rich butter, a tablespoon of cream cheese (optional, but highly recommended for extra creaminess), and 1/4 to 1/2 of a small garlic clove. For a milder garlic flavor, you can use garlic powder instead, or even roasted garlic.
- Blend Until Creamy: Process the mixture on high speed until it reaches your desired creamy and smooth consistency. Scrape down the sides of the food processor as needed to ensure everything is thoroughly blended. Taste and adjust seasonings as necessary.
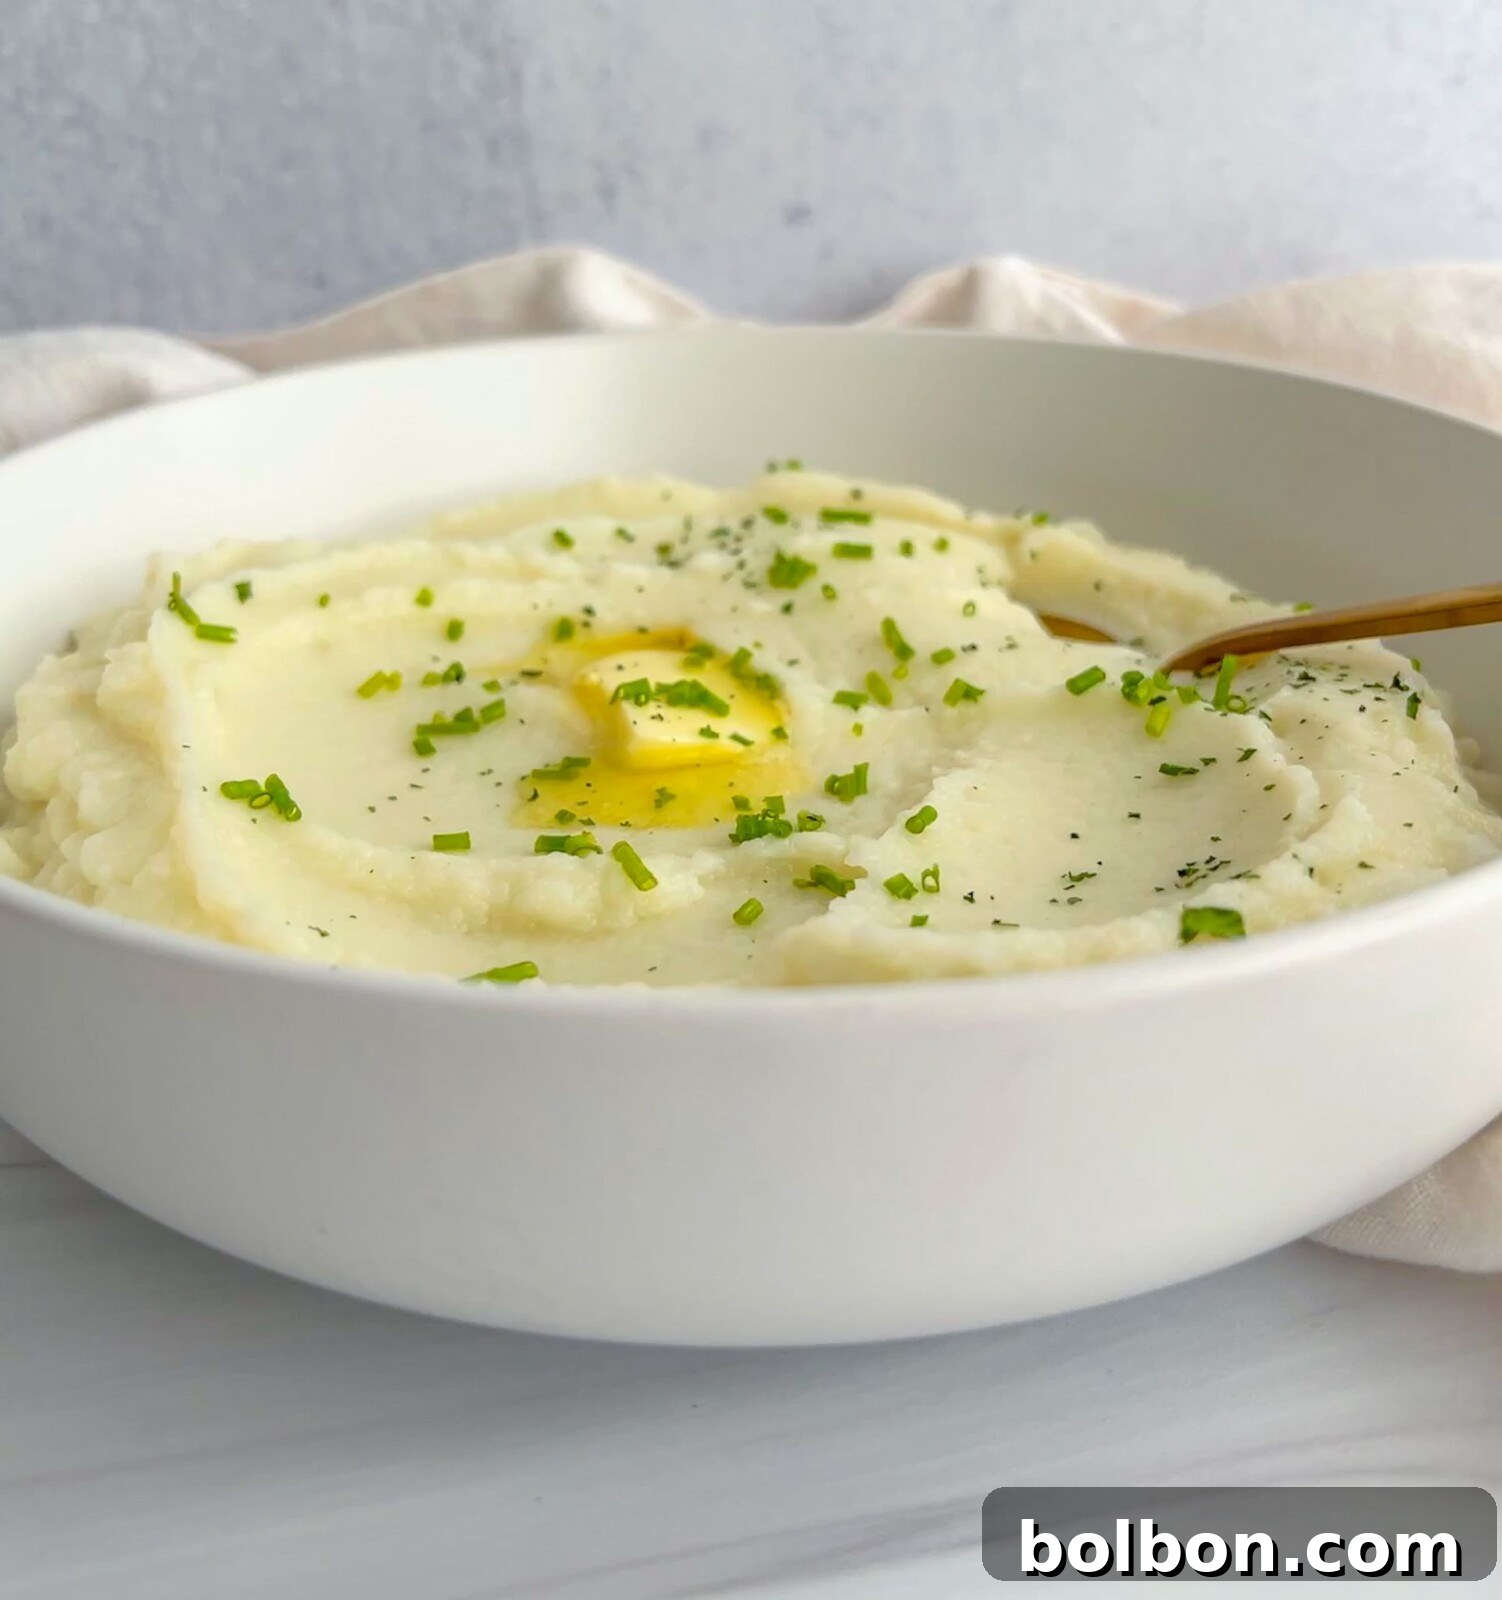
- Serve and Enjoy: Transfer the creamy garlic cauliflower mash to a serving bowl. Garnish with fresh herbs like chives or parsley, if desired. Serve immediately and savor every delicious, low-carb bite!
Creative Variations and Smart Substitutions for Your Cauliflower Mash
One of the many charms of this cauliflower mash recipe is its flexibility. You can easily adapt it to suit various dietary needs or simply experiment with different flavor profiles. Here are some fantastic ideas to inspire your culinary creativity:
- Dairy-Free and Plant-Based Options: If you’re following a vegan or dairy-free diet, feel free to substitute regular butter with any high-quality **plant-based butter**. For the cream cheese, many delicious **plant-based cream cheese** alternatives are available; I’ve heard excellent reviews about Kite-Hill for its creamy texture and tangy flavor. You can also use a splash of olive oil or coconut oil for richness.
- Alternative Creamy Add-ins: You are more than welcome to incorporate other ingredients like 🥣 **sour cream**, Greek yogurt, or even ghee for a slightly different richness and tang. Each will lend a unique depth to your mash.
- Mashing Methods for Desired Texture: While a food processor is highly recommended for achieving the most consistently **creamy** and smooth texture, it’s not strictly necessary. You can certainly mash this cauliflower by hand using a sturdy potato masher for a chunkier, more rustic consistency. A ricer is another excellent tool that yields a wonderfully smooth result, similar to a food processor, but without the need for electricity.
- Herb and Spice Infusion: Elevate the flavor profile by adding a variety of additional herbs and **spices** that you love. Freshly ground black pepper, a pinch of smoked paprika, aromatic 🌿 thyme, fragrant rosemary, or finely chopped chives are all excellent choices. For a delightful cheesy flavor without dairy, consider adding a tablespoon or two of nutritional yeast.
- Roasted Garlic for a Milder Flavor: Instead of raw garlic, try roasting a whole head of garlic until soft and caramelized. Squeeze out the sweet, mellow cloves and add them to your mash for a more subtle, nutty garlic essence.
- Cheesy Indulgence: For cheese lovers, stir in some grated Parmesan, sharp cheddar, or a blend of your favorite melting cheeses while the mash is still warm. This creates a wonderfully decadent and savory cauliflower mash.
- Spicy Kick: A dash of red pepper flakes or a touch of cayenne pepper can add a vibrant, spicy kick to your creamy mash, perfect for those who enjoy a bit of heat.
Explore More Delicious Cauliflower Recipes
Whole Roasted Cauliflower
Total Time: 35 mins
Baked Cauliflower Dish
Total Time: 45 mins
Creamy Cauliflower Pasta
Total Time: 45 mins
Cauliflower Nachos
Total Time: 50 mins
Perfect Pairings: What to Serve with Creamy Garlic Cauliflower Mash
This creamy garlic cauliflower mash is incredibly versatile and makes an excellent accompaniment to a wide variety of main dishes. Its rich flavor and smooth texture complement both hearty and delicate meals beautifully. Here are some of our favorite pairings:
- Classic Roasts: Serve it as a sophisticated side dish with a succulent roast chicken, a festive turkey, or my delicious Roasted Leg of Lamb. The mash perfectly absorbs the savory pan juices.
- Hearty Meats: This is the perfect side to complement a juicy 🥩 steak, tender beef ribs, or slow-cooked pork chops. The creamy texture provides a wonderful contrast to the robust flavors of red meat.
- Delicate Fish: Cauliflower Mash is light enough to work exceptionally well as a side dish for a beautiful piece of 🐟 fish, such as my pan-seared Branzino, baked salmon, or grilled cod.
- Vegetarian Mains: Pair it with roasted vegetables, a lentil loaf, or a hearty mushroom steak for a complete and satisfying vegetarian meal.
- Holiday Feasts: Its elegance and comforting appeal make it a star on any holiday table, offering a lighter yet equally satisfying alternative to traditional carb-heavy sides.
- With Gravy: Don’t forget a generous drizzle of your favorite homemade gravy or a savory pan sauce to truly elevate this dish.
Frequently Asked Questions About Cauliflower Mash
Can I use frozen cauliflower for this recipe?
Yes, you can certainly use frozen cauliflower for this recipe. However, keep in mind that frozen cauliflower tends to hold more water than fresh. To compensate, you will likely need to steam it in the pan for a bit longer, stirring frequently, to evaporate all the extra moisture before processing. This extra drying time is crucial for preventing a watery mash.
Can I make this recipe dairy-free or vegan?
Absolutely! This recipe is highly adaptable for dairy-free or vegan diets. You can easily substitute the butter and cream cheese with non-dairy alternatives. Opt for your favorite plant-based butter (like almond or oat milk-based) and a good quality plant-based cream cheese. For a simple dairy-free option, you can also use olive oil or coconut oil instead of butter, though the flavor profile will be slightly different.
Can I use other seasonings in my cauliflower mash?
Yes, customizing the seasoning is a great way to make this cauliflower mash truly your own. Feel free to experiment with a variety of flavors. Popular additions include freshly ground black pepper, a pinch of smoked paprika for depth, dried or fresh herbs like thyme and rosemary, or a sprinkle of nutritional yeast for a delicious, cheesy umami flavor without actual cheese. Chopped chives or green onions also make a fantastic fresh garnish.
Can I make this cauliflower mash without a food processor?
While a food processor delivers the ultimate creamiest and smoothest texture, it’s not the only tool you can use. You can achieve a great cauliflower mash using a potato masher for a slightly chunkier, more rustic consistency. An immersion blender or a stand mixer with a whisk attachment can also work well. A potato ricer is another excellent option for very smooth results. The texture may vary slightly, but the delicious flavor will remain!
How long can I store cauliflower mash, and can I reheat it?
Leftover cauliflower mash can be stored in an airtight container in the refrigerator for up to 3-4 days. To reheat, gently warm it on the stove over low heat, stirring occasionally, or in the microwave. If it seems a little dry, you can add a splash of milk (dairy or non-dairy), broth, or a knob of butter to restore its creaminess.
Can I freeze cauliflower mash?
Yes, cauliflower mash freezes surprisingly well! Allow it to cool completely, then transfer it to a freezer-safe container or freezer bags. It can be stored in the freezer for up to 2-3 months. Thaw overnight in the refrigerator before reheating. You might need to dry out any excess moisture that forms during thawing on the stove, as mentioned in the main instructions, to maintain the best texture.
Garlic Cauliflower Mash
Print Recipe
Video
Equipment
Ingredients
- 1 small head cauliflower, about 6 cups of florets
- 1 teaspoon salt, or to taste
- 1 tablespoon butter
- 1 tablespoon cream cheese (optional)
- 1/4-1/2 clove garlic, minced (or garlic powder; use roasted garlic for a milder flavor)
Instructions
- Wash the cauliflower and break it into florets. Bring water to a boil in a pot on the stove and salt it generously.
- Once the water boils, add the cauliflower and cook until fork-tender, usually 10-15 minutes.
- Drain the water thoroughly from the cauliflower and transfer it into a pan on the stove over medium-high heat.
- Mash the cauliflower down (without scraping your non-stick pan) and stir continuously, allowing all the water to evaporate completely. This will take about 5-6 minutes.
- Transfer the dried cauliflower to a food processor along with a little bit of extra salt, a touch of butter, the minced garlic (or garlic powder/roasted garlic), and optionally, the cream cheese you love.
- Process on high until completely creamy and smooth. Taste and adjust seasonings as needed. Serve immediately.
Nutrition
Calories: 55kcal, Carbohydrates: 4g, Protein: 2g, Fat: 4g, Saturated Fat: 3g, Polyunsaturated Fat: 0.2g, Monounsaturated Fat: 1g, Trans Fat: 0.1g, Cholesterol: 11mg, Sodium: 635mg, Potassium: 205mg, Fiber: 1g, Sugar: 1g, Vitamin A: 136IU, Vitamin C: 32mg, Calcium: 20mg, Iron: 0.3mg
Nutrition information is automatically calculated and should only be used as an approximation.