
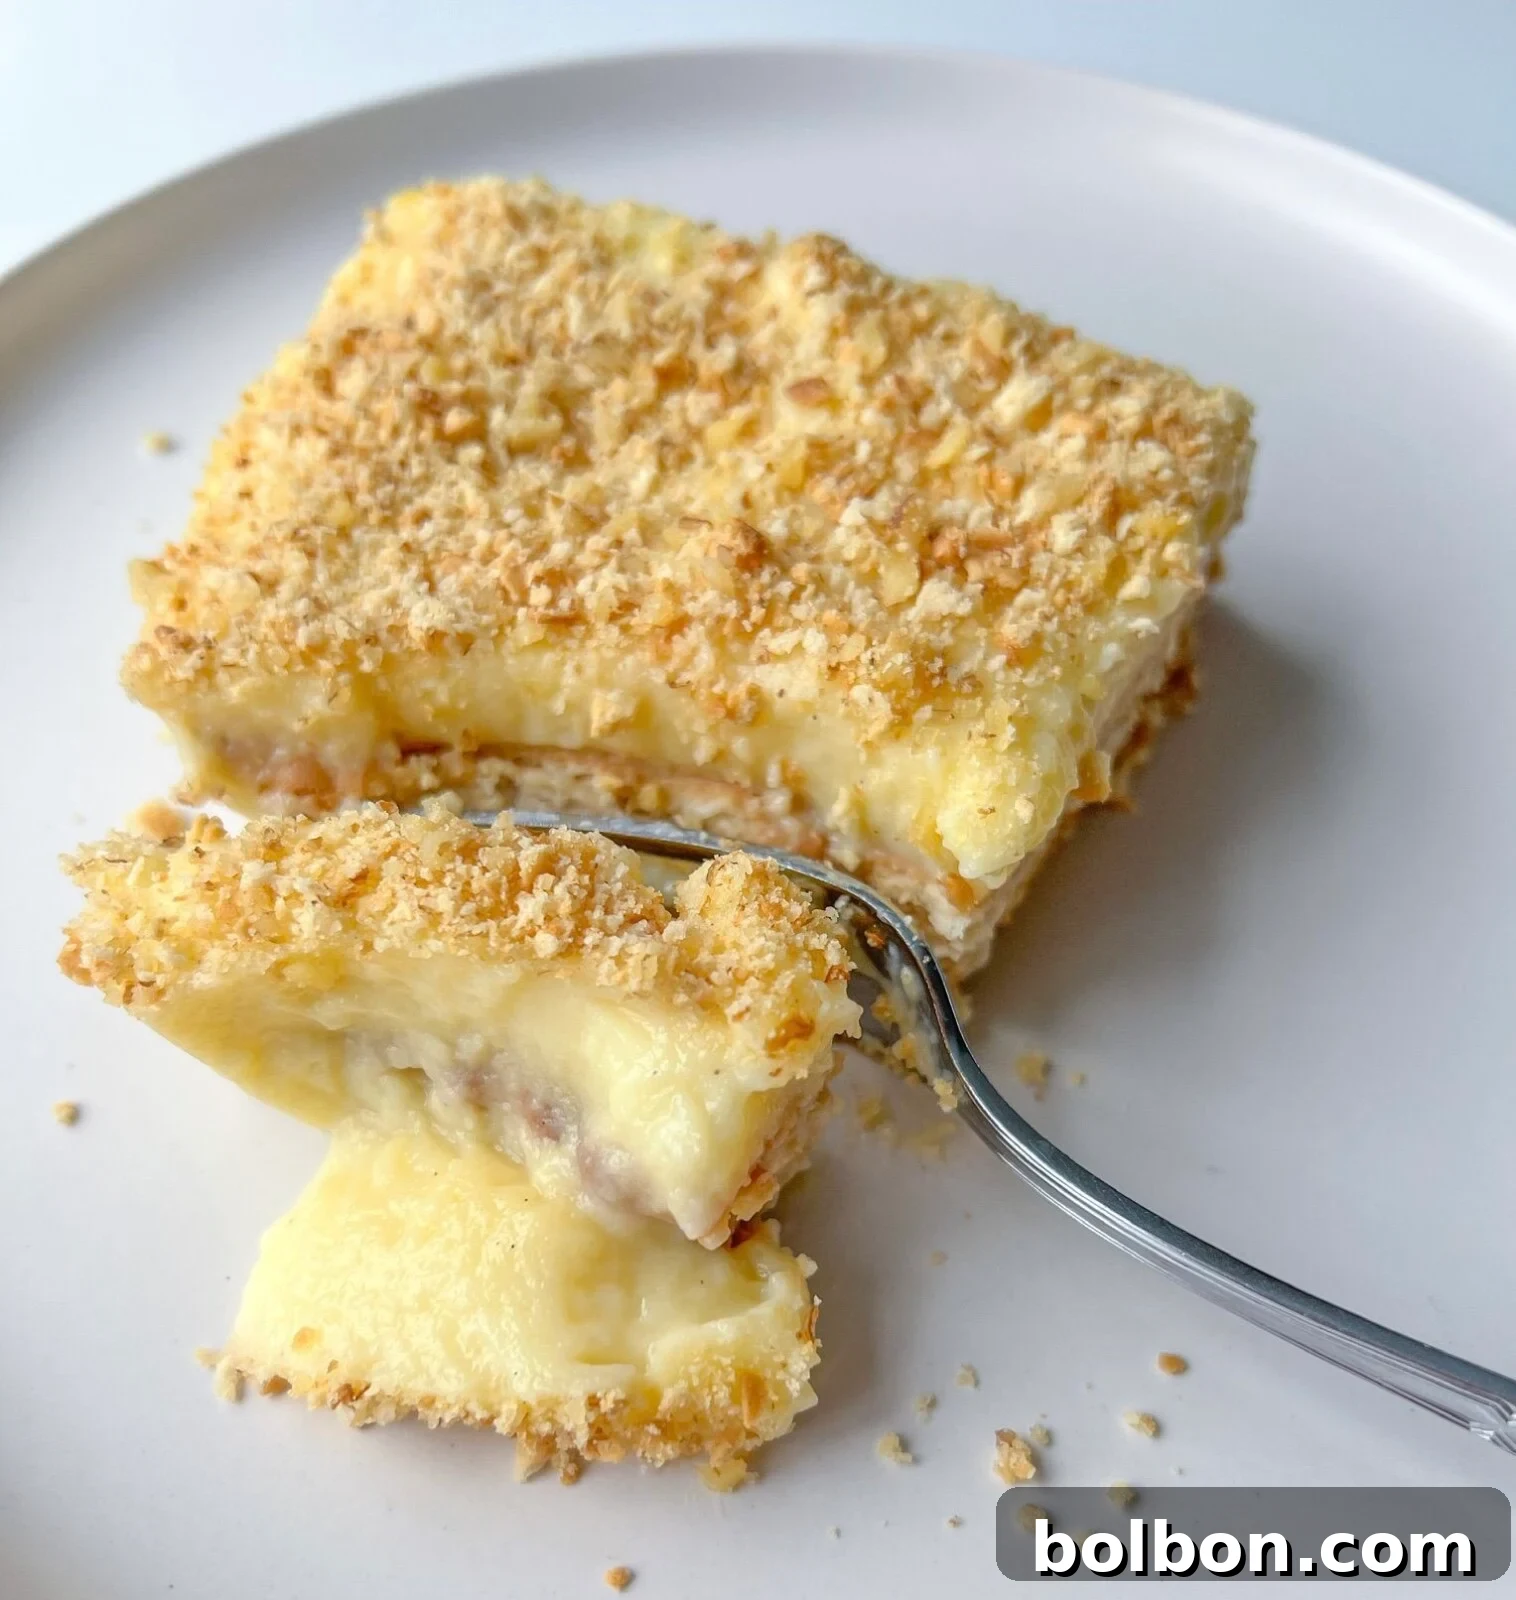
Delicious Bulgarian Custard Cake (Biskvitena Torta): A No-Bake Delight
Prepare to be enchanted by this incredible six-ingredient Custard Cake Recipe, affectionately known as “Biskvitena Torta” in 🇧🇬 Bulgaria. This beloved no-bake dessert offers a perfect blend of simplicity and rich flavor, requiring only 15 minutes of active preparation. Crafted with a few humble ingredients you likely already have in your pantry, this cake is more than just a treat; it’s a nostalgic journey back to cherished childhood moments. Imagine tender layers of creamy custard interwoven with softened cookies, creating a magical confection that evokes warmth, comfort, and the sweet memories of gatherings with my beloved 👵🏼 grandma. This traditional Bulgarian dessert has been a staple in our family for generations, and now you too can experience its delightful charm and ease of creation.
Why This Custard Cake Will Become Your New Favorite Dessert
This Custard Cake Recipe transcends the ordinary; it’s a comforting slice of nostalgia served right on your 🍽️ plate. Beyond its sentimental value, its effortless preparation and reliance on readily available ingredients make it an incredibly convenient choice for any occasion. As a truly traditional Bulgarian recipe, it carries with it a legacy of joy and heartwarming memories, particularly those spent baking alongside my grandma. This dessert offers remarkable versatility, allowing you to use classic Papadopoulos cookies or any preferred plain biscuit you have on hand. No matter your choice, this delightful cake is guaranteed to fill your home with laughter, bring smiles to faces, and infuse your life with ❤️ love, just as it has always done for me and my family. Its simple yet profound appeal lies in its ability to deliver sophisticated flavors with minimal fuss, making it a perfect dessert for busy weeknights or special celebrations.
Mastering the Art of Biskvitena Torta: A Step-by-Step Guide
Creating this delightful Biskvitena Torta is a straightforward process, even for novice bakers. The key lies in careful preparation and patience during the chilling phase. Follow these detailed steps to ensure a perfectly creamy and satisfying custard cake.
🥚 Step 1: Prepare the Eggs. Carefully separate the egg yolks from the whites. This step is crucial for achieving the smooth, rich texture of the custard. If you’re new to this technique, there are many helpful tutorials available online that demonstrate simple ways to achieve a clean separation.
🥣 Step 2: Whisk the Custard Base. In a generously sized bowl, combine the separated egg yolks with sugar, cornstarch, and a touch of fragrant vanilla. Whisk these ingredients thoroughly until the mixture is smooth and well-combined. This forms the foundational flavor and thickening agent for your luscious custard.
🥛 Step 3: Heat the Milk. Pour the milk into a saucepan and gently heat it over medium heat. The goal here is to bring the milk to a gentle simmer, just until small bubbles appear around the edges of the pan. It’s important not to let the milk boil vigorously, as this can affect the final consistency of your custard.
♨️ Step 4: Temper the Egg Mixture. This is a critical technique to prevent the eggs from scrambling. Once the milk is warm and simmering (but not boiling), slowly and gradually begin to add a small amount of the hot milk to your egg yolk mixture while whisking continuously. This process, known as tempering, slowly raises the temperature of the egg yolks without cooking them. Continue adding the warm milk in a steady stream, whisking constantly, until all the warm milk has been incorporated and the entire mixture is smooth and warm.
🔥 Step 5: Thicken the Custard. Pour the tempered milk and egg mixture back into the saucepan. Return the pot to medium heat and continue to whisk without interruption. The mixture will gradually begin to thicken, transforming into a creamy, luxurious custard. This typically takes about 5 to 7 minutes. Keep whisking until the custard reaches a pudding-like consistency that coats the back of a spoon. As soon as it thickens to your desired consistency, immediately remove the pot from the heat to prevent overcooking.
💦 Step 6: Assemble the Cake Layers. While the custard is still warm, you can begin assembling your cake. Take your chosen plain cookies and briefly dip each one in water. Do not let them soak; a quick dip is all that’s needed to slightly soften them. Arrange the dipped cookies in a single layer at the bottom of your baking dish. Once the first layer of cookies is complete, gently spoon a generous amount of warm custard over them, ensuring they are fully covered. Repeat this process: a layer of briefly dipped cookies, followed by a layer of custard, until you have created a total of three distinct layers of cookies and three layers of creamy custard.
❄️ Step 7: Chill for Perfection. Once the cake layers are assembled, cover the baking dish tightly with plastic wrap. Ensure the plastic wrap directly touches the surface of the top custard layer to prevent a skin from forming. For the absolute best flavor and texture, refrigerate the cake overnight. This resting period allows the cookies to fully soften and absorb the rich flavors of the custard, creating a harmonious and deeply satisfying dessert.
🍪 Step 8: Garnish and Serve. Just before you are ready to serve your masterpiece, add your preferred toppings. Popular choices include crushed cookies, finely chopped walnuts, aromatic toasted coconut flakes, or delicate chocolate shavings. These toppings not only add visual appeal but also introduce a delightful textural contrast. Slice, serve, and enjoy!
Grandma’s Wisdom: The Magic of Overnight Chilling 🍰
For an unparalleled experience, follow my grandma’s time-honored advice: allow the custard cake to rest in the refrigerator overnight. This crucial step is not just about cooling; it gives the cookies ample time to absorb the rich, creamy custard, transforming them into a tender, cake-like texture. Furthermore, this prolonged chilling period allows all the flavors to meld beautifully, resulting in a more profound and harmonious taste that truly sets this Biskvitena Torta apart. Patience truly is a virtue when it comes to this delectable dessert.
Creative Variations and Smart Substitutions for Your Custard Cake
One of the beauties of the Custard Cake Recipe is its adaptability. While the classic version is undeniably delicious, feel free to get creative with these variations and substitutions to tailor the dessert to your taste. Remember, when introducing new elements, a little experimentation with quantities might be necessary to achieve the perfect balance.
- Indulgent Chocolate Custard: For all the chocolate lovers, transforming this cake into a cocoa dream is simple. Just add a few tablespoons of high-quality cacao powder to the custard mixture along with the cornstarch. Whisk it in thoroughly to avoid lumps, and you’ll have a rich, decadent chocolate version of the cake, a favorite twist my grandma and I often enjoyed.
- Layers of Fresh or Canned 🍓 Fruit: Introduce a burst of freshness and vibrant flavor by adding layers of sliced fruit between the custard and cookie layers. Fresh options like sliced 🍓strawberries, ripe bananas, or sweet peaches work wonderfully. If using canned fruit, be sure to drain it very well to prevent excess moisture from making the cake soggy. The fruit adds a lovely tang and textural contrast.
- Tropical Coconut Twist: Infuse your Biskvitena Torta with a delightful tropical aroma and texture. You can mix shredded 🥥 coconut directly into the warm custard for a subtle hint of flavor. Alternatively, sprinkle toasted coconut flakes generously over the top of the cake before serving for a beautiful garnish and a lovely crunch.
- Dairy-Free Delight: For those with dietary restrictions or preferences, a dairy-free custard cake is entirely achievable. Simply substitute the traditional dairy milk in the custard with your favorite 🌿 plant-based milk, such as almond, soy, or oat milk. Ensure you choose an unsweetened variety to control the sugar content. It’s also crucial to verify that the plain cookies you select are certified dairy-free to maintain the integrity of your dairy-free dessert.
- Time-Saving Shortcut: While homemade custard always offers superior flavor and freshness, we understand that sometimes ⏲️ time is of the essence. In such instances, you can opt to use good quality store-bought custard packets. Follow the package instructions for preparation. While this provides a quicker solution, keep in mind that the depth of flavor might not quite match the homemade version, but it still makes for a satisfying dessert.
More Delicious Recipes to Explore
Custard Oatmeal
10 mins
Custard Yogurt Toast (Viral)
25 mins
Custard Baklava
15 mins
3 Ingredient Yogurt Cake
55 mins
Perfect Pairings: Serving Suggestions for Custard Cake
While Biskvitena Torta is an absolute delight on its own, pairing it with certain accompaniments can elevate the experience even further. Here are some of our favorite ways to enjoy this classic Bulgarian custard cake, enhancing its creamy texture and rich flavor profile.
- Fresh Berries: A scattering of vibrant fresh berries, such as sweet 🍓 strawberries, plump blueberries, or tart raspberries, provides a beautiful contrast in both color and flavor. Their natural acidity cuts through the richness of the custard, offering a refreshing counterpoint.
- Lightly Sweetened Whipped Cream: A generous dollop of freshly made, lightly sweetened whipped cream adds an extra layer of indulgence and a cloud-like texture. The lightness of the cream complements the dense custard perfectly without overpowering it.
- Homemade Ice Cream: For a truly decadent dessert experience, serve a slice of custard cake alongside a scoop of your favorite ice cream. My Cottage Cheese Ice Cream offers a unique and delicious pairing that is both creamy and refreshing.
- A Warm Beverage: Conclude your meal with a cozy cup of coffee or a comforting mug of tea 🫖. The bitterness of coffee or the soothing warmth of tea creates a wonderful balance, making each bite of the Biskvitena Torta even more enjoyable.
Common Questions About Custard Cake (FAQs)
Here are some of the most frequently asked questions about making and serving this delightful Custard Cake, providing helpful insights and tips for your culinary journey.
When properly covered and refrigerated, your delicious custard cake will maintain its freshness and delightful texture for up to 3 days. Ensure it is tightly wrapped in plastic cling film to prevent it from drying out or absorbing other odors from the fridge. Beyond three days, the cookies may become too soft, and the custard’s quality might diminish.
Absolutely, making the custard cake the night before serving is not only possible but highly recommended for optimal results. In fact, it’s best served after resting overnight in the refrigerator. This extended chilling time allows the cookies to fully soften and deeply absorb the custard’s flavors, creating a more cohesive and exquisite texture.
The topping for this custard cake is entirely optional and can be customized to your personal preference. While it adds an appealing visual element and textural contrast, the cake is perfectly delicious without it. Feel free to use crushed cookies, chopped walnuts (or a combination of both), delicate shaved chocolate, or even aromatic toasted coconut. The choice of toppings is truly up to your taste and creativity.
Don’t let those egg whites go to waste! They are incredibly versatile. I often save them in an airtight container in the refrigerator and use them for a variety of other recipes. They are perfect for making fluffy omelets, delicious meringues, macarons, or even adding to scrambled eggs for extra protein. They can typically be stored for 2-4 days.
Yes, you most certainly can add cacao powder to the custard mixture to transform it into a rich, decadent chocolate custard. This was a cherished variation that my grandma and I frequently enjoyed making together. Simply whisk in a few tablespoons of unsweetened cacao powder along with the cornstarch and sugar for a delightful chocolatey twist.
For the best possible flavor, you have several excellent options for vanilla in your custard cake. Feel free to use high-quality vanilla bean paste, the scraped seeds from a vanilla pod, or a pure vanilla extract. My personal preference, and what I find yields the most exquisite flavor, is Madagascar vanilla bean paste due to its rich, complex aroma and visible flecks of vanilla bean.
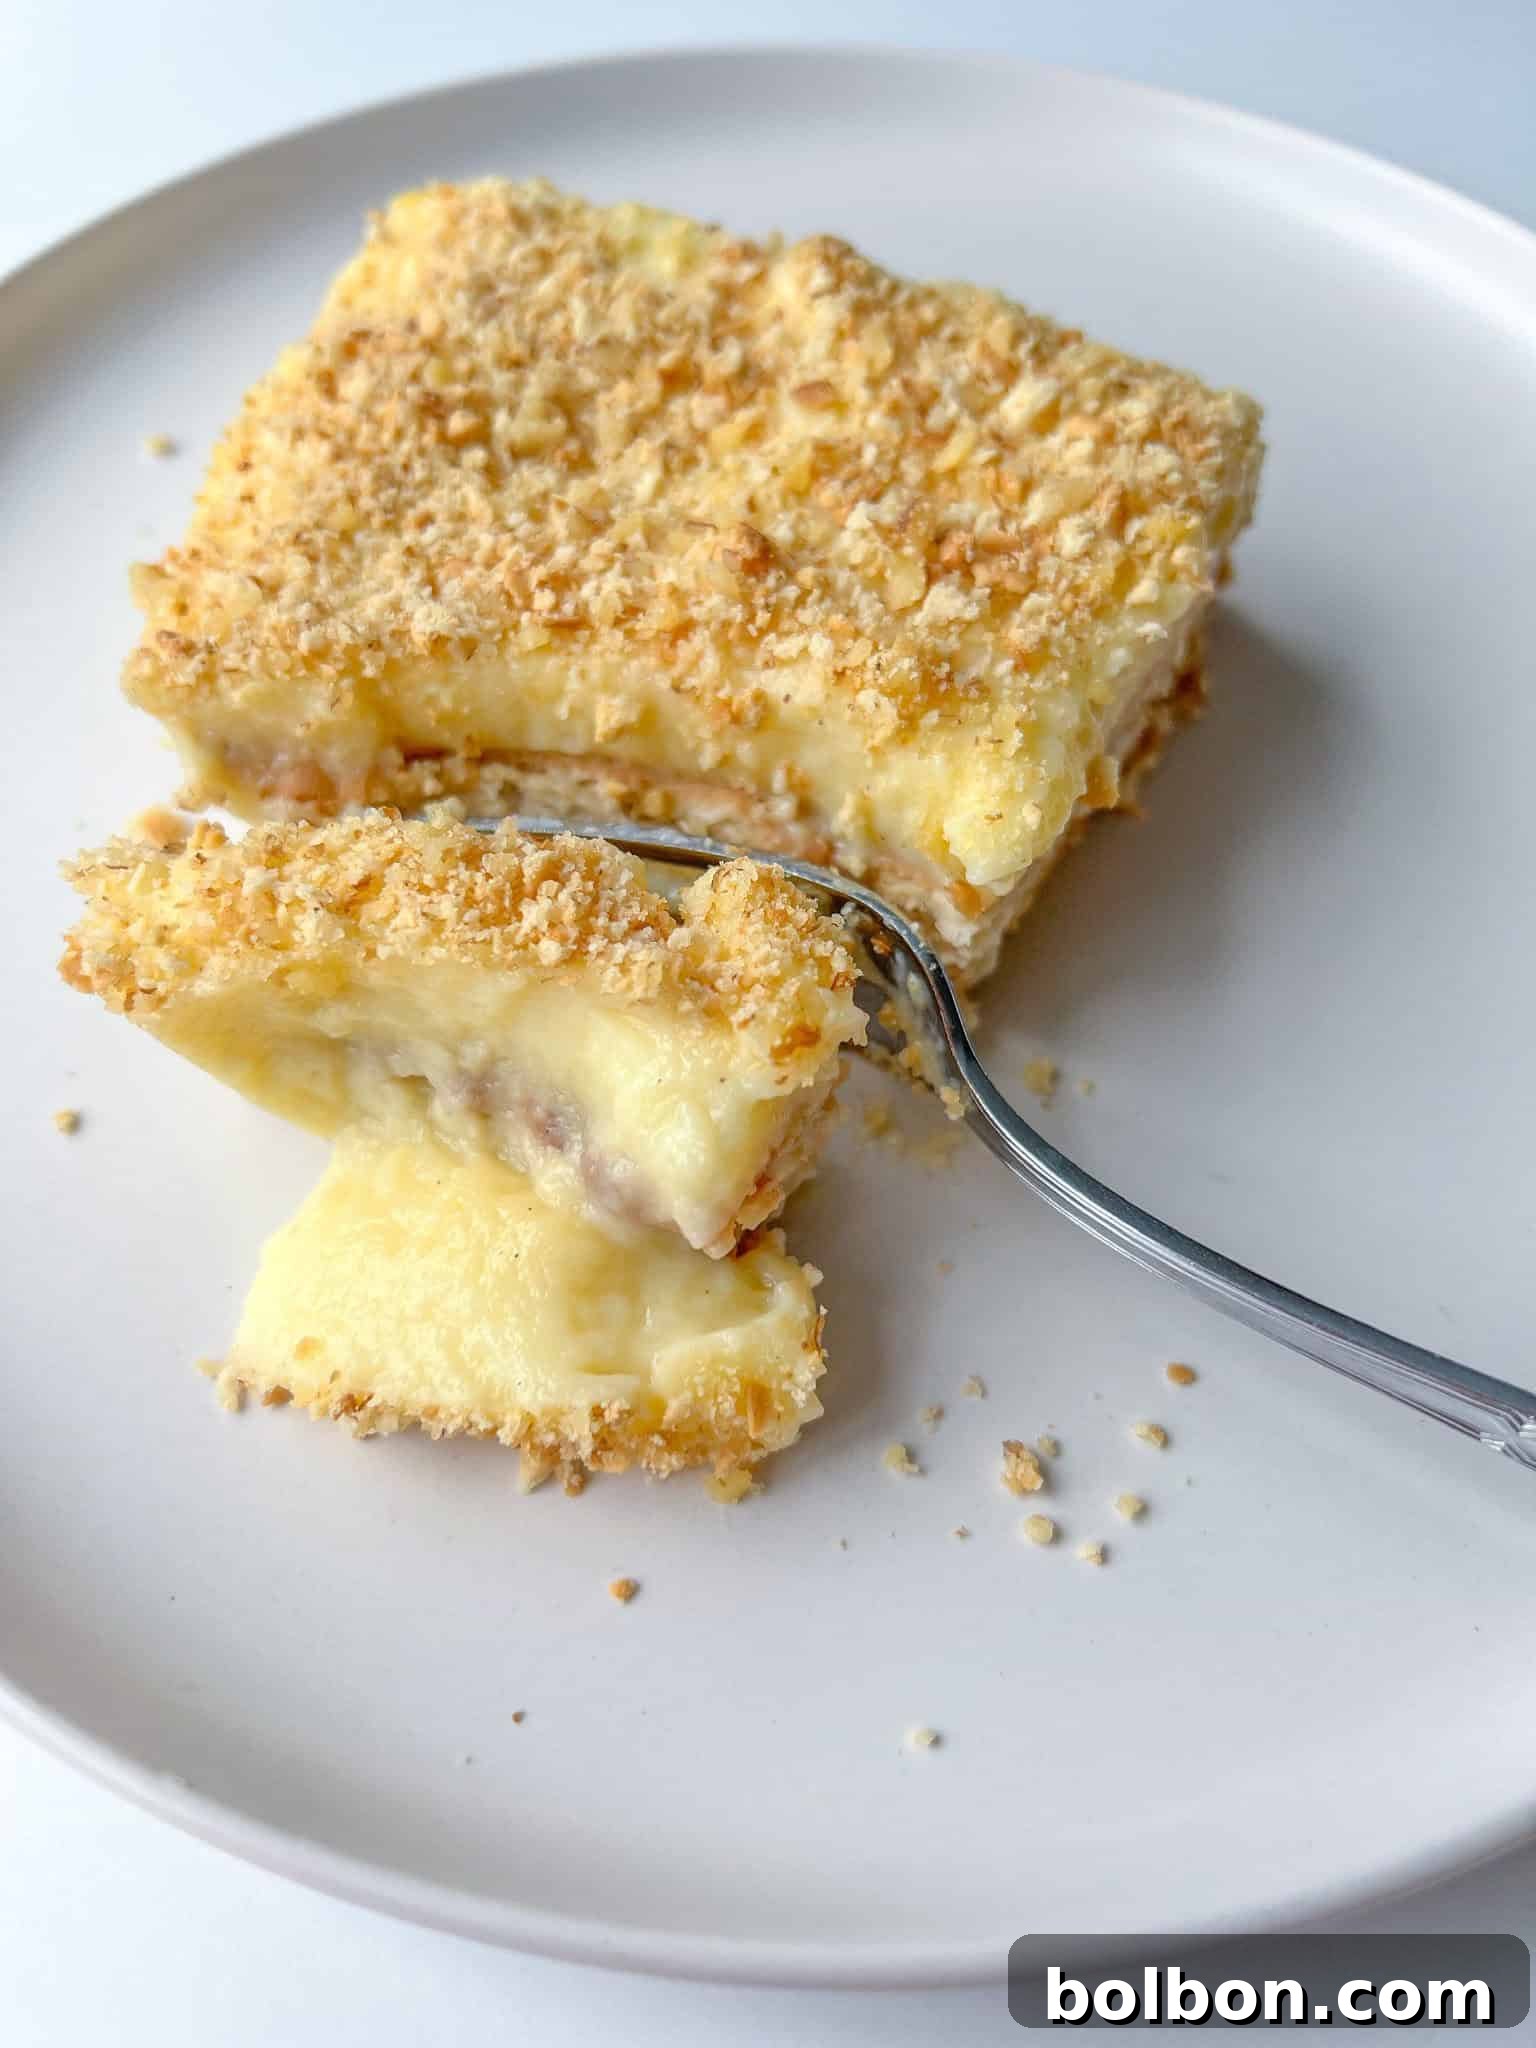
Absolutely! The beauty of this custard cake recipe lies in its flexibility regarding cookies. While we traditionally love using Greek, Bulgarian, or Portuguese tea biscuits (like Maria cookies or Papadopoulos cookies), any plain, relatively thin biscuit will work perfectly. The key is that they should be plain, as they will absorb the custard’s flavor and soften beautifully during chilling. The image provided shows Papadopoulos cookies, which are a local favorite.
While you technically don’t *have* to rest this cake—my grandma and I would often enjoy it warm when our patience ran thin—it is genuinely best served once it has rested and chilled thoroughly. The overnight resting period is crucial for allowing the flavors to fully develop and meld together, creating a harmonious taste. Crucially, as the cake rests in the fridge overnight, the cookies will soften to the perfect cake-like consistency.
To achieve the ideal softened texture for your cookies before layering, you can briefly dip them in a liquid. The most common choices are water or milk, which we typically use. However, for an added layer of flavor, you could also dip them very quickly in cooled coffee or a flavored liqueur. Remember, a quick dip is sufficient to moisten them without making them soggy, as they will continue to soften in the custard.
If you’re pressed for time or simply feeling a bit lazy, you can certainly use store-bought custard packets as a convenient shortcut. While it will still yield a delicious dessert, it’s worth noting that the rich, authentic flavor and creamy texture of homemade custard are unparalleled. The homemade version provides a depth and freshness that is difficult to replicate with pre-made options, so I highly encourage making it from scratch if time allows.
Yes, absolutely! You can adjust the dimensions of your baking dish to create a higher, more dramatic custard cake. My grandma, whom we lovingly called Bapche, often broke the cookies by hand to fit various round dishes, demonstrating the versatility of this recipe. Just ensure you have enough cookies to make the desired number of layers in your chosen dish size.
To adapt this recipe for gluten-free or dairy-free dietary needs, a few simple substitutions are required. For a gluten-free version, use your favorite brand of gluten-free plain cookies. For dairy-free, substitute the dairy milk with a plant-based or lactose-free milk alternative, such as almond, soy, or oat milk. Always ensure your chosen cookies are also suitable for a dairy-free diet. Alternatively, you can search for a dedicated dairy-free or vegan custard recipe online if you prefer.
Ingredient weights can indeed vary due to several factors. The brand and density of ingredients, the type of measuring cups and spoons (wet vs. dry measures), and even your specific measuring technique (e.g., scooping and leveling versus spooning ingredients into the cup) can all influence the final weight. While online converters and scales provide general guidelines, for the most accurate results in this recipe, it’s always best to rely on the precise weights and measurements provided in the recipe card itself, as these have been tested for optimal outcome.
Custard Cake Recipe (Biskvitena Torta)
Facebook Share
Rate Recipe
Print Recipe
Video
Equipment
Ingredients
Serving size: 6
- 6 egg yolks
- ¾ cups sugar, or 10 heaping tablespoons for a sweeter custard
- ½ cups corn starch, or 4 heaping tablespoons for thickening
- 2 teaspoons vanilla bean paste, or pure vanilla extract for aromatic flavor
- 5 cups warm milk, whole milk recommended for creaminess
- 2 packs Papadopoulos cookies (225 gram packs), any plain tea biscuits will work perfectly
Additional Ingredients:
- water, for briefly dipping and softening the cookies prior to layering, or use milk for extra richness
- crushed cookies + walnuts for the top, shaved chocolate or toasted coconut flakes are also delicious alternatives for garnish and texture
Instructions
-
Carefully separate the egg yolks from the whites. For those who are new to this, a quick online search for “how to separate egg yolks” will provide visual tutorials, such as “4 simple ways to separate egg yolks,” to guide you through the process effortlessly.
-
In a large mixing bowl, combine the egg yolks, granulated sugar, cornstarch, and your chosen vanilla (paste or extract). Whisk these ingredients together vigorously until they are thoroughly combined and the mixture appears smooth and pale yellow. Ensure there are no lumps of cornstarch remaining.
-
A note on measurements: My grandma and I always relied on intuition, using generous heaping tablespoons of cornstarch and sugar instead of precise measuring cups. Feel free to adopt this traditional approach, adjusting to your sweetness preference, or stick to the exact measurements provided in the ingredient list above for consistent results.
-
While preparing the egg mixture, begin to gently warm the milk on the stovetop. Place the saucepan over medium heat and keep a close watch. The goal is to bring the milk to a light simmer, characterized by small bubbles forming around the edges of the pan, but it should not come to a full, rolling boil.
-
Important Note: When we refer to “tempering” an ingredient, it means slowly bringing a temperature-sensitive mixture (like eggs) up to the temperature of a hot liquid by gradually incorporating the hot liquid. This prevents the sensitive ingredient from cooking too quickly, which would result in scrambled eggs instead of smooth custard.
-
Once the milk is warm, remove it from the heat. Begin the tempering process by slowly adding a small ladleful of the warm milk into your egg yolk mixture. While doing so, whisk continuously and vigorously. Continue to add the remaining warm milk gradually, whisking all the while, until all the milk has been fully incorporated and the mixture is warm and silky smooth.
-
After the tempering step is complete and the egg-milk mixture is thoroughly combined, pour the entire contents back into the saucepan. Place the pot back on the stove over medium heat and whisk constantly. This continuous whisking is essential to prevent lumps and ensure even thickening. The mixture will begin to thicken into a creamy custard, typically taking between 5 to 7 minutes. As soon as it reaches a thick, pudding-like consistency that coats the back of your spoon, immediately remove it from the heat to prevent scorching.
-
Now, it’s time to begin layering your cake while the custard is still warm and pliable. Take your chosen plain cookies and briefly dip each one, one at a time, into a shallow bowl of water (or milk, for added richness). The key is a quick submersion—do not let the cookies soak, just a swift dip to moisten them slightly. Carefully place each dipped cookie into your baking dish, arranging them to form a single, even layer that completely covers the bottom.
-
The number of cookies per layer will vary depending on the size and shape of your baking dish. For my dish, I typically arrange about 15 cookies per layer. Adjust this quantity based on your specific dish to ensure a full and even base for each layer.
-
Once your first cookie layer is complete, ladle approximately 2 to 3 generous spoonfuls of the warm custard directly over the cookies. Gently spread the custard to ensure that all the cookies are fully covered and a smooth, even layer of custard is formed.
-
Layering Sequence Note: To construct the Biskvitena Torta, you will follow a specific pattern. Begin with a layer of briefly dipped cookies, followed by a layer of custard. Repeat this sequence: another layer of cookies, another layer of custard, a final layer of cookies, and then top with the remaining custard. You should aim for a total of three distinct layers of cookies, each generously topped with three layers of creamy custard, with custard being the very final top layer.
-
After assembling all the layers, carefully cover the baking dish tightly with plastic wrap. Ensure the plastic film makes direct contact with the surface of the top custard layer to prevent any skin from forming. Transfer the assembled cake to the refrigerator and allow it to chill overnight. While you can certainly enjoy it warm (as my grandma and I sometimes did when we couldn’t wait!), the overnight rest is crucial for the flavors to fully meld and for the cookies to soften to a delightful cake-like consistency.
-
Before serving, enhance your Biskvitena Torta with a delightful topping. I love to crush a handful of extra cookies and walnuts together in my food processor and sprinkle them generously over the chilled cake. Other fantastic options include toasted coconut flakes for a tropical note, or elegant chocolate shavings for a touch of decadence. Slice and savor this wonderful homemade dessert!
Nutrition
Nutrition information is automatically calculated, so should only be used as an approximation.