
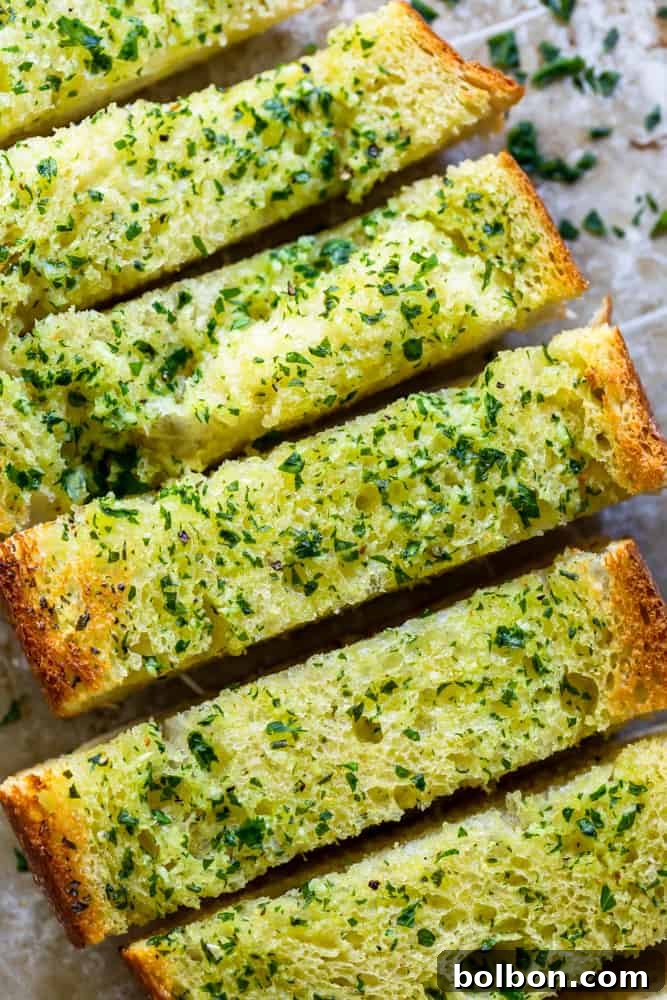
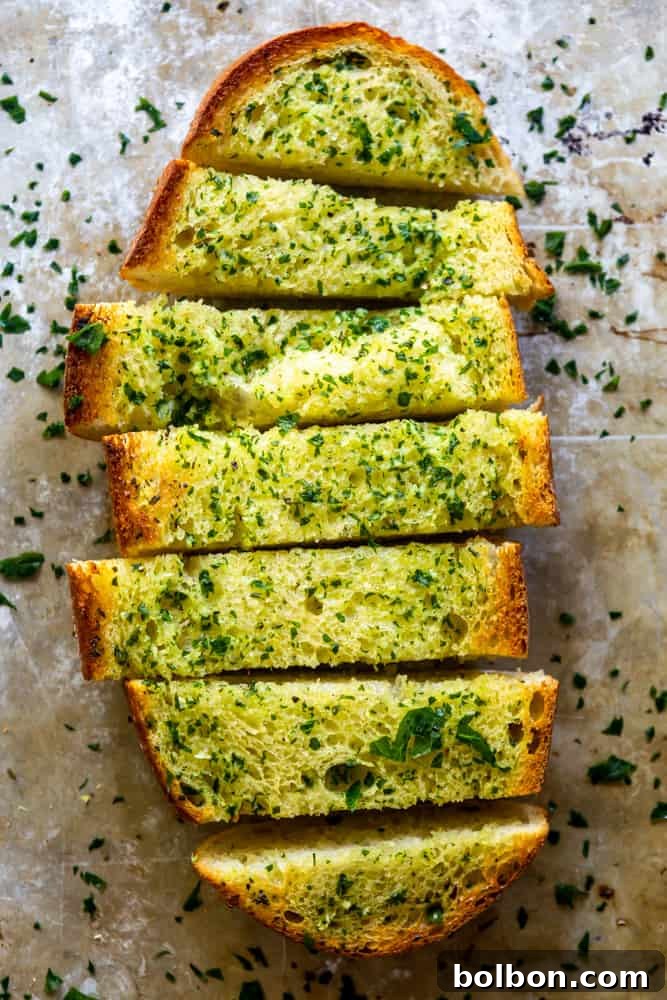
Welcome to the ultimate guide for crafting the most delectable homemade garlic bread you’ve ever tasted! Forget those lackluster, store-bought versions that often rely on artificial flavors and margarine. In just about 15 minutes, you can transform a simple loaf of bread into a golden, aromatic masterpiece that will elevate any meal. This isn’t just a recipe; it’s an invitation to experience the true joy of fresh, buttery, garlicky perfection right from your own kitchen.
For years, I, like many others, found myself reaching for the pre-packaged garlic bread at the grocery store. You know the kind – wrapped in foil, ready to be popped straight into the oven, promising convenience and a hint of garlic. While they served their purpose, there was always something missing. The “butter” was often margarine, the garlic flavor muted, and the texture never quite hit that perfect balance of crispy crust and soft, yielding interior. It wasn’t until I discovered just how incredibly simple and satisfying it was to make my own garlic bread from scratch that my perspective completely shifted.
The beauty of homemade garlic bread lies in its simplicity and the quality of its ingredients. When you control what goes into it, you get an infinitely superior product. Real butter, fresh garlic, and a touch of herbs come together in a symphony of flavors that store-bought options simply cannot replicate. This recipe is not only ridiculously easy to follow but also guarantees a result that will have everyone asking for more. Get ready to ditch the foil-wrapped imposters and embrace the authentic, irresistible charm of truly great garlic bread.
Why Homemade Garlic Bread Reigns Supreme
There are countless reasons to choose homemade over store-bought when it comes to garlic bread. Firstly, the **flavor difference** is night and day. Fresh garlic provides a pungent, aromatic kick that processed garlic powder simply can’t match. When combined with rich, real butter, it creates a spread that infuses every crumb of bread with incredible taste. Secondly, you have complete **control over the ingredients**. No questionable oils, preservatives, or artificial flavors – just pure, wholesome goodness. This is especially important if you’re mindful of your diet or have dietary restrictions.
Beyond taste and ingredients, homemade garlic bread offers **unparalleled freshness and texture**. Imagine pulling a warm loaf, golden and slightly crispy from the oven, its fragrant steam filling your kitchen. The crust crackles under the knife, revealing a tender, garlicky interior. This experience is simply impossible to replicate with a pre-made product that has been sitting on a shelf. Plus, making it yourself is often more **cost-effective** and allows for **customization**. Want more garlic? Add it! Prefer a different herb? Go for it! Homemade gives you the freedom to create your perfect garlic bread every single time.
Choosing Your Loaf: The Foundation of Great Garlic Bread
The type of bread you choose is fundamental to the success of your garlic bread. While many varieties can work, some are inherently better suited for absorbing that delicious garlic butter and achieving the ideal texture. For this recipe, a **French or Italian bread loaf** is highly recommended. These loaves typically have a sturdy crust and a soft, airy interior, making them perfect for soaking up the butter without becoming soggy.
A good quality **baguette** also works wonderfully, offering a crispier result due to its thinner profile. If you’re looking for something with a bit more chew, a rustic **ciabatta** can be an excellent choice, though its irregular holes might require a slightly different spreading technique. When selecting your bread, look for a fresh loaf that feels substantial but still yields slightly when pressed. Avoid overly dense breads that might not absorb the butter well, or extremely soft ones that could fall apart during baking. The goal is a bread that acts as a robust canvas for your flavorful garlic butter, providing the perfect contrast of crusty exterior and tender, aromatic crumb.
Crafting the Perfect Garlic Butter Spread
The heart and soul of any great garlic bread lie in its garlic butter spread. This is where the magic truly happens, transforming ordinary bread into an extraordinary culinary delight. Making your own spread is incredibly simple and guarantees a depth of flavor that store-bought versions can only dream of.
The Butter Base: Unsalted or Salted?
For the ultimate control over the saltiness, I always opt for **unsalted butter**. This allows me to season the garlic butter mixture precisely to my taste. If you only have salted butter on hand, that’s perfectly fine – just be sure to omit the additional salt from the recipe. Regardless of your choice, ensure you’re using **real butter**, not margarine. The rich, creamy flavor of butter is irreplaceable and is key to achieving that authentic, indulgent taste.
Garlic: Fresh is Best
This is arguably the most important ingredient. I typically use **3-4 cloves of fresh garlic**, but feel free to adjust this amount based on your love for garlic! For finely minced garlic, a garlic press is a game-changer. It quickly and efficiently presses garlic into a fine paste, ensuring it distributes evenly throughout the butter and releases maximum flavor. If you don’t own a garlic press, a sharp knife and a bit of patience will do the trick – just mince the garlic as finely as you possibly can. The finer the mince, the more evenly the garlic flavor will permeate the bread.
Optional but Recommended: Fresh Parsley
A tablespoon of **freshly chopped parsley** adds a wonderful layer of herbaceous flavor and a vibrant pop of color to your garlic bread. It’s entirely optional, but I highly recommend it for that classic, gourmet touch. If you don’t have fresh parsley, you can skip it, or a small pinch of dried parsley flakes can be used as a substitute, though the fresh herb offers a superior aroma and visual appeal.
Seasoning to Perfection
Beyond the garlic and butter, a few simple seasonings complete the spread. I add about **1/4 teaspoon of kosher salt** when using unsalted butter. Remember to skip this if your butter is salted. A few generous grinds of **fresh black pepper** also add a subtle warmth and enhance the overall flavor profile. For those who enjoy a little heat, a pinch of red pepper flakes can be a delightful addition. And if you’re feeling extra indulgent, a tablespoon or two of finely grated Parmesan cheese mixed into the butter spread will take your garlic bread to another level of deliciousness.
The Secret to Effortless Mixing: Softened Butter
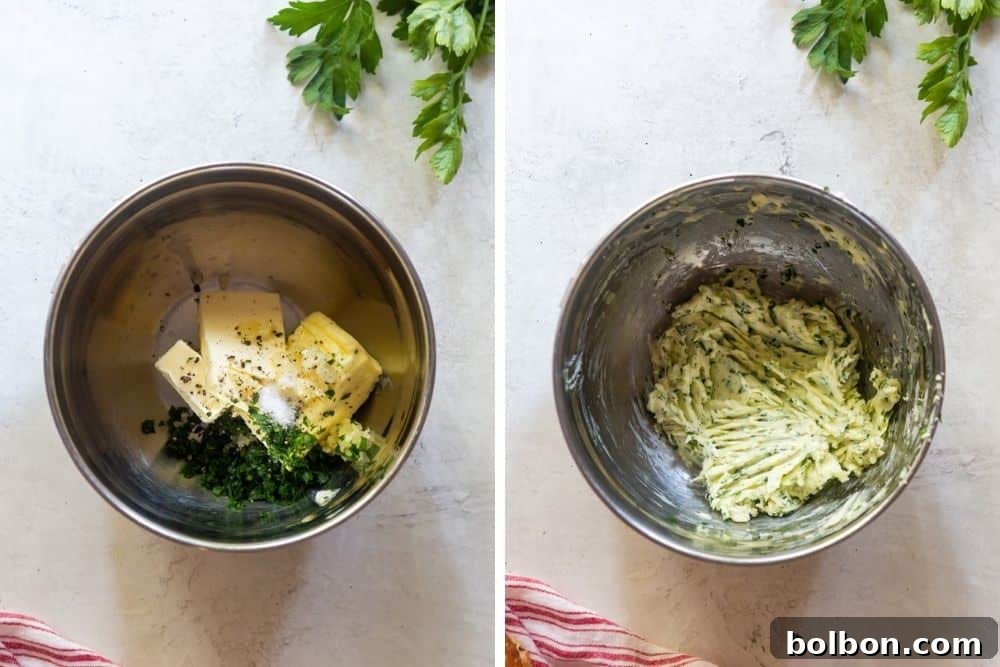
Achieving a perfectly smooth and evenly spread garlic butter mixture hinges on one crucial detail: **softened butter**. Butter that is too cold will be difficult to mix with the garlic and herbs, resulting in lumps and uneven distribution. Butter that is too melted, however, can become greasy and seep into the bread too quickly, making it soggy. Aim for butter that is soft enough to easily yield when pressed, but still holds its shape.
Quick Tips for Softening Butter
If you’re short on time and forgot to take your butter out of the fridge, don’t worry! Here are a couple of tricks to quickly soften butter:
- **The Grating Method:** Use a box grater to grate the stick of butter as you would cheese. The smaller pieces will come to room temperature much faster. This is my preferred method for quick softening.
- **The Microwave Method (with caution!):** Place the butter on a microwave-safe plate. Microwave on low power (e.g., 20-30%) for 10-15 second intervals, flipping the stick between each interval. Be extremely careful not to melt it! You want it soft, not liquid.
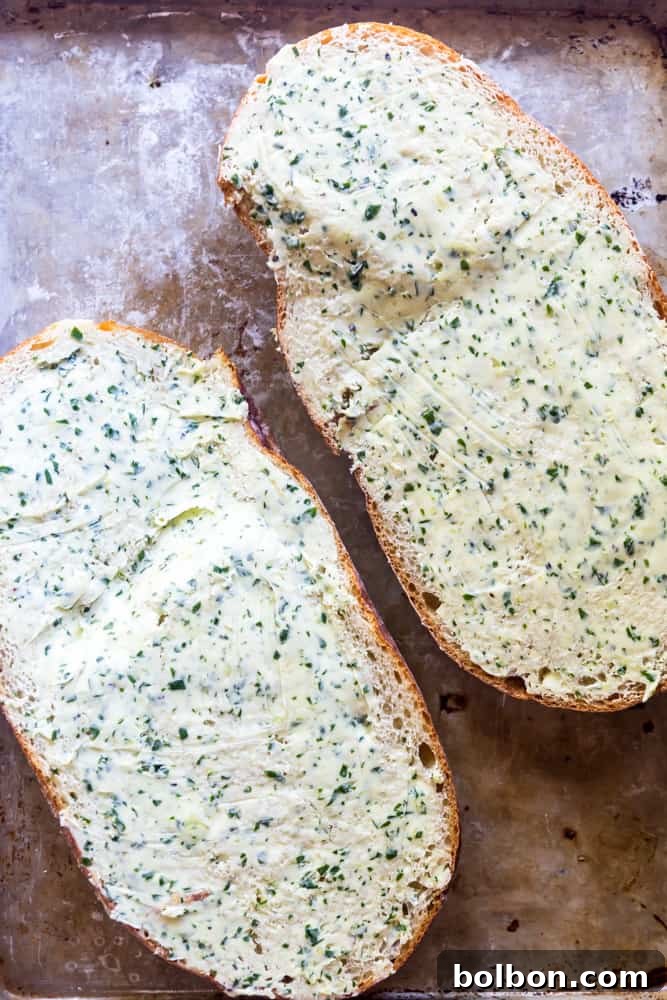
Once your butter is perfectly softened and your garlic butter mixture is prepared, it’s time to generously slather it all over the bread. Don’t be shy – spread the mixture all the way to the edges, ensuring every bite is infused with that incredible flavor.
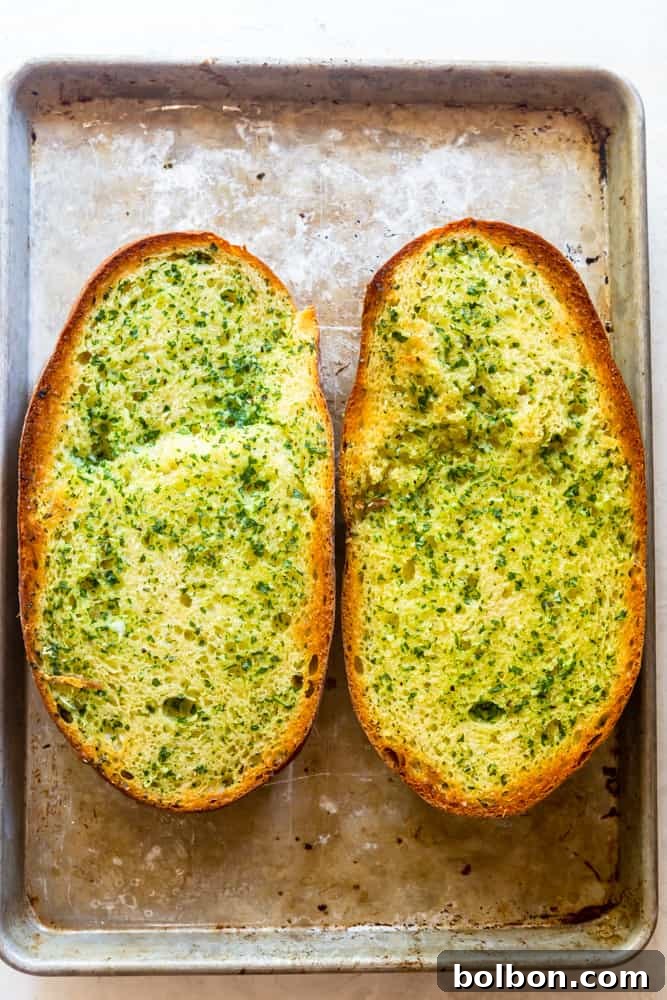
Baking for Golden Perfection
The baking process is quick and straightforward, but a couple of steps ensure your garlic bread achieves that coveted golden-brown, crispy exterior and warm, tender interior.
Initial Bake
Preheat your oven to **350 degrees F (175 degrees C)**. Place the buttered bread halves, cut-side up, on a baking sheet. Bake for approximately **8 minutes**. This initial bake allows the butter to melt and soak into the bread, warming it through and starting to crisp the edges.
The Broiler Finish: A Moment of Vigilance
To achieve that irresistible golden, slightly charred, and wonderfully crispy top, you’ll finish the garlic bread under the broiler. This step is crucial but requires your undivided attention. Move the baking sheet to the top rack, about 6-8 inches from the broiler element. Broil for **1-2 minutes**, watching it very, very carefully. Ovens and broilers vary wildly in intensity, and garlic bread can go from beautifully golden to regrettably burnt in mere seconds. The moment you see those edges turning a rich, golden brown and the garlic starting to toast, pull it out immediately. This quick blast of high heat is what gives homemade garlic bread its signature crunchy texture and perfectly toasted aroma.
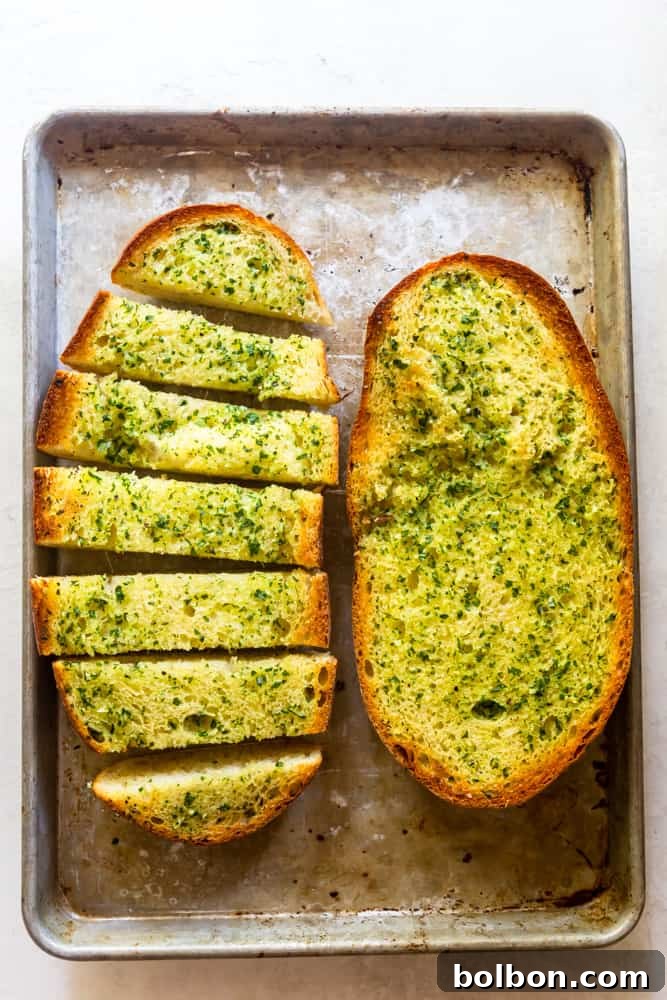
Once out of the oven, allow the garlic bread to cool for just a minute or two before slicing. Using a serrated bread knife will help you cut clean slices without tearing the crust or squashing the tender interior. Serve immediately and enjoy the fruits of your quick and easy labor!
Serving Suggestions: What Pairs Best with Garlic Bread?
Garlic bread is incredibly versatile and makes a fantastic accompaniment to a wide variety of meals. Its rich, savory flavor and satisfying texture complement many dishes, transforming a simple meal into a delightful feast. Here are some ideas for what to serve with your delicious homemade garlic bread:
- **Pasta Dishes:** This is a classic pairing for a reason! Whether it’s a hearty lasagna, a simple spaghetti with marinara, or a creamy fettuccine alfredo, garlic bread is perfect for soaking up every last drop of sauce. Try it with Creamy Basil Chicken Pasta for an incredible experience.
- **Soups and Stews:** A warm, crusty slice of garlic bread is the ideal companion for a bowl of comforting soup or a rich stew. It adds texture and flavor, making a simple meal feel more substantial. Think minestrone, tomato soup, or a beef stew.
- **Salads:** For a lighter meal, garlic bread can turn a fresh green salad into a complete and satisfying dish. The savory bread contrasts beautifully with crisp greens and tangy dressing.
- **Main Courses:** Garlic bread complements various meat and seafood dishes. It’s a superb side for Oven Baked Chicken Parmesan, enhancing the Italian flavors. It also pairs wonderfully with grilled steak, roasted chicken, or delicate Lemon Butter Scallops.
- **Appetizers:** Cut into smaller pieces, garlic bread can serve as a delightful appetizer on its own, perhaps with a side of extra marinara for dipping.
Don’t limit yourself – experiment with your favorite meals and discover new perfect pairings for this universally loved side dish.
How to Store Leftover Garlic Bread & Reheating Tips
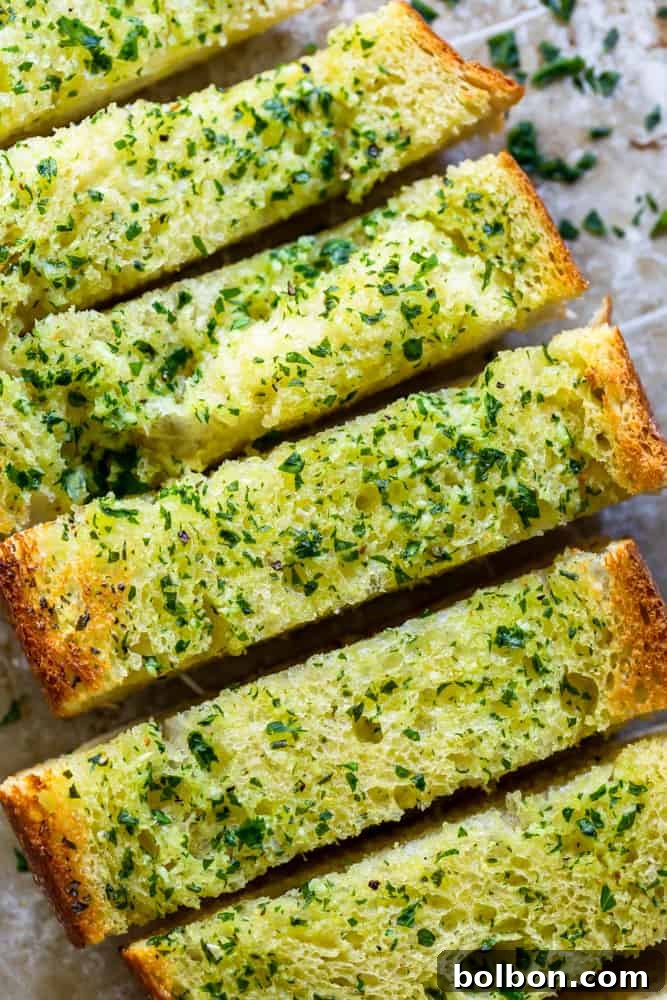
While leftovers of homemade garlic bread are a rare phenomenon, it’s always good to be prepared! If you happen to have some slices left over, here’s how to store them to maintain their deliciousness:
- **Short-Term Storage (1-2 days):** Wrap the cooled garlic bread tightly in aluminum foil and leave it at room temperature on your counter. This will help keep it from drying out.
- **Long-Term Storage (Up to 3 months):** For longer storage, wrap the cooled garlic bread in foil, then place the foil-wrapped bread into a freezer bag. Remove as much air as possible before sealing and freeze for up to 3 months.
Reheating Leftover Garlic Bread
Reheating garlic bread properly is key to bringing back its original glory. Avoid the microwave, as it tends to make bread soft and chewy, losing that desired crispness.
- **Oven Reheating:**
- **From Room Temperature/Fridge:** Preheat oven to 350°F (175°C). Wrap the garlic bread loosely in foil to prevent it from drying out. Bake for 10-15 minutes, or until heated through and slightly crispy. For extra crispiness, remove the foil for the last 2-3 minutes.
- **From Frozen:** Do not thaw. Preheat oven to 350°F (175°C). Keep the garlic bread wrapped in foil and bake for 20-30 minutes, or until heated through. Remove foil for the last 5 minutes to crisp up the crust.
- **Air Fryer Reheating:** This is an excellent method for achieving crispiness!
- **From Room Temperature/Fridge:** Place slices directly into the air fryer basket (do not overcrowd). Air fry at 350°F (175°C) for 3-5 minutes, checking frequently, until golden and crispy.
- **From Frozen:** Air fry at 325°F (160°C) for 6-10 minutes, checking frequently, until heated through and crispy.
With these storage and reheating tips, you can enjoy perfectly delicious garlic bread even days or weeks after you first make it!
Easy Garlic Bread Recipe
Meghan McMorrow | Fox and Briar
5 minutes
10 minutes
16 Servings
Ingredients
- 1 loaf French or Italian Bread
- 1/2 cup unsalted butter Softened (1 stick)
- 1 TBSP fresh parsley chopped
- 3 cloves garlic finely minced or pressed
- 1/4 tsp kosher salt omit if using salted butter
- black pepper to taste
Instructions
-
Preheat oven to 350 degrees F (175°C).
-
Slice bread loaf lengthwise and place on a baking sheet, cut side up.
-
In a small bowl, mix together softened butter, minced garlic, chopped parsley, salt, and pepper until fully combined. Spread the butter mixture over the bread evenly, ensuring it reaches all the way to the edges.
-
Bake for 8 minutes. For a golden and crispy top, finish the bread under the broiler for 1-2 minutes. Watch carefully while under the broiler as it can burn very quickly.
-
Remove from oven, slice, and serve warm.
Notes
*If using salted butter, do not add the 1/4 tsp of kosher salt to the mixture.
*For an extra cheesy flavor, mix 1-2 tablespoons of finely grated Parmesan cheese into the garlic butter spread.
Nutrition
Nutrition information is automatically calculated, so should only be used as an approximation.
Additional Info
Appetizers, Sides
American, Italian