
Mastering the Art of Stovetop Popcorn: Your Ultimate Guide to Perfectly Popped Kernels
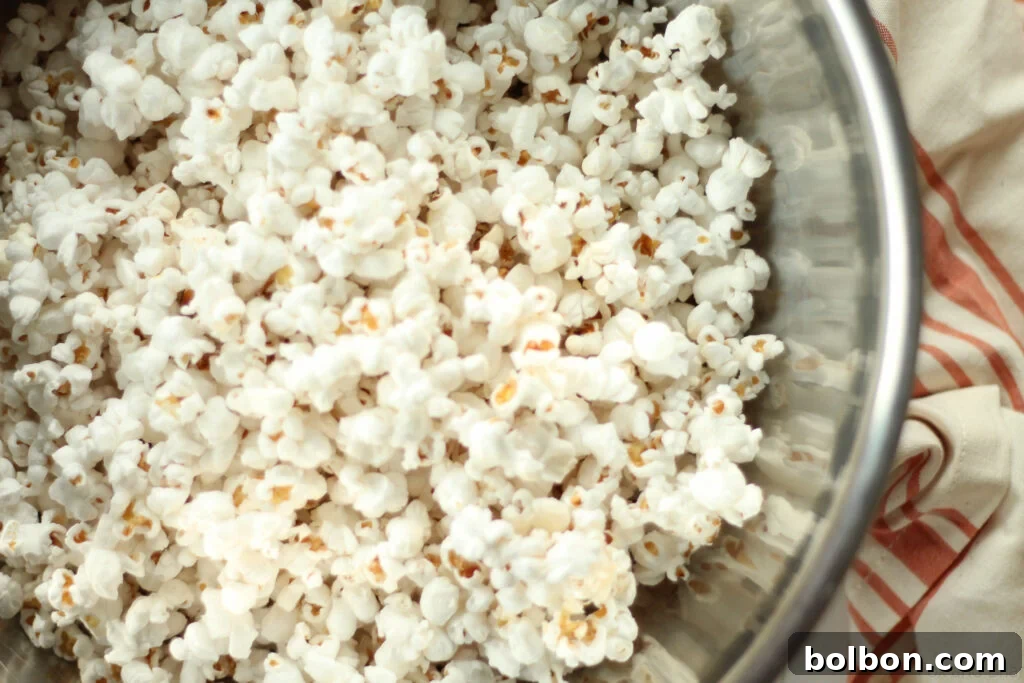
There are few snacks as universally beloved and satisfying as a bowl of freshly made popcorn. But not all popcorn is created equal. Forget the microwave bags laden with questionable ingredients, or the often-dry results from an air popper. Today, we’re diving into the time-honored tradition of making popcorn right on your stove. This classic method consistently delivers the most delicious, fluffy, and flavorful popcorn you’ll ever taste. It’s a simple pleasure that transforms a handful of kernels into a gourmet treat, and once you master it, you’ll never go back.
My journey to stovetop popcorn perfection began years ago, stemming from a quirky New Year’s resolution during my junior year of high school. Amidst typical teenage aspirations like “wear more bright colors,” I added a rather practical goal: “learn how to make popcorn on the stove.” On New Year’s Eve, surrounded by friends, I embarked on this culinary adventure. It wasn’t complicated, even for a 16-year-old, and it quickly became a skill I cherished. This isn’t just a recipe; it’s a testament to how the simplest methods often yield the most extraordinary results.
Why Stovetop Popcorn Reigns Supreme
While various methods exist for popping corn, the stovetop truly stands out. It offers unparalleled control over heat and oil, which are crucial for achieving that ideal fluffy texture and rich flavor. Unlike air poppers that can produce dry, sometimes tough popcorn, or microwave bags filled with artificial flavors and often unpopped kernels, stovetop popping ensures each kernel is perfectly coated in oil, leading to a crispier, more satisfying pop. The subtle sizzle of oil and the rhythmic dance of kernels in a hot pot create an aroma that fills your kitchen, building anticipation for the delicious snack to come. It’s a sensory experience that pre-packaged alternatives simply cannot replicate.
Beyond taste and texture, there’s a simplicity and cost-effectiveness to stovetop popcorn. All you need are a few basic ingredients and a good pot, eliminating the need for specialized gadgets or expensive, single-use bags. It’s a healthier alternative when made with quality ingredients and allows you to control the amount and type of oil and seasonings. You might be surprised to learn that even with a generous addition of butter, homemade stovetop popcorn can be a surprisingly wholesome snack. In fact, I’ve enjoyed this buttered delight almost nightly and still managed to maintain a healthy lifestyle. It’s a whole grain, after all, and with thoughtful preparation, it can absolutely fit into a balanced diet.
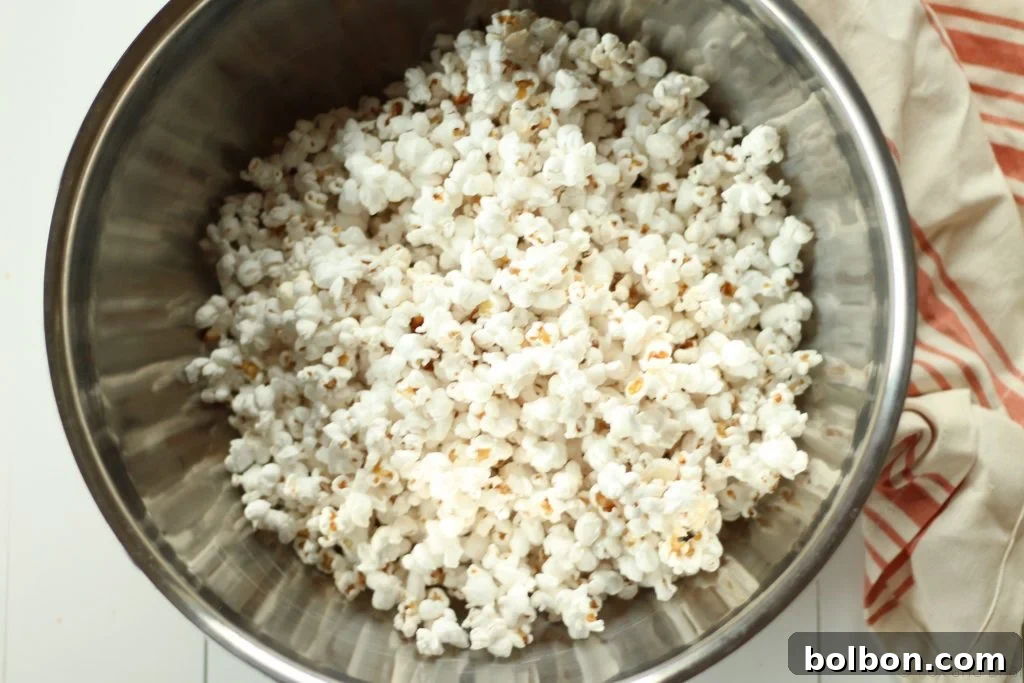
Essential Equipment and Ingredients for the Best Popcorn
One of the beauties of stovetop popcorn is its minimal equipment requirement. You likely already have everything you need in your kitchen:
- A Large Pot with a Lid: My go-to is a 5-quart nonstick Dutch oven. The heavy bottom helps distribute heat evenly, and the spacious interior allows the popcorn to expand without overcrowding, which is key to preventing soggy or unpopped kernels. A clear glass lid can be helpful for observing the popping action. If you use a smaller pot, remember to scale down your ingredients to avoid overflow and ensure even popping.
- High Smoke Point Oil: Canola oil is a neutral and excellent choice for popcorn. Other good options include coconut oil (adds a subtle, sweet flavor), vegetable oil, or grapeseed oil. The goal is an oil that can withstand high heat without smoking or imparting off-flavors. Avoid extra virgin olive oil, which has a lower smoke point.
- Quality Popcorn Kernels: This is where many go wrong!
- Butter: This is non-negotiable for true popcorn bliss. For years, I foolishly thought the oil was enough. I was wrong. So, so wrong. Butter adds an irreplaceable richness and flavor that elevates the popcorn from good to truly exceptional.
- Salt: Fine-grained salt adheres best to popcorn.
The Secret to Superior Kernels: Don’t Compromise on Quality
Let’s talk about popcorn kernels because this is arguably the most critical factor in achieving popcorn perfection. There’s a vast difference in quality out there, and settling for inferior kernels can lead to a disappointing, cardboard-like experience. Trust me on this: the right kernels make all the difference.
White Popcorn vs. Yellow Popcorn
First and foremost, I strongly advocate for white popcorn kernels. Many people are accustomed to yellow popcorn, which is commonly found in cinemas and microwave bags. However, white popcorn typically has a smaller, more tender kernel with a lighter hull that shatters into smaller pieces upon popping. This results in a more delicate, melt-in-your-mouth texture and less “floss-catching” hull residue compared to its yellow counterpart. If you’ve been a yellow popcorn loyalist, I urge you to try white popcorn – the difference is remarkable.
Brand Matters
While I often recommend generic brands for many products, popcorn kernels are an exception where brand quality truly shines. I’ve found that some of the widely available national brands can be surprisingly tasteless. My personal preference is often store brands from reputable grocers, like the Kroger brand (available at Fred Meyer, for example), which offers excellent quality white popcorn at an affordable price. Experiment to find a brand that consistently delivers fresh, flavorful kernels for you. If a batch tastes bland or stale, don’t blame your popping technique; it’s likely the kernels themselves. Move on and find a better brand.
Storage for Freshness
Popcorn kernels are a dried grain, but their freshness can degrade over time, leading to fewer pops and a tougher texture. Once you open a bag of kernels, transfer them to an airtight container. A glass jar with a tight-fitting lid is ideal. Store them in a cool, dry pantry away from direct sunlight. Proper storage ensures your kernels remain fresh and ready to deliver perfectly fluffy popcorn every time.
The Foolproof Stovetop Popcorn Method: Step-by-Step Perfection
Making popcorn on the stove is incredibly simple and surprisingly fast once you get the hang of it. While I often eyeball quantities, I’ve provided precise measurements below as a perfect starting point. Remember, consistency is key, and using a 5-quart Dutch oven has proven to yield optimal results in my experience.
Step 1: Prepare Your Pot and Oil
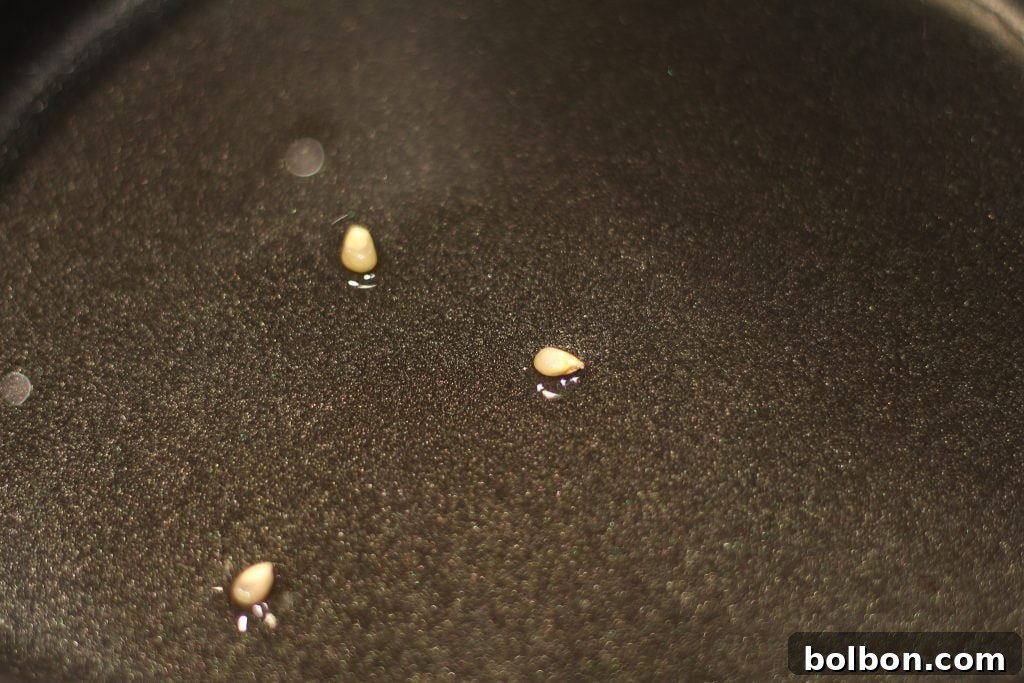
Pour enough oil into your large pot to just coat the entire bottom of the pan in a thin layer. You don’t want it pooling deeply, just a light, even film. Now, drop three individual popcorn kernels into the pot and place the lid securely on top. This “three-kernel test” is a brilliant trick to gauge the perfect oil temperature.
Step 2: Heat Things Up
Turn your stovetop burner to high heat. My stove typically goes up to 10, so I set it to 9 – just shy of the absolute highest setting. The goal here is to get the oil hot enough quickly, but not so hot that it scorches.
Step 3: The Popcorn Signal
Listen carefully. When all three test kernels have popped, you’ll know your oil has reached the ideal temperature for popping. This is your cue! Immediately remove the pot from the heat for a few seconds (this helps prevent burning the first batch of kernels when you add the rest, allowing the pan to cool slightly while still being very hot).
Step 4: Add the Remaining Kernels
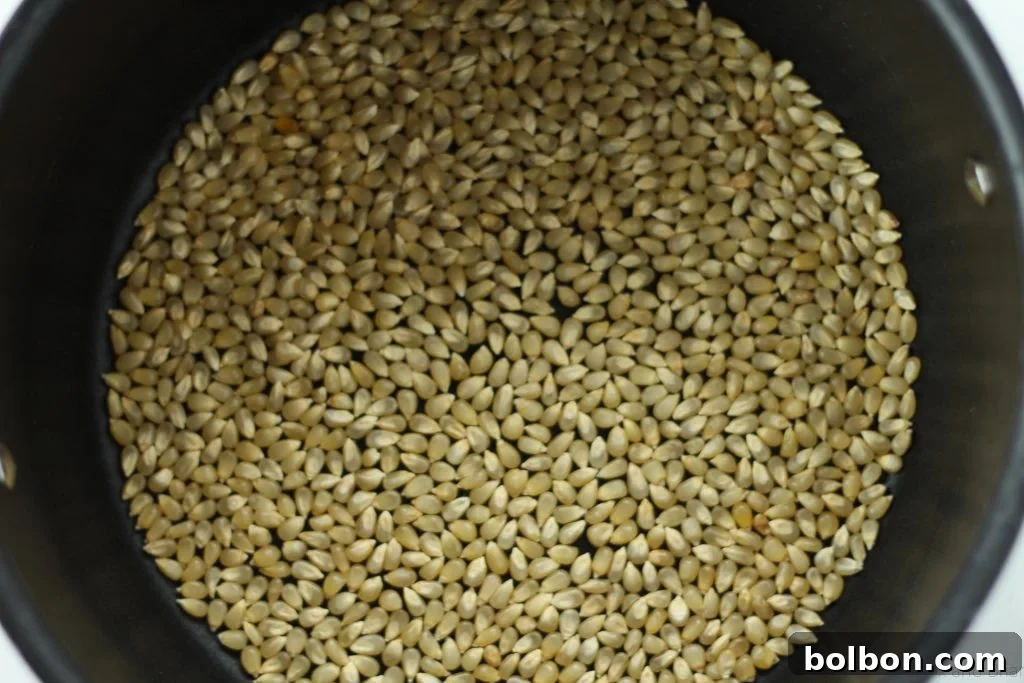
Pour the rest of your unpopped kernels into the hot oil, ensuring they form a single, thin layer across the bottom of the pan. Avoid overcrowding, as this can lead to uneven popping and a higher percentage of unpopped kernels. Quickly replace the lid tightly.
Step 5: The Popping Frenzy
Return the pot to the high heat setting. Soon, you’ll hear the kernels begin their lively popping symphony. As they pop, give the pan a gentle shake every 15-20 seconds or so. This helps prevent kernels from settling on the hot bottom and burning, and ensures even exposure to the heat. However, in my experience, if your heat is just right (setting 9), constant shaking isn’t necessary, and burning is less likely.
Step 6: Remove from Heat and Transfer
Once the popping slows down significantly – to about one pop every 2-3 seconds – immediately remove the pot from the heat. Crucially, transfer the popped popcorn into a large serving bowl without delay. Leaving it in the hot pot will allow the residual heat to continue cooking, leading to burnt popcorn.
Step 7: The Butter Finish
Now for the butter! Using the residual heat in the still-warm pot, melt your butter. To prevent it from burning, wait a few seconds after removing the popcorn before adding the butter. Place the butter in the pot and continuously swirl or turn the pan. This motion helps the butter melt evenly and quickly without scorching. As soon as it’s fully melted, act fast!
Step 8: Season and Serve
Pour about half of the melted butter over your popcorn in the serving bowl. Sprinkle generously with fine salt and toss thoroughly to distribute the butter and salt. Then, pour the remaining butter, add more salt to your taste, and toss again. This layering method ensures every piece of popcorn gets a delightful coating of butter and salt. It’s important not to let the butter sit in the hot pan for too long, as it will burn.
How to Make Perfect Stovetop Popcorn
Meghan McMorrow | Fox and Briar
1
4
5
4 Servings
Ingredients
- 2 tablespoons canola oil
- 1/2 cup unpopped popcorn kernels I very much recommend white popcorn
- 1-2 tablespoons butter
- salt to taste
Instructions
-
In a cold pan, pour the oil and 3 popcorn kernels. Cover pan.
-
Heat the pan over high heat (just under the highest setting, 9 out of 10).
-
When all 3 kernels have popped, pour in the rest of the kernels and cover. As the kernels start to pop, shake the pan a few times.
-
After the popping slows down to a few pops, remove from heat and immediately transfer popcorn to a bowl.
-
Let the pan cool for a few seconds, then place the butter in the pan to melt using the residual heat. If there is not enough residual heat left, melt over low heat. Turning the pan constantly, melt the butter, being careful not to burn it.
-
When butter is melted, pour half of it over the popcorn. Salt the popcorn, then toss to combine. Pour the other half of the butter on the popcorn, salt again, and toss again.
-
Now it is ready to eat!
Nutrition
Calories: 164kcal
|
Carbohydrates: 15g
|
Protein: 2g
|
Fat: 11g
|
Saturated Fat: 2g
|
Cholesterol: 8mg
|
Sodium: 26mg
|
Potassium: 56mg
|
Fiber: 3g
|
Sugar: 1g
|
Vitamin A: 90IU
|
Iron: 0.6mg
Nutrition information is automatically calculated, so should only be used as an approximation.
Additional Info
Tips for Next-Level Popcorn Every Time
While the basic method is straightforward, a few extra tips can elevate your stovetop popcorn from good to truly exceptional:
- Don’t Overcrowd the Pot: A single layer of kernels is crucial. Overfilling leads to uneven heat distribution, more unpopped kernels (“old maids”), and potentially burnt popcorn.
- The Alton Brown Principle: The “three-kernel test” method, popularized by food scientist Alton Brown, is an absolute game-changer. It ensures your oil is at the perfect temperature for immediate, even popping. This prevents both underheating (soggy popcorn) and overheating (burnt oil and kernels).
- Listen to Your Popcorn: Your ears are your best tool! The frantic popping will slow down dramatically as the kernels are mostly popped. Removing the pot promptly at this stage is essential to prevent burning. Don’t wait until the popping stops entirely.
- Immediate Transfer: As mentioned, the residual heat in the pot can quickly turn perfect popcorn into burnt popcorn. Transfer it to a bowl as soon as it’s done popping.
- Melting Butter with Residual Heat: Using the warmth of the recently used pot to melt butter is an efficient and effective trick. The key is constant movement to avoid burning the butter, which can impart a bitter taste.
- Layer Your Seasoning: Applying butter and salt in two stages, with a toss in between, ensures a more even coating on every kernel. This is far superior to dumping it all on at once.
Customize Your Popcorn Experience
While butter and salt are the classic choice, don’t hesitate to experiment with different seasonings to match your mood:
- Sweet: A drizzle of caramel, a sprinkle of cinnamon sugar, or a light dusting of cocoa powder can transform your popcorn into a dessert.
- Savory: Try nutritional yeast for a cheesy flavor, garlic powder, onion powder, paprika, chili powder, or even a dash of dried herbs.
- Spicy: A pinch of cayenne pepper or a mix of your favorite hot spices can add a fiery kick.
Conclusion: Embrace the Simplicity of Stovetop Popcorn
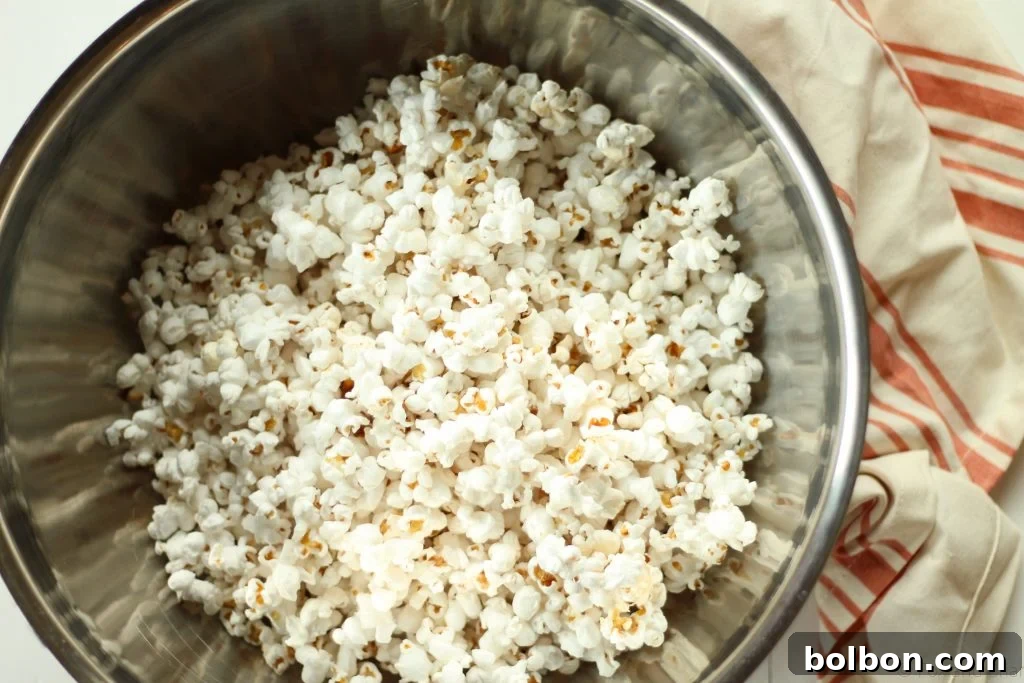
Making popcorn on the stove is more than just a cooking method; it’s a small culinary ritual that consistently delivers superior results. It’s about control, quality ingredients, and the simple joy of creating something truly delicious from scratch. Once you experience the fluffy texture, rich flavor, and satisfying crunch of homemade stovetop popcorn, you’ll understand why it’s been a beloved snack for generations. So grab your pot, your kernels, and get ready to enjoy the best popcorn of your life.
Are you a fellow popcorn enthusiast always looking for new ways to enjoy this classic snack? Stay tuned, because I have a special popcorn-centric recipe coming up tomorrow that you absolutely won’t want to miss! Be sure to sign up for my email list or follow me on Pinterest so you don’t miss out on more delicious inspiration!