
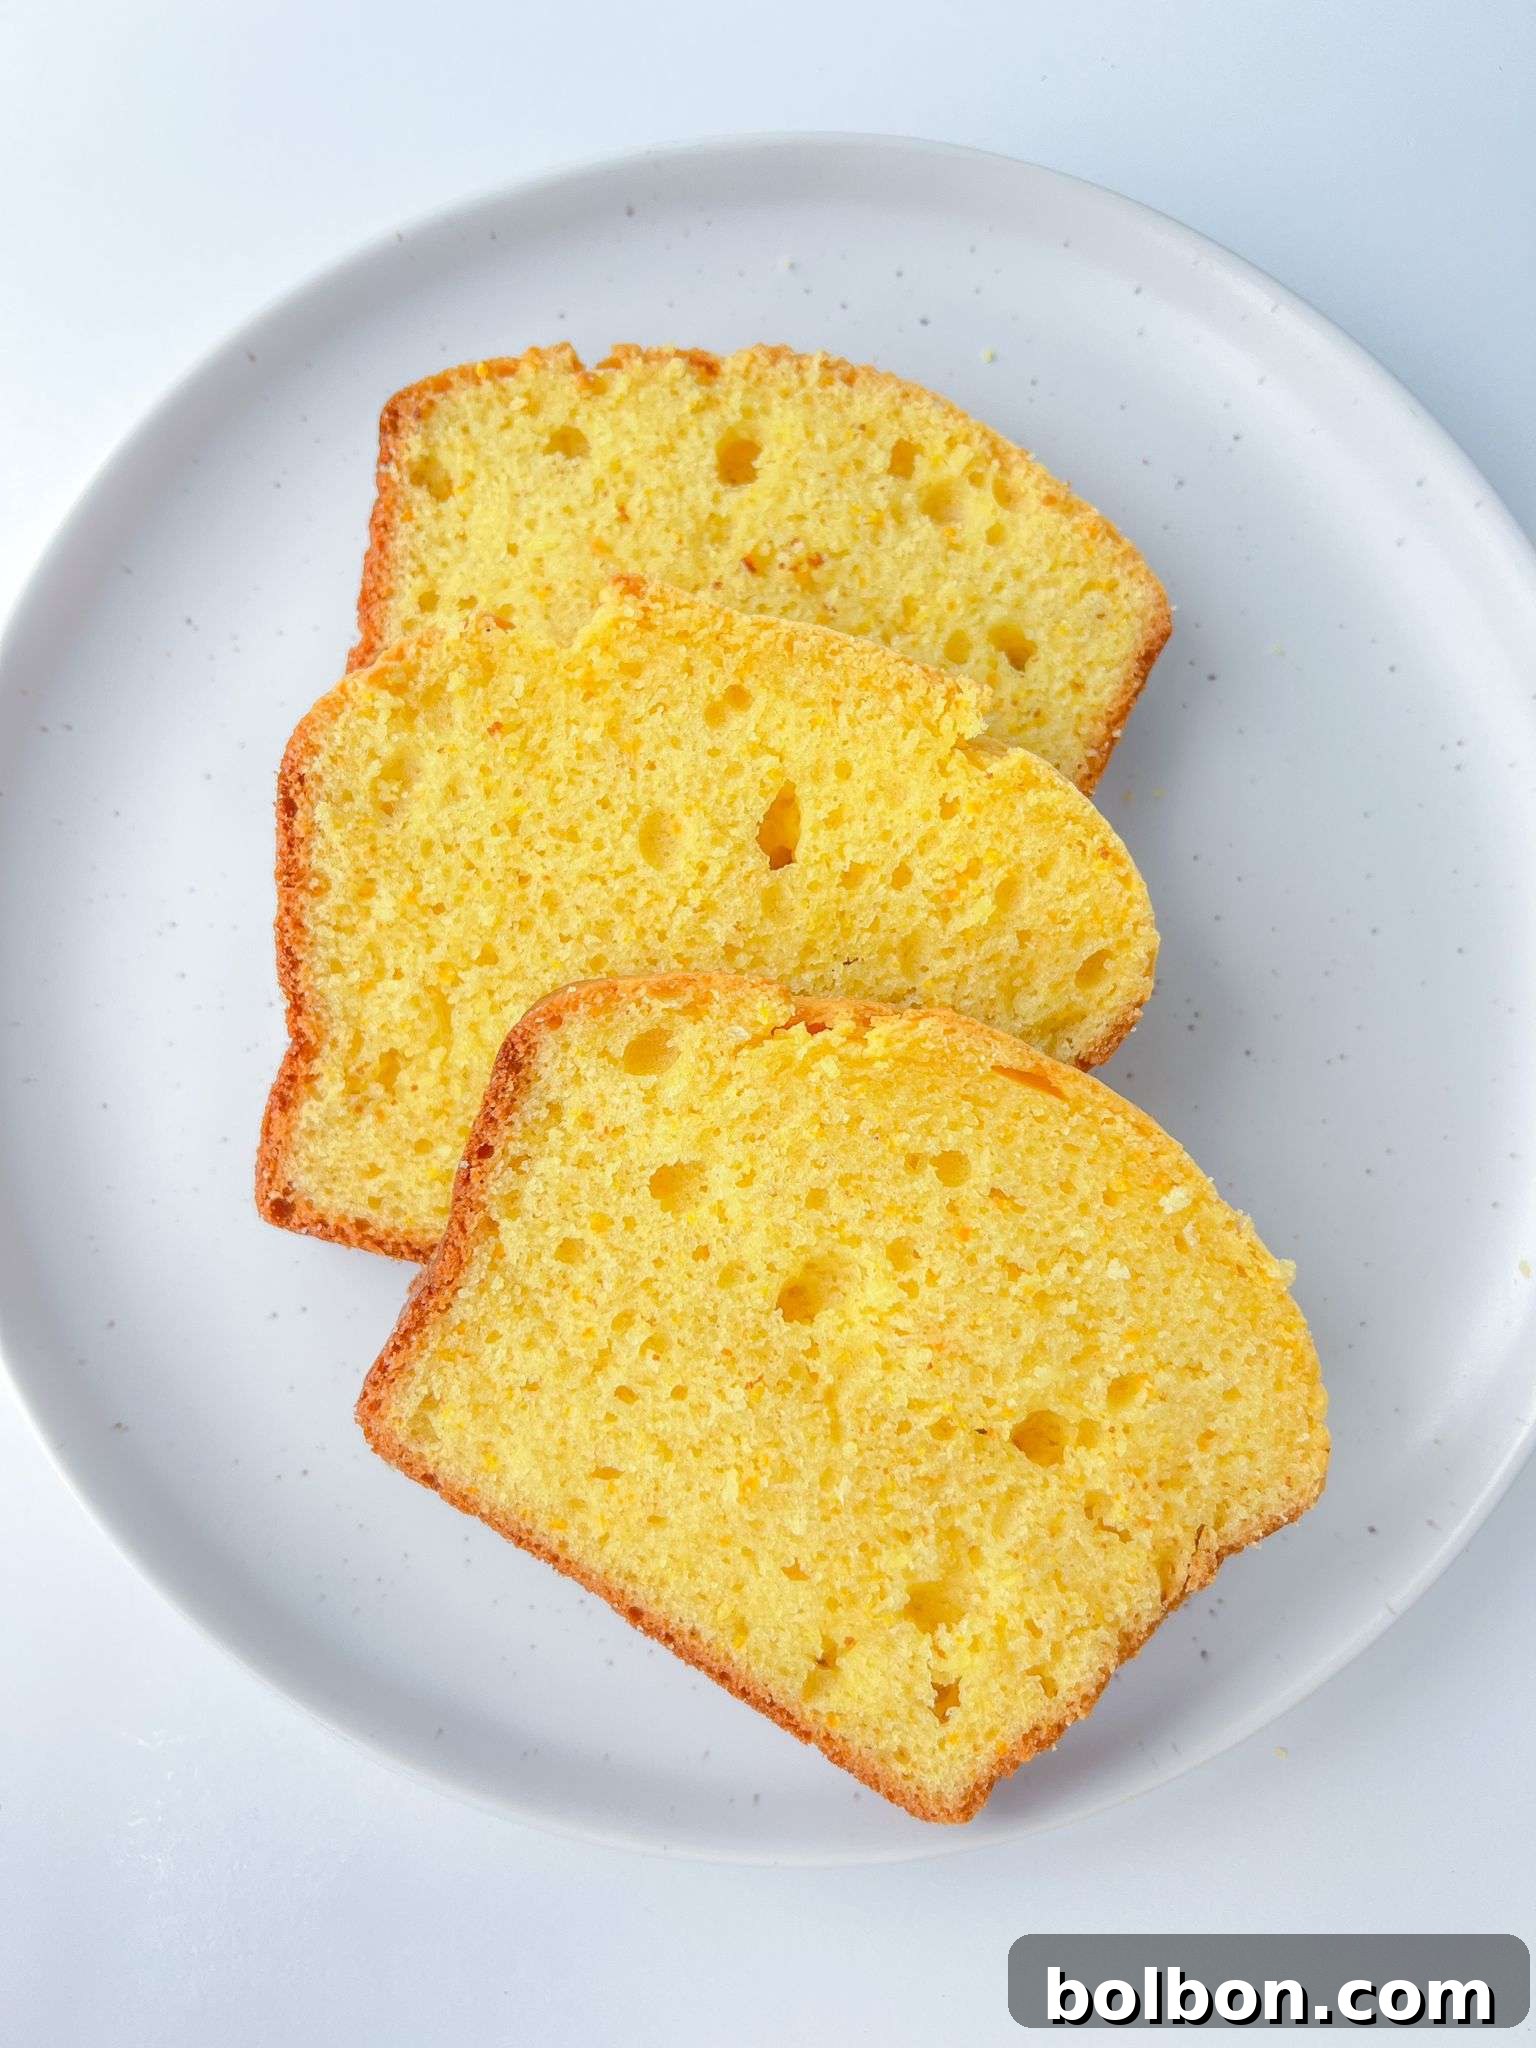
There’s a special kind of magic that happens when you bake a cake, and it’s even more enchanting when the process is incredibly simple. Our family’s beloved Whole Orange Blender Cake is just that: a truly effortless dessert that delivers immense flavor and a perfectly moist, tender crumb. This recipe isn’t just a cake; it’s a delightful tradition, a staple in our home, known for its vibrant citrus notes and unbelievably simple preparation. Imagine combining just a few everyday ingredients, including an entire orange, into a blender, and emerging with a stunning, aromatic coffee cake. That’s the secret to this delightful creation. My mom and I perfected this recipe over time, aiming to create the easiest, most flavorful, and wonderfully moist orange cake you’ll ever bake. The subtle yet distinct hints of sweet orange and a touch of bright lemon make every bite an irresistible experience, transforming an ordinary day into something special.
Why This Whole Orange Blender Cake Will Become Your New Favorite
Prepare to fall in love with a cake that defies expectations! Our Whole Orange Blender Cake is more than just a dessert; it’s a revelation in simplicity and taste. Here’s why this recipe deserves a permanent spot in your baking repertoire:
- Effortless Preparation: The true genius of this cake lies in its “blender” method. Forget tedious steps like zesting, peeling, or juicing. With this recipe, you simply wash, quarter a whole orange, and toss it into your blender along with the other ingredients. This eliminates prep time, making it ideal for busy schedules or spontaneous baking urges. It’s perfect for beginners and seasoned bakers alike who appreciate efficiency without compromising quality.
- Unforgettable Citrus Flavor: By incorporating the entire orange – peel and all – the cake is infused with a deep, complex citrus aroma and flavor that’s both bright and comforting. The natural oils in the orange peel contribute an incredible zestiness and a subtle bitterness that perfectly balances the sweetness of the cake, creating a truly irresistible taste profile. It’s a healthy boost of Vitamin C and fiber, too!
- Incredibly Moist Texture: Thanks to the blended whole orange and the inclusion of oil, this cake boasts an unparalleled moistness. Each slice is tender and velvety, dissolving delightfully in your mouth. This isn’t a dry, crumbly cake; it’s a rich, substantial treat that remains fresh and delicious for days.
- Foolproof Results: This recipe is designed for success. The blender ensures a smooth, consistent batter every time, minimizing the risk of overmixing. The clear, concise instructions guide you through each step, guaranteeing a perfect bake, even if you’re new to making cakes.
- Versatile & Adaptable: While perfect as is, this cake serves as a fantastic base for various dietary needs and flavor experiments. Whether you want to explore gluten-free options or add different mix-ins, the foundation of this recipe is incredibly forgiving and adaptable.
Once you experience the ease and incredible flavor of baking with a whole orange, you’ll find yourself making this cake on repeat, just like we do. It’s a game-changer for anyone who loves citrus and simple, delicious baking!
Crafting Your Perfect Whole Orange Blender Cake: A Step-by-Step Guide
Making this incredible cake is as easy as gathering your ingredients and firing up your blender. Follow these simple steps for a truly delightful baking experience:
- Preheat and Prepare Your Pan: Begin by preheating your oven to a steady 350°F (175°C). While the oven warms, take a standard loaf pan and prepare it for baking. For effortless removal and cleanup, we recommend lining the pan with parchment paper and then giving it a generous spray with baking spray. This dual approach ensures your cake releases perfectly every time. If you don’t have parchment paper, you can thoroughly grease and flour the pan instead.
- Gather Your Ingredients: Before you begin blending, ensure all your ingredients are measured and ready. It’s crucial that your eggs are at room temperature, as this helps them emulsify better with the other ingredients, leading to a smoother batter and a lighter cake. The star of the show, your whole orange, should be thoroughly washed and then quartered, with any visible seeds removed. A sweet, seedless Navel orange is ideal for this recipe.
- Blend to Perfection: The magic truly happens in the blender! Add all your ingredients to a high-powered blender, always starting with the wet ingredients first. This helps the blender blades catch and process everything smoothly, preventing the dry ingredients from getting stuck at the bottom. Blend for a quick 20-30 seconds, or just until a thick, pourable batter forms. The goal is to break down the orange peel and combine everything thoroughly without over-blending. Over-blending can develop the gluten in the flour too much, leading to a tough cake. You want it smooth, but not whipped.
- Bake Until Golden: Carefully pour your wonderfully aromatic batter into the prepared loaf pan. Place the pan on the middle rack of your preheated oven and bake for approximately 45-50 minutes. Baking times can vary slightly depending on your oven and the exact dimensions of your pan. To check for doneness, insert a toothpick into the center of the cake, about 2 inches from the side. If it comes out clean or with a few moist crumbs attached, your cake is ready.
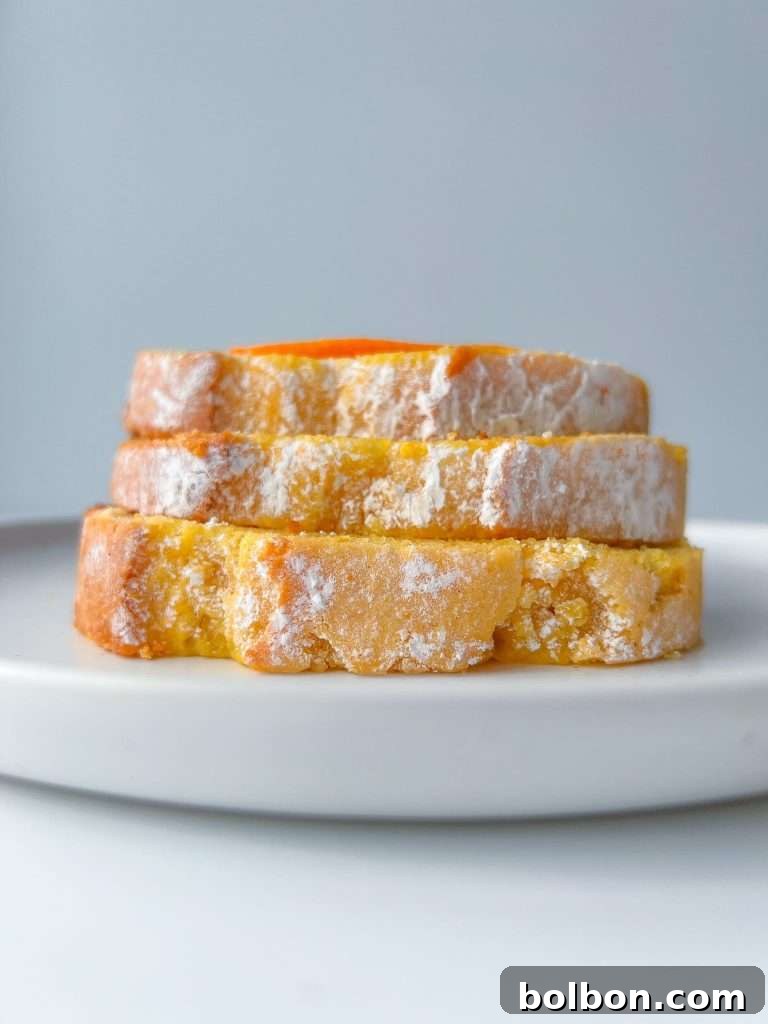
- Cool and Serve: Once baked, remove the cake from the oven and allow it to cool in the loaf pan for about 10 minutes. This resting period helps the cake set and prevents it from crumbling when you remove it. After 10 minutes, carefully lift the cake out of the pan using the parchment paper overhang and transfer it to a wire rack to cool completely. Once fully cooled, if desired, dust generously with powdered sugar for a beautiful finish and an extra touch of sweetness. Slice, serve, and savor this incredibly easy and delicious Whole Orange Blender Cake!
Nonna’s Essential Tip 🍊
For the best results, I always recommend using a Navel orange because of its inherent sweetness and minimal seeds. The quality of your orange greatly influences the final flavor. A crucial step is to avoid over-blending this cake. If your blender isn’t particularly powerful, or if you’re concerned about the peel texture, you can always zest the orange first, then peel it, and add the zest and peeled orange segments to the blender. My trusted Vitamix gets the job done perfectly in just 20-30 seconds, yielding a beautifully smooth batter. Trust your blender, but be mindful of the blending time!
Exciting Variations and Substitutions for Your Whole Orange Blender Cake
One of the joys of baking is the ability to customize a recipe to suit your taste or dietary needs. Our Whole Orange Blender Cake is wonderfully versatile, offering numerous avenues for delicious experimentation. Remember to adjust quantities as needed and have fun creating your perfect version of this delightful orange cake 🧡!
- Alternative Flours for Dietary Needs: If you’re looking to make this cake gluten-free, you have several excellent options. You can use almond flour for a denser, nuttier crumb and added protein. 🥥 Coconut flour can also work, but keep in mind it absorbs a lot more liquid, so you might need to slightly increase the wet ingredients. The easiest swap is a 1-to-1 gluten-free flour blend, which is specifically formulated to behave like regular all-purpose flour in baking. Always check the package instructions for any specific liquid adjustments.
- Natural Sweetener Alternatives: For those who prefer natural sweeteners or wish to reduce refined sugar, this recipe is quite adaptable. Feel free to experiment with 🍯 honey or maple syrup for a richer, more nuanced sweetness. If you’re aiming for a low-carb or keto-friendly option, monk fruit sweetener or erythritol can be excellent substitutes. Start with a 1:1 ratio as suggested by the sweetener brand, but taste your batter (before adding eggs for safety) and adjust to your desired sweetness level.
- Crunchy Add-Ins: Elevate the texture and flavor by incorporating chopped nuts into your batter. Walnuts provide a classic, earthy complement to citrus, while pecans offer a buttery richness. Toasted almonds can add a delicate crunch and a subtle almond flavor that pairs beautifully with orange. Gently fold them into the batter after blending.
- Boosted Texture and Flavor: Beyond nuts, consider other delightful mix-ins. Shredded coconut adds a tropical twist and extra moisture, enhancing the cake’s tenderness. Grated 🥕 carrots not only introduce a lovely sweetness and vibrant color but also make the cake even more moist and nutrient-rich, reminiscent of a classic carrot cake but with a citrusy twist.
- Spices & Extracts: While the lemon extract adds a bright note, you can also experiment with a pinch of cinnamon, nutmeg, or cardamom for a warm, aromatic cake. Orange blossom water or a touch of vanilla extract can also enhance the overall flavor profile.
- Glazes & Toppings: Instead of simple powdered sugar, consider a vibrant citrus glaze made with powdered sugar and fresh orange or lemon juice. A cream cheese frosting, lightly flavored with orange zest, would also make this cake an indulgent treat.
These variations allow you to truly make this Whole Orange Blender Cake your own, catering to diverse tastes and dietary considerations. Don’t be afraid to get creative in the kitchen!
Explore More Coffee Cake Recipes
Orange Lemon Cake
35 mins
Easy Apple Cake
45 mins
Whole Lemon Blender Cake
55 mins
Clementine Cake
55 mins
Perfect Pairings: Enjoying Your Whole Orange Blender Cake
This versatile Whole Orange Blender Cake is delightful on its own, but its bright, citrusy notes make it a fantastic companion to a variety of beverages and other treats. Here are some of our favorite ways to enjoy it:
- Classic Comfort: There’s nothing quite like a slice of this moist orange cake alongside a warm cup of freshly brewed coffee or a soothing mug of herbal tea 🫖. It’s the quintessential coffee cake experience, perfect for a leisurely breakfast, a cozy afternoon snack, or a light dessert.
- Brunch Spreads: Elevate your brunch spread by including slices of this cake. It pairs beautifully with other loaf cakes, like our Carrot Cake Loaf, or a selection of freshly baked cookies. The vibrant orange flavor provides a refreshing counterpoint to richer pastries, offering a balanced and inviting spread.
- Dessert Enhancement: For an elevated dessert, serve a slice with a dollop of whipped cream, a scoop of vanilla bean ice cream, or a drizzle of warm citrus sauce. The simplicity of the cake allows these accompaniments to shine, creating a truly decadent experience.
- Morning Indulgence: Start your day on a sweet and zesty note. This cake is light enough to enjoy for breakfast, offering a delightful alternative to muffins or toast.
However you choose to enjoy it, this Whole Orange Blender Cake is guaranteed to bring a burst of sunshine to your table!
Expert Tips for a Flawless Blender Cake
While this recipe is incredibly simple, a few expert tips can ensure your Whole Orange Blender Cake turns out perfectly moist, flavorful, and beautifully risen every single time:
- Orange Selection Matters: For the best results, choose a sweet, seedless orange like a Navel or Cara Cara. These varieties offer the best flavor balance and are easier to process with their thinner peels and lack of seeds. If your orange has seeds, be sure to remove them thoroughly before blending, as they can impart bitterness.
- Mind the Blending Time: This is a crucial step! Blend just enough to achieve a smooth, pourable batter where the orange peel is fully pulverized. Over-blending can overdevelop the gluten in the flour, resulting in a tougher cake. A powerful blender like a Vitamix typically needs only 20-30 seconds. If your blender isn’t as robust, you might consider zesting the orange and then peeling it before blending the segments to ensure a smooth consistency.
- Room Temperature Ingredients: Ensure your eggs are at room temperature. This allows them to incorporate more evenly into the batter, creating a smoother emulsion and a lighter, airier cake crumb. If you forget to take them out in advance, you can quickly warm them in a bowl of warm (not hot) water for 5-10 minutes.
- Check Your Baking Powder: Baking powder is your cake’s rising agent. If it’s old or expired, your cake won’t rise properly and may turn out dense. To test if your baking powder is still active, add ½ teaspoon to ¼ cup of hot water. If it fizzes vigorously, it’s still good! If not, it’s time for a new container.
- Proper Pan Preparation: Lining your loaf pan with parchment paper and spraying it with baking spray is the ultimate double defense against sticking. This method ensures your cake will release cleanly and beautifully, making cleanup a breeze.
- Don’t Overbake: Overbaking is the enemy of a moist cake. Start checking for doneness around the 45-minute mark, inserting a toothpick or skewer into the center (about 2 inches from the side). Once it comes out clean, take the cake out immediately.
- Cooling is Key: Resist the temptation to slice into your cake right out of the oven! Allowing it to cool in the pan for 10 minutes helps it set and prevents it from crumbling. Transferring it to a wire rack to cool completely before dusting with powdered sugar ensures the sugar adheres properly and the cake maintains its structure.
By following these simple yet effective tips, you’re well on your way to baking a truly spectacular Whole Orange Blender Cake!
Common Questions About Whole Orange Blender Cake
I used a Navel orange, which was perfectly seedless and sweet. Cara Cara oranges are also an excellent choice due to their delightful flavor and lack of seeds. If you’re concerned that your chosen orange might be bitter, or if it has many seeds, it’s best to peel it and remove the seeds before blending. You can still add the zest along with the peeled orange for maximum flavor.
Yes, you may use a food processor. However, food processors generally aren’t as powerful as high-speed blenders, which means they might not be able to break down the orange peel as finely. To ensure a smooth batter and prevent any fibrous bits, I recommend peeling the fruit entirely and adding the zest separately if using a food processor.
Absolutely! This recipe works wonderfully with Cara Cara oranges. Their sweet, slightly berry-like flavor will add a fantastic dimension to the cake.
I haven’t personally tested it, but yes, you can certainly experiment with a blood orange. Keep in mind that blood oranges have a distinct, slightly more intense flavor, and your cake might turn out a beautiful, unique color (perhaps a lovely pink or reddish hue!).
It’s critical not to over-blend this cake! Blend for only 20-30 seconds, or just until the batter is smooth and pourable, and the orange peel is fully incorporated. If your blender isn’t powerful enough to break down the orange peel completely, it’s better to zest and peel the orange before blending. I use a Vitamix, which achieves the perfect consistency in this short timeframe.
While I haven’t personally made this specific cake gluten-free, you can definitely try using a gluten-free 1-to-1 all-purpose flour blend for baking. These blends are formulated to substitute regular flour in most recipes. Please share your results in the comments if you try it!
Absolutely! Clementines or tangerines can be used to prepare a similar, equally delicious cake. For a dedicated recipe, you can click HERE to make my Clementine Cake, which is specifically designed for these smaller, sweeter citrus fruits.
Yes, poppy seeds would be a delightful addition to this orange blender cake! They add a lovely texture and a subtle, nutty flavor that complements citrus beautifully. You can stir in 1-2 tablespoons after blending the wet ingredients.
Adapting this cake for specific dietary preferences like keto or low-carb will require some experimentation. You would likely need to use a 1-to-1 monk fruit sweetener or other sugar alternatives, and potentially swap out the all-purpose flour for a low-carb flour like almond or coconut flour (with liquid adjustments). We encourage you to experiment and share your successful modifications in the comments to help other bakers!
This recipe is designed to be moderately sweet, letting the natural orange flavor shine. You can absolutely adjust the sugar quantity to your preference. If you enjoy a sweeter baked good, feel free to add a bit more granulated sugar. Conversely, if you’re trying to reduce sugar intake, you can decrease the amount slightly without significantly impacting the cake’s structure.
The best way to tell if your cake is done is to perform a toothpick test. Insert a toothpick or thin skewer into the center of the cake (about 2 inches from the sides). If it comes out clean or with only a few moist crumbs attached, it’s ready. Remember that bake time can vary depending on your specific oven and the type and size of pan you use, so keep a close eye on it towards the end of the baking cycle.
I typically use a ceramic, non-stick loaf pan for this recipe. While you can certainly use a different type of pan (like metal or glass), be aware that this might affect the baking time. Metal pans tend to conduct heat more efficiently, potentially reducing baking time, while glass might take a bit longer. Always monitor your cake closely.
For the easiest cleanup and guaranteed non-stick results, I like to spray my loaf pan with baking spray and then line it with parchment paper, leaving an overhang on the sides. This allows you to easily lift the cake out once it’s cooled. If you prefer, you can also butter and flour the pan thoroughly.
The lemon extract is entirely optional. It adds a lovely brightness that complements the orange beautifully, enhancing the overall citrus profile. If you don’t have lemon extract, you can substitute it with a teaspoon of fresh lemon zest for a similar vibrant flavor. Lemon juice is less concentrated in flavor than zest or extract, so zest is preferred.
This cake stores beautifully! You can keep it, covered tightly, at room temperature on your counter for a few days. The moist texture helps it stay fresh. However, in our experience, it rarely lasts that long because it’s simply too delicious to resist!
Yes, you absolutely can! If you’re a lemon lover, you can certainly use Meyer lemons to prepare a similar cake. For a recipe specifically crafted for lemons, click HERE to make my dedicated Whole Lemon Blender Cake, which highlights the unique tang and aroma of fresh lemons.
While I haven’t specifically tested this cake with only almond flour, it’s possible with adjustments. Almond flour behaves differently than all-purpose flour due to its lack of gluten and higher fat content. You would need to experiment, perhaps starting with a slightly reduced amount of oil and potentially adding a binder like an extra egg or a touch of xanthan gum. Add the almond flour gradually until you achieve the proper batter consistency.
Since you’re using the whole orange, including the peel, it’s essential to clean it thoroughly. A great method is to soak your oranges in a solution of vinegar and water. Mix 1/4 cup of white vinegar with 2 cups of water and soak the oranges for 5-10 minutes. Afterwards, gently scrub them with a brush under running water to remove any impurities or wax. Rinse well and they’re ready to use as directed.
This recipe is quite flexible when it comes to oil! Any neutral-flavored oil will work beautifully, such as avocado oil (which I use), vegetable oil, canola oil, or light olive oil. The key is a mild flavor that won’t overpower the delicate orange notes. You can also use melted butter for a richer, more buttery flavor profile.
Yes, absolutely! Melted unsalted butter can be used as a direct 1:1 substitute for the oil in this recipe. Using butter will lend a slightly richer, more classic butter-cake flavor to your orange cake, which is a delicious variation.
A Nutribullet is generally less powerful than a full-sized, high-speed blender. If you attempt this recipe in a Nutribullet, I strongly recommend peeling the orange entirely before blending. This will help ensure the peel breaks down completely and prevents any strain on your appliance, resulting in a smoother batter.
A dense cake that isn’t light, fluffy, or moist often points to inactive baking powder. Always check the expiration date on your baking powder and test its freshness (see the next FAQ). Another common culprit could be over-blending the batter, which develops the gluten too much. Ensure you blend only for the recommended short duration.
It’s incredibly simple to test your baking powder’s freshness! Add ½ teaspoon of baking powder to ¼ cup of hot water. If the mixture fizzes and bubbles actively, your baking powder is still potent and ready to help your cake rise beautifully. If there’s no bubbling or very little, it’s expired and should be discarded. Always use fresh baking powder for optimal results, as expired leavening agents will lead to a flat, sad cake.
Variations in ingredient weights, especially for flour, are common due to several factors. The brand of ingredients can play a role, as can the specific brand and style of measuring cups and spoons (wet vs. dry). Crucially, the technique for measuring into cups (scooping and leveling vs. spooning ingredients into the cup) can significantly alter the weight. For instance, 1 cup of flour might weigh 160g in my kitchen if it’s lightly spooned and leveled, but could be anywhere from 120g to 180g if scooped directly from the bag. For the most consistent and accurate results, we always recommend going by the weight listed in the recipe, if provided, rather than relying solely on volume measurements or general conversions.
Whole Orange Blender Cake
Facebook Share
Rate Recipe
Print Recipe
Video
Equipment
Ingredients
- avocado oil spray
- 4 eggs, at room temperature
- ¾ cup avocado oil
- 1 cup granulated sugar
- 1 whole seedless navel orange, washed, quartered, and seeds removed
- 1 teaspoon lemon extract
- 2 cups all-purpose flour
- ¾ tablespoon baking powder, (make sure it’s not expired)
- ½ teaspoon salt
- powdered sugar, for dusting (optional)
Instructions
-
Please check if the baking powder or flour is expired prior to starting.
-
Preheat the oven to 350F. Line a loaf pan with parchment paper and spray with baking spray. You can use a bigger size pan as well, but the cake will be larger and thinner, so you may need to adjust the baking time.
-
Add all of the ingredients to a high-power blender, starting with the wet ingredients. Be sure to add the wet ingredients first so that the blender doesn’t get stuck. Blend for 20-30 to seconds or until a thick pourable batter forms. Do NOT over-blend.
-
Pour the batter into the lined pan and bake on the middle rack for 45 to 50 minutes or until a toothpick comes out clean 2 inches from the side.
-
Remove the cake from the oven and let it cool for 10 minutes. Take the cake out of the loaf pan and once it has cooled, dust the cake with powdered sugar, if using. Enjoy!
Nutrition
Nutrition information is automatically calculated, so should only be used as an approximation.