
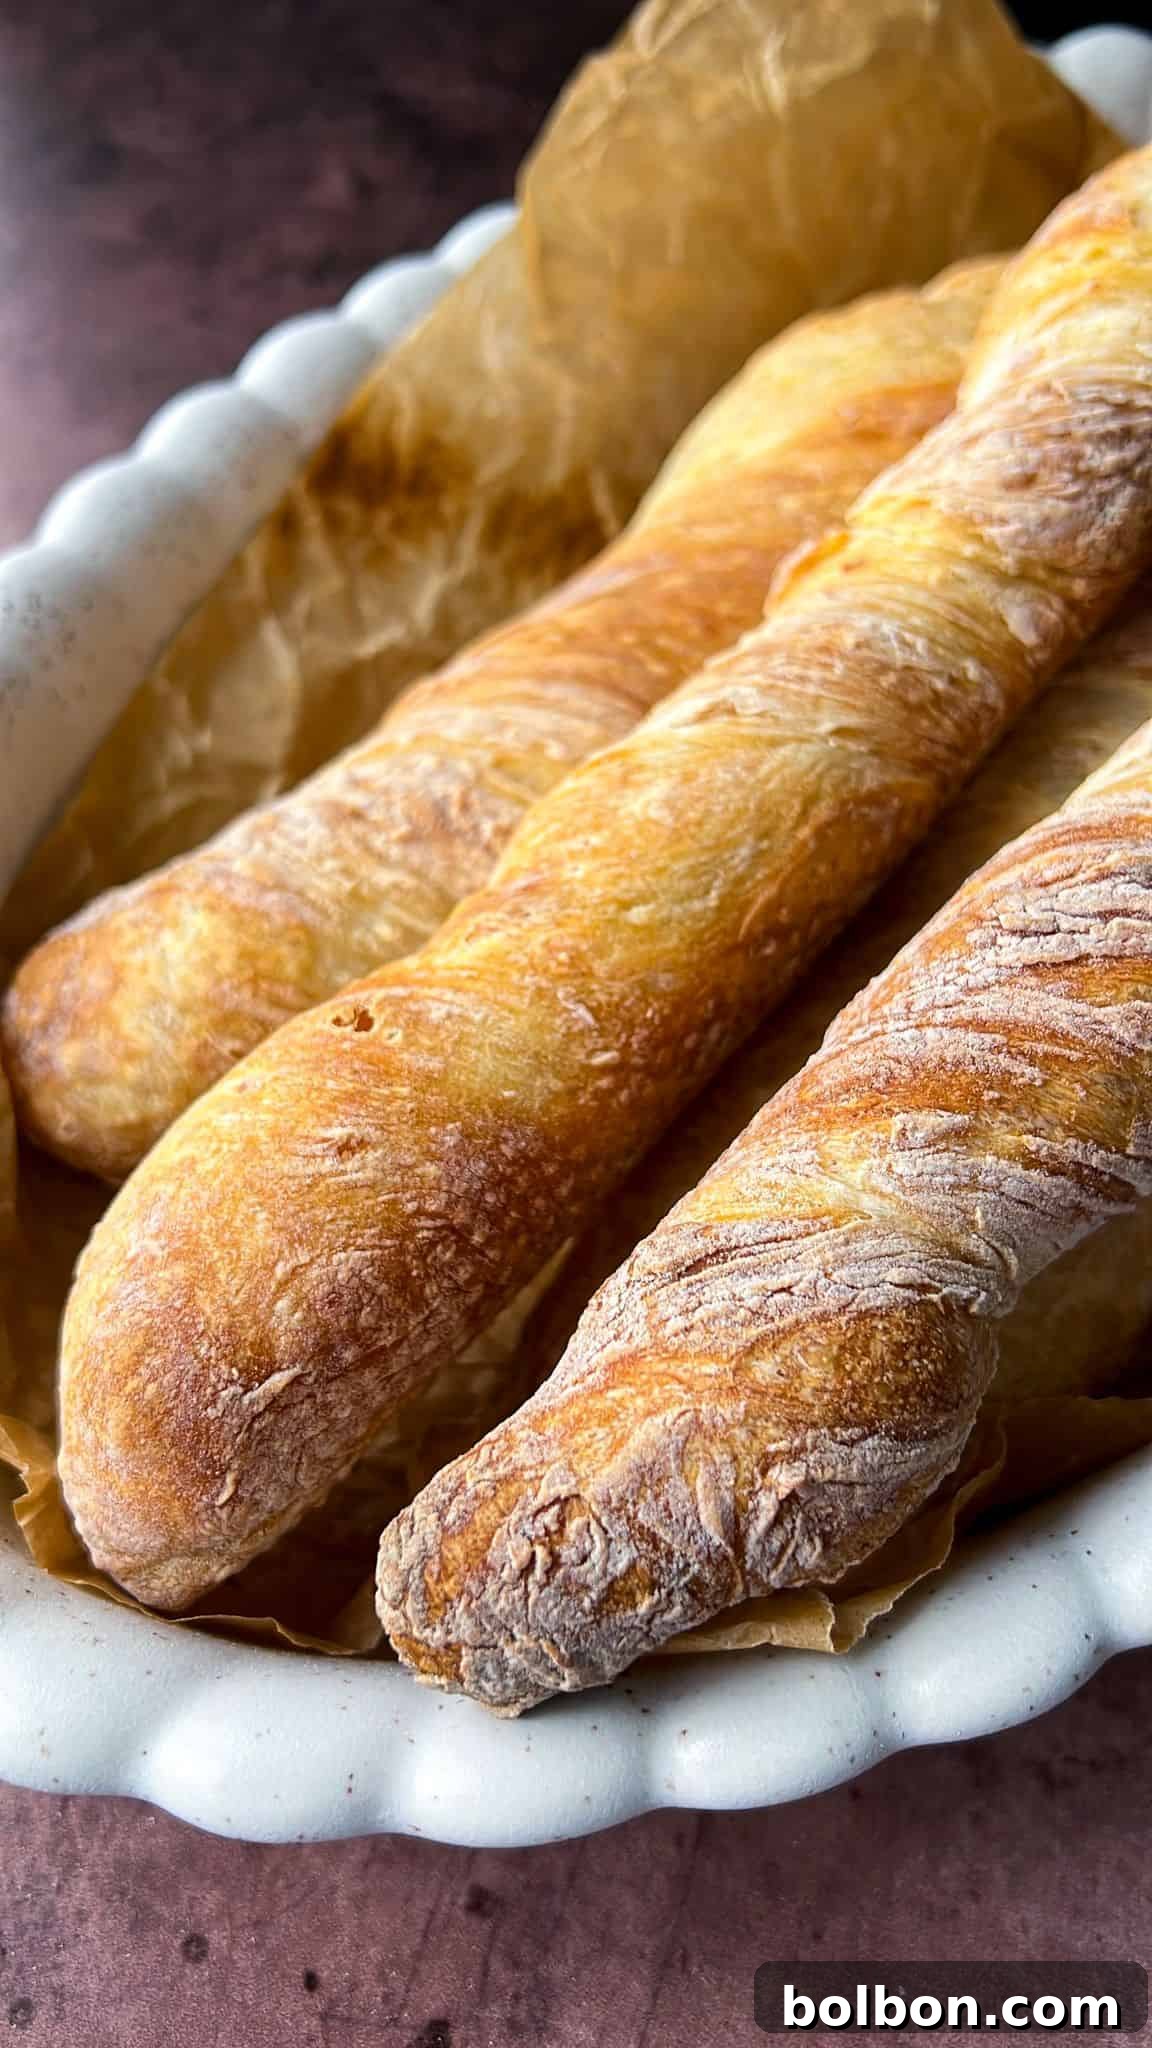
Transform your kitchen into a Parisian boulangerie with this incredible homemade, crusty, no-knead baguette recipe. Crafted with just four simple ingredients, this iconic French loaf is surprisingly easy to master, even if you don’t consider yourself a seasoned baker. Forget store-bought bread; once you experience the complex flavors and delightful textures of a freshly baked baguette from your own oven, you’ll never look back. Its golden-crisp exterior and airy, chewy interior make it a versatile staple, perfect for elevating any meal. Whether you’re assembling an elegant charcuterie board, preparing a rustic bruschetta, or simply enjoying a warm slice with butter, this baguette brings a touch of authentic French charm and a whole lot of love to your table.
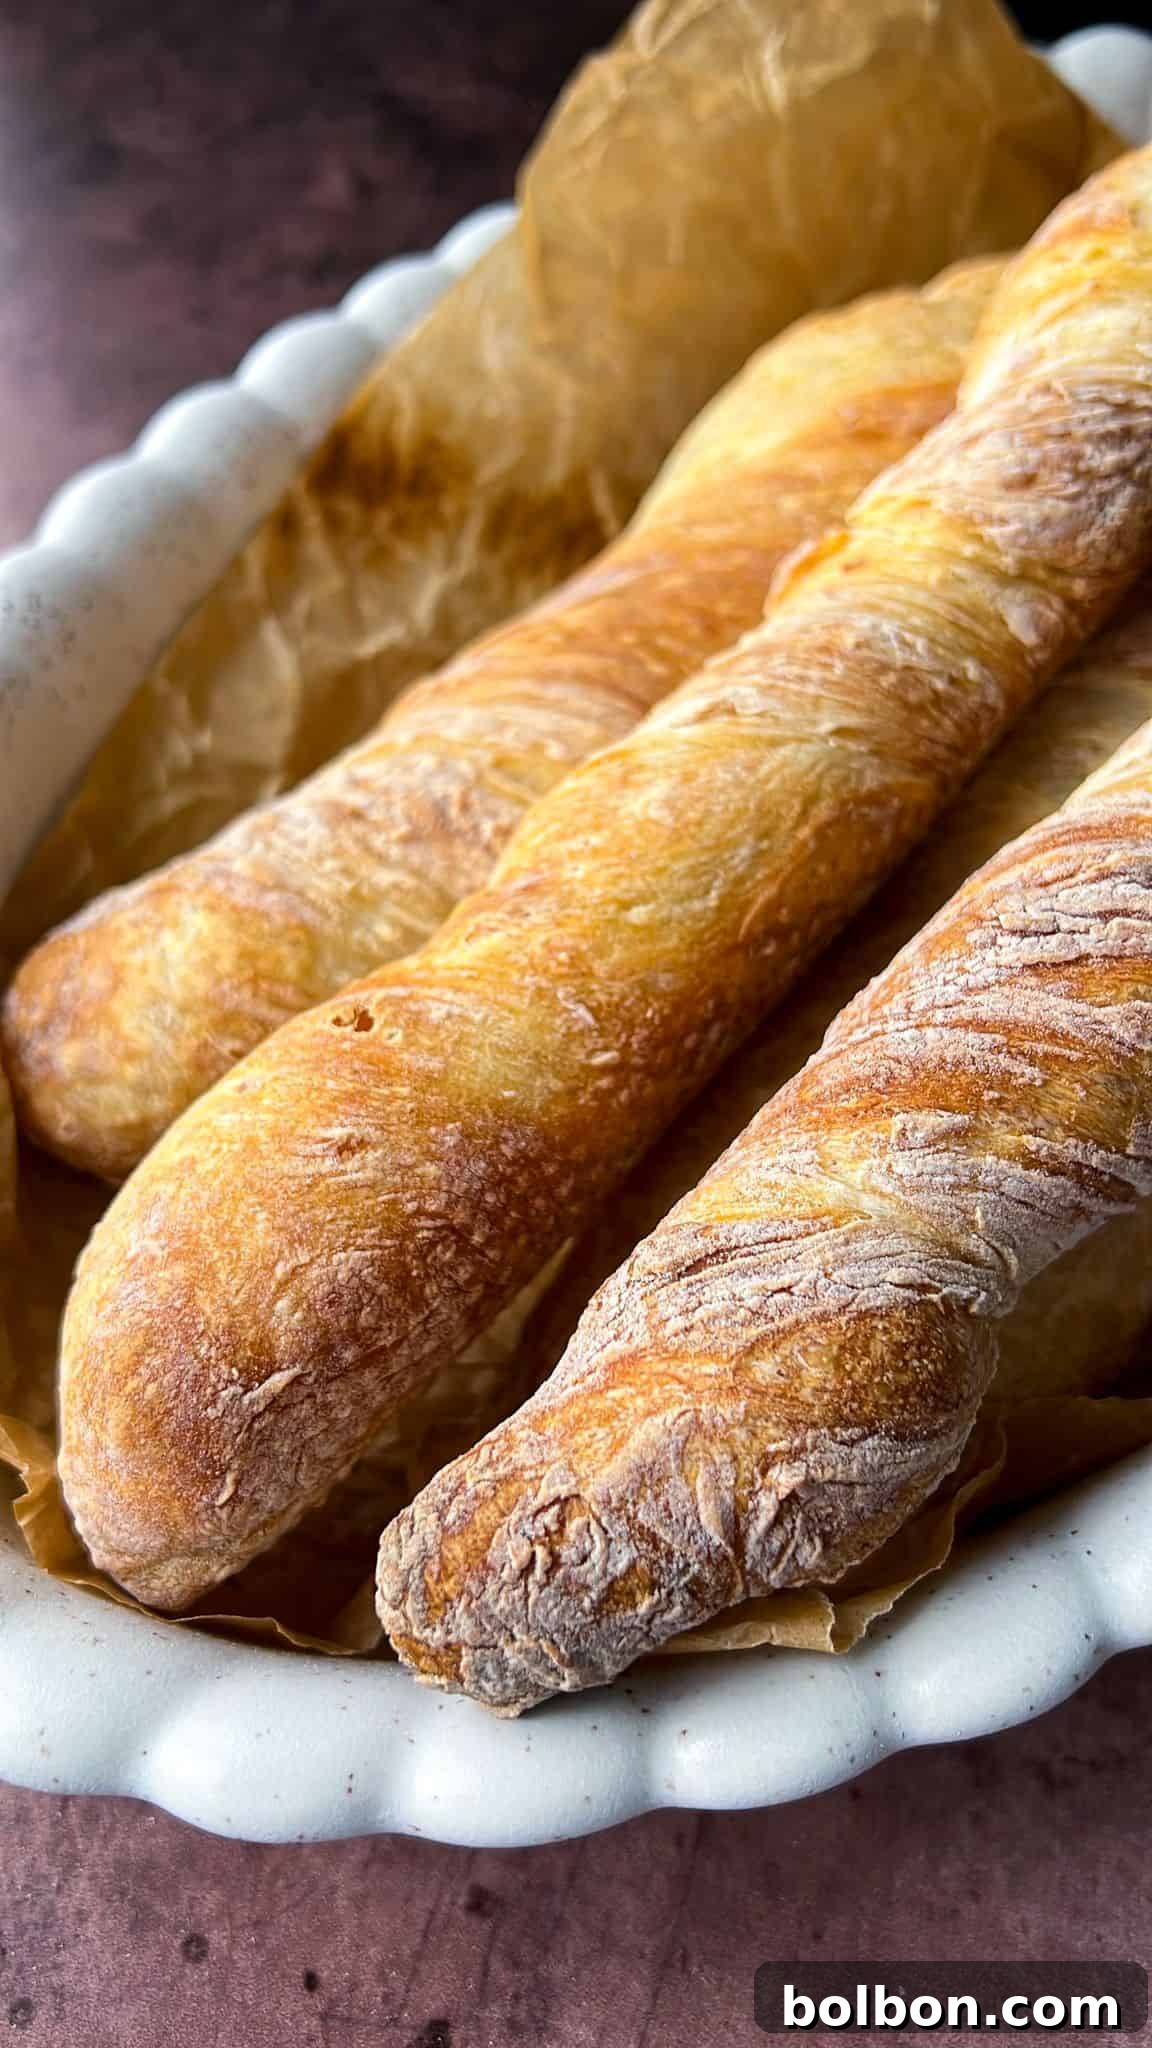
Why You’ll Love This Easy No-Knead Baguette Recipe
There’s an undeniable magic in homemade bread, and this no-knead baguette recipe takes all the intimidation out of the process, leaving you with pure baking joy. The phrase “homemade baguette” often conjures images of complex techniques and hours of kneading, but I promise you, with this recipe, you’ve got this! My method simplifies the art of French bread making, requiring minimal effort but delivering maximum flavor and a truly professional finish. You’ll be rewarded with that coveted crispy, golden crust and a soft, airy interior that’s the epitome of comfort food.
What makes this particular baguette recipe stand out? It’s the unique combination of its effortless no-knead approach and comprehensive tips designed to eliminate guesswork. Imagine the aroma filling your home as these golden loaves bake – it’s a sensory experience that no store-bought alternative can replicate. Beyond the delicious taste and texture, baking your own baguettes is incredibly satisfying. It’s a wonderful way to impress family and friends, making them feel extra special with a bread baked with care. Plus, it’s a cost-effective alternative to specialty bakery loaves, allowing you to enjoy fresh, authentic baguettes whenever the craving strikes. Get ready to embark on a delightful baking journey and achieve incredible results!
How to Prepare Your Perfect Homemade Baguettes
Creating these delightful, crusty baguettes is a straightforward process, broken down into simple steps:
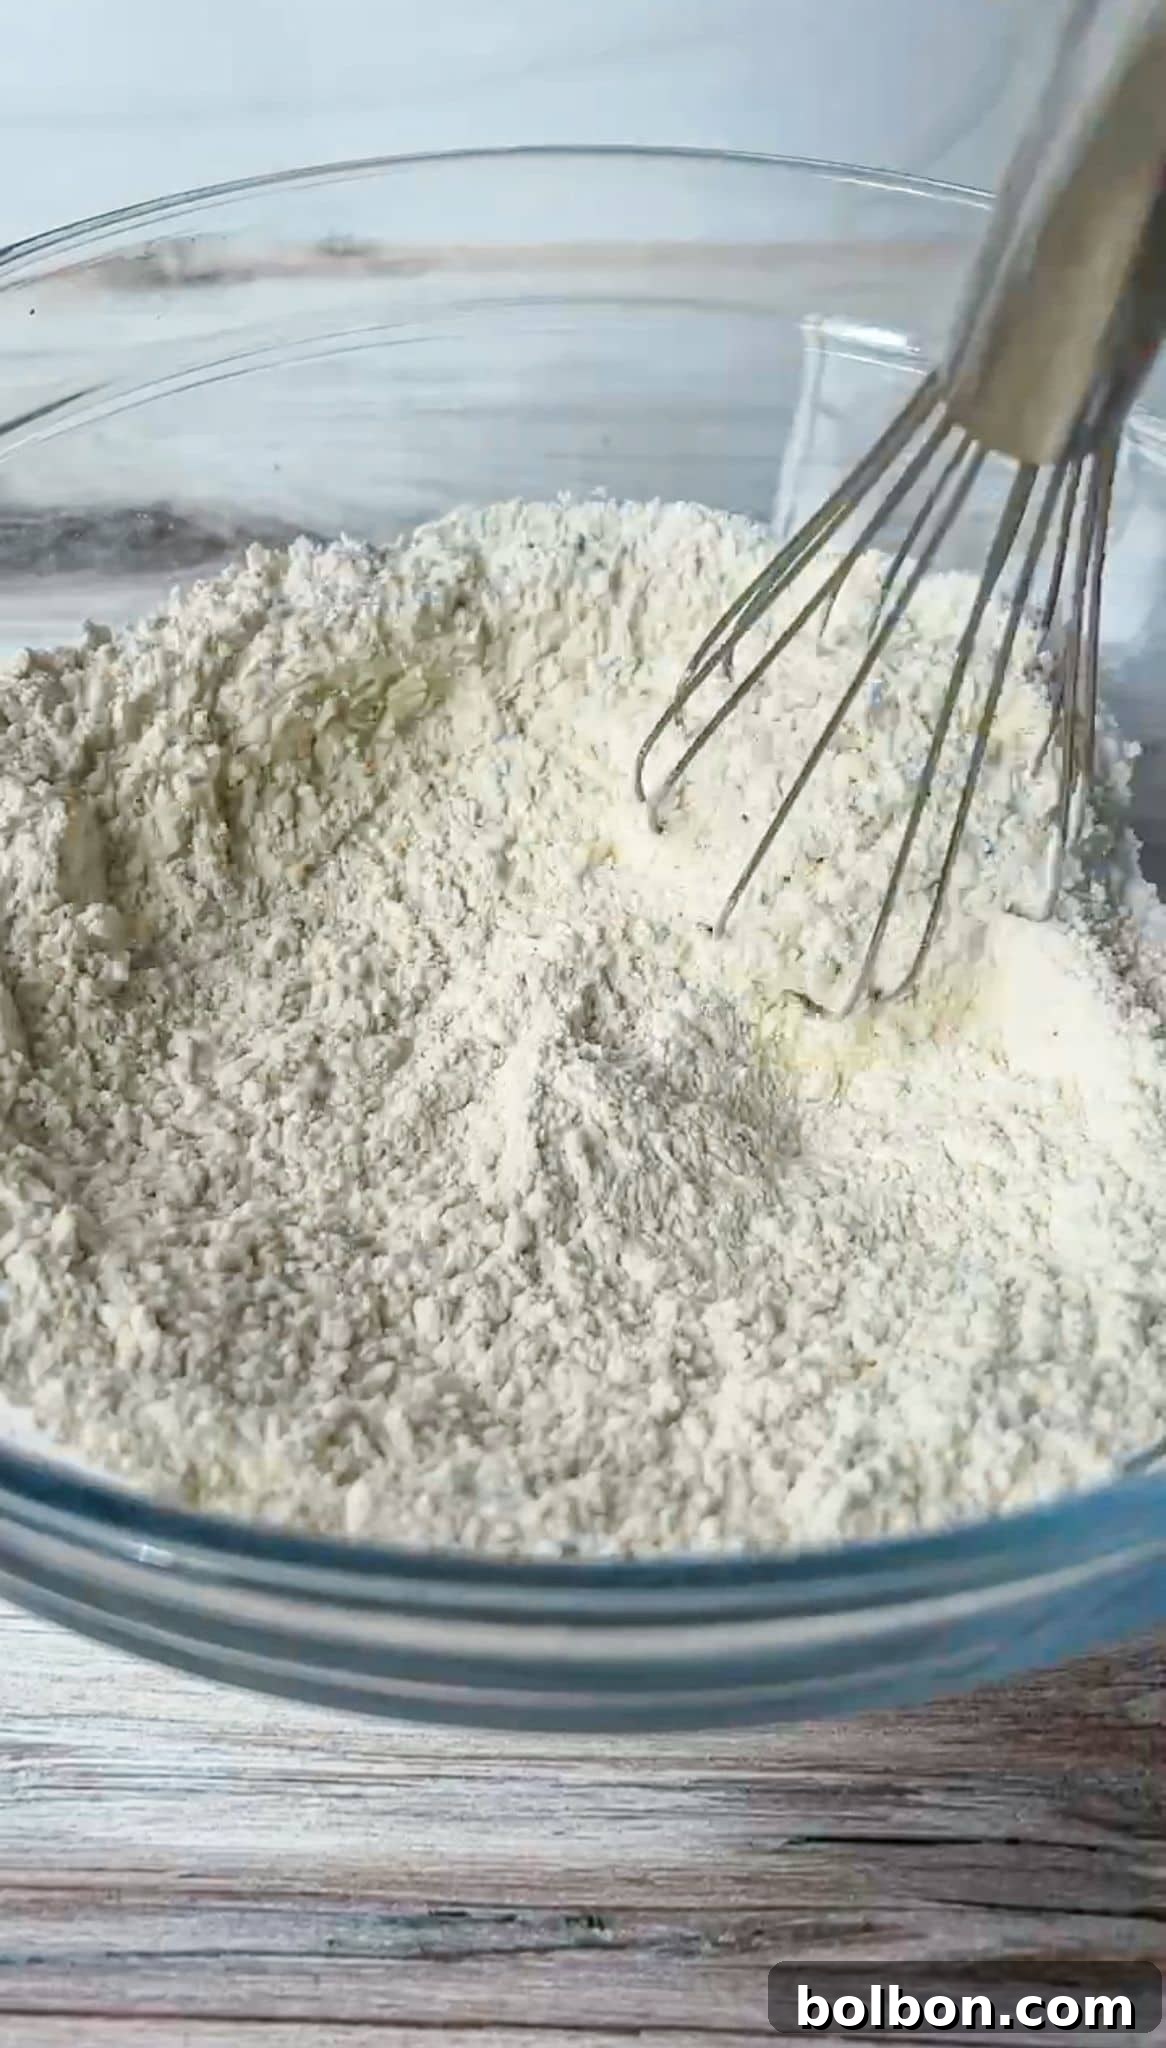
- Combine Dry Ingredients: In a large mixing bowl, thoroughly combine the bread flour, salt, and active dry yeast. Use a whisk, a wooden spoon, or even clean hands to ensure these ingredients are evenly distributed. This initial step is crucial for the yeast to interact properly with the flour once water is added.
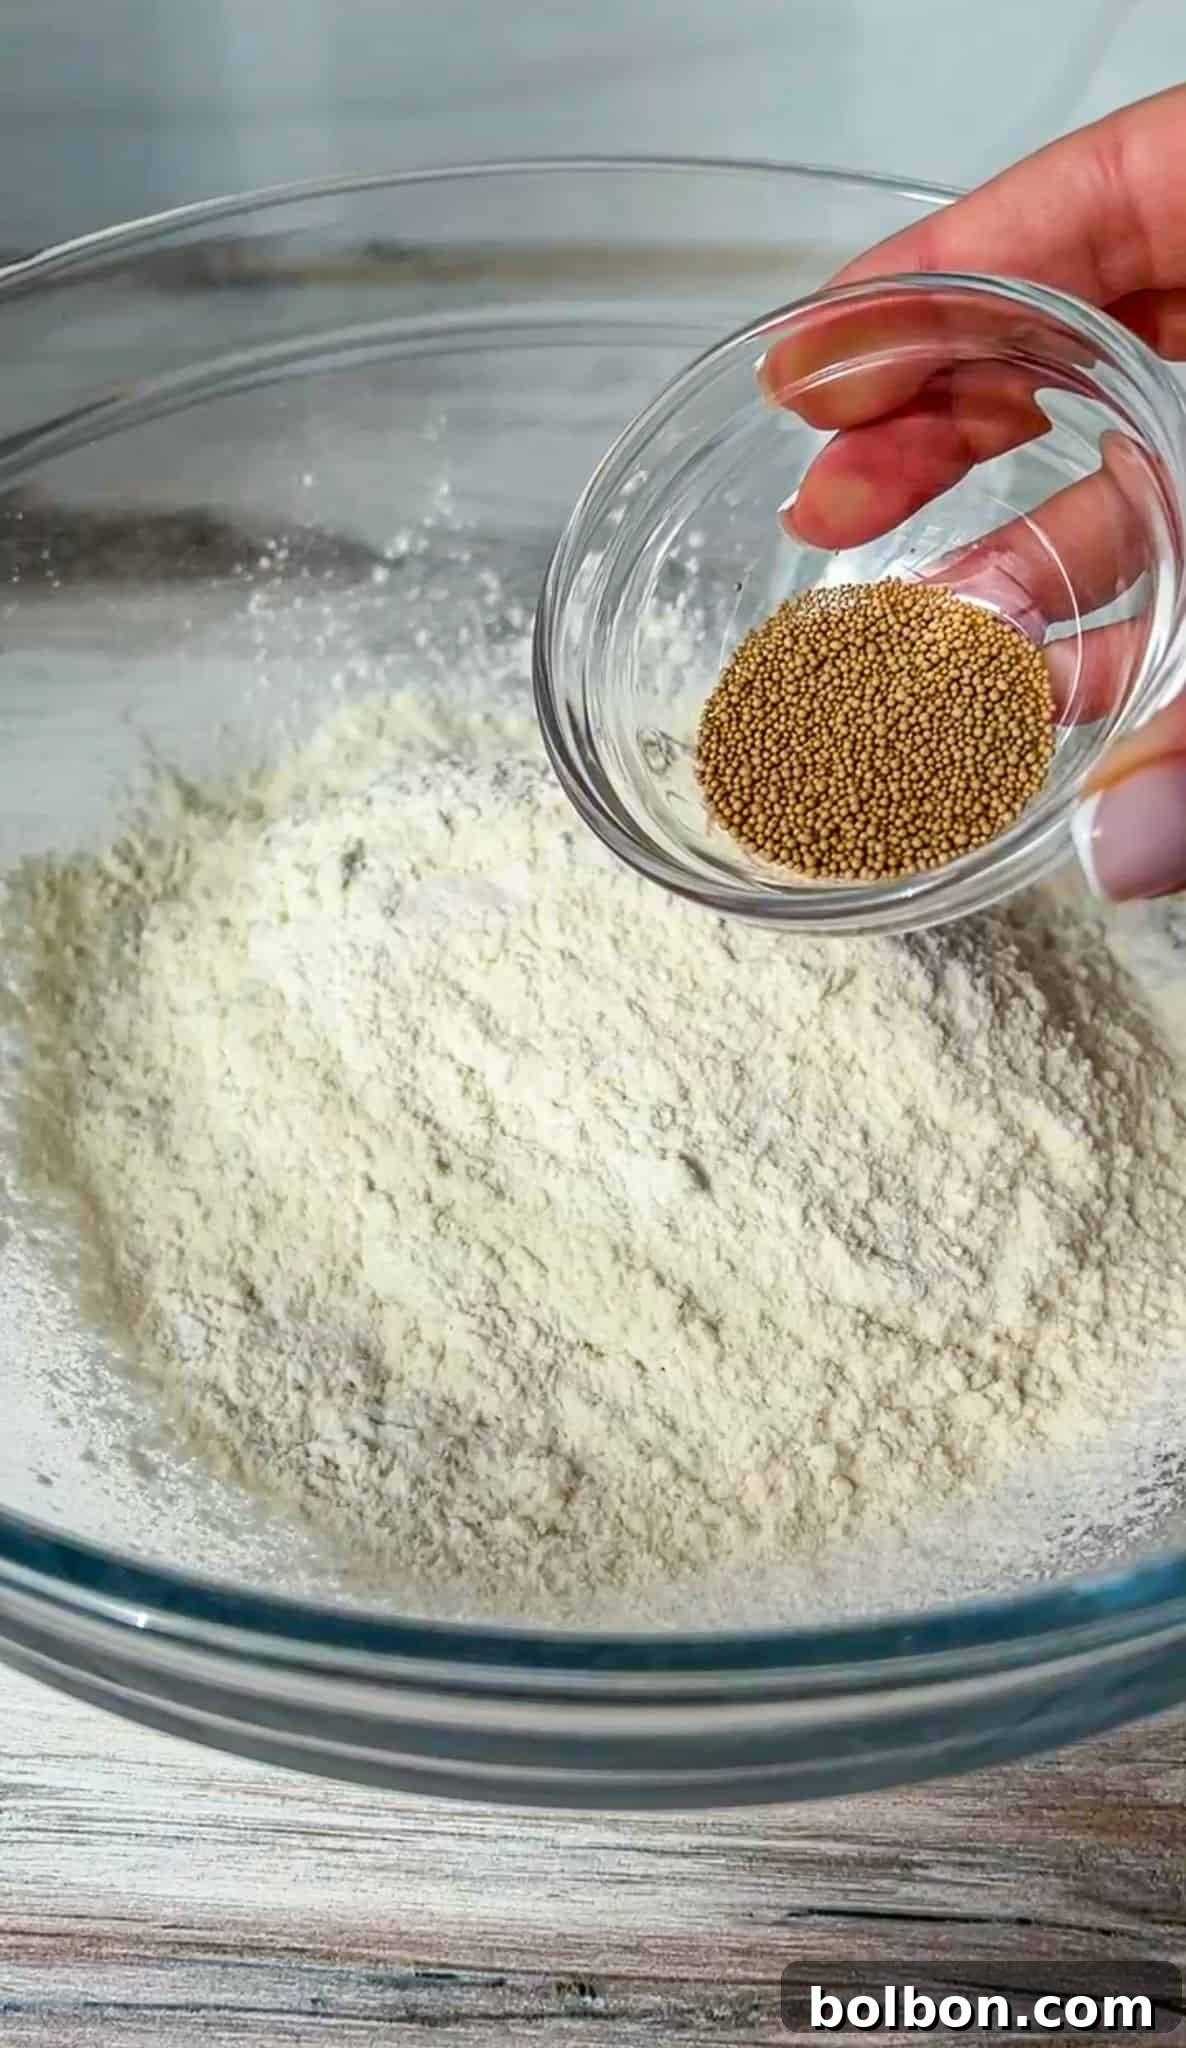
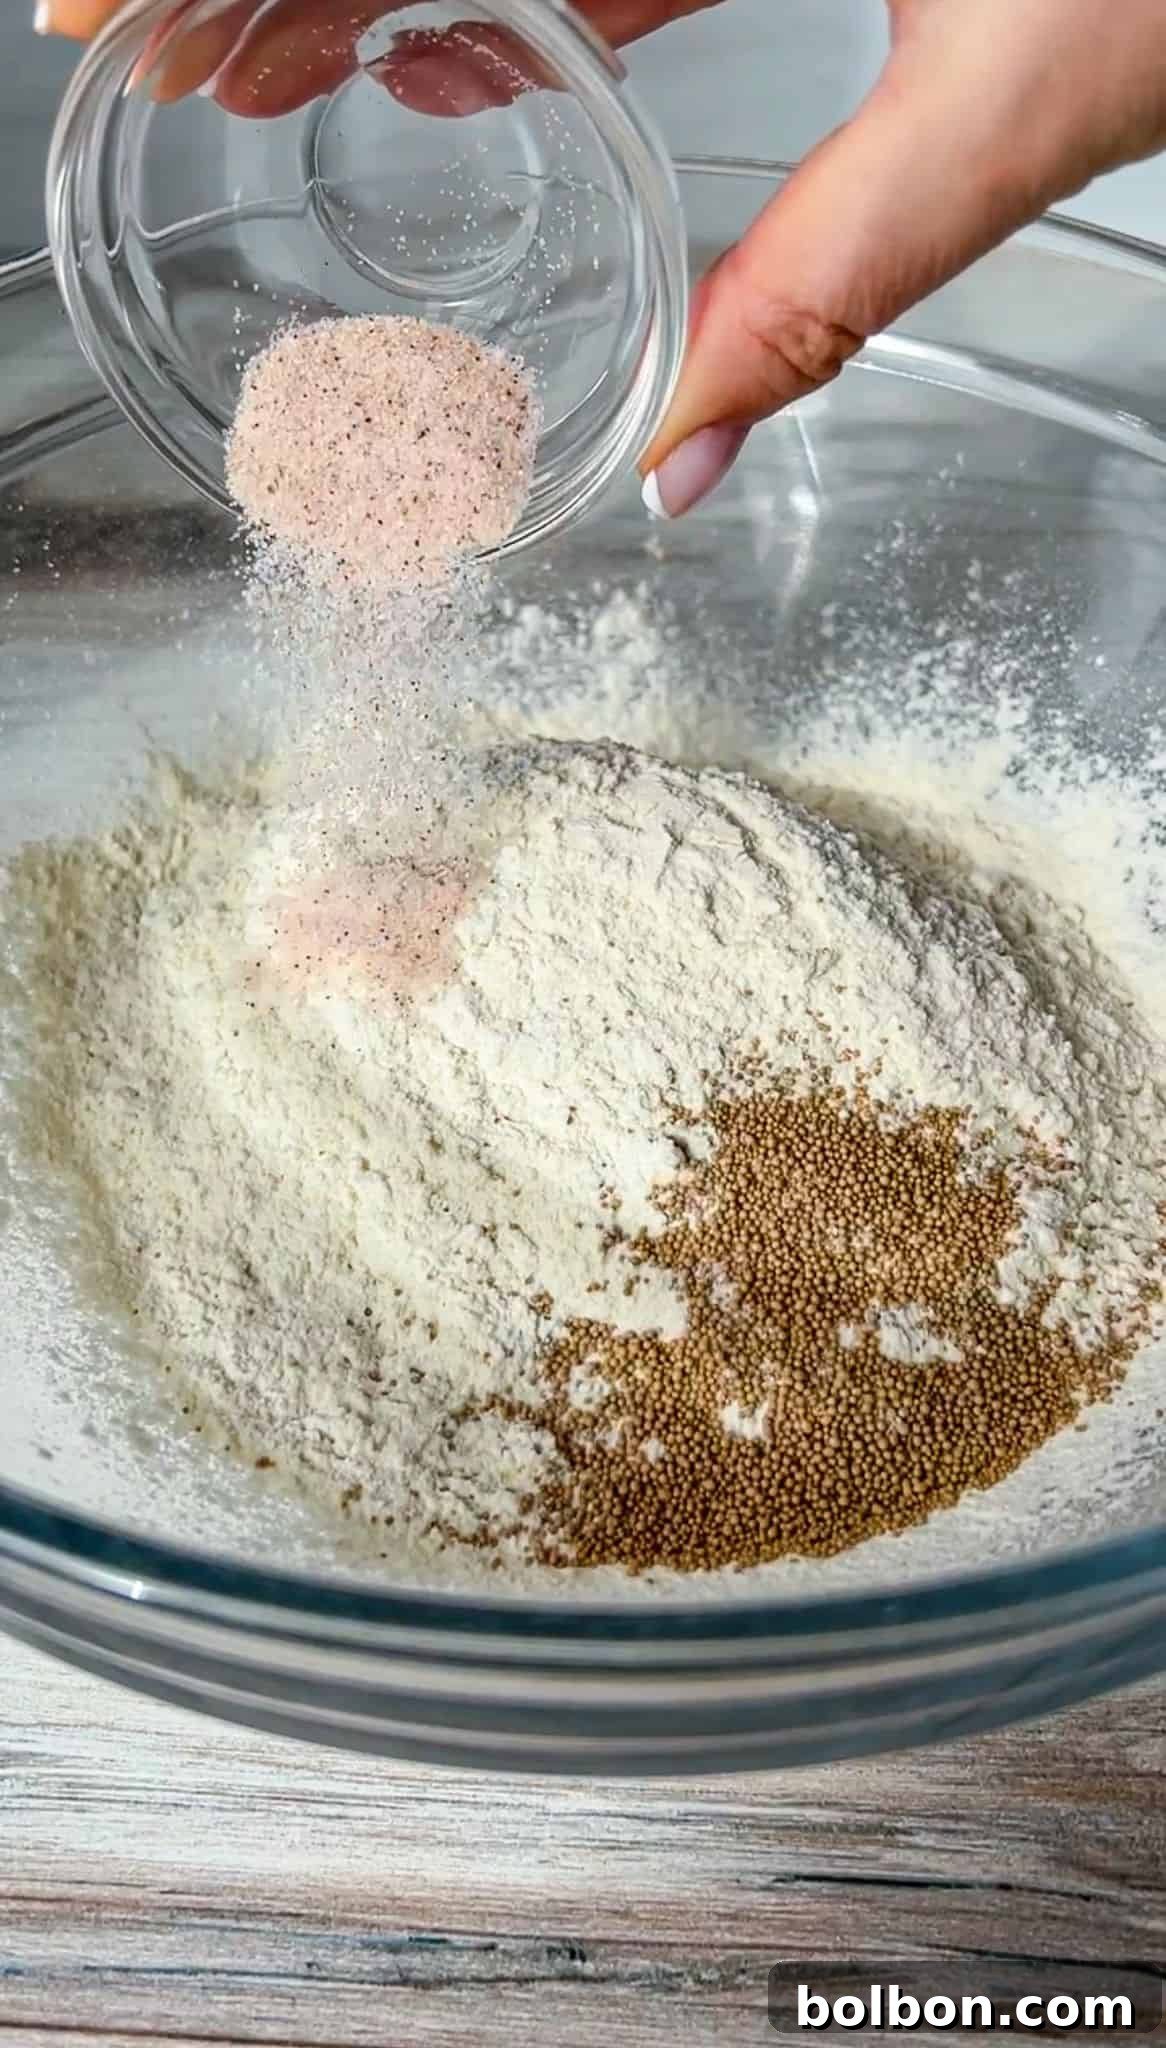
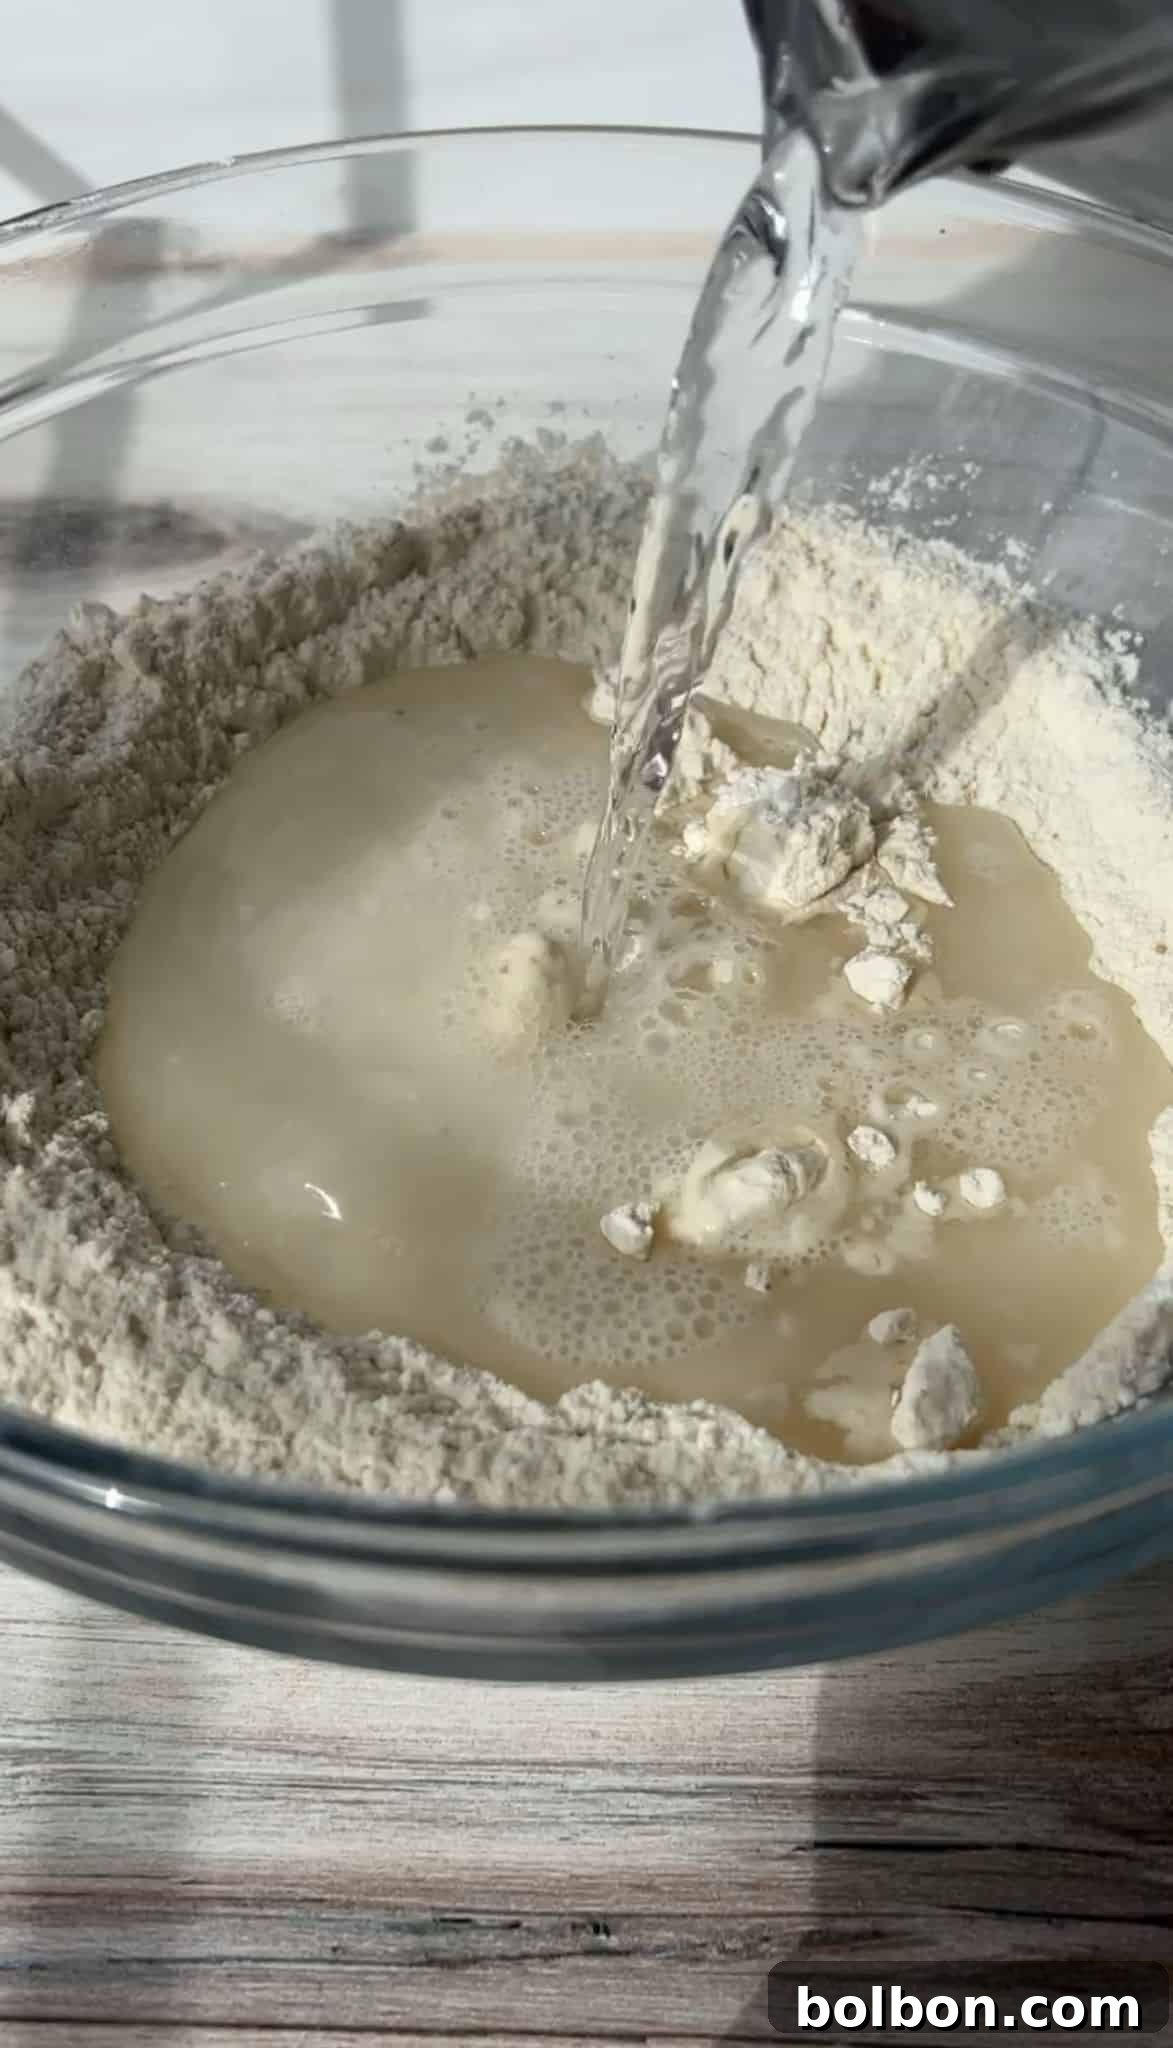
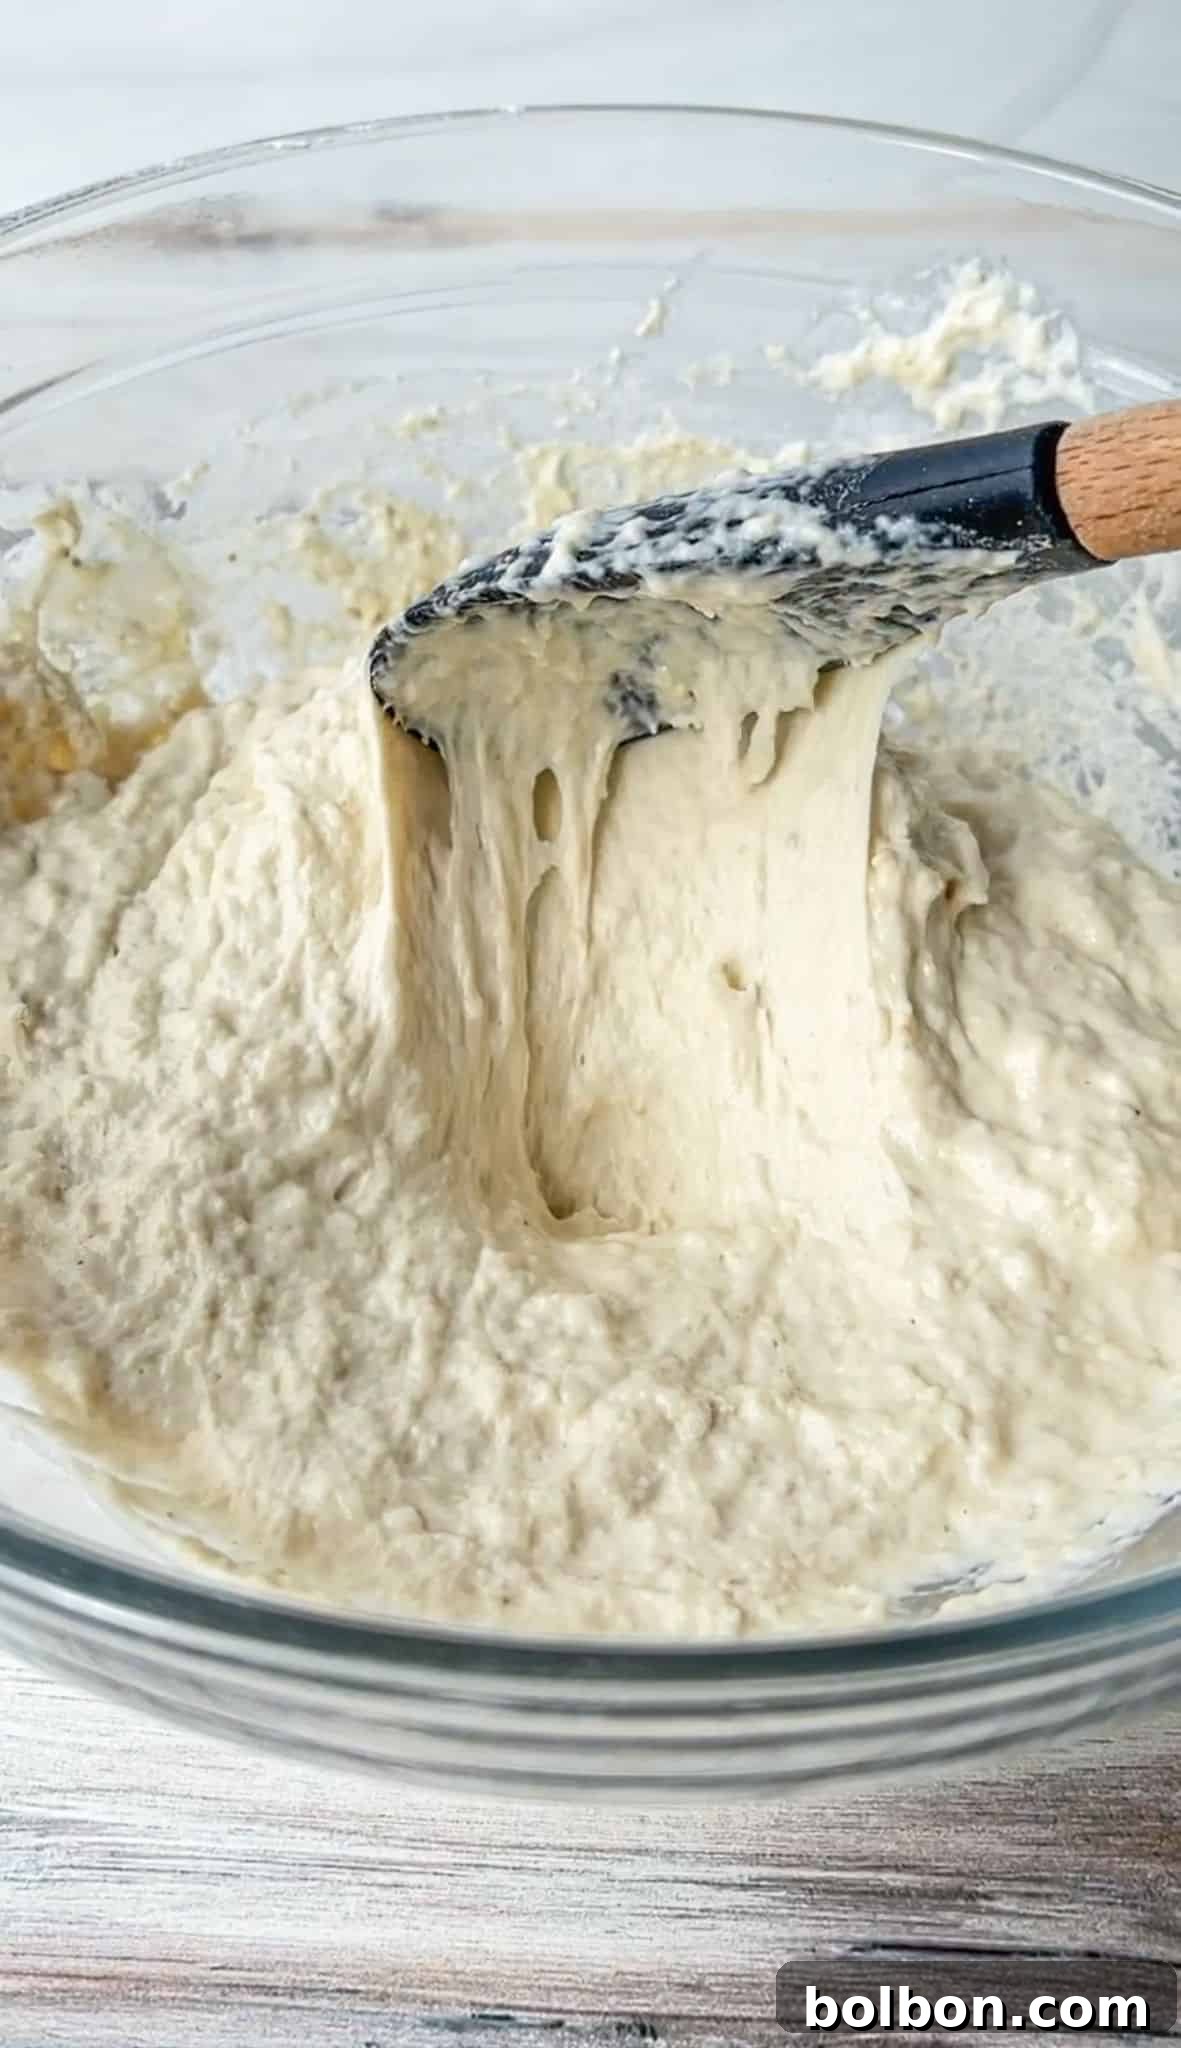
- Add Water and Mix: Pour the warm water into the dry mixture. Using a sturdy spatula, mix until all the flour is incorporated and you have a very sticky, shaggy dough. Resist the urge to add more flour at this stage, as the high hydration is key to the baguette’s airy texture.
Important Note on Water Temperature: The water temperature is critical for yeast activation. It must be between 100°F and 110°F (37°C to 43°C). Water that is too hot will kill the yeast, preventing the dough from rising, while water that is too cold will inhibit its activation, leading to a sluggish or non-existent rise.
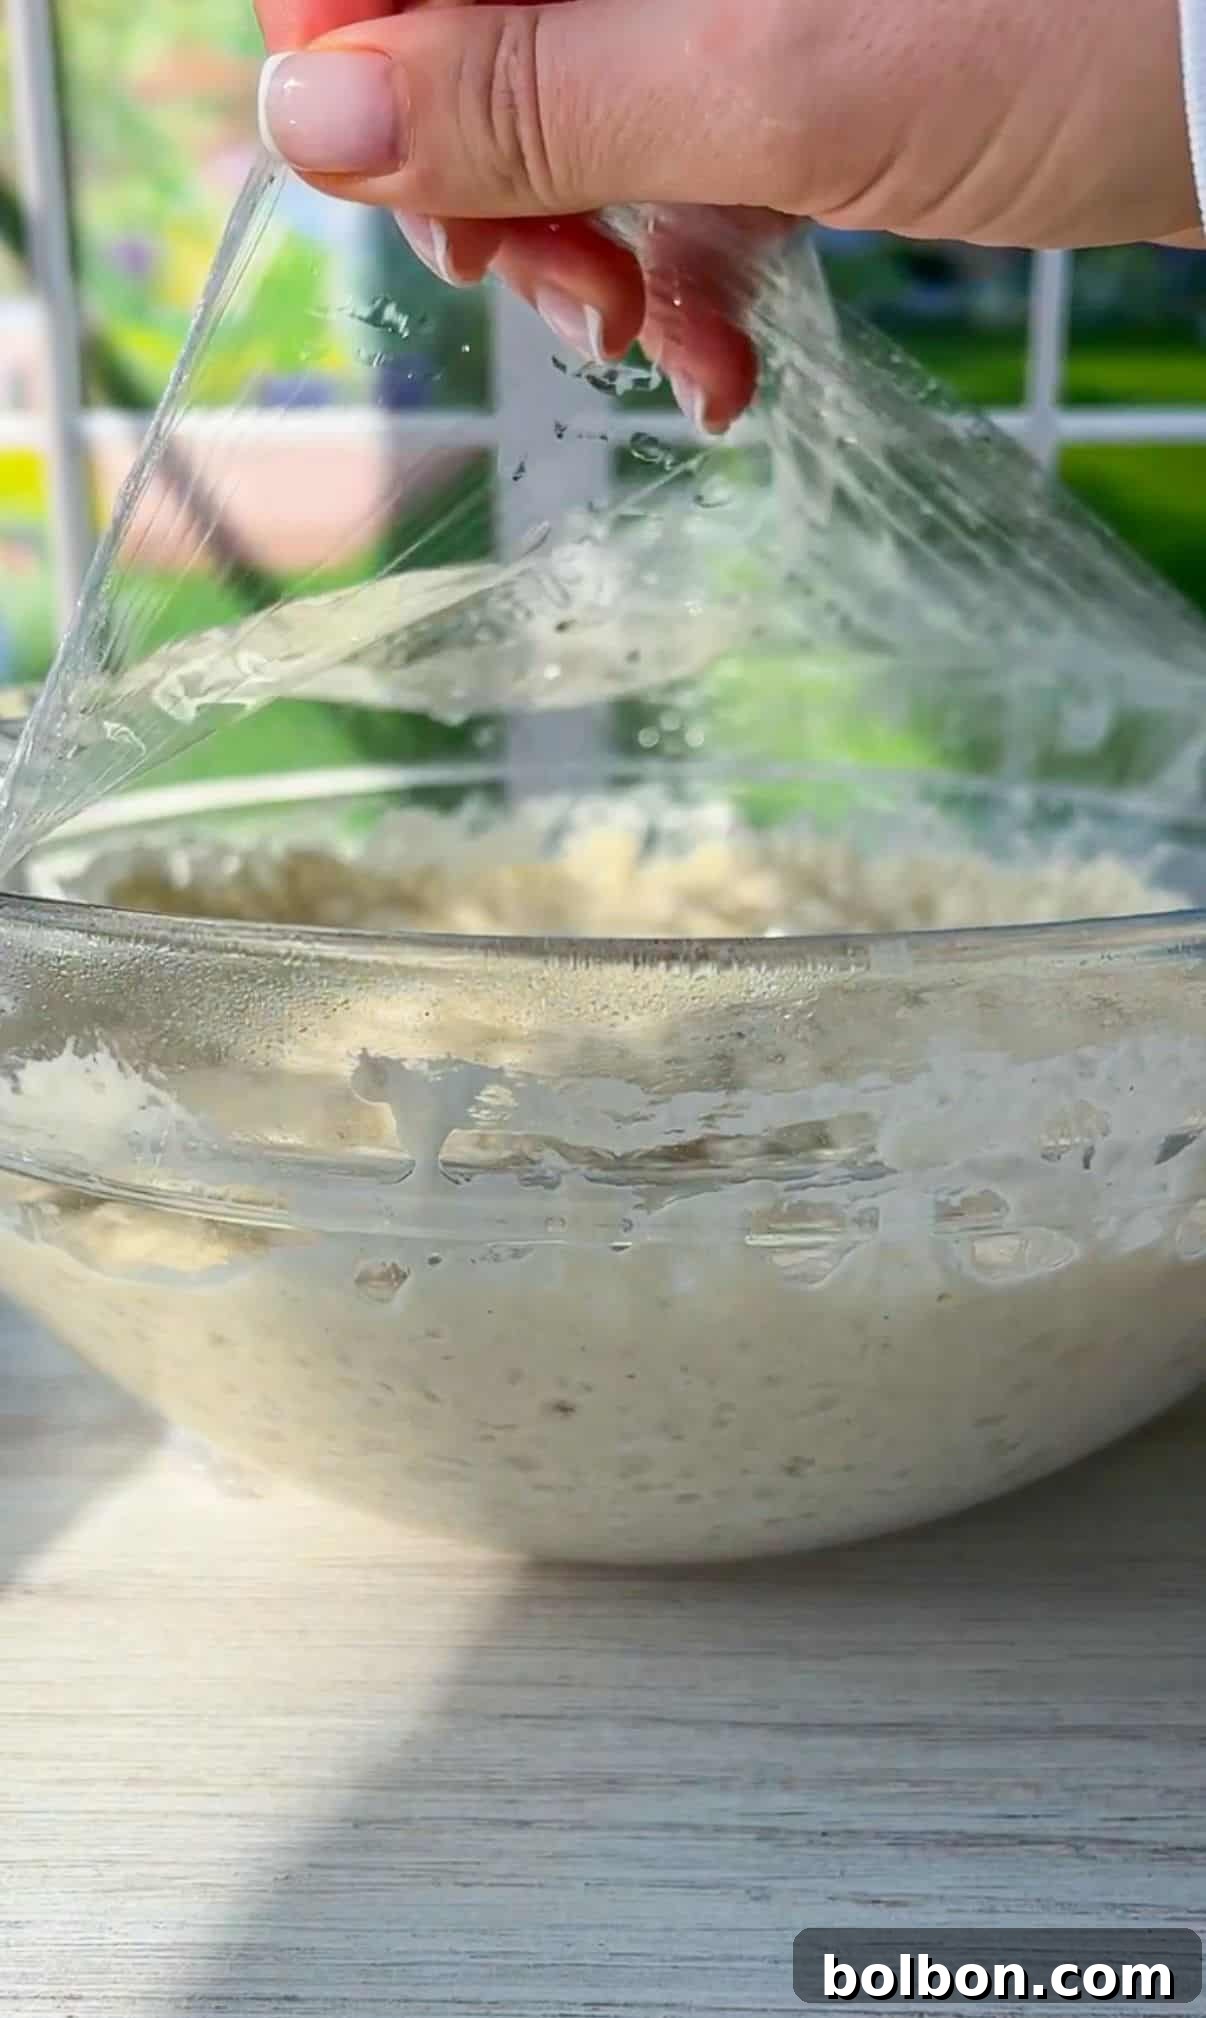
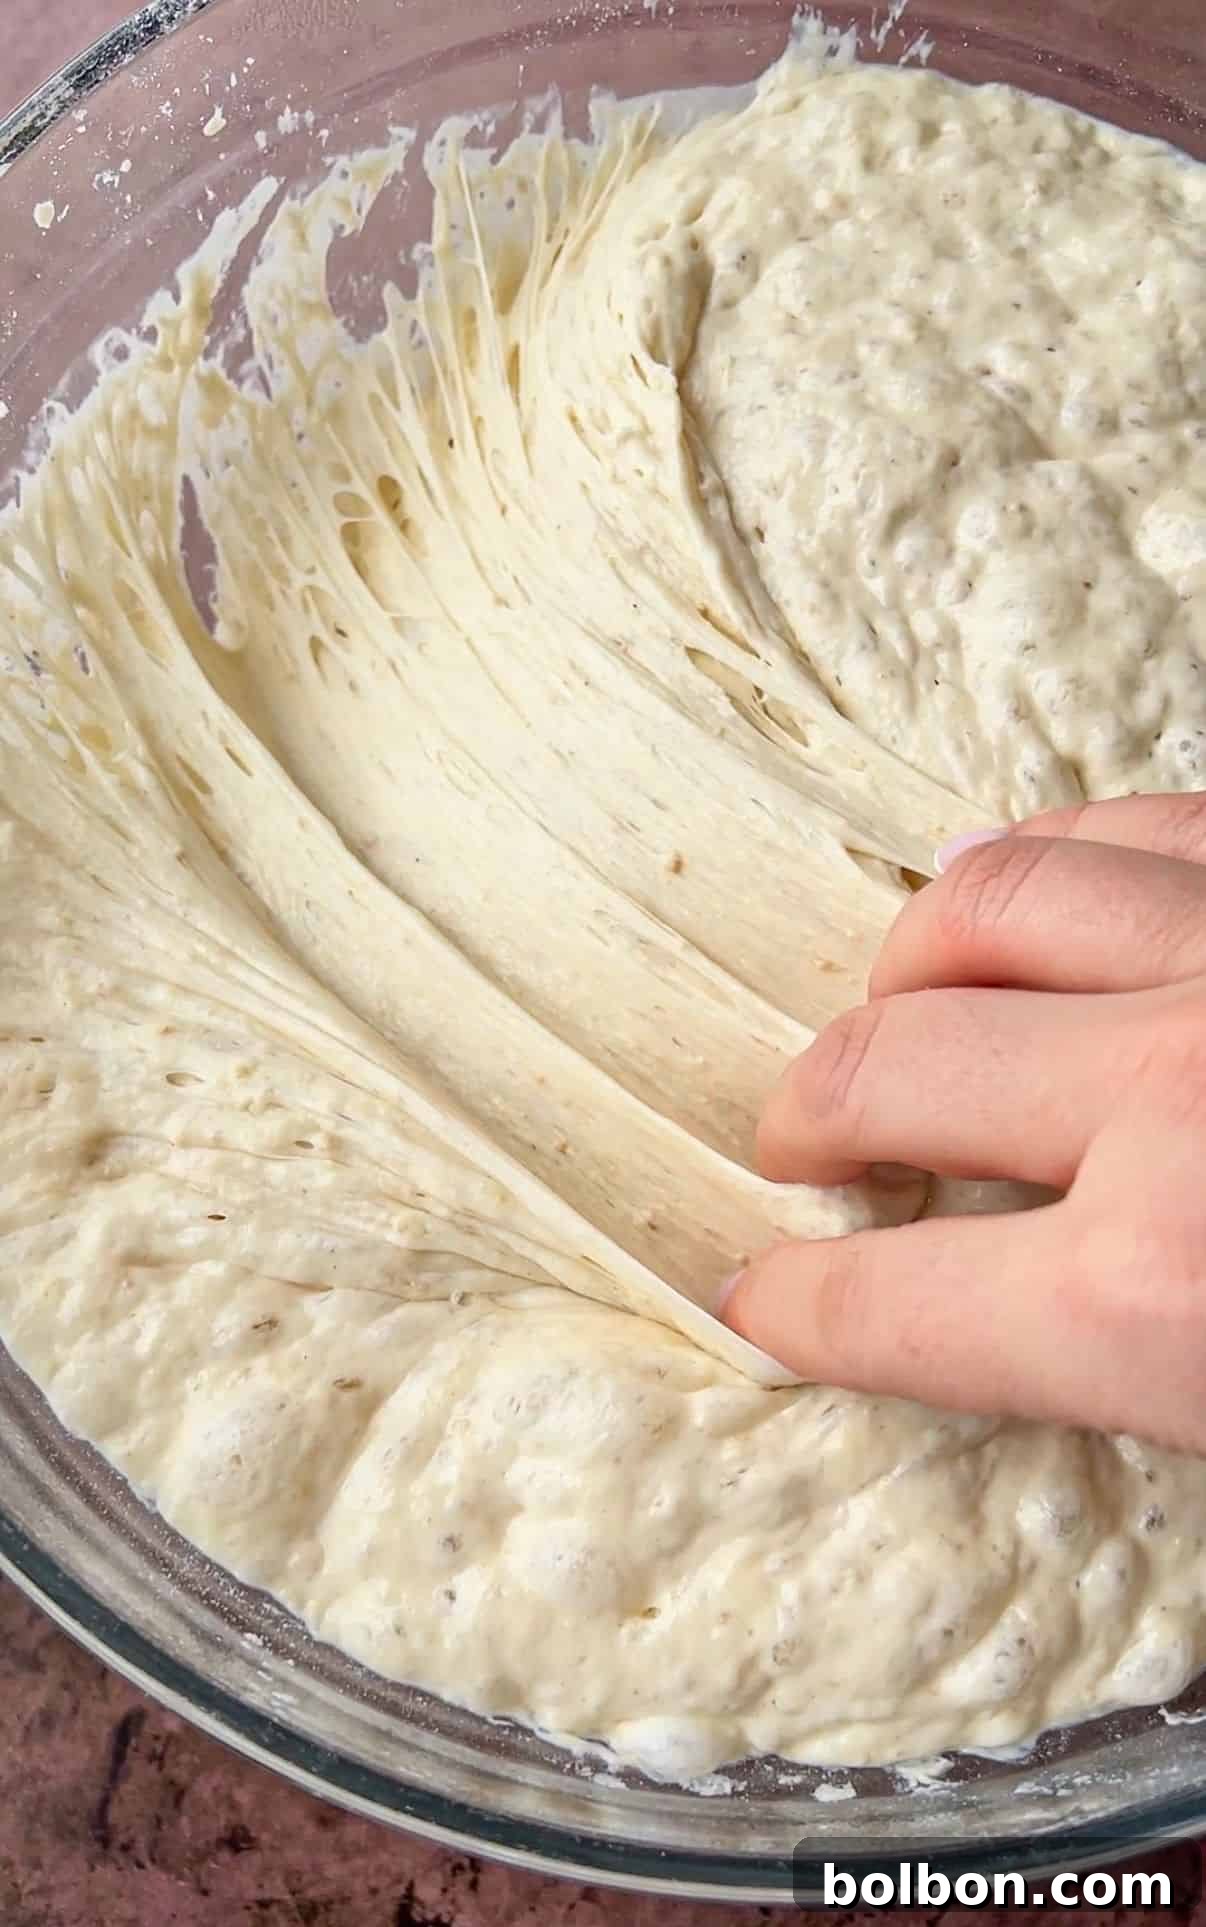
- First Rise (Bulk Fermentation): Cover the bowl tightly with plastic wrap or a clean kitchen towel. Allow the dough to rest at room temperature for a minimum of 5 hours, or ideally, overnight (8-12 hours). Choose a spot away from drafts, such as inside a microwave, a cupboard, or a cold oven, to ensure a consistent temperature for optimal rising. This long, slow fermentation develops the incredible flavor and texture of your baguette.
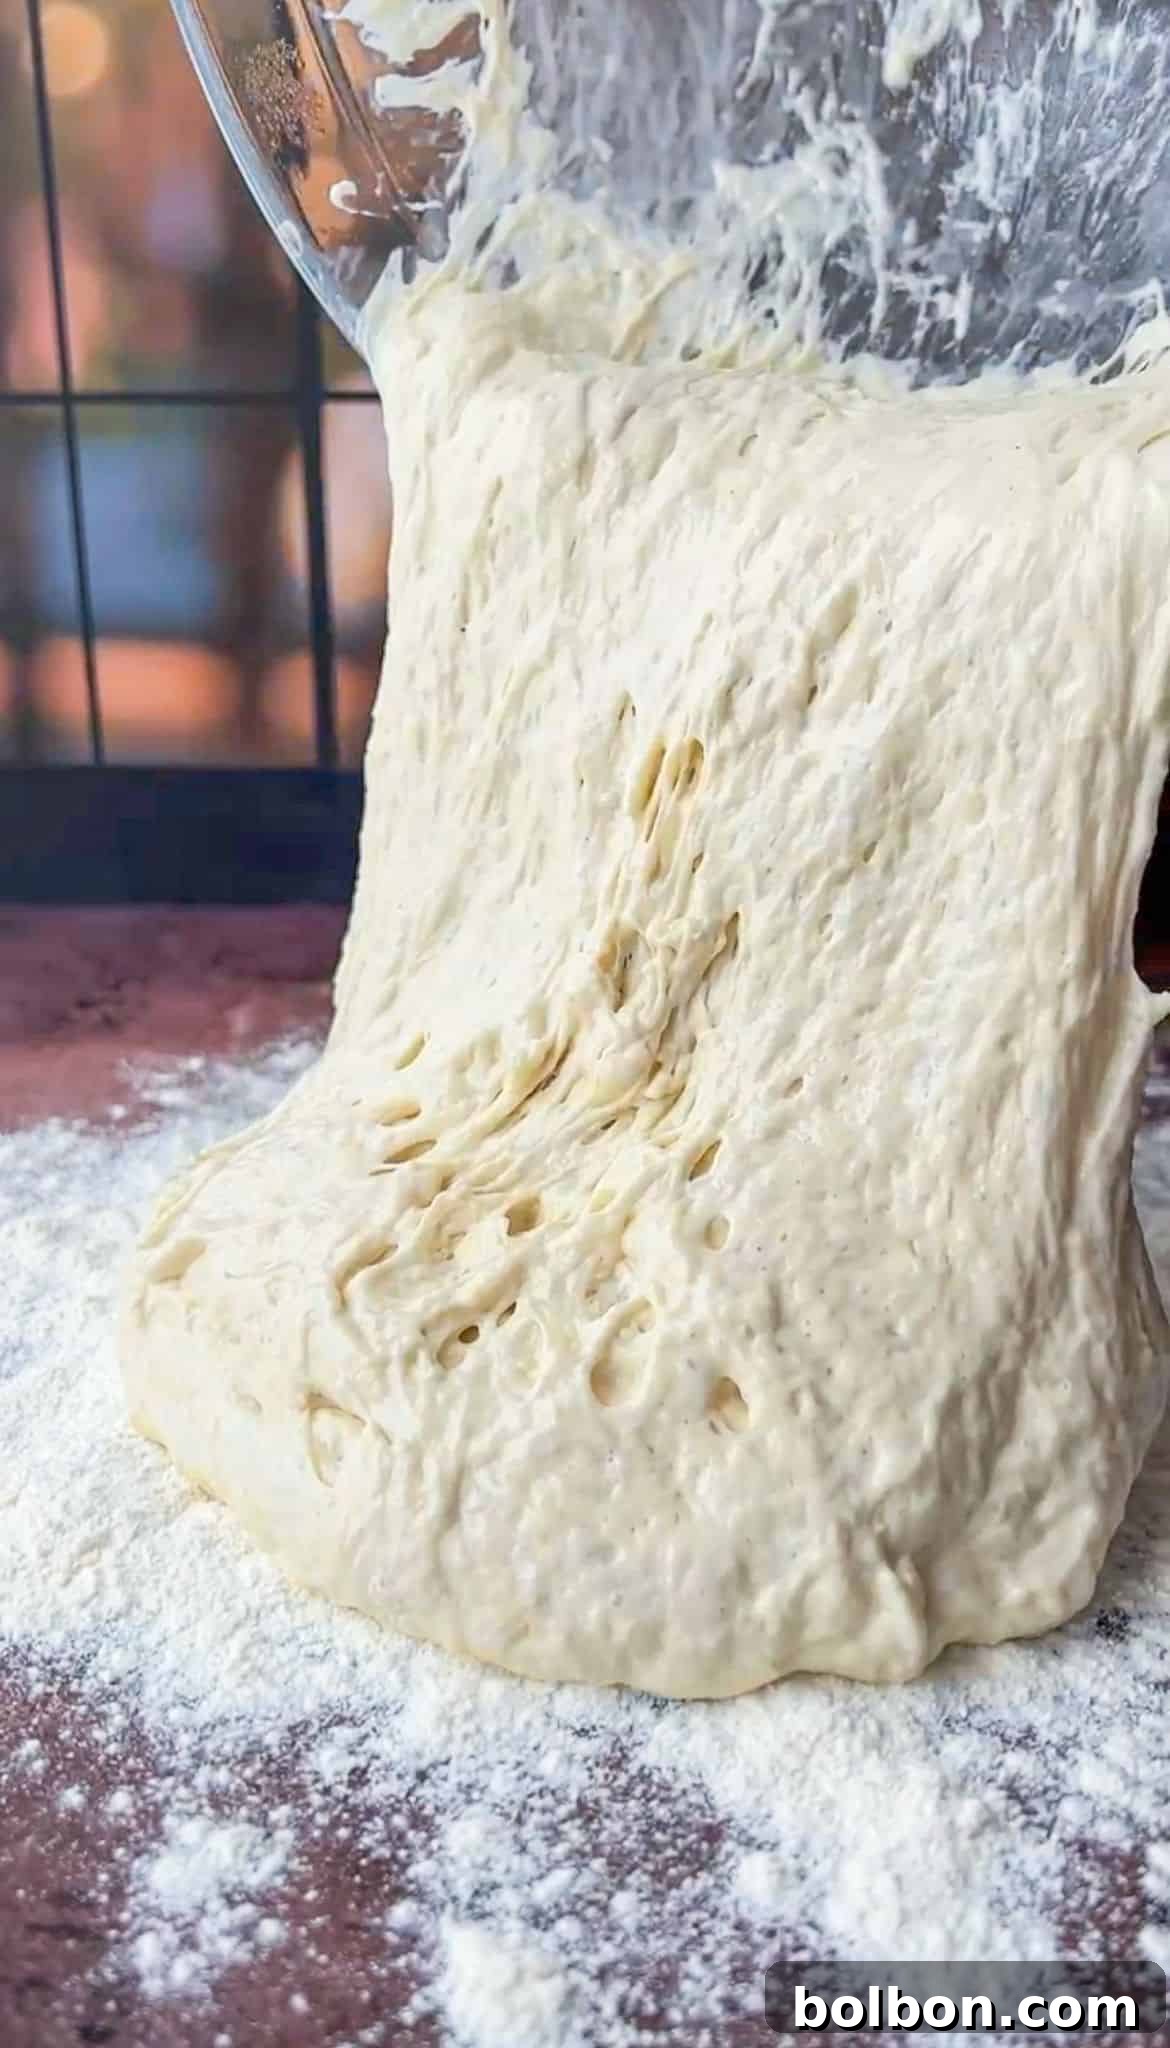
- Prepare for Baking: Once the dough has proudly tripled in size, preheat your oven to 450°F (230°C). Gently remove the plastic wrap from the bowl and generously flour your clean countertop. Carefully pour the highly hydrated dough onto the floured surface and lightly sprinkle the top of the dough with additional flour. This helps manage its stickiness.
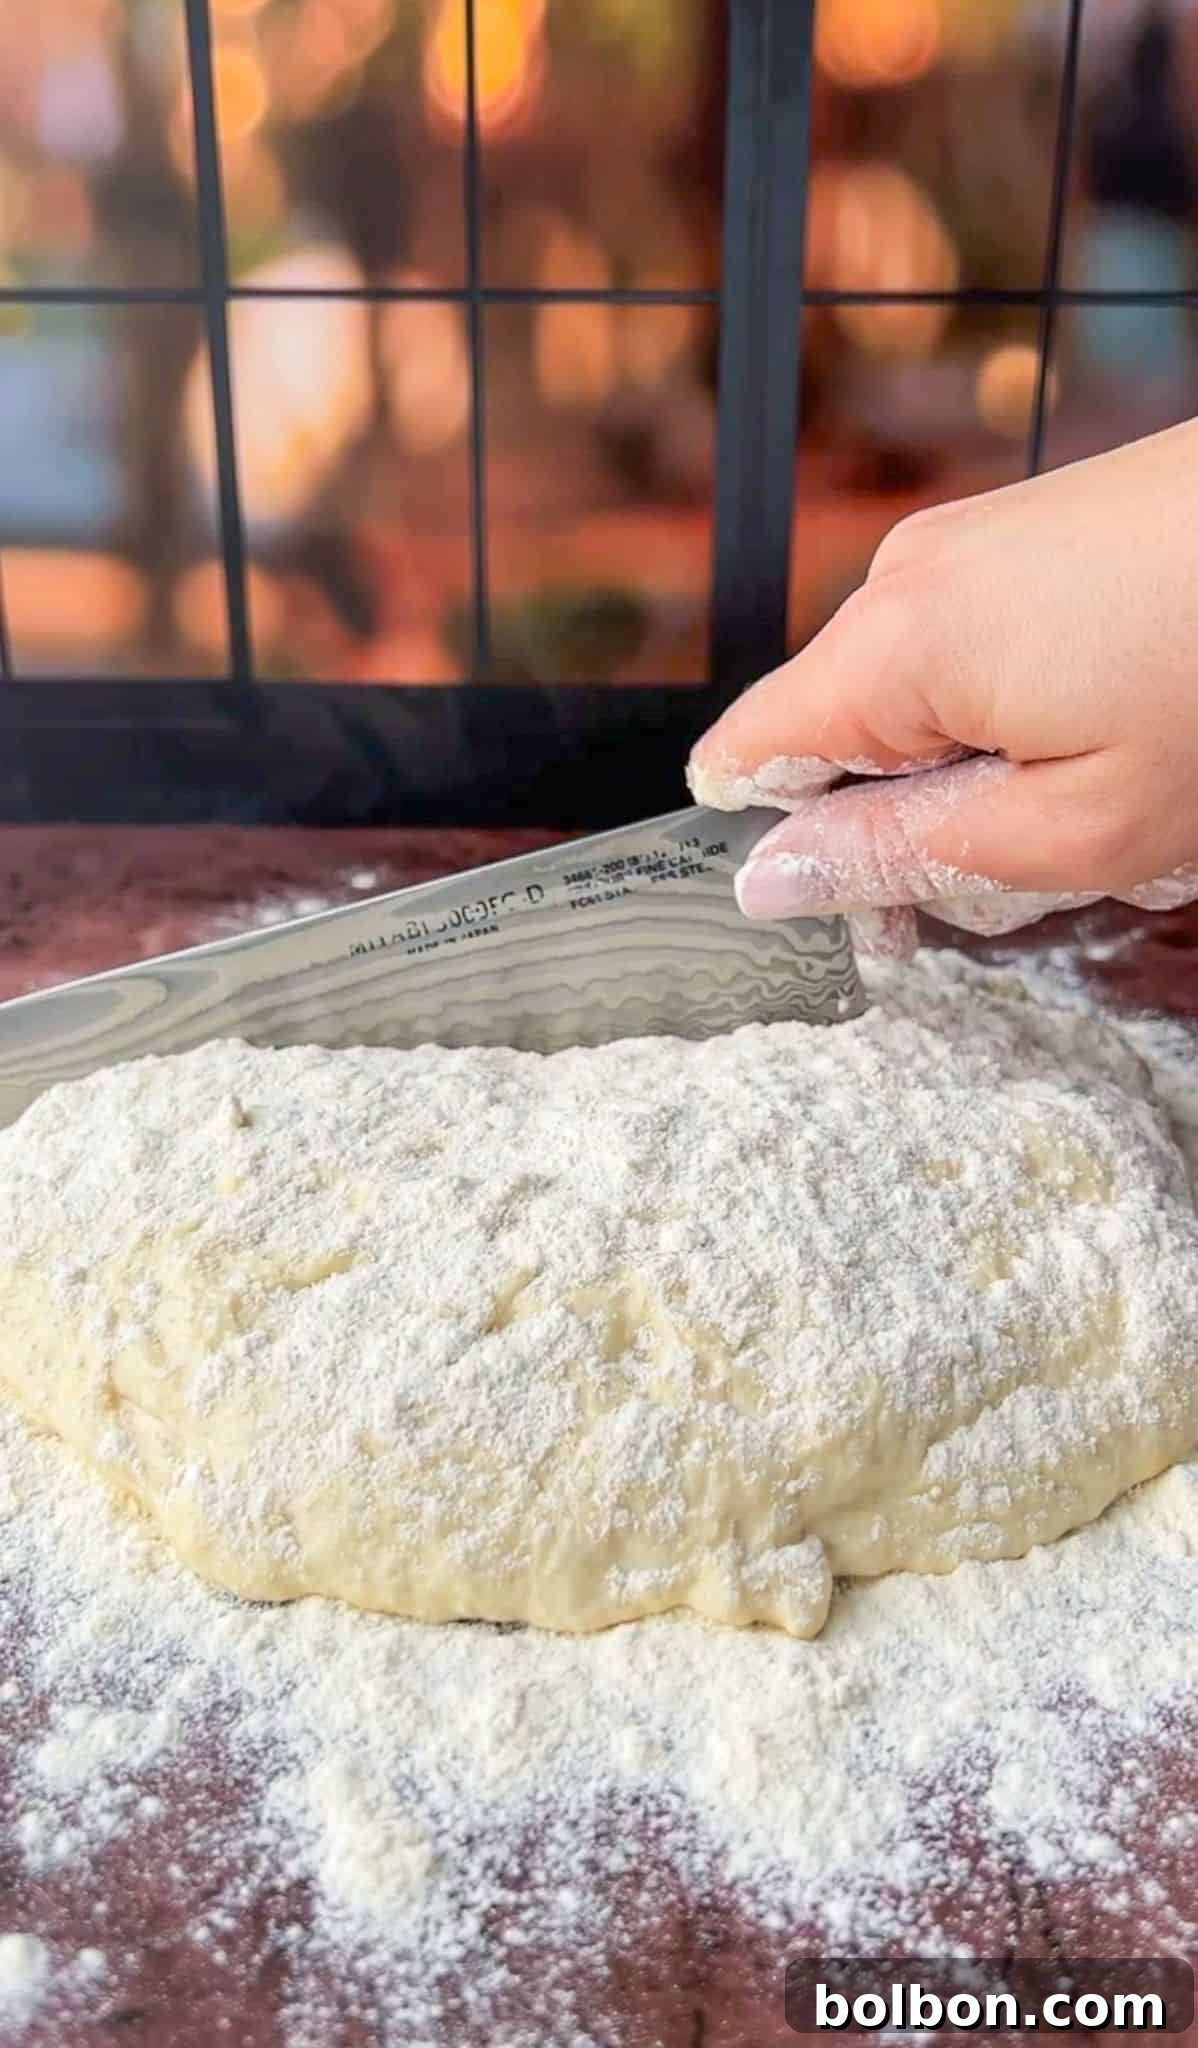
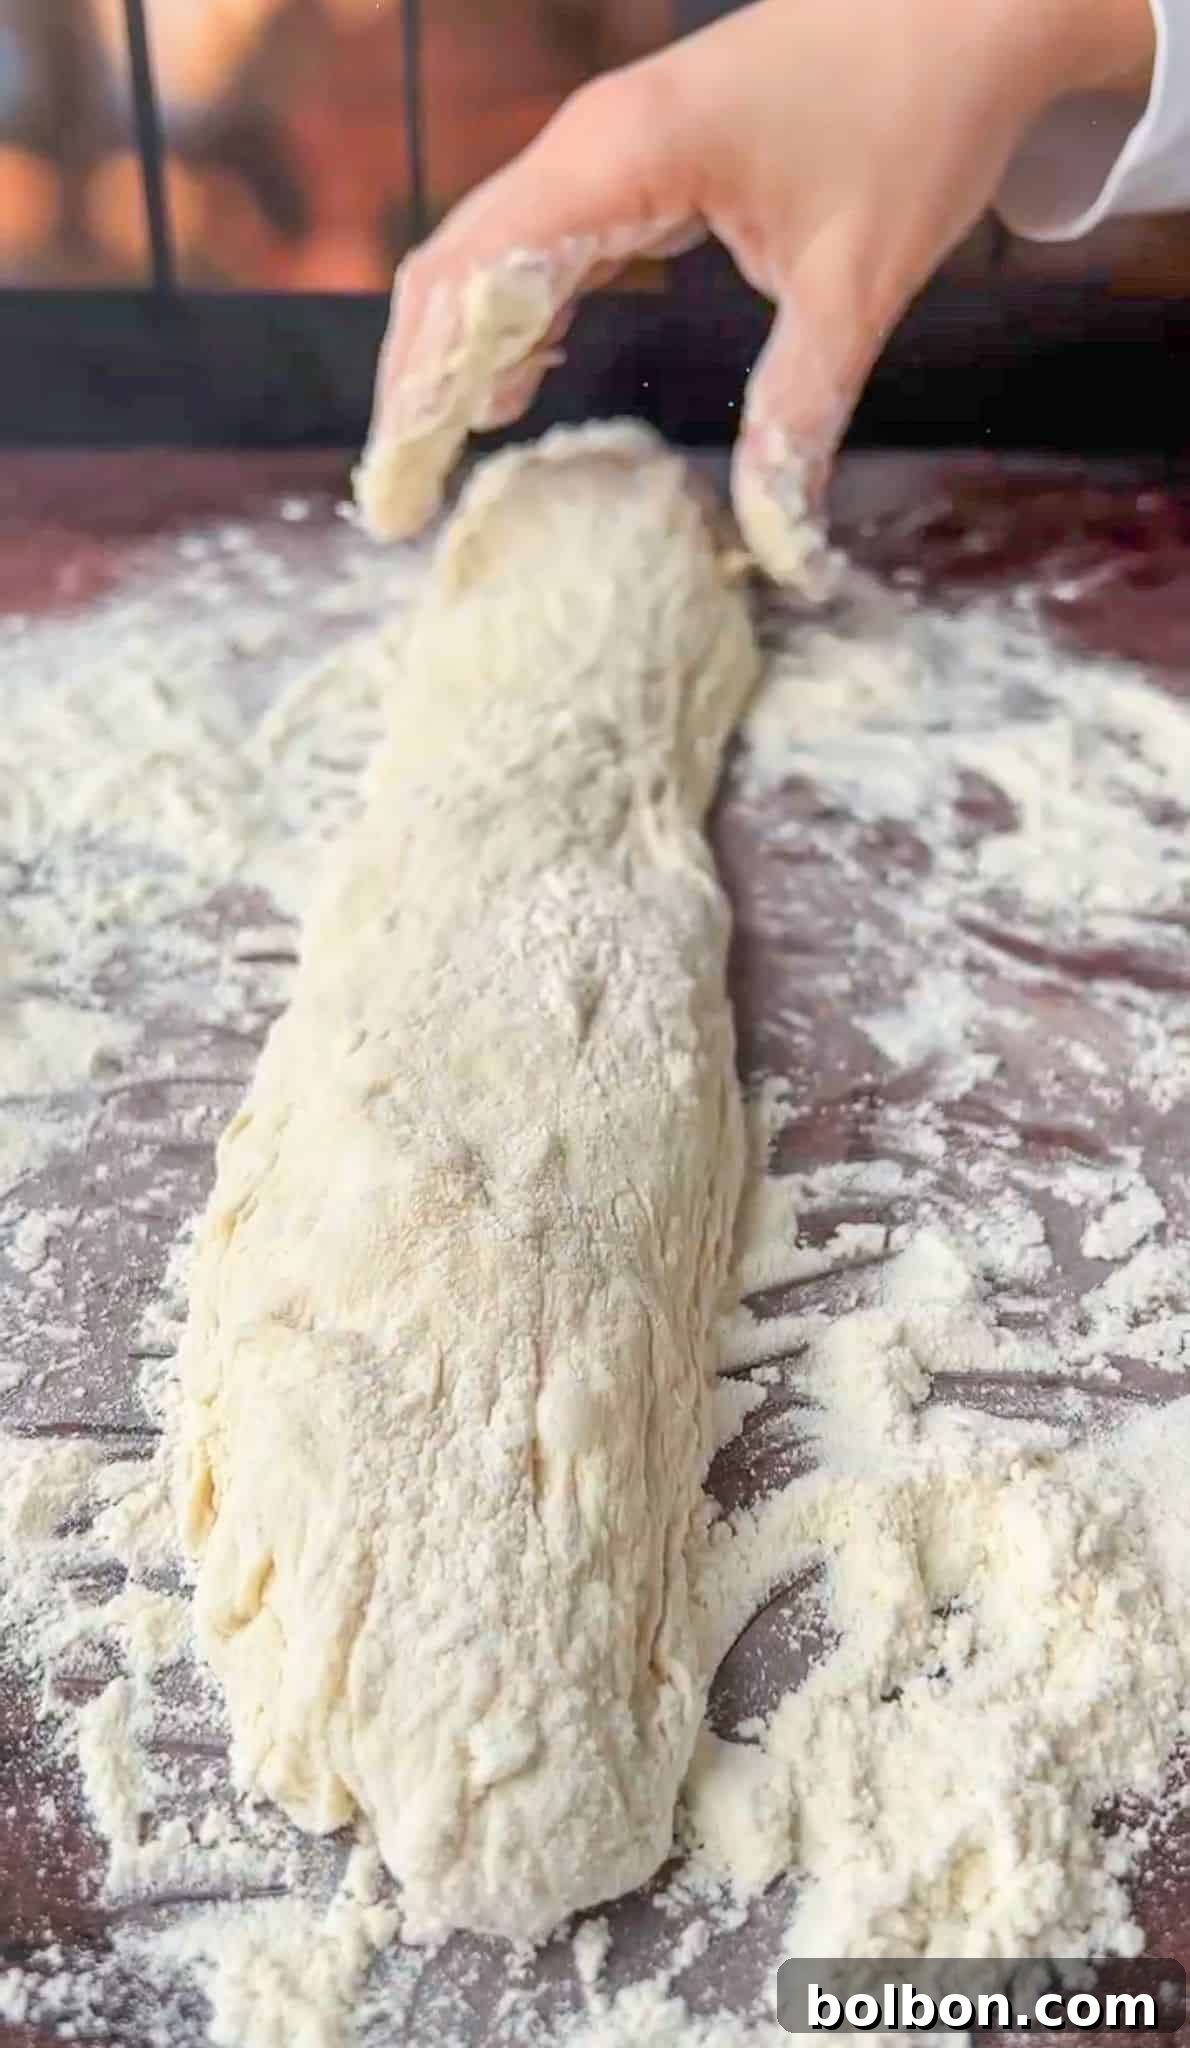
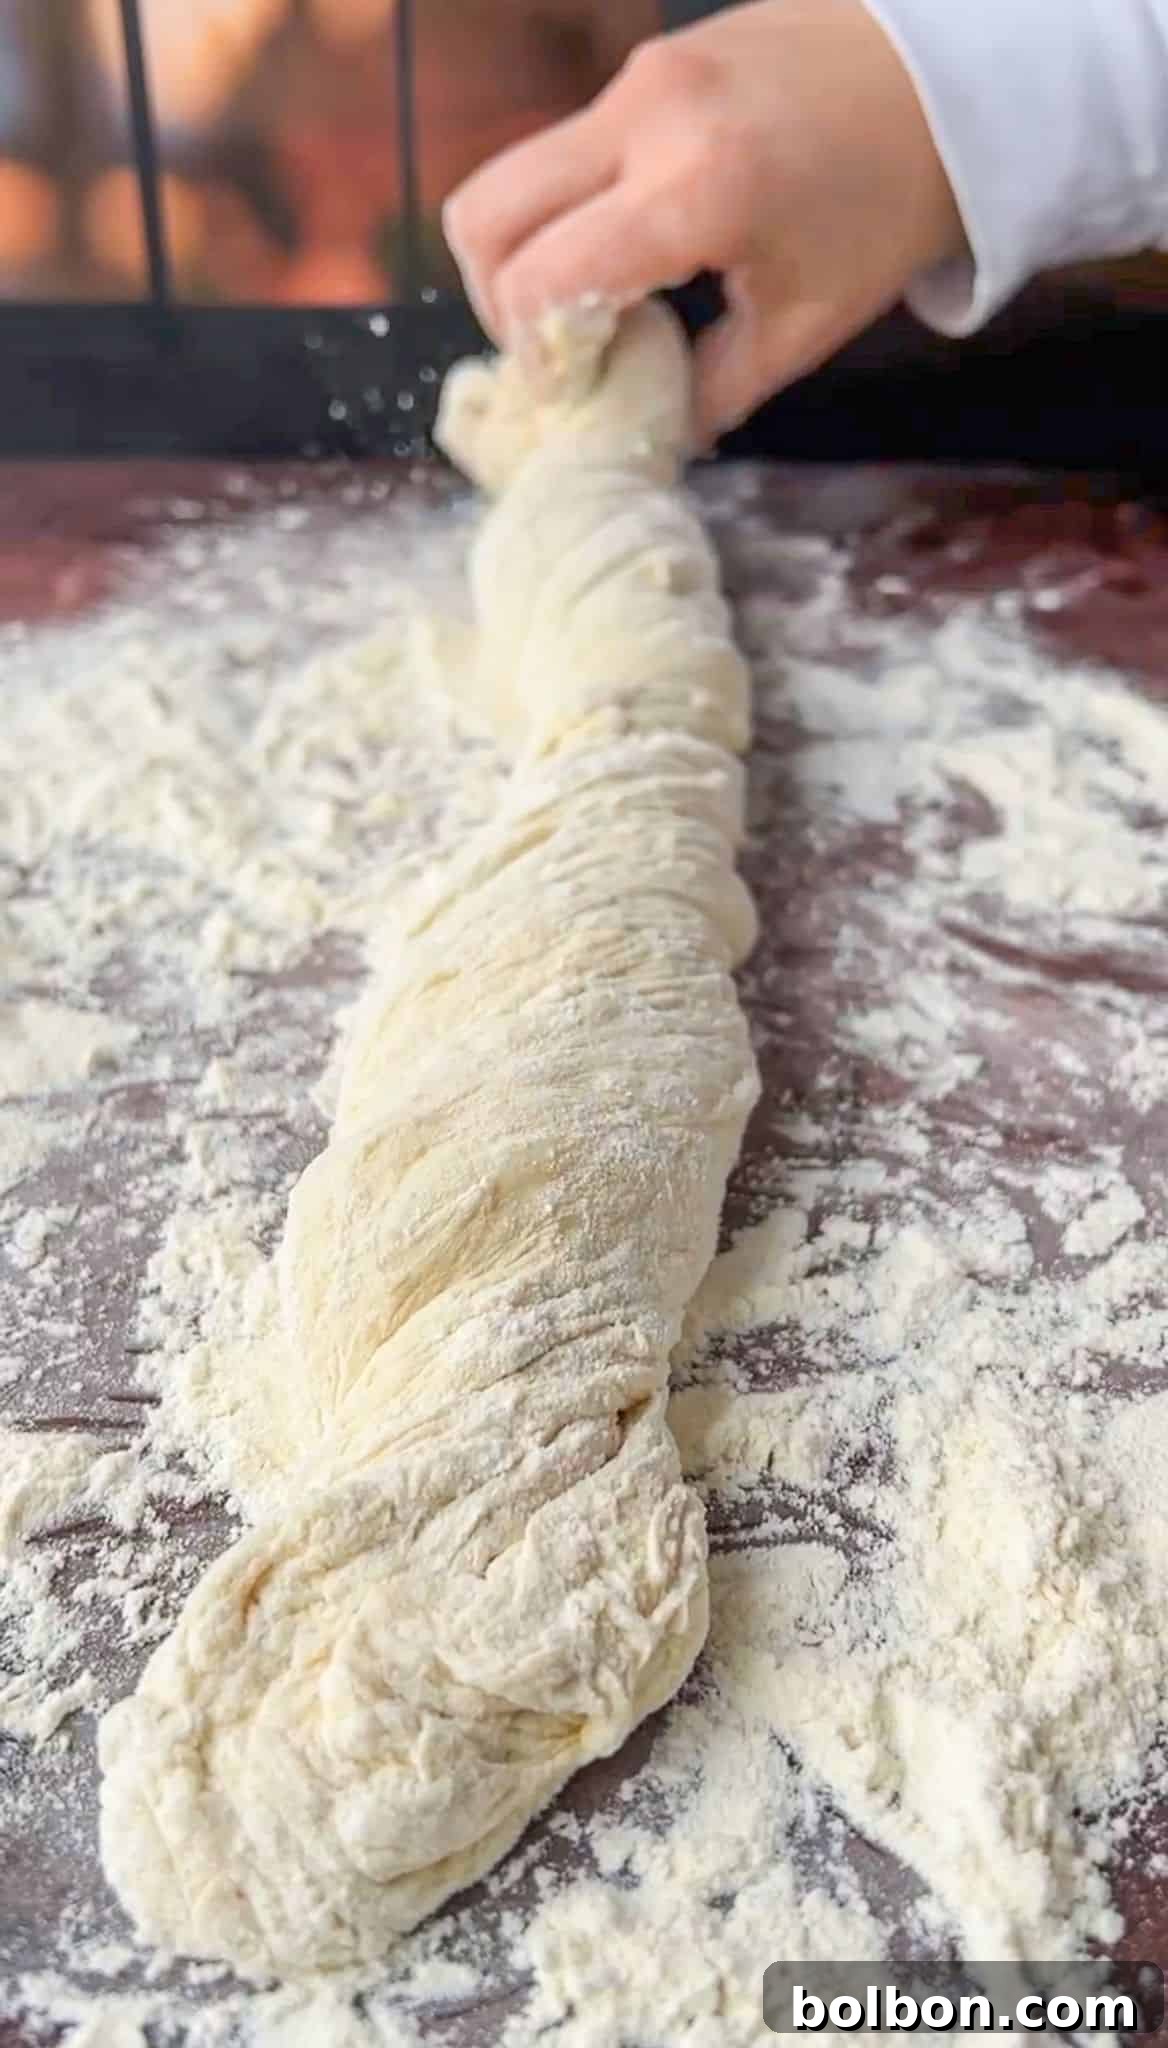
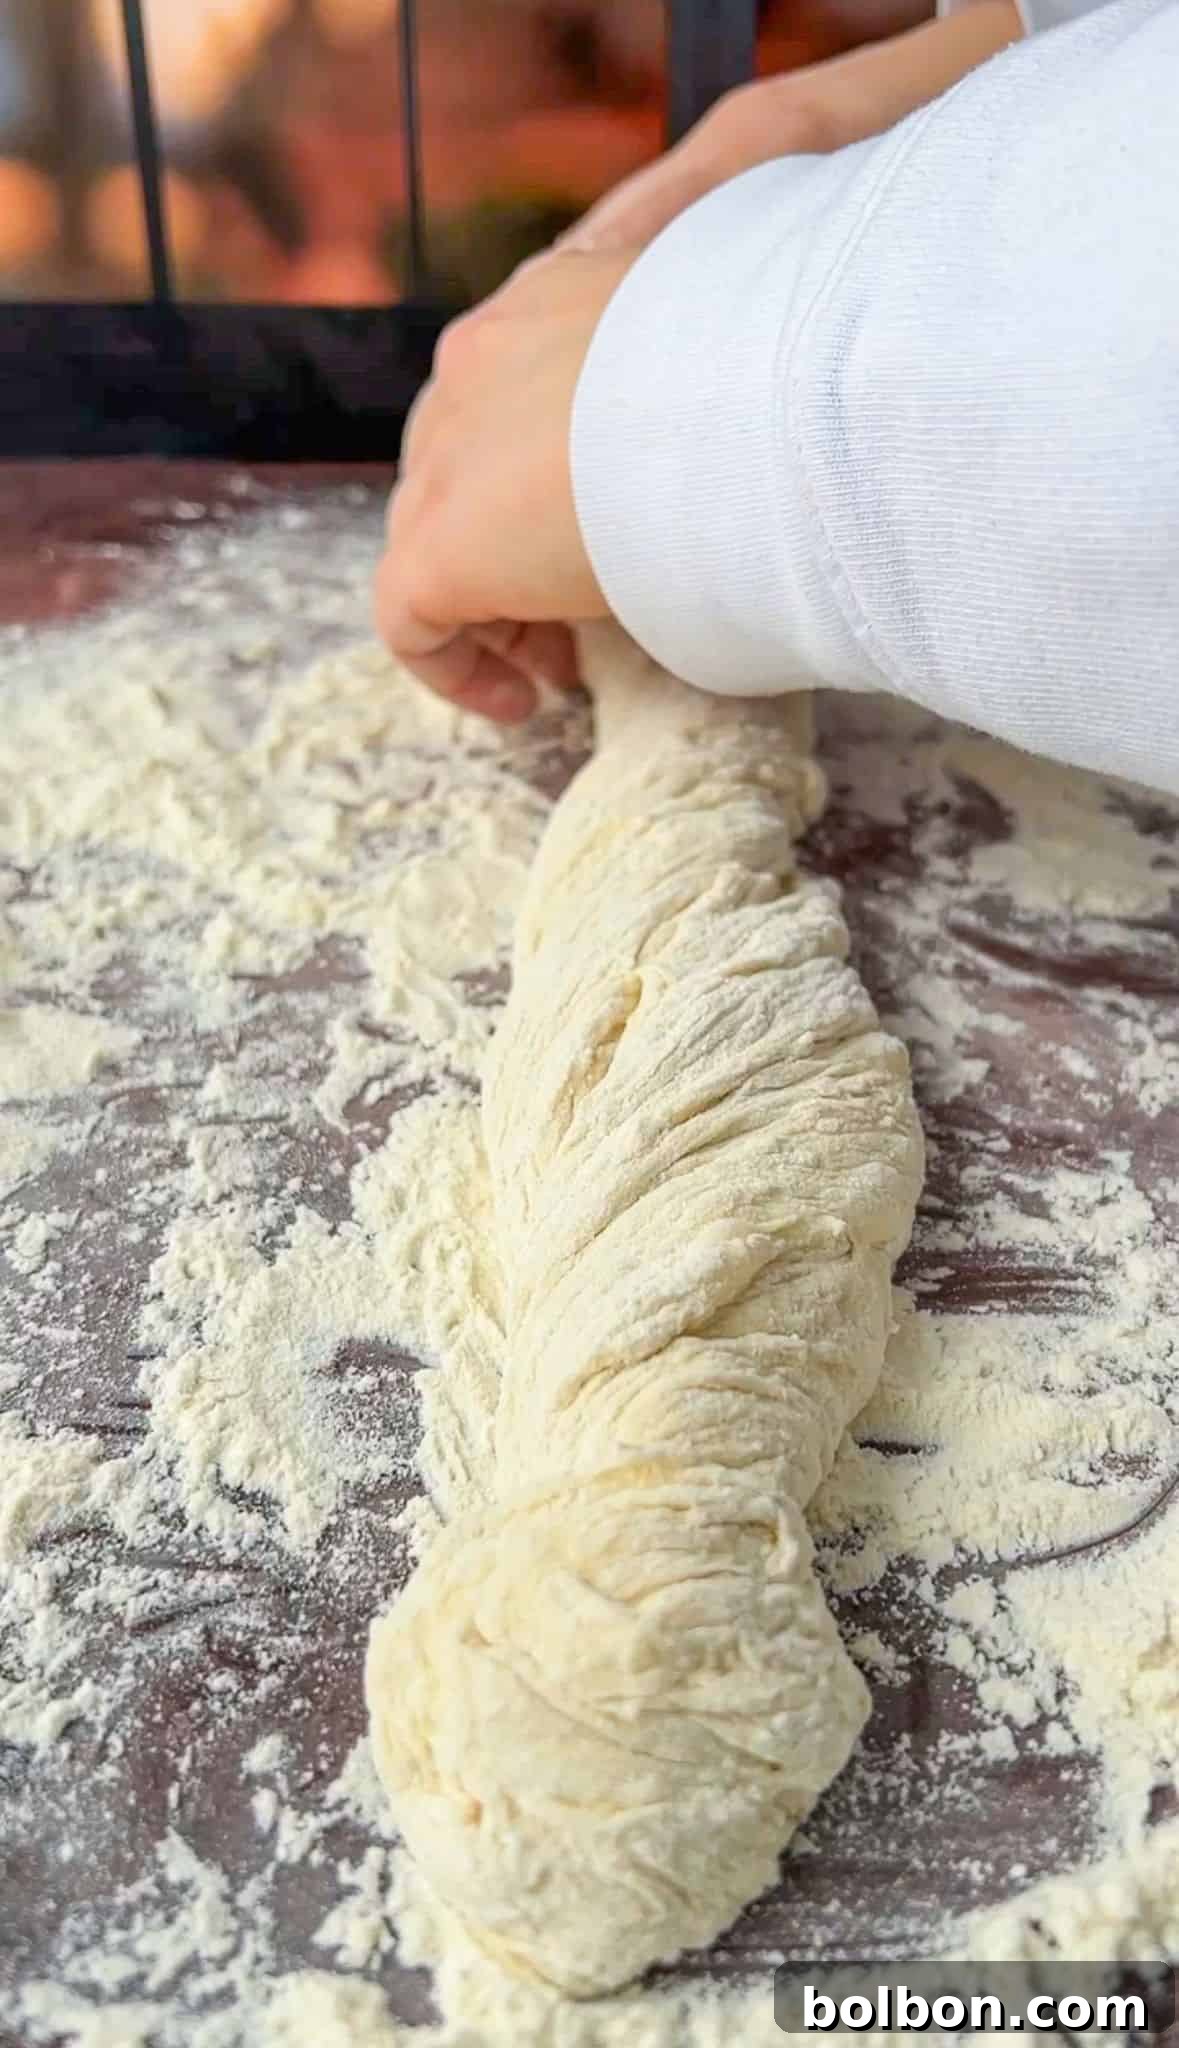
- Divide and Shape: Divide the dough into two equal halves for two large baguettes. If you prefer smaller, individual baguettes, divide it into four pieces. Gently work each piece into a long, even cylinder. Then, using both hands, delicately twist one end of the rope in the opposite direction of the other. This twisting technique helps create the characteristic open crumb and crusty texture of a true baguette.
Crucial Shaping Tip (No Kneading!): Remember, you absolutely do NOT need to knead the dough. The magic of “no-knead” is in the long fermentation, which develops the gluten structure. Simply move the dough around gently on the floured surface until it’s less sticky and easily forms the desired shape. If it starts to adhere to your hands or the counter, sprinkle on a tiny bit more flour at a time to prevent sticking without incorporating too much extra flour into the dough.
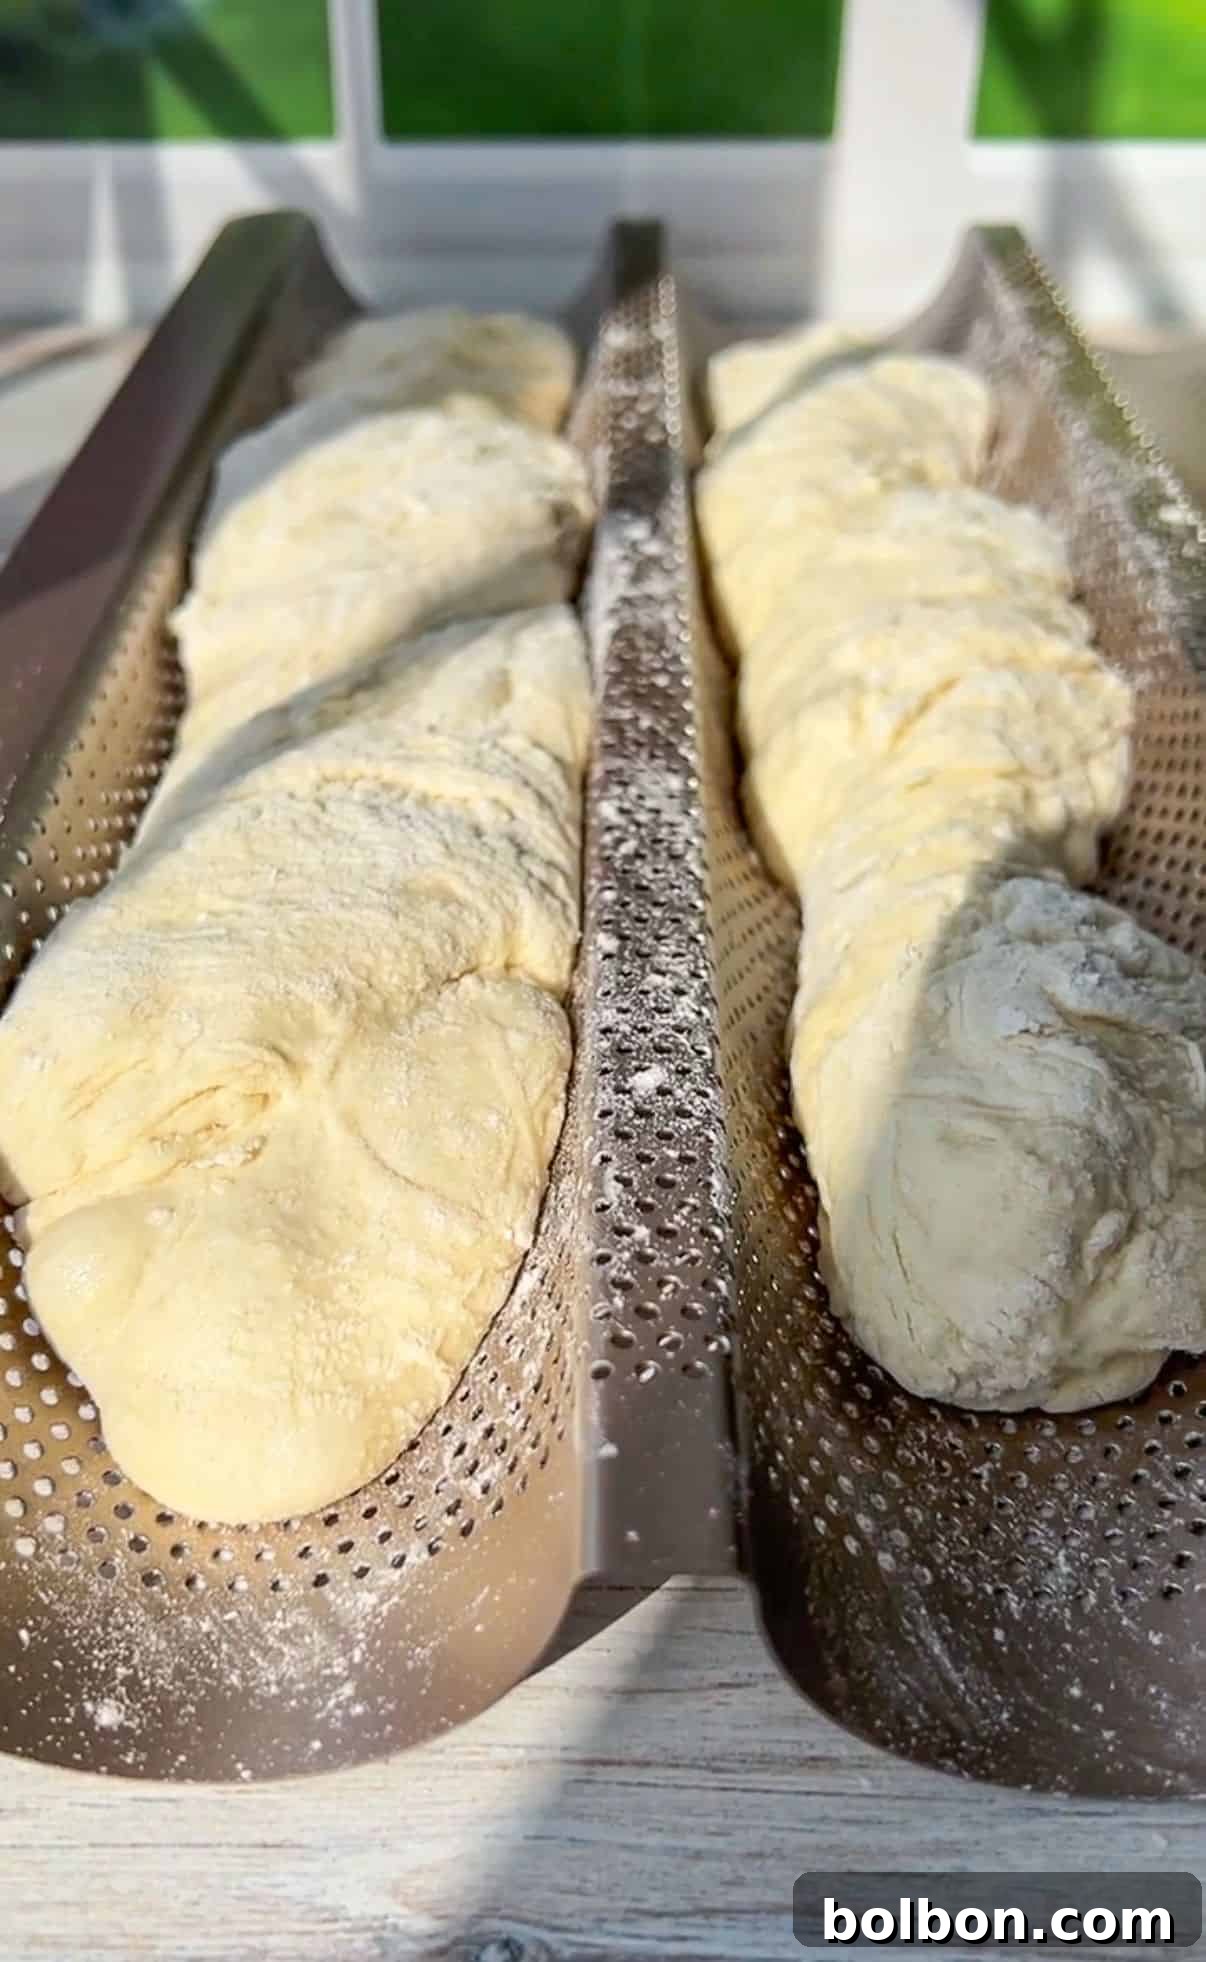
- Prepare for Baking: Carefully transfer your twisted dough ropes into a baguette baking dish. If you don’t have a specialized baguette pan, a regular baking sheet lined with parchment paper will work just as well. The parchment paper prevents sticking and makes cleanup a breeze.
- Bake with Steam: Place the shaped baguettes in your preheated 450°F (230°C) oven. Immediately after placing the bread inside, throw a large ice cube (or a few smaller ones) onto the bottom of the oven. Quickly close the oven door to trap the steam. This burst of steam is the secret to developing that beautifully crisp, golden crust and a tender, open crumb. Bake until your baguettes are a rich golden brown.
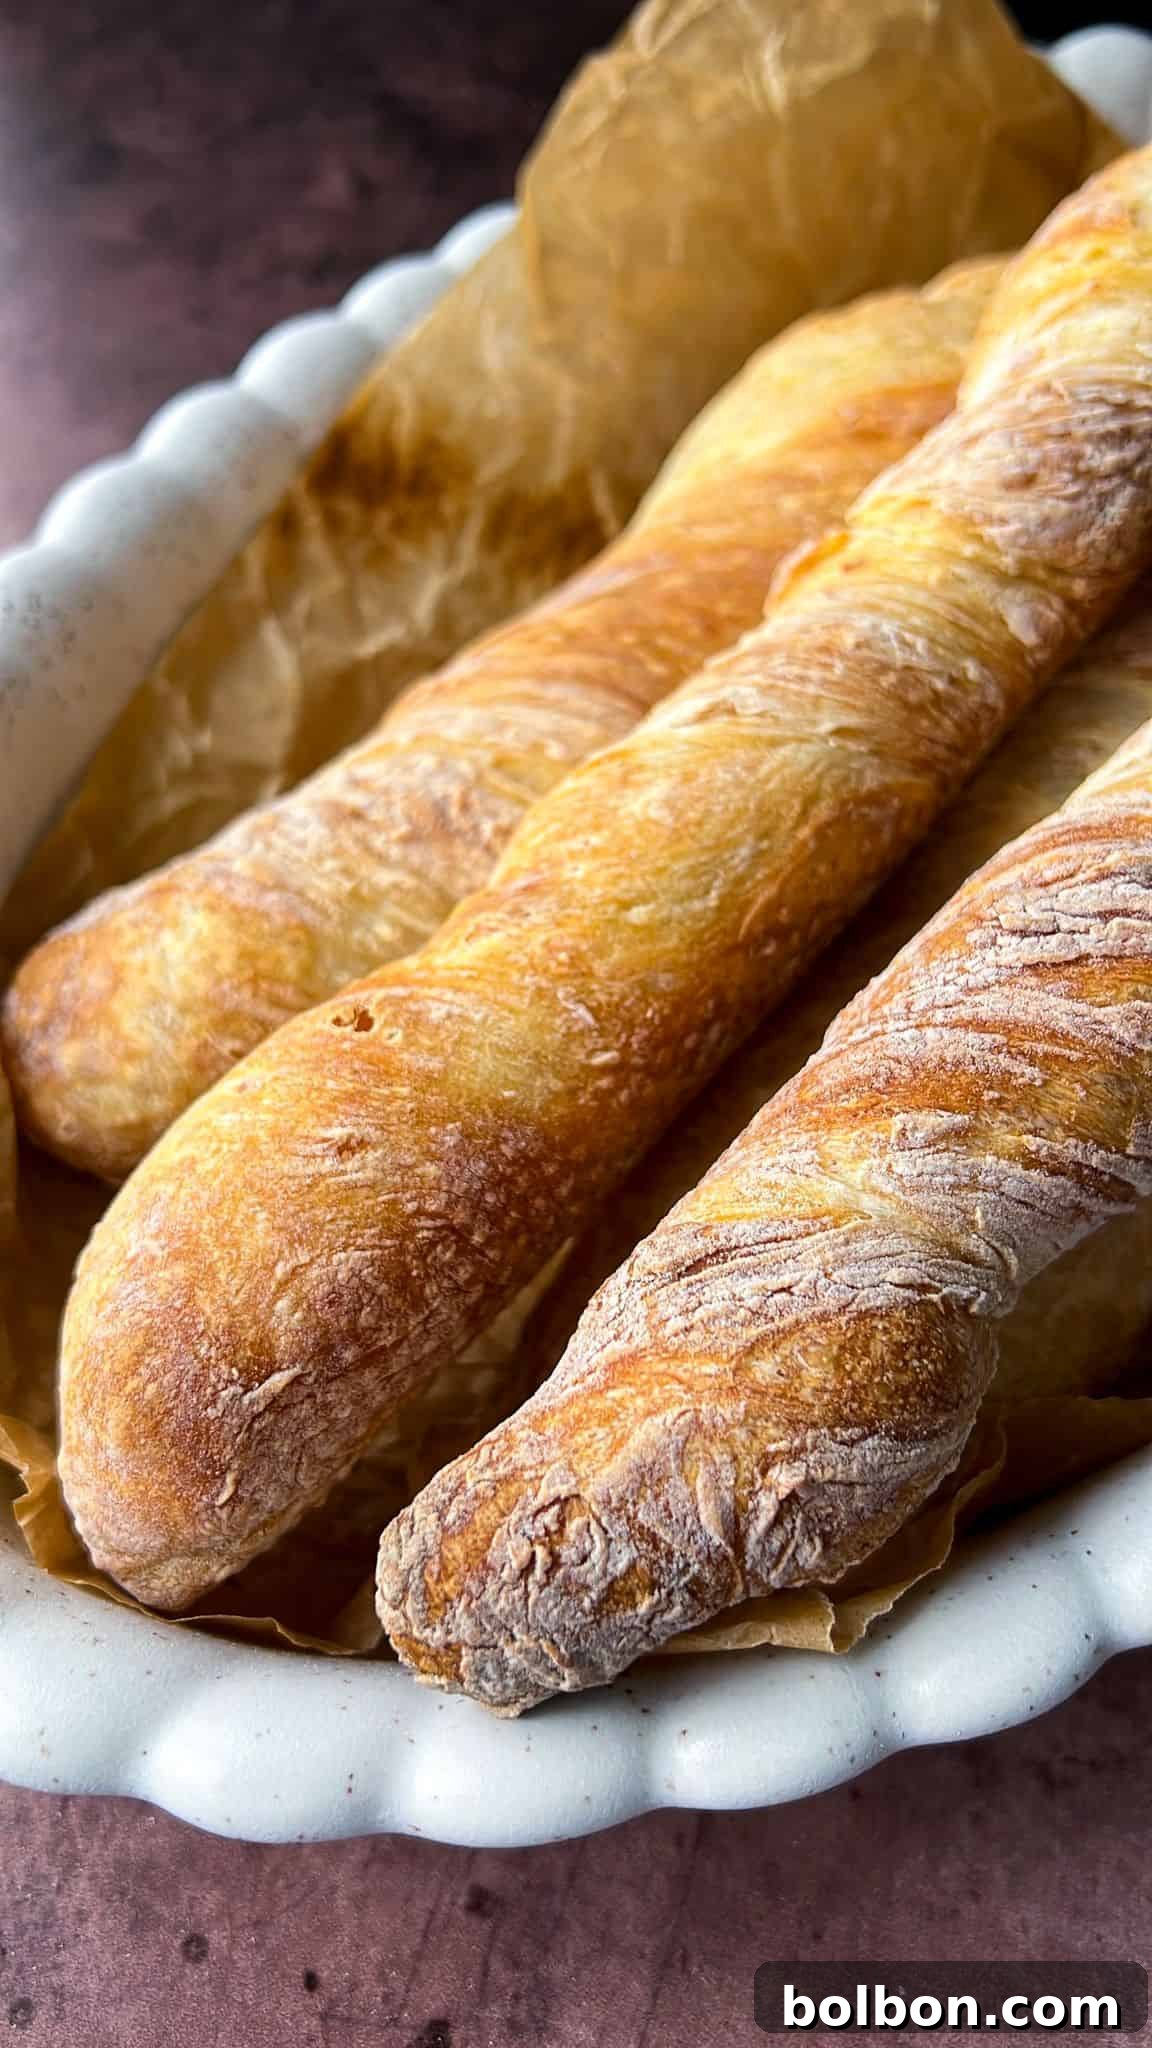
- Monitor and Cool: The exact baking time may vary depending on your oven, so keep a close eye on your baguettes. For two large baguettes, anticipate a total bake time of approximately 40-45 minutes, or until the tops are beautifully golden and firm to the touch. Once baked to perfection, carefully remove the baguettes from the oven and let them cool on a wire rack for 5-10 minutes. This resting period is essential; it allows the internal structure to set and the crust to become even crispier. Then, break them apart (or slice) and savor the incredible flavor of your homemade creation!
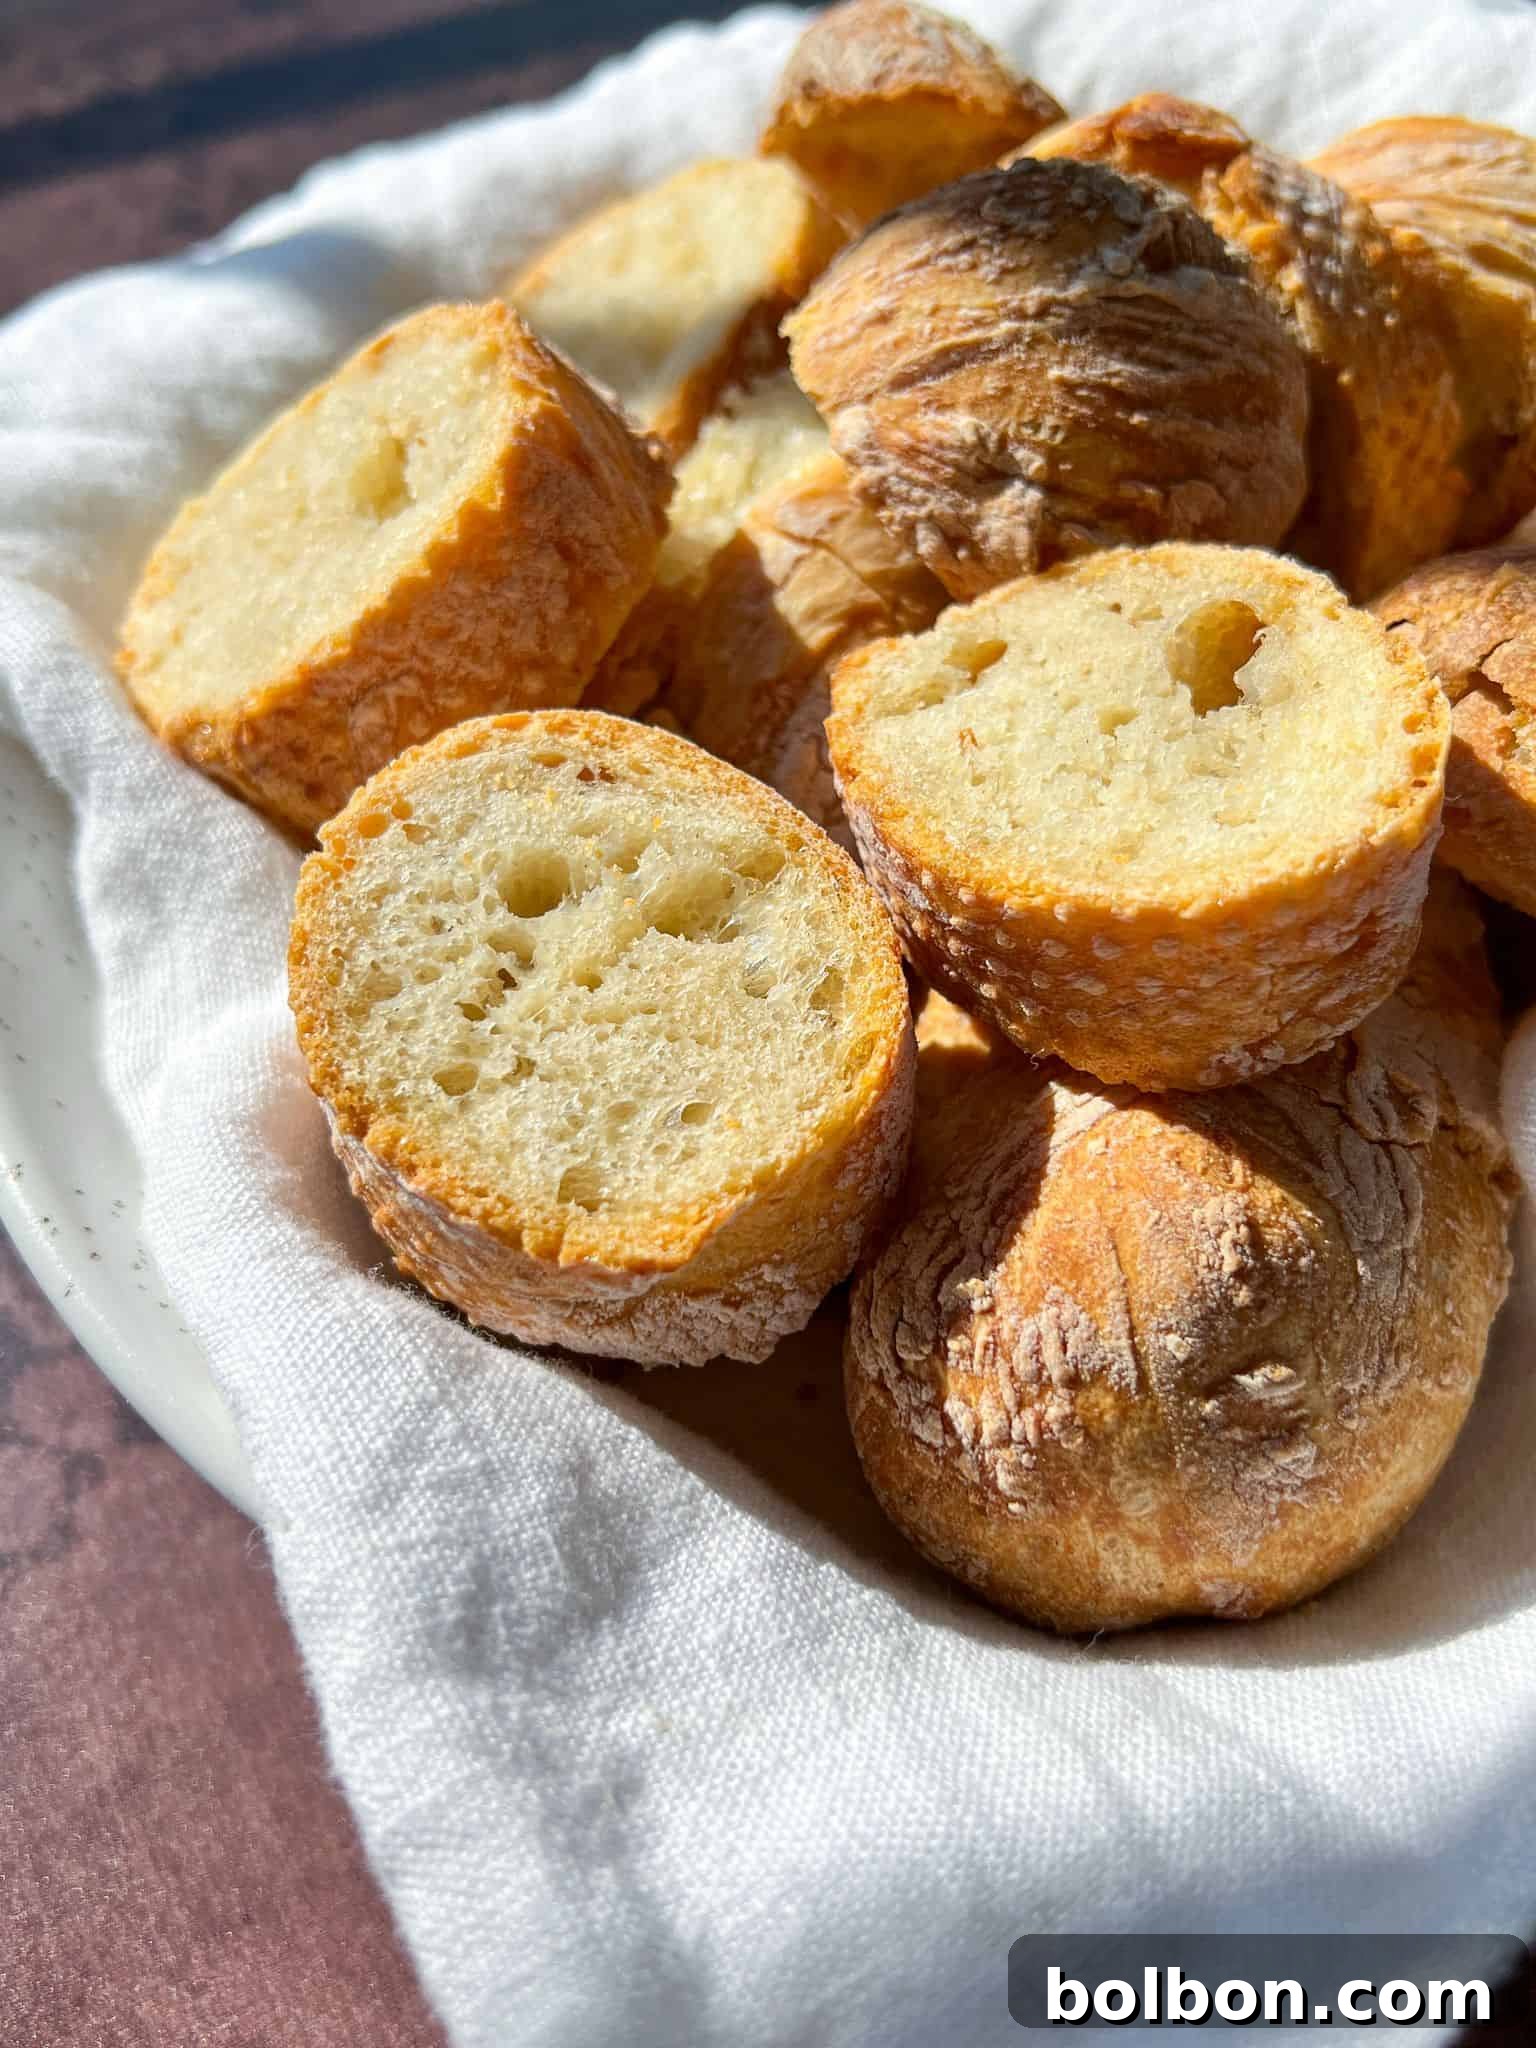
Nonna’s Secret for a Perfect Crust
The ice cube(s) are your secret weapon! They create a burst of steam in the oven, which is essential for developing that wonderfully soft and fluffy interior while ensuring the exterior gets beautifully crisp. Don’t worry if you don’t have a single large ice cube; a few small ones will work just as effectively.
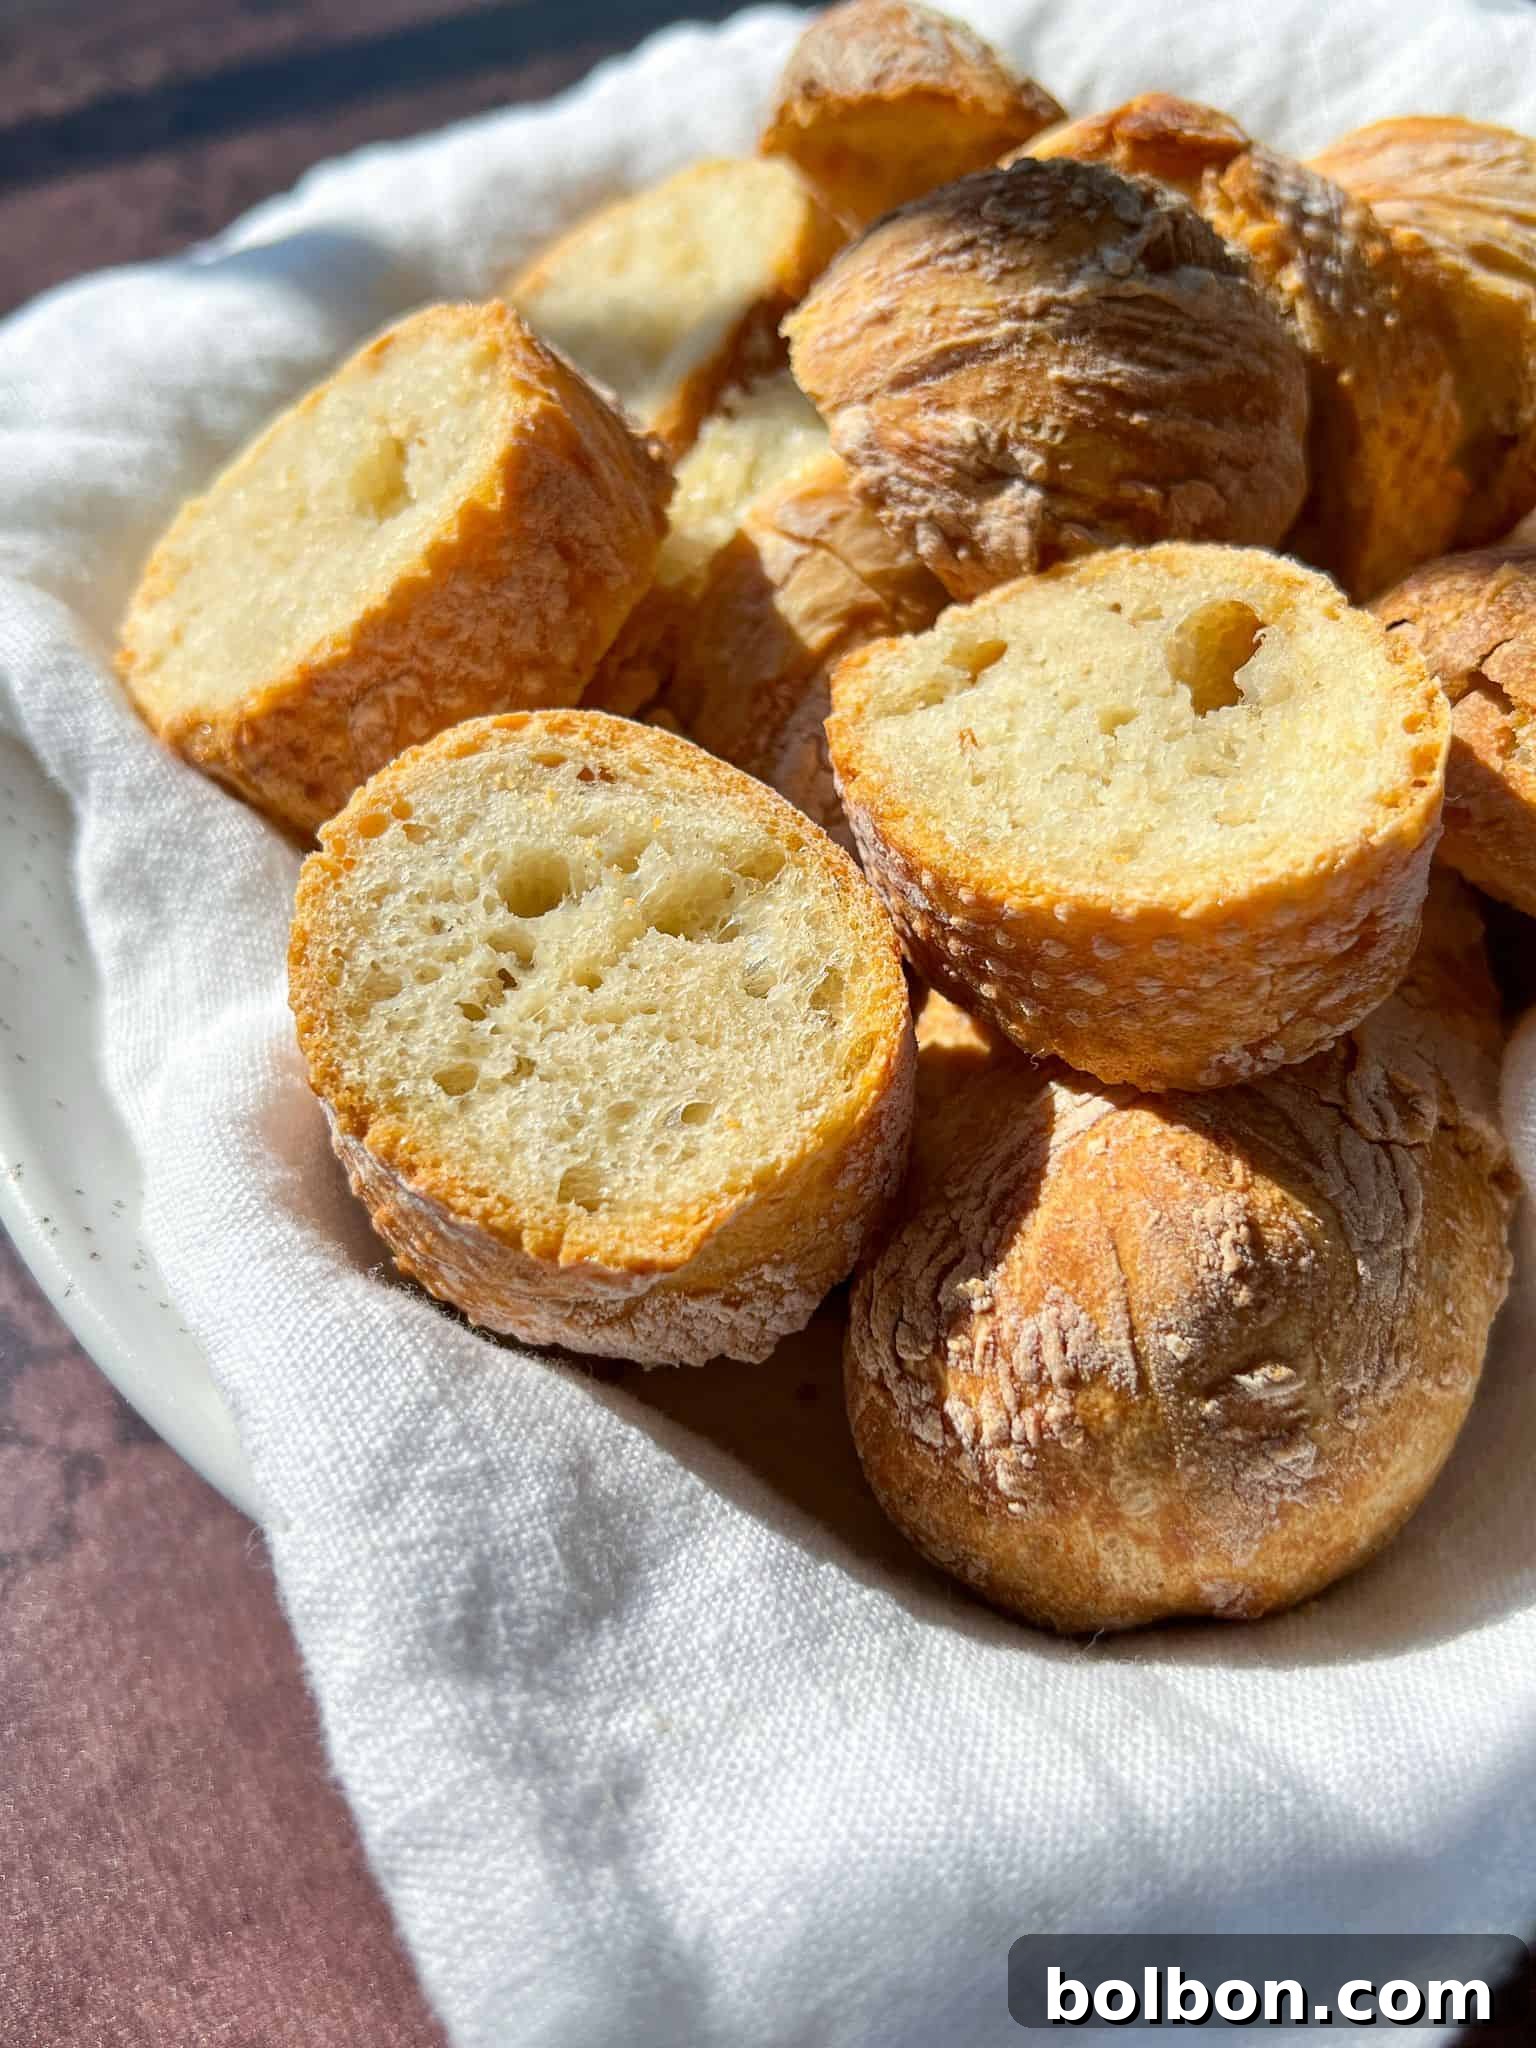
Baguette Recipe Variations and Substitutions for Every Baker
This no-knead baguette recipe is wonderfully adaptable, allowing you to experiment with ingredients and equipment to suit your needs:
- Flour Alternatives: While bread flour provides the signature chewy texture of a baguette due to its higher protein (gluten) content, you can substitute all-purpose flour in a pinch. If opting for all-purpose, look for brands with a slightly higher protein content, like King Arthur unbleached all-purpose flour, to get as close as possible to that desired chewiness. The higher protein in bread flour contributes to a stronger gluten network, which traps gas and creates the airy, open crumb.
- Yeast Flexibility: This recipe uses active dry yeast, but instant yeast can also be used. The primary difference is that instant yeast typically activates and causes dough to rise more quickly. Regardless of the type of yeast, you’ll still need to allow the dough to rest for at least 5 hours to achieve the full flavor development that comes with slow fermentation.
- Gluten-Free Option: For those on a gluten-free diet, you can substitute the bread flour with a 1:1 gluten-free flour blend. While I haven’t personally tested all brands, high-quality gluten-free flour blends formulated for baking can yield good results. Be aware that the texture may differ slightly from a traditional wheat baguette, as gluten is responsible for much of the elasticity and chew. Brands like Caputo’s gluten-free flour are often recommended for artisan bread.
- Adjusting Loaf Size: This recipe yields two large, impressive baguettes. However, if you prefer smaller, more manageable loaves, simply divide the dough into four equal pieces instead of two before shaping. The baking time might need to be slightly adjusted for smaller baguettes, so keep a watchful eye on them as they bake.
- No Special Equipment Needed: Don’t have a specialized baguette baking dish? No worries at all! You can still bake wonderfully delicious homemade baguettes using a standard baking sheet lined with parchment paper. The key is to support the dough during its final rise and initial bake, which can be done by carefully shaping them and placing them strategically on your baking sheet.
Baguette Recipe Tips for Success: Foolproof Baking Every Time
Achieving a perfect baguette is all about understanding a few key principles. These tried-and-true tips will help you bake the crustiest, most flavorful baguettes, making you feel like a pro:
- Precise Yeast Activation: The success of your rise hinges on correctly activating the yeast. Ensure your water is between 100°F and 110°F (37°C to 43°C). If the water is too hot, it will kill the yeast; too cold, and the yeast won’t become active. Use a kitchen thermometer for accuracy. If you’re unsure if your yeast is still active, you can test it by mixing it with the warm water and a pinch of sugar. If it foams within 5-10 minutes, it’s good to go!
- The Power of Steam (Ice Cube Trick): The ice cube in the oven isn’t a gimmick; it’s a critical step. The steam created helps prevent the crust from forming too quickly, allowing the dough to expand maximally (oven spring) before hardening. This results in a thinner, crispier crust and a more open, airy interior crumb. Don’t hesitate to use several smaller ice cubes if you don’t have a large one available. You can also spray the oven walls with water if you prefer, but ice cubes are often simpler and safer.
- Embrace the No-Knead Philosophy: The beauty of this recipe is its simplicity. You truly do NOT need to knead the dough. The long fermentation period does all the work, developing the gluten structure that gives the baguette its chew. Over-handling the dough can actually degas it and compromise the airy texture. When shaping, aim for gentle movements, using just enough flour to prevent sticking without incorporating excess flour, which can lead to a dry, dense crumb.
- Optimal Rising Environment: Dough likes consistency. Ensure your dough rests in a cool, draft-free area for at least 5 hours, or ideally overnight. Drafts or sudden temperature changes can shock the yeast and hinder a proper rise. In warmer climates or seasons, dough may rise much faster; to prevent over-proofing (where the dough rises too much and then collapses), consider placing your dough in a slightly cooler room or limiting the rise to 2-3 hours if it has significantly doubled or tripled in size. Once adequately risen, it should be baked immediately for best results.
- Don’t Skimp on the Cooling Time: It’s tempting to cut into a warm baguette right out of the oven, but letting it cool for 5-10 minutes is vital. During this time, the internal moisture distributes evenly, the crumb sets, and the crust continues to crisp up. Cutting too early can result in a gummy interior.
- Storage Solutions: Baguettes are best enjoyed fresh, ideally within a few hours of baking. However, if you have leftovers, store them at room temperature in a paper bag to maintain crustiness. Avoid plastic bags, which can make the crust soft. For longer storage, freeze whole or sliced baguettes in an airtight container for up to a month. Reheat in a hot oven for a few minutes to revive their crispness.
Similar Delicious No-Knead Recipes
No Knead Olive Bread
6 hrs 5 mins
No Knead Gluten Free Bread
6 hrs 20 mins
No Knead Bread
6 hrs 5 mins
No Knead Garlic Bread
4 hrs 10 mins
No Knead Cheddar Bread
6 hrs 10 mins
Best Served With Your Homemade Baguette
The versatility of a freshly baked baguette is unmatched. Here are some of my favorite ways to enjoy this classic French bread:
- Elegant Appetizer Boards: Slice your baguettes into perfect bite-sized rounds and arrange them beautifully on a Simple Charcuterie Board. Pair with an assortment of cheeses, cured meats, olives, and fresh fruits for a sophisticated spread.
- Classic Italian Bruschetta: Top toasted baguette slices with my delicious Italian Bruschetta. The crisp bread perfectly complements the fresh tomatoes, garlic, and basil for an irresistible appetizer.
- Hearty Soups and Stews: A warm, crusty baguette is the ideal accompaniment to a comforting bowl of soup. Dunk slices into a creamy Butternut Squash Soup or any of your favorite hearty stews to soak up every last drop of flavor.
- Garlic Bread Perfection: Elevate your pasta nights by slathering sliced baguette with a flavorful garlic and herb compound butter. Toast until golden and serve alongside rich pasta dishes like Pasta Limone, a comforting Lasagna Soup, or nostalgic Homemade Spaghettios.
- Creative Leftover Uses: Don’t let a single crumb go to waste! Transform day-old baguette into crunchy homemade croutons for salads or turn it into a decadent French toast for a special breakfast or brunch. Its sturdy structure holds up wonderfully to soaking.
Common Questions About Baking Baguettes
The water must be between 100°F and 110°F (37°C to 43°C) to properly activate the active dry yeast. This temperature range is optimal for the yeast to “wake up” and begin its fermentation process, which is essential for the dough to rise and develop flavor.
To test your active dry yeast, add it to the warm water (within the specified temperature range) along with a pinch of sugar before combining it with the flour. If the mixture foams or becomes bubbly within 5-10 minutes, your yeast is active and ready to use. If there’s no activity, it’s best to use new yeast.
Yes, you can substitute the bread flour with a 1:1 gluten-free flour blend. While I haven’t personally tested extensively with all gluten-free flours, many bakers have found success with high-quality blends. Please note that the texture may vary slightly from a traditional wheat-based baguette due to the absence of gluten.
The dough requires a minimum resting period of 5 hours at room temperature for adequate fermentation and flavor development. For best results and convenience, it’s common to let it rest overnight (8-12 hours). Ensure the bowl is covered and placed away from drafts, such as inside a cold oven or microwave, which could inhibit the rise.
All-purpose flour can be used as a substitute in a pinch. However, keep in mind that bread flour has a higher protein content, which contributes to the characteristic chewy texture and open crumb of a baguette. Using all-purpose flour might result in a slightly less chewy bread, but it will still be delicious.
Yes, you can substitute with the same amount of instant yeast. Instant yeast tends to rise more rapidly than active dry yeast, so your dough might reach its desired volume sooner. The minimum resting time of 5 hours is still recommended for flavor development.
Your baguettes are ready when they have a deep golden-brown crust, feel firm and hollow when tapped on the bottom, and reach an internal temperature of about 200-210°F (93-99°C). Keep a close eye on them during the final minutes of baking, as oven temperatures can vary.
The most common reason for a less-than-crispy crust is insufficient steam during baking. Ensure your oven is preheated to the correct temperature and you add the ice cube(s) immediately after placing the dough, quickly closing the oven door to trap the steam. You might also try extending the bake time by a few minutes or increasing the heat slightly towards the end of baking.
No-Knead Baguette Recipe
Facebook Share
Rate Recipe
Print Recipe
Video
Equipment
Ingredients
- 3 cups bread flour
- 1 teaspoon active dry yeast, about 1/2 packet
- 1 teaspoon salt
- 1.5 cups water, warm (100-110°F / 37-43°C)
- 1 cup bread flour (approximately) , for dusting
- 1 large ice cube , for the bottom of the oven
Instructions
-
In a large bowl, combine the flour, salt, and yeast. Mix with a whisk, wooden spoon, or with clean hands. Add the warm water (100-110°F / 37-43°C) and mix with a spatula until you have a sticky, shaggy dough.
-
Cover the bowl tightly with plastic wrap or a clean kitchen towel and let rest at room temperature for at least 5 hours to overnight (8-12 hours). Place the bowl of dough away from drafty areas, such as in the microwave, cupboard, or in a cold oven.
-
After the dough has tripled in size and appears bubbly, preheat the oven to 450°F (230°C). Next, remove the plastic wrap and generously flour your counter. Pour the dough out onto the counter and lightly sprinkle the top with flour.
-
Divide the dough in half for two large baguettes, or into four pieces if you prefer to bake four smaller ones.
-
Gently shape each dough ball into a long, even cylinder. Then, using both hands, gently twist one end of the rope in the opposite direction of the other. Do NOT knead the dough; simply shape it. If it sticks to your hands or the counter, sprinkle on a little more flour at a time.
-
Next, carefully place the twisted dough ropes into a baguette dish or onto a regular baking sheet lined with parchment paper.
-
Place the baguettes in the 450°F (230°C) preheated oven. Immediately after, throw a large ice cube (or a few small ones) onto the bottom of the oven and quickly close the door to trap the steam. Bake the baguettes until golden brown.
-
Baking time will vary depending on your oven; keep an eye on them. For two large baguettes, total bake time will be approximately 40-45 minutes, or until the tops are golden.
-
When the baguettes are golden on top, take them out of the oven and let them rest on a wire rack for 5-10 minutes. While still warm and crispy on the inside, break them apart and enjoy!
Notes
Yeast Alternatives: This recipe calls for active dry yeast, but instant yeast will work here, too. Just keep in mind that instant yeast will rise more quickly. You’ll still need to let the dough rest for at least 5 hours.
Gluten-Free: If you’re on a gluten-free diet, you may substitute the bread flour for a 1:1 gluten-free flour. I would suggest trying Caputo’s gluten-free flour as I haven’t tested others personally.
Quantities: This recipe will make two large loaves or four small ones. Simply divvy up the dough into four pieces instead of two, shape, and bake!
Special Equipment: No baguette dish? No worries! You can still make delicious homemade baguettes with a regular baking sheet lined with parchment paper.
Nutrition
Calories: 750kcal,
Carbohydrates: 150g,
Protein: 25g,
Fat: 4g,
Saturated Fat: 1g,
Polyunsaturated Fat: 2g,
Monounsaturated Fat: 0.4g,
Sodium: 1565mg,
Potassium: 225mg,
Fiber: 5g,
Sugar: 1g,
Vitamin A: 4IU,
Vitamin C: 0.01mg,
Calcium: 38mg,
Iron: 2mg
Nutrition information is automatically calculated, so should only be used as an approximation.