
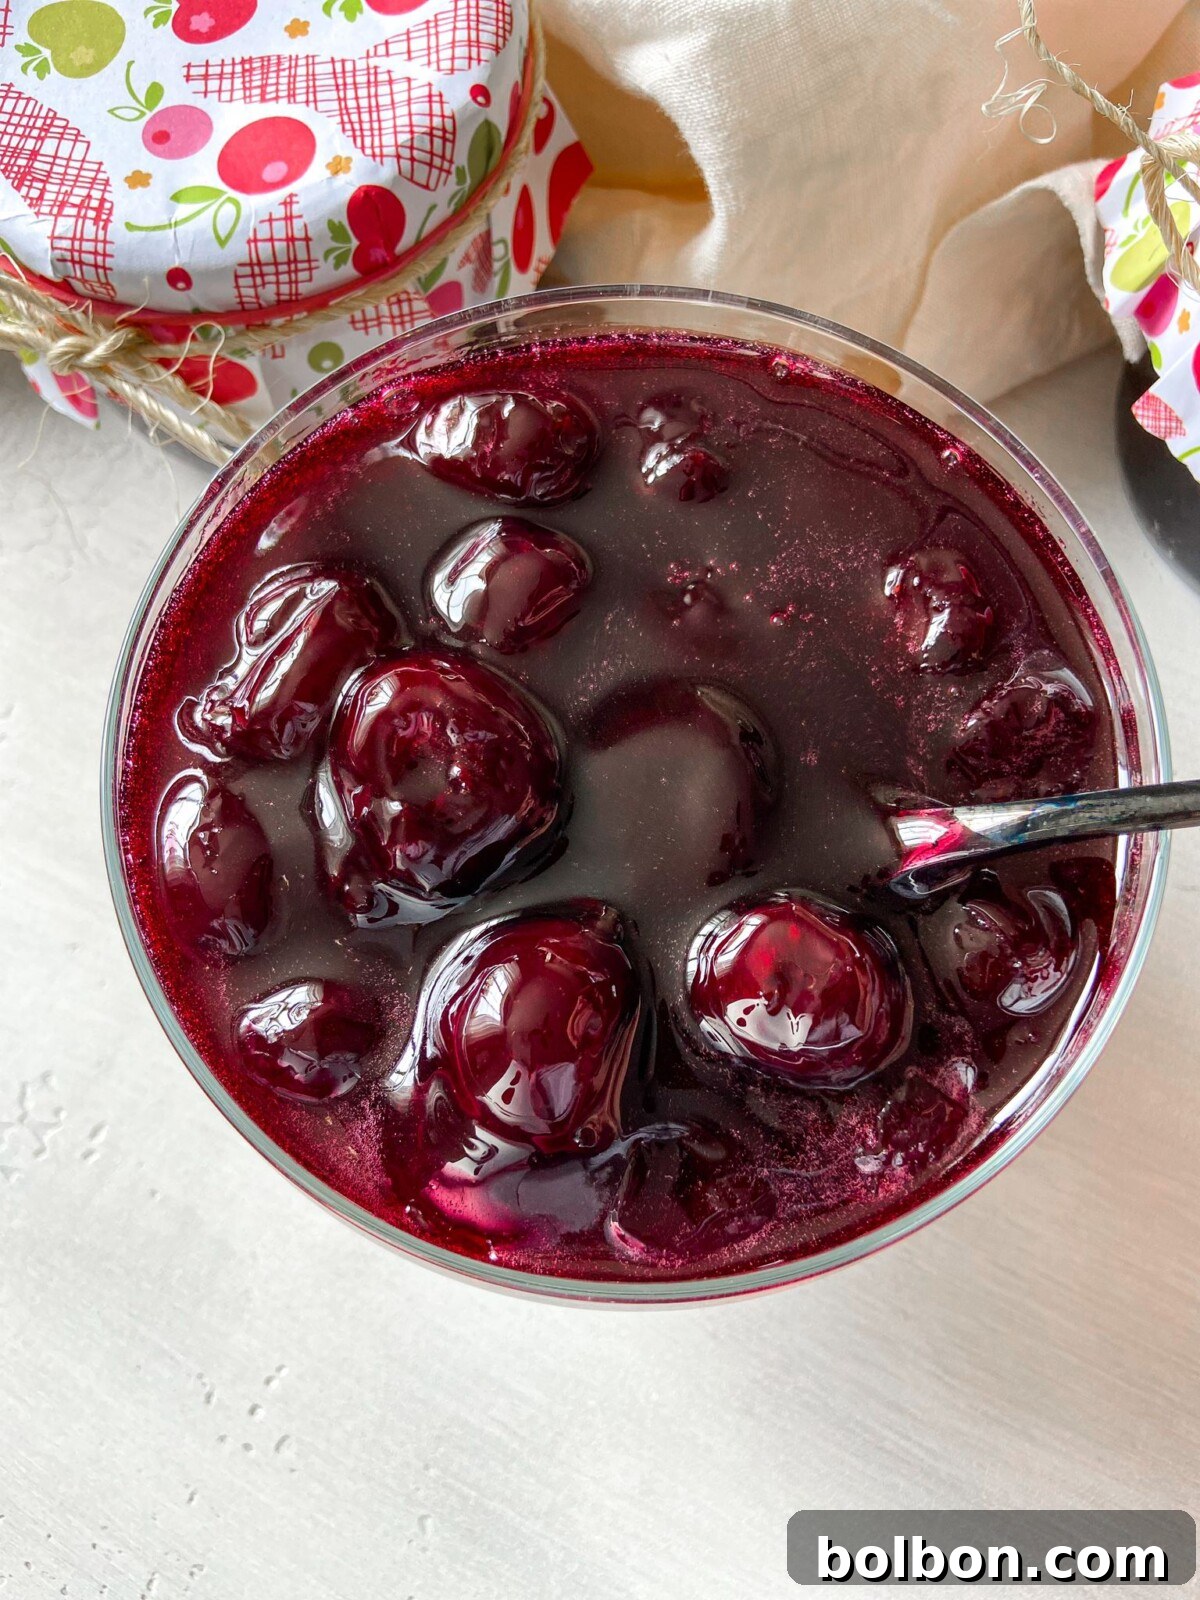
Welcome to the ultimate guide for creating the most luscious, vibrant, and utterly delicious homemade cherry jam. Forget bland, overly sweet store-bought versions; this recipe for Homemade Cherry Jam, passed down from my mom, stands out as one of the best jam recipes you will ever encounter. Imagine capturing the essence of summer in a jar, ready to be enjoyed throughout the year. This particular method ensures a truly fresh and juicy jam, bursting with pure cherry flavor and featuring beautifully whole fruit pieces.
The magic lies in a unique cooking technique: the jam is prepared in short, five-minute intervals. This gentle approach is key to preserving the cherries’ natural shape, preventing them from breaking down into a mushy puree. The result is a delightfully chunky texture that reminds you of the fruit’s integrity, coupled with an incredibly juicy consistency. This recipe is also remarkably versatile. Whether you’re making a small batch for immediate enjoyment or aiming to stock your pantry for months, you can effortlessly double or even quadruple the ingredients to produce a bulk batch, ensuring a taste of summer goodness is always within reach.
Why Homemade Cherry Jam is an Absolute Must-Try
There’s a special satisfaction that comes from making jam from scratch, and this homemade cherry jam recipe elevates that experience. It’s not just a recipe; it’s an opportunity to embrace the vibrant flavors of peak-season cherries and transform them into something truly extraordinary. Here’s why you’ll fall in love with it:
- Unbelievably Easy Process: Despite its gourmet taste, the preparation of this Homemade Cherry Jam is surprisingly straightforward. With minimal prep work and a touch of patience during the cooling stages, even novice jam makers will achieve perfect results. It’s a rewarding project that yields professional-quality jam without the fuss.
- Preserving Summer’s Bounty: Cherries are at their absolute best during the summer months – plump, sweet, and incredibly juicy. This jam offers the ideal method to preserve that ephemeral summer freshness. Imagine opening a jar on a cold, dreary winter day and being transported back to sun-drenched orchards. It’s a wonderful way to extend the harvest season and enjoy nature’s candy year-round.
- Perfectly Balanced Flavor: Unlike many commercial jams that can be excessively sweet, this recipe strikes a harmonious balance between the natural sweetness of ripe cherries and a subtle tartness. The lemon juice brightens the flavor profile, allowing the pure, unadulterated essence of the cherries to shine through. Each spoonful is a concentrated burst of authentic cherry goodness.
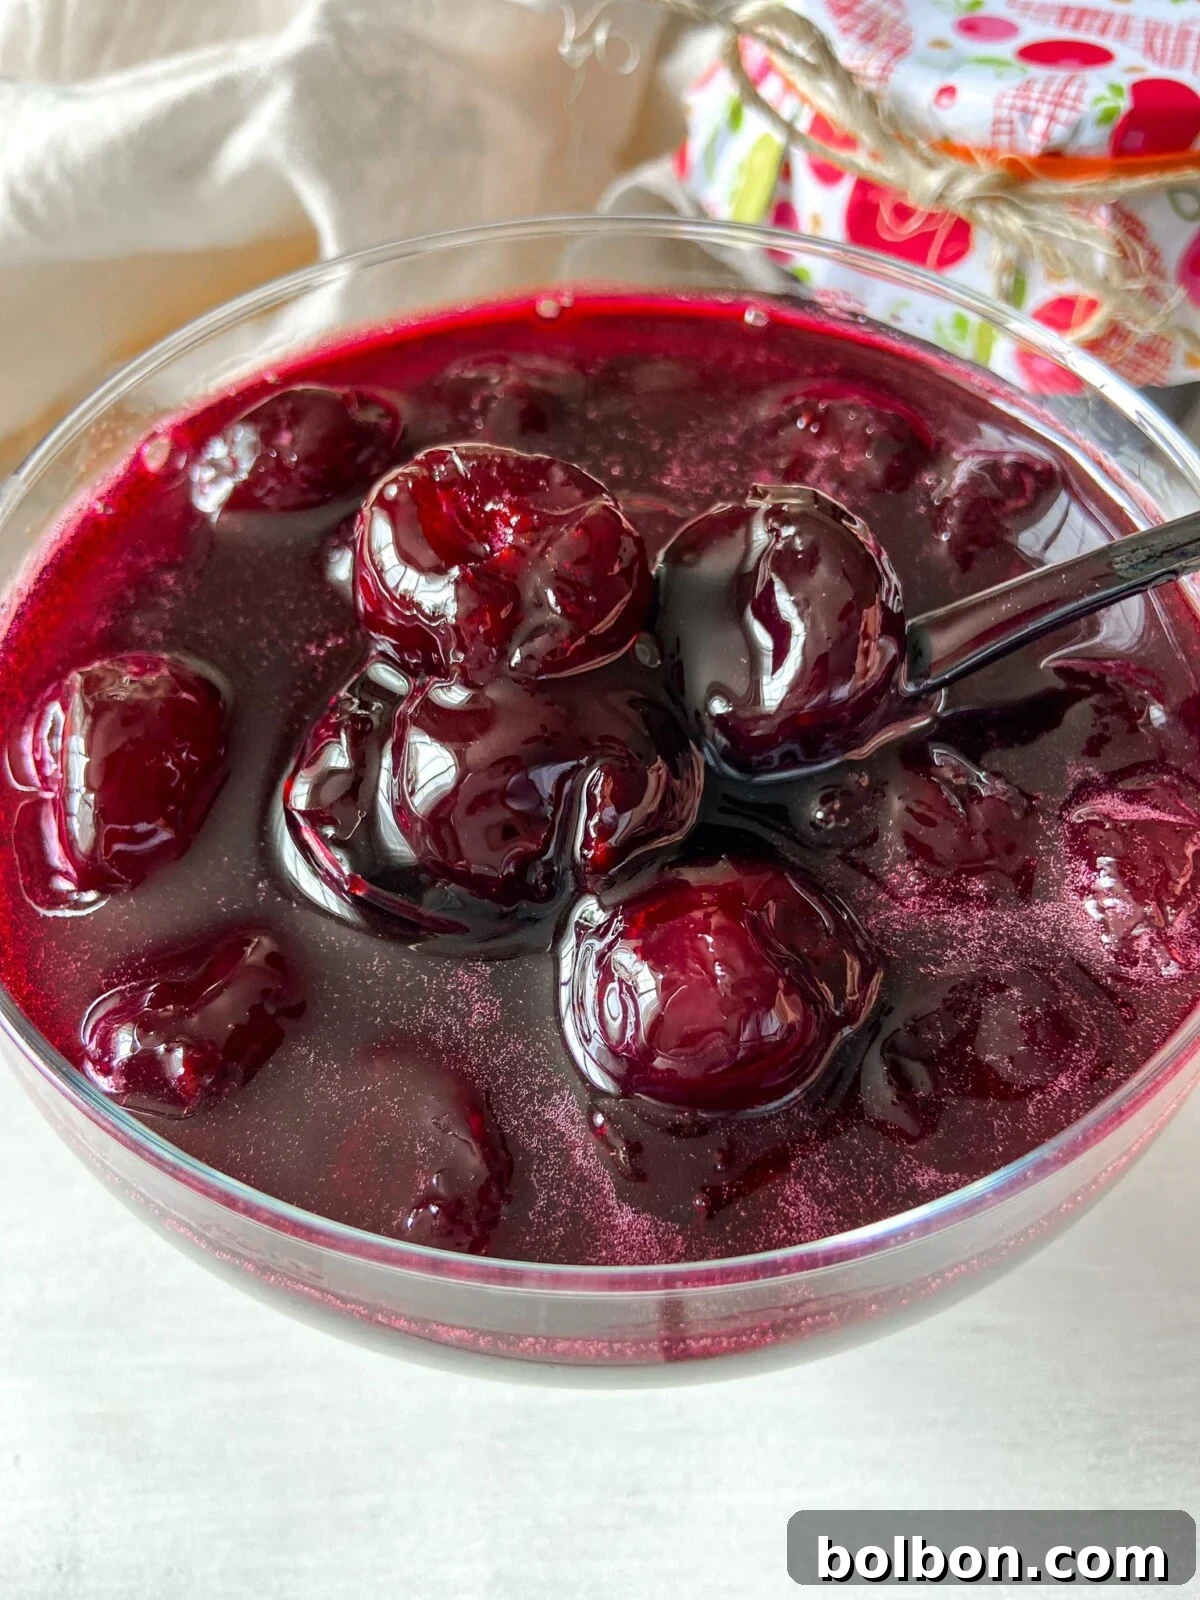
- Irresistible Chunky Texture: Thanks to the innovative multi-stage cooking method, this jam boasts a delightful texture. It’s smooth enough to spread effortlessly, yet dotted with beautiful, intact pieces of fruit. These luscious chunks provide a pleasant chewiness and a constant reminder that this is a truly homemade, handcrafted product – a stark contrast to gelatinous, fruit-less commercial jellies.
- Healthier, Wholesome Goodness: Making jam at home gives you complete control over the ingredients. You can choose high-quality fresh cherries and adjust the sugar content to your preference, opting for a less sweet alternative if desired. There are no artificial colors, flavors, or preservatives, just pure, natural fruit.
- A Thoughtful Homemade Gift: Jars of homemade cherry jam make incredibly thoughtful and appreciated gifts. Whether for holidays, birthdays, or just a token of appreciation, a beautifully packaged jar of this delicious jam is a personal touch that speaks volumes.
Crafting Your Homemade Cherry Jam: A Step-by-Step Guide
Making this delightful cherry jam involves a few simple steps, focusing on careful preparation and the unique multi-stage cooking process that makes it so special. Follow these instructions for a perfect batch:
- Prepare the Cherries: Begin by thoroughly washing your fresh cherries. Then, meticulously remove all stems. The next crucial step is pitting the cherries. While you can do this by hand, a dedicated cherry pitter will make this task significantly faster and easier, especially if you’re working with a large quantity. Aim for clean pits, leaving the fruit as intact as possible.
- Combine Ingredients: Transfer all the pitted cherries into a large, heavy-bottomed pot. Add the measured sugar and fresh lemon juice. The lemon juice is vital as it provides acidity, which not only brightens the flavor but also aids in the gelling process by interacting with the natural pectin in the fruit.
- First Boil and Cool: Place the pot over medium-high heat. Bring the mixture to a rolling boil, stirring continuously for precisely 5 minutes. Consistent stirring prevents sticking and ensures even cooking. After 5 minutes, remove the pot from the heat entirely and allow the cherry mixture to cool down completely to room temperature. This cooling period is crucial for preserving the whole shape of the cherries.
- Second Boil and Cool: Once the mixture has cooled completely, return the pot to medium-high heat. Bring it back to a boil, stirring continuously for another 5 minutes. Again, remove the pot from the heat and let the jam cool completely. This repeated heating and cooling process is the secret to achieving that desirable chunky texture with whole, juicy cherries.
- Final Boil and Setting: For the third and final time, place the pot back on the stove and bring the cherries to a boil. Stir continuously for a final 5 minutes. By now, the jam should have thickened noticeably. The total cooking time for the cherries themselves is 15 minutes (5 minutes x 3 intervals). This segmented cooking method is specifically designed to keep the cherries intact and prevent them from breaking down into a uniform puree, ensuring a beautifully textured jam.
- Prepare Jars and Fill: After the third boil, skim off any foam that has accumulated on the surface of the jam. This step improves the clarity and appearance of your finished product. Immediately, fill three sterilized jars with the hot jam, leaving approximately 1/4-inch of headspace at the top. This headspace is essential for proper sealing and to prevent jars from cracking.
- Seal and Rest: Carefully wipe the rims of the filled jars clean with a damp paper towel to ensure a proper seal. Place the lids on tightly, then invert the jars (flip them upside down). Cover the inverted jars with a clean towel and let them rest overnight, undisturbed. This method helps create a vacuum seal.
- Store and Enjoy: The next day, you can turn the jars right-side up. Check for a proper seal (the lid should be indented and not pop up when pressed). Store your beautifully crafted homemade cherry jam in a cool, dark pantry. Once a jar has been opened, it must be stored in the refrigerator.
Nonna’s Preserving Wisdom
For those who prefer a quicker route or are new to canning, you don’t necessarily have to go through the full water-bath canning process for long-term shelf stability. If you plan to consume the jam within a few weeks, simply store it in a tightly sealed jar in the fridge. This is perfect for small batches or immediate gratification!
Creative Twists and Smart Substitutions for Your Cherry Jam
While this recipe for homemade cherry jam is fantastic as is, it also serves as an excellent foundation for experimentation. Don’t hesitate to personalize your batch with these delightful variations and substitutions:
- Adjusting Sweetness: Many traditional jam recipes call for a higher sugar-to-fruit ratio. This recipe is designed to highlight the natural flavor of the cherries with a balanced sweetness. However, feel free to adjust the amount of sugar to suit your personal preference. For a tarter jam, reduce the sugar slightly; for a sweeter spread, add a little more. Remember that sugar also contributes to the jam’s texture and shelf life, so significant reductions may impact consistency or require refrigeration sooner.
- Explore Other Fruits: This innovative three-stage cooking technique isn’t exclusive to cherries! You can brilliantly adapt this method to preserve a variety of other summer fruits. Imagine luscious jams made with ripe 🍓 berries like strawberries or blueberries, or succulent stone fruits such as 🍑 peaches, apricots, or plums. The principle remains the same: gentle, intermittent cooking to maintain fruit integrity.
- Incorporating Pectin: For those who desire an even firmer set in their jam, adding commercial pectin is an option. While the natural pectin in cherries, combined with lemon juice and sugar, usually creates a lovely set, some prefer an extra firm jam. If you choose to add pectin, ensure you follow the manufacturer’s instructions carefully, as types (liquid vs. powdered) and usage vary. Personally, I haven’t found it necessary for this recipe, as the natural set is perfectly delightful.
- Flavor Enhancements: Elevate your cherry jam with additional flavor notes. A touch of vanilla extract, a hint of almond extract (which beautifully complements cherry flavor), or even a small amount of a warming spice like cinnamon or star anise can add depth and complexity. A tablespoon of grated orange or lemon zest can also intensify the citrus brightness.
- Using Frozen Cherries: If fresh cherries are out of season, you can use frozen pitted cherries. Thaw them completely before use and drain any excess liquid. The cooking time might vary slightly, and the texture might be a little softer, but it will still yield a delicious jam.
Explore More Delights
Easy Chia Jam (10 min)
10 mins
Cherry Juice Recipe
1 hr 5 mins
Strawberry Watermelon Juice
10 mins
Strawberry Refresher
5 mins
Delicious Ways to Enjoy Your Homemade Cherry Jam
Once you’ve made a batch of this exquisite homemade cherry jam, you’ll find endless ways to incorporate its vibrant flavor into your meals and snacks. Here are some of our favorite serving suggestions:
- Classic Breakfast Delight: There’s nothing quite like spreading this jam generously over warm, buttered 🍞 toast, fluffy pancakes, golden waffles, or fresh-baked scones. It’s the quintessential breakfast or brunch accompaniment, elevating simple staples into gourmet treats.
- Elevate Your Dairy: Drizzle this heavenly cherry jam over a bowl of creamy Greek yogurt, plain natural yogurt, or even cottage cheese for a burst of fruity sweetness. It’s also an incredible topping for a scoop of 🍦 vanilla ice cream, creating an instant dessert masterpiece.
- Baking and Pastry Filling: Use this jam as a delicious filling for a variety of baked goods. It’s perfect inside tarts, thumbprint cookies, or as a vibrant layer in cakes and pastries. My absolute favorite way to use this jam is as a filling for my homemade crepes, transforming them into a truly decadent experience.
- Savory Pairings: Don’t limit jam to sweet applications! Cherry jam makes an excellent addition to a cheese board, pairing beautifully with soft cheeses like brie or tangy goat cheese. You can also warm it slightly and use it as a glaze for roasted pork or chicken, adding a sweet and tart counterpoint to savory meats.
- Cocktails and Beverages: For a refreshing twist, stir a spoonful of cherry jam into sparkling water or iced tea. It can also be muddled into cocktails for a sophisticated fruity note.
Frequently Asked Questions About Homemade Cherry Jam
For efficiency when dealing with a large batch of cherries, investing in a good quality cherry pitter is highly recommended. My go-to is the OXO Cherry Pitter, which makes quick work of this otherwise tedious job, saving you time and effort.
Proper sterilization is crucial for safe, long-term preservation. Line the bottom of a large pot with a rack, paper towels, or a linen towel to prevent jars from directly touching the pot and potentially cracking. Fill the pot with enough water to cover the jars. Gently add your clean, empty jars and bring the water to a boil, letting the jars boil for at least 5 minutes. Remove carefully with tongs and allow to air dry or use immediately while hot.
When properly canned and sealed using a water bath canning method, your homemade cherry jam will last for months, typically up to a year, when stored in a cool, dark pantry. Once opened, store the jar in the refrigerator and consume within 2-3 weeks.
Absolutely! For detailed instructions and valuable tips on how to properly can and preserve jam, including advanced techniques and safety guidelines, we recommend consulting reliable resources such as this helpful guide: https://www.thekitchn.com/water-bath-canning-beginners-22936602.
The multi-stage cooking process is the secret to this jam’s superior texture. By cooking the cherries in three separate 5-minute intervals with complete cooling periods in between, we achieve two main goals: it helps to preserve the cherries’ beautiful whole shape, preventing them from breaking down into a complete puree, and it allows the fruit to slowly absorb the sugar, intensifying flavor and resulting in a gloriously chunky and juicy jam.
For cherry jam, both sweet and tart (sour) cherries work wonderfully. Sweet cherries like Bing or Rainier will produce a sweeter jam. Tart cherries like Montmorency are ideal for a jam with a brighter, more tangy flavor. A mix of both can also create a perfectly balanced taste.
There are a few ways to check for a proper set. The “wrinkle test” is common: place a small plate in the freezer before you start cooking. When you think the jam is ready, spoon a small amount onto the cold plate, wait 30 seconds, then push it with your finger. If the surface wrinkles, it’s set. Another method is using a candy thermometer; jam is often set when it reaches 220°F (104°C).
If your jam doesn’t set to your desired consistency, don’t despair! You can often re-cook it. Return the jam to the pot, bring it back to a boil, and cook for another 5-10 minutes, checking for the set as you go. You can also add a small amount of commercial pectin mixed with a tablespoon of sugar according to package directions, then bring to a boil for one minute. Alternatively, if it remains too thin, it makes a fantastic cherry syrup or topping for ice cream!
While you can reduce the sugar, it plays a critical role in preservation and gelling. Significant reductions can affect the jam’s shelf life and may require the addition of low-sugar pectin or a guarantee of refrigeration. This recipe provides a balanced sweetness that allows the natural cherry flavor to shine without being overly sugary.
Homemade Cherry Jam
★
★
★
☆
Facebook Share
Rate Recipe
Print Recipe
Video
Equipment
Ingredients
- 6 cups fresh cherries
- 2 cups sugar
- 1 tablespoon fresh lemon juice
Instructions
-
Remove the stems from the cherries and wash them thoroughly. Use a cherry pitter or remove the pits by hand. Add the pitted cherries to a large pot, along with the sugar and lemon juice. Bring to a boil over medium-high heat and stir continuously for 5 minutes.
-
Remove the pot from the heat and let the mixture cool completely. Once cooled, repeat this same step again: bring the mixture to a boil over medium-high heat, stirring continuously for 5 minutes, and then cool the mixture completely again.
-
Once the cherries are cooled for the second time, place the pot back on the stove and bring them to a boil again as you stir for the last time for another 5 minutes.
-
The total cooking time for this jam is 15 minutes, broken into three 5-minute intervals, with full cooling periods in between. The primary reason for separating the cooking time into three parts is to keep the cherries intact and whole, yielding a beautifully chunky jam.
-
After the cherries have boiled for the third time, carefully skim off any foam that forms on top for a clearer, more appealing jam.
-
Now, fill your sterilized jars with the hot jam, ensuring you leave approximately 1/4 inch of room at the top for proper sealing.
-
Wipe the rims of the jars clean with a damp paper towel. Place the lids on tightly, and then flip the jars upside down. Cover them with a clean towel and let them rest overnight to cool and seal naturally. The next day, store the sealed jars in a cool, dark place. Once a jar is opened, it must be stored in the fridge.
Nutrition
Nutrition information is automatically calculated, so should only be used as an approximation.
Additional Info
Making your own cherry jam is a truly rewarding experience, transforming simple fruit into a pantry staple that brings joy with every spoonful. This recipe, with its emphasis on preserving the whole cherry, delivers a jam that is not only bursting with fresh flavor but also boasts an irresistible chunky texture. Whether you’re an experienced canner or a novice home cook, this guide provides all the tools you need to create a batch of homemade cherry jam that will impress and delight. So, grab those seasonal cherries, and get ready to capture the taste of summer!