
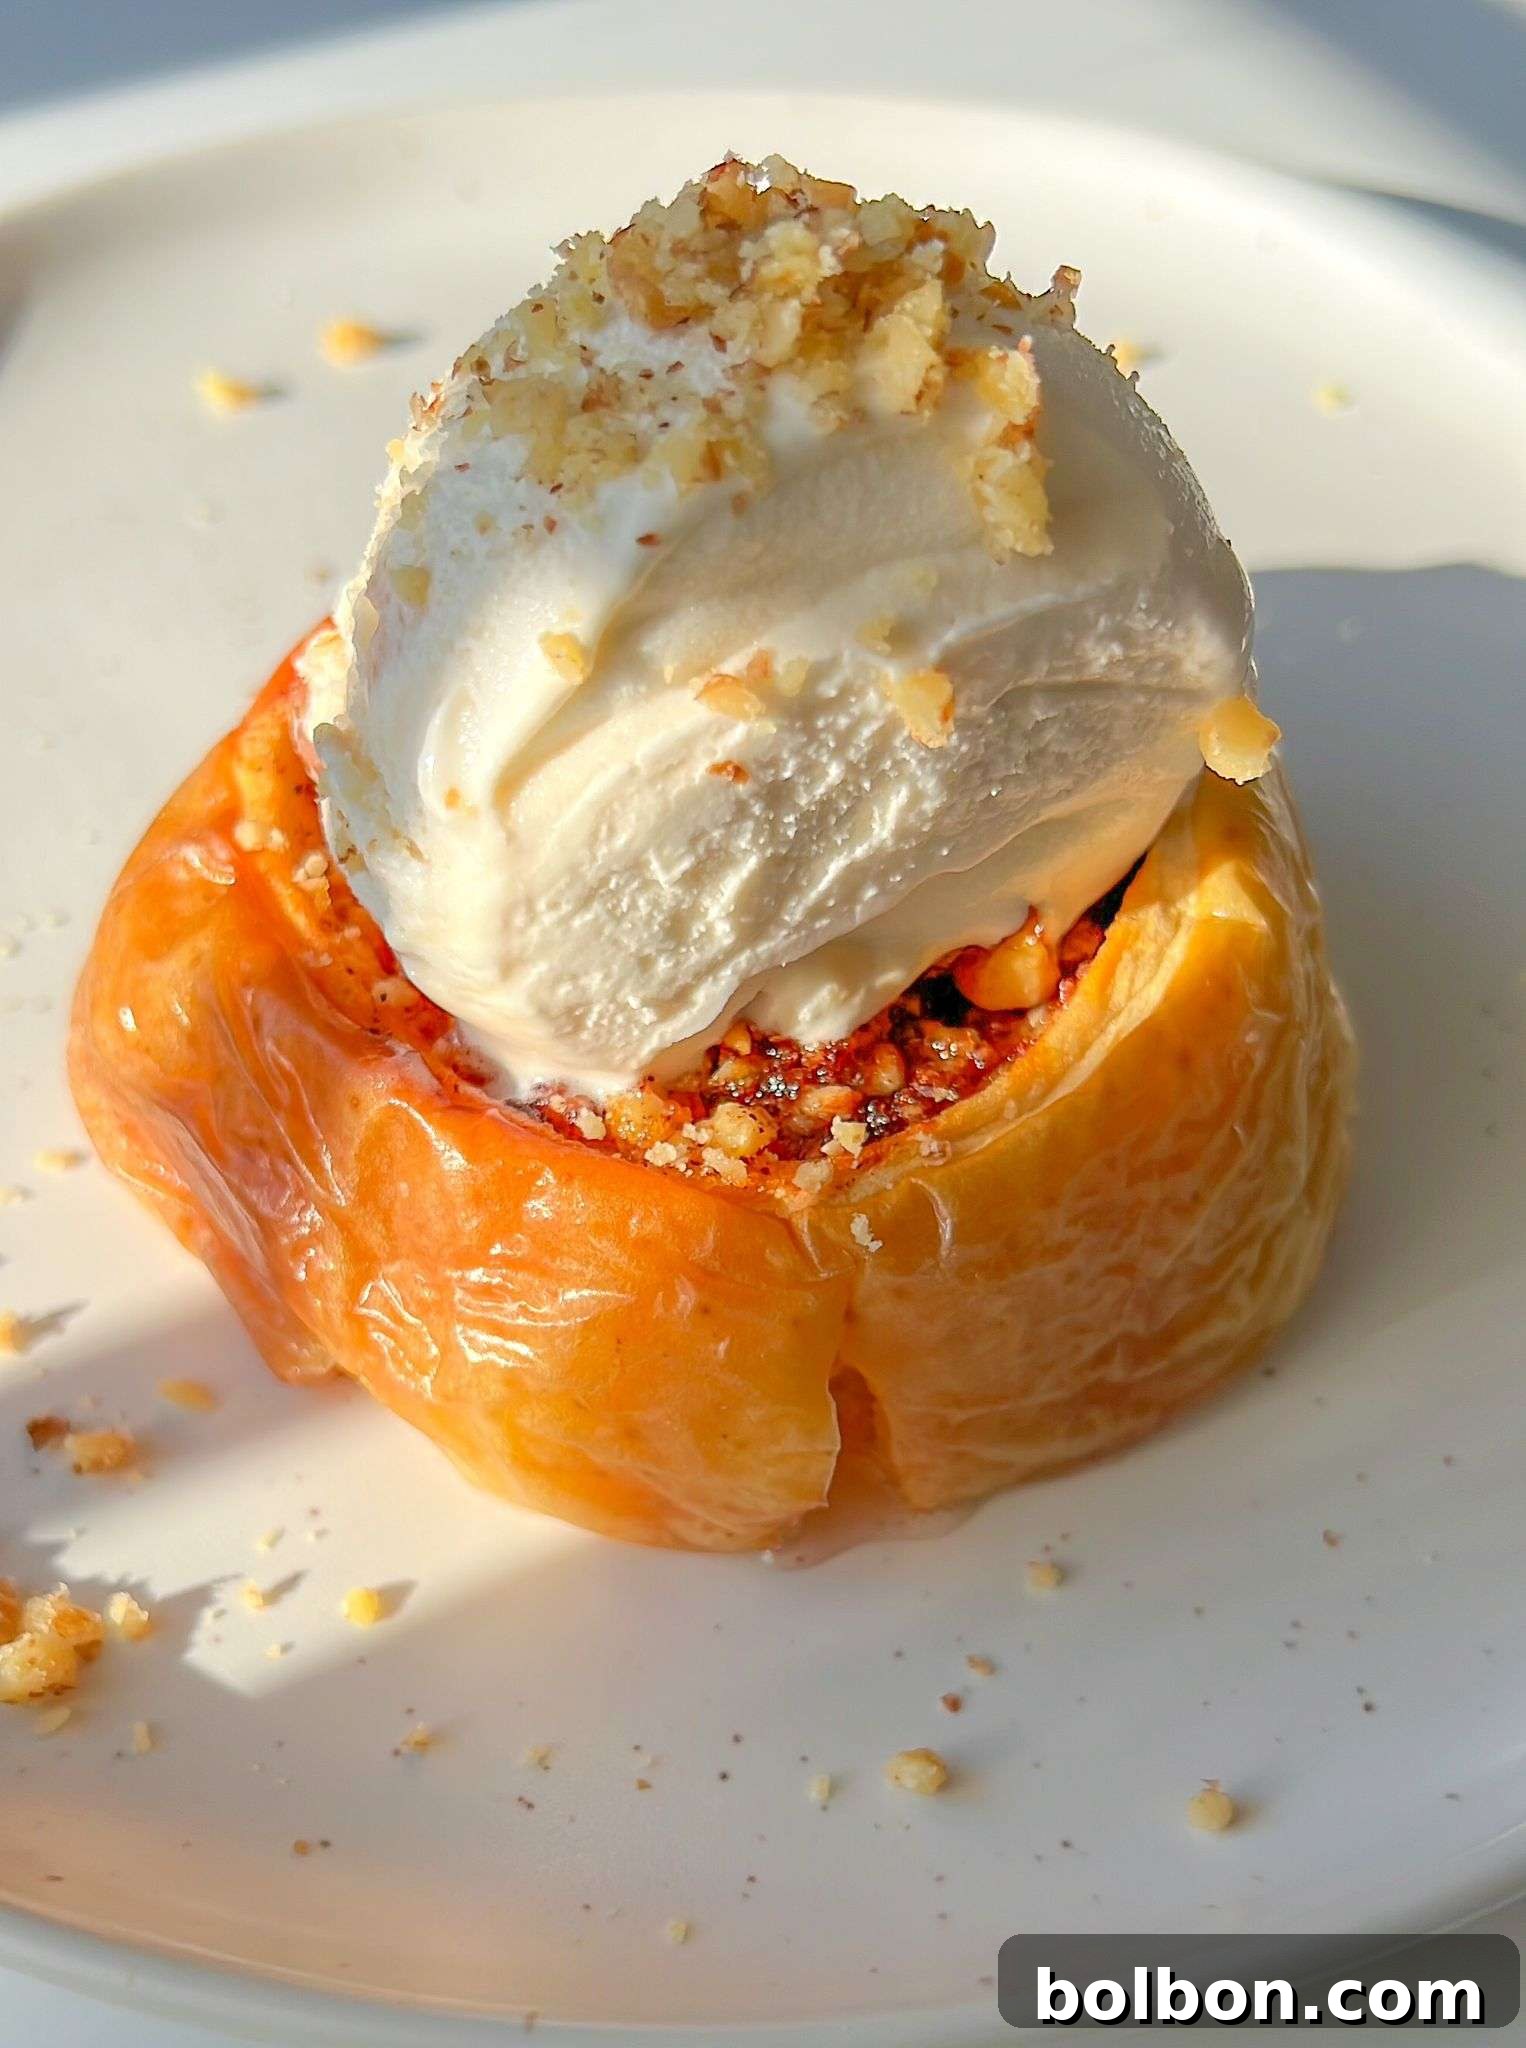
There are some recipes that do more than just nourish the body; they feed the soul and evoke a profound sense of nostalgia. For me, that recipe is my Bapche’s 👵🏽 (grandma’s) exquisite stuffed baked apples 🍎, adorned with rich walnuts and sweet honey 🍯. It’s a dish so deeply intertwined with my memories that creating this recipe’s accompanying video, filmed in a heartfelt ASMR style, was the only way to convey its emotion without my voice cracking. February 14, 2023, marked one year since my cherished grandma’s passing, and not a single day passes without her presence in my thoughts, her gentle voice echoing in my mind. Both of my grandmothers were foundational figures in my life, leaving an indelible imprint on my heart and shaping the person I am today.
This recipe is more than just food; it’s a tribute. It’s a loving remembrance for those who departed too soon and for the beloved family members who paved the way, enriching our lives and inspiring us to become better. I acknowledge their enduring spirit, feel their guiding presence, and know that our angels are always with us 🙏! Today, I choose to honor my Bapche by sharing one of her most treasured recipes, a culinary legacy passed down from my great-grandmother. These delightful baked apples instantly transport me back to my childhood home, where their warm, inviting aroma was a daily comfort. It’s a scent that embodies love, family, and home, and I sincerely hope you find as much joy in it as I do. Obicham te Bapche (I love you, Grandma). If this recipe touches your heart, please feel free to share it with your loved ones and let me know your thoughts in the comments below.
Why You’ll Adore These Stuffed Baked Apples
These stuffed baked apples aren’t just a dessert; they are an experience—a harmonious blend of comforting flavors and wholesome ingredients that appeal to all senses. You’ll quickly fall in love with this recipe for numerous reasons. Firstly, it offers a perfect balance of sweetness and tartness, making it incredibly satisfying without being overly heavy. The natural sugars in the apples caramelize beautifully, complemented by the hint of brown sugar and the luxurious drizzle of honey. The addition of crunchy walnuts provides a wonderful textural contrast, while cinnamon adds a warm, inviting spice that truly defines autumn and winter seasons.
Beyond the taste, this recipe is remarkably simple to prepare, requiring minimal effort for maximum reward. It’s a dish that can grace a festive holiday table or serve as a wholesome, heartwarming treat on a quiet weeknight. Furthermore, baked apples are inherently versatile. They can be customized to suit various preferences and dietary needs, as you’ll see in our substitutions section. They are also packed with natural goodness; apples are rich in fiber and vitamins, walnuts offer healthy fats and protein, and honey provides natural sweetness. This makes them a more mindful dessert option compared to many others. Finally, the aroma that fills your kitchen as these apples bake is pure magic—a comforting fragrance that will make your home feel inviting and cozy, evoking cherished memories and creating new ones.
The Art of Preparing Perfect Stuffed Baked Apples
Crafting these delicious stuffed baked apples is a straightforward and enjoyable process. Follow these detailed steps to ensure your apples are perfectly prepared and baked to a golden, tender perfection, ready to be savored.
Step 1: Preheat the Oven: Begin by setting your oven to 400°F (200°C). Allowing the oven to fully preheat ensures that your apples start baking immediately at the correct temperature, leading to even cooking and a beautifully caramelized exterior. This initial step is crucial for achieving the desired texture and tenderness.
Step 2: Prepare the Apples: Select firm, blemish-free apples. Wash and dry each apple thoroughly to remove any surface impurities. Using a sharp, sturdy knife 🔪, carefully slice off a small, even portion from the top of each apple. This creates a stable base for the apple to stand upright during baking and exposes the core for easy removal.
Step 3: Core the Apples with Precision: To create a generous cavity for our delectable filling, use a small teaspoon, a vegetable peeler, or ideally, a melon baller, to scoop out the core from the center of each apple. Exercise caution to avoid puncturing through the bottom of the apple, as this would allow the filling to escape. Your goal is to create a neat, hollow space that can hold plenty of filling while keeping the apple intact.
Step 4: Prepare the Baking Pan: Line a suitable baking pan with parchment paper. This simple step is a game-changer; it prevents the apples from sticking to the pan, makes cleanup effortless, and helps ensure even heat distribution. Arrange each cored apple securely in the pan, making sure they fit snugly without the risk of toppling over during the baking process.
Step 5: Master the Filling: Now for the heart of the dish! In the hollowed center of each apple, lovingly place a generous tablespoon of coarsely crushed walnuts. Follow this with a teaspoon of brown sugar or coconut sugar for a rich, sweet base. Add a delicate pinch of ground cinnamon to infuse a warm, aromatic spice. For an extra layer of sweetness and depth, consider drizzling a bit of honey 🍯 over the filling in each apple—a truly optional but highly recommended touch. Finally, crown each apple with a small teaspoon of butter or a dairy-free alternative like coconut oil. This fat will melt into the filling, creating a moist, flavorful center.
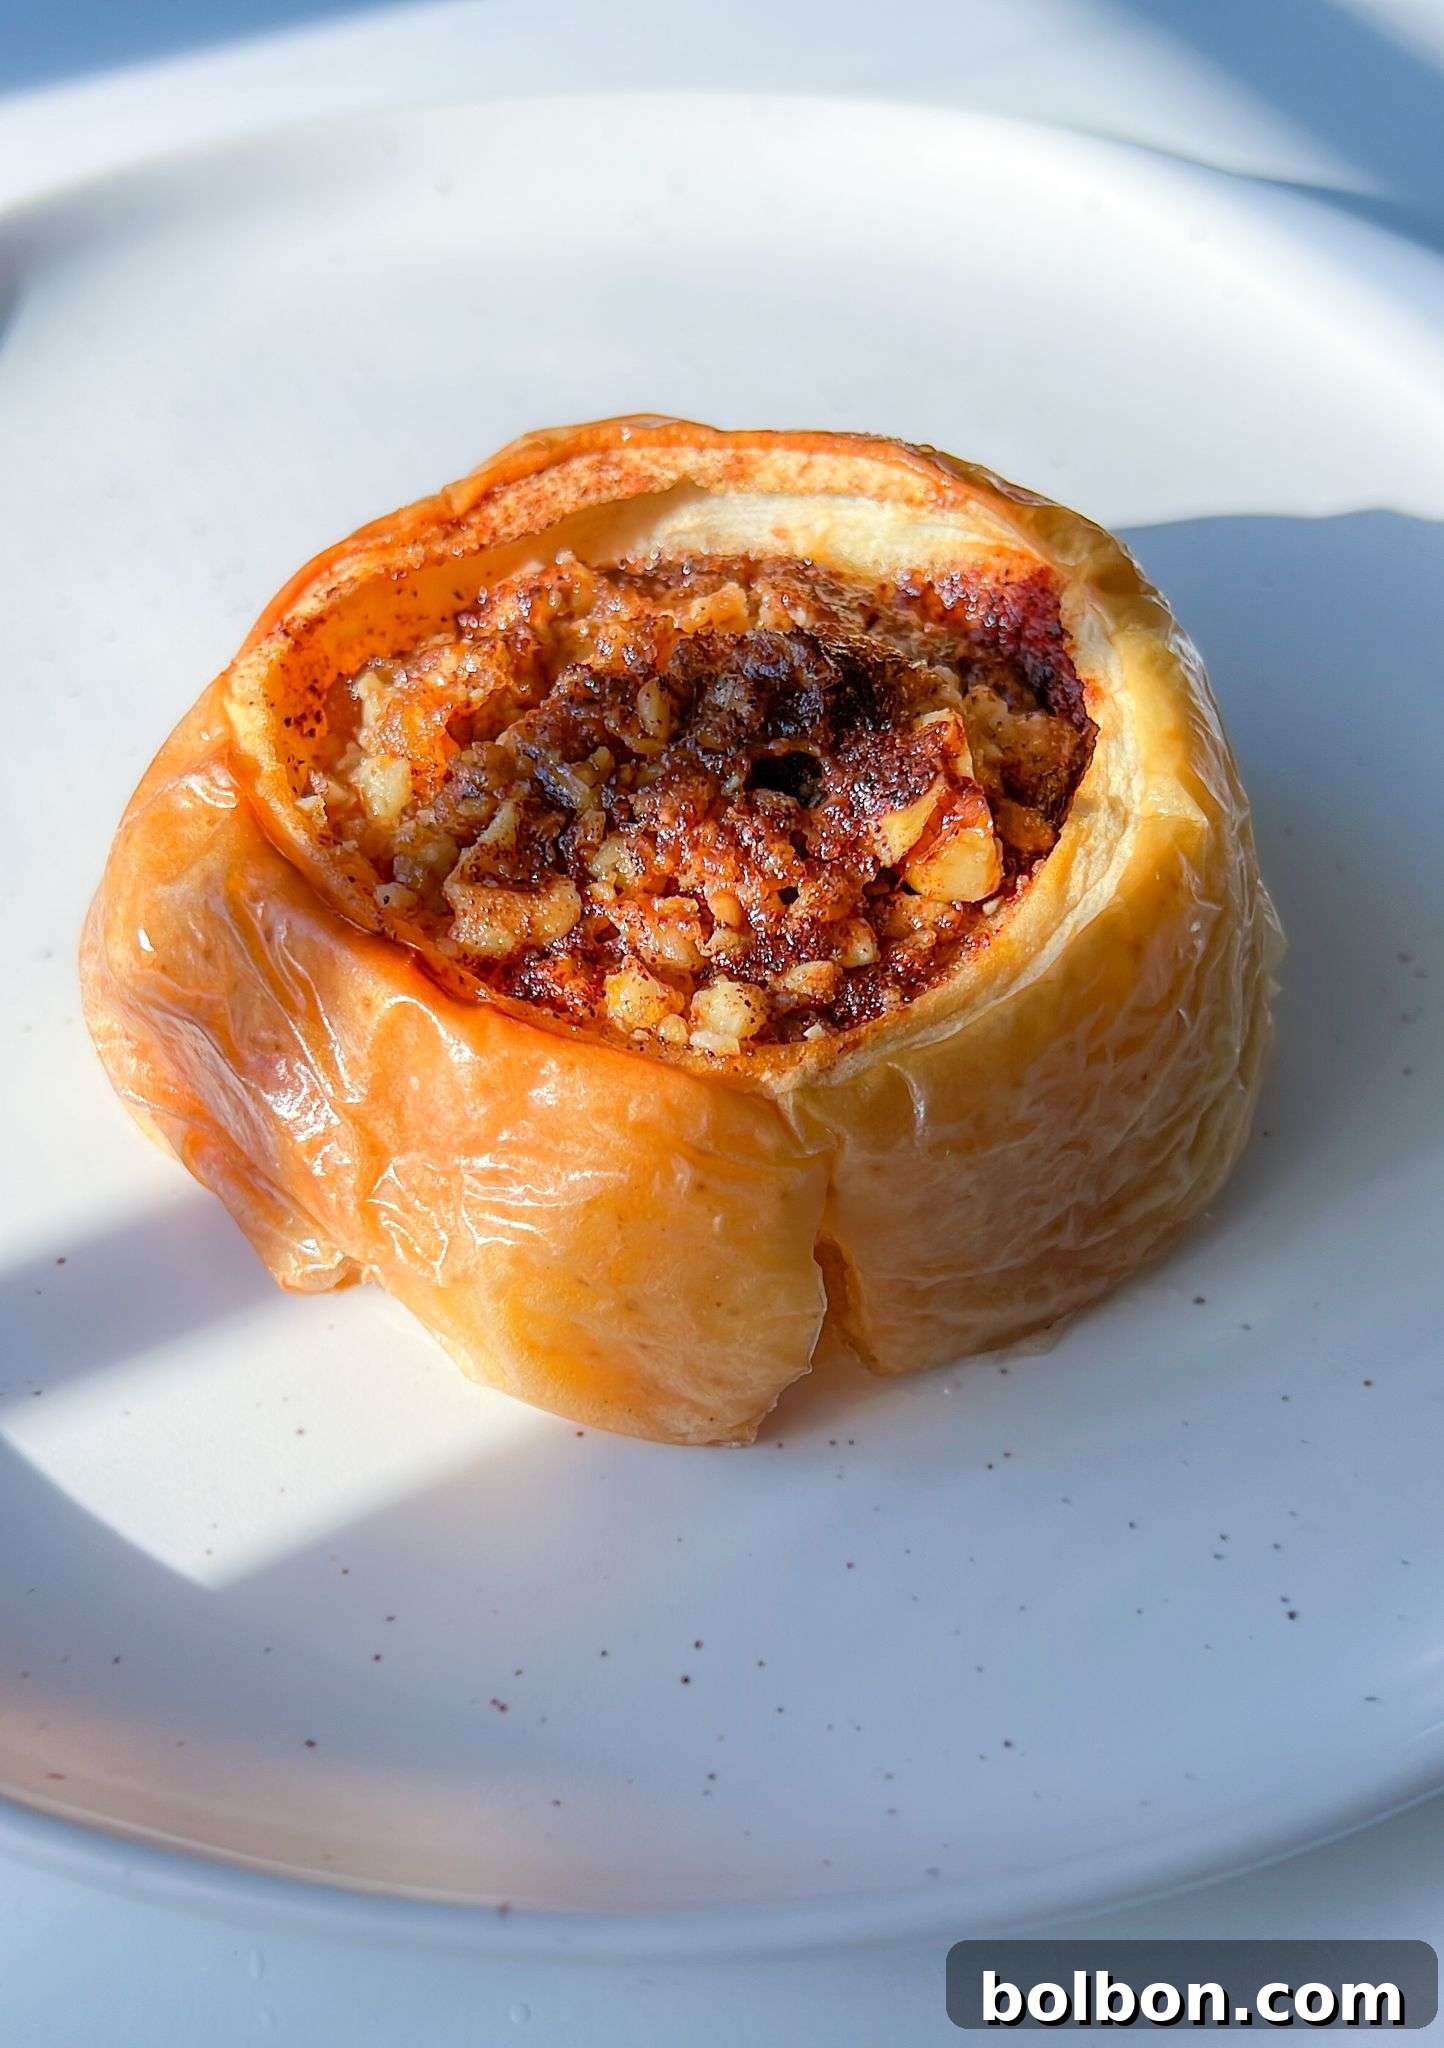
Step 6: Bake to Perfection: You have two excellent options for baking these stuffed apples, both yielding delicious results. You can choose to bake the apples uncovered for approximately 50 to 60 minutes. This method typically results in a slightly more caramelized and browned exterior. Alternatively, you can cover the baking pan with foil and bake for a shorter duration of 35 to 40 minutes. Covering the apples helps to steam them, making them incredibly tender. The choice between covered and uncovered baking largely depends on your desired texture and aesthetic. Throughout the baking process, it’s essential to keep a close eye on the apples, as exact baking times can vary significantly based on your specific oven and the apple variety used. You’ll know your baked apples are perfectly ready when they become wonderfully soft to the touch, develop a slightly darkened, amber hue, and partially collapse, indicating their tender, cooked state.
Step 7: Serve and Indulge: Once your aromatic baked apples are ready, carefully remove them from the oven. Allow them to cool slightly before serving, as the filling will be very hot. You can serve these magnificent apples as they are, enjoying their natural sweetness and comforting warmth. For an undeniably decadent and utterly delightful experience, consider pairing them with a generous scoop of your favorite vanilla ice cream 🍨. The cold, creamy ice cream beautifully contrasts the warm, tender apples, creating a dessert that is both sophisticated and incredibly comforting.
Choosing the Perfect Apples for Baking
The success of any baked apple recipe begins with selecting the right apple variety. While many apples are delicious for eating raw, some are better suited for the heat of the oven, holding their shape and developing a superior flavor and texture. Here’s what to look for and some top recommendations:
- Firm Texture: Choose apples that are firm and crisp, as they will soften but not turn into mush during baking. Softer varieties tend to break down too much.
- Balanced Flavor: Apples with a good balance of sweet and tart notes work best. The tartness prevents the dessert from being overly sweet and adds complexity to the final flavor.
- Popular Choices:
- Honeycrisp: As mentioned in the original recipe, Honeycrisp apples are an excellent choice. They are known for their crisp texture, sweet-tart flavor, and ability to hold their shape well when baked.
- Granny Smith: If you prefer a distinctly tart apple, Granny Smith is ideal. Its firm texture and sharp flavor provide a wonderful contrast to the sweet filling, and it holds up exceptionally well under heat.
- Fuji: For those who favor a sweeter baked apple, Fuji is a fantastic option. It’s naturally sweet, crisp, and maintains its form beautifully after baking.
- Braeburn: These apples offer a pleasant sweet-tart flavor and a firm texture, making them versatile for many baked applications.
- Rome Beauty: Often considered the quintessential baking apple, Rome Beauty apples are known for their round shape, mild flavor, and ability to cook evenly without falling apart.
Experiment with different varieties to discover your personal favorite, or even combine a couple of types for a more complex flavor profile in your baked apples.
The Wholesome Goodness: Benefits of Walnuts, Honey, and Apples
Beyond their incredible taste, these stuffed baked apples are packed with nourishing ingredients that offer wonderful health benefits. Enjoying this dessert is not just a treat for your palate, but also a boost for your well-being.
- Apples: Often lauded as a “superfood,” apples are a fantastic source of dietary fiber, particularly pectin, which aids in digestive health and helps regulate blood sugar levels. They are also rich in antioxidants, like quercetin and catechin, which help combat oxidative stress and inflammation. Apples provide essential vitamins such as Vitamin C, boosting immunity, and potassium, important for heart health.
- Walnuts: These brain-shaped nuts are a powerhouse of nutrition. They are an excellent source of omega-3 fatty acids, particularly alpha-linolenic acid (ALA), which is beneficial for heart health and reducing inflammation. Walnuts are also rich in antioxidants, protein, and fiber, contributing to satiety and overall digestive wellness. Including walnuts can support brain function, making them a smart addition to any diet.
- Honey: Nature’s sweetener, honey, offers more than just delicious flavor. It contains antioxidants and possesses antibacterial and anti-inflammatory properties. While it is a sugar, using it in moderation adds a natural depth of sweetness and a unique flavor profile that refined sugars cannot replicate. Opt for raw, local honey for maximum benefits.
Combining these ingredients creates a dessert that is not only delicious and comforting but also provides a range of beneficial nutrients, making it a truly wholesome indulgence.
Substitutions and Variations to Customize Your Baked Apples
One of the many charms of baked apples is their adaptability. This recipe is an excellent foundation, but don’t hesitate to get creative and tailor it to your personal taste, dietary needs, or what you have on hand. Here are some fantastic ideas for substitutions and variations:
- Apple Varieties: While Honeycrisp apples are excellent for their crisp texture and balanced flavor, the world of apples offers many other wonderful choices. For a distinct tart contrast that pairs beautifully with sweet fillings, opt for Granny Smith apples. If you prefer a naturally sweeter profile, Fuji or Gala apples would be delightful. Braeburn and Rome Beauty are also robust choices that hold their shape exceptionally well during baking.
- Nut Substitutions: If you have allergies, specific preferences, or just want to try something different, crushed walnuts can easily be replaced. Consider pecans for a buttery, rich flavor, almonds for a slightly sweeter and more delicate crunch, or even toasted hazelnuts for an earthy, aromatic twist. For a nut-free option, finely blended pumpkin seeds or sunflower seeds can provide a similar texture and nutritional boost.
- Sweeteners: The brown sugar in this recipe provides a deep, molasses-like sweetness. However, you can certainly use other sweeteners. Maple syrup or agave nectar can be drizzled into the apple cavity for a liquid sweetener alternative, adding their own unique flavor notes. For a lower-sugar option, natural sugar substitutes like erythritol or stevia blends can be used, adjusting the amount to taste.
- Spices: Cinnamon is a classic pairing for apples, but don’t limit yourself! Experiment with different spices to create unique flavor profiles. A pinch of nutmeg will add a warm, slightly nutty undertone. Allspice or ground cloves can introduce a deeper, more complex holiday flavor. Cardamom offers a beautiful floral and citrusy aroma, while a tiny touch of ginger can add a gentle warmth and zing. You can use these in addition to or as alternatives to cinnamon.
- Butter Substitutes: For those avoiding dairy or seeking a vegan option, butter can be easily replaced. Vegan butter alternatives are readily available and work wonderfully to provide richness. Coconut oil is another excellent choice; it imparts a subtle tropical hint and contributes healthy fats to the dish.
- Dried Fruit Additions: For extra texture and sweetness, consider adding a tablespoon of dried cranberries, raisins, or chopped dried apricots to the walnut filling. They soften beautifully during baking and infuse additional flavor.
- Citrus Zest: A touch of orange or lemon zest in the filling can brighten the flavors and add a refreshing aromatic note.
- Boozy Kick (Adults Only): For a more sophisticated dessert, a tiny splash of rum, brandy, or even an apple liqueur can be drizzled into the apple cavity before baking, adding a delightful warmth and complexity.
Serving Suggestions for Your Baked Apple Masterpiece
While these stuffed baked apples are absolutely divine on their own, a few thoughtful additions can elevate them from a simple dessert to an unforgettable culinary experience. Here are some ideas to inspire your serving presentation:
- Classic Vanilla Ice Cream: As mentioned, a scoop of creamy vanilla ice cream is a timeless pairing. The cold, melting ice cream beautifully contrasts the warm, tender apples and rich filling.
- Whipped Cream: A dollop of freshly whipped cream, perhaps lightly sweetened and flavored with a hint of vanilla or cinnamon, adds a luxurious lightness to the dish.
- Greek Yogurt: For a healthier and tangy option, serve your baked apple with a spoonful of plain Greek yogurt. It provides a creamy texture and a pleasant tartness that cuts through the sweetness.
- Caramel Sauce: A drizzle of warm homemade or store-bought caramel sauce takes these apples to a new level of indulgence. The buttery, sweet notes of caramel perfectly complement the apple and walnut flavors.
- Dusting of Powdered Sugar: A simple dusting of powdered sugar adds an elegant finish and a touch of extra sweetness.
- Granola or Toasted Oats: For added crunch and a breakfast-for-dessert vibe, sprinkle some crunchy granola or toasted rolled oats over the top.
- Cheese Pairing: For an unexpectedly sophisticated pairing, serve a small slice of sharp cheddar cheese alongside your warm baked apple. The salty, savory cheese creates a delightful contrast with the sweet fruit.
- Nut Butter Drizzle: A light drizzle of almond butter or cashew butter can add extra protein and healthy fats, along with a creamy texture.
No matter how you choose to serve them, these baked apples are sure to impress and provide a comforting end to any meal.
Storage and Reheating Tips
One of the best things about these stuffed baked apples is that they taste just as wonderful (if not more so!) the next day. Here’s how to properly store and reheat them:
- Storing Leftovers: Allow any leftover baked apples to cool completely to room temperature. Transfer them to an airtight container and store in the refrigerator for up to 3-4 days. While the texture might soften slightly, the flavors will often meld and deepen.
- Freezing: If you wish to store them for a longer period, individual baked apples can be frozen. Once cooled, wrap each apple tightly in plastic wrap, then again in aluminum foil, or place them in a freezer-safe bag or container. They can be frozen for up to 2-3 months. Thaw in the refrigerator overnight before reheating.
- Reheating in the Oven: This is generally the best method for reheating, as it helps the apples retain their structure and warmth evenly. Place the apples in an oven-safe dish, cover loosely with foil (especially if they seem a bit dry), and reheat in a preheated oven at 350°F (175°C) for 15-25 minutes, or until heated through.
- Reheating in the Microwave: For a quicker option, individual apples can be reheated in the microwave. Place one apple on a microwave-safe plate and heat on medium power for 1-2 minutes, or until warm. Be careful not to overheat, as this can make the apples mushy.
Reheating them gently ensures you can enjoy the comforting taste of these baked apples for days after they are first made.
Common Questions About Baked Apples
While you can certainly experiment with various apple types, certain varieties perform better in baking. Apples that hold their shape well and offer a good balance of sweet and tart flavors are ideal. Honeycrisp apples, as used in this recipe, are a fantastic choice for their crisp texture and sweet-tart profile. Granny Smith apples are excellent if you prefer a more pronounced tartness that beautifully cuts through the sweet filling. Fuji or Gala apples are great if you lean towards a sweeter baked apple. Avoid apples that are too soft or mealy, as they can turn to mush during baking. Ultimately, choose your favorite firm apple variety, keeping in mind that the overall sweetness of the final dish might vary.
Absolutely! This recipe already incorporates wholesome ingredients, but you can definitely enhance its health benefits. To make them even healthier, focus on natural, nutrient-dense additions. I recommend emphasizing the use of beneficial ingredients like walnuts for healthy fats and protein, and adding a generous amount of ground cinnamon, which is known for its antioxidant and anti-inflammatory properties. Instead of butter, opt for coconut oil, a good source of medium-chain triglycerides. After the apples are baked, a tiny drizzle of raw, unprocessed honey adds natural sweetness and additional antioxidants without excessive sugar. You can also reduce the amount of brown sugar or use a natural, low-calorie sweetener like erythritol.
Yes, this recipe can easily be adapted to be completely nut-free without compromising on texture or flavor. Instead of crushed walnuts, you can use an equal amount of finely blended pumpkin seeds or sunflower seeds. These seeds offer a similar satisfying crunch and a wealth of nutrients, including healthy fats, protein, and minerals. Ensure that you blend them until they reach a consistency similar to crushed nuts for the best results in the filling. Always check the labels of all ingredients to confirm they are processed in a nut-free facility if severe allergies are a concern.
Both covered and uncovered baking methods work wonderfully for these stuffed apples, and the choice depends largely on your desired outcome. Baking the apples covered for approximately 35-40 minutes typically results in a softer, more steamed apple, retaining more moisture. This is great if you prefer a very tender texture. Baking them uncovered for 50-60 minutes, on the other hand, allows for more caramelization on the apple’s skin and a slightly more concentrated flavor. Both approaches yield delicious results, so feel free to experiment. Regardless of the method, it’s crucial to monitor your apples closely, as every oven behaves differently and baking times can vary.
Several factors can influence the precise baking time of your stuffed apples. The most significant factors include the specific variety and size of the apples you choose – larger, denser apples will naturally take longer to cook than smaller ones. The thickness and material of your baking dish also play a crucial role; thicker, heavier dishes (like ceramic or cast iron) tend to absorb and retain heat more, potentially requiring slightly longer cooking times, while thinner metal baking dishes may cook faster. Additionally, individual oven calibration can vary, so an oven thermometer is a useful tool to ensure accuracy. Always keep a watchful eye on your apples, looking for signs of tenderness, a darkened skin, and slight collapsing, which indicate they are perfectly baked.
Yes, these stuffed baked apples are an excellent make-ahead dessert! You can prepare them completely, bake them, and then store them for enjoyment later. To store, allow the baked apples to cool fully to room temperature, then transfer them to an airtight container and refrigerate for up to 3-4 days. When you’re ready to serve, reheating them in the oven is the best method to restore their warmth and tender texture. Simply place them in an oven-safe dish, cover loosely with foil to prevent drying out, and reheat at 350°F (175°C) until warmed through, usually about 15-25 minutes. This makes them perfect for entertaining or enjoying as a convenient treat throughout the week.
Yes, this recipe should adapt beautifully to an air fryer, offering a quicker cooking time and potentially a crispier exterior. While I haven’t specifically tested this version myself, the principles of air frying suggest it would work well. To prepare in an air fryer, follow the same preparation steps for the apples and filling. Place the stuffed apples in the air fryer basket, ensuring they are in a single layer and not overcrowded. Start by air frying at a slightly lower temperature, perhaps around 350°F (175°C), and check for tenderness after about 15-20 minutes, adjusting time as needed. The exact timing will depend on your air fryer model and apple size, so regular checks are key to achieving perfectly baked apples.
Baked Apples
Facebook Share
Rate Recipe
Print Recipe
Video
Equipment
Ingredients
- 4 apples , honeycrisp or your favorite firm variety
- 4 tbsp walnuts, crushed
- 4 tsp brown sugar, or coconut sugar
- ground cinnamon , to taste
- honey, optional, for drizzling
- 4 tsp butter, or coconut oil
- ice cream , for serving (optional)
Instructions
- Preheat your oven to 400°F (200°C).
- Thoroughly wash and dry the apples. Carefully slice off a small, stable portion from the top of each apple.
- Using a small teaspoon or a melon baller, gently scoop out the core from each apple, creating a hollow for the filling. Be careful not to puncture the bottom. You can snack on any edible apple scraps or use them in a smoothie.
- Line a baking pan with parchment paper and arrange the cored apples inside, ensuring they stand upright.
- Into the center of each apple, add a heaping tablespoon of crushed walnuts, followed by 1 teaspoon of brown sugar, a dash of ground cinnamon, a tiny drizzle of honey (if using), and finally, 1 teaspoon of butter or coconut oil.
- Bake the apples: You can choose to bake them uncovered for 50 to 60 minutes for a more caramelized exterior, OR covered with foil for 35 to 40 minutes for a very tender result. Both methods work beautifully. Keep a close watch as baking times can vary greatly depending on your oven and the type of apple. The apples are ready when they are soft, slightly darkened, and have partially collapsed.
- Remove from the oven and serve immediately. They are delicious as is, or you can elevate the experience with a scoop of your favorite ice cream.
Nutrition Information
Carbohydrates: 30g,
Protein: 2g,
Fat: 11g,
Saturated Fat: 3g,
Polyunsaturated Fat: 5g,
Monounsaturated Fat: 2g,
Trans Fat: 0.2g,
Cholesterol: 11mg,
Sodium: 35mg,
Potassium: 245mg,
Fiber: 5g,
Sugar: 23g,
Vitamin A: 225IU,
Vitamin C: 9mg,
Calcium: 25mg,
Iron: 1mg
Nutrition information is an approximation and can vary based on ingredients used and portion sizes.