
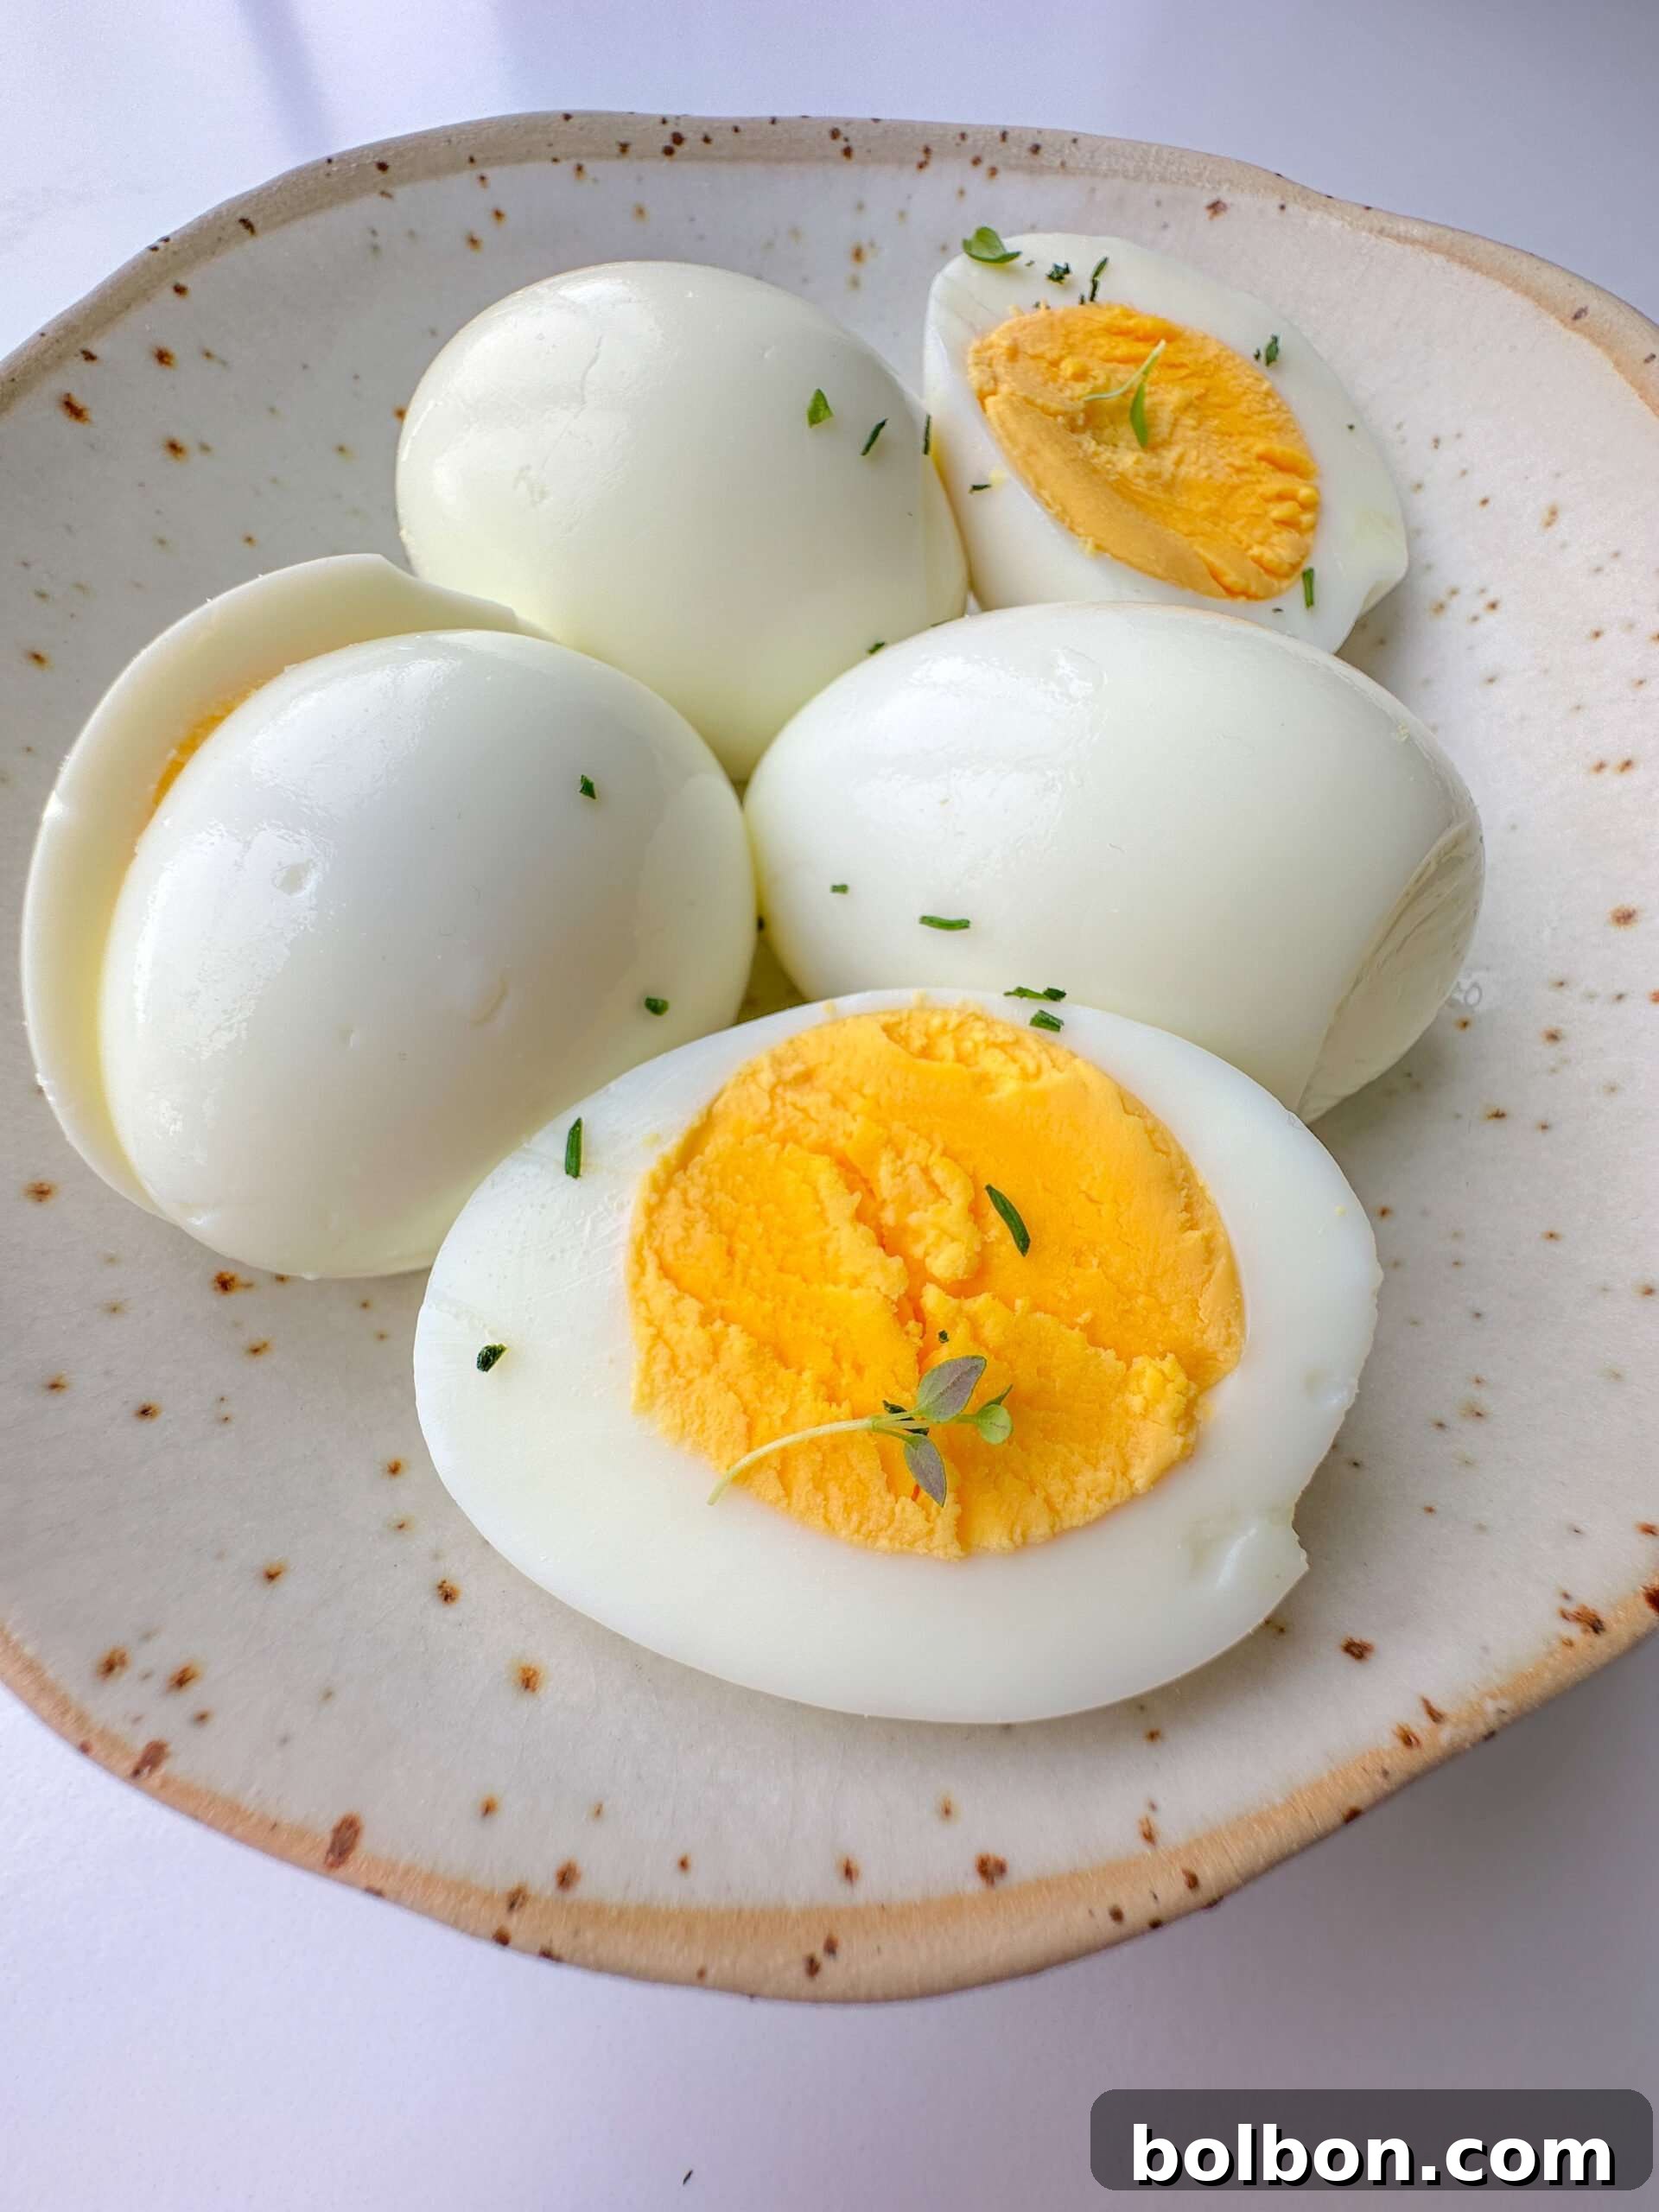
Few things are as frustrating in the kitchen as trying to peel a hard-boiled egg, only to have half the egg white tear away with the shell. It’s a universal kitchen woe that many home cooks face, leading to messy eggs and wasted effort. But what if there was a simple, fail-proof method that guaranteed perfectly smooth, easy-to-peel hard boiled eggs every single time? You’re in luck! This guide will share my absolute best tricks and tips to achieve pristine hard-boiled eggs without any shell sticking whatsoever 🥚. Forget those common suggestions like adding baking soda, vinegar, or salt to the boiling water – while some swear by them, my method is so reliable that I haven’t needed to try them. Get ready to transform your egg-boiling game and impress yourself with consistently clean peels and beautiful eggs. I can’t wait to hear if this trick works wonders for you, or if you have any secret hard-boiled egg wisdom to share!
Why You’ll Love This Easy Peel Hard Boiled Egg Method
This “Easy Peel Hard Boiled Eggs” recipe isn’t just about avoiding frustration; it’s about achieving culinary perfection and streamlining your kitchen routine. With this method, you’ll consistently produce silky, smooth eggs that are a joy to behold and eat 🥚. Follow these straightforward steps 100%, and you can permanently banish the worry of stubborn shells and unsightly, broken eggs from your cooking vocabulary. This isn’t just a recipe; it’s a game-changer for anyone who loves efficiency and quality in their food preparation.
Effortless Meal Prep Made Simple
For those who embrace meal prep, this hack is a true time-saver. Imagine preparing a batch of eggs for the entire week and peeling them in mere moments, without any of the usual fuss. This efficiency frees up precious time, allowing you to focus on other aspects of your meal planning or simply giving you more moments to relax. Hard-boiled eggs are a versatile, protein-packed addition to countless meals, and making them easily accessible enhances their value significantly. This method will simplify your routine, making healthy eating more attainable and enjoyable.
Impressive Presentation for Any Occasion
Whether you’re serving hard-boiled eggs as a simple, nutritious breakfast, creating elegant deviled eggs for a gathering, or adding them to a vibrant salad, their appearance matters. This method guarantees that your eggs will look absolutely fantastic on the plate ☀️. No more ragged edges or chunks missing from the whites. Each egg will emerge smooth and intact, ready to be showcased in any dish you choose, elevating both the taste and visual appeal of your culinary creations. From a simple snack to a gourmet appetizer, presentation will always be on point.
“I absolutely needed this hack in my life! Thank you so much! 🙌 My eggs have never looked better and peeling them is no longer a chore.”
– AJ
The Secret to Flawless Hard Boiled Eggs: Ingredients Explained
While the ingredients for hard-boiled eggs seem straightforward, a subtle understanding of each component plays a crucial role in achieving that coveted easy peel. It’s not just about having eggs and water; it’s about knowing how to best utilize them, often involving a bit of kitchen science.
- Eggs: This is, of course, the star of our “Easy Peel Hard Boiled Eggs” method. However, here’s a crucial, often overlooked tip: “older” eggs are significantly easier to peel than very fresh eggs. The science behind this lies in the air cell at the large end of the egg and the pH of the egg white (albumen). As an egg ages, its pH level increases, becoming more alkaline. This change causes the albumen to become less sticky and less prone to bonding with the inner membrane of the shell. Additionally, the air cell naturally expands over time, creating a larger gap between the egg white and the shell, which further aids in separation during peeling. Therefore, while you should never use expired eggs, avoid super farm-fresh eggs if easy peeling is your goal. It can be challenging to precisely calculate the age of store-bought eggs, but aiming for eggs that are about 8-10 days old after they’ve been laid (typically a week after purchase from a standard grocery store) will yield the best results. Eggs bought directly from a farmer might need to sit for a week or more before boiling for optimal peeling.
- Ice Cold Water: The immediate transfer of cooked eggs into an ice bath serves a dual purpose, making it a non-negotiable step for perfectly peeled eggs. Firstly, submerging cooked eggs in a bowl of ice water immediately halts the cooking process. This prevents residual heat from overcooking the eggs, ensuring yolks remain vibrant and whites tender, rather than rubbery. No one wants a green ring around their yolk! Secondly, and perhaps more importantly for peeling, the sudden shock of cold water causes the egg white to contract rapidly. This contraction helps to pull the egg white away from the inner shell membrane, creating a distinct separation that makes the shell effortlessly slide off. Make sure your water is truly ice-cold, with plenty of ice, for the most effective “shock” treatment; this rapid cooling is paramount.
Nonna’s Expert Tip 🧊
It’s important not to let the eggs sit in the ice bath for too long. While the cold shock is essential, extended immersion can paradoxically cause the egg whites to re-adhere to the shell, making them difficult to peel again. The optimal duration is just enough to stop cooking and to cool them comfortably for handling, typically within a swift minute or two. They should still feel slightly warm to the touch when you remove them.
Beyond Hard-Boiled: Customizing Egg Doneness for Every Preference
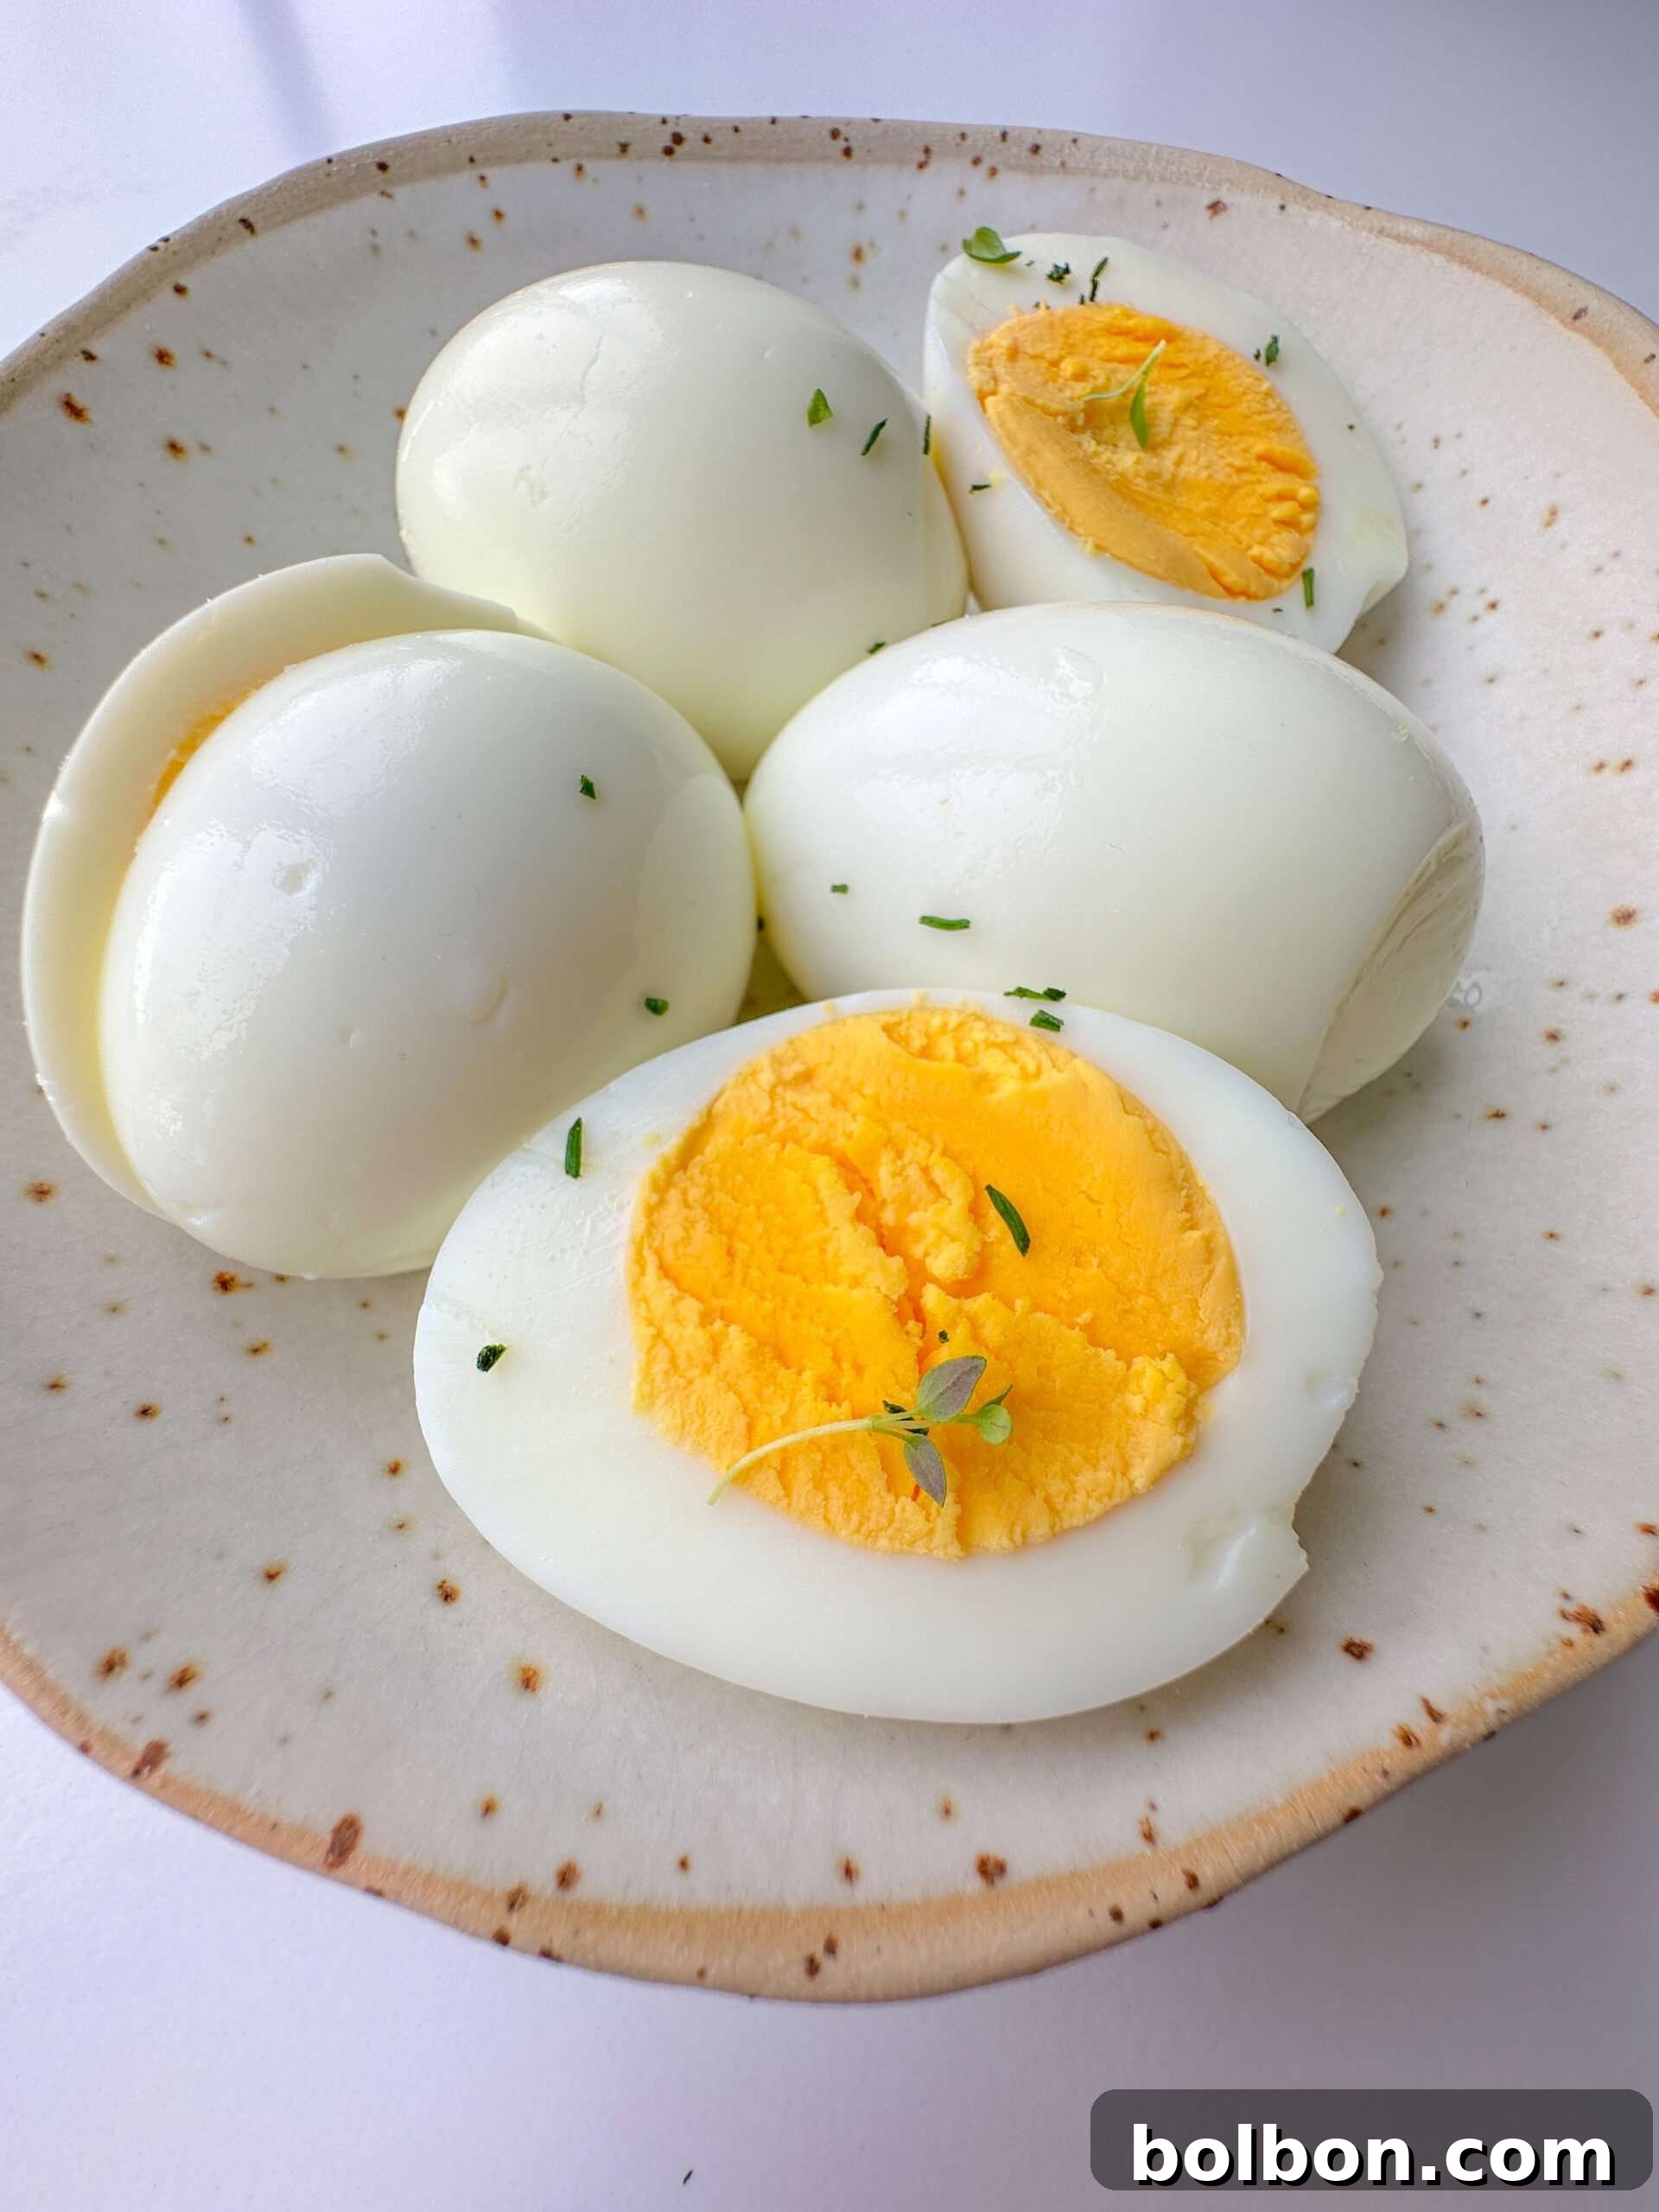
While this method primarily focuses on creating “Easy Peel Hard Boiled Eggs,” the underlying technique is incredibly versatile and can be adapted to achieve various levels of doneness. This allows you to tailor your eggs precisely to your taste, whether you prefer a runny yolk for dipping or a firm one for salads. The primary factor in customizing your eggs is the cooking time, making it simple to master different consistencies.
- The desired softness or hardness of your egg yolk is entirely up to your personal taste. Don’t hesitate to experiment with different cooking durations to discover your ideal consistency. Here’s a general guide to help you achieve specific results:
- ⏳ For a delightful soft-boiled egg, aim for a cooking time of about 6-7 minutes (after turning off the heat and covering). The yolk will be beautifully jammy and slightly runny in the center, ideal for dipping toast soldiers or enriching a bowl of ramen. The whites will be just set and very tender.
- ⏳ If you prefer a medium-boiled egg, let it cook for approximately 7–8 minutes. At this stage, the yolk will boast a lovely creamy texture, with just the slightest hint of softness in its core, but without any runniness. Many consider this the perfect balance for a rich, custardy yolk that’s still vibrant.
- ⏳ To achieve a classic hard-boiled egg, which is our main goal, allow it to cook for about 9-10 minutes. The yolk will be fully set and firm, showcasing a uniform, bright yellow color. The whites will be completely solid yet tender, never rubbery. This doneness is perfect for slicing, dicing, and crafting deviled eggs.
- If you find yourself without enough ice or a suitable bowl to create a proper ice bath, you can opt for an alternative method: place the cooked eggs under cold running water from the faucet. While not as immediate or intense as a dedicated ice bath, a continuous flow of cold water can still effectively halt the cooking process and aid in separating the shell from the egg white 🧊. Ensure the water is as cold as possible and let it run over the eggs in the same pot for at least a minute or two, until they are sufficiently cool to handle comfortably. This method is a good backup when an ice bath isn’t an option.
Creative Ways to Enjoy Your Perfectly Peeled Eggs
Once you’ve mastered the art of peeling, your easy peel hard-boiled eggs transform into an incredibly versatile ingredient, ready to elevate a multitude of dishes. Their smooth texture and consistent quality make them perfect for both simple snacks and more elaborate culinary creations. Here are some fantastic ways to integrate them into your meals:
- Transform these perfectly peeled eggs into culinary masterpieces like my Deviled Eggs, which are always a charming and delicious appetizer that vanishes quickly at gatherings. You can also incorporate them into hearty and satisfying Egg Sandwiches, perfect for a quick lunch or picnic. For a trendy and delightful option, try grating them over my Grated Egg Avocado Toast 🥑, adding a delightful texture, rich flavor, and a significant protein boost to your morning.
- Significantly boost the protein content and enhance the flavor profile of your favorite salads. These beautifully boiled eggs are a superb addition to my crisp Simple Green Salad, providing substance and richness that turns a side dish into a satisfying meal. They are also a classic and essential component of a robust Cobb Salad Recipe, contributing to its iconic layers of flavor and texture. Alternatively, they can be a key ingredient in a traditional Olivier Salad 🥗, adding creamy texture and savory depth that is characteristic of this beloved dish.
- Kickstart the preparation for a unique and exciting dish like Fried Boiled Eggs. Frying the pre-cooked eggs adds a wonderfully crispy exterior to the tender egg white, creating an exciting textural contrast that is surprisingly delicious and a great way to reinvent a classic.
- If you’re a devoted fan of the timeless classic, egg salad, these perfectly boiled and peeled eggs are your ultimate foundation! Try them in my refreshing Egg Salad Cucumber Boats 🥒, which offer a lighter, crunchier, and gluten-free alternative to traditional bread, perfect for a fresh lunch or appetizer.
Explore More Egg-cellent Recipes and Kitchen Hacks
How to Poach Eggs
Prep & Cook: 6 mins
Air Fryer Hard Boiled Eggs
Cook Time: 13 mins
Over Medium Eggs
Cook Time: 5 mins
How to Cut Deviled Eggs
Prep Time: 15 mins
Essential Tips and Tricks for Perfect Peeling Success
Beyond the core recipe, a few key practices can further enhance your success in achieving those coveted easy peel hard boiled eggs. These expert tips are designed to ensure your eggs consistently turn out flawless, making your cooking experience enjoyable and rewarding. Incorporating these simple habits will elevate your hard-boiling game from good to absolutely perfect.
- Use Adequate Water: It’s absolutely crucial that your eggs are fully submerged in water during the entire cooking process. If any part of an egg sticks out of the water, it will not cook evenly, regardless of the heat. This can lead to undercooked portions, an unappealing texture, and most importantly, inconsistent peeling results where some parts stick more than others. Ensure your pot is large enough and filled with enough water to cover all eggs by at least an inch, allowing for even heat distribution.
- Opt for “Older” Eggs: This tip is paramount for easy peeling and cannot be stressed enough. As discussed earlier, eggs that are a bit older (around 8-10 days after laying, which means they’ve typically been in your refrigerator for about a week) have an expanded air cell at the blunt end and a higher pH level in their whites. This natural aging process causes the egg white to shrink slightly and become less acidic, significantly reducing its tendency to adhere stubbornly to the inner membrane of the shell. Fresh eggs, conversely, tend to stick tenaciously, leading to frustrating tears and a battle with the shell. Plan ahead and use eggs that have been in your refrigerator for at least a week to maximize your chances of a perfect peel.
- Prepare Your Ice Bath in Advance: Time is of the essence when it comes to effectively stopping the cooking process and facilitating easy peeling. Always have a large bowl filled generously with ice and cold water ready and waiting *before* your eggs even finish boiling. The very moment your eggs reach the desired doneness, use a slotted spoon to transfer them immediately and directly into this prepared ice bath. This rapid cooling, often referred to as “shocking” the eggs, is absolutely critical not only for preventing overcooking (which results in rubbery whites and green yolks) but also for ensuring the egg white pulls away cleanly and dramatically from the shell. Don’t skip this immediate transfer!
- Strategic Cracking Technique: Once the eggs have cooled sufficiently in the ice bath for about a minute or two (they should still feel slightly warm to the touch, not completely cold), remove them. Gently tap each egg all around its circumference onto a hard surface, like a kitchen countertop, to create a network of fine cracks across the entire shell. Then, locate the wider end of the egg, where the natural air pocket is typically found. Begin peeling from this end. The air pocket creates a built-in separation point, making it significantly easier to get under the membrane and peel the shell away in larger, more satisfying pieces.
- Batch Cook for Convenience: Hard-boiled eggs are an excellent, protein-rich component for busy lifestyles and highly recommended for meal prepping. Pre-cooked eggs are fantastic to have on hand for quick breakfasts, satisfying snacks, or as versatile additions to salads and sandwiches. You can easily batch cook a dozen or more eggs at once using this method. Store unpeeled hard-boiled eggs in their shells in the refrigerator for up to 5-7 days. For optimal texture and freshness, while peeled eggs can also be stored (in an airtight container, perhaps covered with a damp paper towel or even submerged in water), they are best consumed within 2-3 days. This makes planning healthy, quick meals throughout your week incredibly simple.
Easy Peel Hard Boiled Eggs: The Fail-Proof Method
Facebook Share
Rate Recipe
Print Recipe
Video Tutorial
Equipment Needed
Ingredients
Adjust Servings:
- Eggs (preferably 8-10 days old for best peeling)
- Ice cold water (for the ice bath)
Step-by-Step Instructions
-
Place the desired number of raw eggs into a medium pot. Ensure the eggs are in a single layer at the bottom and are fully submerged under cold water by at least an inch. Turn the heat to high and bring the water to a rapid, rolling boil.
-
As soon as the water reaches a full, vigorous boil, immediately turn off the heat. Do not let the eggs continue to boil. Cover the pot with a tight-fitting lid and let the eggs sit undisturbed in the hot water for 10 minutes for a perfectly firm, hard-boiled yolk. If you prefer a softer, jammy yolk, adjust the resting time to 6-7 minutes. For a medium yolk with slight creaminess, aim for 7-8 minutes.
-
While the eggs are resting in the hot water, prepare your ice bath. In a separate large bowl, combine plenty of ice with cold water. Once the resting time for the eggs is complete, carefully remove the lid from the pot and use a slotted spoon to transfer each egg immediately into the prepared ice bath. If an ice bath isn’t feasible, you can place the eggs under cold running water from the faucet in the same pot for about a minute or two until they are sufficiently cool to handle.
-
It is crucial not to let the eggs sit in the ice bath for an extended period, ideally no more than 1-2 minutes. While the initial cold shock is essential, prolonged immersion can cause the egg whites to re-adhere to the shell, making peeling difficult again. The goal is to cool them rapidly enough to stop cooking and to make them comfortable to handle, ensuring they still retain some slight warmth.
-
Once the eggs are cool enough to handle, remove them from the ice bath. Gently tap each egg all around its circumference onto a hard surface (like a countertop) to create numerous fine cracks across the entire shell. Then, locate the wider end of the egg, where the natural air pocket is found. Begin peeling from this end. By using this precise cracking method and starting at the air pocket, the shells should come off beautifully in larger pieces, leaving you with perfectly silky smooth, pristine eggs every single time.
Important Notes & Expert Advice
- Temperature Matters Immensely: The successful execution of this recipe hinges significantly on precise temperature control and rapid transitions. Always start your eggs in cold water on the stove and finish with an immediate transfer into genuinely ice-cold water. This thermal shock is critical for ensuring the eggs do not overcook (preventing those unappealing green yolks and rubbery whites) and, most importantly, for facilitating the clean separation of the egg white from the inner shell membrane. Consistency in these temperature changes is your greatest ally for easy peeling and perfect texture.
- Endless Culinary Possibilities: Hard-boiled eggs are an incredibly versatile ingredient that can be transformed in countless delicious ways, far beyond a simple snack. They are perfect for chopping and mixing with mayonnaise, Dijon mustard, and your favorite seasonings to create a classic egg salad, which can be enjoyed in sandwiches, lettuce wraps, or as a dip. Halve them lengthwise, carefully scoop out the yolks, mix them with various flavorful fillings, and then stuff them back into the whites for elegant and customizable deviled eggs, a timeless appetizer. For a quick, protein-packed, and visually appealing snack, simply top a halved hard-boiled egg with a dollop of good quality mayonnaise and a dash of your preferred hot sauce, a sprinkle of paprika, or fresh herbs for a burst of flavor.
- Doneness Preferences are Personal: The ideal consistency of an egg yolk is highly subjective and varies greatly from person to person. For those who adore a luscious, jammy, and slightly runny yolk, cooking your eggs for precisely 6 minutes (after turning off the heat and covering the pot) is the sweet spot. If you lean towards a medium-boiled egg with a just-creamy yolk that is set but still moist and tender, aim for approximately 8 minutes of resting time. For a fully cooked, firm yolk, which is ideal for slicing, dicing, and more robust preparations, leave the eggs to rest in the hot water for the full 9-10 minutes. Don’t be afraid to experiment with these timings to discover your truly perfect egg!
Additional Information
High-Protein Breakfast Recipes You’ll Love
High Protein Pudding
Prep Time: 5 mins
Protein Chia Pudding
Prep Time: 10 mins
Homemade Cottage Cheese
Total Time: 1 hr 15 mins
Labneh Breakfast Plate
Prep Time: 10 mins
Common Questions About Easy Peel Hard Boiled Eggs
The absolute best way to guarantee easy peeling is to combine several critical steps in sequence. Firstly, always start with eggs that are at least a week old (avoiding super fresh ones is key). Secondly, ensure a proper, truly ice-cold bath immediately after cooking to shock the eggs and halt the cooking process. Thirdly, employ a strategic cracking technique: after a quick chill in the ice bath, gently tap the entire egg on a hard surface to create fine cracks. Then, start peeling from the wider end, where the air pocket naturally creates a space between the egg and the shell. This multi-pronged approach consistently delivers smooth, perfectly peeled eggs without any hassle.
The ice bath serves two distinct yet equally vital functions for perfect hard-boiled eggs. Firstly, it rapidly stops the cooking process, which is crucial for preventing your eggs from becoming overcooked, developing a rubbery texture in the whites, or showing an unappealing grayish-green ring around the yolk. Secondly, and perhaps most importantly for the peeling process, the sudden and extreme temperature change causes the egg white to contract quickly. This rapid contraction pulls the egg white away from the delicate inner shell membrane, creating a crucial gap that makes it significantly easier for the shell to separate cleanly. It also cools the eggs down quickly, making them safe and comfortable to handle immediately after cooking.
Absolutely! This method is highly adaptable and works wonderfully for soft-boiled eggs too. The only key difference will be the cooking time. For soft-boiled eggs with a beautifully runny or jammy yolk, you will simply reduce the covered resting time in the hot water. Instead of the 9-10 minutes recommended for hard-boiled eggs, you might aim for a resting time of 6-7 minutes. All other steps, including starting the eggs in cold water, covering the pot, and the immediate ice bath, remain the same, ensuring you still get that desirable easy peel even with a more delicate, soft-set egg.
Yes, making hard-boiled eggs in an Instant Pot is incredibly simple and often yields remarkably easy-to-peel results! The pressure cooking method seems to create a perfect separation between the shell and the egg white, making them a favorite for many home cooks. While the specific process and timing may differ slightly from the stovetop boiling method described here, the principles of using a rapid temperature change (typically a combination of natural pressure release followed by an ice bath) still apply. For a detailed guide on how to achieve perfectly easy-to-peel hard-boiled eggs in your Instant Pot, you can check out my dedicated recipe here.
The beauty of perfectly peeled hard-boiled eggs lies in their incredible versatility, making them suitable for countless culinary applications. They are truly delicious enjoyed simply as-is, perhaps seasoned with a sprinkle of flaky sea salt and freshly ground black pepper for a quick, wholesome, and satisfying snack or light meal. You can also elevate them by carefully removing the yolks, mixing them with various flavorful ingredients like mayonnaise, Dijon mustard, herbs, and spices, and then stuffing the mixture back into the whites to create classic Deviled Eggs – always a beloved appetizer for any gathering! For a unique and trendy breakfast or lunch, try grating the entire egg (or just the whites/yolks separately) on top of creamy avocado toast for added texture, richness, and a significant protein boost. The possibilities for creative serving are truly endless!
Absolutely! Hard-boiled eggs are a fantastic staple for meal prepping due to their exceptional convenience, versatility, and high protein content, making them perfect for busy schedules. This easy peel method makes preparing a large batch a breeze, saving you significant time and frustration. When stored unpeeled in their shells, hard-boiled eggs will last beautifully in the refrigerator for up to 5-7 days. If you prefer to peel them ahead of time, store the peeled eggs in an airtight container in the fridge. For optimal freshness and to prevent them from drying out, it’s best to either submerge them in a little water or place a damp paper towel over them. Peeled eggs should ideally be consumed within 2-3 days for the best quality and texture. This makes them perfect for grab-and-go snacks, quick breakfast additions, or healthy meal components throughout your week.