
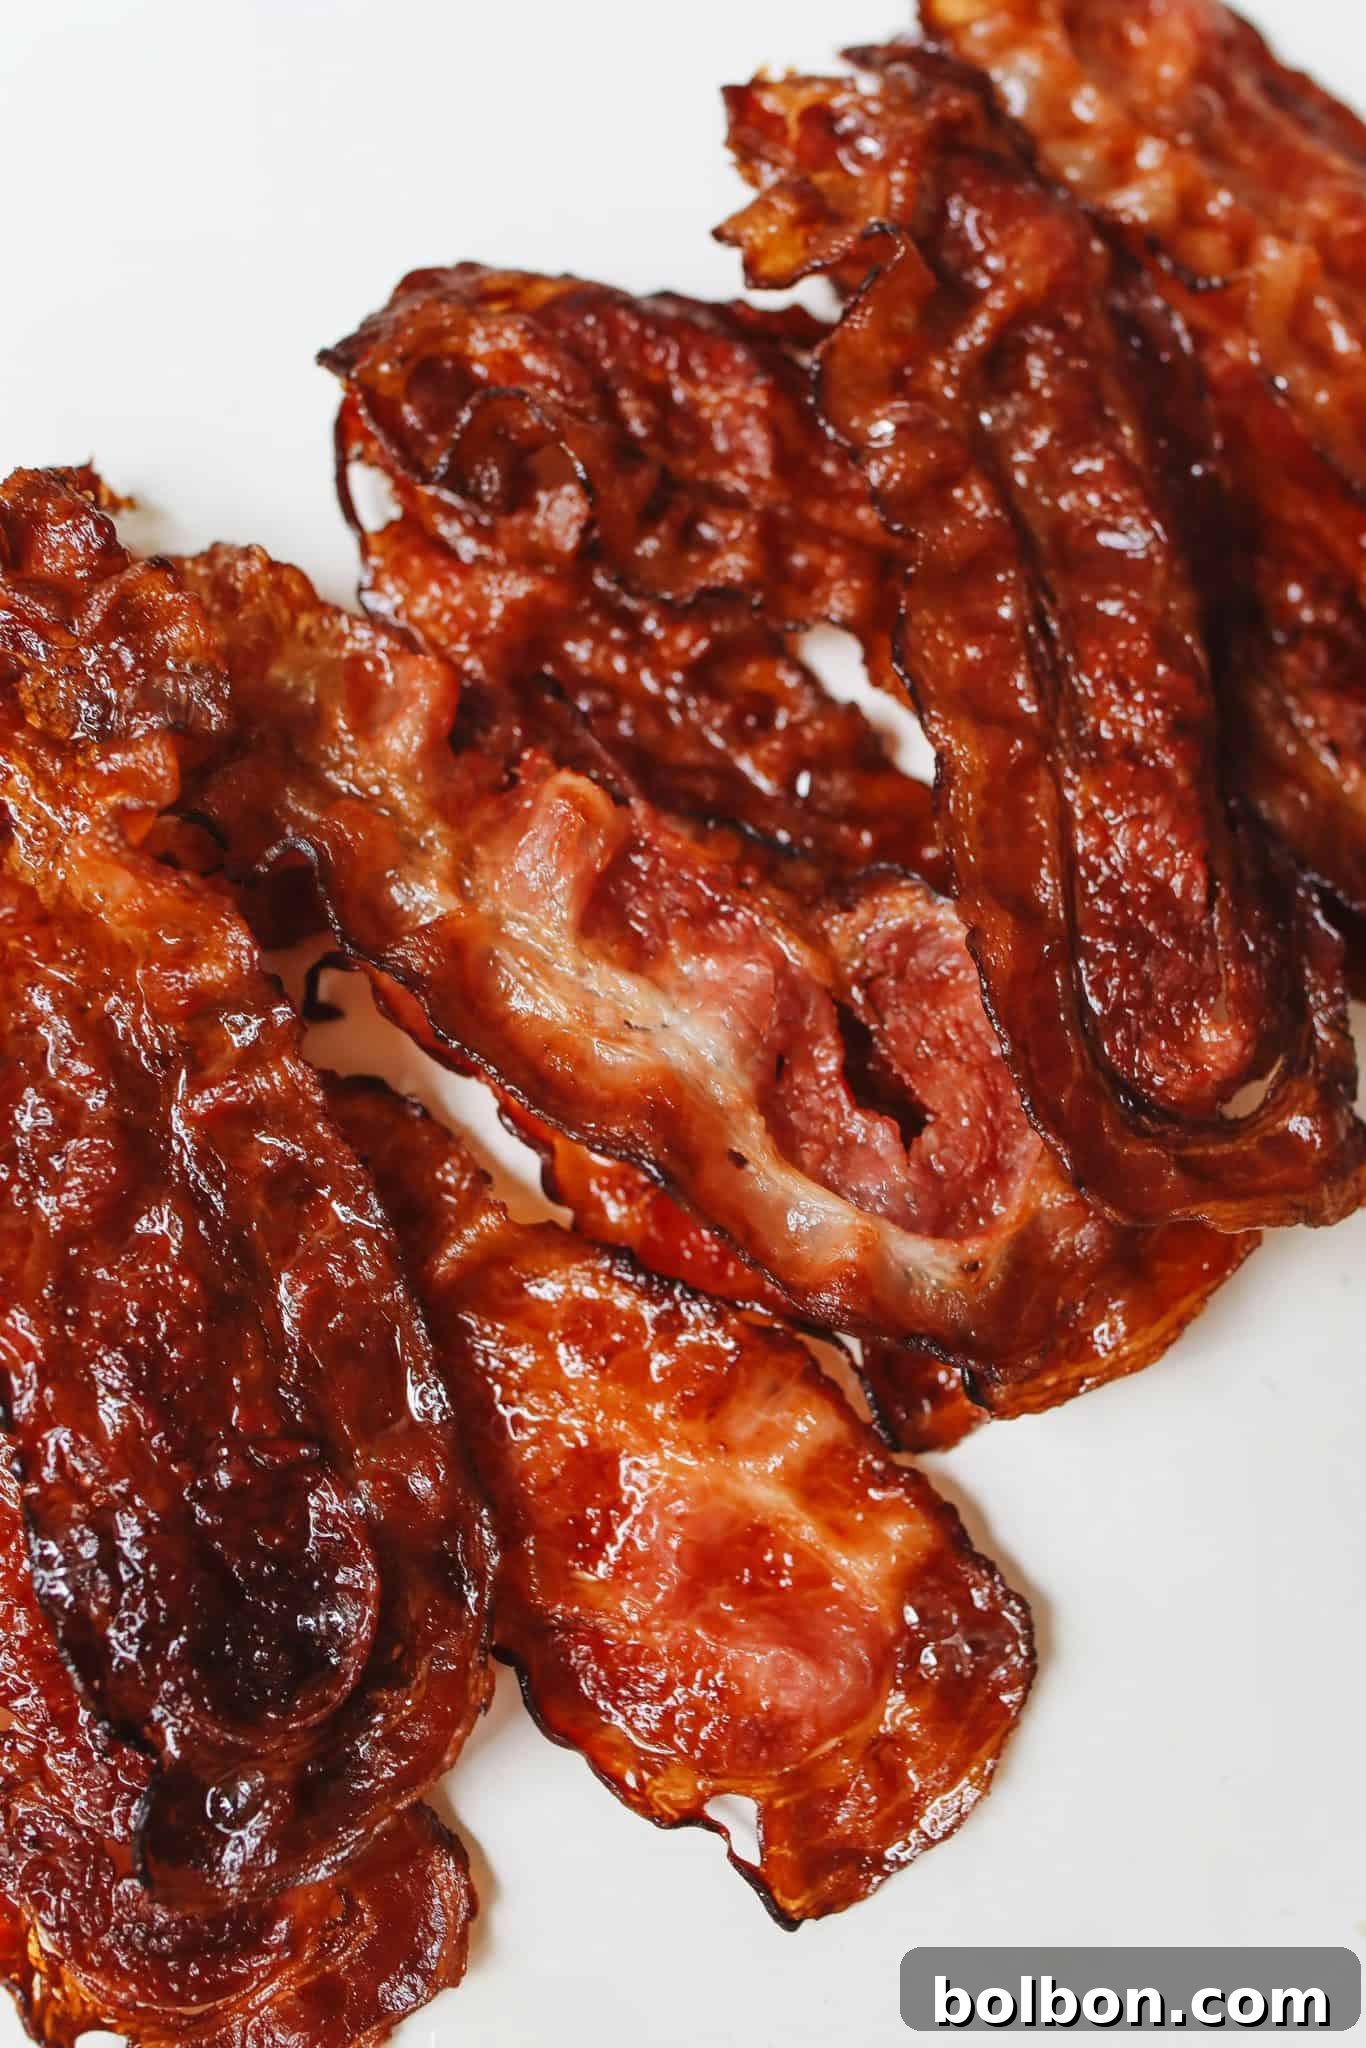
If you’ve ever found yourself wondering, “How do I cook bacon in the oven?”, then prepare for a revolutionary culinary experience. This method isn’t just a hack; it’s a game-changer that frees you from the mundane task of standing over a hot stove, constantly flipping strips, and dodging persistent grease splatters. With oven-baked bacon, your oven takes charge, consistently delivering perfectly cooked, incredibly crispy bacon every single time. It’s the ultimate solution for preparing large batches for a leisurely weekend brunch, stacking up BLT sandwiches, or streamlining your weekly meal prep. What’s more, you can easily preserve the rich, savory bacon drippings for future culinary masterpieces – imagine that exquisite flavor enhancing your next Carbonara! Once your bacon reaches its peak of perfection, simply remove it from the pan, and marvel at how effortless cleanup becomes thanks to smart prep.
Why Oven-Cooked Bacon Is a Game Changer
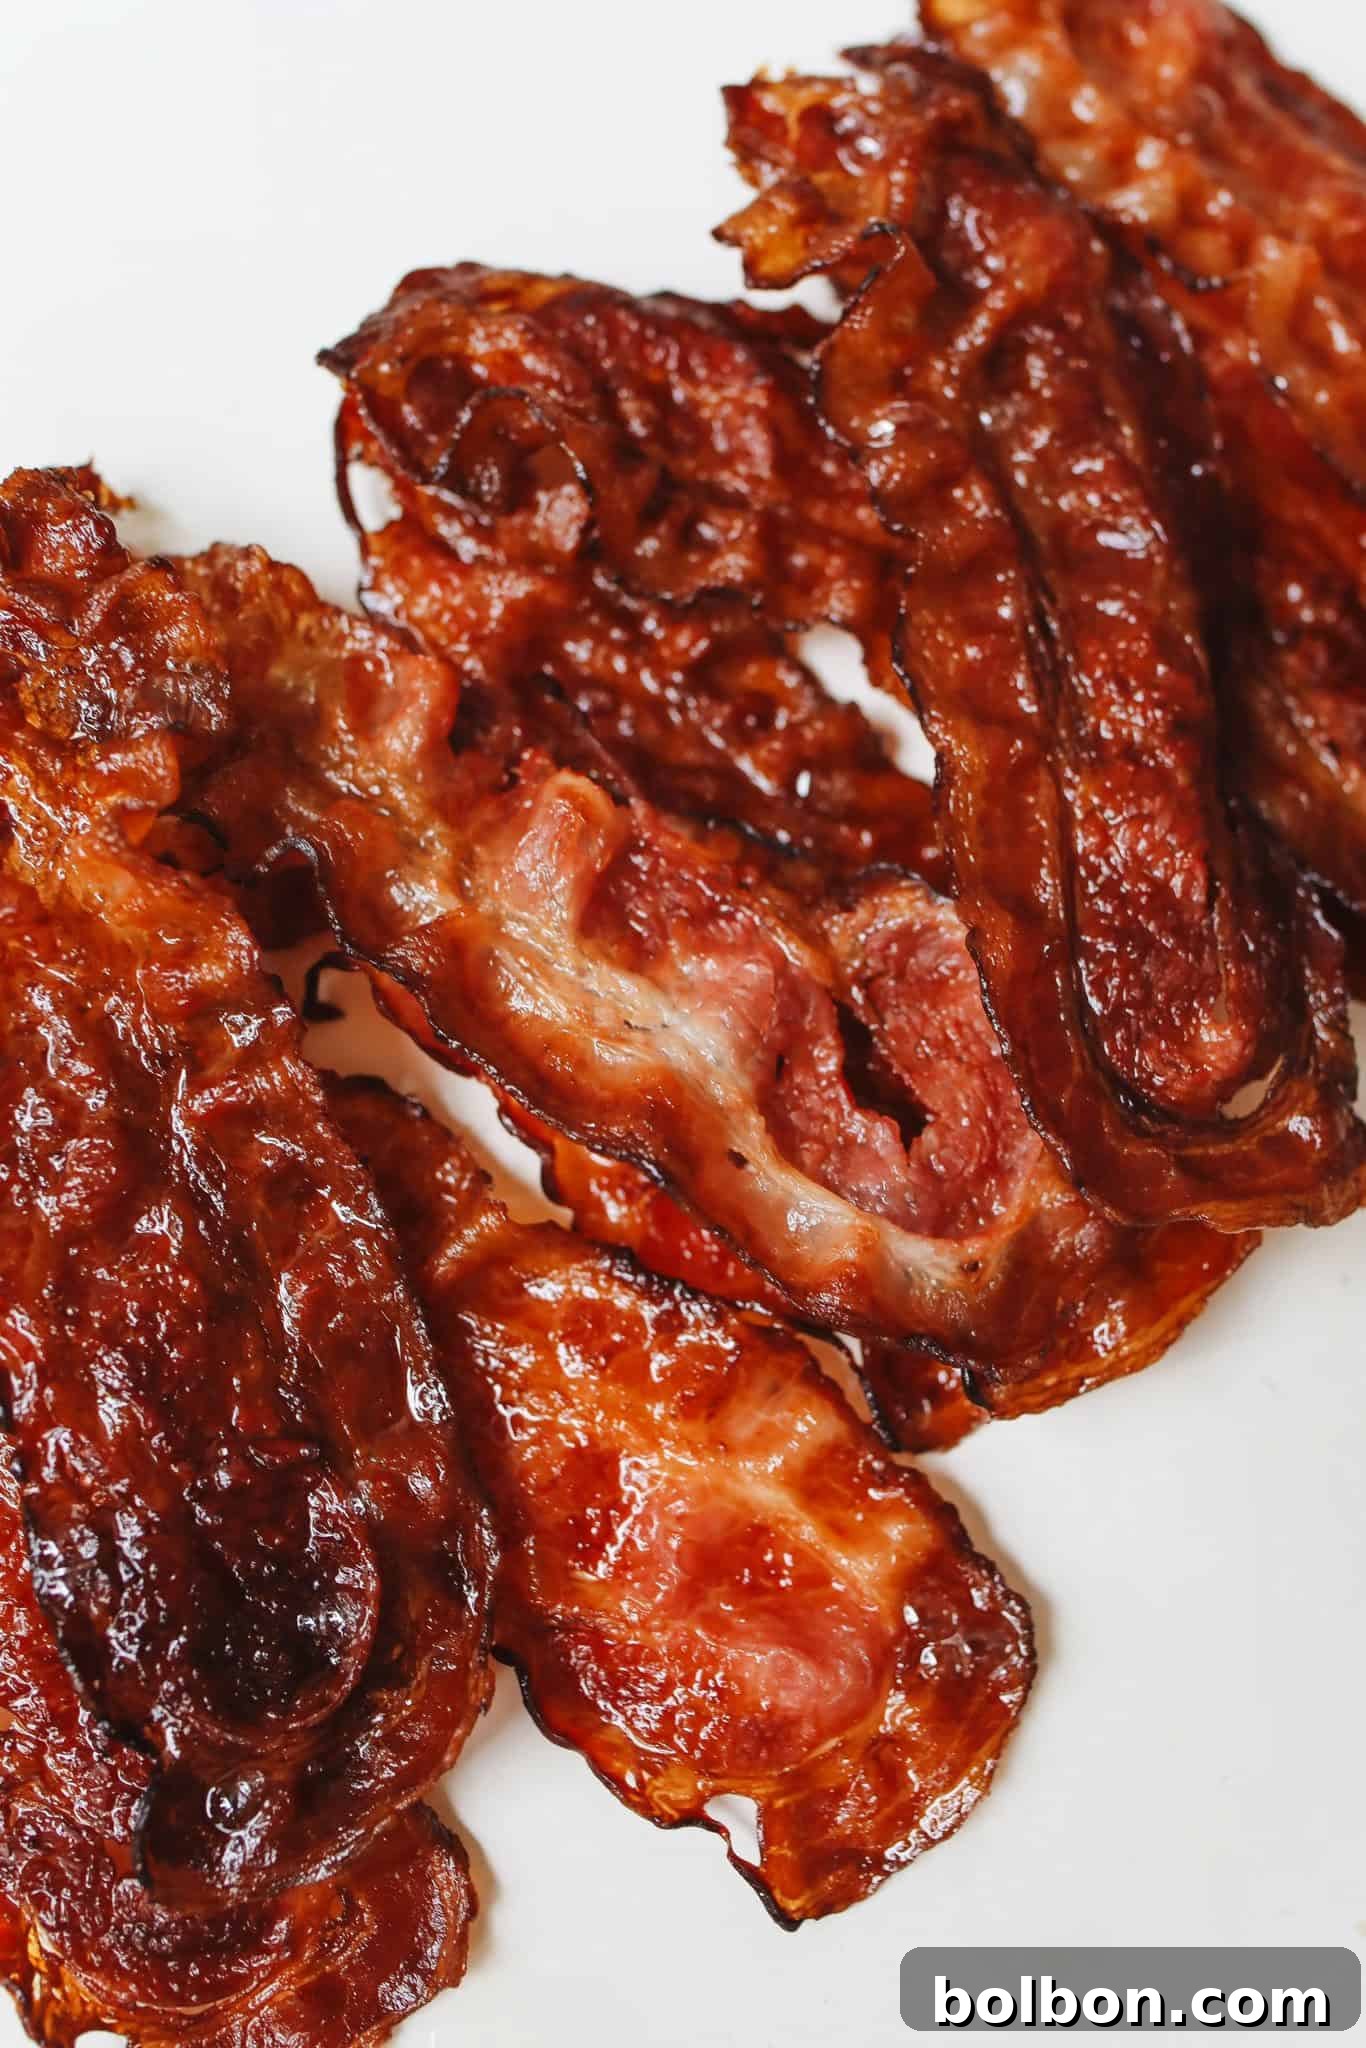
The allure of bacon is undeniable – that rich, smoky flavor, those golden, crispy edges, and the irresistible aroma that fills your kitchen. It’s no surprise that bacon enjoys a near cult-like following. Cooking bacon in the oven is the secret to unlocking its full potential, drawing out all that salty, savory goodness you know and love. Each strip emerges from the oven uniformly crispy, with a delightful tender, chewy bite that sets it apart from its stovetop counterparts. Beyond its immediate deliciousness, oven-cooked bacon is a marvel for organization and future meals. It stores beautifully, remaining fresh in the fridge for 5-7 days, making it the perfect candidate for advanced meal preparation. Incorporate it into your favorite wraps 🌯, sprinkle it atop a crisp, fresh salad, or pair it with Cottage Cheese Egg Salad for a truly drool-worthy breakfast that perfectly balances your macros 💪. The consistent heat of the oven ensures even cooking across all strips, eliminating undercooked or burnt pieces, and guarantees a superior texture and flavor profile.
Essential Ingredients for Oven Baked Bacon
Preparing perfect oven bacon requires minimal ingredients but the right equipment can make all the difference for a seamless experience. Here’s what you’ll need:
- Bacon: The star of our show! A standard 12-ounce to 1-pound pack of bacon typically fits well on a large, heavy-duty baking sheet. While a standard cut is often preferred for its balanced texture, this oven method is incredibly versatile and works splendidly with various types of bacon. Whether you opt for thick-cut, thin-sliced, or even turkey bacon, the principles remain the same – just be sure to adjust your cooking time accordingly to achieve your desired level of crispness. Look for high-quality bacon with a good balance of meat and fat for the best flavor.
- Aluminum Foil: This is your secret weapon for effortless cleanup. I highly recommend double-lining your baking sheet with heavy-duty aluminum foil. This simple step creates a protective barrier, effectively containing all the rendered grease and caramelization, ensuring you have virtually zero scrubbing once the bacon is done. No more struggling with sticky, baked-on grease!
- Parchment Paper: For an extra layer of non-stick perfection and to promote superior crisping, place a sheet of parchment paper directly on top of your foil lining. Parchment paper prevents any sticking, especially beneficial for leaner cuts of bacon, and contributes to that desirable uniform crispiness. I personally favor unbleached parchment paper which is often compostable, adding an eco-friendly touch to your cooking.
Chef’s Secret for No-Mess Bacon 🥓
The ultimate trick to achieving perfect Oven Cooked Bacon with absolutely no mess is to diligently double-line your baking sheet with sturdy foil, and then layer parchment paper on top. This creates an impenetrable barrier against grease and food particles, guaranteeing a hassle-free cooking and cleanup experience.
Step-by-Step Guide to Oven Cooking Bacon
Achieving perfectly crisp bacon in the oven is incredibly simple. Follow these straightforward steps for success:
- Preheat Your Oven: Begin by preheating your oven to 400°F (200°C) or 425°F (220°C). While both temperatures yield excellent results, 400°F will give you a slightly slower cook, offering more control, especially for your first attempt. A properly preheated oven is crucial for even cooking and achieving that coveted crisp texture.
- Prepare Your Baking Sheet: The secret to zero cleanup starts here. Double-line a large, rimmed baking sheet with heavy-duty aluminum foil. This forms a protective base. Then, lay a sheet of parchment paper directly over the foil. This non-stick layer prevents bacon from adhering to the pan and helps create a perfectly crisp surface.
- Arrange the Bacon: Lay your bacon strips in a single layer on the prepared baking sheet. Ensure there is no overlapping between the strips. This crucial step allows the hot air to circulate evenly around each piece, promoting consistent cooking and maximum crispness.
- Bake to Perfection: Place the baking sheet in your preheated oven. The cooking time will vary depending on the thickness of your bacon and your oven’s calibration, but typically it takes between 15-25 minutes.
- Monitor for Doneness: Begin checking your bacon around the 15-minute mark. Look for a rich golden-brown color and the desired level of crispiness. Remember, bacon will continue to crisp up slightly as it cools after being removed from the oven. For thicker cuts, you might need a few extra minutes, while thinner cuts will cook faster.
- Drain and Serve: Once the bacon is cooked to your liking, carefully remove the baking sheet from the oven. Using tongs, transfer the crispy bacon to a plate lined with paper towels. This will absorb any excess grease, leaving your bacon perfectly crisp and ready to enjoy.
Pro Tips for Perfect Crispy Oven Bacon
While the oven method for cooking bacon is inherently simple, a few expert tips can elevate your results from good to absolutely phenomenal:
- Always Line Your Pan for Easy Cleanup: As emphasized, using aluminum foil, followed by parchment paper, is non-negotiable for a truly mess-free experience. The foil catches the rendered fat and protects your pan, while the parchment paper provides a non-stick surface, ensuring your bacon peels right off without any fuss. This dynamic duo dramatically reduces cleanup time, making post-meal chores a breeze.
- Optimal Spacing is Key for Even Crispiness: Resist the urge to overcrowd your baking sheet. Lay bacon strips in a single layer, ensuring that they do not overlap. Adequate space between each strip allows the hot air to circulate freely around them, leading to perfectly even browning and crispiness across the entire batch. Overlapping bacon steams rather than crisps, resulting in chewy, unevenly cooked pieces.
- Monitor Your Bacon Closely: Oven temperatures can vary significantly, and different cuts of bacon (thick vs. thin) cook at different rates. To prevent burning, start checking your bacon for doneness a few minutes before the estimated cooking time. Look for a rich, golden-brown color and the desired level of crispness. A slightly flexible strip will crisp up more as it cools, while very dark, rigid bacon may be overcooked.
- A Cooling Rack for Extra Crispness: For bacon that’s extra crispy and less greasy, consider placing a wire cooling rack directly on top of your foil-lined baking sheet before adding the bacon. This elevates the bacon, allowing air to circulate completely around each strip and the rendered fat to drip away, resulting in an even crispier texture.
- Save Those Precious Drippings: Bacon fat is truly liquid gold in the kitchen. Don’t discard it! Once your bacon is cooked, carefully pour the accumulated drippings into a heat-proof container (like a glass jar) after straining. This flavorful fat can be repurposed for cooking eggs, sautéing vegetables, making gravies, or adding a savory depth to countless other dishes.
- Cool Properly Before Storing: If you plan to store leftover cooked bacon, allow it to cool completely on a paper towel-lined plate or a cooling rack before transferring it to an airtight container. Storing warm bacon creates condensation, which can make your crispy bacon soggy. Proper cooling preserves its desirable texture.
- No Flipping Required: One of the greatest advantages of cooking bacon in the oven is that it’s a hands-off process. There’s no need to flip the bacon strips halfway through cooking. The radiant heat from the oven, combined with the hot baking sheet, ensures that both sides cook evenly, saving you time and effort.
Maximizing Flavor: How to Store and Use Bacon Drippings
Bacon grease is often hailed as the liquid gold ✨ of fats, capable of infusing incredible, nuanced flavor into virtually any dish it graces. With its relatively high smoke point, it’s an exceptional choice for frying eggs to perfection or sautéing a medley of vegetables, lending a richness and depth of flavor that simply can’t be replicated. Now that you’re a pro at how to cook bacon in the oven, it’s time to capitalize on those valuable drippings! Here’s a detailed guide on how to properly collect and store bacon grease:
- Prepare the Bacon: First, once your bacon has reached your desired crispiness, remove it from the baking sheet using tongs and place it on a plate lined with several layers of paper towels. This step is crucial for absorbing any residual grease, ensuring your cooked bacon is extra crispy and not oily.
- Set Up Your Strainer: Next, prepare your straining setup. Line a fine-mesh strainer with a fresh paper towel. Alternatively, you can use cheesecloth or a nut milk bag for excellent straining. This ensures that any small, burnt bits or impurities are removed, leaving you with clean, pure bacon fat.
- Strain into Glass: Carefully pour the hot bacon grease from your baking sheet through the prepared strainer directly into a clean glass jar. This point cannot be stressed enough: You MUST use glass 💯. Hot bacon grease will melt plastic containers, potentially releasing harmful chemicals and making a significant mess.
- Seal and Refrigerate: Once the grease has been strained, allow it to cool slightly before securing your glass jar with an airtight lid. Store the sealed jar in the refrigerator. Bacon grease can be stored in the fridge for several months. Each time you cook bacon and collect more drippings, you can simply strain the new liquid gold on top of the existing layer in the jar.
- Creative Uses for Bacon Drippings:
- Frying Eggs: For the most flavorful fried eggs you’ve ever tasted.
- Sautéing Vegetables: Elevate roasted potatoes, green beans, or Brussels sprouts.
- Cornbread or Biscuits: Use it in place of butter or shortening for a savory twist.
- Gravy: Add a spoonful to your homemade gravies for an incredible depth of flavor.
- Popcorn: Drizzle melted bacon fat over popcorn for a gourmet snack.
Similar Culinary Hacks & Recipes
Boiled Egg Peel Hack
Total Time: 10 mins
How to Dry Herbs
Total Time: 10 d 5 mins
How to Cut a Pineapple
Total Time: 7 mins
How To Cook Mushrooms (Like a Chef)
Total Time: 15 mins
How to Dice Bell Peppers
Total Time: 5 mins
How to Cook Bacon (Hack)
Total Time: 8 mins
Creative Ways to Serve Your Oven-Cooked Bacon
The versatility of perfectly crispy oven-cooked bacon knows no bounds! Here are some delightful ways to incorporate this culinary delight into your meals:
- The Ultimate Brunch Addition: Elevate your weekend brunch spread! Serve this Oven Cooked Bacon alongside classic breakfast fare such as fluffy 🍳 scrambled or Poached Eggs, golden French Toast Casserole, pancakes, waffles, or a vibrant bowl of fresh fruit. It’s also fantastic tucked into breakfast burritos or sandwiches.
- Savory Enhancer for Lunch & Dinner: Transform everyday dishes with a sprinkle of crumbled bacon. Use it to top your crisp 🥗 Cobb Salad, add a rich, smoky garnish to your pasta Carbonara, or pair it with these delicious Bacon Brussels Sprouts. It’s also superb sprinkled over baked potatoes, soups, or even mac and cheese.
- Effortless Meal Prep and Grab-and-Go Options: Prepare a larger batch of bacon at the beginning of the week for quick and easy additions to meals. It’s perfect for making Homemade Egg McMuffins, offering a convenient grab-and-go breakfast solution for busy mornings that’s far superior to fast food. It can also be chopped and added to wraps, quesadillas, or as a savory crunch for your weekly packed lunches.
- Snack Time Savior: Chop up cooled bacon into ‘bacon bits’ to use as a topping for deviled eggs, a crunchy addition to a cheese board, or simply enjoy a few strips as a satisfying, protein-packed snack.
Frequently Asked Questions About Oven Bacon
Absolutely! This oven-baking method is remarkably versatile and works beautifully with nearly all types of bacon, whether you prefer thick-cut, standard-cut, thin-cut, or even flavored varieties like applewood smoked or peppered bacon. The key is to simply adjust your cooking time based on the bacon’s thickness. Thicker cuts will require a few extra minutes, while thinner slices will crisp up much faster.
Yes, you certainly can cook bacon directly on a baking sheet without any lining. However, I strongly recommend lining the sheet with foil and parchment paper to make cleanup significantly easier. Without it, you will have more baked-on grease and residue to scrub off your pan at the end, which can be quite time-consuming. The lining method truly offers a “zero cleanup” experience.
Oven-cooked bacon is ready when it reaches your desired level of crispiness and a rich golden-brown color. Begin checking it around 15 minutes, especially for thinner cuts. Keep in mind that bacon will continue to crisp up slightly as it cools after being removed from the oven. For a chewier texture, remove it when it’s still slightly pliable; for extra crispness, let it darken a bit more.
For most standard-cut bacon, baking at 400°F (200°C) typically takes between 20-25 minutes. If you’re using thick-cut bacon, it might require up to 30 minutes, while thin-cut bacon could be done in as little as 15-18 minutes. Always monitor closely, especially towards the end, as ovens can vary.
No, it is generally not necessary to flip bacon when cooking it in the oven. The consistent, circulating heat of the oven, particularly with a hot baking sheet beneath, ensures that both sides of the bacon cook evenly and crisp up beautifully without any intervention from your side. This is one of the key benefits of the oven method – truly hands-off cooking!
Yes, absolutely! Placing a wire cooling rack on top of your foil-lined baking sheet before arranging the bacon is an excellent technique for achieving even crispier bacon. This lifts the bacon out of its rendered fat, allowing for better air circulation and a more uniform crisp. Just be sure the rack is oven-safe.
While some smoking can occur due to the fat rendering, excessive smoke usually indicates either an oven that’s too hot, or bacon that’s cooking too long and beginning to burn. Ensure your oven is clean (no old grease drips) and that you’re baking at the recommended temperature (400-425°F). Monitor the bacon closely, especially with thinner cuts, to remove it as soon as it reaches desired crispness.
How to Cook Bacon in the Oven
My method for oven-cooked bacon is ready in 25 minutes or less, requires zero dishwashing, and comes out golden and crispy every time. Say goodbye to grease splatters and hello to perfectly cooked bacon!
Course: Tutorials and Hacks
Cuisine: American
Makes: 4 servings
Author: The Modern Nonna
Prep Time: 5 minutes
Cook Time: 25 minutes
Total Time: 30 minutes
Video Tutorial
Equipment
- Baking Sheet
- Parchment Paper
- Aluminum Foil
- Tongs
- Paper Towels
Ingredients
- 1 pack (approx. 12-16 oz) bacon (standard, thick-cut, or thin-sliced)
- Aluminum foil
- Parchment paper
Instructions
- Prepare the Baking Sheet: The secret to zero mess is to double-line a large, rimmed baking sheet with aluminum foil. Then, lay a sheet of parchment paper directly on top of the foil. This creates a non-stick surface and catches all the rendered fat, ensuring virtually no cleanup.
- Preheat Oven & Arrange Bacon: Preheat your oven to 400°F (200°C) or 425°F (220°C). Lay the bacon strips in a single layer on the prepared baking sheet, ensuring no strips overlap. Both temperatures work well; 400°F offers a slightly longer cooking time for more controlled crisping, while 425°F will cook it faster.
- Bake Until Crispy: Place the baking sheet in the preheated oven. My bacon usually takes 20-25 minutes to reach golden-brown crispiness. However, cooking time will depend on your specific oven and the thickness of your bacon, as well as your personal preference for doneness. Start checking around 15 minutes, and keep a close eye on it to prevent burning.
- Drain and Serve: Once the bacon is cooked to your liking, carefully remove the baking sheet from the oven. Using tongs, transfer the crispy bacon to a plate lined with paper towels to absorb any excess grease. Serve immediately and enjoy your perfectly cooked, crispy bacon!
Notes
- Space it out: Lay strips in a single layer without overlapping to get perfectly even crispiness.
- Keep an eye on it: Oven temperatures can vary, so check for doneness a few minutes early to avoid burning. This is particularly important if you have thick-cut or thin-cut bacon.
- Save the drippings: Bacon fat is liquid gold for cooking eggs, roasting vegetables, or adding flavor to other dishes. Strain and store in a glass jar in the fridge.
- Cool before storing: Let bacon cool completely on a paper towel-lined plate or a wire rack before putting it in the fridge to keep it from getting soggy.
- Don’t flip: Turning your bacon is not necessary when cooking in the oven, so you can sit back and enjoy 20-25 minutes of truly hands-free cooking time.
Nutrition
Nutrition information is automatically calculated, so should only be used as an approximation.
- Calories: 461 kcal
- Carbohydrates: 1 g
- Protein: 14 g
- Fat: 44 g
- Saturated Fat: 15 g
- Polyunsaturated Fat: 7 g
- Monounsaturated Fat: 19 g
- Trans Fat: 0.1 g
- Cholesterol: 73 mg
- Sodium: 732 mg
- Potassium: 219 mg
- Vitamin A: 41 IU
- Calcium: 6 mg
- Iron: 0.5 mg