
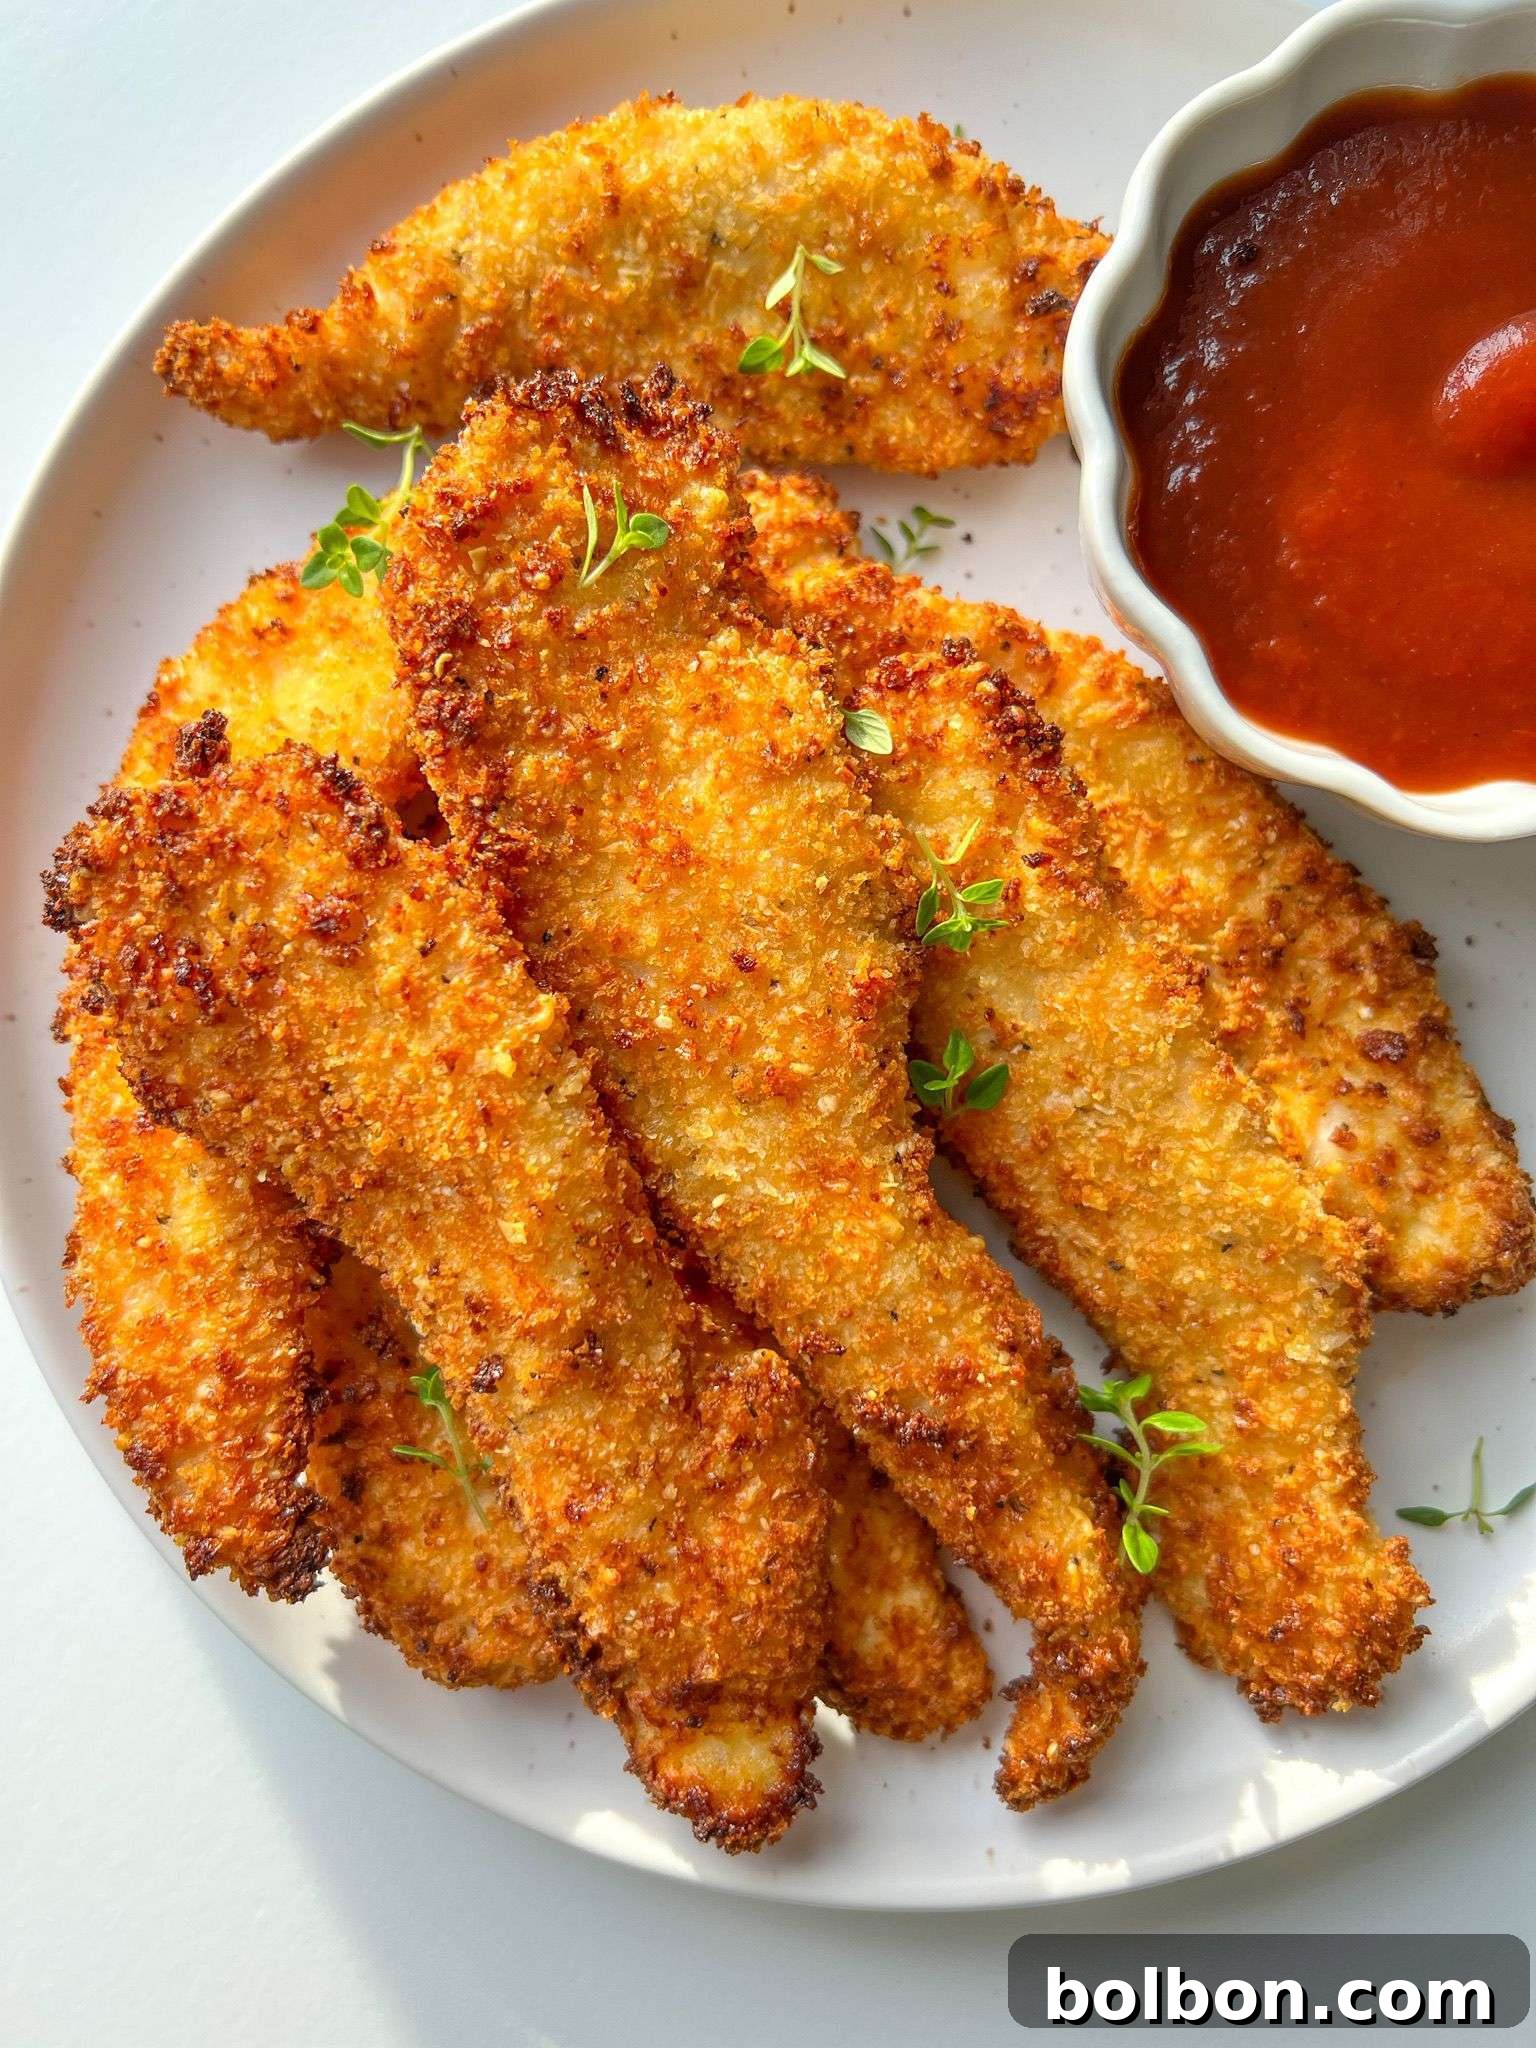
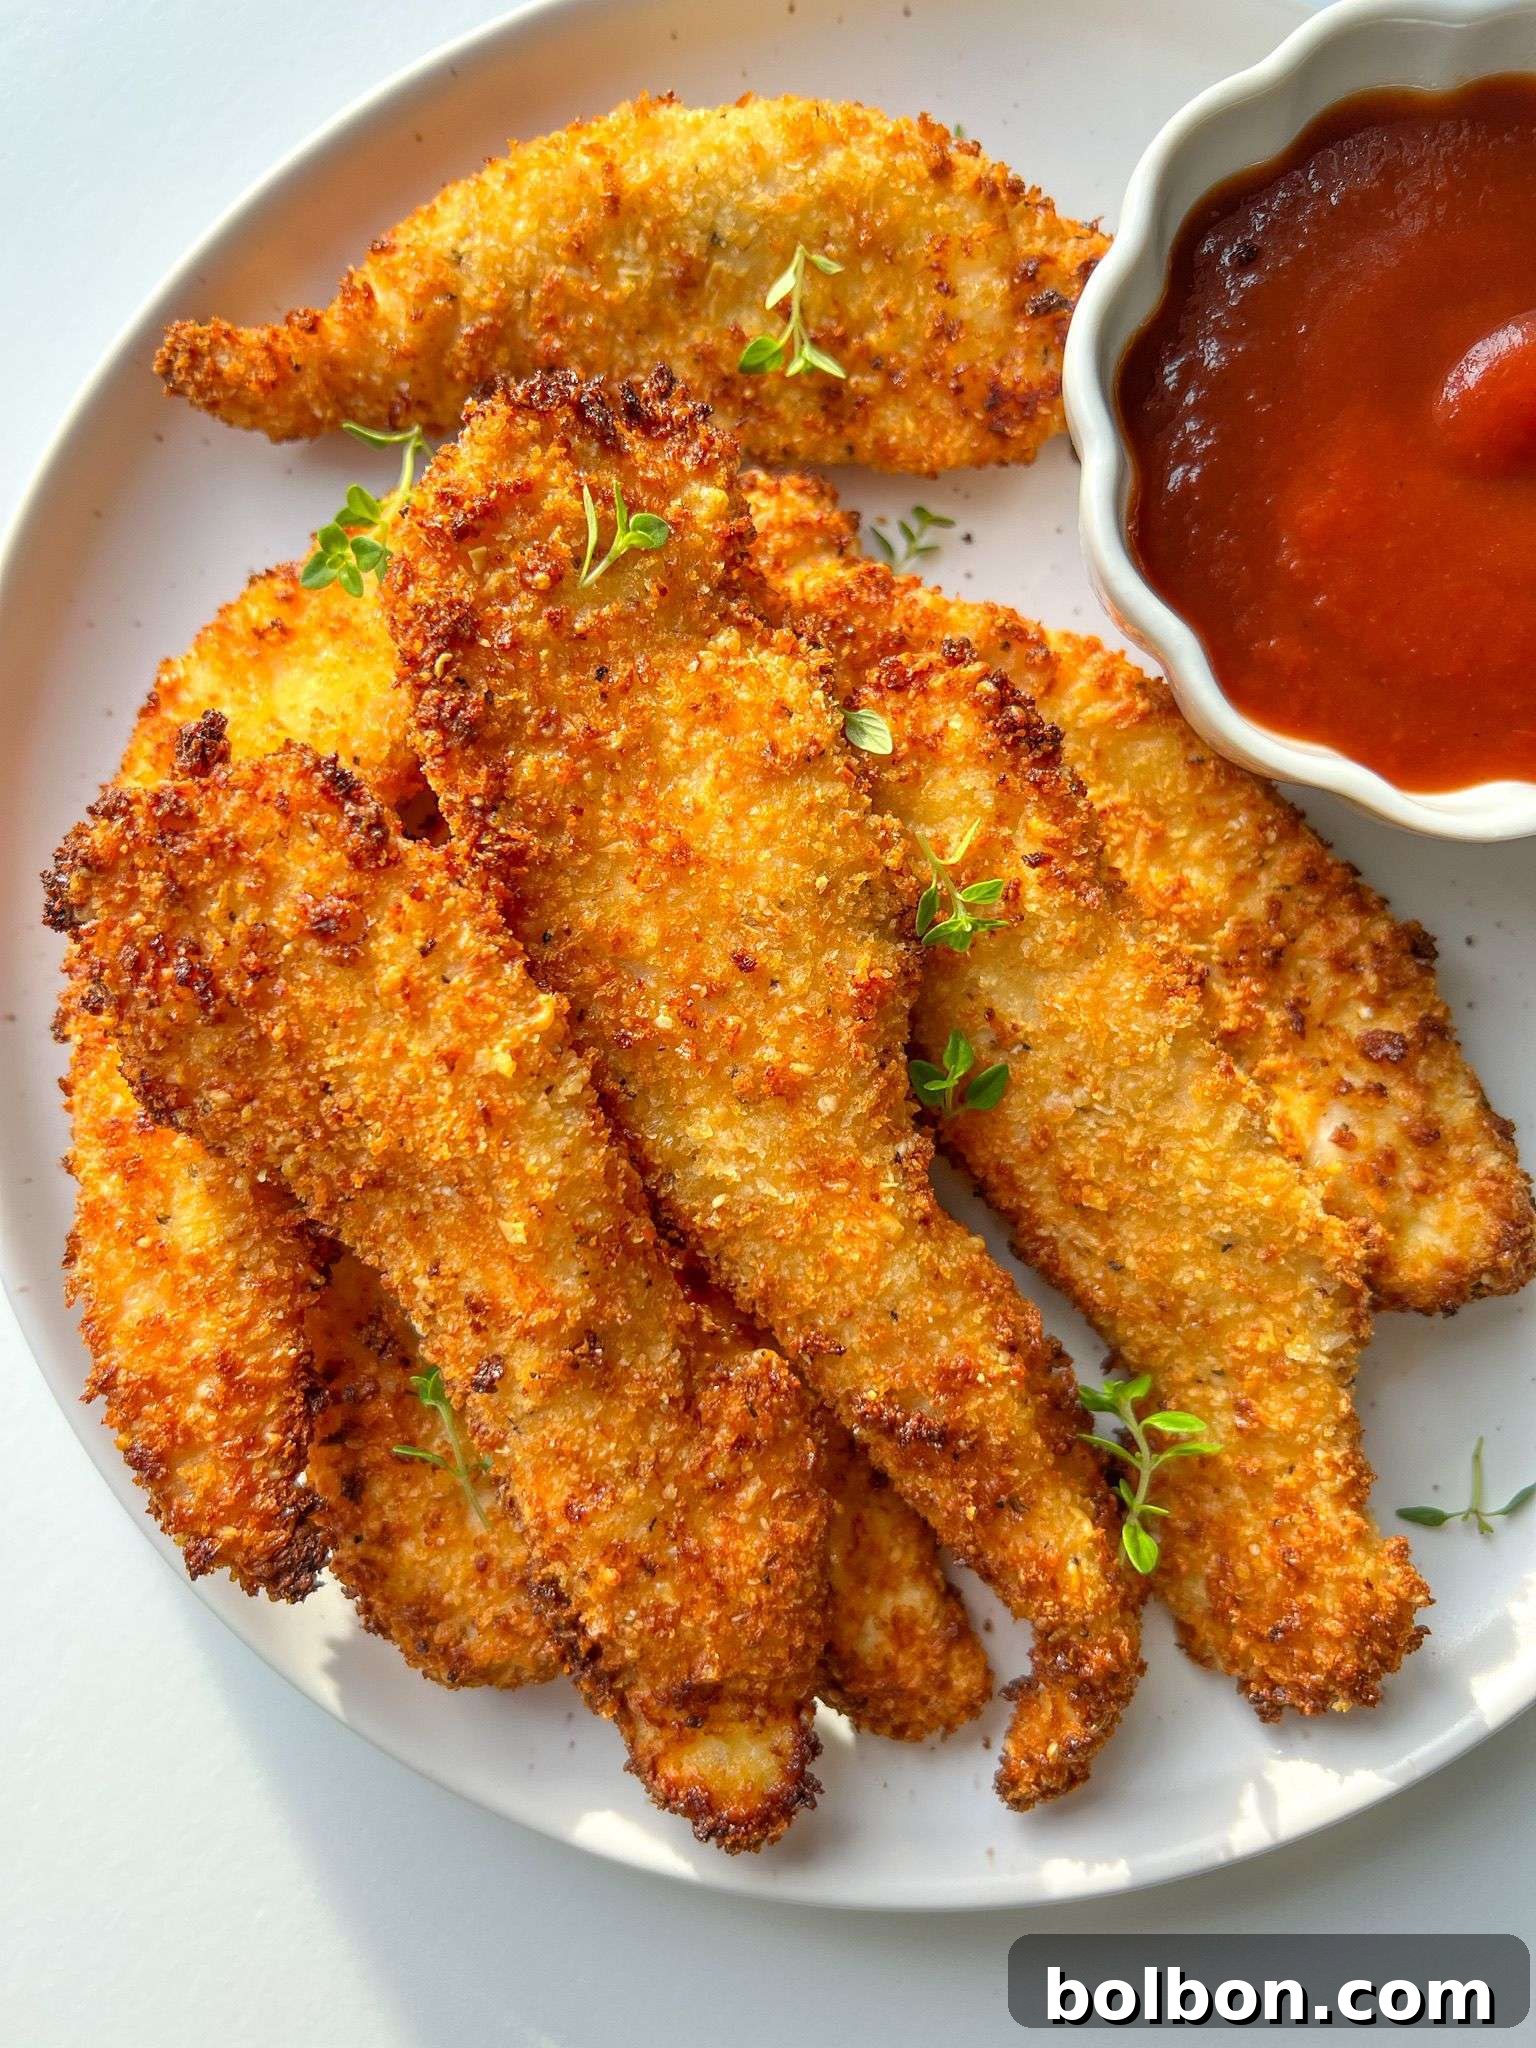
Say goodbye to those uninspiring frozen chicken nuggets! These homemade Crispy Chicken Fingers, cooked to perfection in your air fryer, are about to become your family’s new favorite recipe. Imagine: an exterior that’s incredibly crispy and golden brown, encasing wonderfully moist and tender chicken on the inside. This recipe isn’t just a hit for school lunches 🎒; adults will find themselves reaching for these delectable tenders just as often. The magic happens in the air fryer, which slashes cooking time, minimizes cleanup, and significantly reduces calories by using just a fraction of the oil typically required for traditional frying. I love to transform these homemade chicken fingers into a light yet satisfying meal by cutting them into strips and enjoying them atop a fresh salad 🥗. They’re also absolutely irresistible on their own, perhaps with a classic side of ketchup or your favorite dipping sauce.
Key Takeaways
- Making Crispy Chicken Fingers at home is surprisingly easy, offering a healthier, more flavorful alternative to store-bought frozen options, especially when utilizing the air fryer.
- This versatile recipe can be easily customized to suit various dietary needs (e.g., gluten-free, dairy-free) and is perfectly suited for efficient meal preparation, saving you time during busy weeknights.
- Achieve unparalleled crispiness and tenderness through the power of Panko breadcrumbs and the efficiency of air frying, requiring minimal oil.
- Enjoy these chicken fingers in countless ways: as a standalone snack, a quick lunch, a healthy dinner component, or even reimagined into other Italian-inspired dishes.
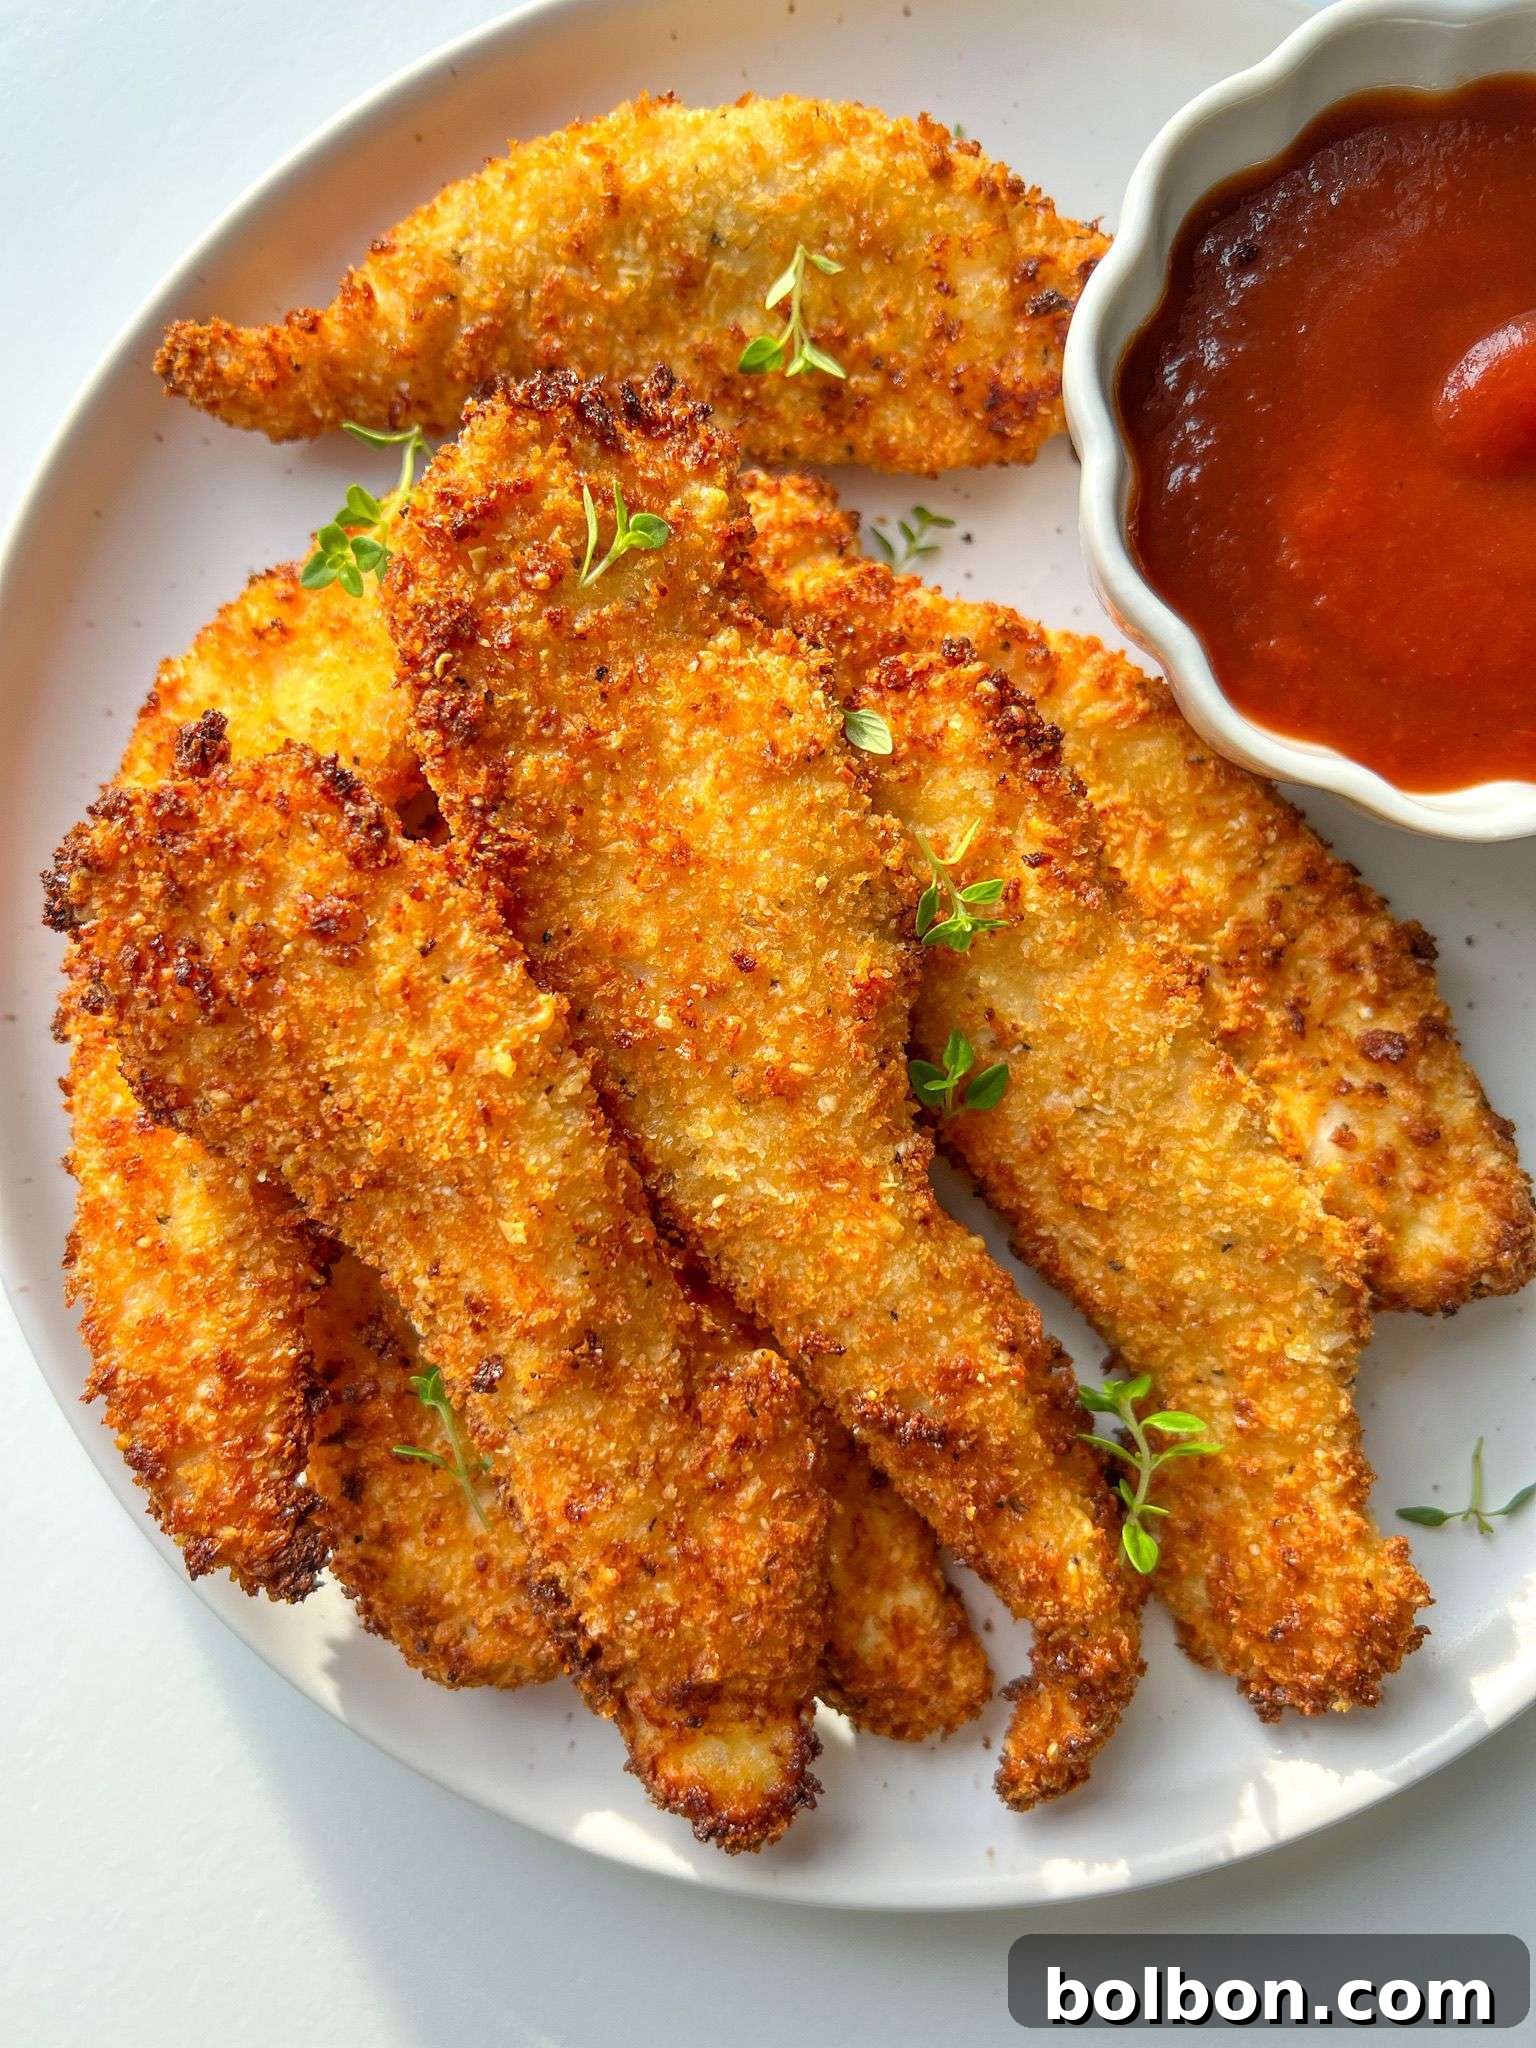
Table of Contents
- Key Takeaways
- Why You’ll Love These Crispy Air Fryer Chicken Fingers
- Essential Ingredients for Perfect Chicken Fingers
- Nonna’s Tip 🍗: Preparing Your Chicken
- Creative Variations and Smart Substitutions
- More Delicious Chicken Recipes
- Perfect Pairings for Your Chicken Fingers
- Common Questions & Expert Answers
- Crispy Chicken Fingers Recipe
Why You’ll Love These Crispy Air Fryer Chicken Fingers
Prepare to be amazed by the incredible texture and flavor of these homemade air fryer chicken fingers. The secret to their sensational crunch lies in a dynamic duo: light, airy Panko breadcrumbs combined with finely grated Parmesan cheese. This coating creates an irresistible crust that’s superior to any store-bought frozen variety. Forget the drive-through or that bag of bland, breaded chicken tenders lurking in your freezer ✌️! This recipe is everything you’re looking for in a quick, satisfying meal: it’s easy to prepare, incredibly delicious, and significantly healthier than deep-fried alternatives, with absolutely no frying involved. My love for the air fryer knows no bounds, especially when I’m pressed for time or simply want to avoid a massive kitchen clean-up 🧽. Air-frying masterfully achieves that coveted crisp texture while using up to 95% less oil, making it a guilt-free pleasure.
Beyond the health benefits and convenience, these chicken fingers offer unmatched versatility. They’re a fantastic way to get picky eaters to enjoy a wholesome meal, and they easily transition from a casual appetizer to the star of a weeknight dinner. The simple ingredients and straightforward process mean you can whip up a batch whenever a craving strikes, or even prepare them ahead of time for future meals. It’s a truly adaptable recipe that caters to busy lifestyles without compromising on flavor or quality. You’ll wonder why you ever bothered with frozen versions once you taste the fresh, vibrant difference of homemade.
Essential Ingredients for Perfect Chicken Fingers
Crafting the perfect crispy chicken fingers begins with a handful of quality ingredients. Each component plays a vital role in achieving that sought-after golden crust and juicy interior:
🐔 Chicken Fillets: Also known as chicken cutlets, strips, or tenders, these are typically narrow, thin portions of meat expertly cut from the chicken breast. This cut is ideal as it cooks quickly and evenly, ensuring maximum tenderness. You can purchase them pre-cut from your butcher for ultimate convenience, or, for a more budget-friendly approach, easily prepare them at home by slicing whole chicken breasts into thinner fillets. (See Nonna’s Tip below for detailed guidance).
🌾 All-Purpose Flour: This forms the crucial first layer in our breading station. All-purpose flour adheres to the chicken, creating a dry, slightly rough surface that allows the egg wash to cling effectively. This initial coating is essential for building a robust, flavorful, and ultimately crispy crust.
🍳 Eggs: Whisked eggs act as the primary binder in our breading process. They create a sticky layer that firmly attaches the breadcrumbs to the flour-dusted chicken, contributing significantly to a thick, crunchy, and beautifully golden crust once air-fried. Using large eggs typically works best for optimal coverage.
🍞 Panko Breadcrumbs: For unparalleled crispiness, Panko breadcrumbs are truly superior. These unique breadcrumbs, originating from Japan, are made from white bread that has been crust-free and processed into large, airy, flaky crumbs. Unlike standard breadcrumbs which are denser and absorb more oil, Panko provides a lighter, crispier texture and absorbs less fat, making them perfect for air frying.
🧀 Parmigiano Reggiano: As The Modern Nonna, I naturally advocate for the full Italian name of this exquisite cheese. Parmigiano Reggiano is a premium, aged Parmesan cheese that infuses the breading with a deeply savory, nutty, and slightly salty flavor, elevating these chicken fingers beyond a simple snack. While Parmigiano Reggiano offers the best flavor profile, any high-quality grated Parmesan cheese will undoubtedly contribute deliciousness to your dish.
🧂 Salt and Pepper: These fundamental seasonings are critical for enhancing the natural flavors of the chicken and the breading. Don’t hesitate to season generously (with your heart, as I often say!) at each stage of the breading process to ensure a well-balanced and flavorful final product. A good quality sea salt and freshly ground black pepper make all the difference.
🥑 Avocado Oil Spray: To achieve that perfect crispy exterior in the air fryer, all you need is a light, even coating of oil. Avocado oil spray is my top choice because it boasts an exceptionally high smoke point, meaning it can withstand high temperatures without breaking down or imparting a burnt flavor. Its neutral taste also ensures that the delicious flavors of the chicken and breading shine through without interference.
Nonna’s Tip 🍗: Preparing Your Chicken
For ultimate convenience, I often purchase chicken already cut into thin cutlets. This saves a significant amount of prep time, especially on busy days. However, you absolutely don’t have to! If you have whole boneless, skinless chicken breasts, you can easily prepare them at home. Start by butterflying the chicken breasts – carefully slicing them horizontally through the center to create two thinner pieces. Then, place each half between two sheets of plastic wrap and pound them thin (to about 1/4-inch thickness) using a meat mallet or the flat side of a heavy pan. Finally, slice these thin pieces into uniform strips. This method ensures even cooking and maximises surface area for that crispy coating!
Creative Variations and Smart Substitutions
One of the best aspects of this Crispy Chicken Fingers recipe is its adaptability. Feel free to experiment with these variations and substitutions to match your pantry staples, dietary needs, or flavor preferences:
- **Breadcrumb Choices:** While Panko breadcrumbs are highly recommended for their superior crispiness, you can certainly use traditional Italian store-bought breadcrumbs if that’s what you have on hand. For an even more authentic touch, consider making your own homemade breadcrumbs from stale bread, which often yields a wonderfully fresh flavor.
- **Alternative Oils:** Beyond avocado oil, any neutral-flavored, high-smoke point oil will work effectively for spraying your chicken fingers in the air fryer. Excellent alternatives include sunflower oil, canola oil, grapeseed oil, or even a light olive oil spray. The key is an even, light coating to aid in browning and crisping.
- **Cheese Customization:** The addition of Parmigiano Reggiano cheese is optional, but it truly adds a layer of rich, umami flavor that elevates these chicken fingers. If you don’t have Parmigiano Reggiano, Pecorino Romano or even a good quality sharp cheddar can be used for a different, yet equally delicious, cheesy kick.
- **Gluten-Free Adaptation:** I haven’t personally tried it with almond flour, but I am confident that these air fryer chicken fingers would be just as delightful and wonderfully crispy when made with a 1-to-1 gluten-free flour blend (for the initial dredge) and gluten-free Panko breadcrumbs (for the coating). Many excellent gluten-free Panko brands are available that mimic the texture of traditional Panko perfectly.
- **Dairy-Free Option:** Making these chicken fingers dairy-free is incredibly simple. As mentioned, the Parmesan is entirely optional. You can simply omit it from the breading, or substitute it with your favorite dairy-free grated cheese alternative or even a tablespoon of nutritional yeast for a cheesy, savory flavor without the dairy.
- **Spice It Up!** For an extra layer of flavor, consider adding a pinch of garlic powder, onion powder, smoked paprika, or a tiny dash of cayenne pepper to your flour or breadcrumb mixture. These small additions can transform the flavor profile and add a wonderful aromatic depth.
More Delicious Chicken Recipes
Air Fryer Chicken Thighs
25 mins
Baked Chicken Parmigiana
1 hr
One Pan Chicken Dinner
35 mins
Authentic Italian Chicken Cutlets
30 mins
Perfect Pairings for Your Chicken Fingers
These incredibly crispy air fryer chicken fingers are versatile enough to complement a wide array of sides and sauces. Here are some of my favorite ways to enjoy them:
- For a truly indulgent yet balanced meal, serve these chicken fingers alongside a generous portion of Crispy Parmesan Crusted Smashed Potatoes, complete with their creamy yogurt dipping sauce. The textures and flavors are a match made in culinary heaven!
- Elevate your dipping experience by pairing these homemade tenders with a vibrant and flavorful Homemade Spicy Mayo. The creamy heat offers a fantastic contrast to the chicken’s crispiness. Other excellent dipping sauce ideas include honey mustard, BBQ sauce, ranch dressing, or a classic sweet chili sauce.
- Transform these crispy chicken cutlets into a protein-packed and satisfying main dish by using them as a crunchy topping for a fresh salad. They are particularly delicious on my Simple Green Salad, adding both substance and an exciting textural element.
- For a classic kid-friendly meal, serve them with a side of homemade sweet potato fries or a colourful medley of roasted vegetables.
Common Questions & Expert Answers
Absolutely! While the air fryer is my preferred method for maximum crispiness with minimal oil, you have a couple of excellent alternatives. You can shallow fry the chicken fingers in about 1.5 inches of any neutral oil (like avocado, canola, or sunflower oil) until golden brown and cooked through. Ensure the oil is heated to about 350-375°F (175-190°C) before adding the chicken, and don’t overcrowd the pan. Alternatively, you can bake them in a conventional oven. Preheat your oven to 425°F (220°C). Place the breaded chicken fingers on a parchment paper-lined baking sheet, or for best results, on a wire rack set inside a rimmed baking sheet (this allows air to circulate around all sides for better crisping). Spray both sides of the chicken liberally with oil spray, then bake for 15 to 20 minutes, flipping them halfway through, until golden and cooked to an internal temperature of 165°F (74°C). While they won’t be quite as crispy as air-fried, they will still be delicious!
Yes, making these Crispy Chicken Fingers gluten-free is very straightforward! Simply substitute the all-purpose flour with your favorite 1-to-1 gluten-free flour blend for the initial dredge. Then, use gluten-free Panko breadcrumbs for the coating. Many excellent brands of gluten-free Panko are available that provide the same light, airy crispiness as traditional Panko. I haven’t tried this recipe with almond flour for the main coating, but it should work well as a substitute for regular flour in the first step if you prefer.
Indeed, these Crispy Chicken Fingers can certainly be made dairy-free without compromising on flavor! The Parmigiano Reggiano is an optional ingredient that adds a wonderful savory depth, but it’s not essential for the recipe’s success. You can either completely omit the Parmesan cheese from the breading mixture, or substitute it with your preferred dairy-free grated cheese alternative. Nutritional yeast can also be a great addition to the breadcrumbs for a cheesy, umami flavor without any dairy.
Absolutely! Feel free to purchase boneless, skinless chicken breasts and prepare them yourself. While I often opt for pre-cut chicken cutlets for their convenience, filleting whole breasts is easy. To do so, place a chicken breast on a cutting board and carefully slice it horizontally through the center, creating two thinner halves (this is known as butterflying). Then, place each half between two sheets of plastic wrap and use a meat mallet or the flat side of a heavy pan to pound them gently and evenly to about 1/4-inch thickness. Finally, cut these pounded halves into long, thin strips, just like chicken tenders. This ensures consistent cooking and maximum crispiness.
This Crispy Chicken Fingers recipe is an absolute dream for meal prep! You have a couple of fantastic options. You can bread the chicken the night before, arrange them on a baking sheet lined with parchment paper (without overlapping), cover loosely with plastic wrap, and refrigerate overnight. Then, simply air-fry them the next day. For longer storage, you can easily double or triple the recipe and freeze the breaded chicken strips, uncooked, in a single layer on a baking sheet until solid. Transfer them to a freezer-safe bag or container, separating layers with parchment paper. When ready to cook, let them defrost in the fridge overnight or throughout the workday, then air-fry as directed. You can also cook them from frozen, adding a few extra minutes to the cooking time and ensuring they reach an internal temperature of 165°F (74°C).
This is the air fryer that I personally use and wholeheartedly recommend for making this Crispy Chicken Fingers recipe and countless other delicious meals. It consistently delivers fantastic results.
Leftover cooked chicken fingers can be stored in an airtight container in the refrigerator for up to 3-4 days. To reheat and restore their crispiness, I highly recommend using your air fryer! Place them in a preheated air fryer at 375°F (190°C) for 3-5 minutes, or until heated through and crispy. You can also reheat them in a conventional oven at 375°F (190°C) for 8-10 minutes. Avoid the microwave, as it will make them soggy.
There are a few common culprits if your chicken fingers aren’t achieving optimal crispiness. First, ensure you’re using Panko breadcrumbs, as they are key to superior crunch. Second, don’t overcrowd the air fryer basket; cook in batches if necessary, allowing enough space for hot air to circulate freely around each piece. Overcrowding traps steam, leading to a softer texture. Third, make sure you’re adequately spraying the chicken fingers with oil on both sides before air frying – this fat is crucial for browning and crisping. Lastly, ensure your air fryer is preheated to the correct temperature.
Crispy Air Fryer Chicken Fingers
Facebook Share
Rate Recipe
Print Recipe
Main Course, Appetizer
American, Italian-Inspired
2
The Modern Nonna
15 minutes
10 minutes
25 minutes
Video Tutorial
Equipment
Ingredients
- 1.5 pounds chicken fillets or cutlets, about 700g, cut into strips
- 2 large eggs, whisked well
- ½ cup all-purpose flour
- 1 cup Panko breadcrumbs
- ½ cup Parmigiano Reggiano cheese, finely grated (optional, but highly recommended)
- ½ teaspoon salt, or to taste
- ¼ teaspoon black pepper, freshly ground, or to taste
- avocado oil spray, or other neutral high-heat oil spray
Instructions
-
Prepare the Chicken: If starting with whole chicken breasts, butterfly them and pound them thin (about 1/4-inch thick), then cut into 2 to 3 even strips, depending on the size of the cutlet. Aim for uniform thickness for consistent cooking.
-
Set up the Dredging Station: Assemble three separate, shallow bowls. In the first bowl, place the all-purpose flour. In the second bowl, whisk the eggs until well combined. In the third bowl, combine the Panko breadcrumbs with the grated Parmigiano Reggiano cheese (if using). Lightly season each bowl (flour, egg, and breadcrumbs) with a pinch of salt and pepper to ensure flavor throughout the coating.
-
Bread the Chicken: Working with one chicken strip at a time, first dredge it thoroughly in the flour, shaking off any excess. Next, dip it into the whisked egg mixture, ensuring it’s fully coated, allowing any excess egg to drip off. Finally, press the chicken strip into the breadcrumb and cheese mixture, making sure it’s completely covered. Gently pat the breadcrumbs onto the chicken to help them adhere. Repeat this process for each chicken strip until all are breaded.
-
Air Fry for Crispy Perfection: If your air fryer model includes a preheating function, activate it first. Lightly spray each breaded chicken strip generously on all sides with avocado oil spray. Carefully arrange the chicken strips in a single layer in the air fryer basket, ensuring not to overcrowd it (cook in batches if necessary for optimal crispiness). Air fry at 415°F (210°C) for 9 to 10 minutes, flipping the chicken strips over halfway through the cooking time. The chicken should be golden brown and cooked through (internal temperature of 165°F / 74°C). Serve immediately and enjoy warm!
Recipe Notes & Tips
- Transform into Chicken Parmigiana 🇮🇹: These air-fried chicken fingers are perfectly suited for an Italian twist! To make a quick Chicken Parmigiana, simply place the cooked chicken fingers on a baking pan, spoon a generous amount of your favorite marinara sauce over each, top with fresh mozzarella and a sprinkle of Parmesan, then bake in the oven at 375°F (190°C) until the cheese is bubbly and melted.
- Alternative Frying Methods: While the air fryer provides the healthiest and easiest crisp, you can also achieve a crispy result through shallow frying. Fill a large, heavy-bottomed pan with about 1.5 inches of a neutral oil (like avocado or canola). Heat the oil over medium-high heat until it reaches approximately 350-375°F (175-190°C). You can test the temperature by inserting a wooden spoon handle or chopstick into the oil – if small bubbles form around it, the oil is ready. Carefully, using tongs, fry the chicken fingers in batches, turning them occasionally, until they are beautifully browned on all sides and an instant-read thermometer inserted into the thickest part of the chicken reads 165°F (74°C). This usually takes 3-5 minutes per side. Drain on a wire rack set over paper towels.
- Oven Baking for Crispiness: If you’re baking in a conventional oven (as mentioned in the FAQ), to maximize crispiness, ensure the chicken pieces are not touching on the baking sheet. Using a wire rack placed over a baking sheet is highly recommended as it allows heat to circulate all around the chicken, resulting in a crispier texture than baking directly on the pan. Don’t forget to spray both sides generously with oil.
- Do Not Overcrowd: This is crucial for air frying. Overcrowding the air fryer basket traps steam, which will prevent the chicken from becoming crispy. Cook in batches, allowing ample space around each chicken finger for optimal air circulation and a perfectly golden crunch.
Nutrition Information
Calories: 394kcal,
Carbohydrates: 47g,
Protein: 22g,
Fat: 13g,
Saturated Fat: 6g,
Polyunsaturated Fat: 2g,
Monounsaturated Fat: 4g,
Trans Fat: 0.01g,
Cholesterol: 181mg,
Sodium: 1265mg,
Potassium: 181mg,
Fiber: 2g,
Sugar: 2g,
Vitamin A: 435IU,
Vitamin C: 0.01mg,
Calcium: 382mg,
Iron: 4mg
Nutrition information is automatically calculated and should only be used as an approximation. Individual results may vary.
Additional Information
Main Course, Appetizer
American, Italian-Inspired