
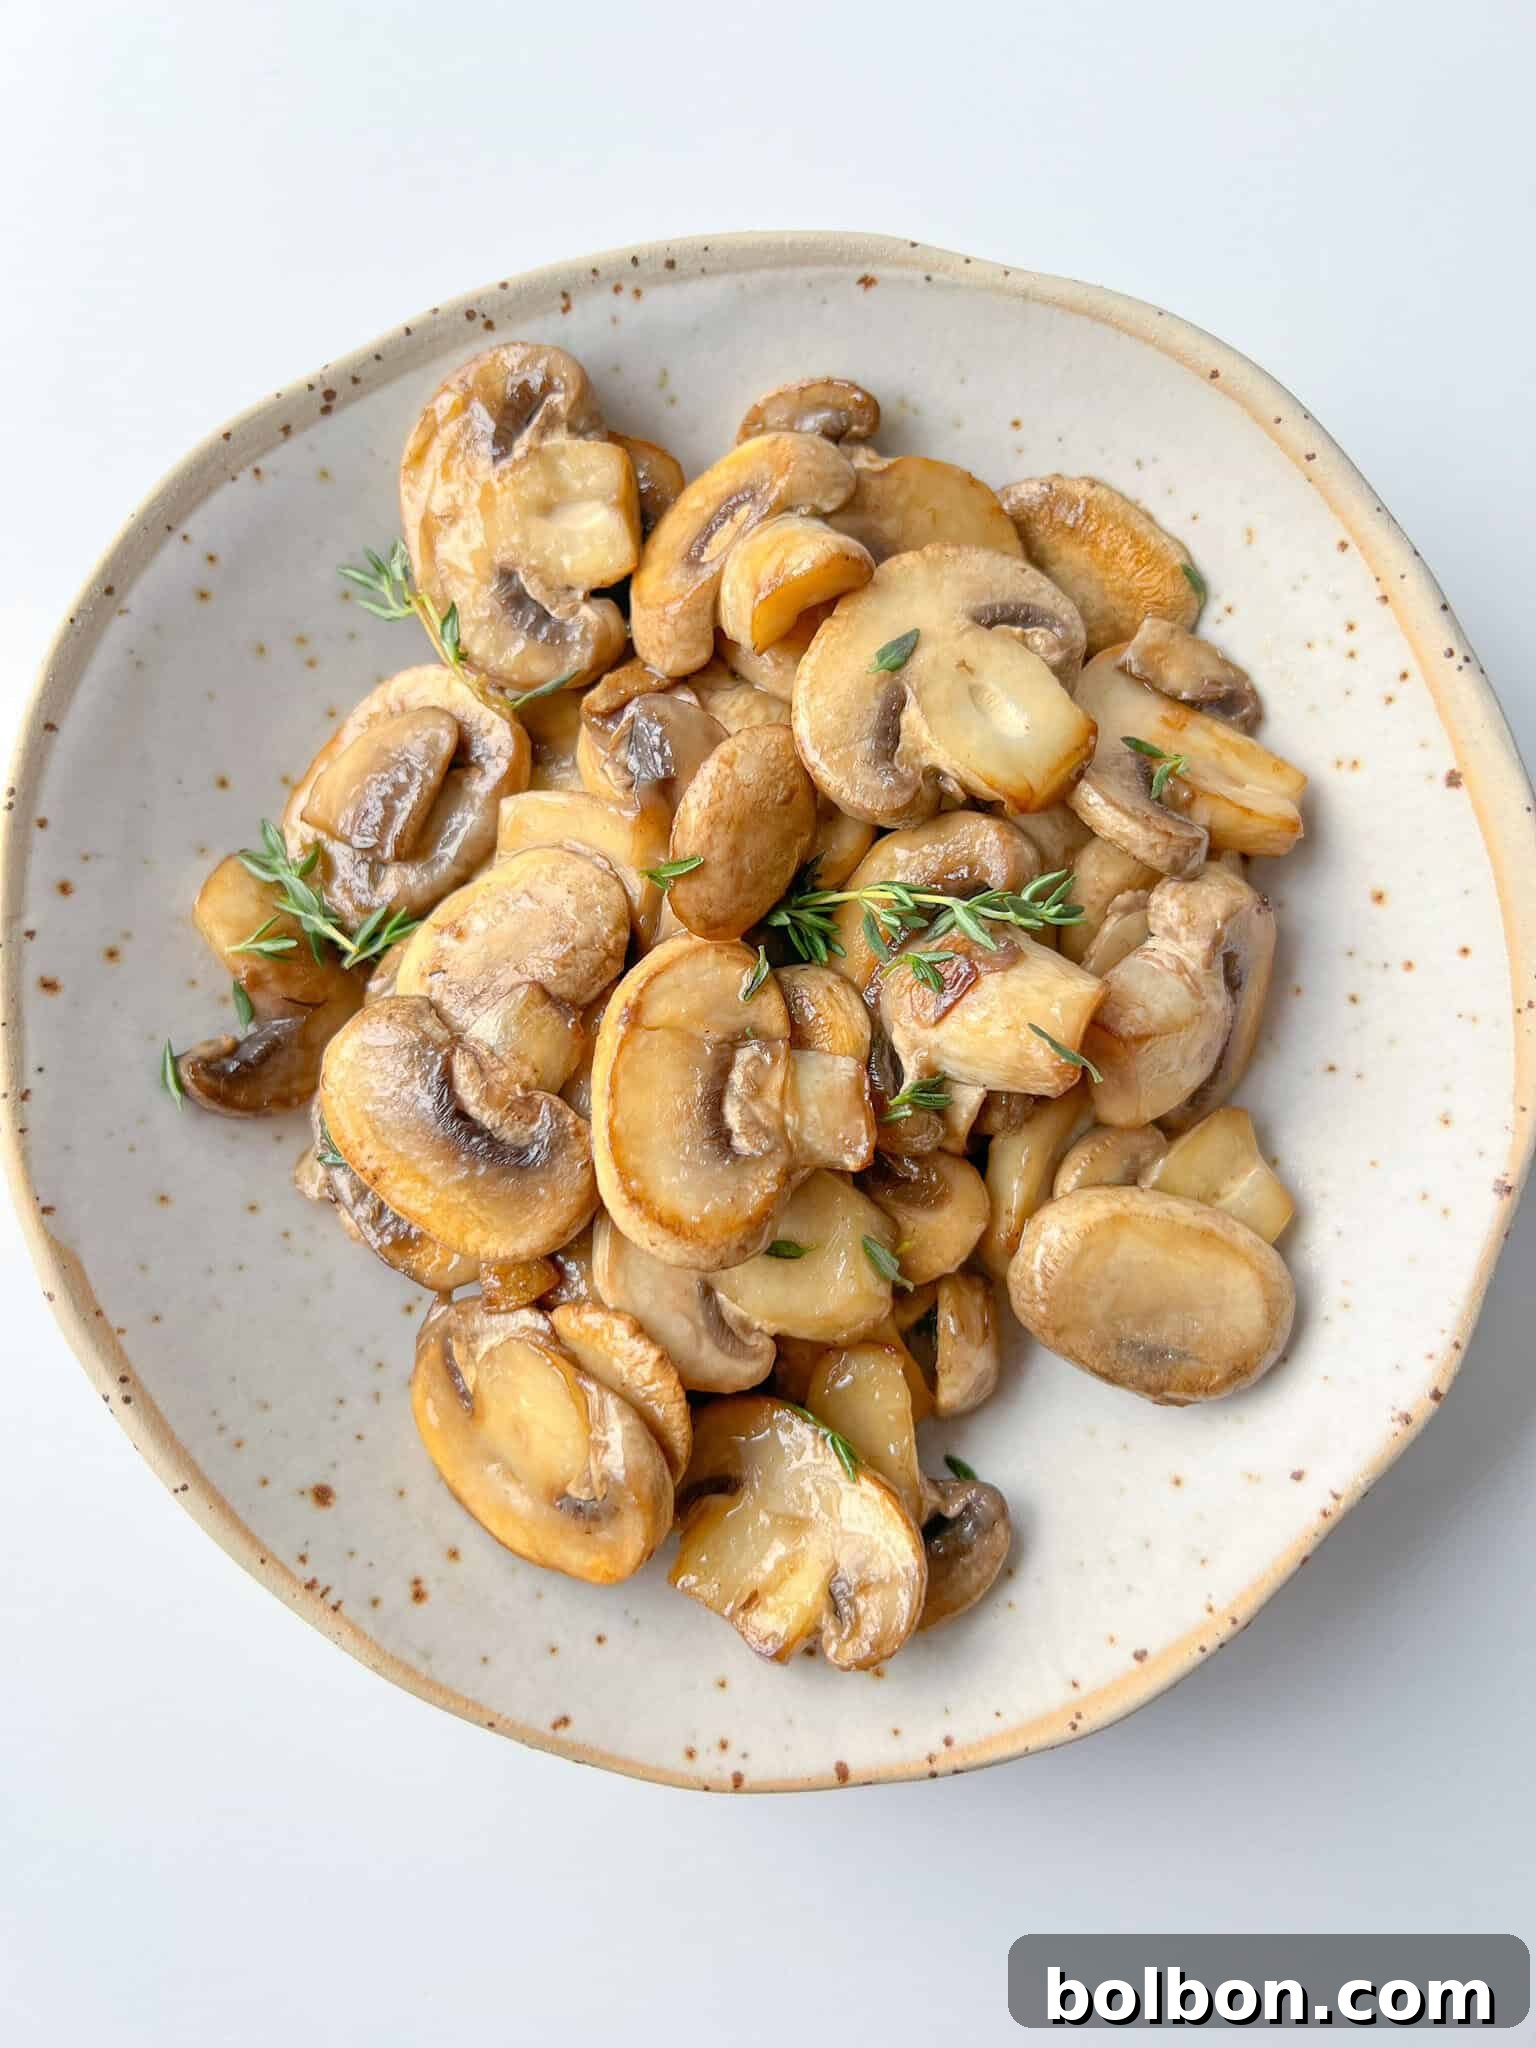
If you’ve ever found yourself wondering how to transform humble mushrooms 🍄 into a culinary masterpiece, achieving that perfect, restaurant-quality sear and incredible depth of flavor, then you’ve absolutely landed in the right spot! Many home cooks encounter the same frustrating challenges when preparing mushrooms: whether it’s accidentally washing away their delicate texture, adding salt at the wrong moment, or simply combining ingredients in an inefficient sequence. These common missteps often lead to soggy, bland, or underwhelming results. This comprehensive guide is designed to empower you with a simple yet profoundly effective method, ensuring you achieve impeccably cooked mushrooms of any variety, boasting a rich golden hue and satisfying texture, every single time. Prepare to elevate your mushroom game to truly professional standards, effortlessly.
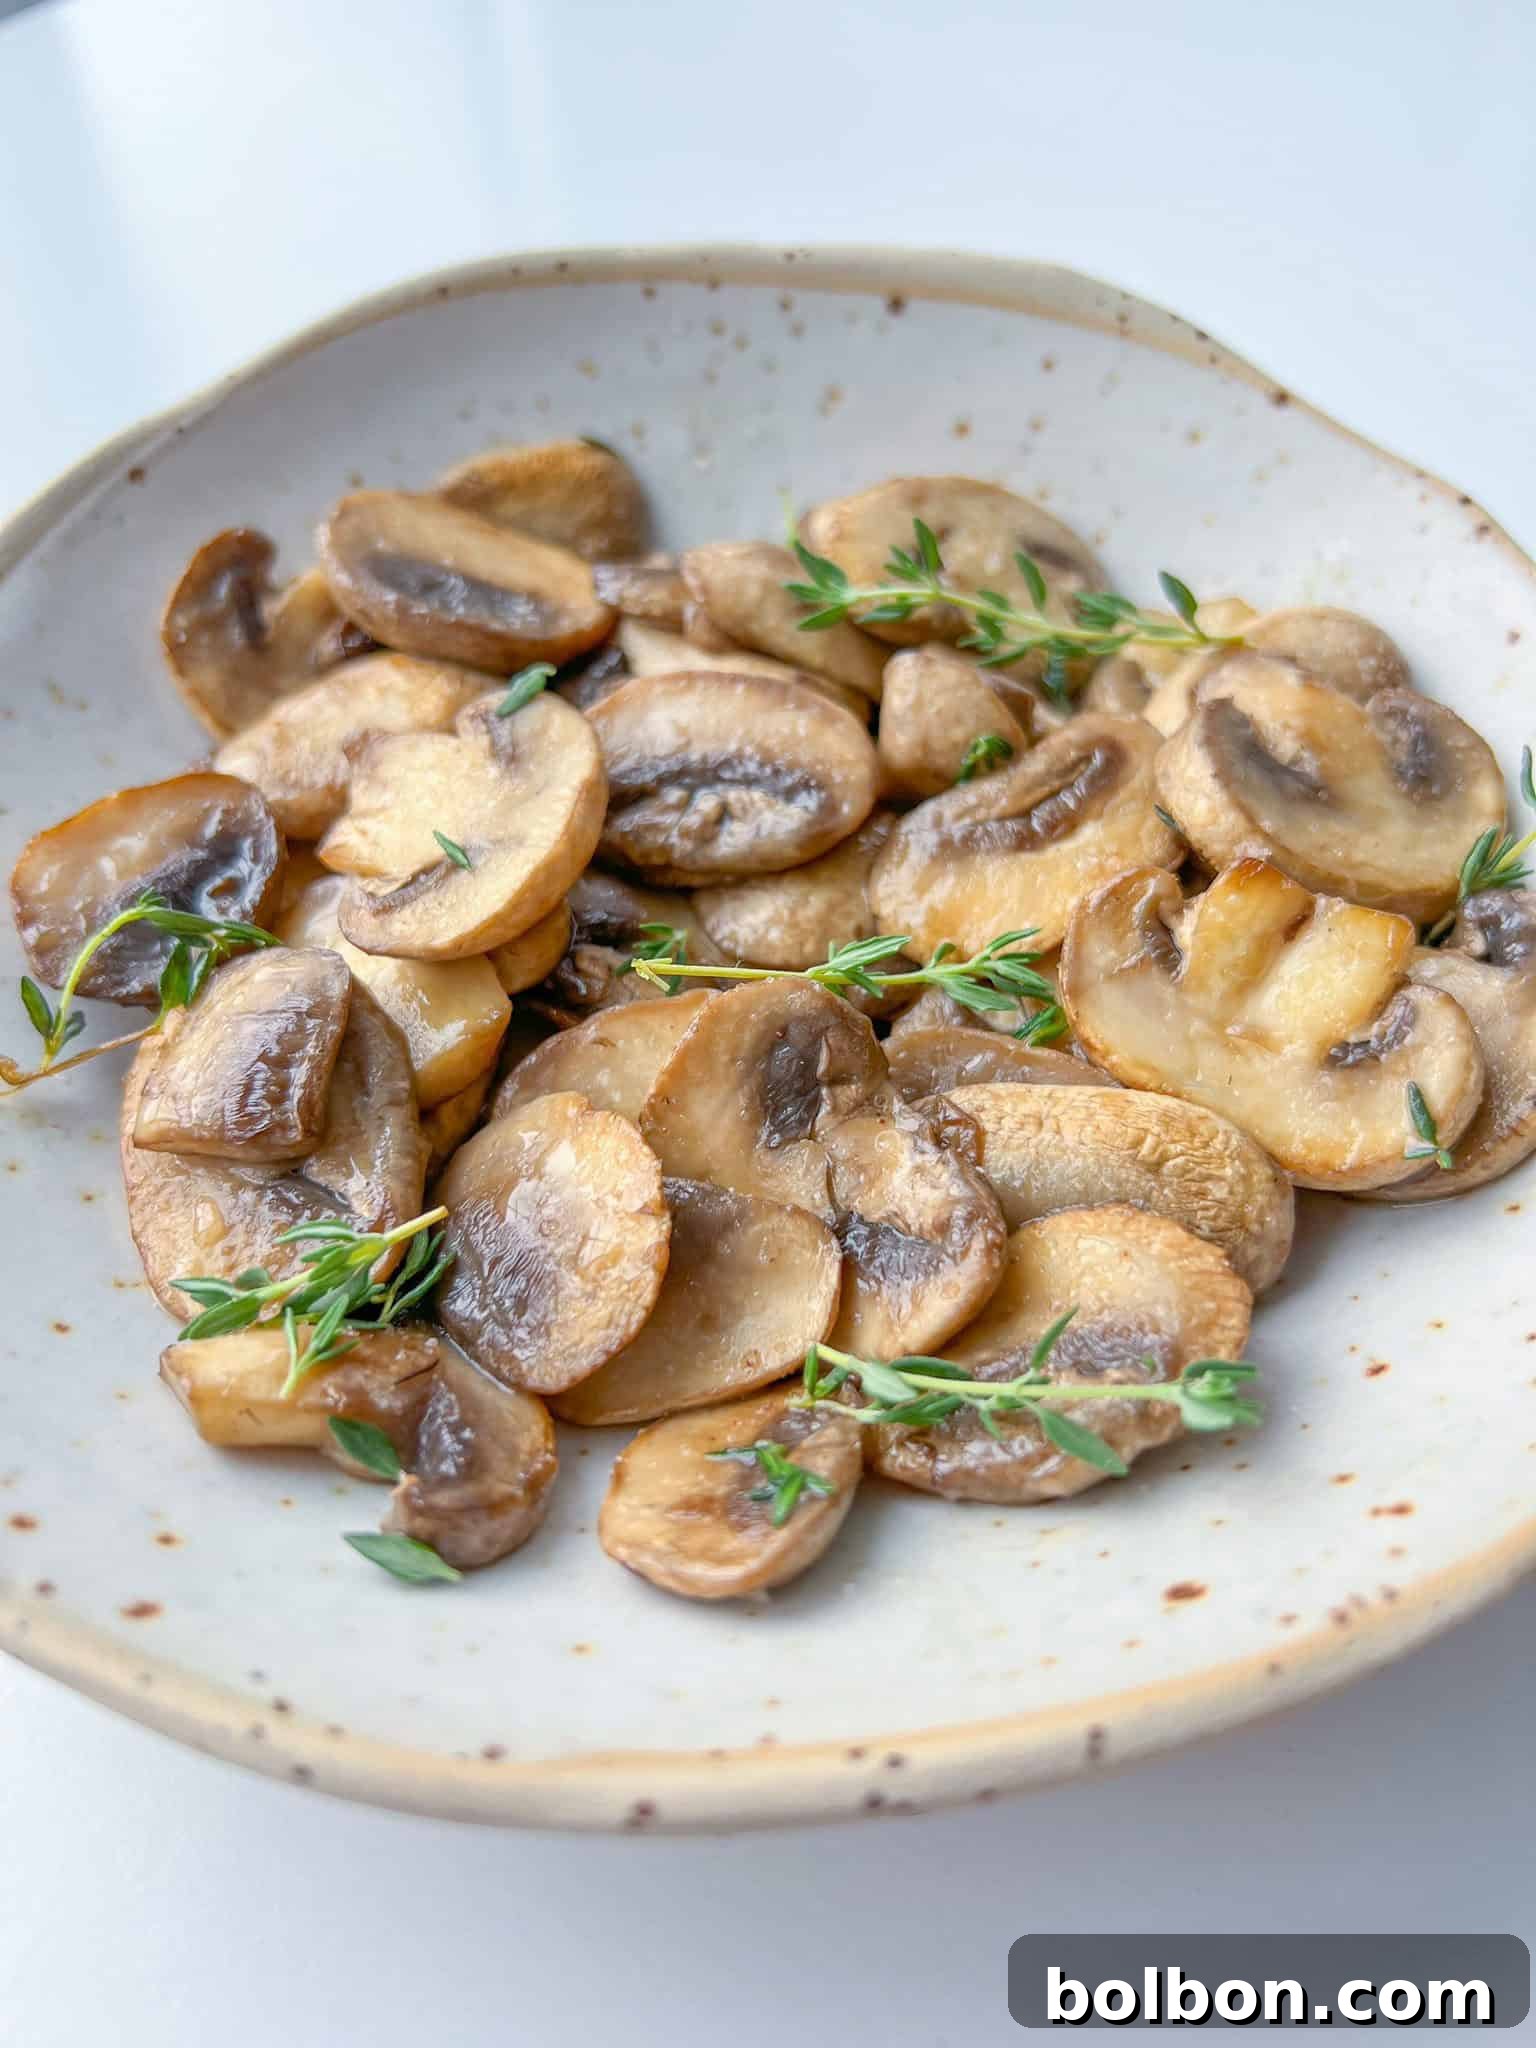
The secret to mastering mushrooms lies in understanding their fundamental composition: they are comprised of an astonishing 80 to 90% water. This inherent characteristic means mushrooms are, in fact, incredibly self-sufficient in the cooking process. By introducing them to a dry pan, you allow them to naturally release and then reabsorb their moisture, concentrating their earthy essence. Remarkably, no oil, butter, or even salt is required until the very final stages, allowing the mushrooms to develop their distinct flavor and texture without interference.
Unlock the Magic: Why You’ll Adore This Mushroom Cooking Method
Embracing the dry-pan cooking technique for mushrooms unlocks a world of flavor and texture previously unattainable through conventional methods. This approach yields an unparalleled outcome, producing mushrooms that are not only beautifully golden brown but also possess a deeply savory umami flavor and a satisfyingly firm, yet tender, texture. The process is a carefully orchestrated culinary journey: first, the mushrooms achieve a stunning initial sear, developing rich color and flavor on their surface. Following this, they gracefully release all their internal moisture, a crucial step often overlooked. The released water then completely evaporates, intensifying their natural taste. Finally, and only at this precise moment, we introduce a touch of decadent butter 🧈, a sprinkle of essential salt 🧂, and fragrant aromatics of your choice. This sequence culminates in the perfect bite – a mushroom that is intensely flavorful, perfectly browned, and wonderfully textured. If you’ve grappled with rubbery or lackluster mushrooms in the past, this method is your game-changer. Share your success stories below, and help spread the word about this transformative technique!
The Science of Sautéing: Why Dry is Best for Mushrooms
To truly understand why the dry-pan method is superior for cooking mushrooms, it’s helpful to delve into a bit of culinary science. As mentioned, mushrooms are sponges for moisture, containing up to 90% water. When you add oil or butter to the pan at the beginning, this fat creates a barrier around the mushrooms. Instead of allowing their water to evaporate efficiently, the fat essentially “fries” the water, leading to steaming. Steaming prevents the Maillard reaction – the chemical process responsible for the coveted golden-brown crust and rich, complex flavors (umami) that we associate with perfectly cooked food. By starting with a dry, hot pan, you encourage rapid water evaporation. This allows the mushroom’s natural sugars and amino acids to come into direct contact with the hot pan surface, initiating the Maillard reaction and transforming their flavor profile into something truly extraordinary. This method ensures maximum flavor concentration and a desirable texture, free from any mushiness.
How to Prepare and Cook The Mushrooms: A Step-by-Step Guide
Achieving perfectly sautéed mushrooms involves a few critical steps, prioritizing proper preparation and precise timing.
1. Gather Your Essential Tools: The right equipment makes all the difference. Ensure you have a large 12-inch skillet or a similar heavy-bottomed pan. A large surface area is paramount to prevent overcrowding, which is the nemesis of perfectly browned mushrooms. Cast iron or stainless steel pans work exceptionally well.
2. Clean the Mushrooms Meticulously 🍄: Resist the urge to rinse mushrooms under running water, as they will absorb excess moisture, leading to a steamed rather than seared result. Instead, gently use a damp paper towel or a soft mushroom brush to meticulously wipe away any dirt, debris, or lingering soil from ½ pound (approximately 300 grams) of sliced cremini mushrooms or your preferred variety. This dry cleaning method preserves their natural texture.
3. Preheat the Pan to Perfection: Place your chosen skillet over medium-high heat. Allow it to preheat thoroughly for several minutes until it’s noticeably hot. A perfectly hot, dry pan is crucial for initiating the browning process effectively and preventing the mushrooms from immediately releasing too much water and steaming.
4. Initial Sauté and Moisture Evaporation: Add the cleaned and sliced mushrooms to the hot, dry pan in a single layer, ensuring they are not overcrowded. Let them sit undisturbed for a few minutes to allow an initial brief browning. You will soon observe them releasing their natural moisture into the pan. Continue to cook, stirring only occasionally, allowing this moisture to evaporate completely. This phase is critical for concentrating flavor.
5. Achieve Irresistible Golden Perfection: Once all the water has evaporated and the pan is dry again, the real browning begins. Continue to cook and stir the mushrooms, adjusting the heat as needed to maintain a consistent sizzle, until they develop a beautiful, deep golden-brown color on all sides. This deep browning is a sign of intense flavor development.
6. Infuse with Butter and Aromatics: Once your mushrooms have reached your desired level of golden perfection, reduce the heat to low or, for better control, remove the pan entirely from the heat. Now, add 1 tablespoon of high-quality butter and your fresh aromatics, such as delicate fresh thyme 🌿, chopped garlic 🧄, or a pinch of chili flakes. If you’re using unsalted butter, this is the ideal moment to add a sprinkle of salt to taste, ensuring perfect seasoning without drawing out moisture prematurely.
Chef’s Pro Tip: The Golden Rule of No Overcrowding
This single piece of advice is perhaps the most important for achieving perfectly cooked mushrooms: do not overcrowd the pan. When mushrooms are packed too tightly, they release their moisture but have nowhere for it to escape. This creates steam, effectively boiling the mushrooms instead of browning them. Always ensure your mushrooms are in a single layer, with ample space between each piece, for optimal searing and flavor development. If necessary, cook them in batches to maintain this crucial spacing.
Customizing Your Culinary Canvas: Substitutions and Variations
One of the beauties of this fail-proof mushroom cooking method is its incredible adaptability. Feel free to customize your mushrooms to perfectly align with your personal preferences, dietary needs, and broader culinary vision, making them a versatile addition to any meal.
- Mushroom Varieties 🍄: While cremini mushrooms are fantastic for their earthy flavor and firm texture, this technique works wonderfully with virtually any mushroom type. Experiment with white button mushrooms for a milder flavor, portobello mushrooms (sliced) for a meatier bite, delicate oyster mushrooms, rich shiitake mushrooms, or even wild foraged varieties for an elevated gourmet touch. Each will offer a unique nuance to your dish.
- Aromatics: The choice of aromatics can dramatically alter the character of your mushrooms. Beyond classic fresh thyme, consider fragrant rosemary, savory sage, aromatic oregano, or delicate tarragon. For an Asian-inspired twist, try a hint of grated ginger or finely minced scallions at the end.
- Dietary Substitutions: For those following a dairy-free or vegan diet, simply swap traditional butter for a high-quality vegan butter alternative. If you prefer to omit butter entirely, a good quality olive oil or coconut oil can be added at the very end to finish the dish, though the flavor profile will be slightly different. Remember to reduce or omit added salt if your chosen butter substitute is already salted.
- Herbs and Greens 🌿: Fresh herbs are fantastic for adding a burst of freshness. Beyond thyme, consider finely chopped parsley or chives stirred in at the very end. For a heartier side dish, wilt in a handful of fresh spinach or baby kale during the final minute of cooking, just after adding the butter and salt. Their slight bitterness will complement the rich umami of the mushrooms.
- Cooking Fat: While butter offers a classic richness, you can experiment with different fats for finishing. A drizzle of high-quality extra virgin olive oil can add a fruity, peppery note. For a nuttier flavor, consider avocado oil. The key is to add the fat at the end, after the moisture has evaporated, to avoid steaming.
- Optional Seasonings: Elevate the flavor profile with additional seasonings. Finely chopped garlic 🧄, added with the butter, will mellow and sweeten. A pinch of chili flakes can introduce a subtle warmth and heat, while a splash of balsamic glaze or soy sauce at the very end can add depth and tang. A squeeze of fresh lemon juice can brighten the entire dish.
Serving Suggestions: Elevate Your Meals
These perfectly cooked mushrooms are incredibly versatile and can enhance a wide array of dishes. Serve them as a simple yet elegant side dish alongside roasted chicken, grilled steak, or pan-seared fish. They make a fantastic addition to creamy risottos, savory pasta dishes, or hearty grain bowls. Incorporate them into omelets, frittatas, or breakfast toasts for a gourmet start to your day. Pile them onto crusty bread with a dollop of ricotta for an exquisite appetizer, or fold them into quesadillas and tacos for an earthy boost. Their rich, umami flavor makes them a wonderful complement to almost any savory meal.
Other Delectable Recipes You Might Enjoy
If you’re looking for more culinary inspiration, especially for special occasions or holiday gatherings, explore these other delicious recipes:
- Rich & Easy Gravy
- Perfectly Juicy Thanksgiving Turkey
- Creamy Baked Mac and Cheese
- Classic Savory Stuffing
- Sweet Potato Pie Spice Donuts
- Homemade Classic Pumpkin Pie
- Crispy Brussels Sprouts with Bacon
- Perfectly Roasted Sweet Potatoes
- Garlicky Mashed Potatoes
- Caramelized Roasted Delicata Squash
- Comforting Turkey Noodle Soup
- Creamy Butternut Squash Pasta
- Warm Spiced Baked Apples
- Homemade Tangy Cranberry Sauce
- Crisp Asian-Style Green Beans
- Whole Roasted Crispy Sweet Potato
Frequently Asked Questions About Cooking Mushrooms
It is highly recommended to avoid washing mushrooms with water. While it might seem like the most straightforward way to clean them, mushrooms are like tiny sponges and will readily absorb any liquid they come into contact with. This excess moisture will make them difficult to brown properly, leading to a steamed, rubbery texture and a diluted flavor. Instead, use a slightly damp paper towel or a soft brush to gently wipe away any dirt or debris from the surface of the mushrooms. This method ensures they remain dry enough to achieve that desirable golden-brown sear and rich, meaty texture.
The initial dry-pan approach is a cornerstone of this technique, and it’s a deliberate choice based on how mushrooms cook. As previously discussed, mushrooms are composed of 80 to 90% water. If you introduce oil or butter at the outset, it coats the mushrooms and creates a layer that traps their moisture. Instead of allowing the water to evaporate freely and quickly, the mushrooms end up steaming or boiling in their own liquids and the added fat. This prevents the crucial Maillard reaction, which is responsible for developing deep, savory flavors and a beautiful browned crust. By starting them in a DRY pan over medium-high heat, you encourage them to first release and then completely evaporate their natural moisture. Once the pan is dry again, the mushrooms can then truly brown and concentrate their flavors, preparing them perfectly for the addition of butter and aromatics at the very end.
Absolutely not; resist the urge to salt mushrooms before or during the initial cooking stages. Salt is a powerful dehydrating agent, and adding it too early will draw out moisture from the mushrooms prematurely. This process will result in soggy, watery, and ultimately mushy mushrooms, making it impossible to achieve that desirable browned exterior and firm, meaty bite. The goal is to develop rich color and texture first. Therefore, it is essential to always add salt, along with butter and other aromatics, at the very end of the cooking process, after the mushrooms have released and reabsorbed their moisture and developed a beautiful golden-brown crust. This ensures perfect seasoning without compromising their texture.
For optimal flavor and mineral balance, I personally recommend using Redmond Real Salt. This natural, unrefined salt offers a wonderful depth of flavor. However, the type of salt you use can significantly impact the final dish’s salinity. Fine table salt is much denser than coarse kosher salt, for instance, meaning you’ll need less of it. Always remember that salt is fundamentally to taste. It’s crucial to taste your mushrooms at the very end, after adding a small sprinkle, and then adjust gradually until you reach your preferred level of seasoning. This approach guarantees a perfectly balanced and delicious outcome.
The importance of cooking mushrooms in a single layer cannot be overstated. This fundamental principle directly relates to the concept of overcrowding, which, as a rule, should always be avoided. When mushrooms are piled on top of each other or packed too closely in the pan, they cannot properly brown. Instead, the trapped moisture creates a steamy environment, effectively boiling the mushrooms rather than searing them. This results in a soft, flabby, and often unappealing texture, lacking the desirable golden-brown color and concentrated flavor. To ensure each mushroom piece has direct contact with the hot surface of the pan, allowing its moisture to evaporate and the Maillard reaction to occur, always spread them out in a single, uncrowded layer. If you have a large quantity of mushrooms, cook them in multiple batches rather than trying to fit them all into one pan.
How To Cook Mushrooms (Fail-Proof Chef’s Method)
Facebook Share
Rate Recipe
Print Recipe
Video
Watch the video below to see this fail-proof method in action and learn how to cook mushrooms like a chef!
Equipment
Ingredients
- ½ pound (300 grams) sliced Cremini mushrooms, fresh and wiped clean; any variety will work, such as button, shiitake, or oyster mushrooms
- 1 tablespoon unsalted butter , or vegan butter alternative
- Small sprinkle fine sea salt or Redmond Real Salt, added to taste at the very end; adjust if using salted butter
- fresh thyme sprigs , or other desired aromatics like minced garlic, rosemary, or chili flakes
Instructions
-
Important Note: This method yields the best results when mushrooms are cooked in batches. Regardless of the quantity you’re preparing, it is paramount that they cook in a single layer without overcrowding the pan. For this recipe, I typically use a spacious 12-inch skillet to ensure ample room for optimal browning.
-
Begin by preparing your mushrooms. If there’s any visible dirt, refrain from rinsing them under water. Instead, use a slightly damp paper towel to gently and thoroughly wipe away all debris. Once clean, slice them evenly if they aren’t pre-sliced. For maximum convenience and consistent cooking, I often opt for pre-sliced mushrooms.
-
Place a large, dry skillet (such as your 12-inch pan) over medium-high heat. Allow it to heat thoroughly until it’s hot but not smoking. Add the prepared mushrooms to the hot pan, ensuring they are spread out in a single layer. Avoid any overlapping or overcrowding to prevent steaming.
-
Initially, you will observe the mushrooms beginning to brown slightly on the surface. Shortly after, they will start to release a significant amount of water into the pan. This is a critical stage; allow them to continue cooking through this process, letting all the released water completely evaporate until the pan is visibly dry again. Patience here is key for flavor concentration.
-
While the mushrooms are cooking, you can gently stir or toss them occasionally to ensure even cooking and browning on all sides. Do not stir constantly, as this can impede the browning process.
-
Once the water has entirely evaporated, the mushrooms will start to brown more intensely and develop that coveted golden-brown hue. The level of browning is entirely up to your preference; keep a close eye on them and continue to move them around gently until they achieve your desired deep golden color.
-
After the mushrooms have reached a beautiful golden-brown, reduce the heat to low or, for better control, remove the pan from the heat entirely. This prevents the butter from burning and ensures your aromatics infuse properly without scorching.
-
Now, add the tablespoon of butter and your fresh thyme sprigs, or any other aromatics you prefer. Stir gently to coat the mushrooms. If you are using unsalted butter, this is the perfect moment to add a sprinkle of salt to taste, off the heat, for ideal seasoning.
-
Feel free to further customize your mushrooms by adding other complementary ingredients such as finely chopped garlic, a pinch of red chili flakes for a subtle kick, or a splash of balsamic vinegar during this final stage with the butter. Serve immediately and enjoy your perfectly cooked, chef-style mushrooms!
Nutrition Information (Approximate)
Nutrition information is automatically calculated and should only be used as an approximation. Actual values may vary based on ingredients and preparation.