
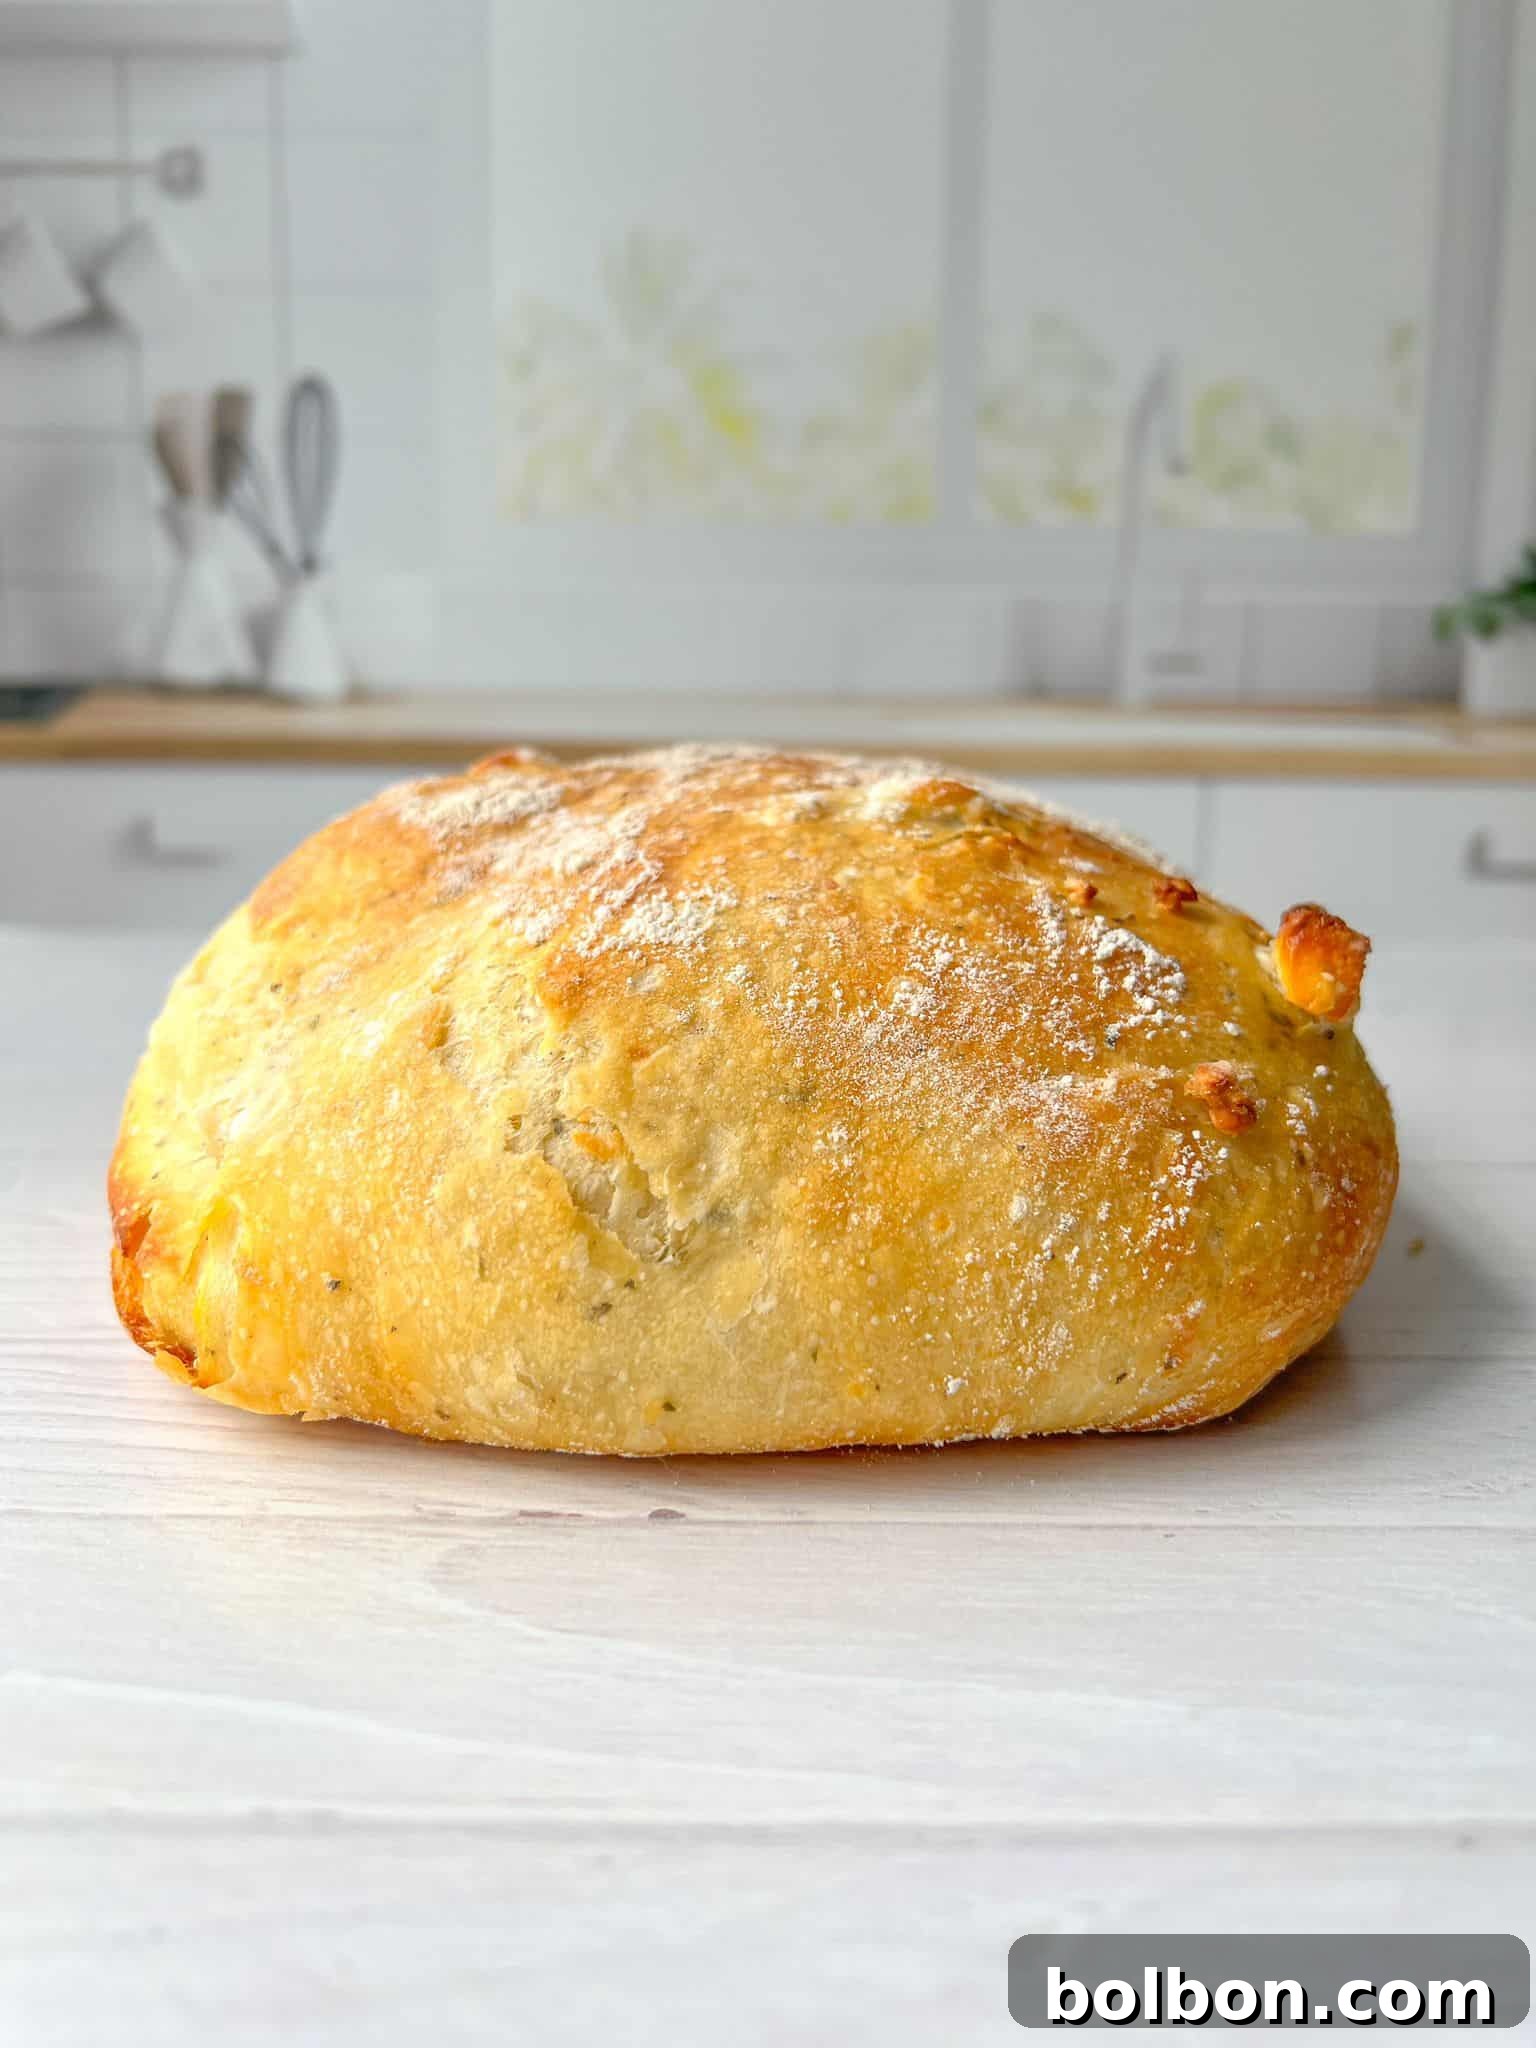
Get ready to transform your kitchen into a bakery, effortlessly! It brings me immense joy to witness the global phenomenon of my No Knead Bread recipes captivating home bakers and going viral across the internet. Today, I’m thrilled to unveil a delightful new chapter in this “wonder bread” saga: introducing the incredibly flavorful **No Knead Feta Bread**. This isn’t just any bread; it’s a culinary masterpiece that’s **salty, savory, deeply aromatic, and deceptively simple to create.** Imagine the ‘oohs’ and ‘aahs’ when you present this gorgeous loaf at your next dinner party or family gathering. Like all my no-knead bread variations, this recipe is perfectly tailored for beginners and even the most skeptical bakers. Follow these instructions carefully, and prepare yourself for the most straightforward, yet profoundly delicious, bread-baking experience of your life.
Why You’ll Fall in Love with No Knead Feta Bread
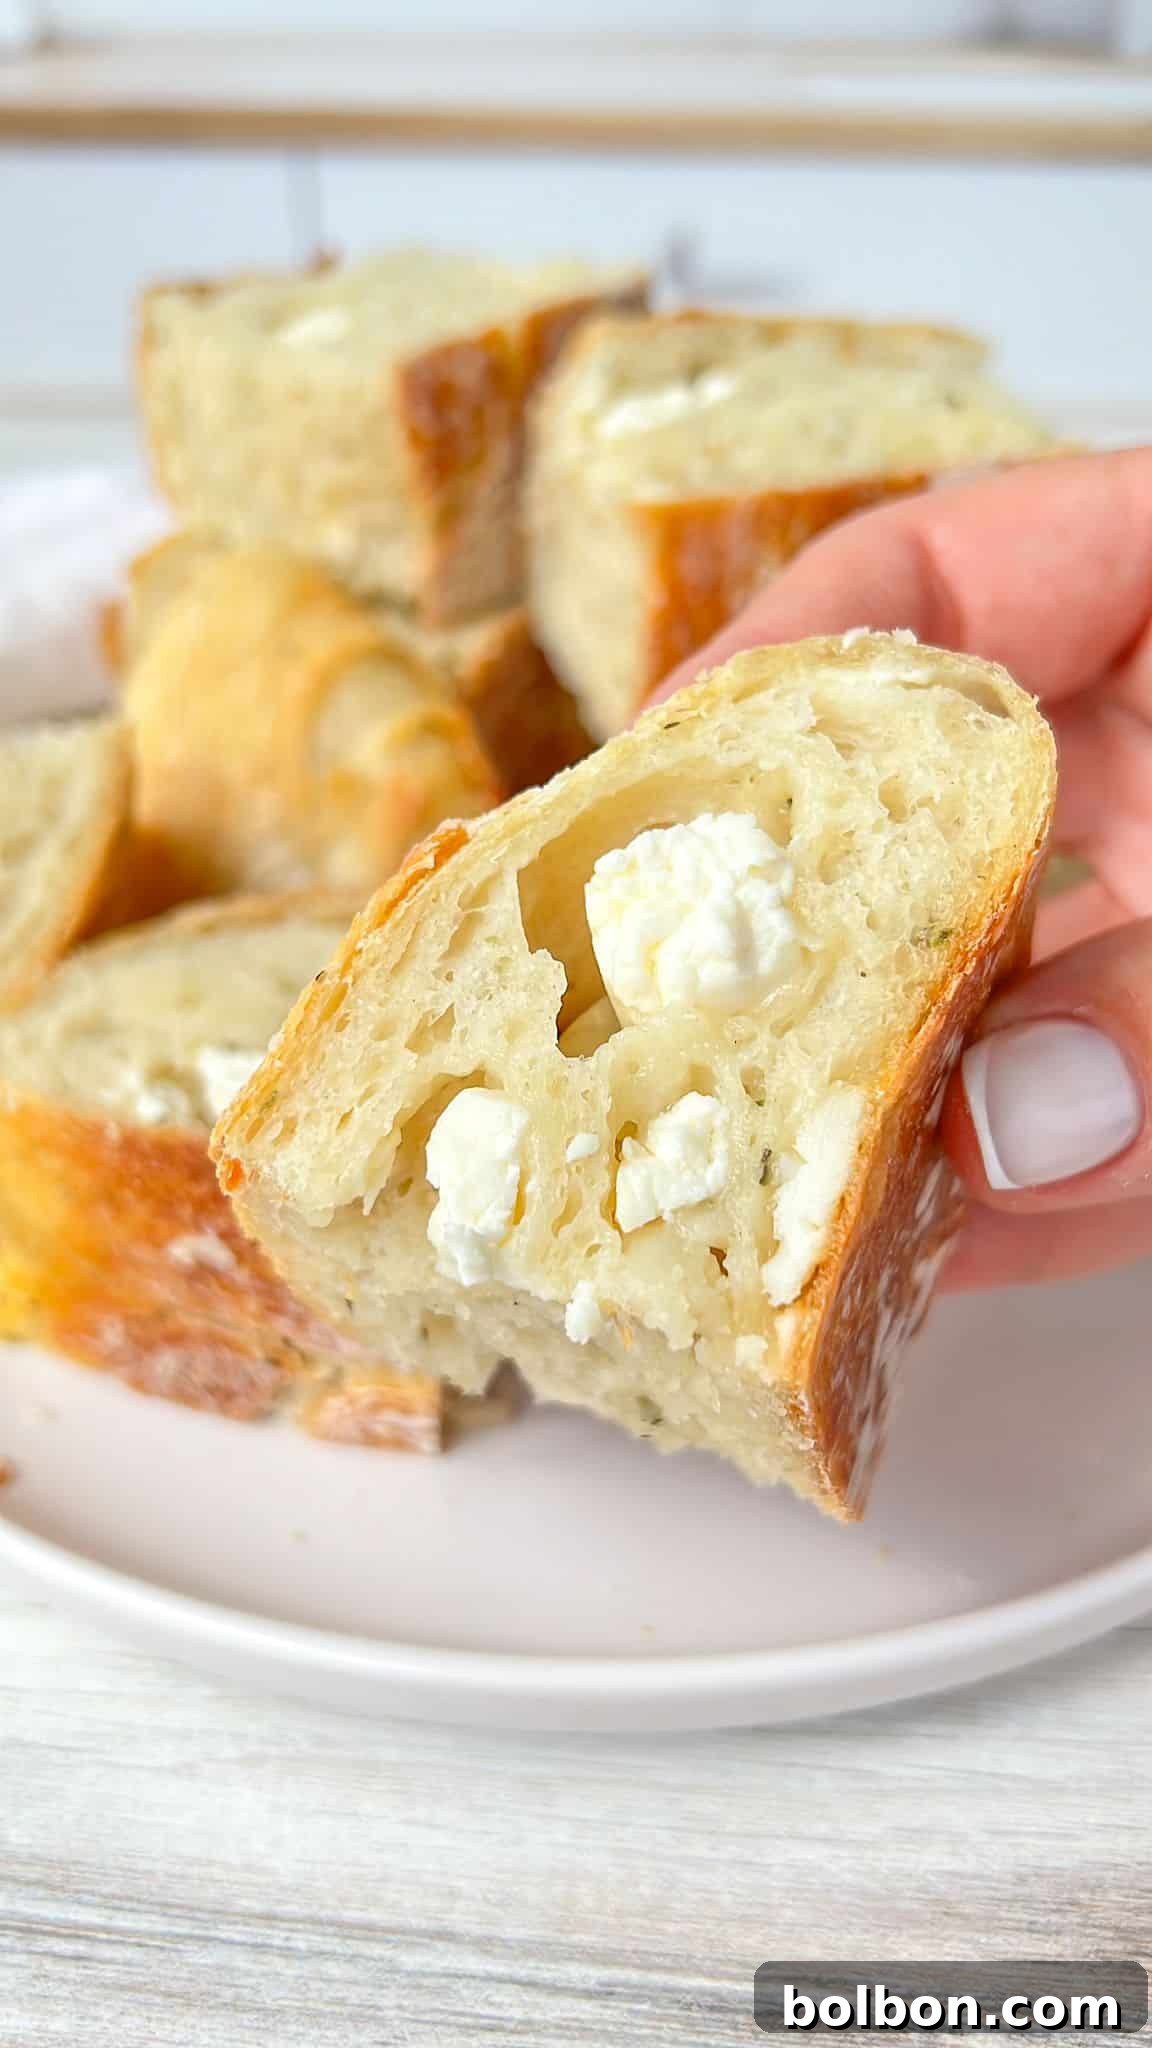
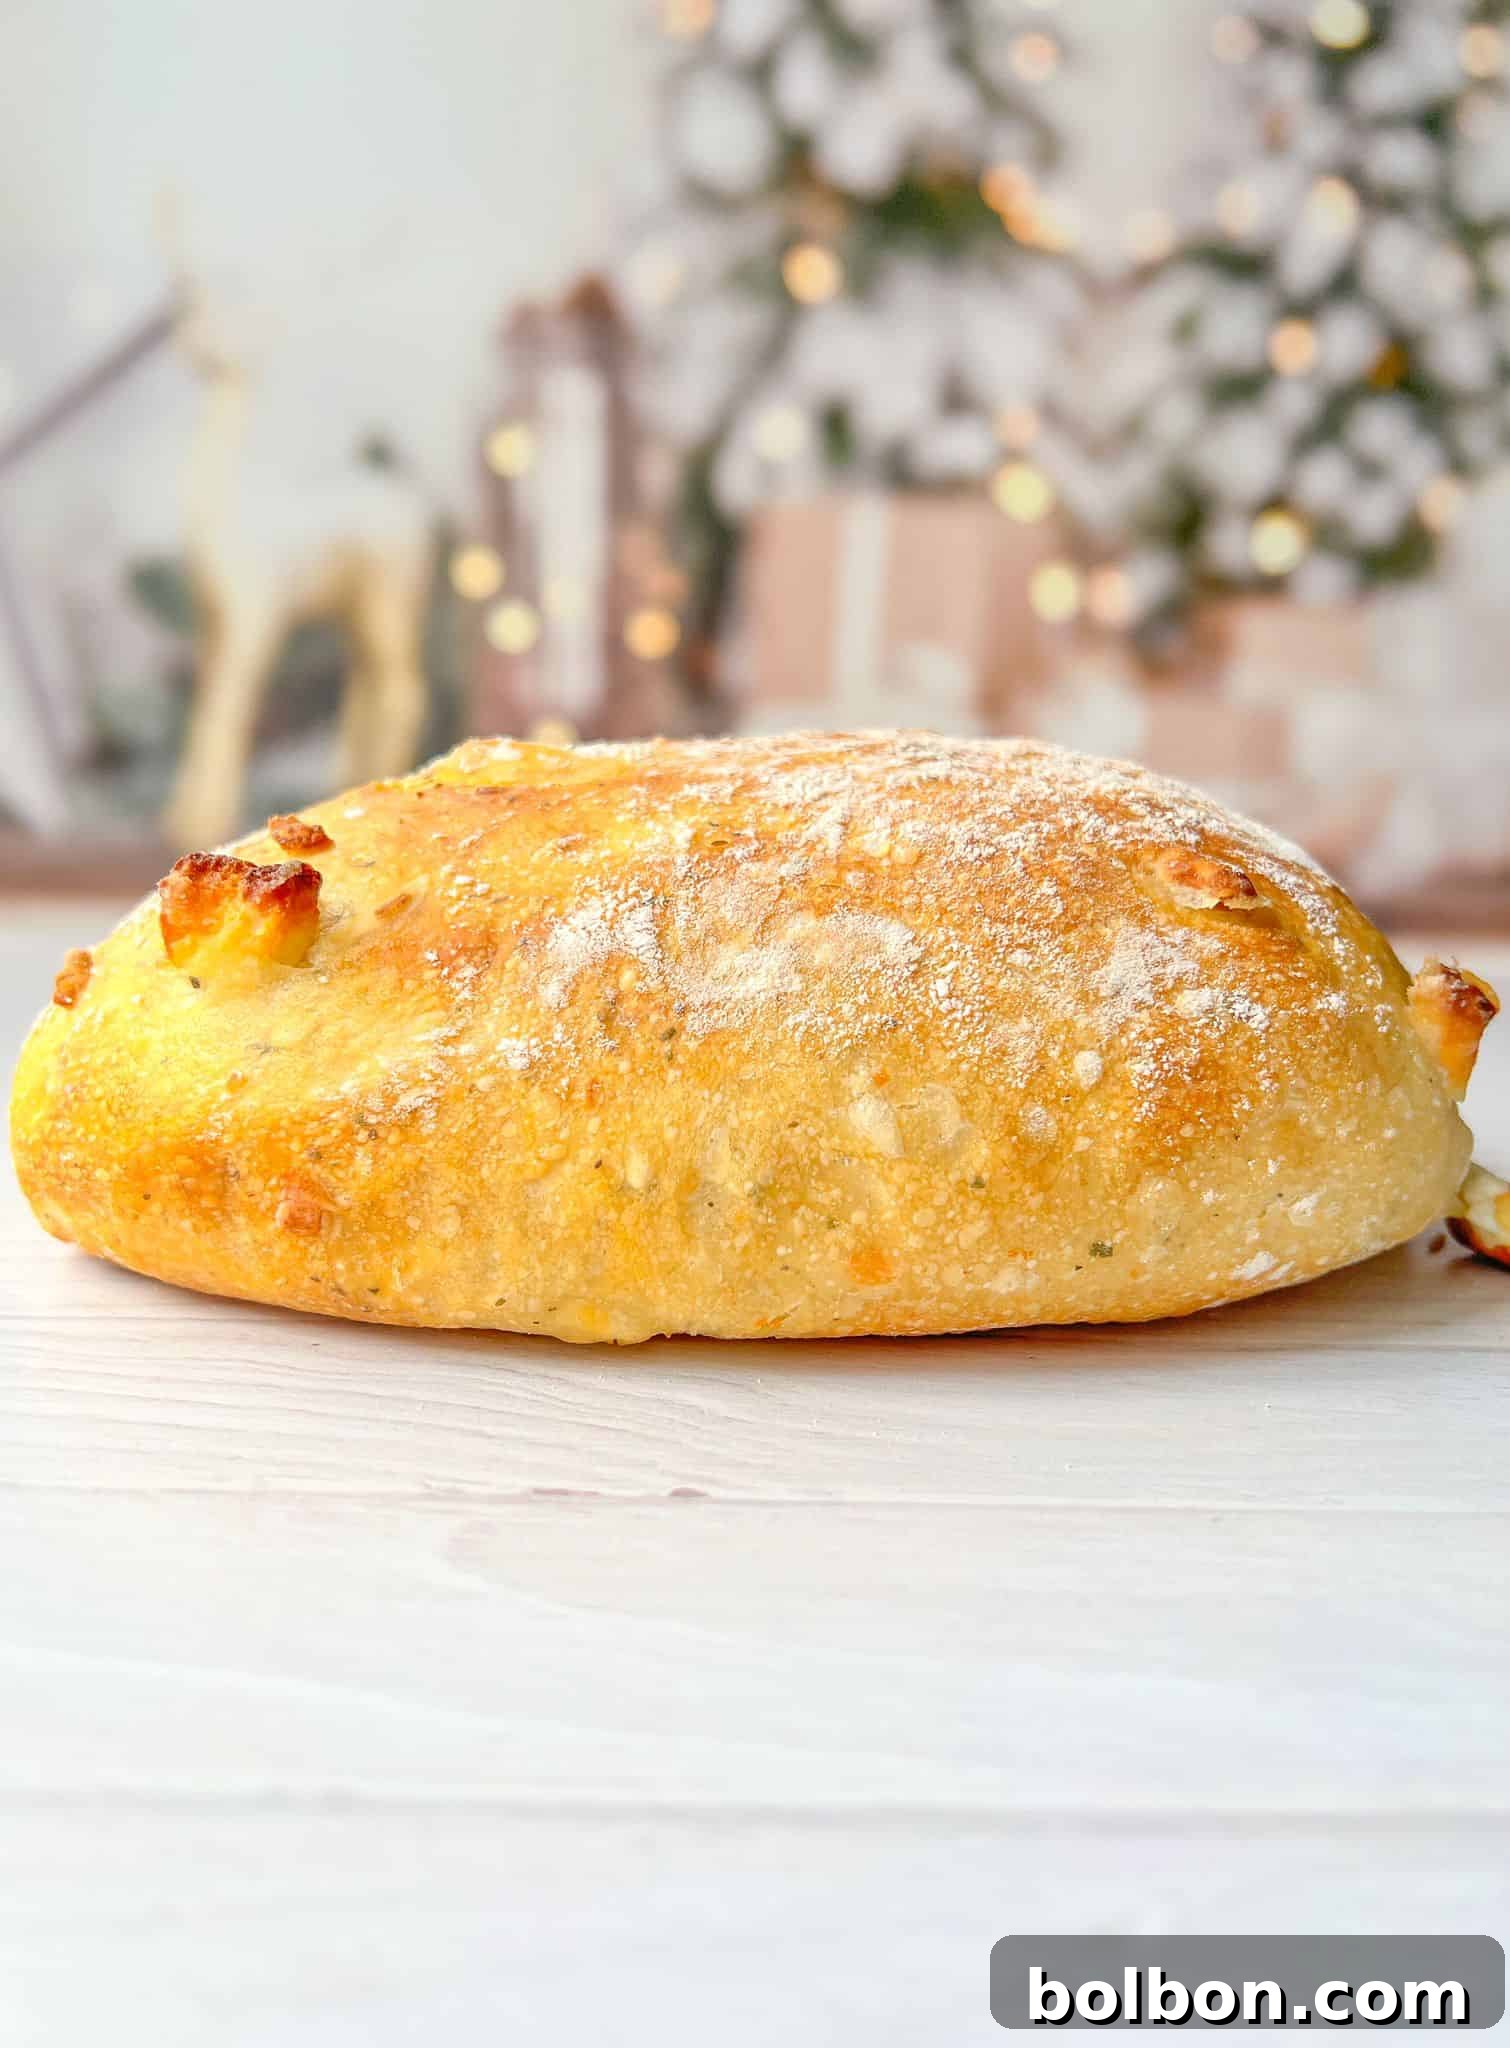
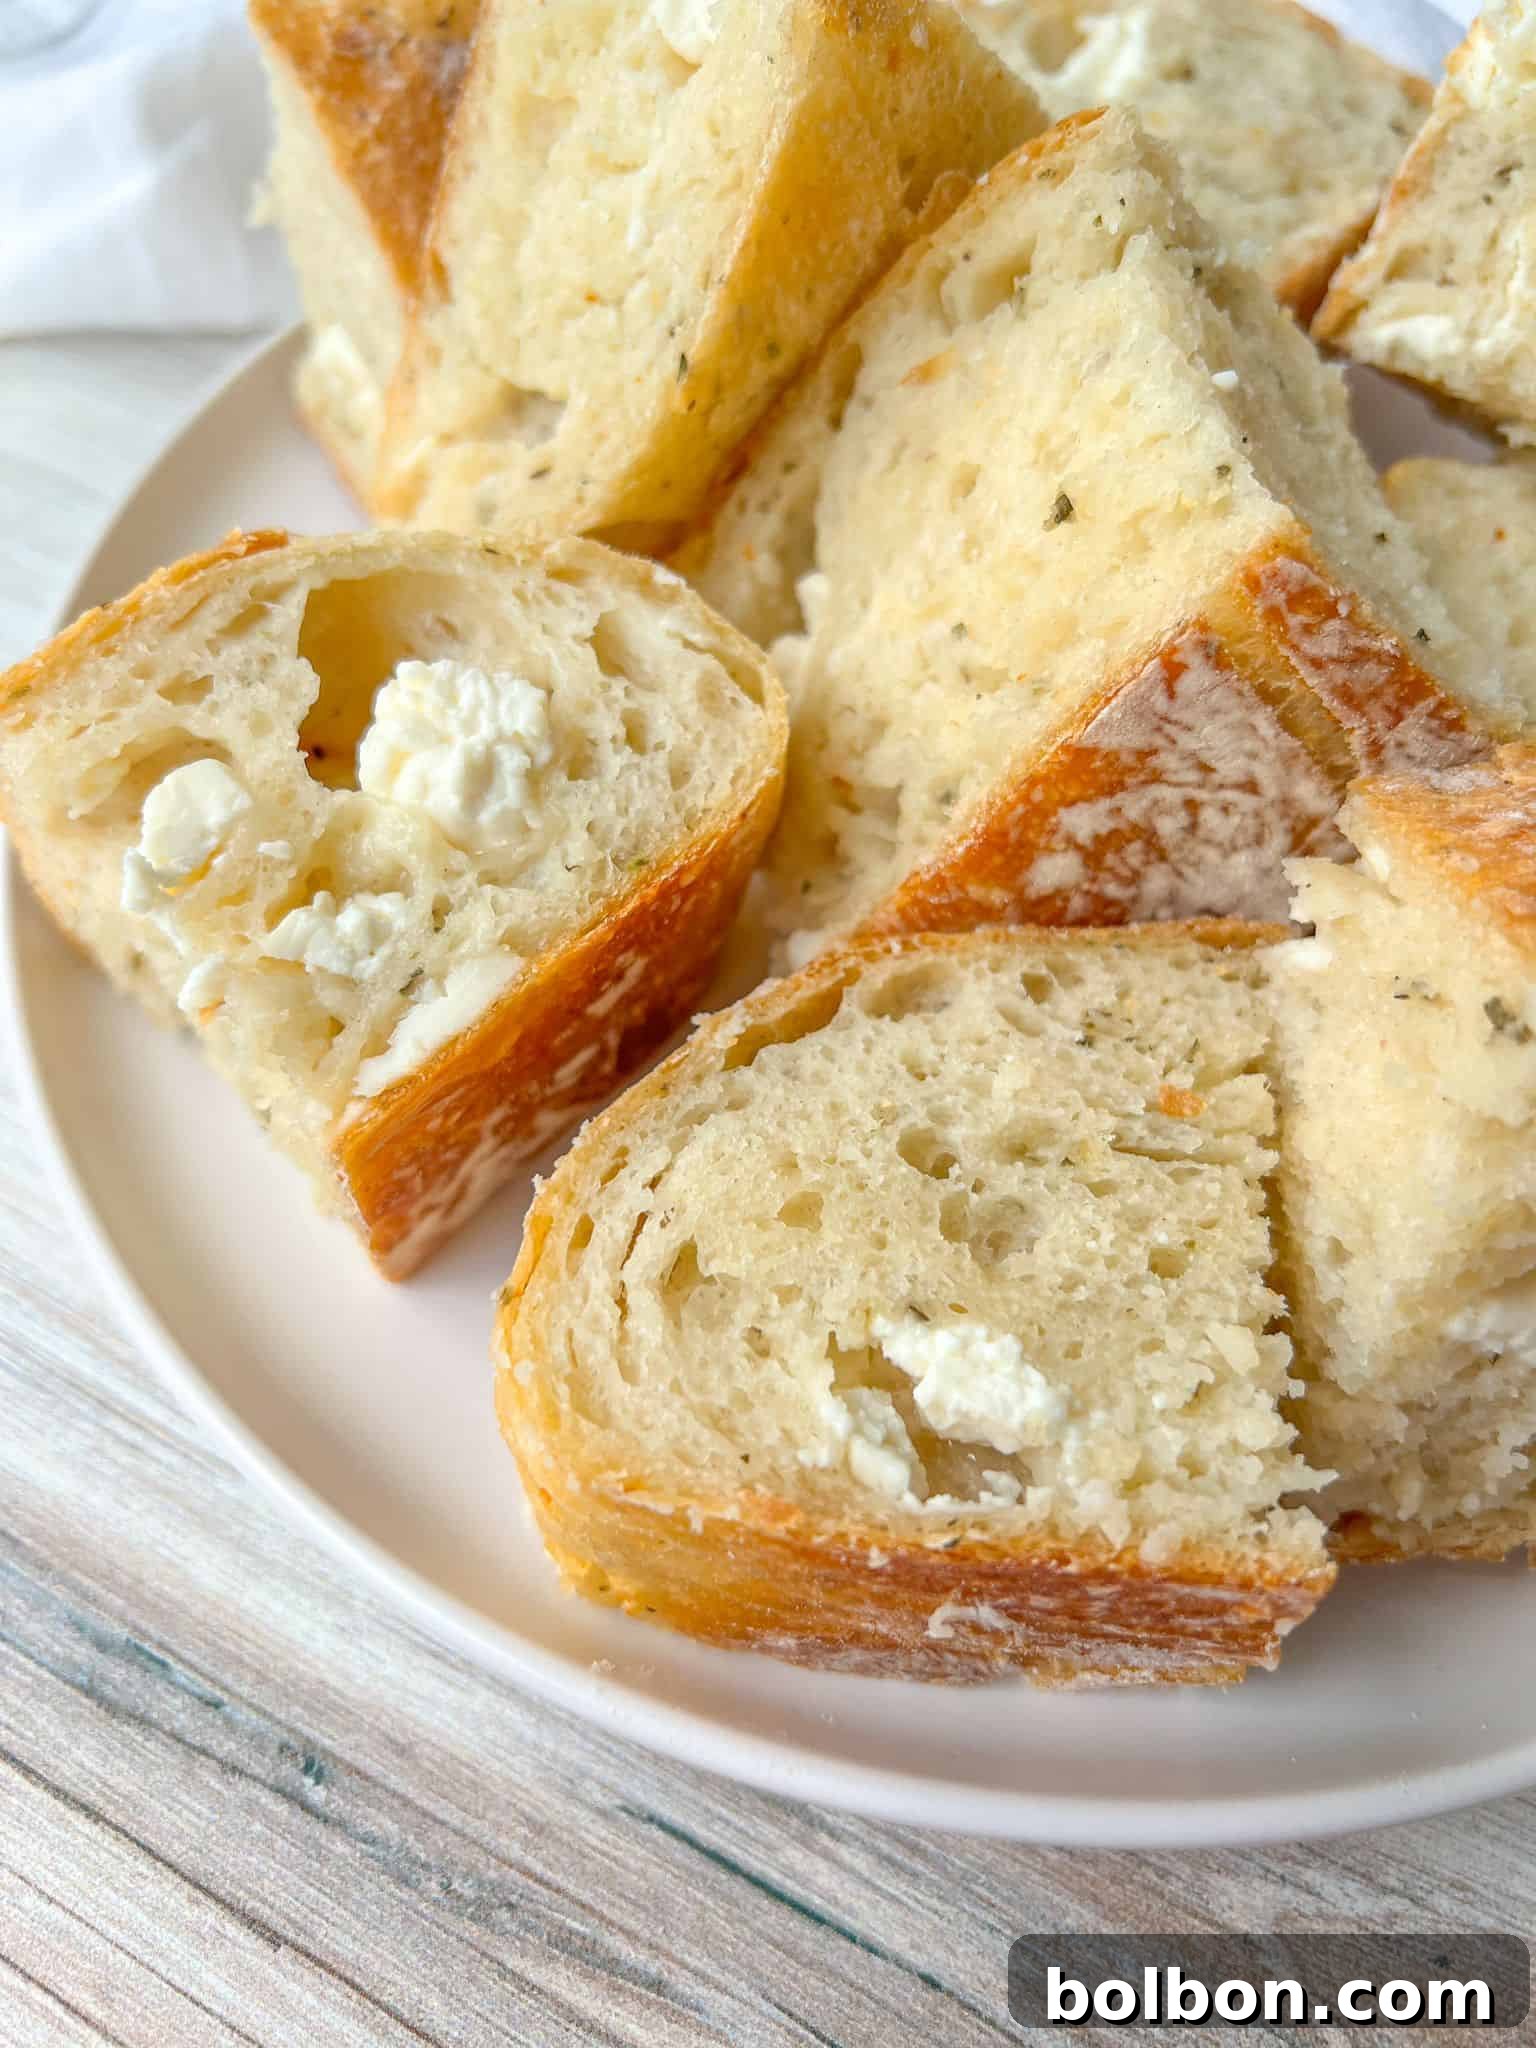
The timeless pairing of bread and cheese is undoubtedly a match made in culinary heaven. But when that rich, tangy cheese is masterfully infused *into* the bread itself, it elevates the experience to an entirely new level! My No Knead Feta Bread isn’t just a recipe; it’s a dream come true for anyone seeking impressive results with minimal effort. This incredibly simple method, accessible even to the most intimidated baker, consistently yields a stunning loaf boasting a gloriously crispy, golden-brown exterior. Slice into it, and you’ll discover a tender, airy interior generously studded with delightful pockets of savory feta cheese and fragrant dried oregano. Each bite offers a harmonious blend of textures and flavors – the satisfying crunch of the crust giving way to the soft, chewy crumb, punctuated by bursts of salty feta. Preparing this show-stopping loaf requires less than 10 minutes of active hands-on time, allowing the magic of the yeast and the oven to do the heavy lifting. It’s truly a testament to how simple ingredients, when given time and a little warmth, can create something extraordinary.
Effortless Preparation: Your Guide to No Knead Feta Bread
Creating this magnificent bread is surprisingly simple. Follow these straightforward steps, and you’ll be enjoying a warm, fresh loaf in no time:
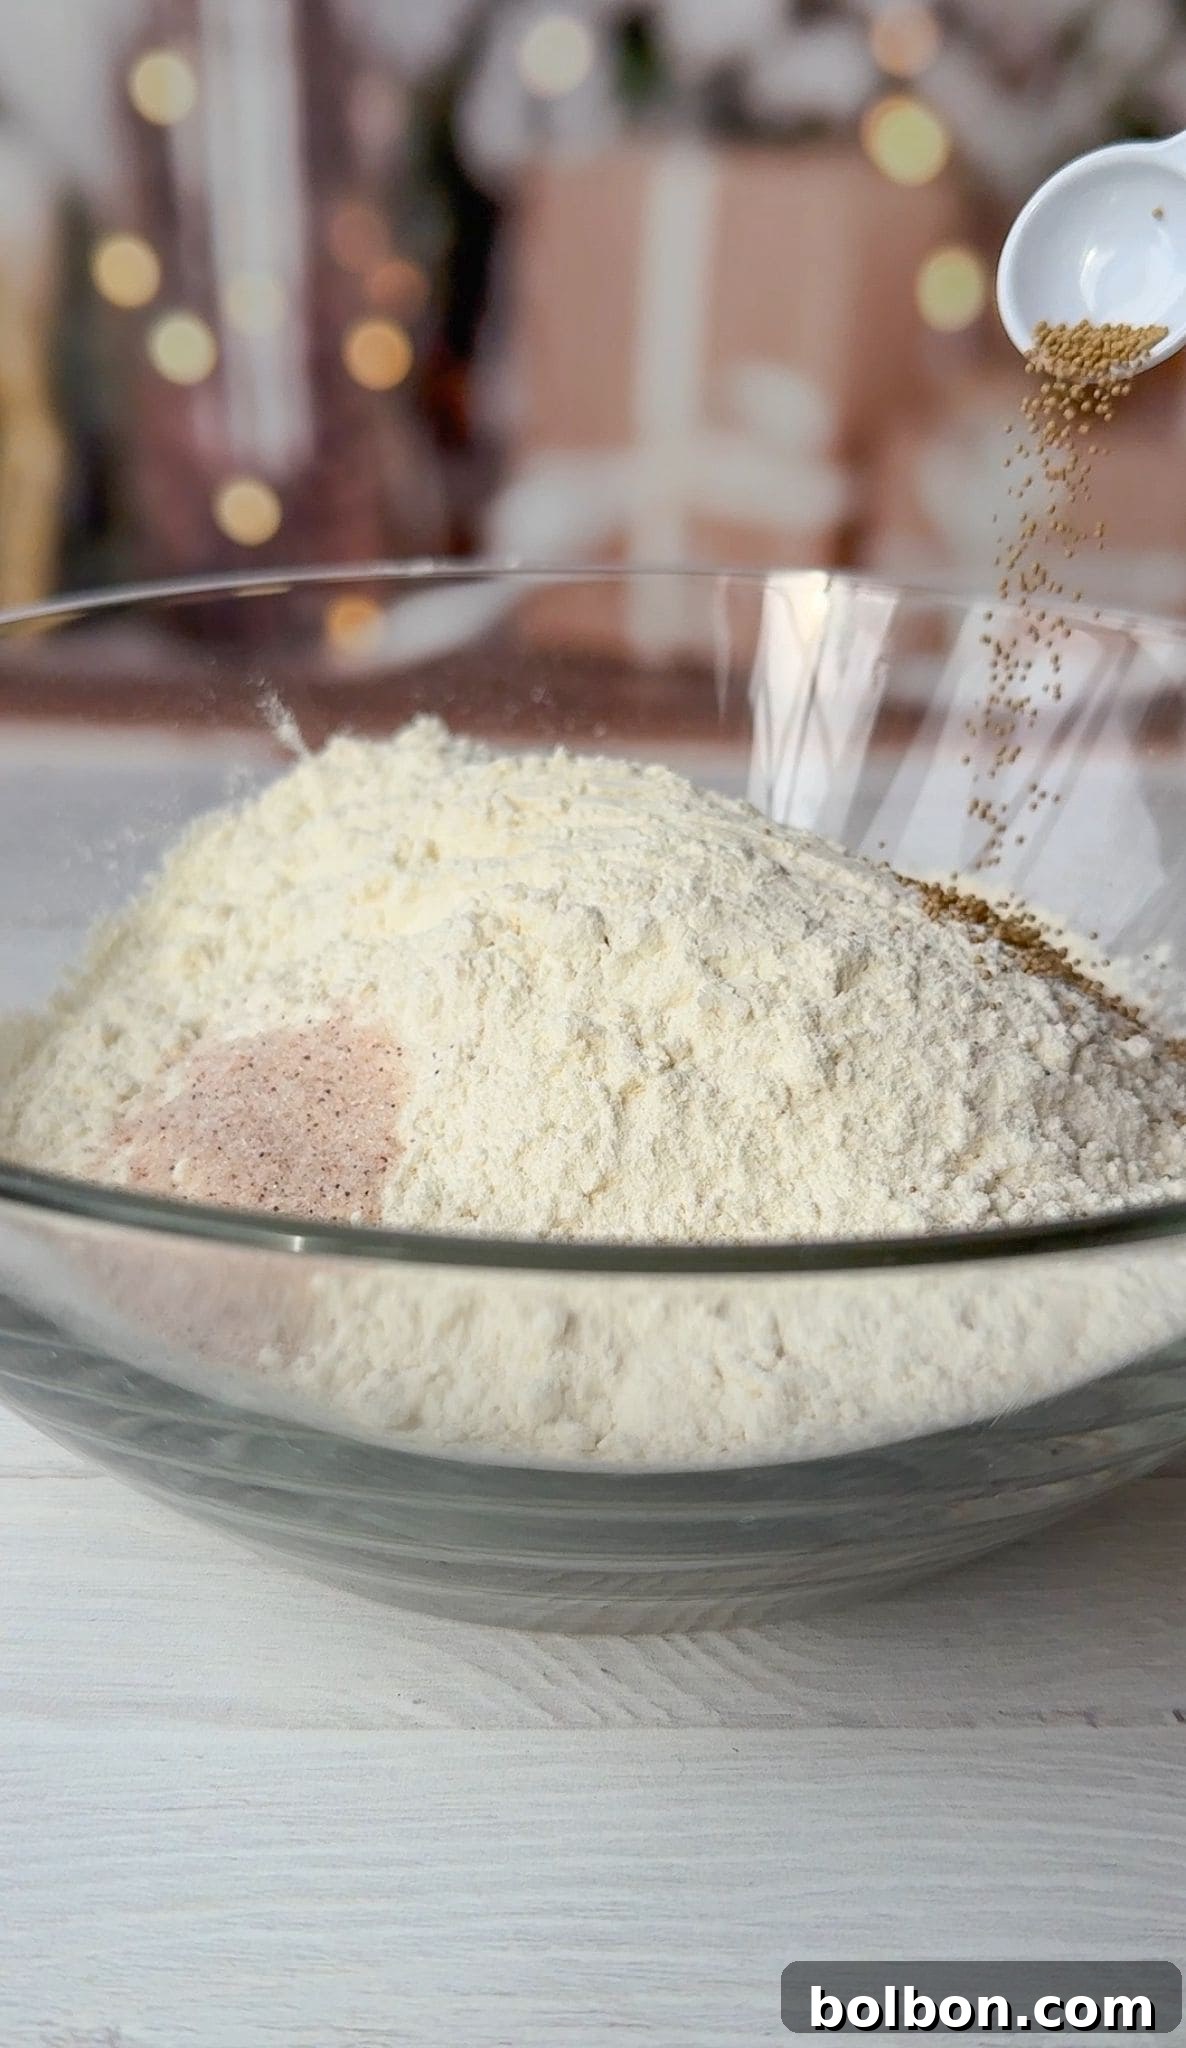
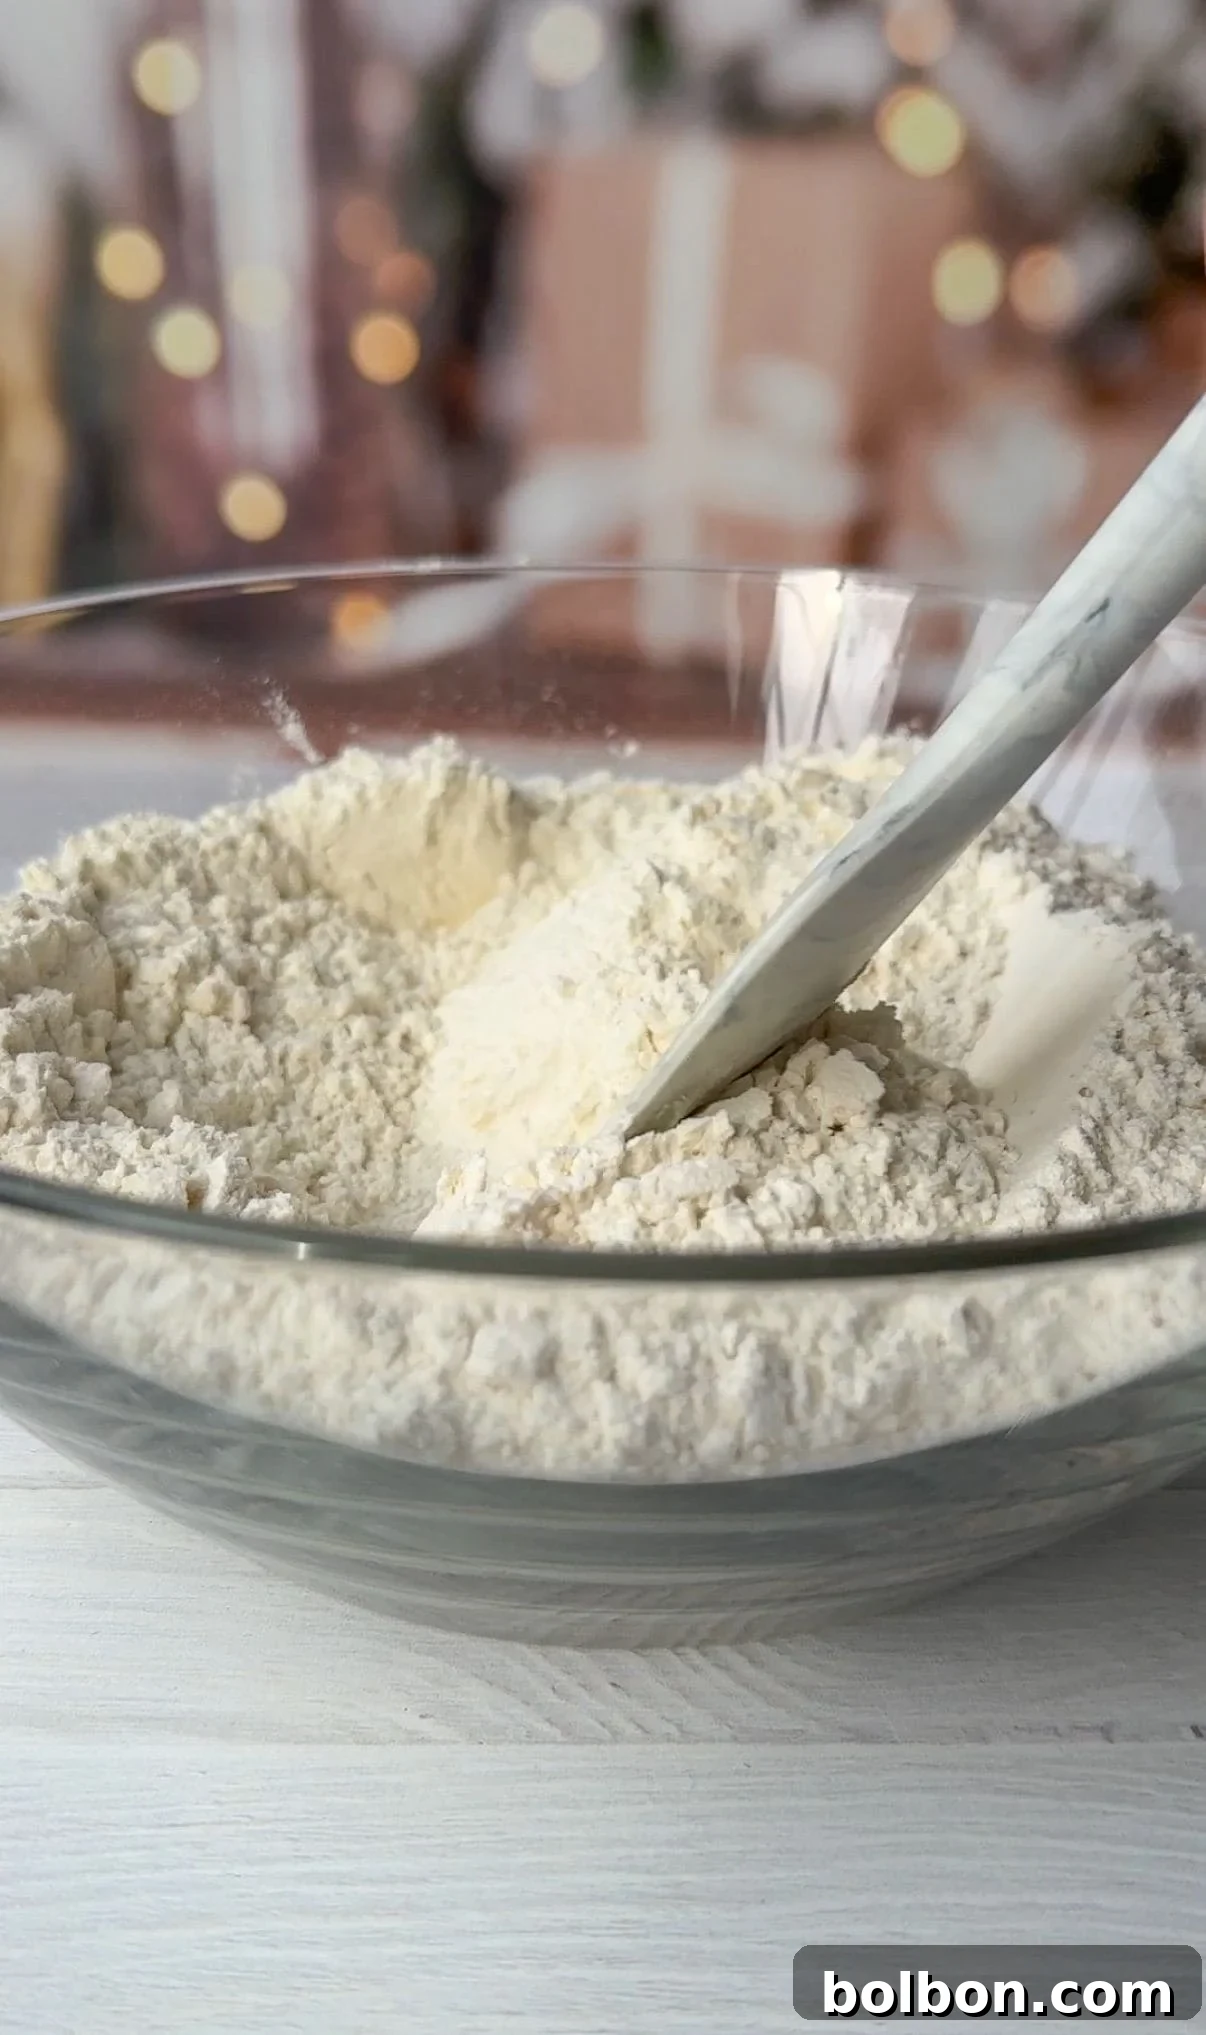
Combine Dry Ingredients: In a large mixing bowl, measure and combine the all-purpose flour, salt, and active dry yeast. Ensure your yeast is fresh and active for the best rise. Stir these dry ingredients together thoroughly with a whisk or wooden spoon until well combined.
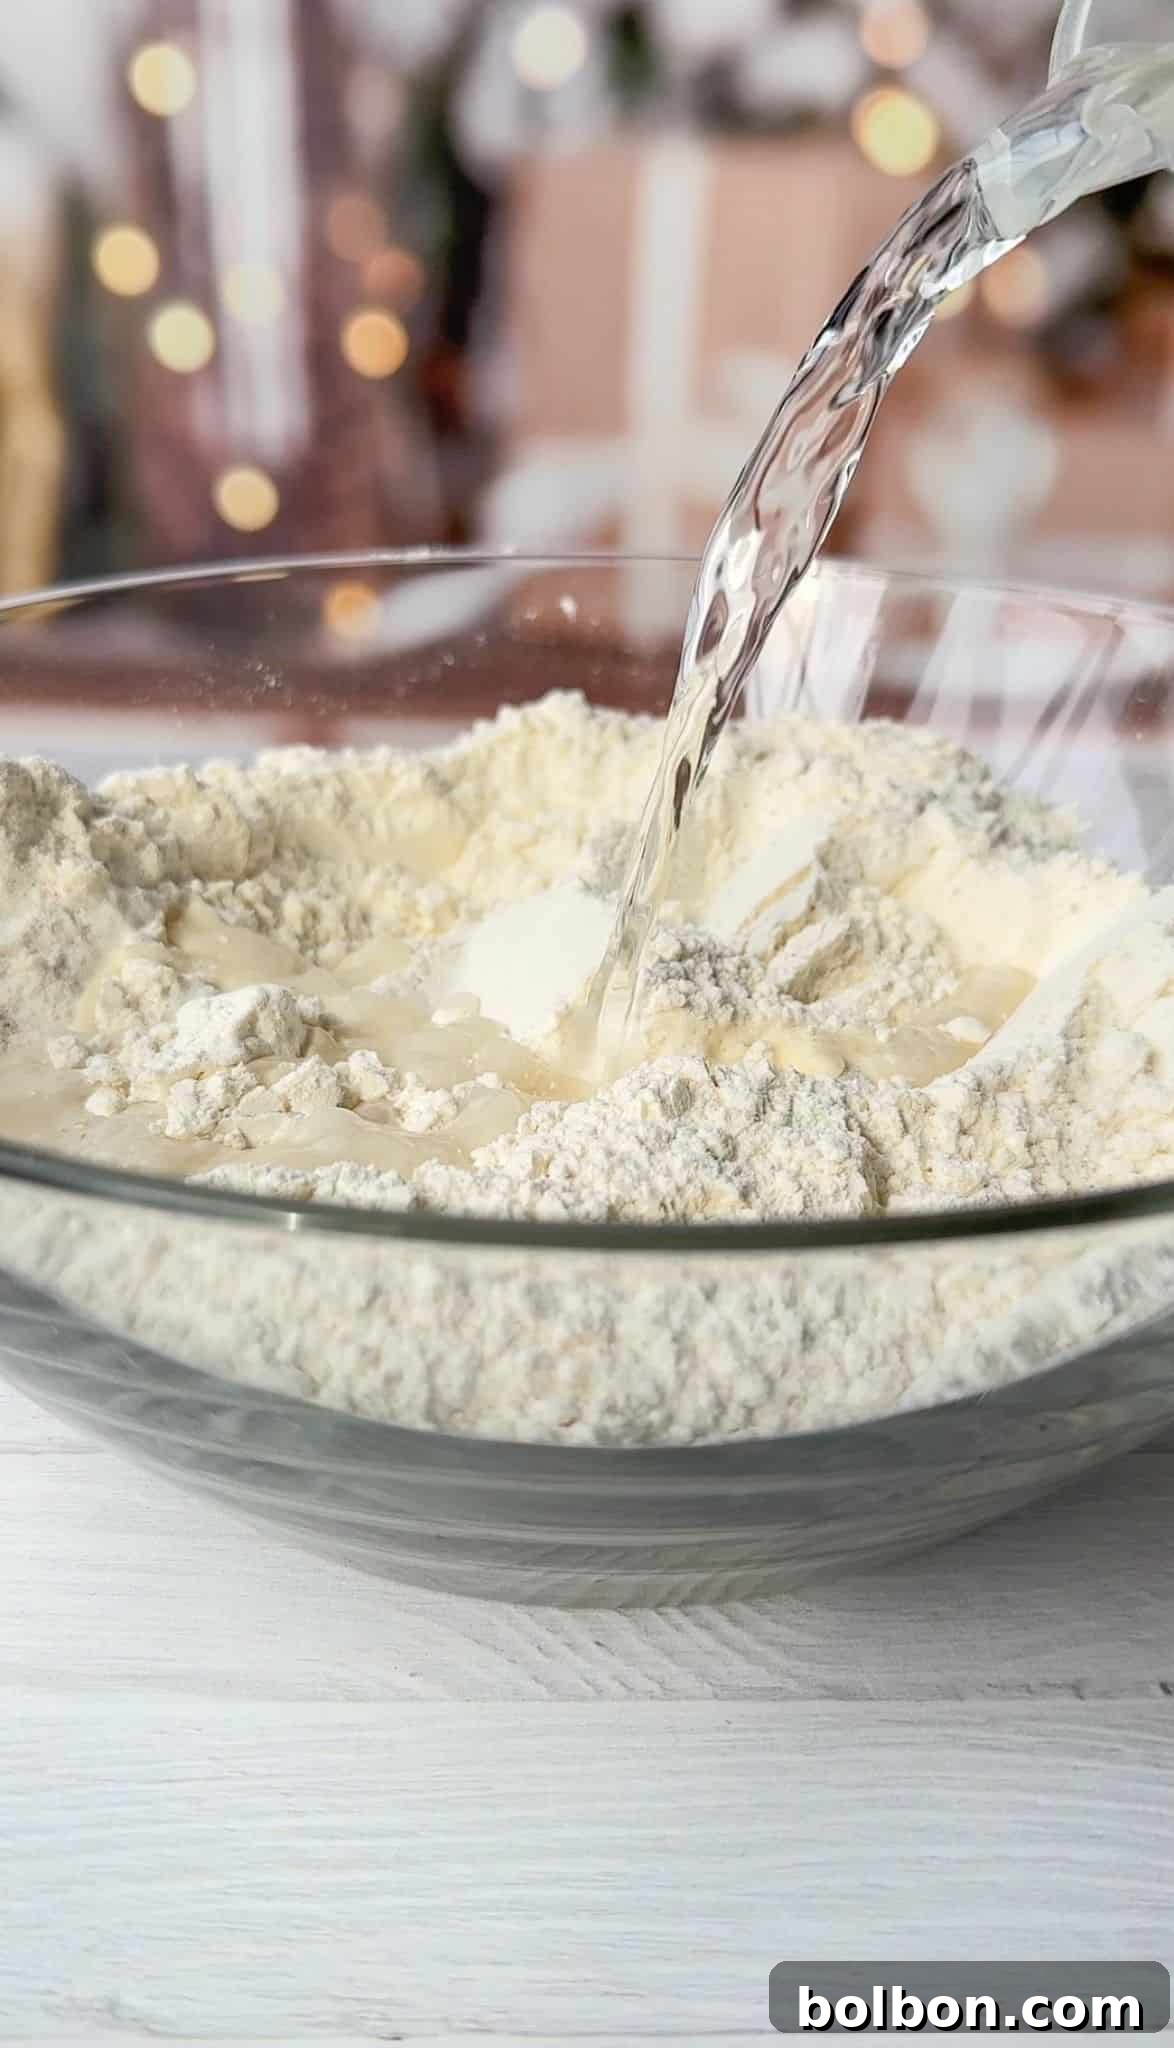
Add Warm Water: Pour in the specified amount of warm water. The temperature is crucial here, ideally between 100°F and 110°F (37°C to 43°C). Water that’s too hot can kill the yeast, while water that’s too cold won’t activate it effectively. Stir the mixture with a spatula or wooden spoon until the dough just comes together, forming a shaggy, sticky mass. Avoid overmixing.
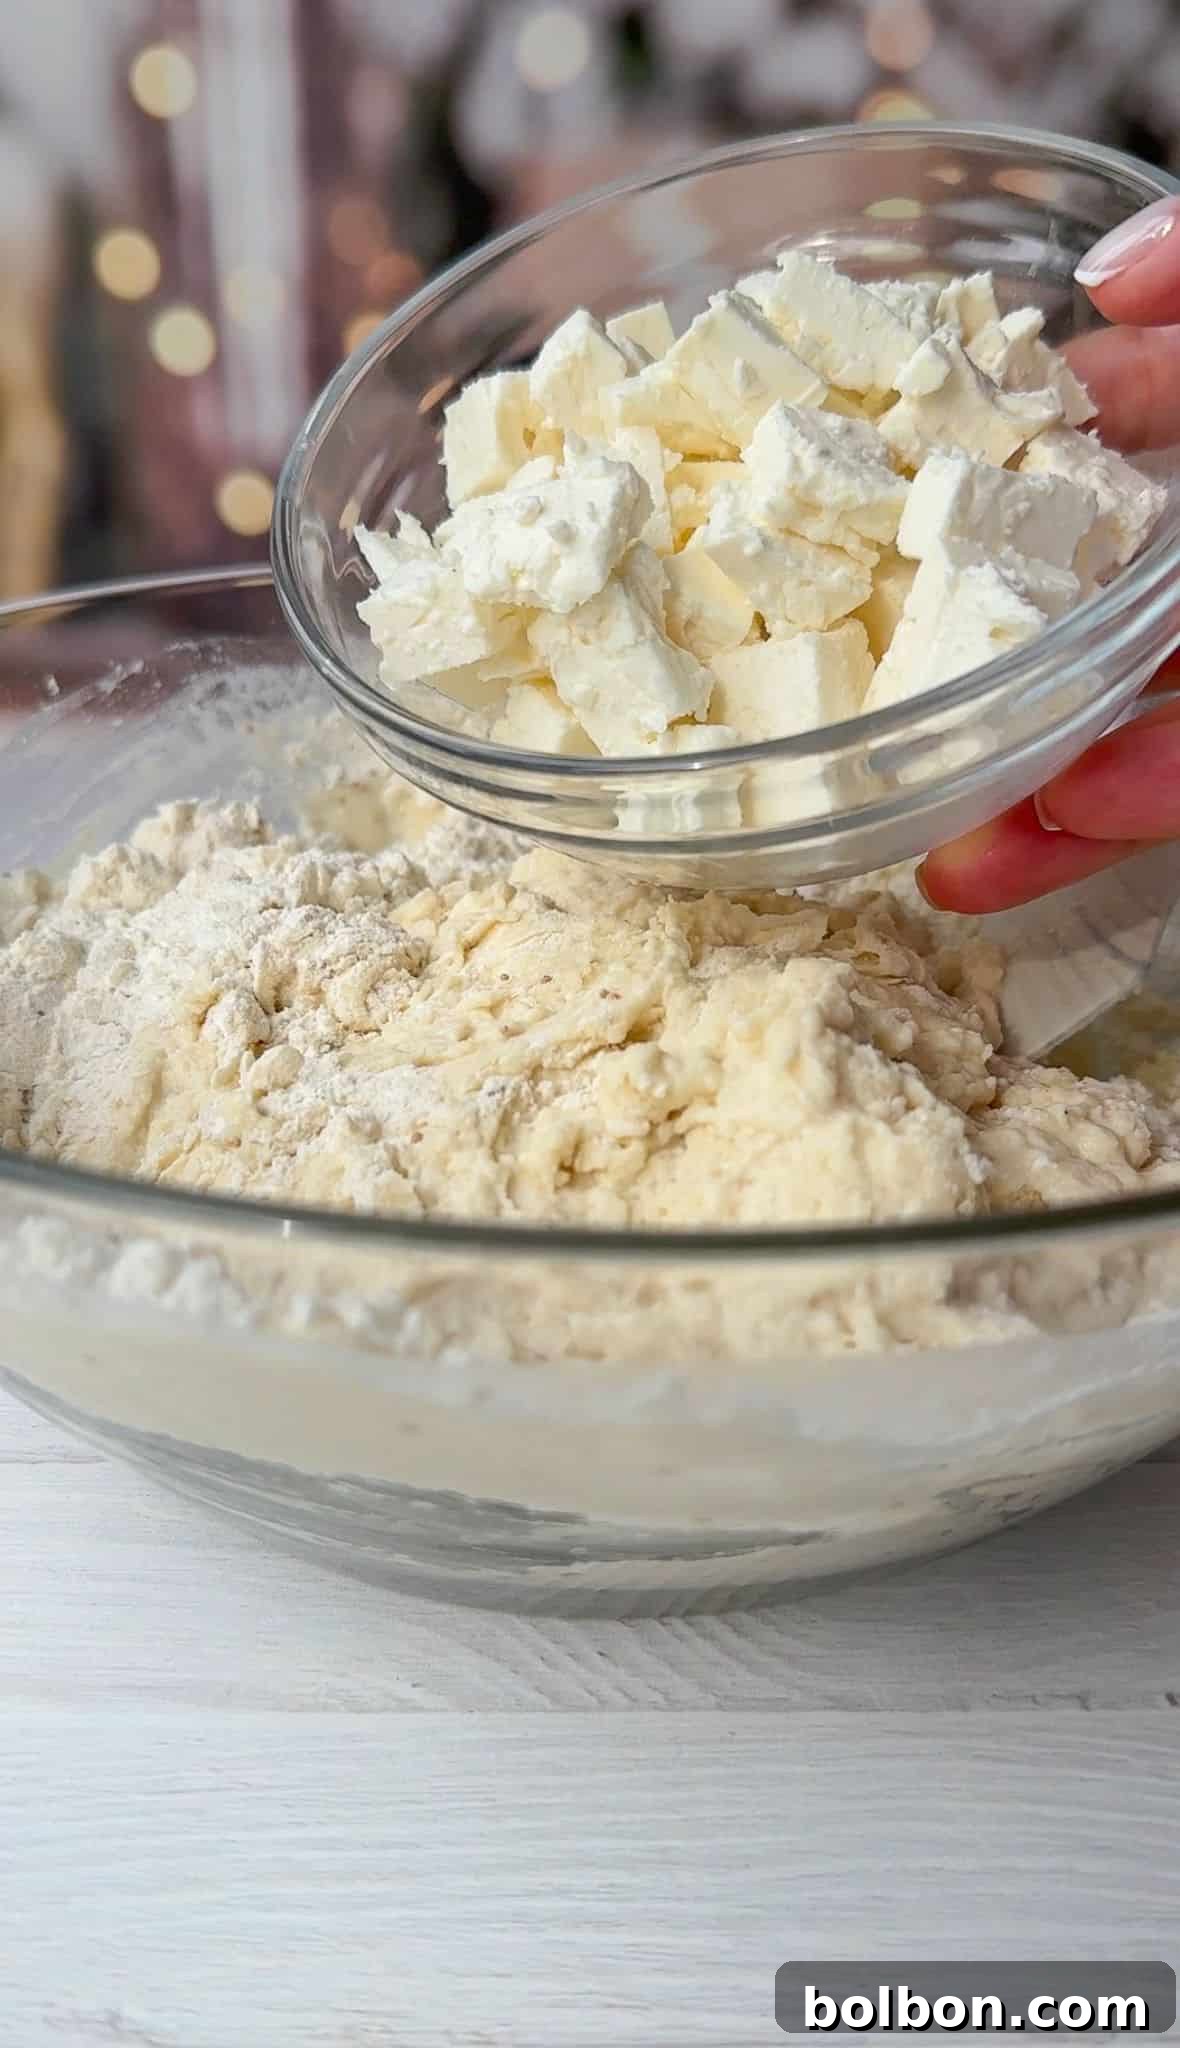
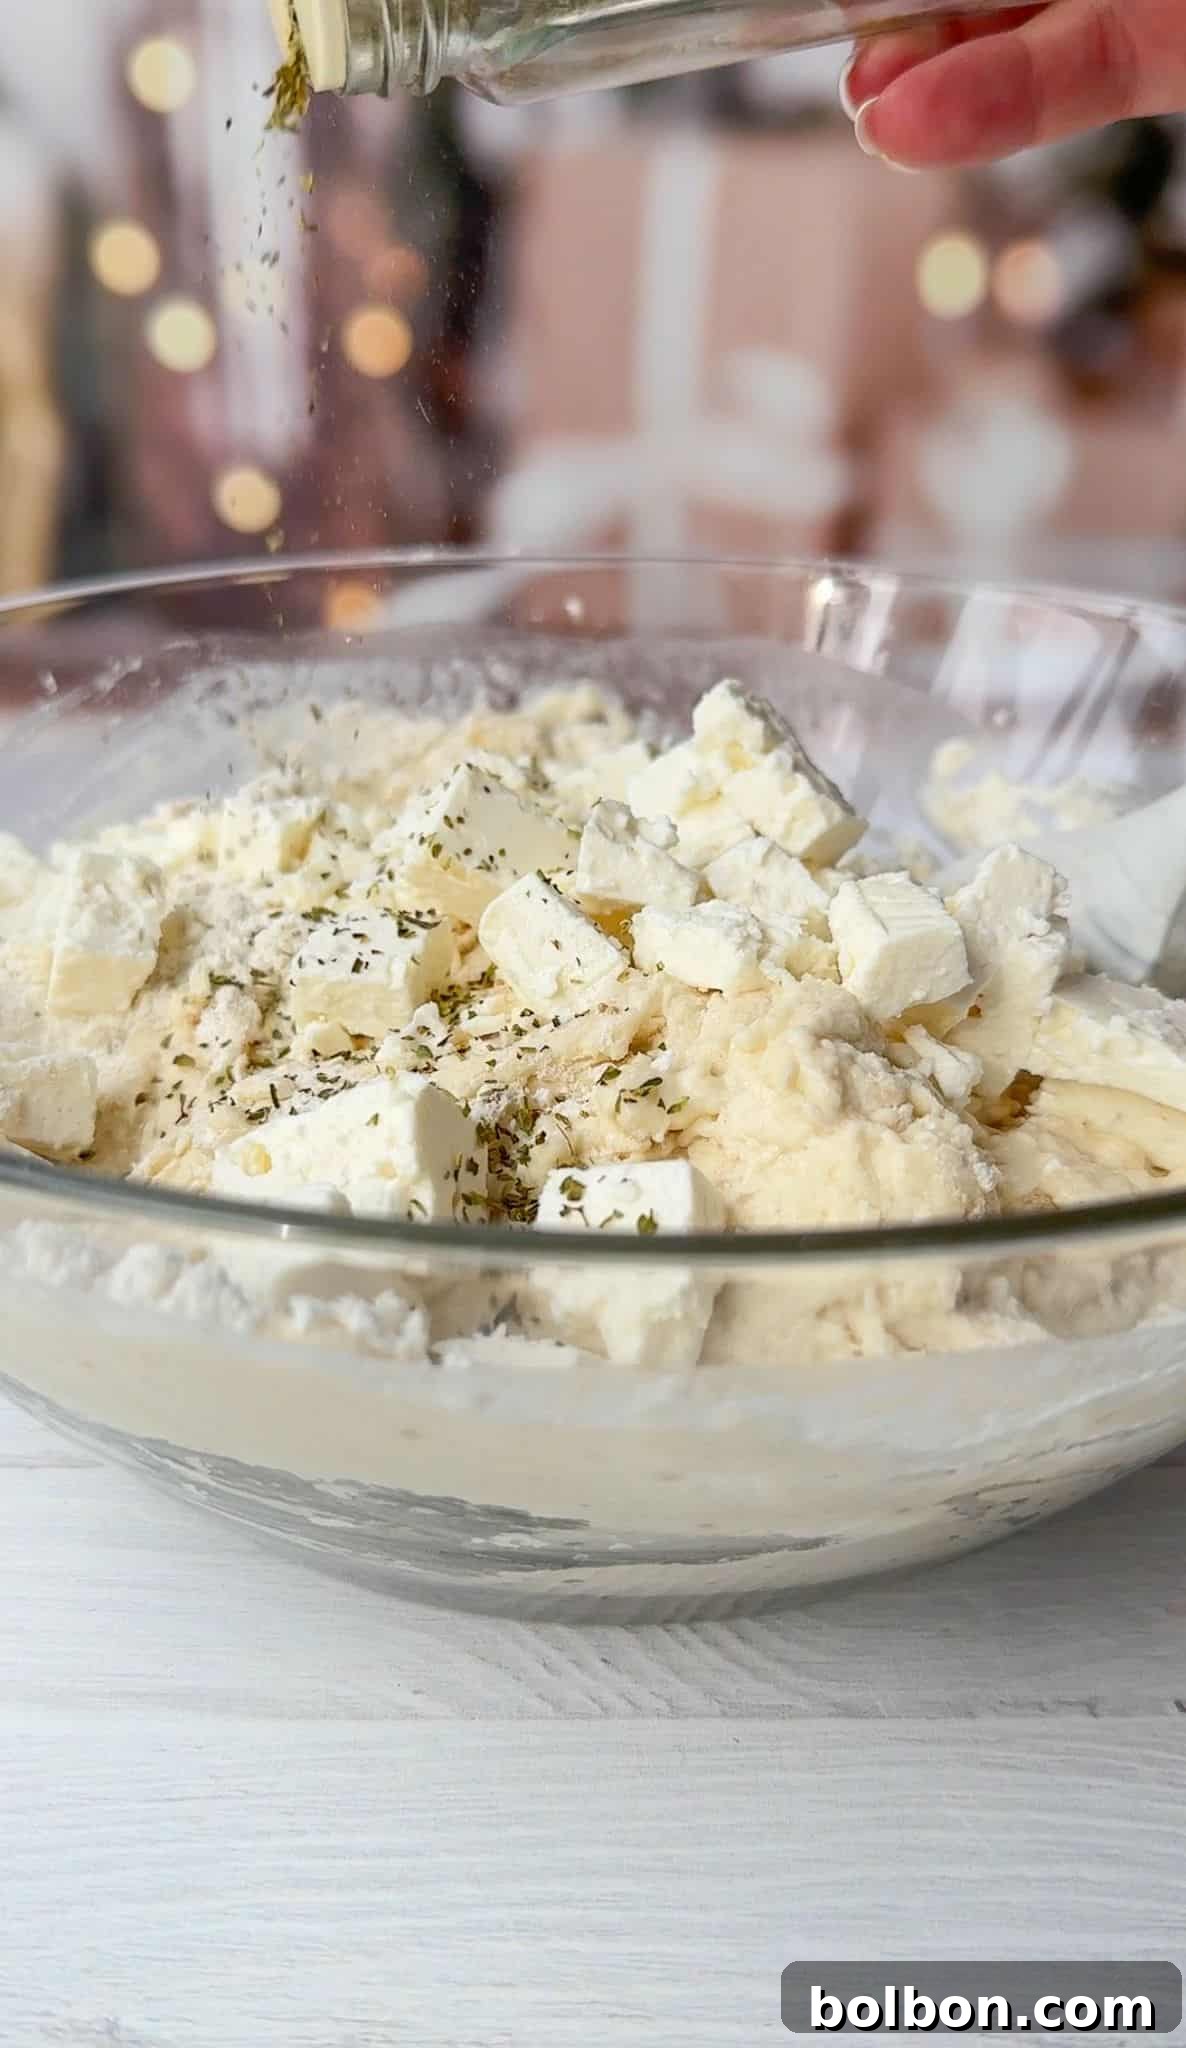
Fold in Feta and Oregano: Now for the stars of the show! Gently add the cubed feta cheese and dried oregano to the dough. Using your spatula or clean hands, carefully fold them into the dough until evenly distributed. Be mindful not to “knead” or heavily work the dough at this stage; gentle folding is key to maintaining a light texture.
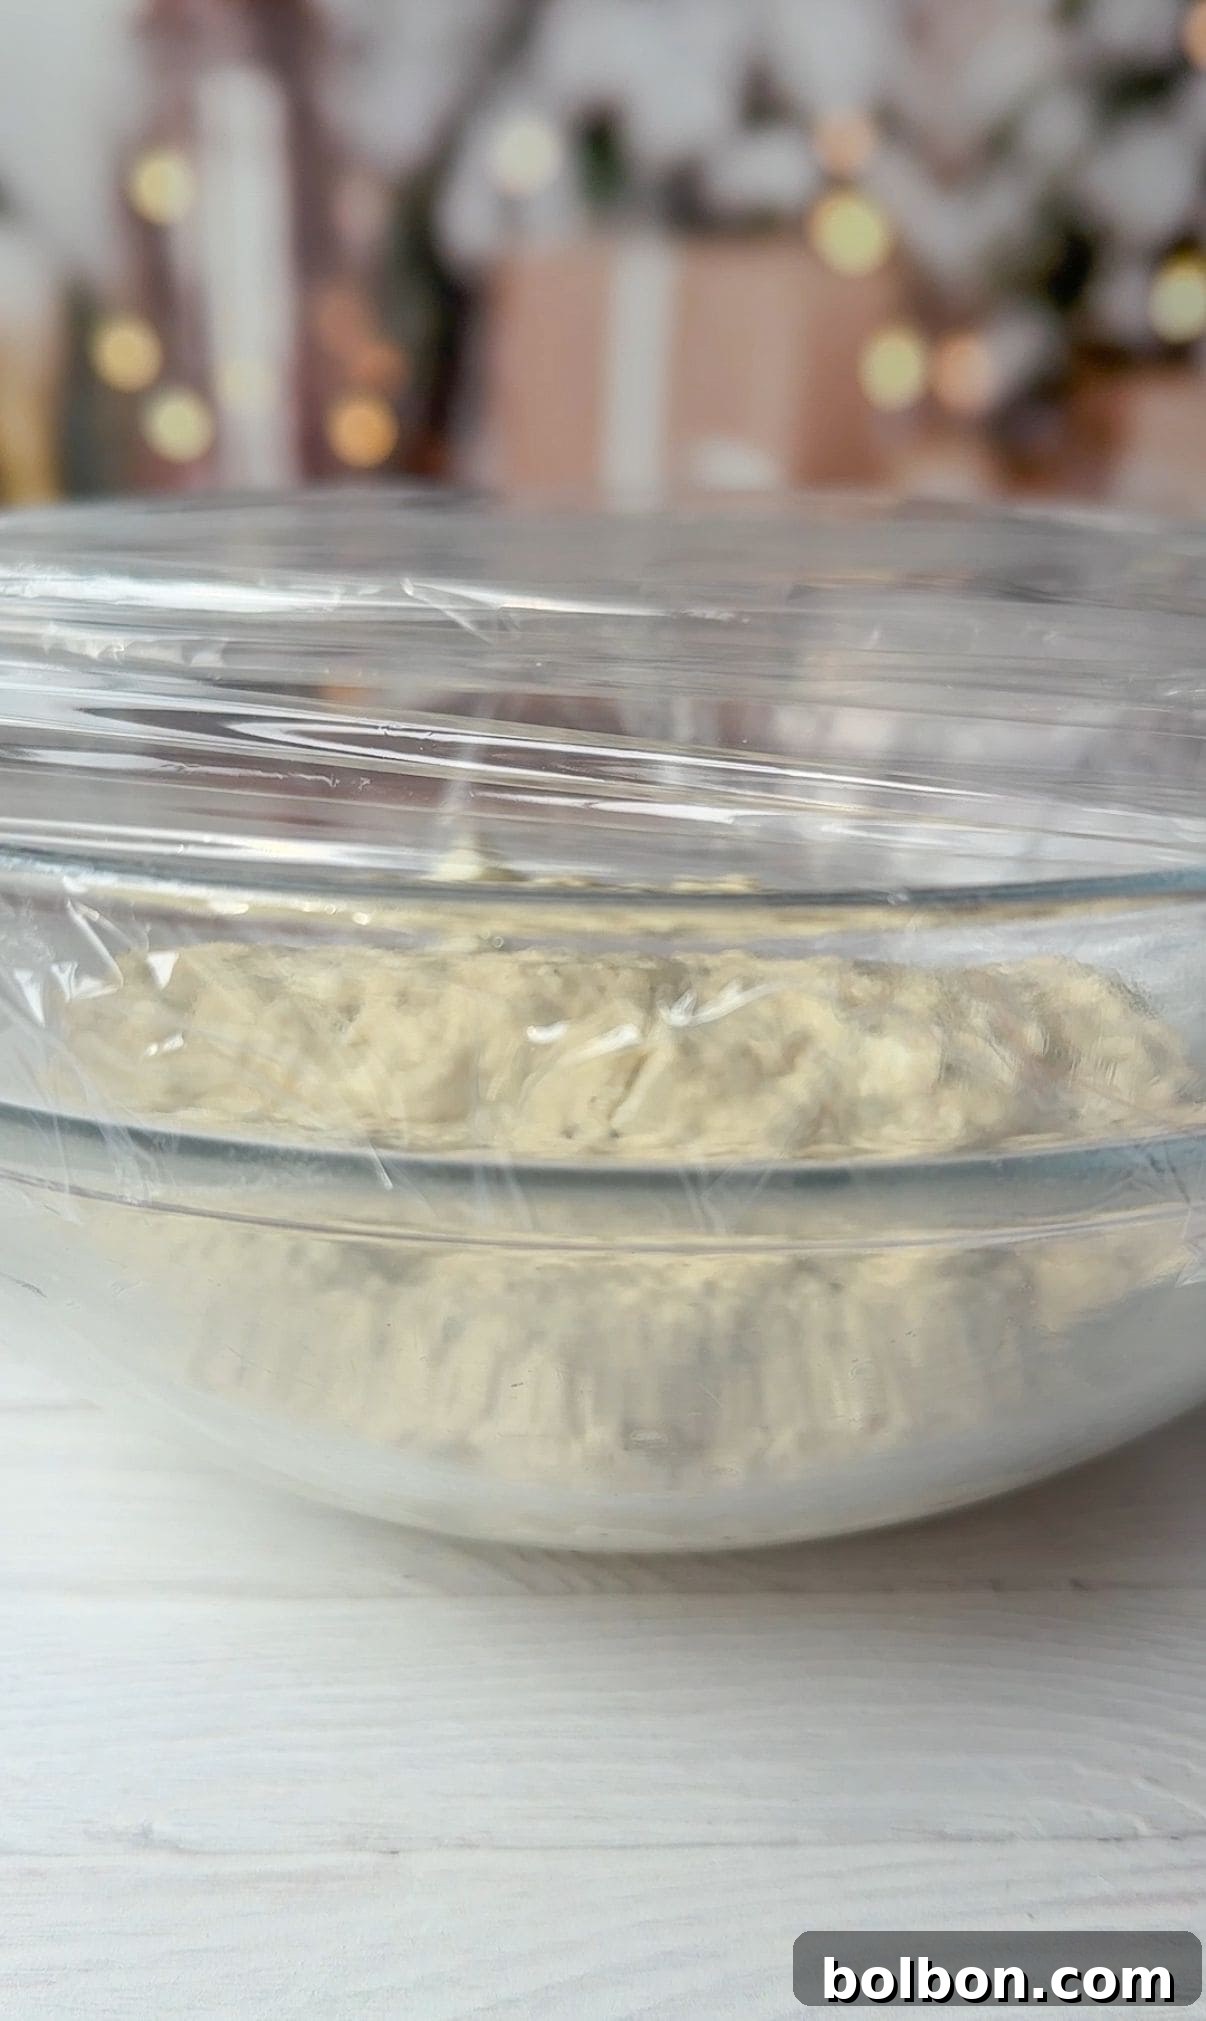
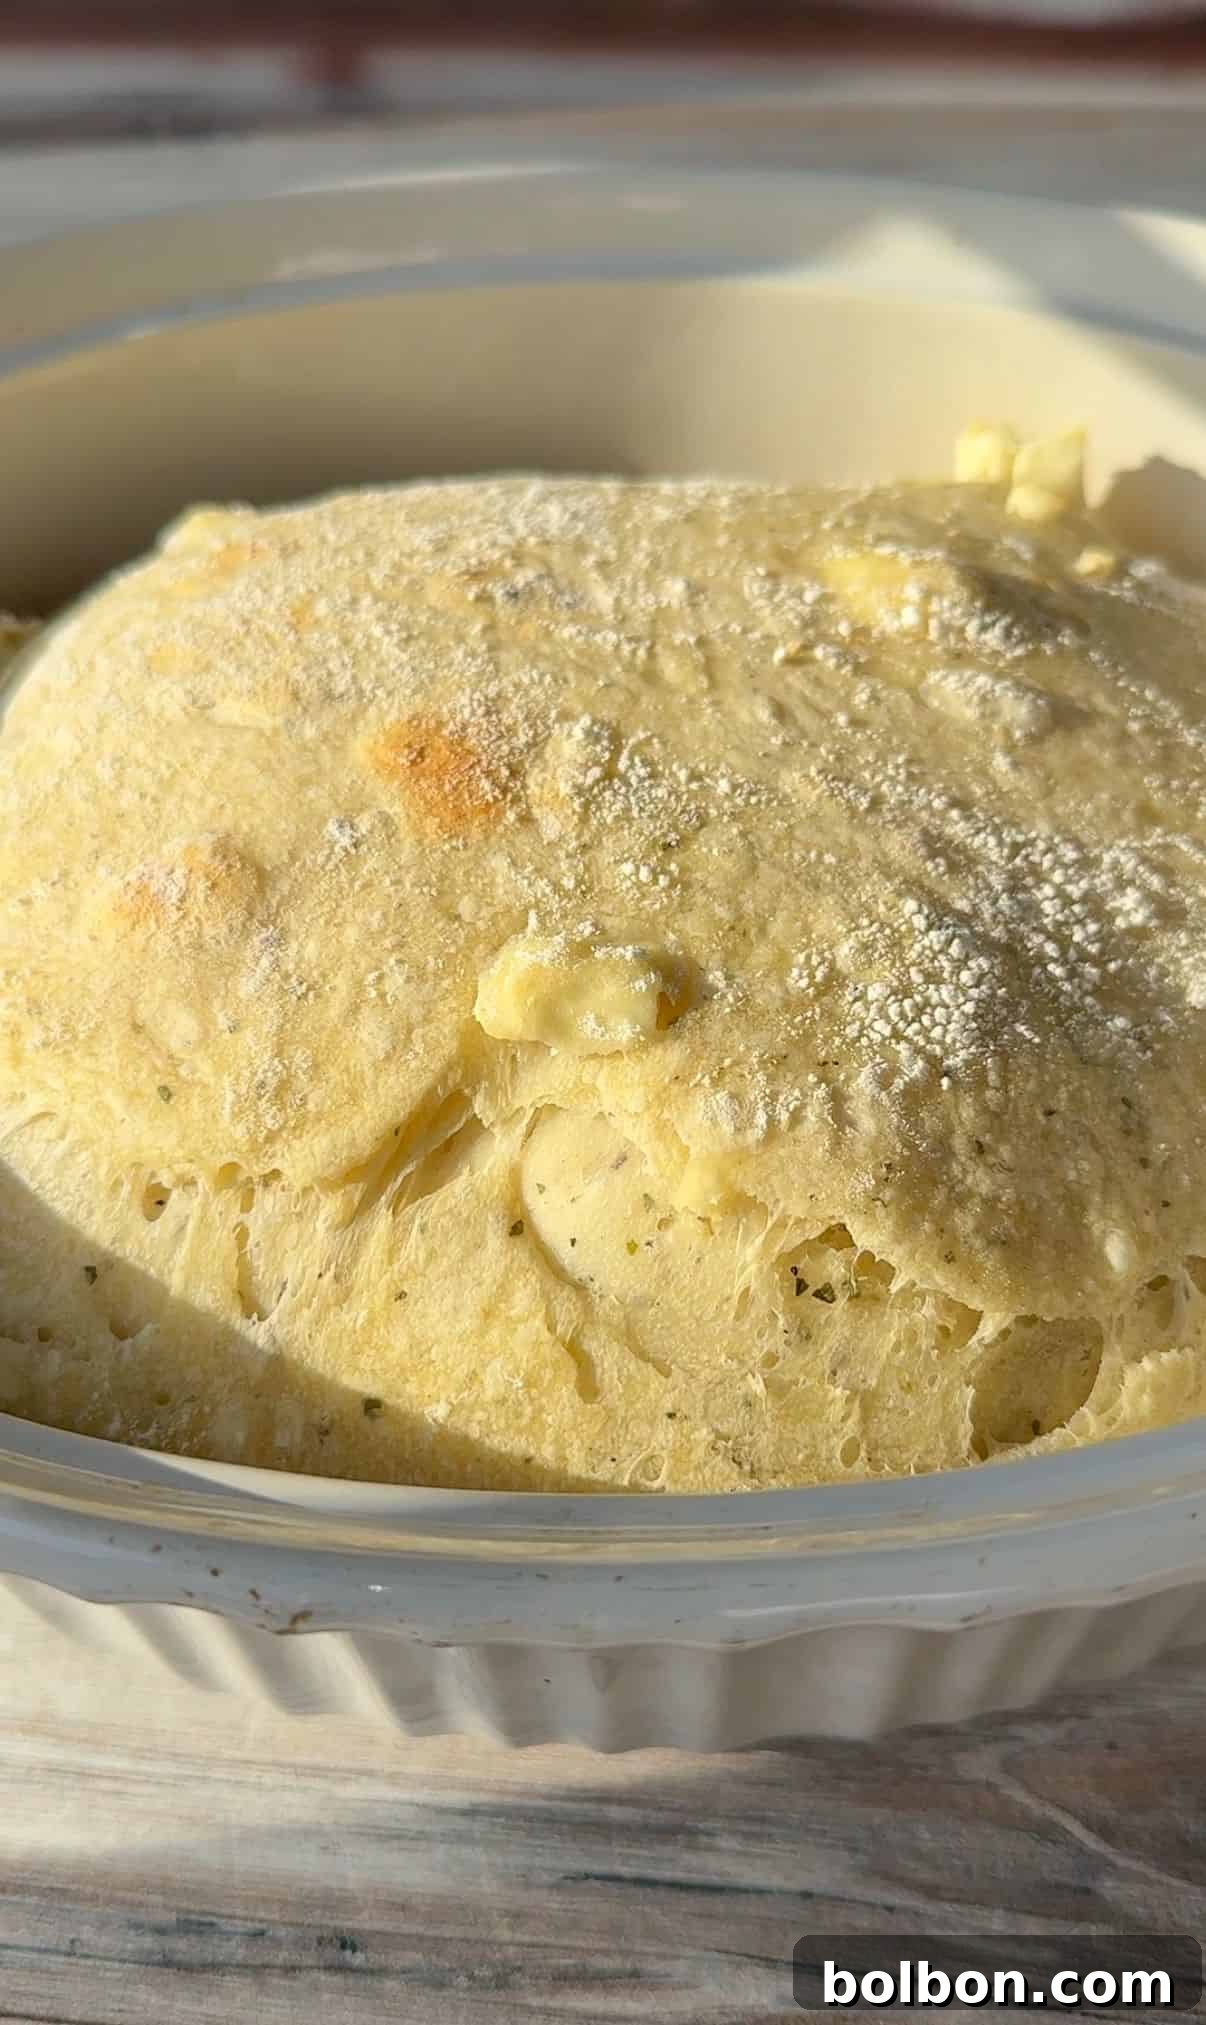
First Rise (Resting Period): Cover the bowl tightly with plastic wrap or a clean kitchen towel. Allow the dough to rest at room temperature for a minimum of 4 hours, or ideally, overnight (8-12 hours). This extended resting period is where the magic happens; the yeast slowly ferments, developing incredible flavor and creating the signature airy texture. Choose a spot away from drafts, like inside a cold oven or a cupboard, for optimal rising conditions.
Shape the Dough: After the dough has risen beautifully and appears bubbly and much larger, gently uncover the bowl. Liberally flour a clean work surface. Carefully scrape the dough out onto the floured surface. Sprinkle a little more flour over the top of the dough. Using your floured hands, gently fold the edges of the dough towards the center a few times, forming it into a round or oval loaf. Remember, resist the urge to knead vigorously; just a few gentle turns are enough to create tension on the surface while preserving the delicate air pockets.
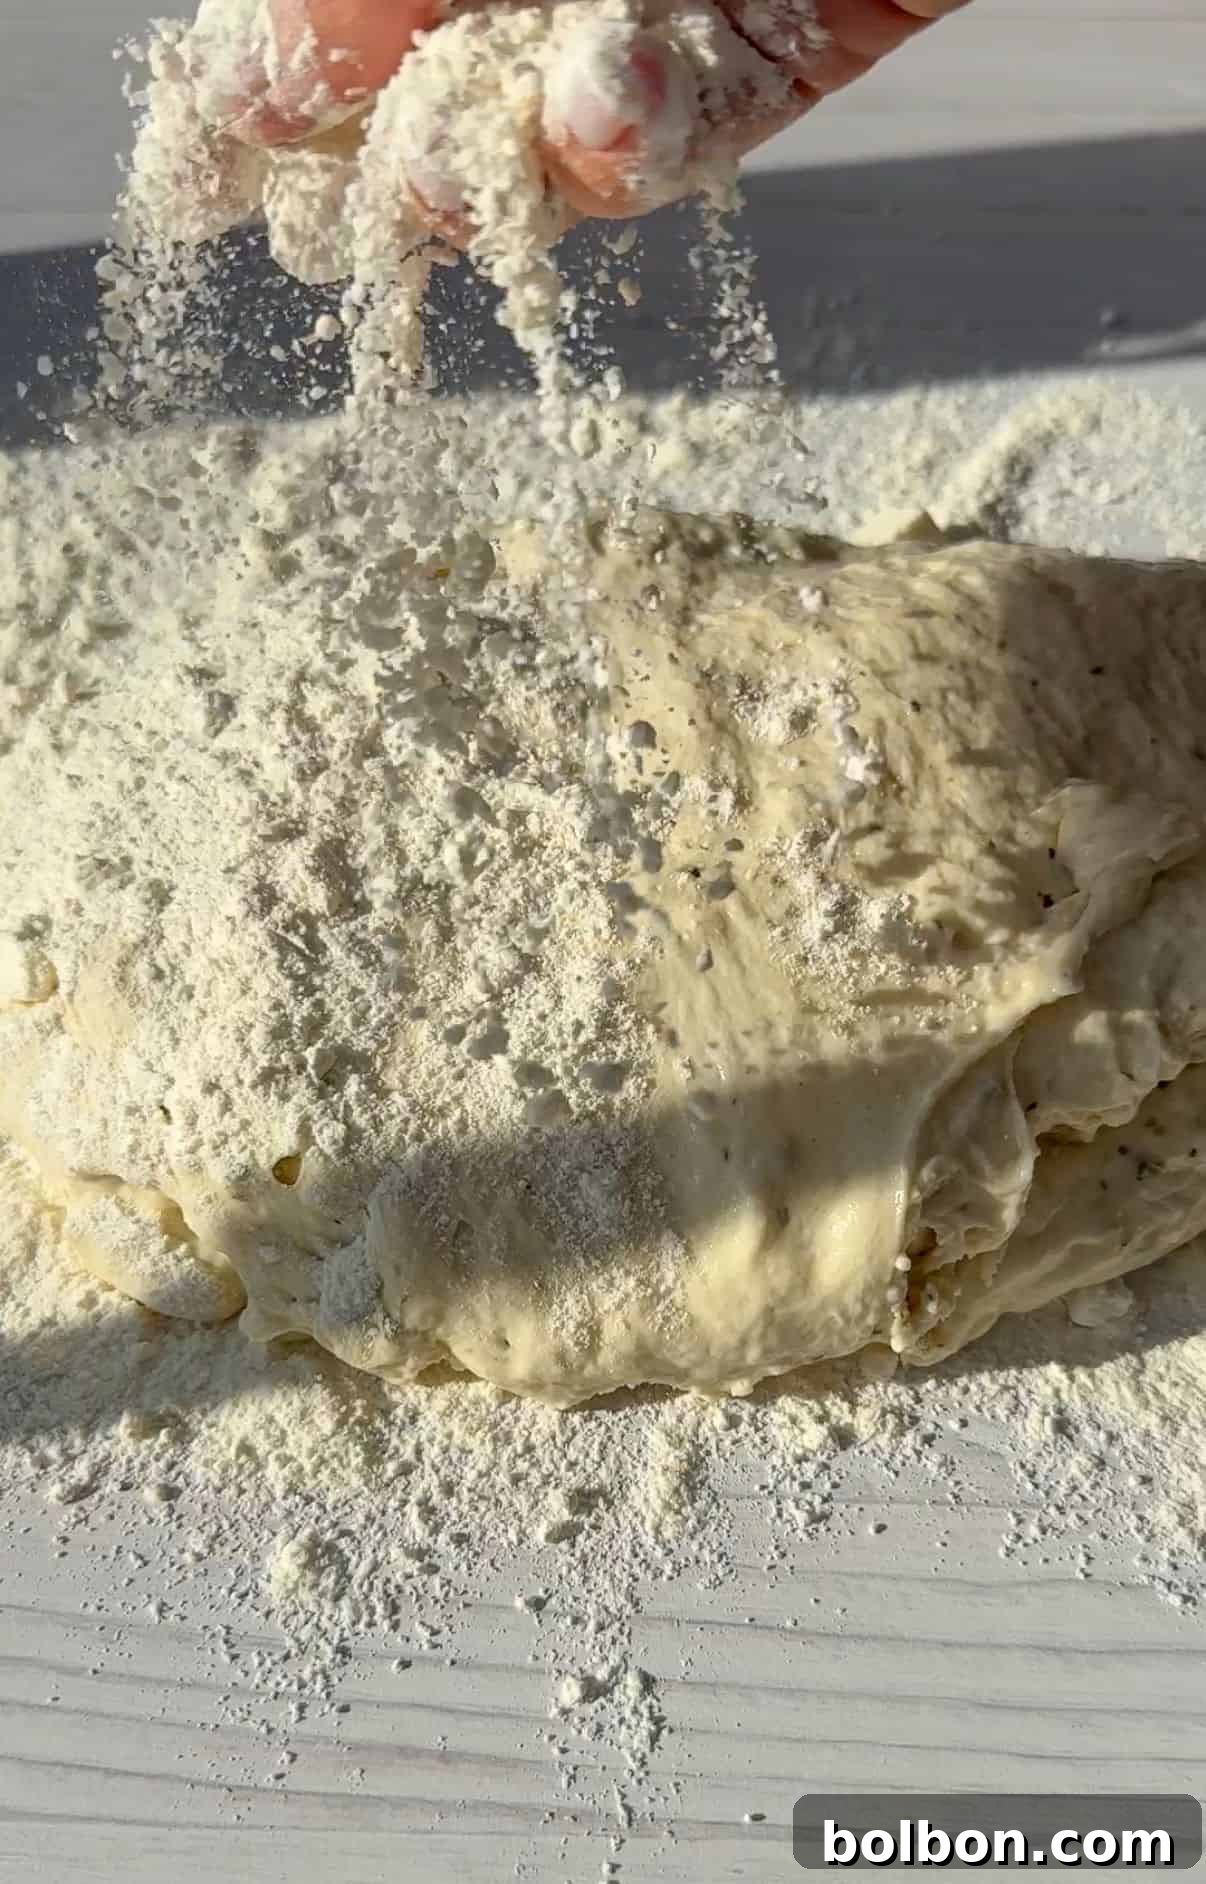
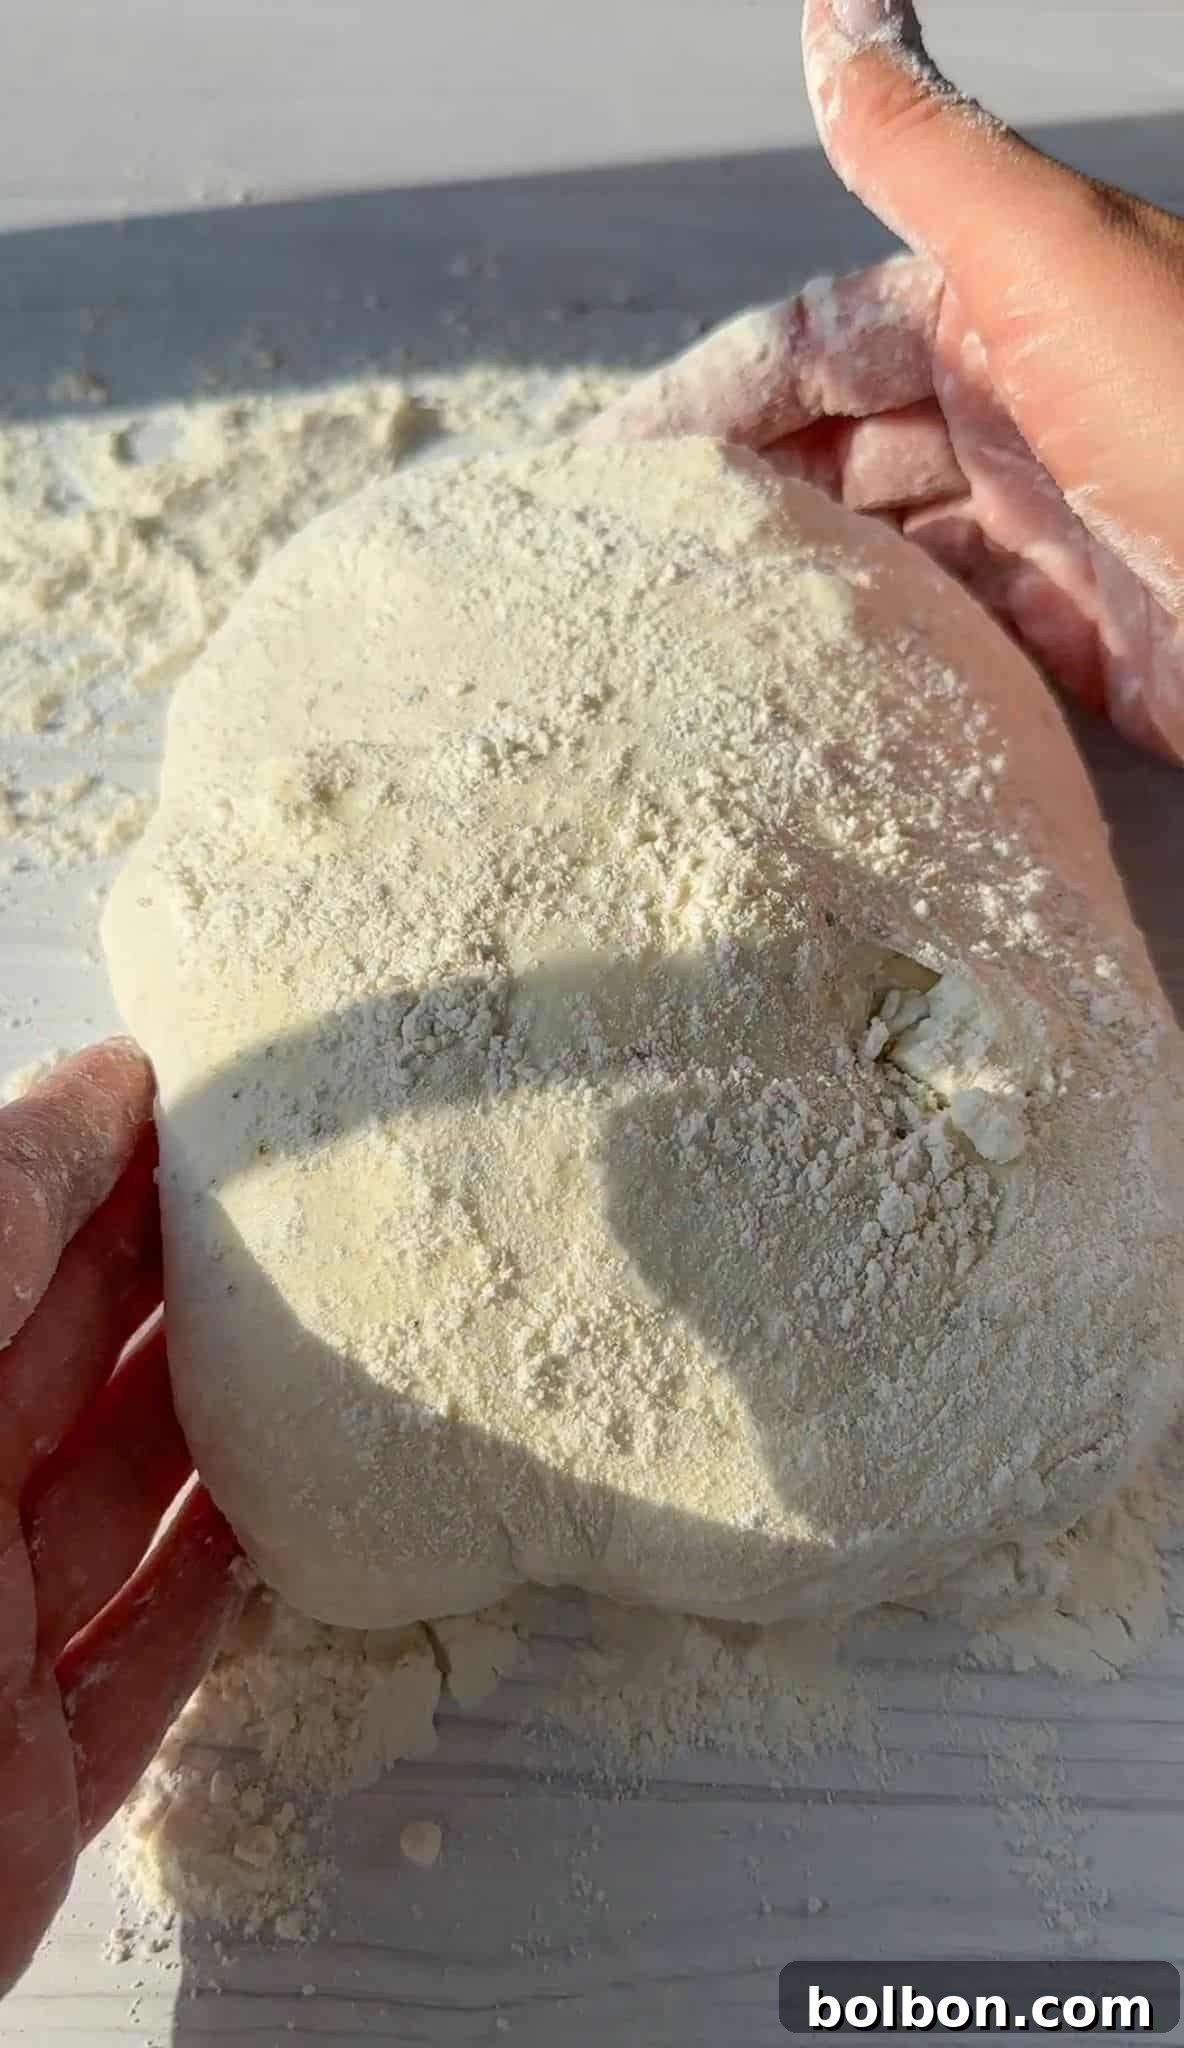
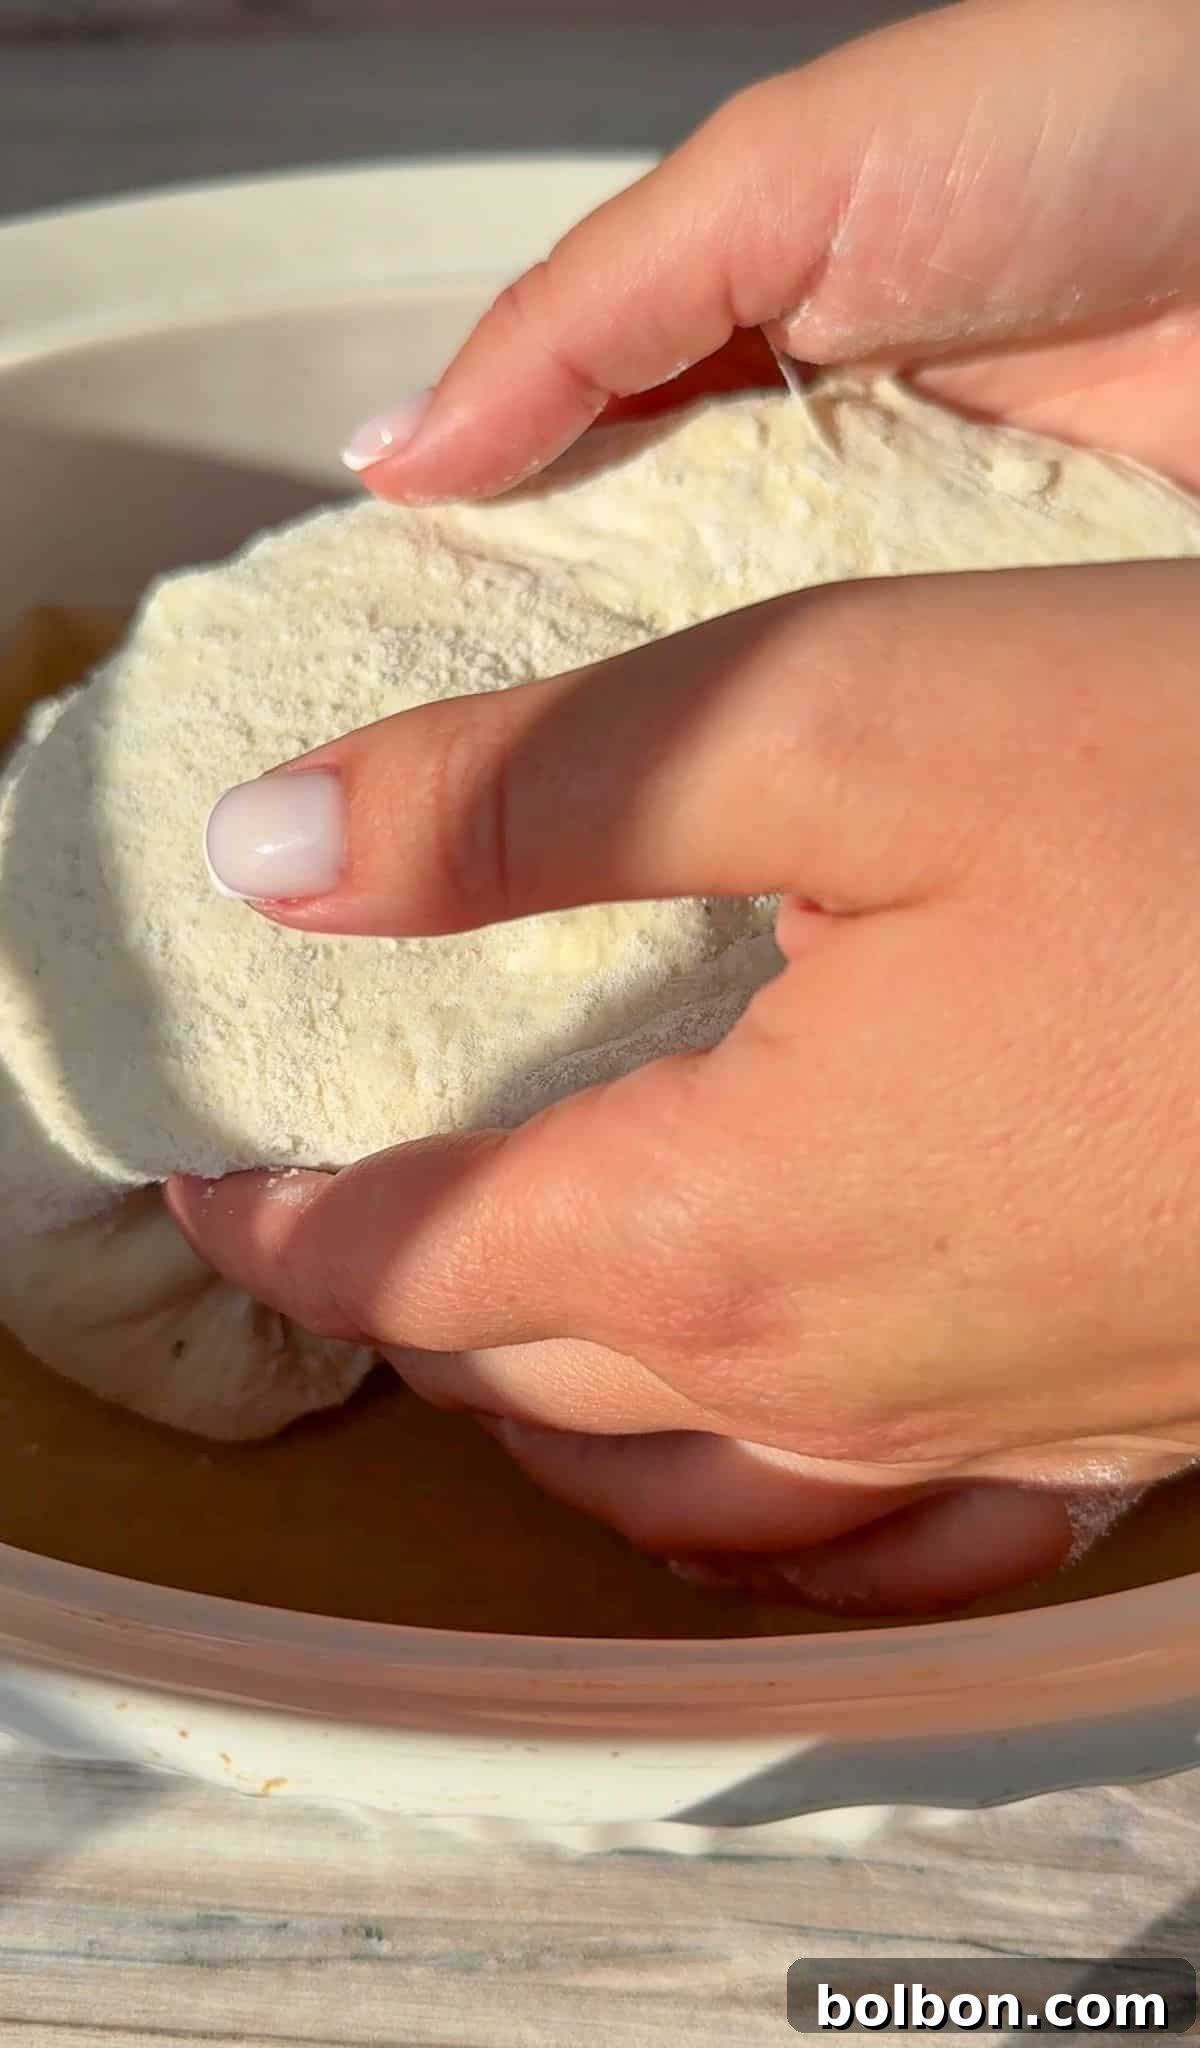
Prepare for Baking: Carefully transfer the shaped dough into an oven-safe baking dish that has been lined with parchment paper. The parchment paper will prevent sticking and make it easier to lift the baked bread out.
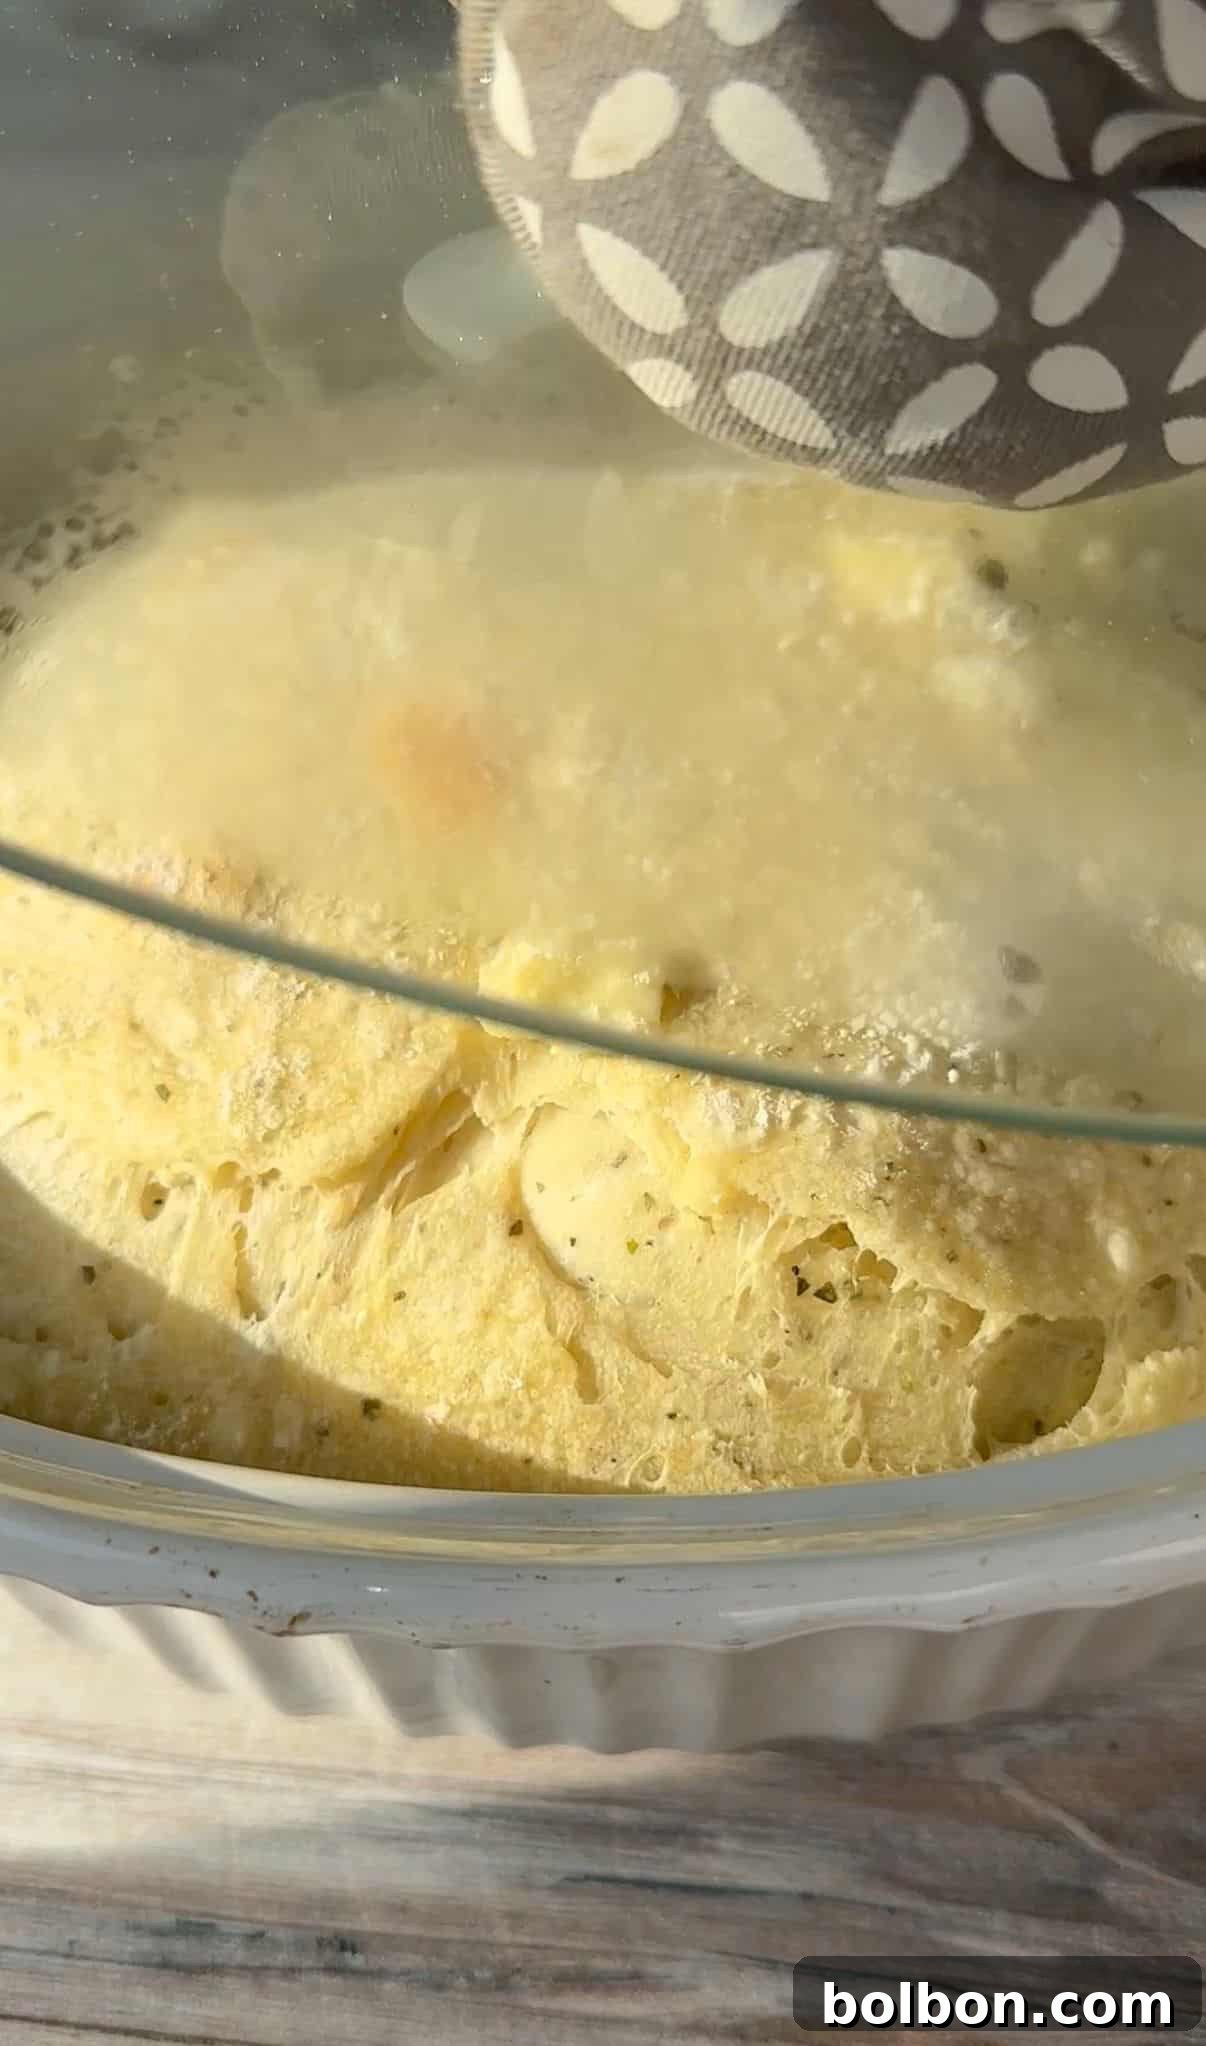
Baking Process: Place the lid on your baking dish. Importantly, put the covered dish into a *cold* oven (do not preheat the oven). Once the dish is in, turn the oven on to 450°F (230°C). This cold-start method is essential for achieving that beautifully crisp crust. Bake for 30 minutes with the lid on. After 30 minutes, carefully remove the hot lid (be cautious of steam!). Continue baking for an additional 25-30 minutes, or until the bread achieves a deep golden-brown color and sounds hollow when tapped on the bottom.
Cool and Serve: Once baked to perfection, remove the bread from the oven and transfer it to a wire rack. While it’s incredibly tempting to slice into it immediately, allowing the bread to cool for at least 30 minutes on a wire rack is crucial. This cooling period allows the internal structure to set, preventing a gummy texture. However, if you simply can’t wait, a warm slice is always a delightful indulgence!
Nonna’s Pro Tips for Perfect Bread 🫧
Achieving the perfect no-knead bread, especially with the delightful addition of feta, often comes down to a few key details:
- Yeast Activation is Key: Always double-check the expiration date on your active dry yeast. If you’re unsure, or if it’s been sitting in your pantry for a while, perform a quick activation test. Simply add the yeast to your warm water (between 100°F and 110°F or 37°C to 43°C) and let it sit for 5-10 minutes. If it foams up and becomes bubbly, it’s alive and active – ready to bring your bread to life! If there’s no activity, it’s best to start with a new packet of yeast.
- Mind the Water Temperature: As mentioned in the recipe, the water temperature is critical. Too hot, and you’ll kill the yeast, preventing any rise. Too cold, and the yeast won’t activate properly, leading to dense bread. Stick to the specified range for optimal results.
- “By Eye” Dough Consistency: This traditional recipe encourages a “na oko” (by eye) approach to dough consistency. While measurements are provided, the goal is a very thick and sticky dough. Add water gradually if it feels too dry, or a little more flour if it’s too wet, until you achieve that characteristic tacky, shaggy texture. It shouldn’t be runny or crumbly.
- Embrace the Long Rest: The extended resting time (4 hours to overnight) is not just for convenience; it’s fundamental to the no-knead method. During this period, the yeast slowly works its magic, breaking down starches and developing complex flavors and a beautiful open crumb structure. Don’t rush it!
- Gentle Handling: When shaping the dough, remember the “no-knead” philosophy. Avoid aggressive handling or excessive kneading. The goal is to gently form the loaf while retaining as much of the gas bubbles developed during the long fermentation as possible. A light dusting of flour and a few gentle folds are all that’s needed.
- Cold Oven Start: Placing your covered dough into a cold oven and then turning it on is a game-changer. This gradual heating helps the dough achieve a final burst of rise (oven spring) and contributes significantly to the incredibly crispy, crackling crust.
- Proper Cooling: While the aroma of freshly baked bread is intoxicating, resisting the urge to cut into it immediately is important. Allowing the bread to cool on a wire rack for at least 30 minutes allows the internal moisture to redistribute and the crumb to set, ensuring a perfect texture.
- Storing Leftovers: If you have any bread left (a rare occurrence!), ensure it’s completely cooled before wrapping it tightly in plastic wrap, beeswax wrap, or a clean kitchen towel. Store it at room temperature. For best results, enjoy it within 2-3 days, or consider freezing slices for longer storage.
Creative Variations and Easy Substitutions for Your No Knead Feta Bread
While the traditional “Selski Hliab” or Bulgarian No Knead Peasant Bread holds deep-rooted culinary traditions, the beauty of the no-knead method lies in its incredible versatility. With just a dash of creativity, you can easily tweak this Feta Bread recipe to suit your dietary preferences, experiment with exciting new flavor profiles, or simply utilize ingredients you have on hand. Don’t hesitate to make this recipe truly your own!
- 🍞 Flour Alternatives: For a heartier loaf with a deeper, nuttier flavor and increased fiber, you can substitute a portion or even all of the all-purpose flour with whole wheat flour. A 50/50 blend of whole wheat and all-purpose flour offers a wonderful balance of texture and wholesome goodness. You could also experiment with bread flour for a chewier crumb.
- 🌿 Elevate with Herbs and Spices: Beyond the classic oregano, enhance the aromatic profile of your bread with other complementary herbs. Fresh or dried rosemary or thyme can add a beautiful Mediterranean essence. A teaspoon of garlic powder or onion powder can deepen the savory notes, while a pinch of red pepper flakes could introduce a subtle, delightful heat.
- 🧀 Cheese and Garlic Galore: While feta is fantastic, don’t limit your cheesy horizons! Fold in grated Parmesan, sharp cheddar (as in my No Knead Cheddar Bread), or a blend of Italian cheeses for a different savory kick. Incorporating minced fresh garlic or even roasted garlic cloves will create an irresistible cheesy garlic bread twist that’s perfect for any meal.
- 🌶️ Add a Mediterranean Twist: For an even more robust flavor, consider folding in other Mediterranean staples. Kalamata olives (pitted and roughly chopped), sun-dried tomatoes (chopped), or even a handful of finely diced roasted red peppers would be incredible additions, complementing the feta beautifully.
- 🍯 Sweet Explorations: For those who prefer a touch of sweetness, this dough can be adapted! Incorporate honey or maple syrup into the water, add a generous sprinkle of cinnamon, and fold in dried fruits like raisins, cranberries, or chopped apricots. A handful of chopped walnuts or pecans would also be a fantastic addition to a sweet loaf.
- 🌰 Texture with Seeds and Nuts: For an added layer of crunch and nutty flavor, sprinkle sesame seeds, poppy seeds, or even everything bagel seasoning on top of the bread before baking. You can also fold chopped nuts like walnuts, pecans, or sunflower seeds directly into the dough, providing wonderful texture and richness throughout the crumb.
- 🥖 Shape It Up Differently: Don’t feel confined to a round loaf! The beauty of no-knead dough is its flexibility. Divide the dough to make individual rolls, shape it into a rustic baguette, or even create a stuffed bread with your favorite savory fillings (think spinach and ricotta or caramelized onions).
- 🌾 Gluten-Free Innovation: For those following a gluten-free diet, this recipe is adaptable. Use a high-quality 1-to-1 gluten-free flour blend, ensuring that your chosen yeast is also certified gluten-free. My No Knead Gluten-Free Bread offers a dedicated guide, but remember that Caputo gluten-free flour has yielded excellent results in my testing.
- 🍞 Sourdough Starter Option: If you’re a sourdough enthusiast, you can substitute 1 cup of active sourdough starter for the active dry yeast. Be prepared for a significantly longer resting and fermentation period, typically a minimum of 6 hours and often up to 12-18 hours, depending on the activity of your starter and ambient temperature. This will impart a delightful tangy complexity to your feta bread.
Explore More No Knead Bread Recipes
No Knead Olive Bread
6 hrs 5 mins
No Knead Gluten Free Bread
6 hrs 20 mins
No Knead Bread
6 hrs 5 mins
No Knead Cheddar Bread
6 hrs 10 mins
No Knead Focaccia
12 hrs 50 mins
No Knead Garlic Bread
4 hrs 10 mins
Perfect Pairings: Best Served With No Knead Feta Bread
The savory, tangy profile of my No Knead Feta Bread makes it an incredibly versatile companion to a wide array of dishes. Its crusty exterior and soft, cheese-studded interior are perfect for dipping, scooping, or simply enjoying on its own. Here are some of my favorite ways to savor this delicious loaf:
Hearty Soups and Stews:
There’s nothing quite like a warm slice of homemade bread to sop up the delicious broth of a comforting soup or stew. The salty feta bread provides a wonderful counterpoint to the richness of these dishes, making it an ideal side for:
- Pastina Soup: A light yet satisfying classic.
- Greek Lemon Soup (Avgolemono): The tangy lemon perfectly complements the feta.
- The Best Lentil Soup: A wholesome and filling pairing.
- Hidden Veggie Orzo Soup: Perfect for getting those extra greens in.
- Healthy Cream of Broccoli Soup: A creamy, vibrant match.
- Healthiest Cream of Hidden Veggie Soup: Deliciously nutritious.
- Hidden Veggie Meatball Soup: A hearty meal elevated by fresh bread.
- Chicken Noodle Soup: The ultimate comfort food combo.
Elegant Boards and Spreads:
For entertaining, or simply a luxurious snack, pair your feta bread with flavorful spreads and boards:
- Viral Butter Board With Goat Cheese: The tangy goat cheese and rich butter will be divine with the feta bread.
- Holiday Butter Board: A festive and decadent accompaniment.
- Holiday Charcuterie Board: The bread acts as a perfect vehicle for cured meats and olives.
- Holiday Cheese Board: Complement a variety of cheeses with the savory notes of feta.
Don’t forget that this bread is also absolutely fantastic on its own, perhaps with a drizzle of good quality olive oil or a smear of fresh butter. It also makes incredible sandwiches!
Common Questions about No Knead Feta Bread (FAQ)
While I personally use a Corning Ware Dish from my Amazon storefront, any oven-safe baking dish with a lid that can comfortably accommodate your loaf will work wonderfully. Dutch ovens are also excellent choices for achieving a fantastic crust. The key is to have a lid that traps steam during the initial baking phase.
Maintaining this precise water temperature range is absolutely critical for proper yeast activation. Yeast is a living organism, and it thrives within this specific temperature window. Water that is too hot will kill the yeast, preventing your dough from rising at all. Conversely, water that is too cold will inhibit yeast activity, leading to a very slow or negligible rise and a dense final product. Always use a thermometer to ensure accuracy.
This recipe embraces a traditional, intuitive approach often referred to as “na oko” or “by eye.” While approximate measurements are provided, I encourage you to add water gradually until you achieve a very thick and sticky dough. It should be shaggy and moist, but not soupy. It should pull away from the sides of the bowl eventually but still be quite tacky to the touch. Trust your instincts and adjust slightly as needed to reach this characteristic consistency.
If you have any doubts about your yeast’s viability, perform a simple proofing test. Add the yeast to the warm water separately (without the flour and salt). If, after 5-10 minutes, the mixture doesn’t become foamy and bubbly on the surface, your yeast is likely expired or inactive. In this case, you’ll need to discard it and start with a fresh packet of active dry yeast to ensure your bread rises correctly.
It’s easy to adjust the dough if it’s not quite right. If your dough is too wet and doesn’t hold its shaggy form, sprinkle in an additional tablespoon of flour at a time, mixing gently until the desired sticky consistency is achieved. If the dough appears too dry and crumbly, add warm water a teaspoon at a time, incorporating it until the dough is tacky and comes together.
Absolutely! Any oven-safe baking dish that is large enough to comfortably hold your loaf and comes with a tight-fitting lid will work. A Corning Ware Dish or a Dutch oven are popular choices, but even a sturdy pot with a lid designed for oven use would be suitable.
Baking in a Dutch oven is a fantastic way to achieve an exceptional crust. First, place your empty Dutch oven with its lid into a cold oven. Turn the oven to 450°F (230°C) and let it preheat for 30 minutes. Once preheated, carefully (using oven mitts!) remove the hot Dutch oven, place your parchment-lined dough inside, cover, and return to the oven. Bake with the lid on for 30 minutes, then remove the lid and bake for an additional 15-20 minutes, or until deeply golden brown and cooked through.
Yes, you certainly can! While this recipe specifically calls for active dry yeast, instant yeast can be used as a direct substitute. You can typically use the same quantity. Instant yeast does not require prior activation in water; you can simply mix it directly with the flour and salt. However, it’s still a good idea to use warm water to encourage optimal dough temperature for rising.
This seemingly small detail ensures more precise measurements. When you scoop flour directly from the bag with a measuring cup, you often compact it, resulting in too much flour. Spooning flour into your measuring cup and then leveling it off with a straight edge provides a more accurate weight, which is crucial for achieving the correct dough consistency and ultimately, a successful loaf.
While I haven’t explicitly tested it, heavy-duty aluminum foil tightly crimped around the edges of your baking dish should work as a suitable substitute for a lid. The goal is to trap steam during the initial baking phase, creating a moist environment that promotes a soft crumb and helps develop a great crust. Ensure it’s sealed well to prevent steam from escaping.
Yes, you absolutely can! Using whole wheat flour will result in a denser, more nutritious loaf with a richer, earthier flavor. You might find that whole wheat flour absorbs more liquid, so be prepared to add an extra tablespoon or two of warm water if the dough seems too dry. A 50/50 blend with all-purpose flour is also a great option for a balance of texture and whole-grain benefits.
Yes, a gluten-free version is entirely possible! You can use a high-quality 1-to-1 gluten-free flour blend specifically designed for baking. For a tried-and-tested method, I also have a dedicated No-Knead Gluten-Free Bread recipe. Please note that among the many options, Caputo gluten-free flour has consistently yielded the best results for me in terms of texture and rise in no-knead bread.
The dough requires a minimum resting period of 4 hours. However, for optimal flavor development and a deeper crumb, I highly recommend letting it rest overnight, typically for 8-12 hours, at room temperature. Ensure the bowl is placed away from any drafts, such as in a slightly warm cupboard or an unheated oven, to maintain a consistent temperature for the yeast.
Ambient temperature significantly impacts rising time. In warmer climates or during hot summer months, the dough may rise much faster than indicated. To prevent over-proofing, I advise placing the dough in a cooler room or limiting the initial rise to a maximum of 2 to 3 hours. The key indicator is the dough tripling in size or filling the bowl to the top – once it reaches this point, it should be baked immediately.
This particular recipe has not been extensively tested at higher altitudes. Baking at high altitudes often requires adjustments to ingredients (especially flour and liquids) and rise times due to lower atmospheric pressure. If you live at a high altitude, you may need to experiment with reducing yeast, increasing liquid slightly, or shortening fermentation times.
The dough should have a specific consistency: it should not be watery or overly dry. Instead, it should be thick, shaggy, and noticeably sticky to the touch. This high hydration is what contributes to the characteristic open crumb and chewy texture of no-knead breads. It should pull away from the bowl but still have elasticity and stickiness.
I personally use Redmond Real Salt, which is an unrefined ancient sea salt with a unique mineral profile. However, you can use any good quality fine sea salt or kosher salt. Keep in mind that different salts have varying levels of salinity, so depending on the salt you use, your bread may be less or more salty. Always taste and adjust salt levels to your personal preference as you would with any recipe.
No Knead Feta Bread
Facebook Share
Print Recipe
Equipment
Ingredients
- 3 cups all-purpose flour, plus more for dusting the counter and top of the bread
- 1 teaspoon salt
- ½ teaspoon active dry yeast, check the expiration
- 1 ¾ cups warm water, between 100F and 110F (37C to 43C)
- 150 grams feta cheese, cubed
- 1 teaspoon dried oregano, to taste
- additional flour for dusting the counter and the top of the bread
Instructions
-
Note: The water must be between 100F and 110F degrees (37C to 43C ). If the water is too hot or too cold the yeast will not activate.
-
In a large bowl, combine the flour, salt, and yeast. Mix with a whisk, wooden spoon, or with clean hands until just combined. Add the warm water and mix with a spatula until you have a sticky, shaggy dough. Gently fold in the cubed feta cheese and sprinkle in the dried oregano, ensuring they are evenly distributed.
-
Cover the bowl tightly with a clean kitchen towel or plastic wrap. Let the dough rest at room temperature for at least 4 hours, or ideally overnight (8-12 hours). Place the bowl in a draft-free area, such as inside a cold microwave, cupboard, or an unheated oven, to allow the dough to rise and develop flavor.
-
After the dough has tripled in size and appears bubbly, uncover it. Liberally flour your clean countertop or work surface. Carefully pour or scrape the dough out onto the floured surface and generously sprinkle the top with additional flour.
-
Remember, you do not need to KNEAD the dough. Simply use your floured hands to gently fold the edges of the dough towards the center a few times, forming it into a round or oval loaf. The goal is to create some surface tension and a pleasing shape without deflating all the precious air bubbles.
-
Carefully transfer the shaped loaf into any oven-safe baking dish that has been lined with parchment paper. Place the lid securely on the dish. Now, place the covered dish into a cold oven (an oven that has NOT been preheated).
-
Turn the oven on to 450°F (230°C) once the bread is inside. Bake the bread with the lid on the dish for 30 minutes. After 30 minutes, carefully remove the hot lid from the dish (watch out for steam!) and continue to bake the bread for another 25 to 30 minutes. The exact bake time will vary depending on your oven, so keep a close eye on it. The total bake time will be approximately 1 hour from the moment you place the bread into the cold oven.
-
The bread is done once it achieves a beautiful light to deep golden-brown color all over and sounds hollow when tapped on the bottom. Carefully remove the bread from the oven and transfer it to a wire rack. Let it cool for at least 30 minutes before slicing and digging in. This cooling period is crucial for the internal structure to set. Enjoy your homemade perfection!
-
To store leftover bread, ensure it has cooled completely. Then, wrap it tightly in plastic wrap, beeswax wrap, or a clean kitchen towel. Store the bread on the counter at room temperature. This bread is always best enjoyed warm on the same day it’s baked, but it will remain delicious for 2-3 days.
Nutrition
Calories: 177kcal
,
Carbohydrates: 29g
,
Protein: 6g
,
Fat: 4g
,
Saturated Fat: 2g
,
Polyunsaturated Fat: 0.2g
,
Monounsaturated Fat: 1g
,
Cholesterol: 13mg
,
Sodium: 406mg
,
Potassium: 51mg
,
Fiber: 1g
,
Sugar: 0.1g
,
Vitamin A: 64IU
,
Calcium: 81mg
,
Iron: 2mg
Nutrition information is automatically calculated, so should only be used as an approximation.